Yeah, so I decided to build a 2TB ammo can NAS box. I'm waiting for the hard drive and a custom I/O panel to arrive before I can wrap things up.
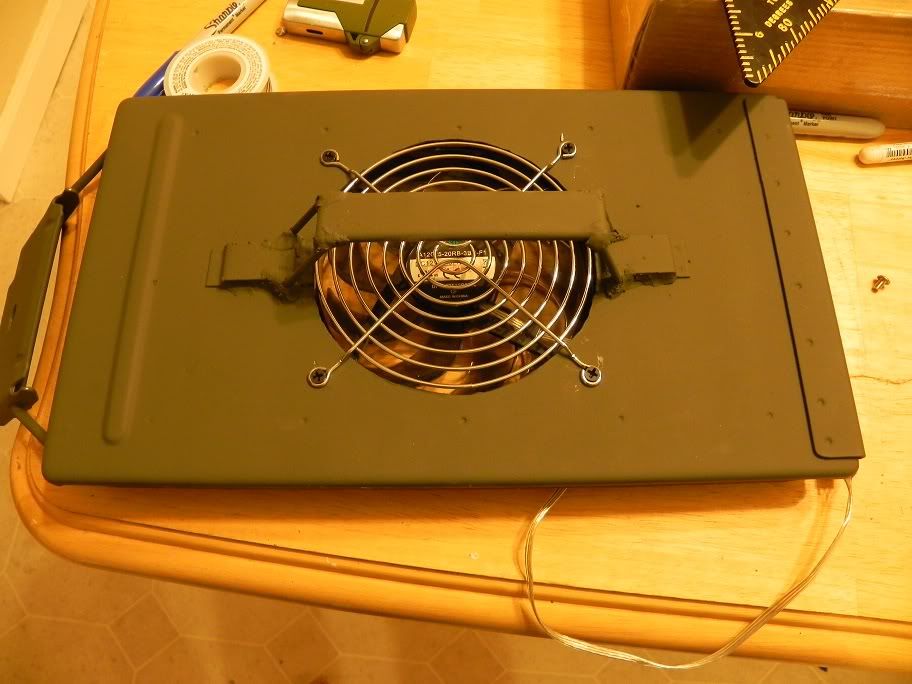
The top of the ammo can after I cut the 120mm fan port. The lid is quite thick which made cutting it a bitch., I'll definitely consider placing the fan ports elsewhere for future ammo can builds.
I used some epoxy putty to permanently hold the handle in place mostly to help with air flow. Then after a couple of primer coats and a few coats of OD green, I have the finished lid.
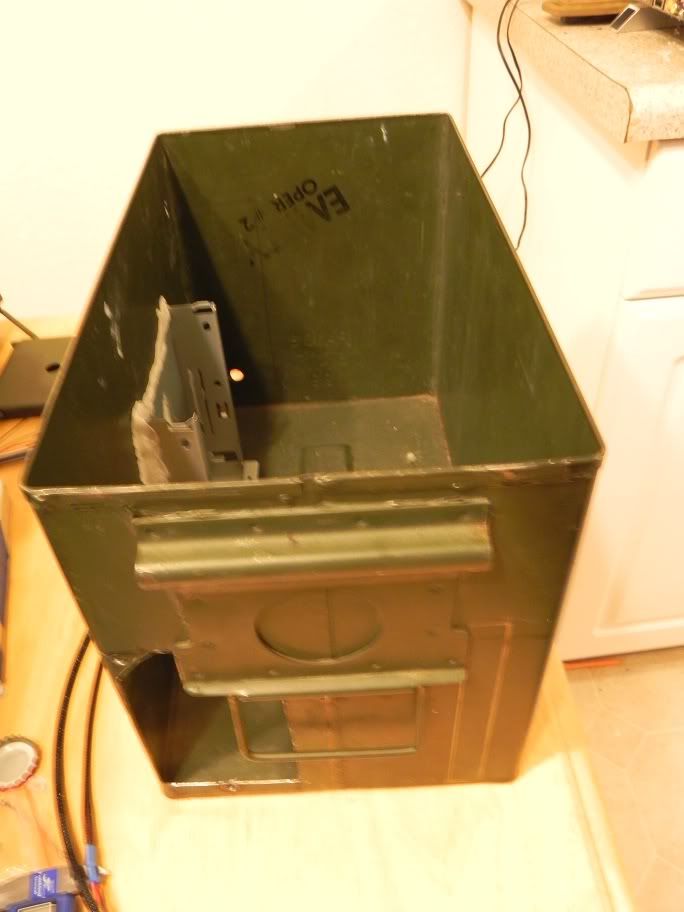
Here we have the can with the front intake (originally going to be the PSU mount for another ammo can project. I also recycled the HD bracket from an old case and sealed it in place with epoxy putty. Perhaps if I make more of these, I'll use a different method to mount the HD bracket (brazing?). Still waiting for the I/O bracket to arrive before I paint.
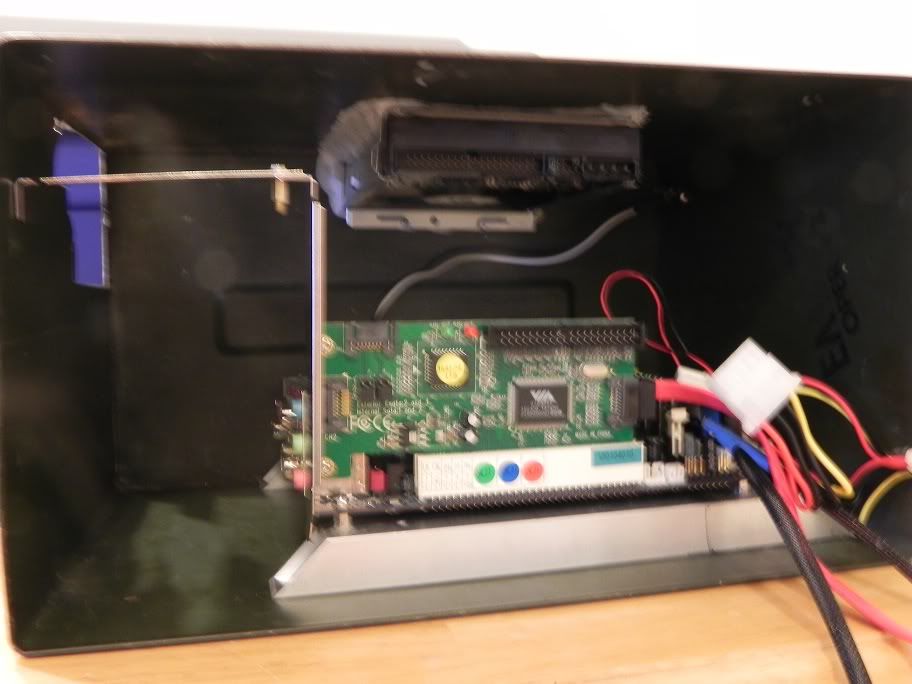
Here's the first real fit test. I used an old IDE drive to put weight on the HD bracket, and cut an unused PCI slot cover to provide support to the PCI SATA controller. I had to use a PCI controller because the board that I have (VIA EPIA something or other). Some 3/4" x 1/16" aluminum square tube served as the motherboard mount. The 2 black sleeved cabled will be connected to 2 buttons on the front of the can (left of the picture) to serve as power and reset. Power supply is a PicoPSU 90W. And the O/S (FreeNAS) is installed on a 4GB IDE disk on module (can't see it in this pic).
I should have the rest of the parts this coming week, so hopefully I'll have a finished, functioning NAS Can by week's end.
The top of the ammo can after I cut the 120mm fan port. The lid is quite thick which made cutting it a bitch., I'll definitely consider placing the fan ports elsewhere for future ammo can builds.
I used some epoxy putty to permanently hold the handle in place mostly to help with air flow. Then after a couple of primer coats and a few coats of OD green, I have the finished lid.
Here we have the can with the front intake (originally going to be the PSU mount for another ammo can project. I also recycled the HD bracket from an old case and sealed it in place with epoxy putty. Perhaps if I make more of these, I'll use a different method to mount the HD bracket (brazing?). Still waiting for the I/O bracket to arrive before I paint.
Here's the first real fit test. I used an old IDE drive to put weight on the HD bracket, and cut an unused PCI slot cover to provide support to the PCI SATA controller. I had to use a PCI controller because the board that I have (VIA EPIA something or other). Some 3/4" x 1/16" aluminum square tube served as the motherboard mount. The 2 black sleeved cabled will be connected to 2 buttons on the front of the can (left of the picture) to serve as power and reset. Power supply is a PicoPSU 90W. And the O/S (FreeNAS) is installed on a 4GB IDE disk on module (can't see it in this pic).
I should have the rest of the parts this coming week, so hopefully I'll have a finished, functioning NAS Can by week's end.