• Some users have recently had their accounts hijacked. It seems that the now defunct EVGA forums might have compromised your password there and seems many are using the same PW here. We would suggest you UPDATE YOUR PASSWORD and TURN ON 2FA for your account here to further secure it. None of the compromised accounts had 2FA turned on.
    Once you have enabled 2FA, your account will be updated soon to show a badge, letting other members know that you use 2FA to protect your account. This should be beneficial for everyone that uses FSFT.

Project Sestren Worklog - World's First Back/Outside Mounted Tri Loop Cube!

pc1x1

[H]ard|Gawd
Joined
Jan 1, 2008
Messages
1,165
Sestren-Build-Log-New-Logo-copy.png

- a PC1X1 project -

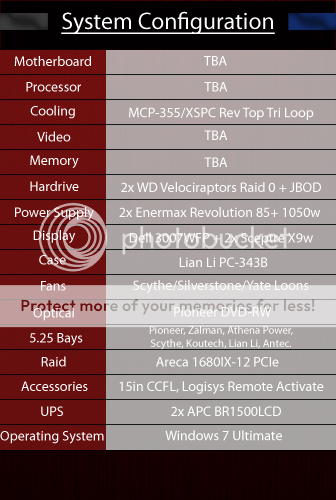
System-Configuration-New.png

History:

Computing in general has been a hobby ever since I was young. I started back in Dos/Windows95 era at the tender age of 8 years old. Since then I have always been trying to evolve and exceed my previous work. Computing to me is a journey, so I am not worried about the end result. This build has been in the making for a little while now. I figured it was about time to see how far I can currently go. The computer is named after Sestren, the main computer/entity in the Panzer Dragoon Universe.

Theme:

Performance and Elegance, and Pioneering the World's First Outside Mounted Triple Radiator Cube!

Phases:
Phase 1: Computer Case Modifications, pre-planning, and 70% parts acquisition. [Complete]
Phase 2: Computer Case painting and assembly, test run on previous hardware [In Progress]
Phase 3: Rebuild with next generation hardware, ala i7 etc.
Phase 4: Multi-monitor Display Expansion to Hex Monitors

Parts List:

-Sestren’s Core-

  • Optical Removable Media:
[1] Pioneer DVD-RW​
  • Solid State Removable Media:
[1] Koutech Floppy/Media Reader​
  • Processor:
[1] TBA​
  • Motherboard:
[1] TBA​
  • Solid State Drives:
[4] TBA Raid 0​
[4] Icy Dock 2.5 to 3.5​
  • Hardrives:
[1] 1 TB External Hardrive​
[1] 250 GB External Hardrive​
[2] 300 GB Velociraptor Hardrives Raid 0​
[2] 640 GB Internal Hardrives Raid 0​
[1] 1 TB Internal Hardrive​
[1] 500 GB Internal Hardrive​
  • Raid Controller:
[1] Areca 1680IX Raid Controller​
  • Hot Swappable 3.5 Drive Bays:
[2] Athena Power Backplane​
  • Memory:
[2] TBA 12 gigs of DDR3 Ram​
  • Monitors:
[6] Dell 3007WFP-HC 30in Monitor​
  • Monitor Stand:
[1] Custom Hexa Monitor Stand​
  • Video Cards:
[2] Multi Card GPU X2 Series​
[1] Single Slot GPU​
  • Power Supply:
[2] Enermax Revolution85+ 1050w​
  • Computer Case:
[1] Lian Li PC-343B​
.......Removable Motherboard Tray​
.......Window​
.......Side Panel​
.......Top Panel​
.......Top Radiator Mounting​
.......Front Panel​
.......Lian Li Black Universal Bezel​
  • Cooling:
[3] Swiftech Pumps with Reservoir Tops​
[1] Hardware Labs 360mm GTX Radiator​
[1] Swiftech 360mm Radiator​
[1] Swiftech 240mm Radiator​
[2] Swiftech Rad Boxes​
[1] GTZ CPU Waterblock​
[2] TBA GPU Waterblocks​
[1] TBA Single Slot GPU Waterblock​
[60 Ft] Clear 7/16” ID (5/8” OD) Tubing​
[1] Kama Bay​
[X] Various Fittings, Rotaries, Clamps, Multi Card Water Links​
[X] Heatsinks
​
-Accessories-

  • Fan Controllers:
[4] Zalman Black Fan Controllers​
[1] Lian Li Black Fan Controller​
  • Fans:
[12] 120mm Yate-Loons Fans​
[6] 120mm Scythe Ultra-Kazes​
[3] 80mm Coolermaster Riffle Fans​
[2] 80mm Silverstone Fans​
  • Fan Grills:
  • HTPC/Visual Display Units:
[1] Antec Multi Station Premier Pro​
  • Cables:
[1] Rounded Red Floppy Cable​
[1] Sata Cable​
[3] 4x Sata Octopus Cables​
  • Cable Organizers and Accessories:
[X] Red/Black Male-Female Connectors​
[X] Red/Black 3 Pin Fan Connectors​
[X] Red/Black Various Wire Loops​
[X] Blue/Black Velcro Ties​
[X] Zip Ties​
  • Lighting and Misc:
[500 Ft] Sleeving/Heatshrink​
[1] Logisys 12v Relay​
[2] 15in White CCFL​
[1] Bubble Blue CCFL​
[X] Velcro Strips​
[2] 7-Port Hubs​
[2] UPS 850 Watts
​
  • Operating System:
[1] Windows 7 Ultimate x64​
Notes:
* Must keep HT
* Target 4.0 ghz on all 4 cores
* Temperatures under 50'C Idle
* Ram @ 1600 mhz

Front Bay Configuration:
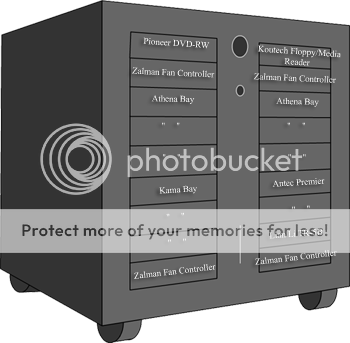
Computer-Front-Panel-Render.png


1. Pioneer DVD-RW.................... 10. Koutech Floppy/Media Reader
2. Zalman Fan Controller.............. 11. Zalman Fan Controller
3. Athena Bay............................. 12. Athena Bay
4. "" .......................................... 13. ""
5. "" .......................................... 14. ""
6. Kama Bay ............................. 15. Antec Premier
7. "" .......................................... 16. ""
8. "" .......................................... 17. Lian Li TR-5B
9. Zalman Fan Controller ............. 18. Zalman Fan Controller


Slot Array: (Subject to change, due to motherboard availability)
[1. PCIE 1x
[2. PCIE 16x - Graphics Card
[3. Blank
[4. PCIE 16x Graphics Card
[5. PCI
[6. PCIE 16x Graphics Card
[7. PCIE Areca Raid

Sponsors:
My Nuclear Family, Mom and Dad

Petras-Banner-v2.png

Petra's Tech Shop - www.petrastechshop.com Thanks to: Alex Venz, Quoc

Enermax-USA.png

Enermax USA - www.enermaxusa.com Thanks to: Wei Yang, Tom

MNPCTech-Logo.png

MNPCTECH - www.mnpctech.com Thanks to: Bill Owen


Thanks!

Danny Bui [H]
silent-circuit [H]
enginurd [H]
Zero82z [H]
PradaG [H][XS]

Special Thanks to!
My Parents, for believing in me and helping fund this wonderful project.

My Aunt Marly for driving me around to get the Cube painted.

Built in the USA

Copyright Information:
I am not affiliated nor work with neither this forum, nor any on the sponsors directly in any way. I am an Enthusiast, and thus want to share my passion through this build log. Sponsored, and donated items are courtesy on the sponsors. Logo's and other copyrighted information belongs to each respective owners! My opinion and build is my own. Thanks!

Please feel free to suggest changes, ideas, etc! Criticism welcomed, also feel free to help shape/change the layout etc.

Sincerely,
PC1X1
 
Last edited:
Update 1:

This is the first part, basic building conceptualization and mods.

Shout out to Petra's Water Tech Shop, for great customer service.

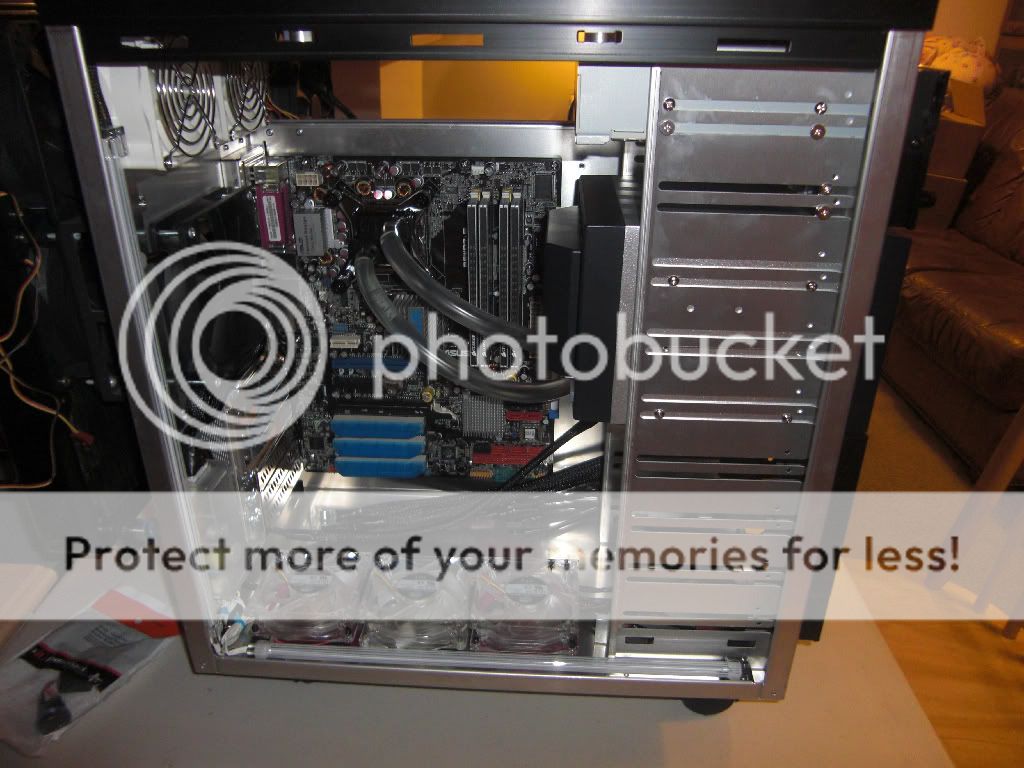
This is a work in progress, and I am on a strict deadline, and thus this is a temporary build. Also due to cost of this build, it will take a while. This is merely phase one. I presume it will be worked on / finished within 3 months. So far theres only one radiator mounted, but more are coming. Work will resume in early May. Please keep in mind theres finger prints, reflections, case wasn't cleaned etc, etc, since I know this is temporary, so it will look much better in the end, I promise :).

Current Temperatures are great, OC'ed CPU at 39'C idle, and mid 40's on Load. Radiator with 5x 120 H CFM Fans.

Many more parts, including i7 920, 12 gigs of ram, Geforce 280 GTX's, etc coming at a later date.
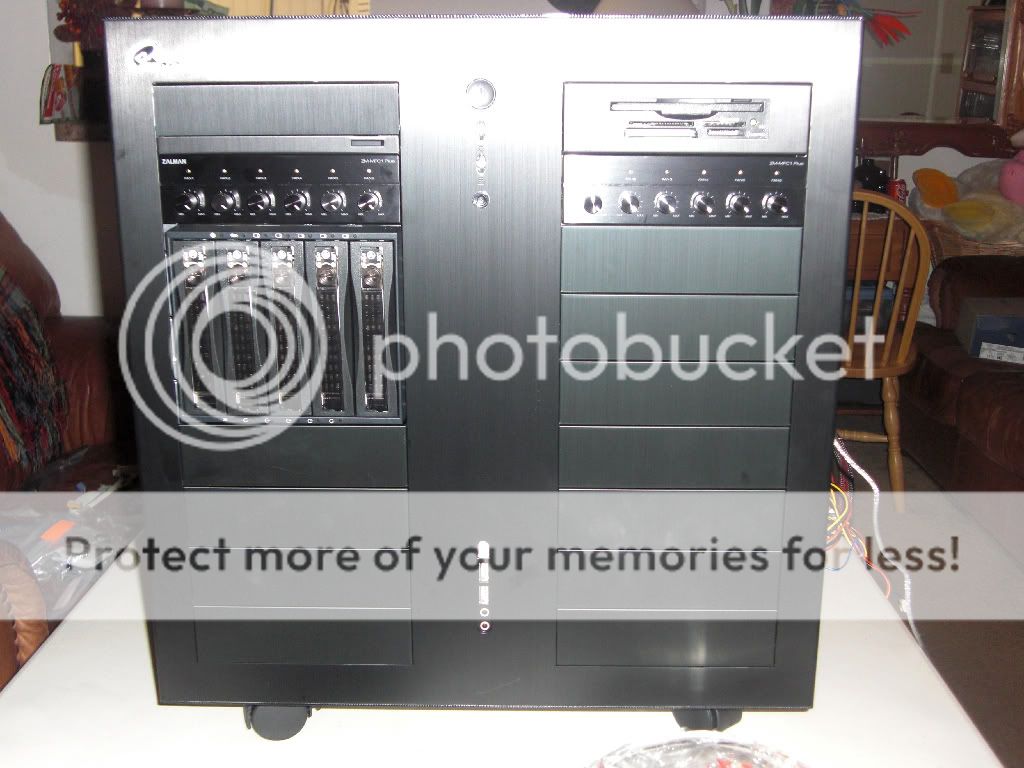
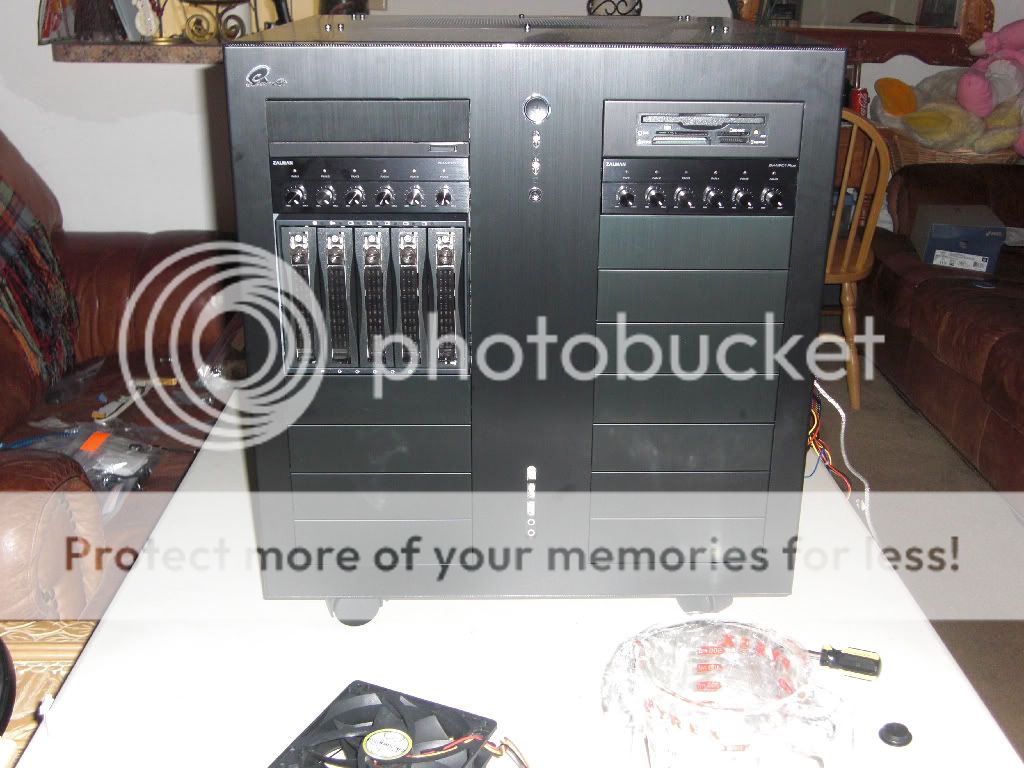
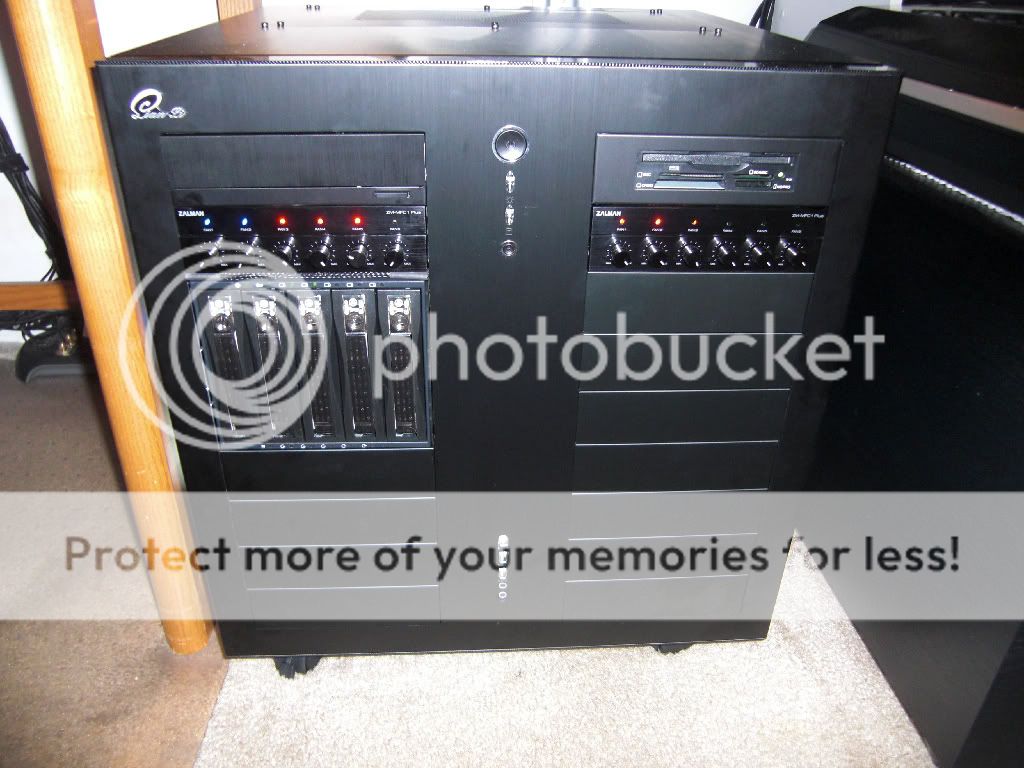
This is the front for now. Still pending 2 more Zalman Controllers, an Antec Premier, and a Kama Bay, and another Athena Power Swap Bay. Also note the little mod I made to cover up the gap the Zalman and Athena Power bay, its on the later pictures.

CIMG1733.jpg

CIMG1734.jpg


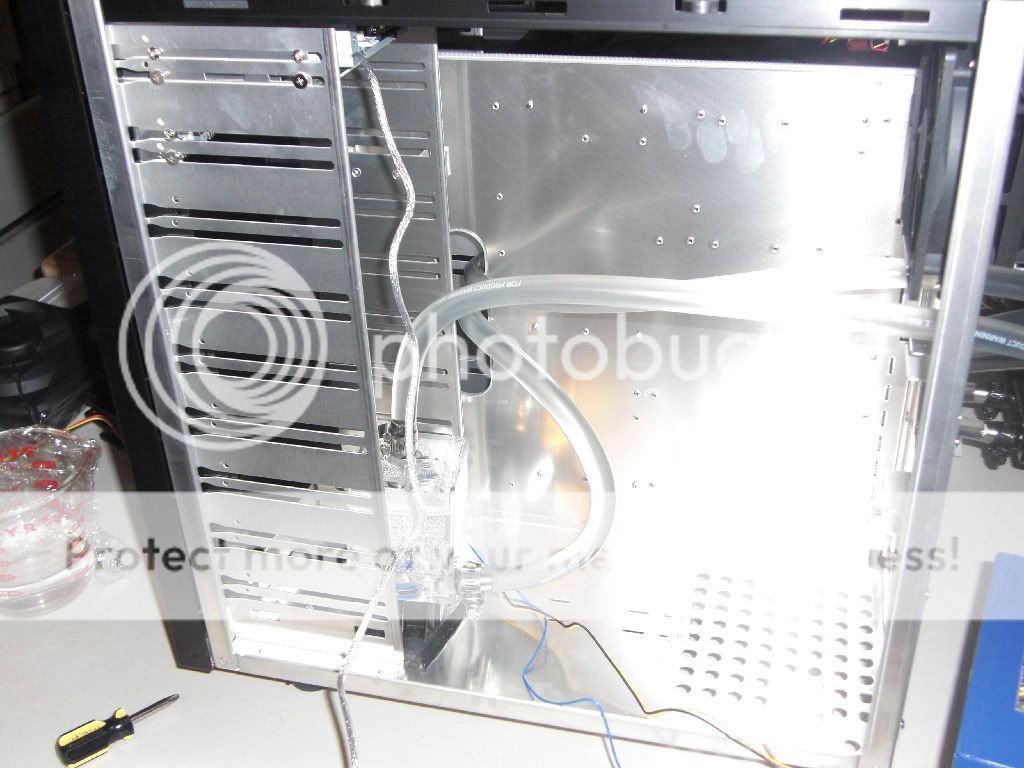
Here's is the beginning of the actual CPU Water Loop, there will be 3 water loops total eventually. I am thinking of modding a second floor in this space and putting more pumps there or perhaps mounting them vertically. When the pumps arrive I will make my decision. The pump has to be a bit forward from the actual bay so theres space for fan controllers in my drive bays. One of the things I was adamant about was keeping all 18 drive bays relatively free. With some form of function, i.e something installed be it a fan controller a drive, etc. One side is all Hardware, other side is all Water. No mix, I want to be as clean as possible.

CIMG1735.jpg

CIMG1736.jpg


No UV or Water Addictives except Biocide. Theme is clean.

CIMG1737.jpg


Above is the first test run to see where possible kinks, if any appeared. Even without Smart Coils flow was really good.

CIMG1738.jpg


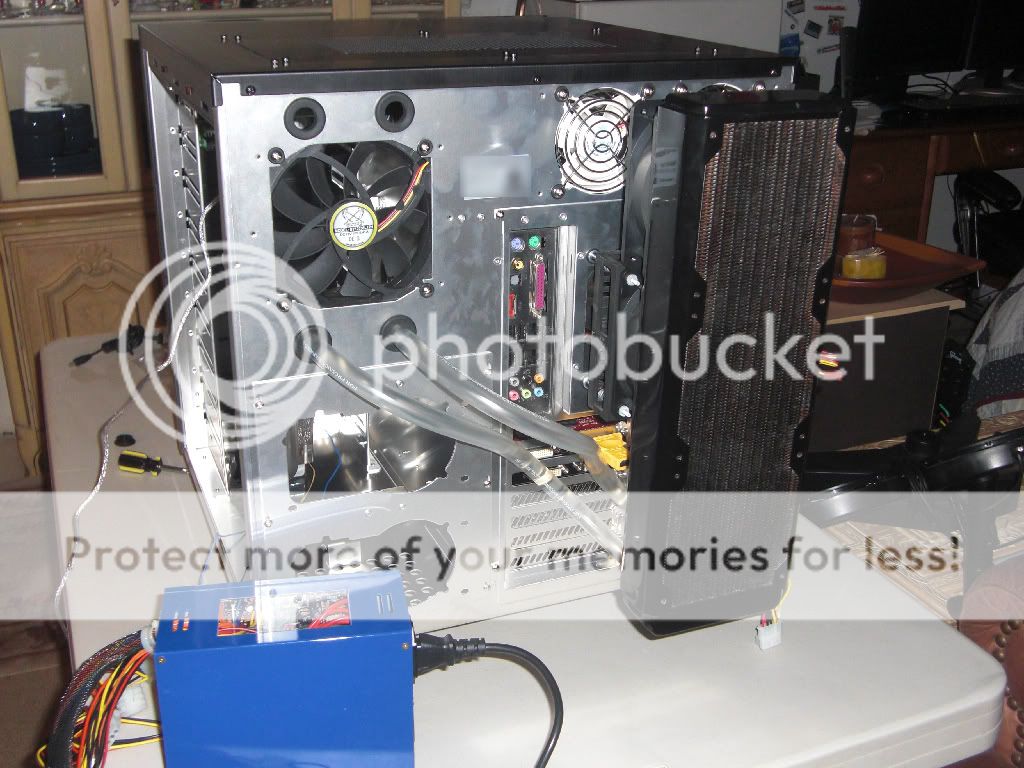
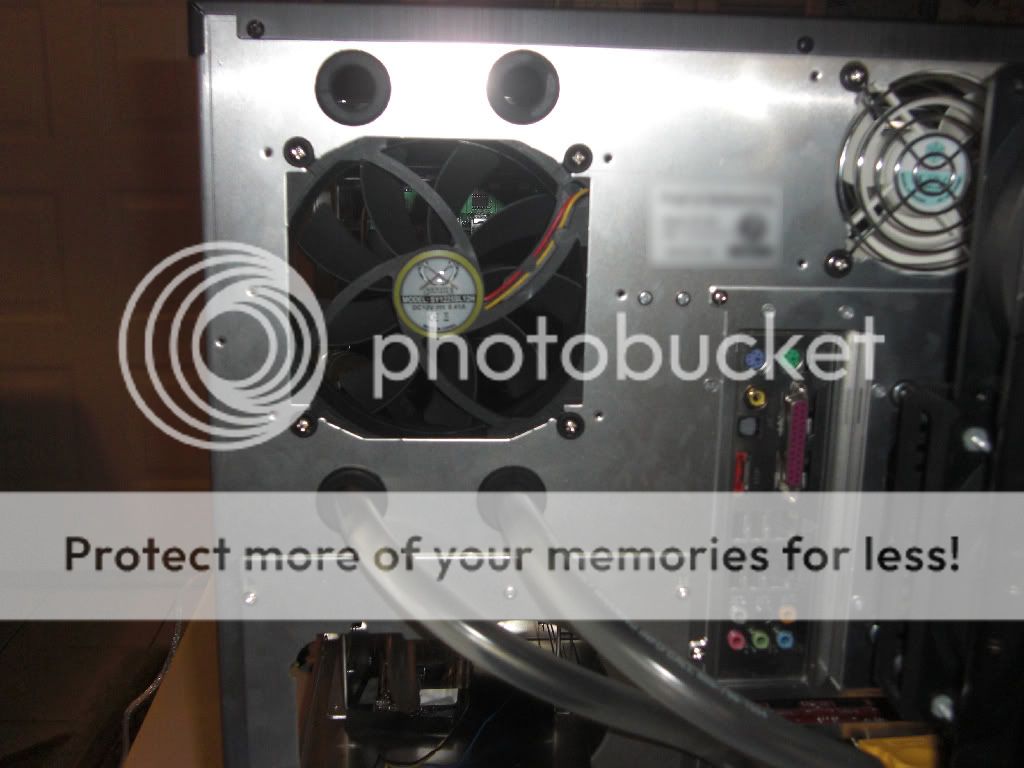
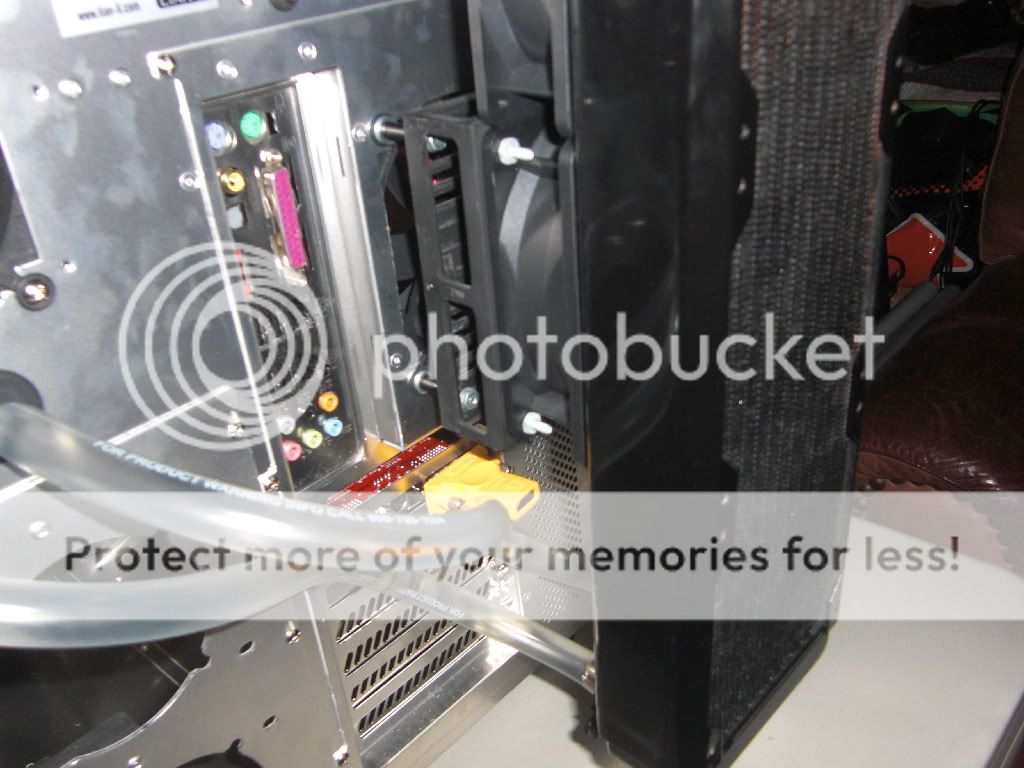
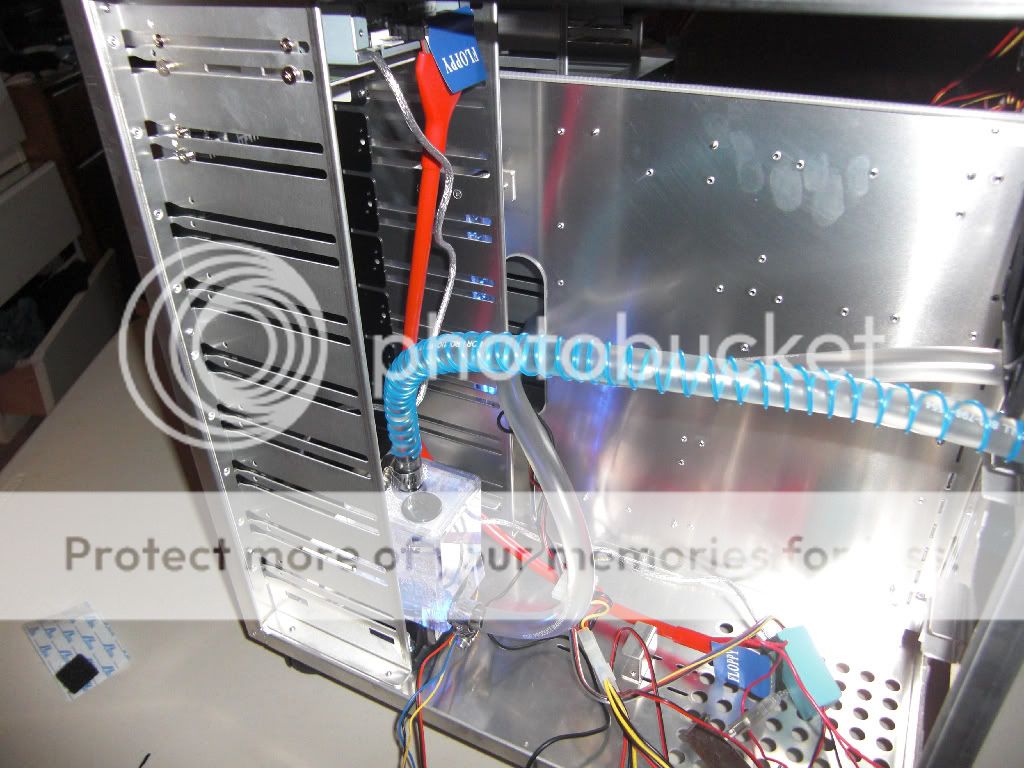
Above is the modded Backside where the radiators tubes go in. They are measured and spaced to match the radiator.

CIMG1739.jpg


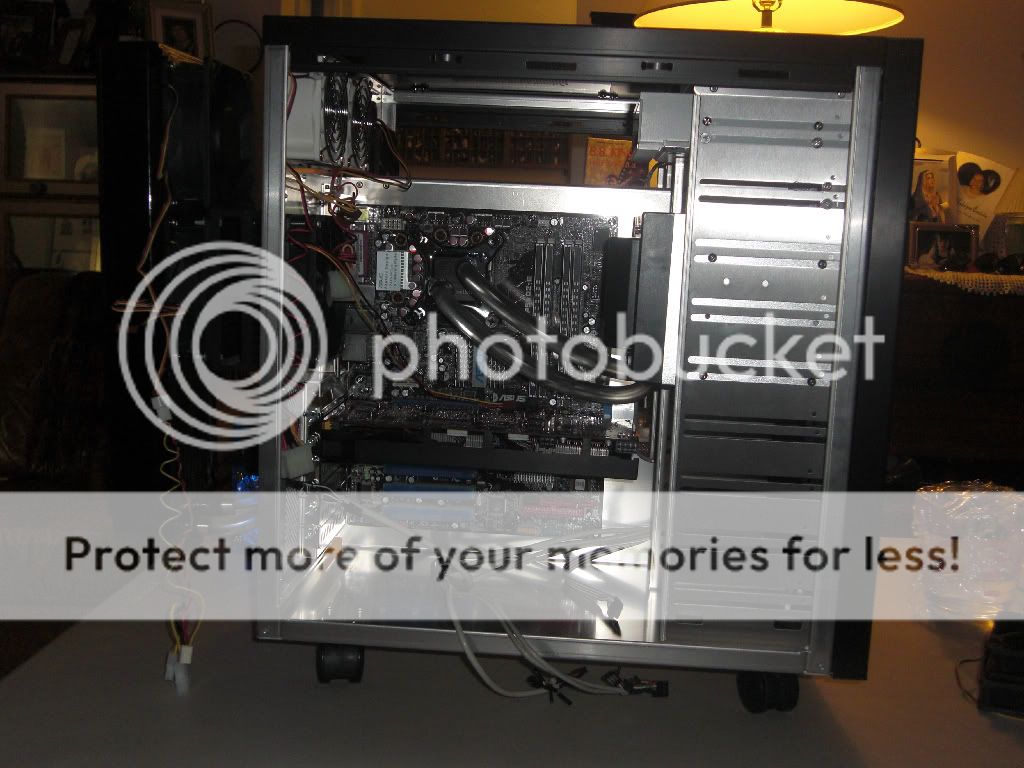
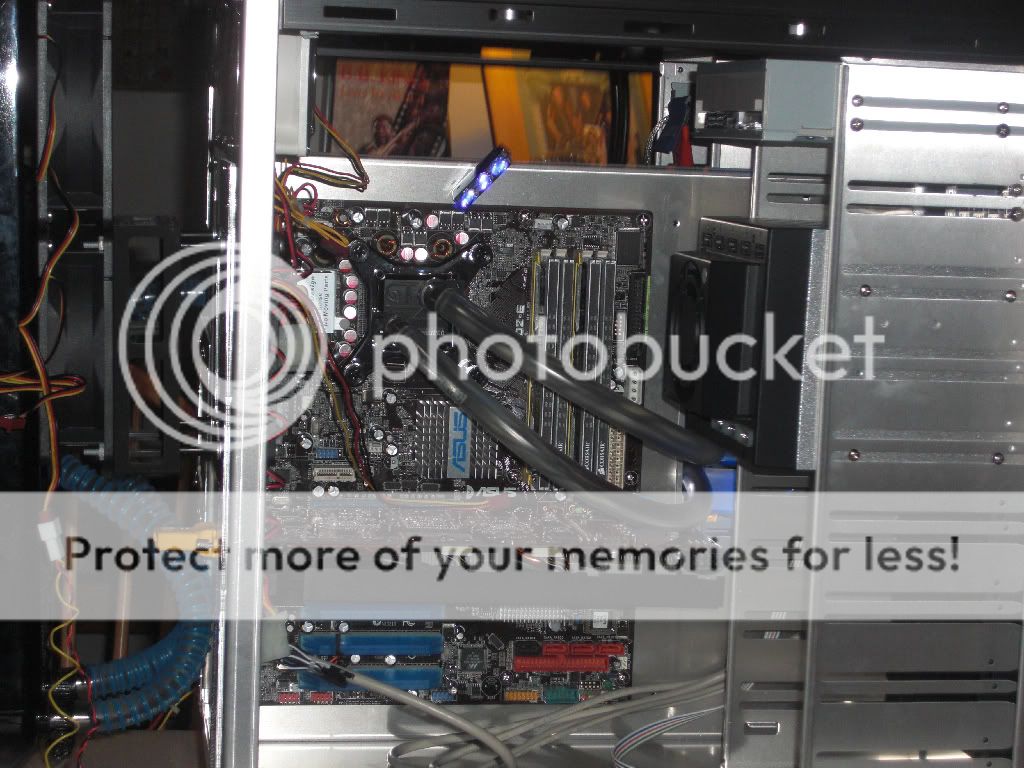
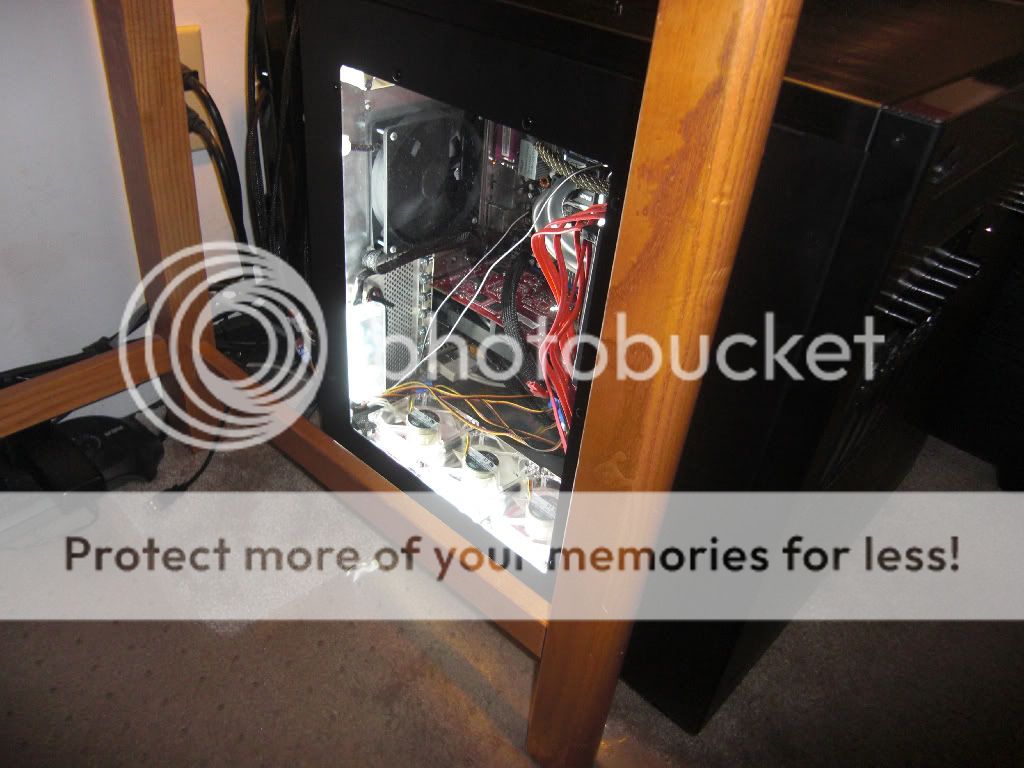
Quick view of the inside, its starting to shape up (This is my current and temporary motherboard)

CIMG1740.jpg

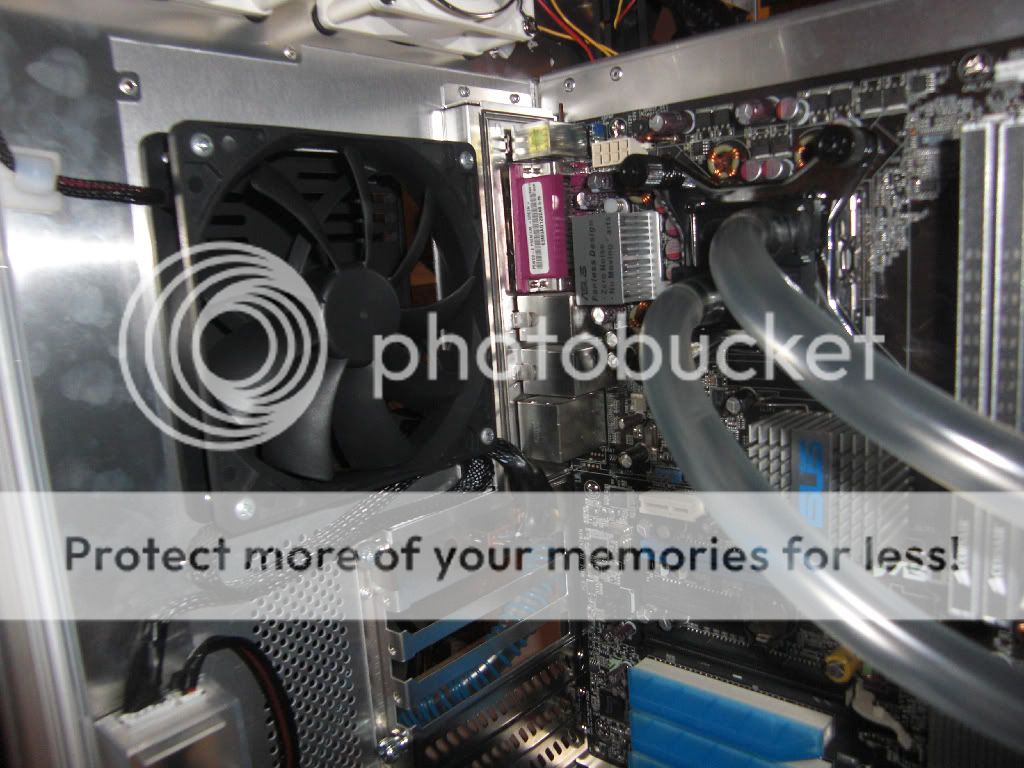
Radiator is mounted and I am checking for clearance on the wires. One fan has to be removed for wires to fit, otherwise its perfect. They make a shape that I will lock into place eventually.

CIMG1742.jpg

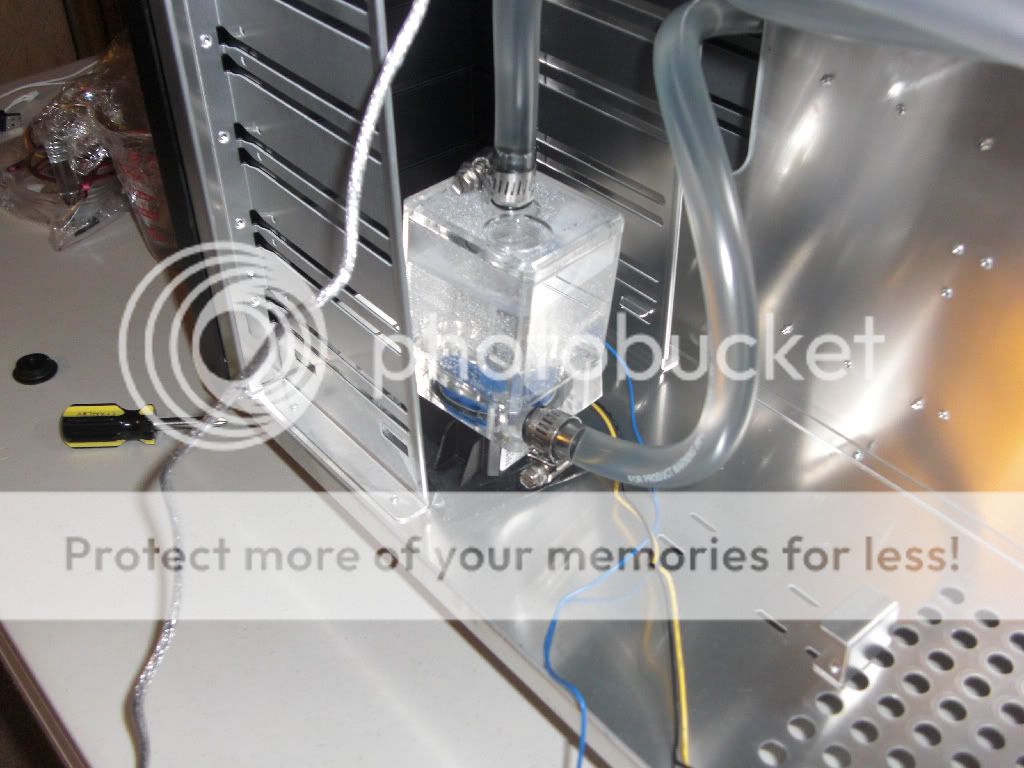
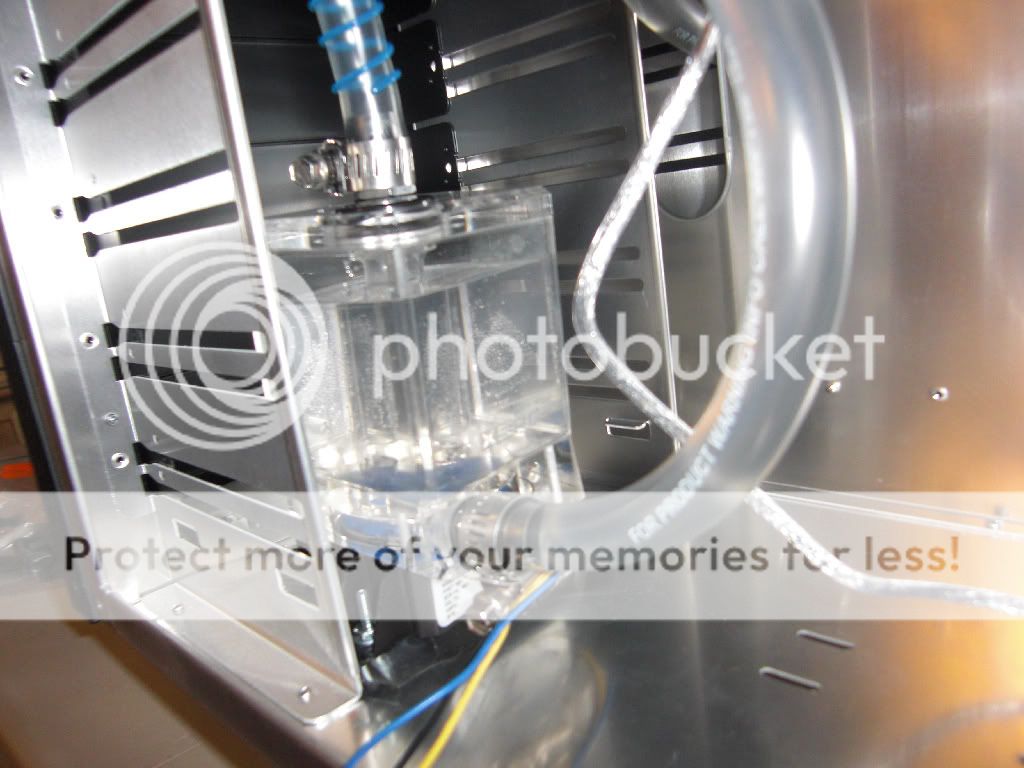
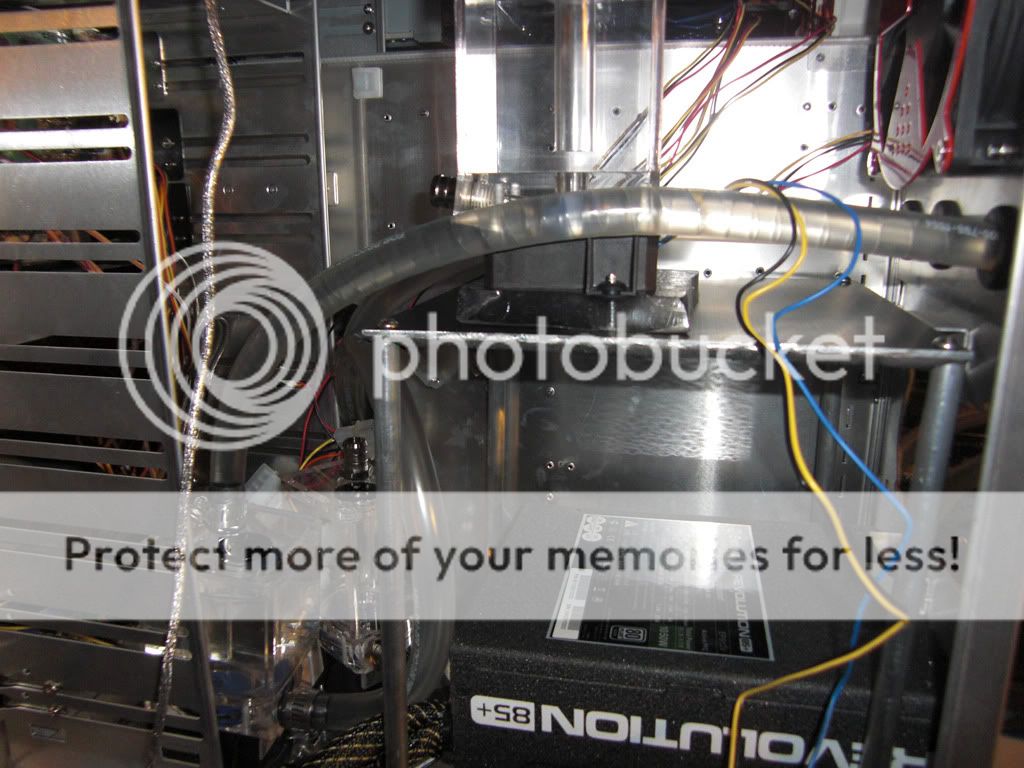
Where the pump will live, this is prior to being bolted down. And DAMN!! Is this tough aluminum to drill.

CIMG1743.jpg

Pump is drilled in and mounted, notice how clean It looks, you can barely see the screw on the underside.

CIMG1744.jpg


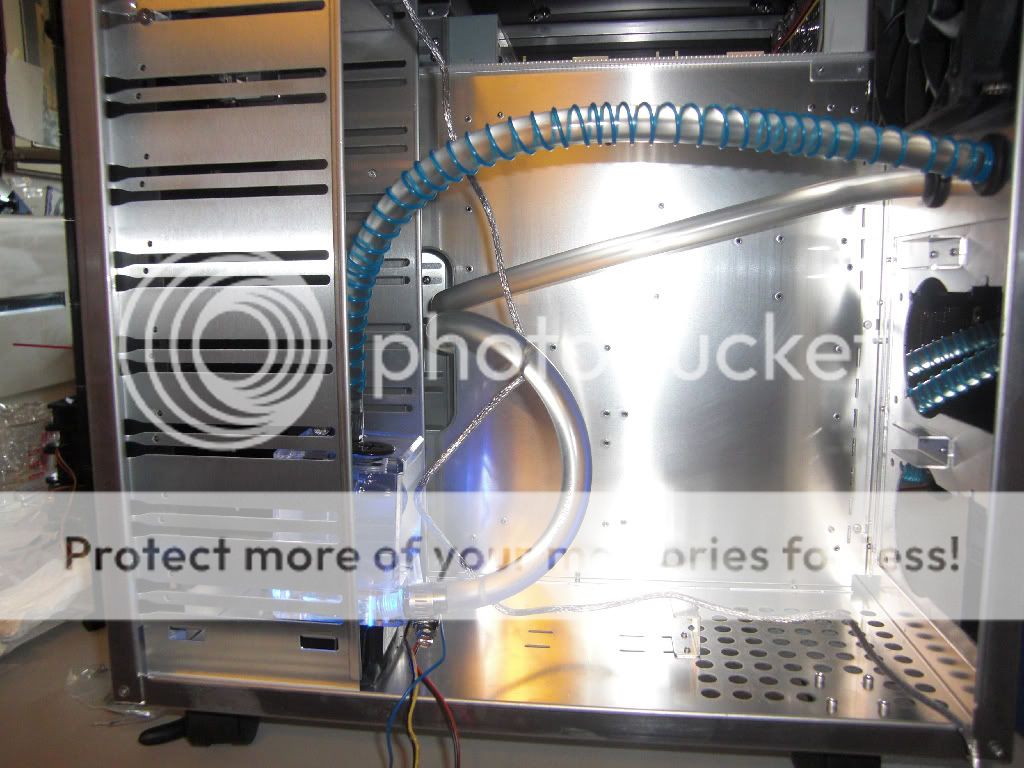
Loop is starting to take shape. Of course will be calibrated and will use some form of hooks to hold it, but even on its own its looking pretty good.

CIMG1745.jpg

Front side, again theme is elegance and cleanliness, so I only want 2 tubes per loop coming in. No hodgepodge, and even though this is overkill in terms of dissipation, I am not using fancy fittings, etc. No waste on aesthetics, but a bit of waste in the amount of loops, but thats in the name of keeping things seperate and clean. Also for ultimate performance.

CIMG1746.jpg


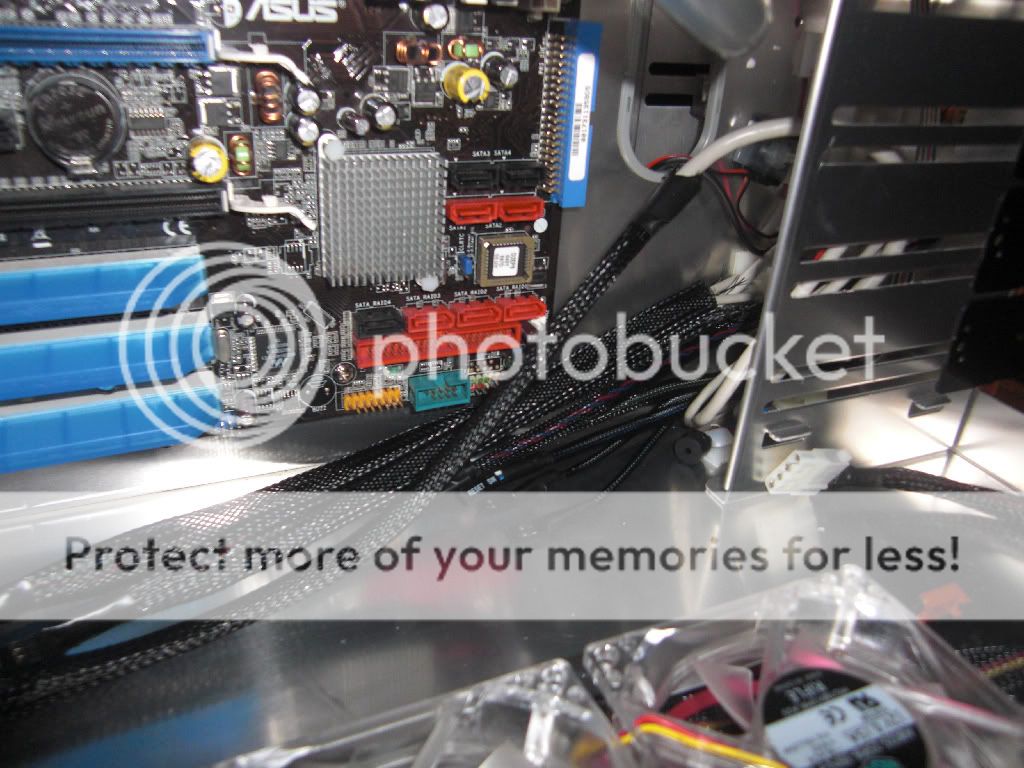
Starting to guide the wires.

CIMG1747.jpg


And the plugging begins.

CIMG1748.jpg


CIMG1749.jpg


CIMG1750.jpg


CIMG1751.jpg


CIMG1752.jpg


Sorry for being blurry, this is a LED Bubble light, it simulates ocean currents using light, with the lights off, the back (Where all the water cooling is) shines through the Wire Hole and looks like theres around sloshing around, I dunno I thought it looked pretty cool :).

CIMG1753.jpg

White Cold Cathodes are go.

CIMG1754.jpg


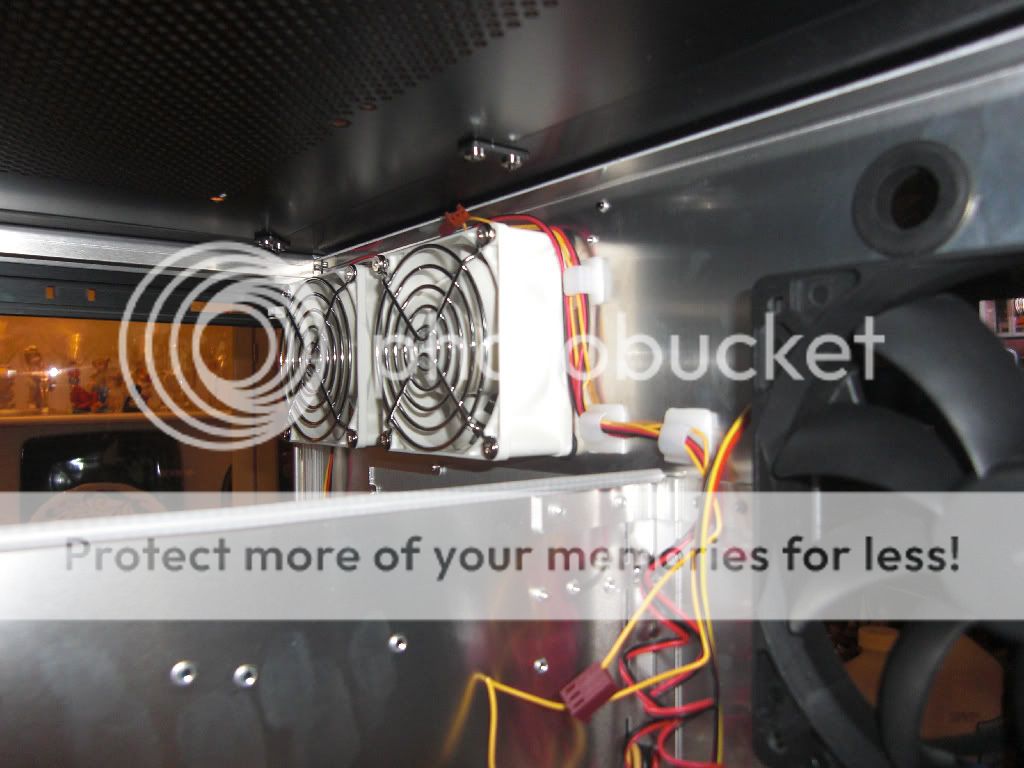
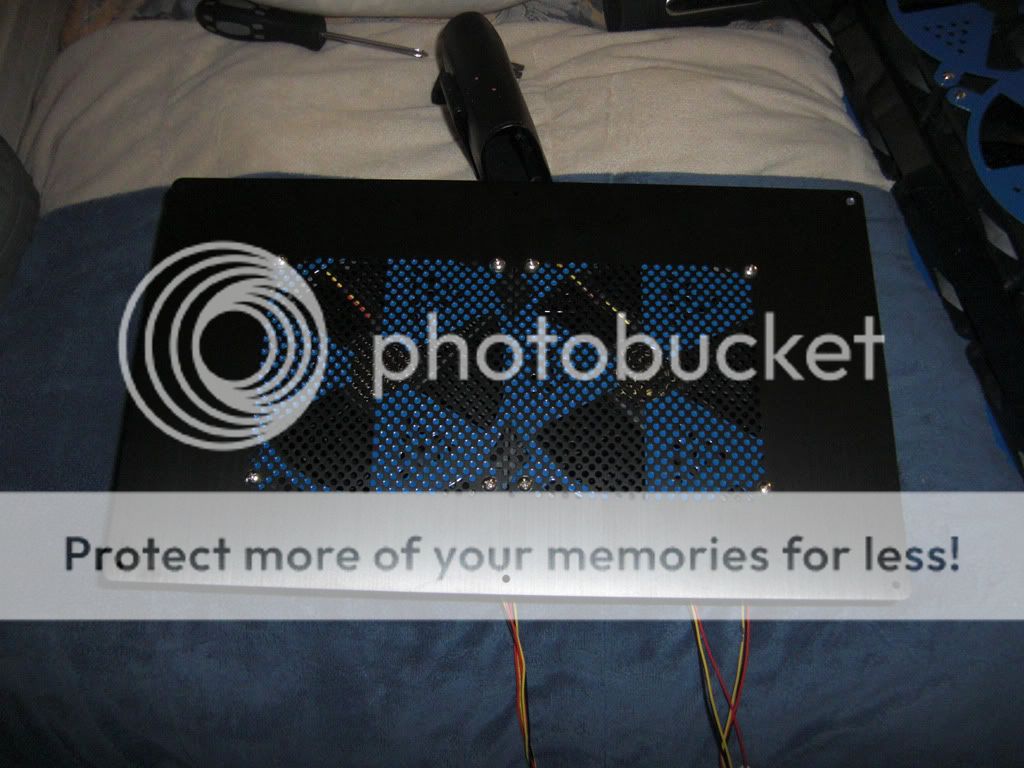
This is my own creation/idea. To dissipate Heat faster, I have this little mod of 80mm white fans shooting air up.

CIMG1755.jpg

Two mighty Silverstone 80'smm

CIMG1756.jpg


CIMG1757.jpg


Time to start routing, however I changed my mind, and to forgo having to buy a CCFL extension, I simply reversed it and plugged its converter box near it, you will see it in the upcoming pictures.

CIMG1758.jpg

More wire routing, although these are now sleeved, however I think I sleeved to much because now its harder to fit them, so that may have been a mistake, still working on this part of the project. Also I am terrible at sleeving, if your awesome feel free to come over, I shall buy you a beer.

CIMG1759.jpg


I made a cool little track of wire organizers so I could tuck and pull the lengths I needed, in a spiral fashion.

CIMG1760.jpg


Visualization

CIMG1761.jpg

Tada sleeving!

CIMG1762.jpg


Was running out and in trying to save the planet and being cheap, I only sleeved most of what is visible hehehe.

CIMG1763.jpg

Sleeving that CCFL, its a 15incher btw.

CIMG1764.jpg

Final routing for now, made a cage with Modders mesh to protect CCFL cables.

CIMG1765.jpg


How its shaping up in its current form, This was just a test run, to make sure all components work, and I need the computer for school etc. So I am stopping here for now.

CIMG1766.jpg

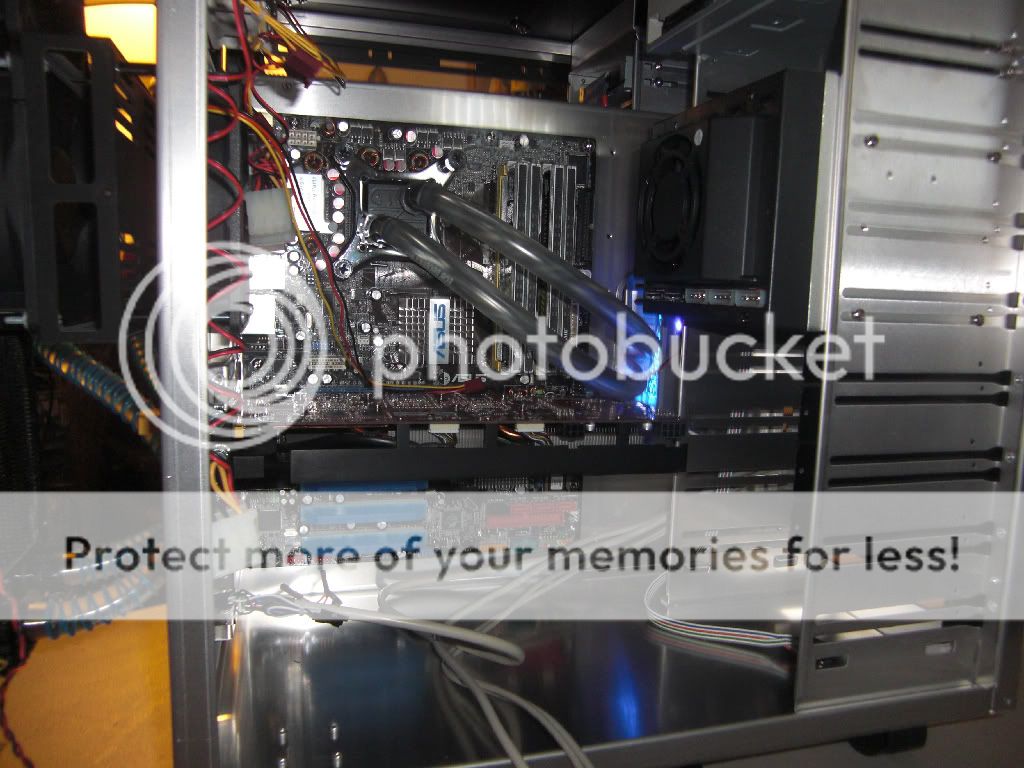
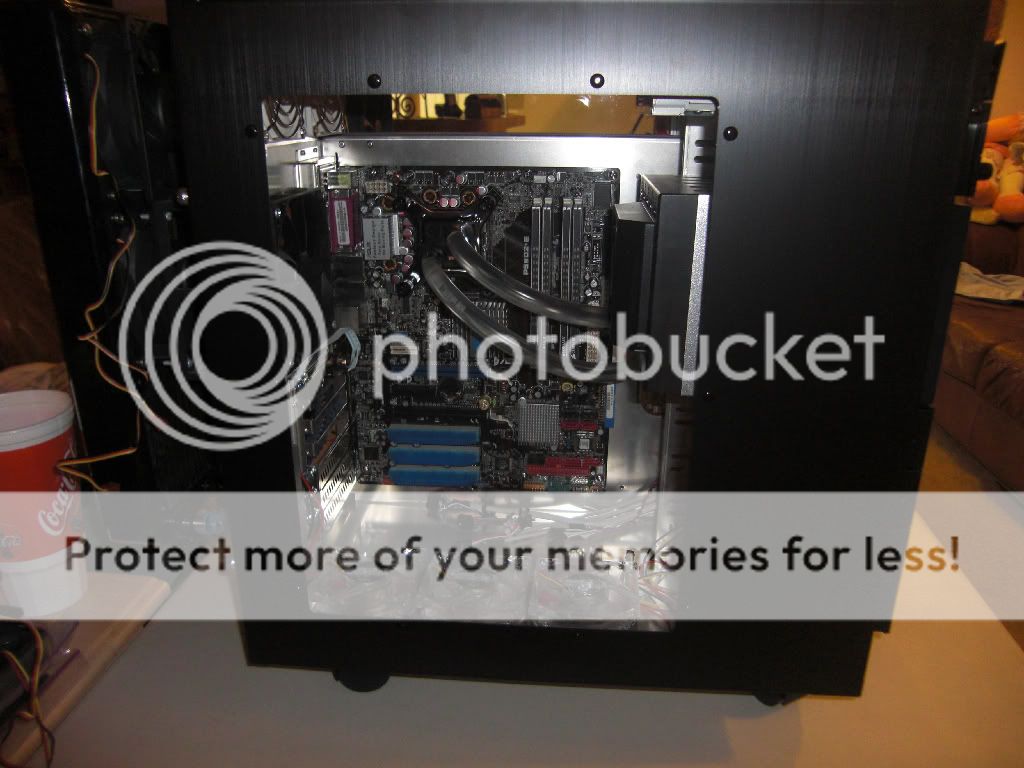
Here's a sideway view. Keep in mind, since I still need to get alot of extensions, alot of things will be routed. Also I think I just may route all my Power cables, through the top of the motherboard. The opening port is to small for everything. It should look better as well.

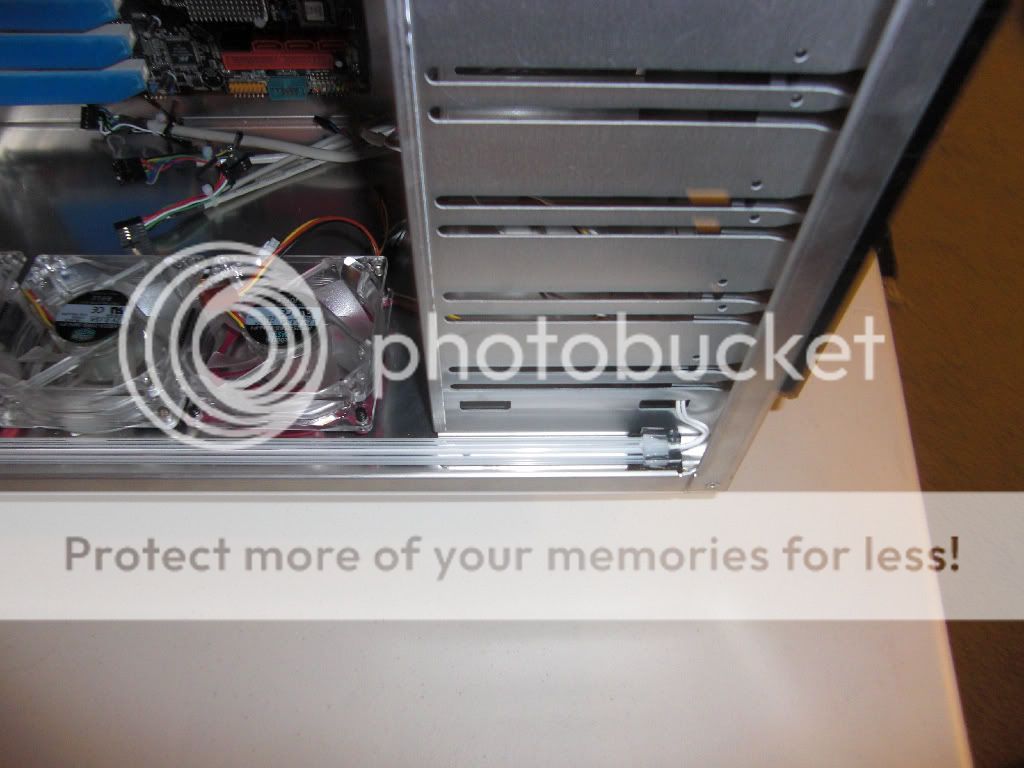
Anyhow please let me know suggestions, nothing is set in stone, I have no deadline for this build, so feel free to suggest anything :). I also made two more holes for all the wires to come through they are on the right of each radiator mount (aka the back 120mm fans), Came out pretty cool. Minor scratches on the back when the drill came off my hand, the damn thing is a pain to drill through, but overall I think its pretty cool.

I am short on time, and Ill format this thread much better later :).

Thanks for checking out Phase 1. There will be around 5 phases total.

My only current problems is that its to loud, and I am not sure which fan is causing it, I will look when I have time.

Also this is super strange, but my Smart Coils, just broke off by themselves. I am not sure if they were stored for to long prior to coming to me, but they cracked in lots of pieces simply by touch. Very strange. Heres a pic of whats left XD.

CIMG1767.jpg

RIP Smart Coils.

Please Feel free to criticize, just keep in mind its a work in progress. I can always use new ideas. Thanks again! This is my first build log, so pardon my newbness at this, Ill work on making it better as I go along.

Computer powers several monitors including my main 30'. More Monitors one day :), but thats for another build log ;)
 
Last edited:
First Post Updated, will work on more formating later. More updates sometime in May.
 
If you resize pics to about a 1024 width, they'll display nicely on most screens. I find I generally resize to 50 or 33% of original pic, depending on resolution, for ease of viewing on websites.
 
First Post Resized as asked. How's the formating now? Updates in May :)
 
It's May!

Updates coming in a few days, just organizing everything, I want to get this pc in the Million Dollar PC Site, wish me luck, and you guys can share the progress with me :), lets see if I can make it ;)
 
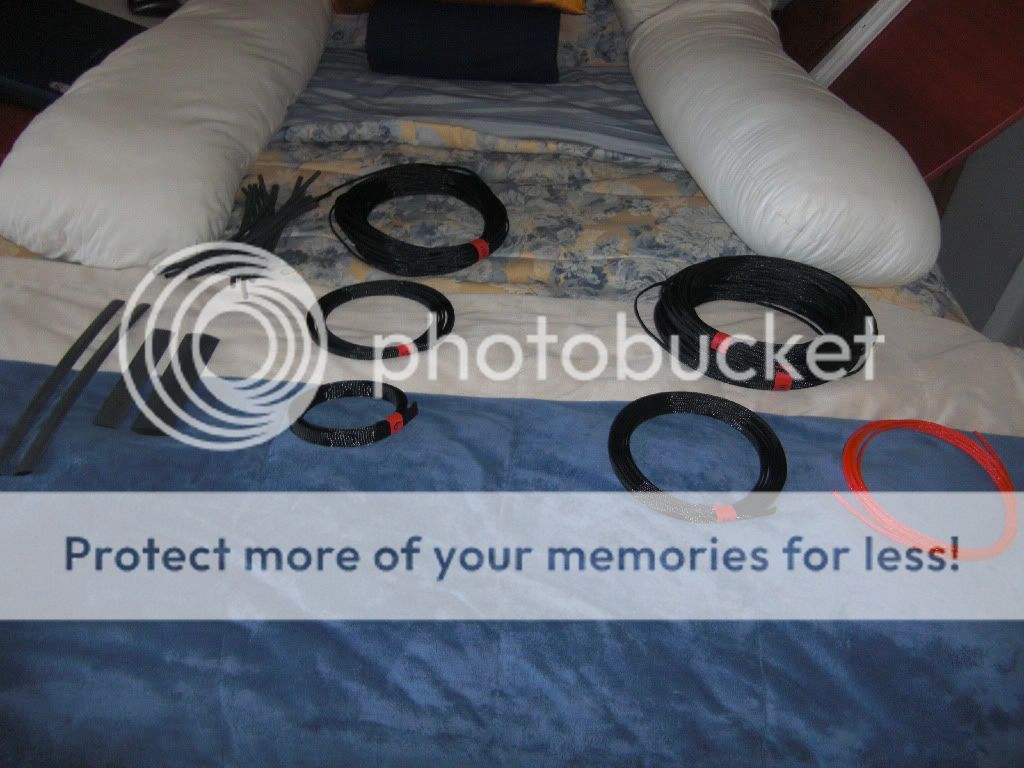
So what does 290 ft of sleeving look like ?

See below :).

Had a bit of a hard time making sure it was all correct though as the pictures on MurderMods do not match the description, theres more sleeving in the photos than actually comes with it, or at least looks that way. However it came in as described in text and thanks to Kirk for great customer service for checking with me. Had the poor guy on the phone with me for a while, last time I had him for 37 minutes, this time he ran away at 16 ;).

Poor Alex from Petra's is also a victim, I had him for 40 minutes before as well, heh!

CIMG1809.jpg


I am working on getting the parts for the other 2 loops, will keep ya posted!
 
Last edited:
Nice build! Really looking forward to more progress!

Thanks! A major update is coming in a few days, right now I am working on the logistics for migrating to Windows , so around the 16ish or possibly sooner, I should start working on the cube again.

Meanwhile more parts came in :)

CIMG1823.jpg
 
Just a quick update, I have almost everything except the meat of the build. The good news, I will most likely finish the case, and all the worklog stuff, the bad simply, due to funds, I will have to postpone the final build of the PC to a later unknown date. Right now I am trying to work with Petra's to get the remaining stuff for the water loop.

I even created a new marketing and credit department for them. Petra's Payment Plan, or Triple P, where you can finance your water parts. (Its a joke ;) ) Although I wish it was true, pretty catchy though, I should work on marketing.

Anyhow Heres some of the changes, since I am going to postpone going i7 fully, and finish the case for now, I went ahead and bought a Pentium D Extreme Edition, to tie me over until I can switch. I am giving this to my dad later, when I finally switch, I thought he deserved a faster proc, and since hes air, its better than the 805D.

Otherwise the only thing I am waiting for is the Kama Bay, 3 Ultra Kazes, and all the water stuff from Petras. Wish me luck guys, so I can get the rest of the pieces soon. I am also reformating/redoing all computers in the house, so I will be quite busy :). Ill update asap, though will take a few days.

Thanks, and keep on the look out for pics soon!
 
The two 300 gb Velociraptors arrived, but I don't have a motherboard at the moment, work will resume next week though! So stay tuned!

All Water Cooling Gear arrived.

Only remainder is actual computer itself lol, mobo, ram, proc, videos cards, and hdd controller. Everything else is accounted for :). The Cube will be finished by the end of June, the computer itself, towards the end of the year, stay tuned!
 
Radiators, pumps, tops, etc are here :), only missing some cables and accessories, work resumes this week!
 
wow dude, this is looking like a great project so far... can't wait to see the end result...
 
wow dude, this is looking like a great project so far... can't wait to see the end result...

Thanks, alot of work and progress has been done, I am literraly swimming in crap, there like literally 100+ zip lock bags with stuff inside all over my room, haha.

Sorry for the lack of updates but since my main rig is down, I am updating through the secondary, which doesn't have any image editing capability, but I will resize and get the pictures up soon. Sorry for the delay :), but so Ill see if I can get it up tomorrow ;)

The last parts, should arrive Mon-Wednesday next week. And then the actual Case and Accessories will be done.
 
Good luck, don't forget to take the pictures ;)
 
^ Thanks! everyone,

Sorry for the delay, but its been a logistical nightmare, I have literally hundreds of cables, items, accessories all over, I took some pictures to show you the organized mayhem. So sorry for not posting them yesterday, but I hope to get them up some time today, July 17th. I took some pictures of the cube mocked up, and its looking good so far imo, with all 3 water loops etc. I am adding a second floor above the psu's so watch for that soon, looks like the PSU is parked in a garage now lol, I hope to finish that mod tomorrow. Man cutting aluminum wasn't fun, nor was finding matching aluminum rods to go with it (to avoid any chemical reactions, between aluminum and steel) But less talking and more pics soon!

The only thing I am waiting on is the Scythe Kama, and possibly some plastic 3 Pin Male Molexes. Otherwise All Cube Preperations are done. Now its just assembly and building and sleeving, I presume this will take me about 7 days to complete, Between sleeving hundreds of cables, organizing, etc.

I am revising the hardware as well, since the actual computer part will be done later. As I have yet to get the following. So these are subject to change, depending on new hardware launches, etc. Also I decided to do PhysX, so I changed my GPU lineup for now. I am opting for the 295 GTX, hoping for major price drops when the single pcb one comes out. Everything is mixed and matched to work together well, the only thing that may get removed, is the Killer Xeno, I know its not really worth it for daily, use, and actually has some problems, but I am interested in the tech, and some of the hardware features it has, this is the only thing I may remove, everything else is pretty much set in stone, except if the GT300 series cards, or Ati Radeon 5000's are insanely faster, etc. Also the I7 920 is rumored to be discontinued, so I am hoping for major price drops, and hence holding the trigger ever so lightly, things will only change if something in the same price bracket, and or incredibly faster comes along. just waiting for the right time :), and price cuts heh! plus much work to be done with the current case anyhow.

Alright lets see if I format these pictures tomorrow, ttyl!

To Get List:

CPU: i7 920

Motherboard: EVGA X58 Classified

Ram: 12 gigs of Corsair Dominator GT

Network: Killer Xeno

Hardrive Raid: Areca 1220 PCIE + Battery

Graphics Card:
GeForce 295 GTX x2 Quad SLI
GeForce 260 216 PhysX

Power Supply #2:
Enermax Rev 85+

Water Blocks
295 GTX x2
260 GTX
 
wow, this rig is gonna be quite epic dude... can't wait to see the finished product, particularly with 3 loops and all...
 
Here's a small teaser update:

CIMG1826.jpg

Here's the water cooling stuff, and sleeving tool, inside the green box, is lots of surprisingly expensive crap

CIMG1827.jpg

Closer looks at the Kazes and their fan grills, and radiators, ok time to unpack this stuff

CIMG1856.jpg

But first, lets sidetrack into fan sleeving, these Yate Loons, have a unnecessary 4 pin molex attached, time to remove it

CIMG1857.jpg

Another picture of how I am going to sleeve the wires, I also broke one, which set me back a few bucks to buy replacement tips :(

CIMG1858.jpg

Testing fitting, and its starting to look like a computer now. At least this is what you get when you cross a SERVER + HTPC + GAMING PC

CIMG1859.jpg

This is only the beginning of what I have to organize X_X

CIMG1860.jpg

Expensive Crap(It really adds up!) The $600 GeForces are cheap, when you factor in cumulative accessories cost!

CIMG1861.jpg

More Crap

CIMG1862.jpg

It never ends! At this point I am trying to figure out, how the heck can I organize this properly, I am also banned to my room only, hah so no wide open spaces anymore

CIMG1863.jpg

Yup more crap

CIMG1864.jpg

Say hi to the server, its the silver Lian Li in the back, just running a podcast while working on this long and tedious build

CIMG1867.jpg

Heres the cut aluminum top plate of what I call the PSU Garage

CIMG1868.jpg

Here you can see how think it is, it also has anti vibration material applied to it, since a pump is going to be on top of it, although I am going to use a Gel on the pump as well, so hopefully little to no vibration

CIMG1869.jpg

Heres the mock up, ie unbolted PSU Garage, it stands on 4 alluminium rods, to avoid and chemical reactions, so those took a while to find. Overall looks pretty good I think, its simple but works, thats the idea inside, simple but usefull

CIMG1871.jpg

Another view of the front, the hole will have a kama bay in it, I still need to make dividers since these damn accessories have gaps in them sometimes.

CIMG1872.jpg

Cables and my Radeon 3870x2, ram

CIMG1873.jpg

Organized crap, say hi to server again

CIMG1874.jpg

Ok No more organizing the crap, now it just needs to magically get inside the cube

CIMG1875.jpg

Heres the garage in all its glory, I am going to go file it now

CIMG1876.jpg

More organized crap, so I can actually store it better

And that's it for now, more stuff coming soon!
 
this looks so sweet... can't wait to see how you're gonna manage all those cables...
 
Check out this thread in the coming days for new updates, I have all radiators mounting ready, and now will just Sleeve, and Sleeve, and Sleeve some more.
 
Here's a quick update on the sleeving.

The computer parts for now is actually done. Instead of the Areca 1222, I opted higher and went with the 1680ix + battery back up. So I can hook up to 128 hardrives, which isn't happening, but at least I can plug in all my 10 :). And I should have good performance whenever I run 4x SSD's in Raid 0. Plus I can run Raid 6, 5, combos, etc,etc.

Also my original motherboard the Asus P5WD2-E Premium, unfortunately decided to die, when I sent it in for Asus for RMA, they couldn't fix it, and instead sent me a P5WDH Deluxe, theres some trade offs, and I miss my old board, but this board opened up a cheaper upgrade path for me. So instead of getting an I7 for now, I am going to wait a little longer. I spent a bit to much on this upgrade as it is, and it will be cost beneficial to wait on the following, until prices drop.

This is what's left to get, which I'll get at a later date.

CPU: i7 or better, whatever is available.

Motherboard: EVGA X58 Classified or whatever is best OC'er period at the time.

Ram: 12 gigs of Corsair Dominator GT or better.

Graphics Card:
GeForce 295 GTX x2 Quad SLI or Whatever Quad Fire, or Quad SLI gives the best performance.
GeForce 260 216 PhysX If I go Nvidia, I'd like to add Physics support.

Power Supply #2:
Enermax Rev 85+ *This I want to buy ASAP, whenever I can afford to.

Water Blocks
295 GTX x2 or whatever GPU's I end up with.
260 GTX

Basically I need CPU, GPU, Motherboard, Waterblocks, and PSU #2

For now, I'll be running a Q9550, clocked at whatever I can get it to clock, most likely around 2.66-3.0 ghz overclocked (i975x Limitations) and my 3870X2, and 4 gigs of ram, and one 1050w PSU, which honestly for work, runs great, so I am set for now :), and if I happen to be lucky and run into disposable income, then Upgrades happen :).

Everything else is A-OK, guess I can't complain, Ill be with a pretty decent system noneless, not top of the line, but should run mainstream (I hope)

Heres the quick update.

CIMG1879.jpg

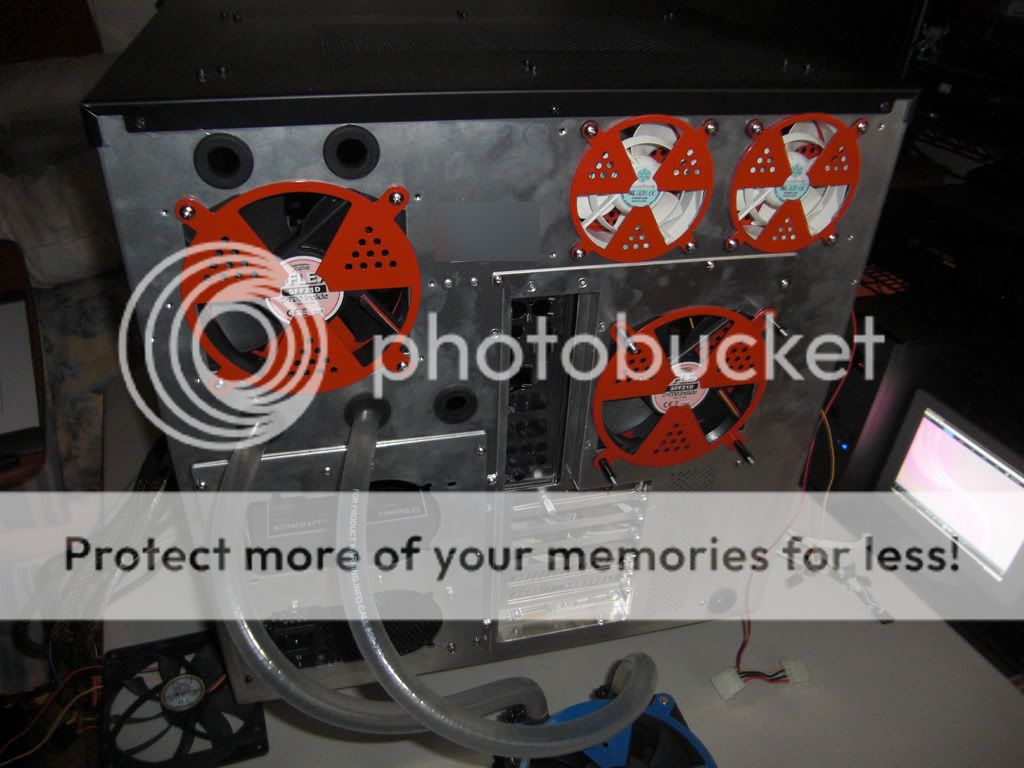
Here's the back of the computer, looks cool when everything is mounted.

CIMG1880.jpg

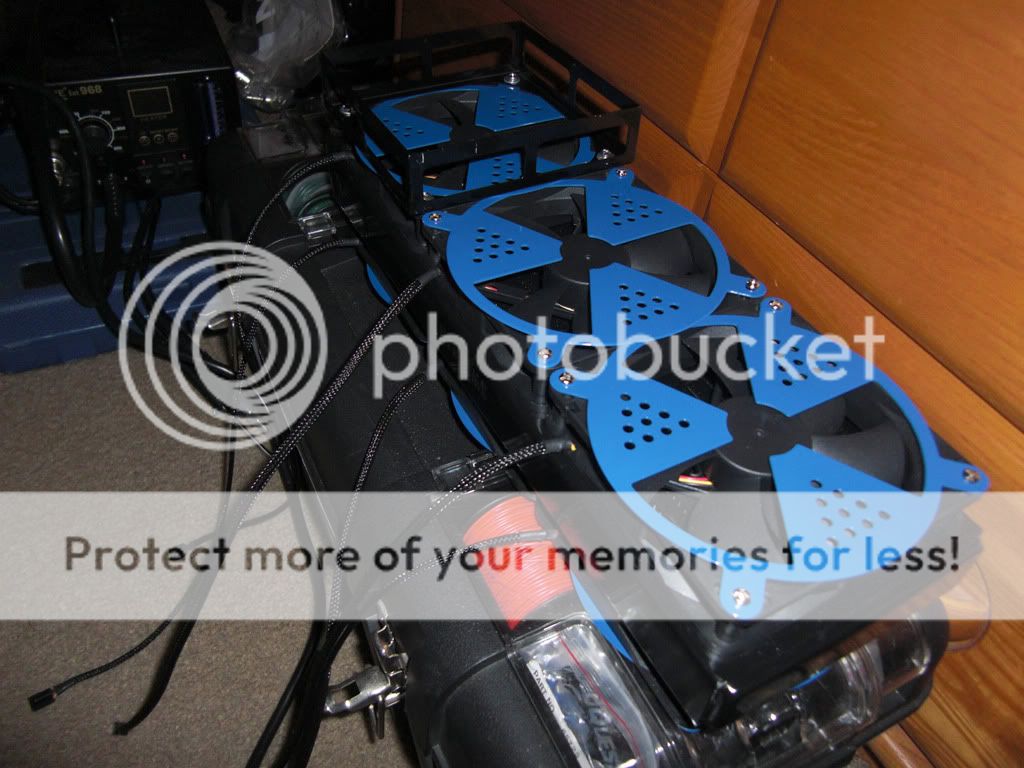
Radiator #3, 240mm all mounted up and ready to go, note that all my radiators are using high CFM fans, on both sides, ie the 240 has 4 fans, and the 360's have 6 each, 2x swiftech radiators are running all on yate loons, while the HW Rads, are running 6 Ultra Kazes Fat

CIMG1881.jpg

The insides before, Now its all sleeved, Ill show pics in the next update :)

CIMG1882.jpg

The tools are ready to go! Let the Sleeving begin!

CIMG1883.jpg

The Swiftech Radiator single pass, I double insulated everything, so this is the first step, it has the sleeving applied but I went a step further and added another layer of heat shrink as a finishing touch, you will see it in the next picture, looks nice imo

CIMG1884.jpg

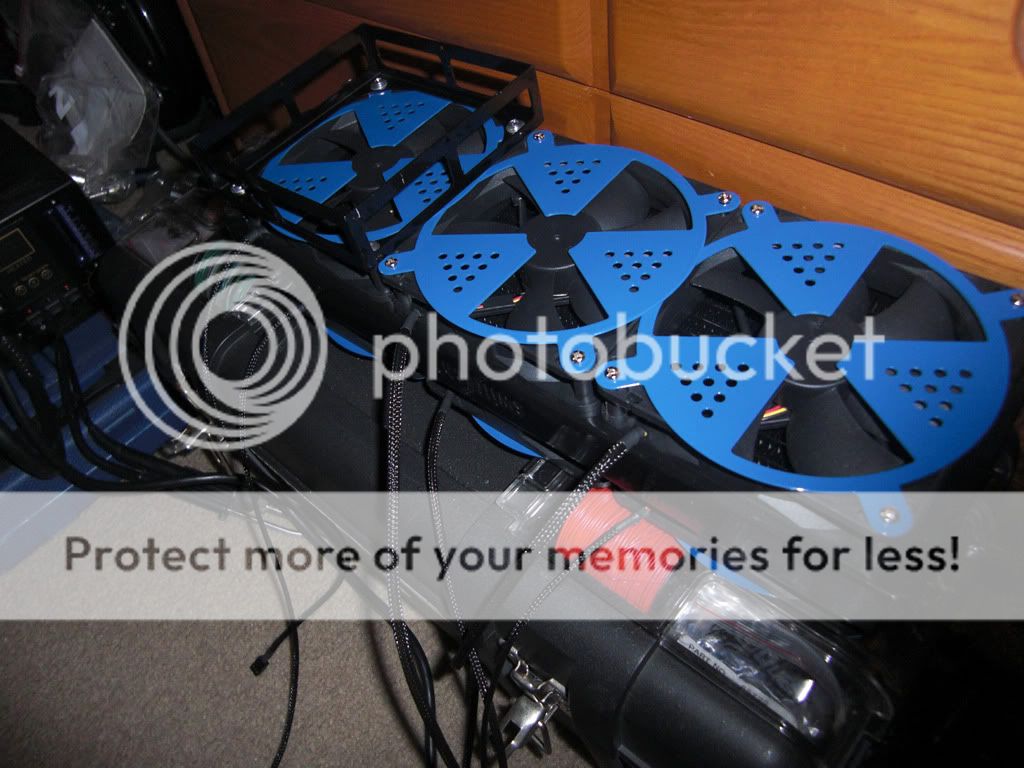
Heres an upclose shot, all grills are proportionally aligned.

CIMG1885.jpg

Another Angle

CIMG1886.jpg

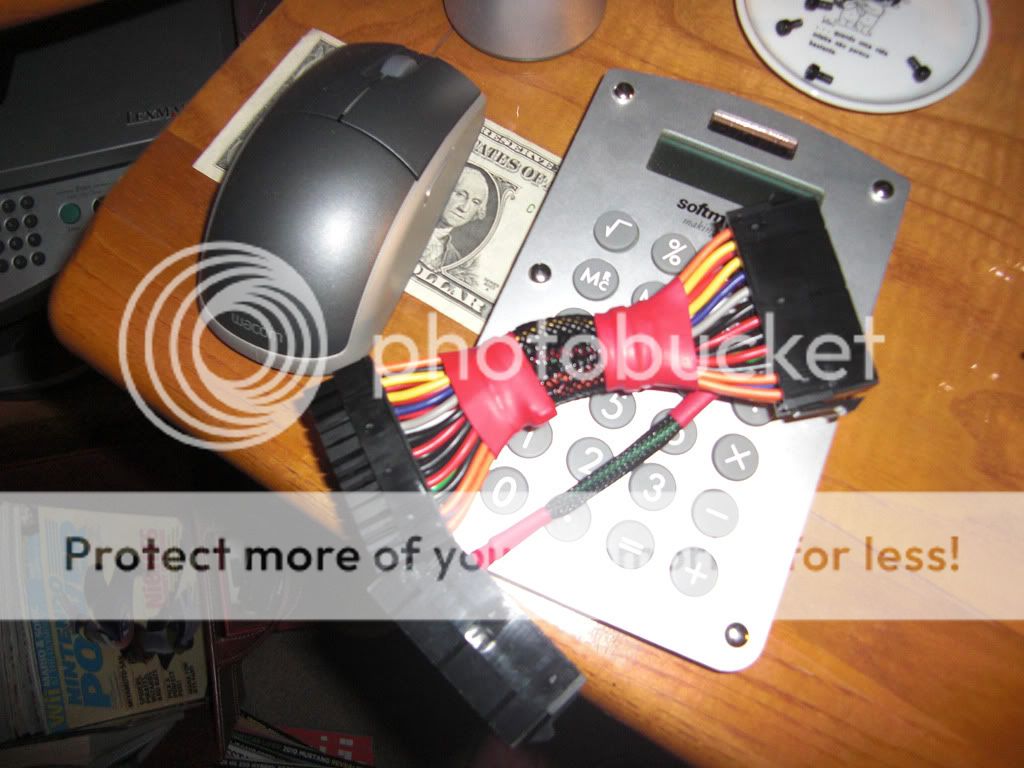
Heres the single Dual PSU Boot cable, looked decent, but I went ahead and tore apart that sleeving and am individually sleeving it now

CIMG1890.jpg

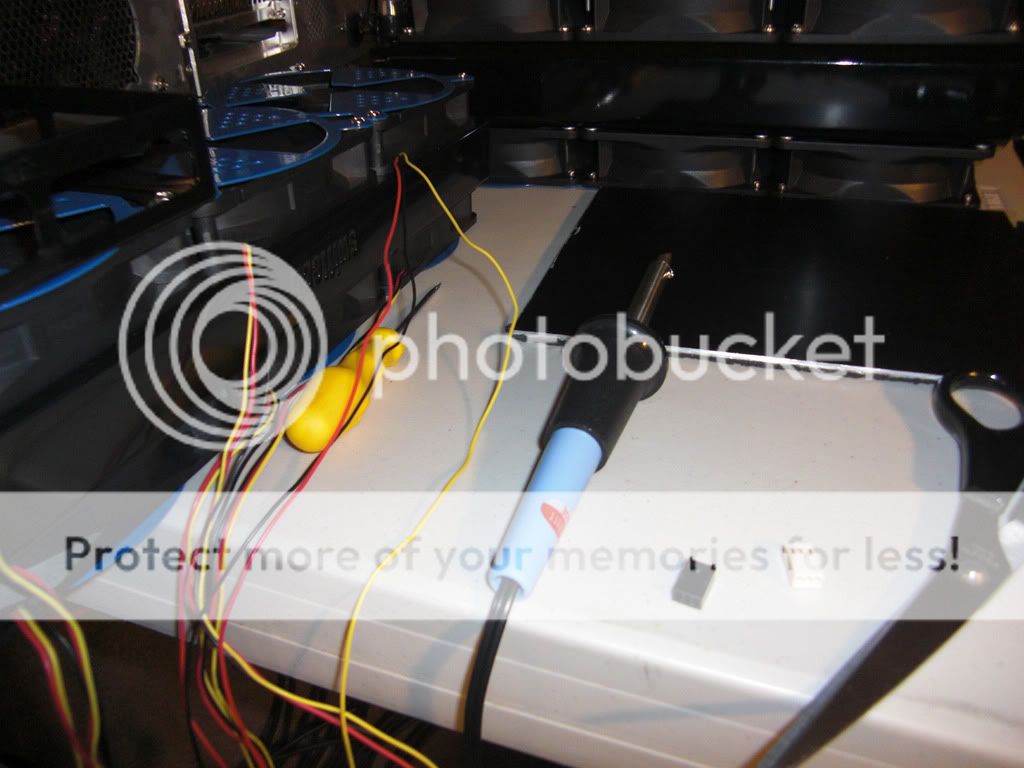
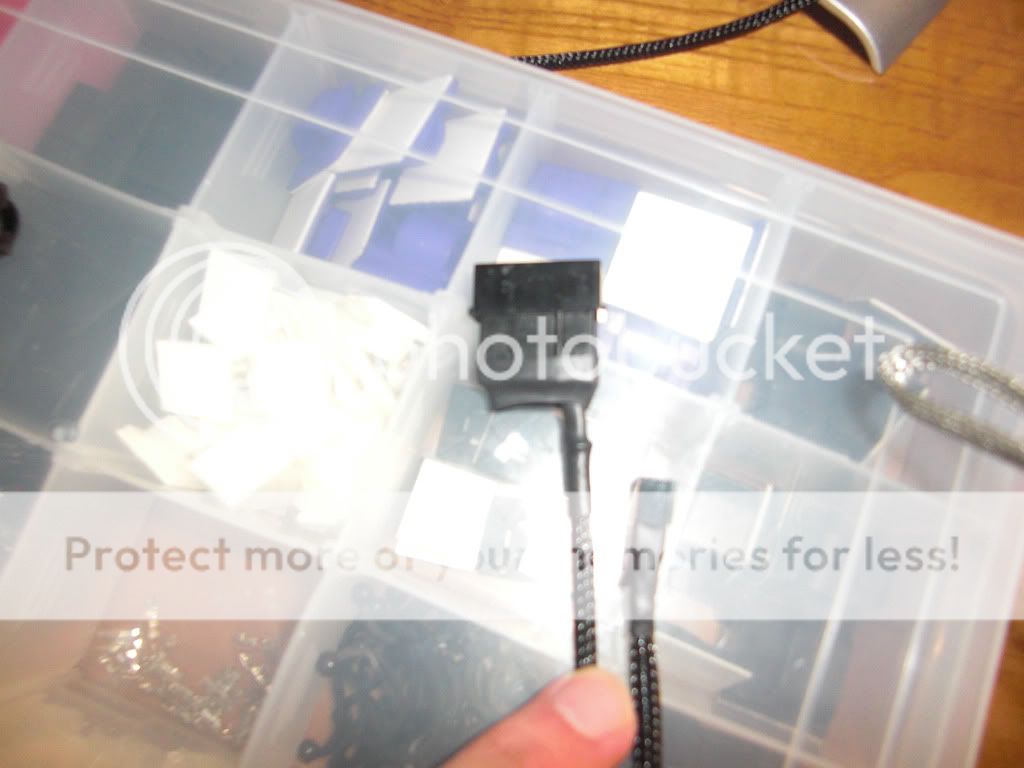
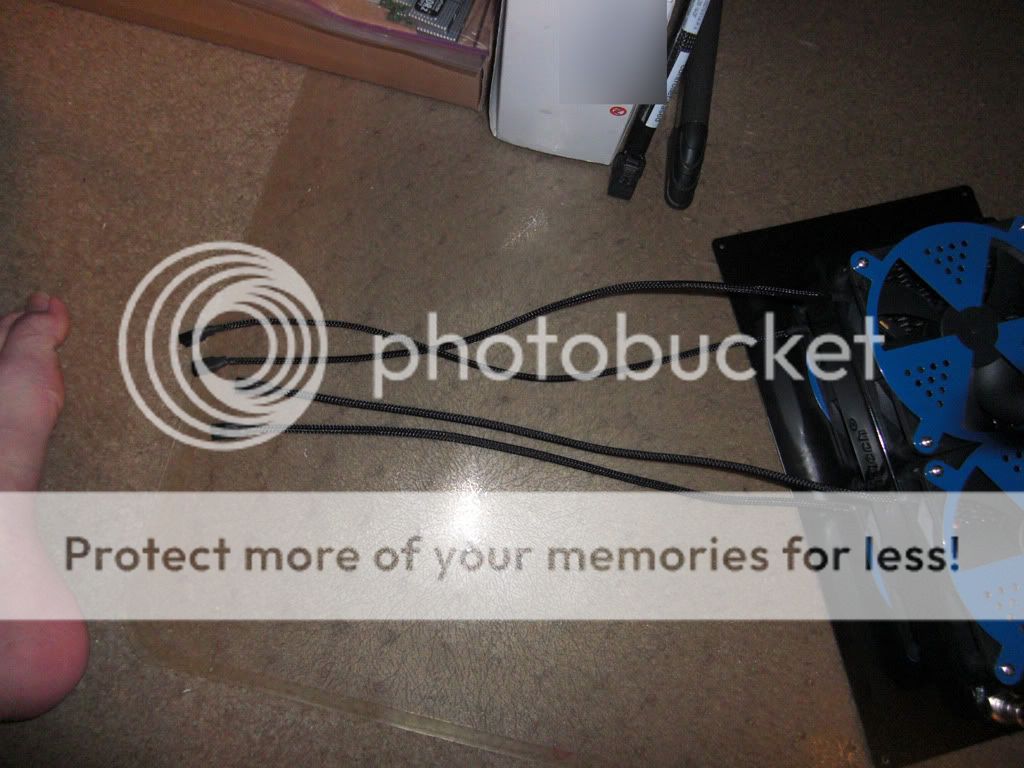
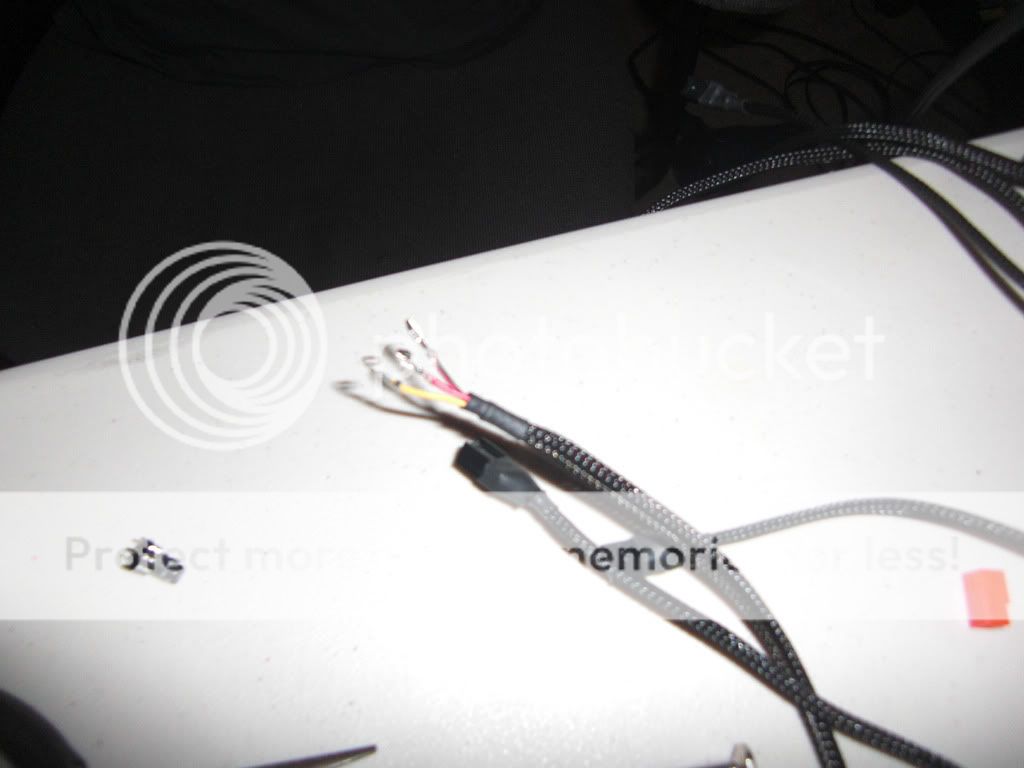
Just so you notice, I changed all the fans Internal connectors, they were an uglyish brown before, and are now black and or red. However sometimes the pins would break, so I had to actually remake the cables, ie cut, strip, crimp/sodder etc. I am going to have to do that ALOT, because I changed all connectors to black, etc

CIMG1891.jpg

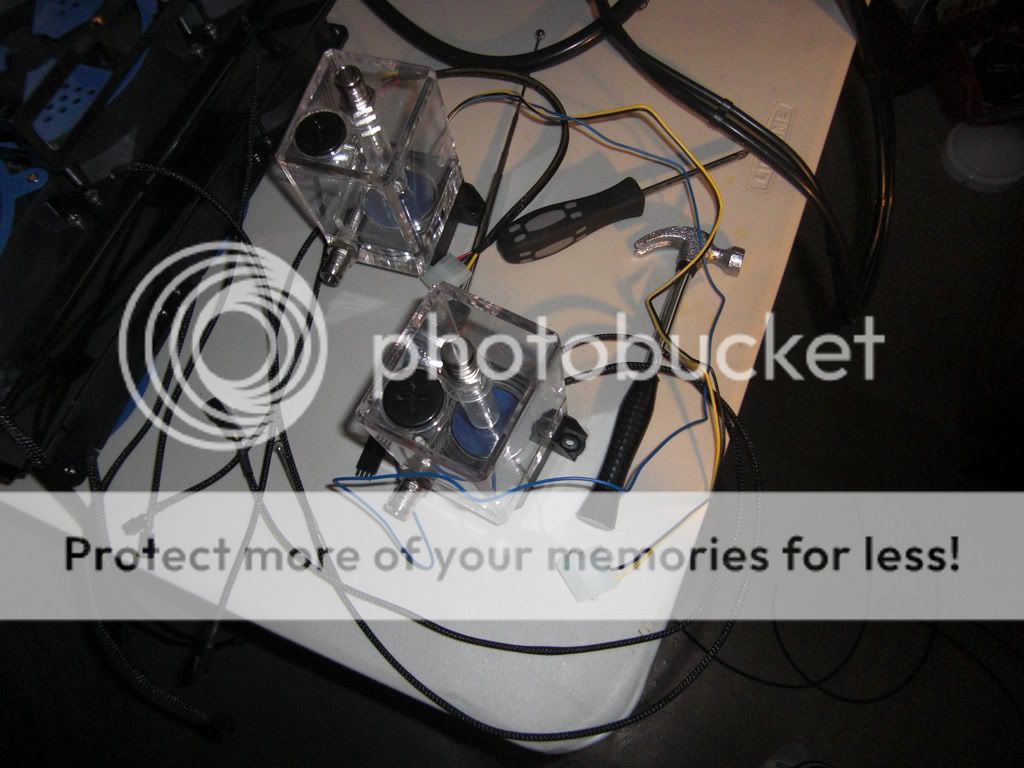
The pumps are sleeved, notice, the molex, and fan connectors are now black as well :), its the small details, comon MDPC!

CIMG1892.jpg

Upclose shot of the double insulation, this isn't the best one I did, nor the worst, but I think it looks good overall

CIMG1893.jpg

The 240 Radiator, sleeved

CIMG1894.jpg

How the sleeving magic is done

CIMG1922.jpg

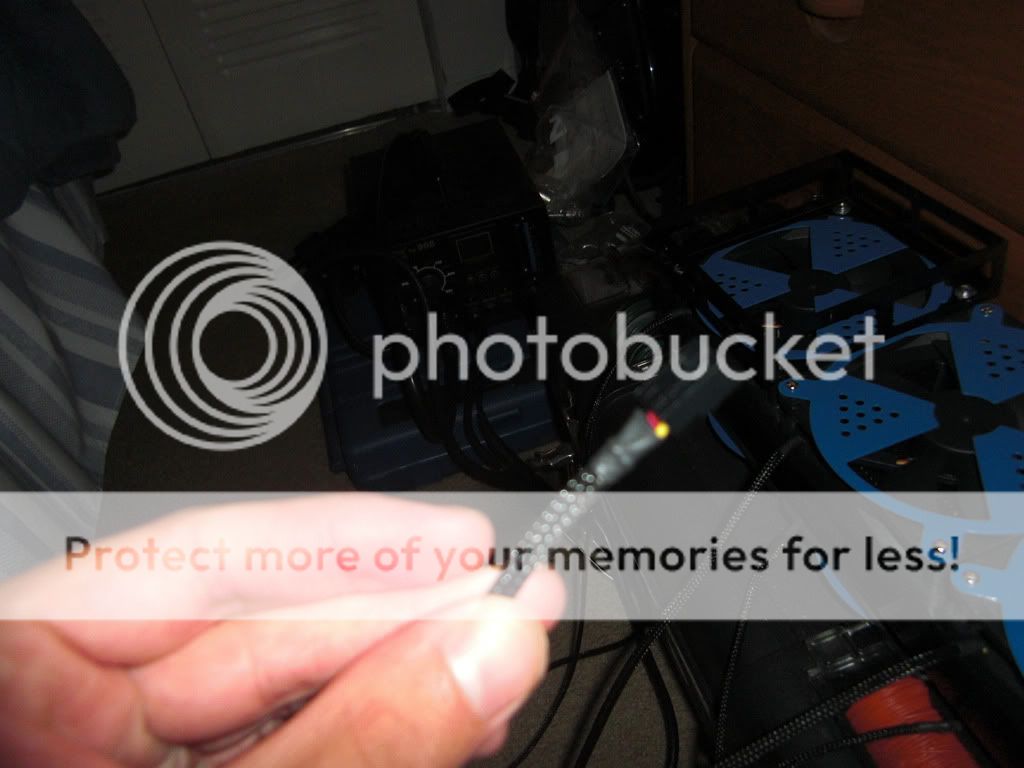
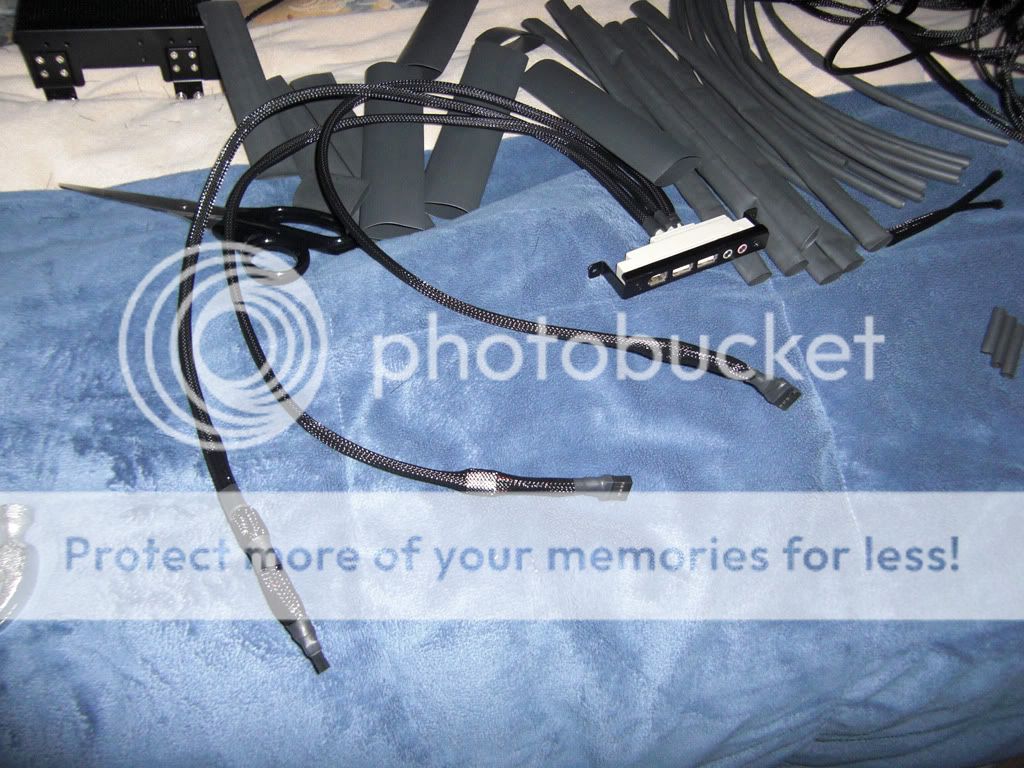
Internal connectors, Firewire, USB, and Sound, I put 3 heatshrinks on firewire, to differentiate, and also help hold it, the reason the cables are fat, is because Lian Li, includes headers and extra single strands, I want to keep the headers, since its standard, but in case one day, I get a mobo thats not Standardize, I kept the single pins as well

CIMG1923.jpg

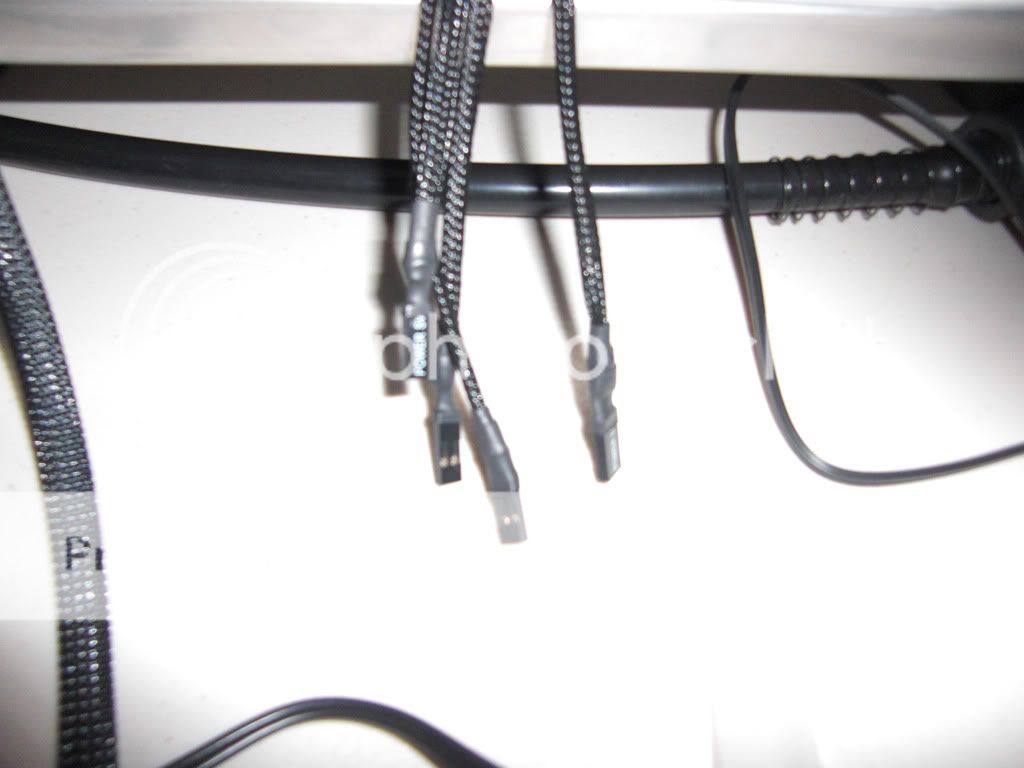
Heres the power, Reset, HDD light, etc sleeved

CIMG1924.jpg

The Insides of the Power, Reset, etc, etc

And thats it for now!
 
That looks amazing, what a lot of work!
one question though, it looks like those nuke fanguards will block off about half of the airflow, did you test them?
 
That looks amazing, what a lot of work!
one question though, it looks like those nuke fanguards will block off about half of the airflow, did you test them?

Thanks, and indeed, its been days and days of work, and looks like still 4+ days to finish, but otherwise chugging along well.

as far as the Nuclear Fan Guards, I had the same concern, but on a preliminary test, it didn't affect airflow to drastically, but I haven't fired all of them up at once yet, there's a small hit, but it does have holes in the guards that block the air, so its not to bad. It does increase preasure which is actually good in this case, though I can only know for sure once the rig is all fired up. All my fans are 80-90 CFM and up, and considering every single radiator is dual mounted I shouldn't have any determinable differences.

My understanding is the air will try to go around it, there will be a small vacuum, but because there are holes in the fan grill, the vacuum effect should be pretty weak. Basically I am *hoping, it will be fine haha, some of this stuff, is a little bit, of try it, and see if it sticks heh!

Alright tomorrow is a big day, more work ahead, going to try to sleeve like 50 cables, whole day off to do it, and then Sat, sleeve the entire psu, then, Sunday, if everything goes somewhat according to plan, start putting, motherboard in etc.

Wish me luck, and feel free to offer up suggestions, comments etc :), its a learning process, and alot of it, is just trying it out :D.

Once I am finished Ill do the fancy pictures, everyone loves seeing in these build logs, but for now its quick and dirty, to get the job done :).
 
well it looks like you have enough fans to overcome it anyways, if they are that powerful it sure would "suck" if the (many) fan guards have a resonant frequency and they all reinforce each other acoustically like one giant tuning fork, maybe ping one of them with your finger, and hope you really like the tone :)

btw is that dual CPU boot cable something you can buy? I am building a water cooling system where the pump and some fans and a controller are external, i would like to use some other PSU for them which comes on automatically when the system is turned on.
 
Last edited:
well it looks like you have enough fans to overcome it anyways, if they are that powerful it sure would "suck" if the (many) fan guards have a resonant frequency and they all reinforce each other acoustically like one giant tuning fork, maybe ping one of them with your finger, and hope you really like the tone :)

btw is that dual CPU boot cable something you can buy? I am building a water cooling system where the pump and some fans and a controller are external, i would like to use some other PSU for them which comes on automatically when the system is turned on.

Yes it is, and I am in a simular situation, but thats when I add Quad SLI, or CrossfireX, etc, then I am getting another 1050w unit. Bit overkill, but I don't want to stress either one.

I bought the Lian Li Dual Power Supply Adapter Cable, you can get it at most Tech Shops that have Lian Li in stock. Theres also a Ultra made one, and Ultra makes decent stuff, it is just a cable heh.

You could also make your own, and simply splice two links from PWR, and Ground. But for my build I thought the cable would look nicer.
 
Update: Sleeving!

CIMG1925.jpg

Let the Sleeving begin.... again..

CIMG1926.jpg

Better shot, time to pull

CIMG1927.jpg

Doesn't come off, seems stuck, don't want to try my luck, time to improvise

CIMG1928.jpg

Messing with the Lian Li Fan Controller, heres the first tips

CIMG1929.jpg

Man that was alot of work, starting to look good though

CIMG1930.jpg

Upclose look at craftmanship

CIMG1931.jpg

Better shot

CIMG1932.jpg

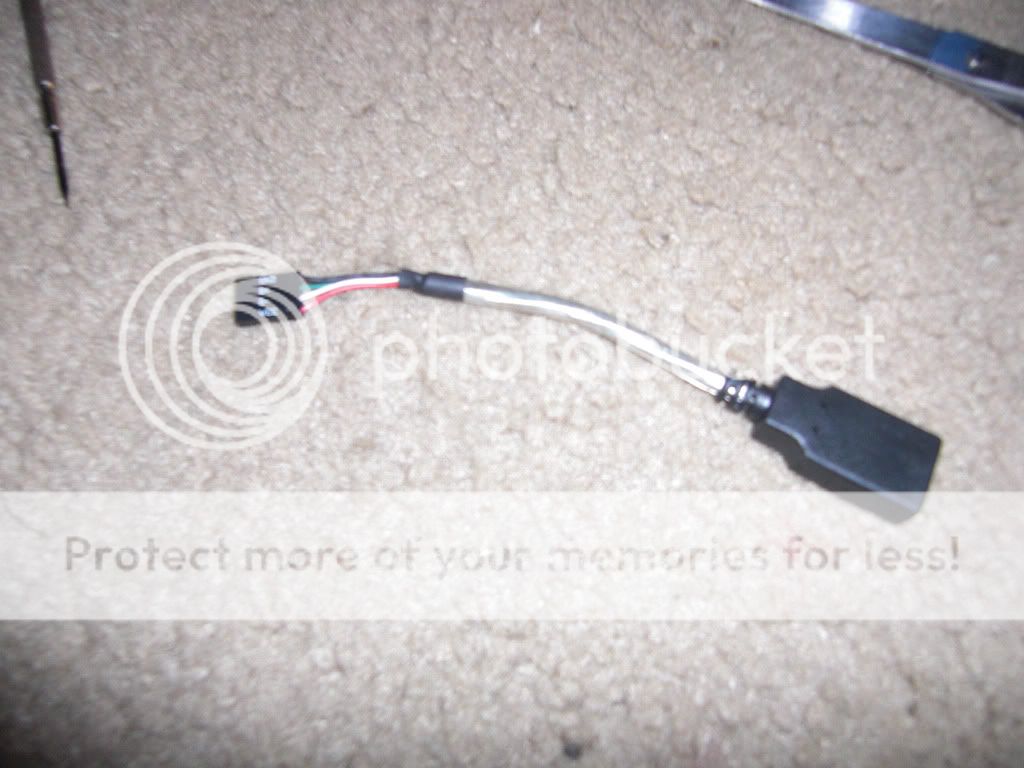
Took a detour and decided to mess with the USB plugs, they look better this way imo

CIMG1933.jpg

Trying to take a picture of the jacket

CIMG1934.jpg

Still trying....

CIMG1936.jpg

Good enough -_-

CIMG1937.jpg

Back to the Veris thingy

CIMG1938.jpg

The Veris's USB plug

CIMG1939.jpg
Closer shot, Looks good, time to add finishing touches, I used like 5 heatshrinks to reach that effect

CIMG1940.jpg

Back to the fan controller

CIMG1941.jpg

looks good

CIMG1942.jpg

Comparison before and after

CIMG1943.jpg

Little better shot, I even made new stickers for Fan 1, etc :)

CIMG1944.jpg

Resemblance is uncanny :)

CIMG1945.jpg

And heres another one

CIMG1946.jpg

Time to work on the Power cable for the Fan Controller

CIMG1947.jpg

Remove those Molex Pins

CIMG1948.jpg

Heh its naked, err whats the pin out order again ;)

CIMG1949.jpg

To get here was a nightmare!

CIMG1950.jpg

Looks awesome though, one side is double insulated the other is not, but not for long

CIMG1951.jpg


CIMG1952.jpg

Up close look at the connectors
 
Update:

CIMG1953.jpg

Sleeved Speaker, looks uniform and sleek, as it has dual insulation

CIMG1954.jpg

Up close shot of the speaker

CIMG1955.jpg

Speaker Tail

CIMG1956.jpg

Water Pump LEDs

CIMG1957.jpg

USB Before

CIMG1958.jpg

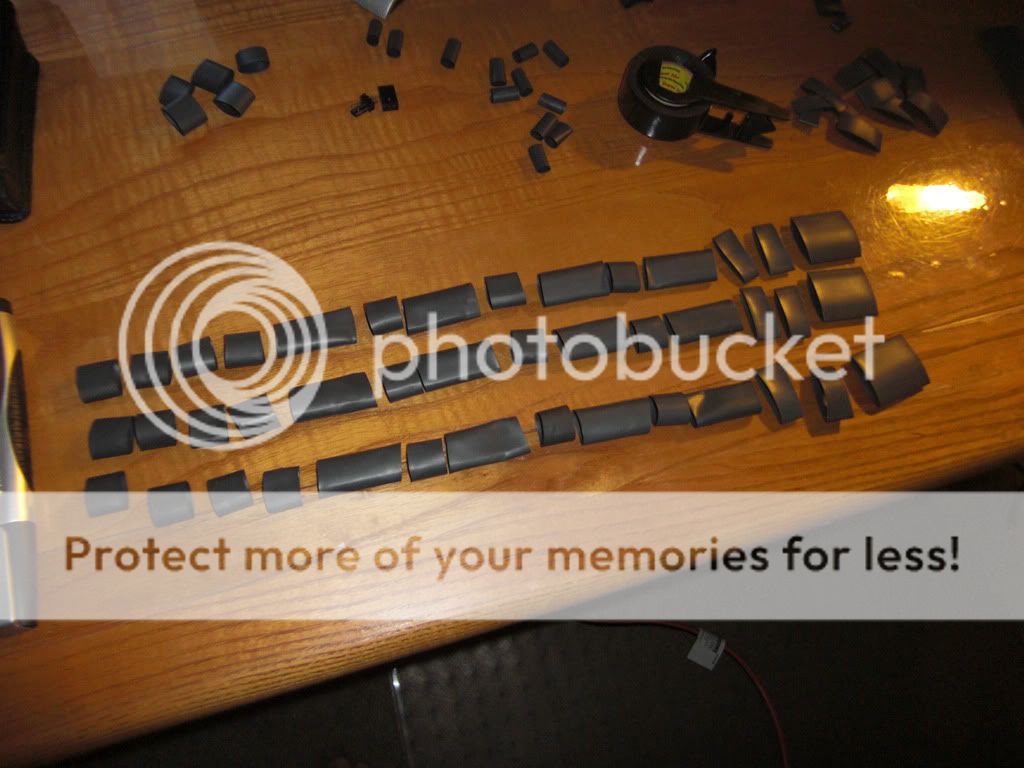
All Sleeving is preplanned and set aside like this, this is all the heatshrink that went in the REVISED Octopus Sata cable, I wanted for it to have a better finish, and I sleeved its Sideband, looks kewl in my opinion

CIMG1959.jpg

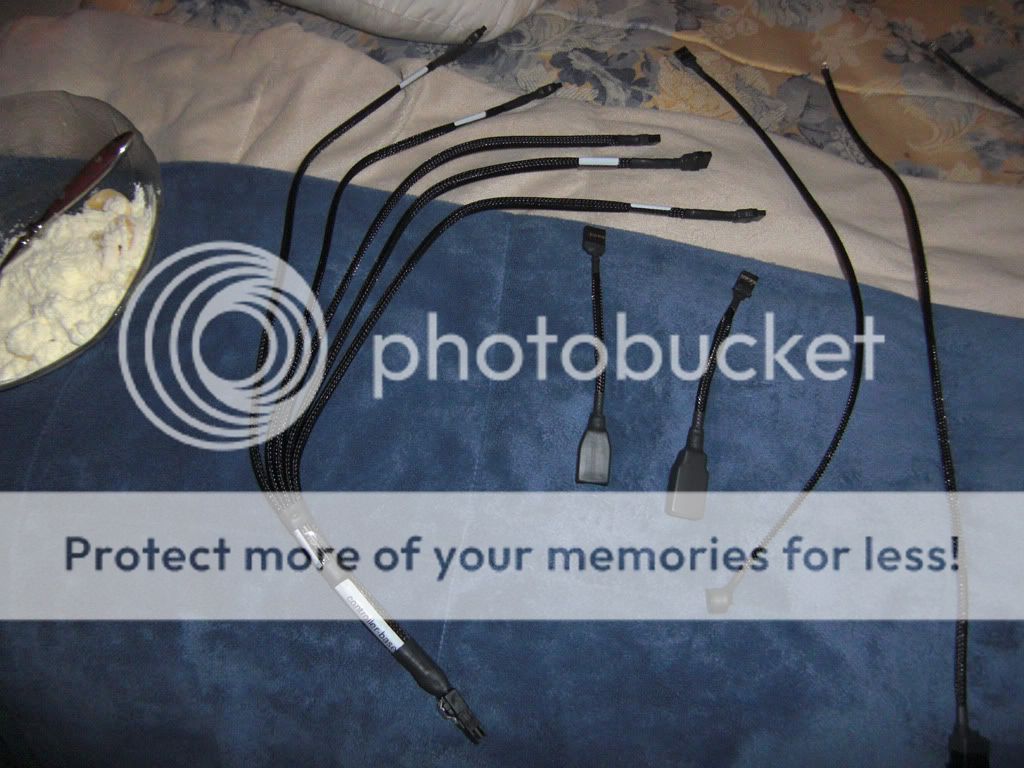
Heres the Sata Cable finished, in all its glory, as well as the Sleeved USB connectors, its for the Veris, and for the Floppy

CIMG1960.jpg

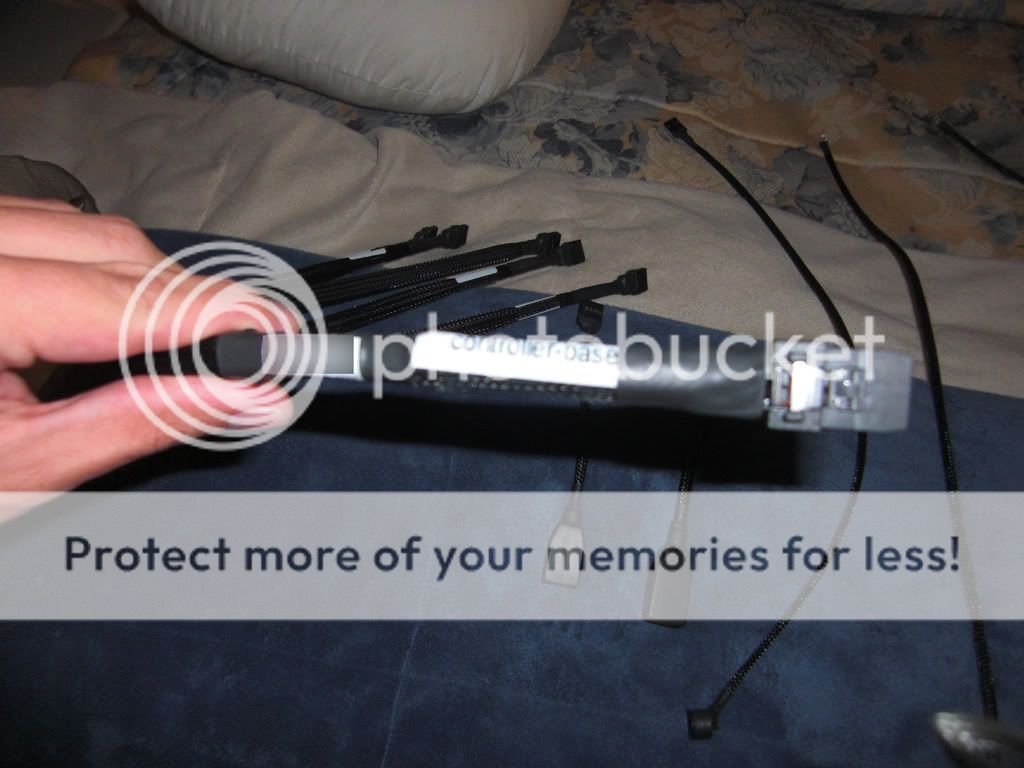
Up Close of the Sata Connector

CIMG1961.jpg

Upclose of the legs of the Sata Connector

And that's it for today.
 
Quick Update:

I will be adding pictures soon again.

1) 7/31 The Last cables will be shipped to me, I am still waiting for 2x Sata Octopus Cables
2) I have more Sleeving coming from Germany, damn Euro conversions. Theres some couple hundred feet of red sleeving coming, and heat shrink, so that should get here the end of this week. I am down to almost 100 ft of Sleeving left, and almost no heatshrink left. Basically spent something like $300 on sleeving alone :( for 1 PC! I sleeved EVERYTHING! lol.
3) Mini Heatshrink, to insulate all the custom cabling I am doing, I figured I should go the step further and heatshrink each contact point.
4) Logisys RM01, I decided to save a bracket, and just use a relay system for the CCFL's, so thats incoming as well.

I think I am done with parts, but thats it, Phase 1 of this build will be done Early August. Since I am still waiting for some things to ship, but I hope to finish soon, I am tired!

Still got the PSU, and Fan Extensions, and CCFL Extensions to Sleeve and I am done with Sleeving.
 
Mind if I send some things over for you to sleeve while you're at it? :p
 
Update: Basically now finishing the extensions, ie Fan, PSU, the actual PSU + cables, then the Sata Cables, the build it, and they will come.

CIMG1962.jpg

Preparing the Cold Cathode Tube, its too bluish, and hence converted!

CIMG1964.jpg

Unfortunately the heatshrink does not wrap around it , so I had to be creative and create two jackets for it

CIMG1965.jpg

Time to put it inside its condom

CIMG1963.jpg


CIMG1966.jpg


CIMG1967.jpg


CIMG1968.jpg

Side View

CIMG1969.jpg

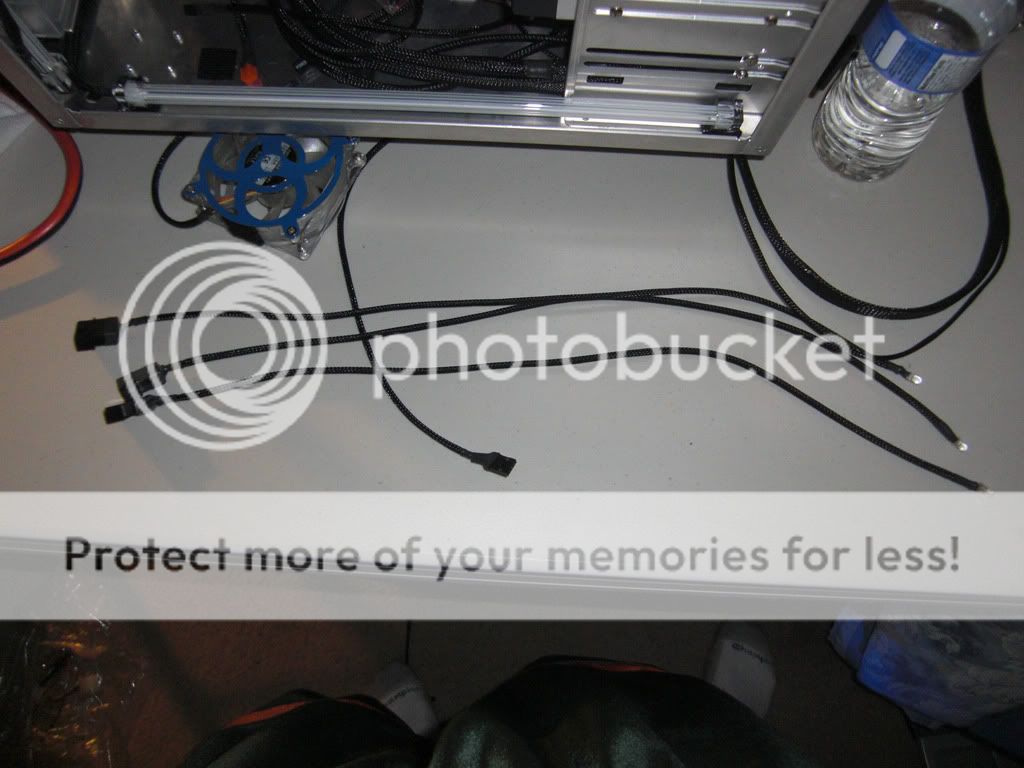
Working on the fan extensions

CIMG1970.jpg

Here's the Bubble Cold Cathode

CIMG1971.jpg

The Bubble Cold Cathode power

CIMG1972.jpg

Better Pic of the above

CIMG1973.jpg

I am not using any brackets, I want my entire 7 Case slots free for gear, so I dismantled and will reroute everything internally, I will be using a Logisys RM01 to remotely turn it on and off

CIMG1974.jpg

Time for surgery, because this CCFL uses a Y Cable, and its not to proportion, time to cut

CIMG1975.jpg

Cuts in place

CIMG1976.jpg

Time to put it back together

CIMG1977.jpg


CIMG1978.jpg

Complete Y Cable

CIMG1979.jpg

Just as a finishing touch, I also heatshrunk the contact points, all of them individually for extra protection

CIMG1980.jpg

Time to work on the Fan Controller Power Connectors

CIMG1981.jpg

Tada! If only it were this fast in real life

CIMG2002.jpg

Time to work on cold cathode extensions, unfortunately because they are both white, I am using a multimeter, to make sure the right ends come out, because when you sleeving they may go sideways etc.

CIMG2003.jpg

Tested each individually mutiple times, then tested all of them together, worked great, PASSED

CIMG2004.jpg

Each individually

CIMG2005.jpg

Heres a fan Extension, the way it comes, its actually very well made, but I can make it better, so I shed tears while tearing it apart

CIMG2006.jpg

Tearing it

CIMG2007.jpg

Go figure to save money, they only heatshrink the middle contact point, heh! Very Chinese, cheap but works, I will heatshrink all of them : /

And working on that tomorrow, Take Care!
 
Errr... Its amazing I am running out of Sleeving Again! I am like at more than already 400 ft at or near 500! X_X
 
LOL!!
500ft of sleeve!!

Ye, I don't know if this is a good or bad thing, :D.

I checked it up its closer to 400 ft, way past 500 if I add the heatshrink usage, but ye, it will definitely pass 500 most likely :eek:.

So much for the original 150 ft estimate :(.

The only saving grace, is I don't think or intend to sleeve anything for a really long time heh!
 
Back
Top