Cooler Master RC690 Gallery

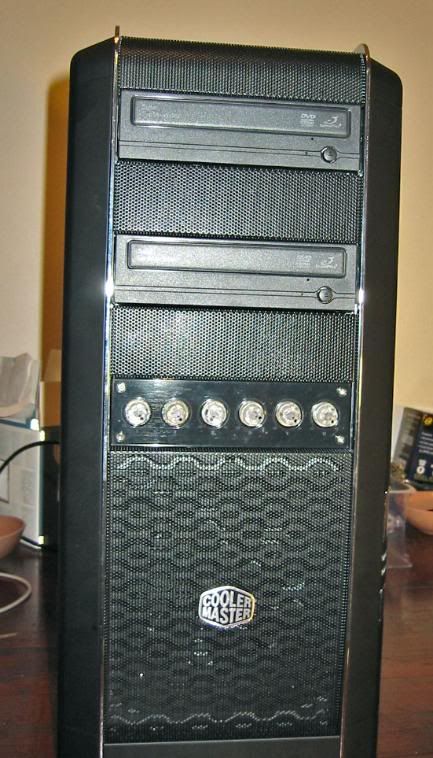
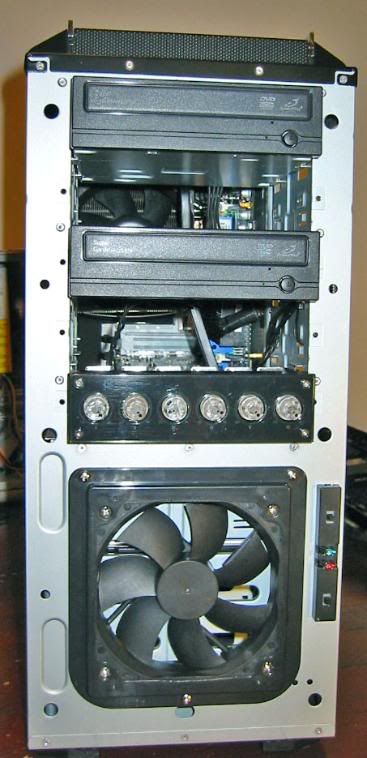
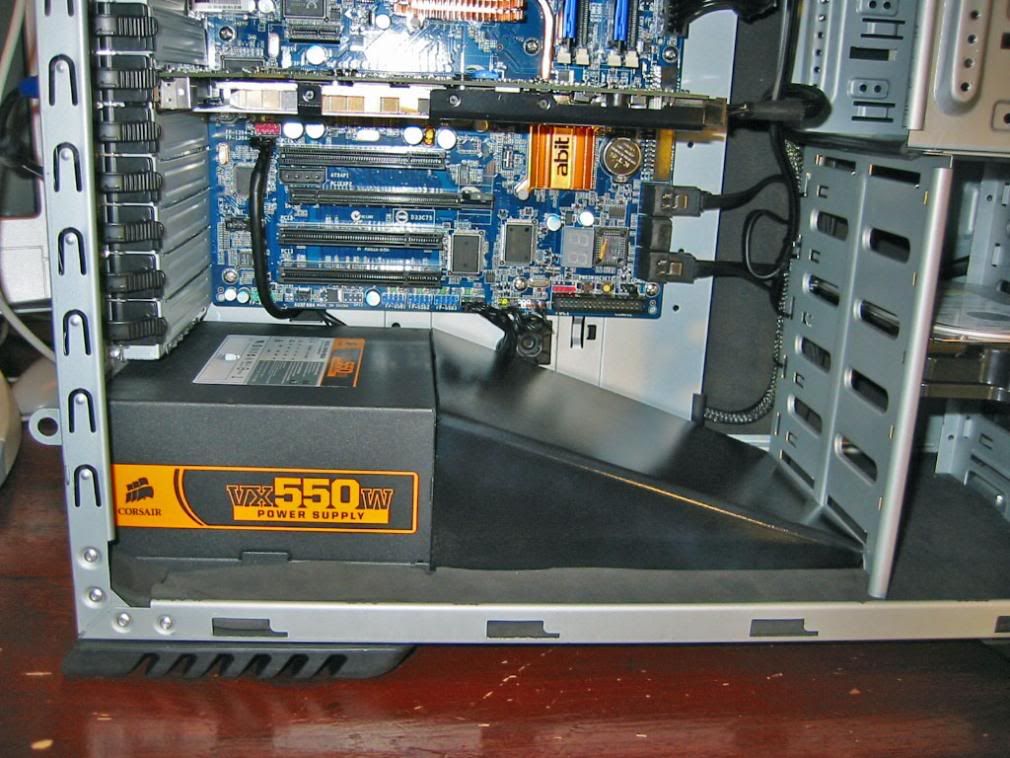
Finally took some pics last night... I was tired and the lighting sucked though, so forgive me...

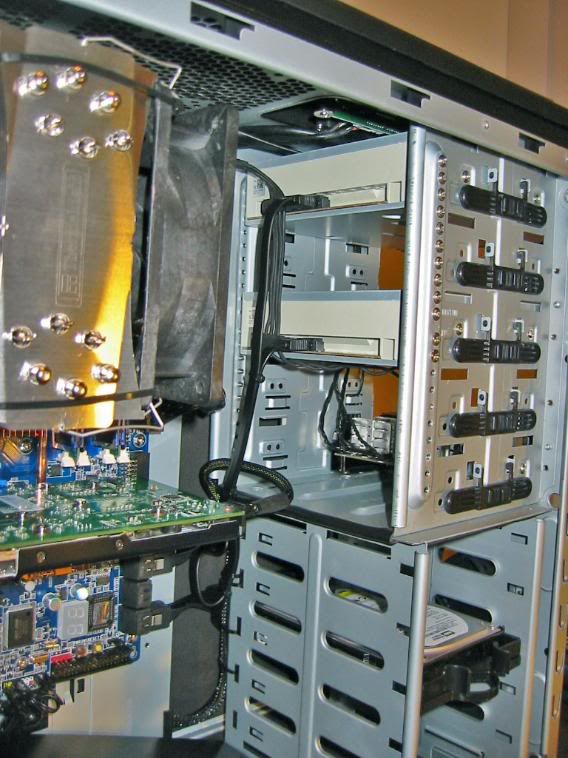
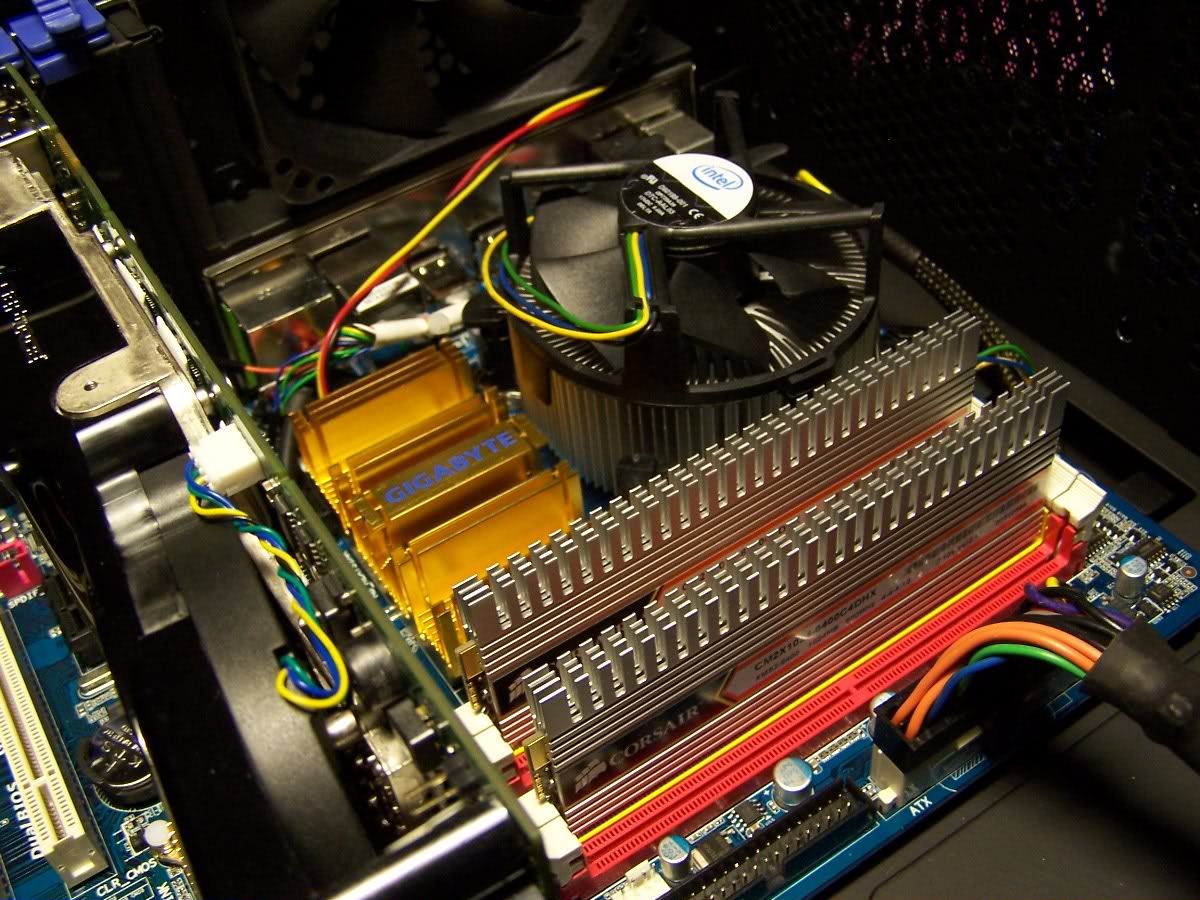
Closeup of initial assembly, I used the stock cooler so I could memtest the modules individually as I had RMAed the previous pair.
a103_2668.jpg


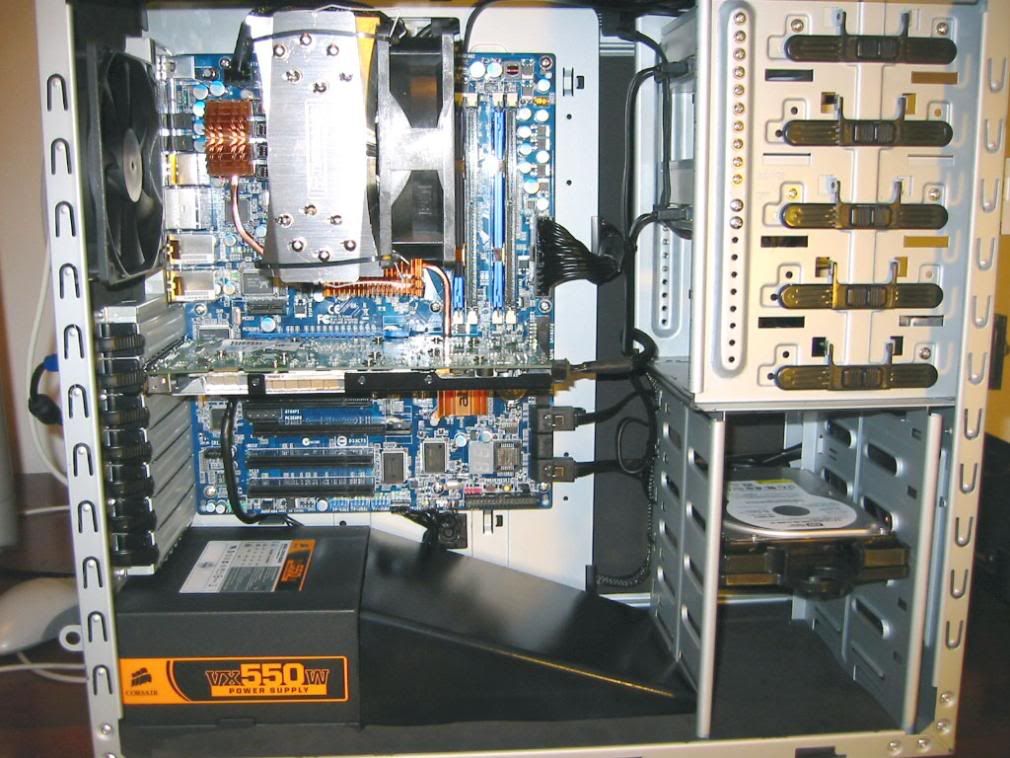
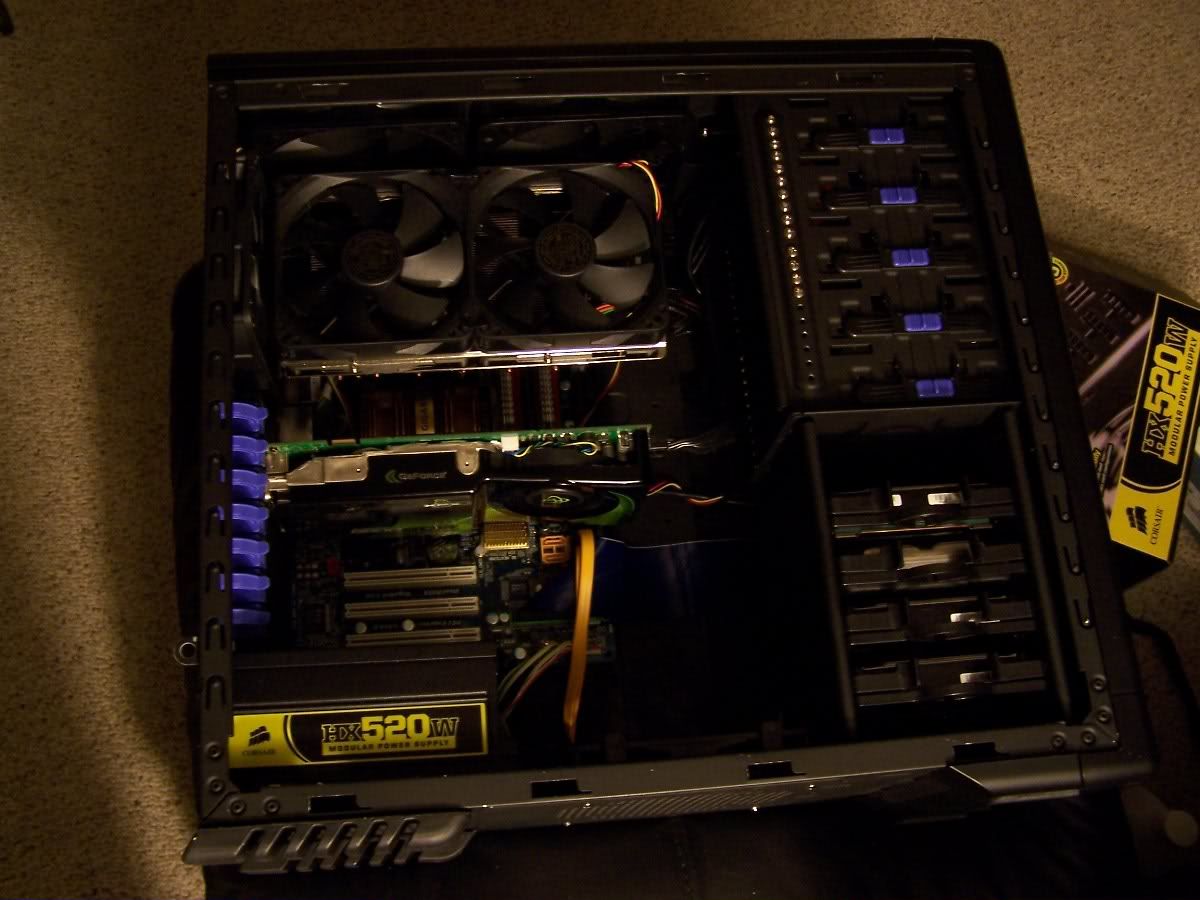
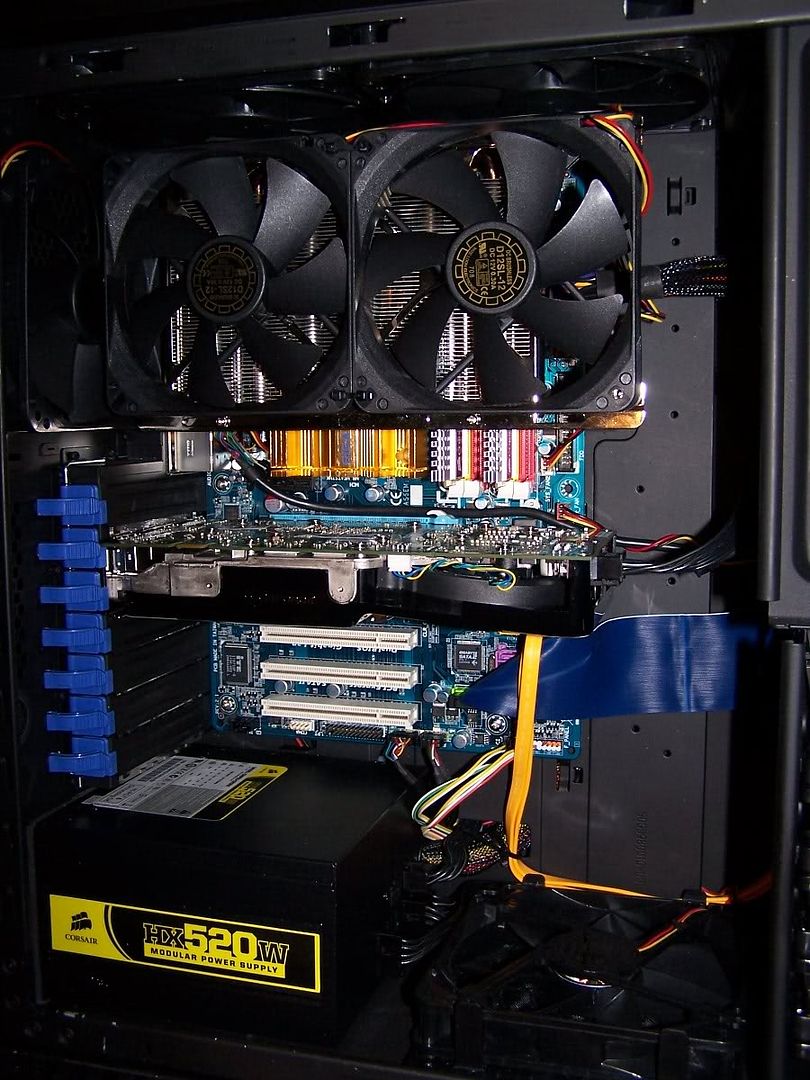
Final assembly with GeminII installed:
a103_2671.jpg


a103_2675.jpg


a103_2676.jpg


Temps: 6750 @ 3.2Ghz

Stock cooler
Idle: 37°C / 38°C
Load: 70°C / 70°C

Annoying monstrosity
Idle: 28°C / 30°C
Load: 50°C / 50°C
 
Clean looking setup daviasdf. Was looking to build something very similar soon.
 
Thanks man :)

By the way guys, I know some of you unplugged the power led so that you could better see the HD activity led since it's so dim... I did that for a bit but I still couldn't really see it, so I decided to just switch them instead. Works great. :D

I hope to eventually cut a window on the side panel as I really don't like CM's prefab one. But at the moment I do not have the tools to do so.
 
As far as the HDD LED goes, I stole one of the superbright green LED's from the fan I had to sacrifice. It was the exact same size as that little weak-ass red one and It keeps the whole case to my blue/green theme.
 
Will this case have trouble fitting new cards like the 9800GTX, 9800GX2, etc.? They look as big as the 8800GTX or Ultra. Anyone currently have one of those cards installed in their RC690?

edit: Found this earlier in the thread.

Yea, there was on guy who was cramped in a Antec 900 with SLI GTS's and has before and after pictures from switching to the 690, the 690 has alot of room to spare.
 
Yeah, but you know $60 bucks spent on a case as versatile as this isn't bad. You could spend lots more money and do a lot worse.
 
I live in the Netherlands and ordered it at a store where the side window was optional, chose the one with window and only had to pay 5 € extra (like, 7.50 $)
 
cable management is a pain in da butt with Corsair 750wTX. Freakishly long cables. it took me like 4 hours to get the the cables to fit in the side cover! Also due to my TR 120 xtreame CPU cooler, i am not able to put the side fan. My case areodynamics is screwed. Had no place to stack the un-used / left over cables so pushed it in the HDD bracket place due to which my front fan intake is taking no air in. The case is damn good, but not worth getting if you got huge unrealistic lenghty cables. ill put some pics tomorrow.
 
How do you guys paint the insides black? I have no idea what the process is. I don't need a glossy, professional look, but a flat black looks absolutely stunning to me. Do you just spray paint it? If so, what paint and where would i get it? I'd like to do it. It makes the case look $100 more expensive, lol.
 
Yup, just spray painted. Cleaned it, taped up the parts I didn't want to paint, then gave it two coats of primer and two of flat black. Left it to dry about a day between each coat.

I just got some regular paint from Home Depot, i just made sure it was intended for metal. I've heard of people using automotive paint... it's probably more durable but also more expensive.

I've got some pics of the case just after I painted it somewhere earlier in this thread.
Edit: Different thread actually.
 
Paint is easy.

The key to getting it to look good is patience and even strokes. If you can layer the paint on evenly & have a good primed base coat, then it'll look professional.

I chose Rustolium (sp?) Professional Primer & Semi-Gloss black. After everything has dried its almost the exact same color as the outside.

I'm not reusing any of the clips or anything in mine though...I'm opting for good old fashioned screws. I think they'll really set off the black of the case.
 
The key to getting it to look good is patience and even strokes.

Amen! If you layer on the pain to thinly you can always go over it again once it dries. But if you put too much on... good luck :/

Actually now that I thought about it... I don't think I actually did a second coat of primer... what I did was: Primer - touch ups - 1st coat - touch ups - 2nd coat.

I decided to use the clips since they really do work so well. Some people have said that their gfx card wiggles a little while being held by a clip, and maybe that's true for single slot cards, because mine is rock solid. Additionally, removing the expansion slot clips would leave some holes in the case... But the silver screws do look awesome against black.
 
Here we are boys and girls.

Original case:

oldbp1.jpg


oldfrontpd7.jpg


oldonru9.jpg


oldcablesxx1.jpg


NEW AND IMPROVED!

managedcablesqr0.jpg


managedcablescloseupsh8.jpg


managedcablesbackmh8.jpg


managedcablesonwt8.jpg


topfanssp4.jpg


sideanglevu1.jpg


sideid0.jpg


sidewindowig8.jpg


frontnewqx1.jpg
topkz9.jpg


I'm VERY pleased w/ the final result. This case is f'n awesome! Everything is so clean and neat. My one gripe....that back side panel was HARD to get on w/ all those cables under there. It took two people to get everything lined up so that it would slide into place. I think it kinda bulges too....but I'm okay with it.

I am also very glad that I got the silverstone 6" extension cables for the ATX connectors. I could have lived w/o it on the main power connector, but it was a strain on the cables. Definitely needed it for the 8-pin CPU power cable.
 
Got side window from Directron yesterday, but didn't have time to post. I'll probably put up some pics tonight or tomorrow. I was really blown away by the packaging job Directron did. On newegg reviewers were saying they just slapped a shipping label on the retail packaging. Mine came triple boxed w/ styrofoam peanuts. It is very nice! Gonna put a red Antec tricool in it to match the rest of my setup!!
 
just got my window from directron...only problem i never thought about was my huge accelero heat sink sticking that far out and bumping the fan...no problem i just ghetto modded it on the outside lol. :D

dsc01094rt6.jpg

By sherbanater, shot with DSC-P73 at 2008-03-15

dsc01104zs8.jpg

By sherbanater, shot with DSC-P73 at 2008-03-15

And finally picked up 2 more gigs of reaper to give me 4 gigs

dsc01102le7.jpg

By sherbanater, shot with DSC-P73 at 2008-03-15
 
got around to building my new system. booted the first time woohoo :)

still waiting on a new SCSI card, so for now just a single SATA HDD and onboard sound for now.

front01.jpg


frontnocover01.jpg


DVDdrivewires01.jpg


left-inside01.jpg


wirecover01.jpg


backsidefront01.jpg


backsiderear01.jpg
 
Wow, thats a very clean setup. Especially since its with a non modular PSU. Where did you hide all of the unused cables? I assume its under that shroud on the bottom? What is that shroud, and that foam stuff on the bottom?
 
Wow, thats a very clean setup. Especially since its with a non modular PSU. Where did you hide all of the unused cables? I assume its under that shroud on the bottom? What is that shroud, and that foam stuff on the bottom?

ya i figured it would hide the wires and diect air to the video card at the same time.
the foam is some stuff i get from a craft store to deaden some high pitched sounds, really cheap and seems to work okay.
 
I'll throw my 690 into the mix as well... Did the custom window job a few weeks back. My first time doing it and I think it turned out nice! Opinions???

First, the wiring. Not bad for 4 HD's, 8 fans, DVD drive and a fan controller! :D

case2.JPG


case3.jpg


And here's the custom window....

window.jpg


window1.jpg
 
I'm definitely going to use this case for my build (waiting to be ordered). However, I'm having a little trouble finding out the number of fans and maximum fan sizes for the case. Let's say I wanted to max out the cooling potential, filling up every fan slot and using 140mm fans where possible. Can anyone tell me the locations of where I would be able to use 140s and where I would be able to use 120s? It would be a huge help if somebody could help me out on this one.
 
Two 140mm fans in the top location, two 140mm fans on the side panel and if you remove the bracket on the bottom next to the PSU you can place a 140mm fan there as well.
 
Where do you guys/gals get those black zip tie sticky pad thingies from?
 
Where do you guys/gals get those black zip tie sticky pad thingies from?

home depot has bags of them for cheap, i vinyl dye them so they are completely black, that way you don't see the white sticker.
 
I'll throw my 690 into the mix as well... Did the custom window job a few weeks back. My first time doing it and I think it turned out nice! Opinions???

First, the wiring. Not bad for 4 HD's, 8 fans, DVD drive and a fan controller! :D

And here's the custom window....

I have the same desk but i have a locking rackmount cabinet where the keyboard goes, with my server in it, and i also have a gigantic 19 inch crt on the desk for my server. The desk is like a server desk now.
 
home depot has bags of them for cheap, i vinyl dye them so they are completely black, that way you don't see the white sticker.

Thanks snake, but what do I call them? Like, when I go to ask or locate, what is it that I'm looking for?

Thanks in advance. :)
 
img0121pn6.jpg


and now, onto dismantling it to a new case. still on a non-modular psu though :(
 
i bought this beauty three weeks ago for my first build (from all new parts) and i must say that i was blown away. it was definitely worth the money. it's a very sexy case in my opinion. i'm all about simple looking cases with high performance.
i didn't have my camera on me during the build so i don't have any pix but i'm installing some new fans as soon as they arrive so i put up some pix then.
 
What video card is that its wide as the whole motherboard and massive processor heatsink! Looking good. Unless Im blind the video card seems that long.
 
Thanks snake, but what do I call them? Like, when I go to ask or locate, what is it that I'm looking for?

Thanks in advance. :)

They are simply called cable ties and mounting bases. If your home depot is anything like mine, they will be in the electrical aisles, probably in the one with all the cable tv and telephone stuff.
 
Back
Top