mrmylanman
[H]ard|Gawd
- Joined
- Jul 13, 2008
- Messages
- 1,484
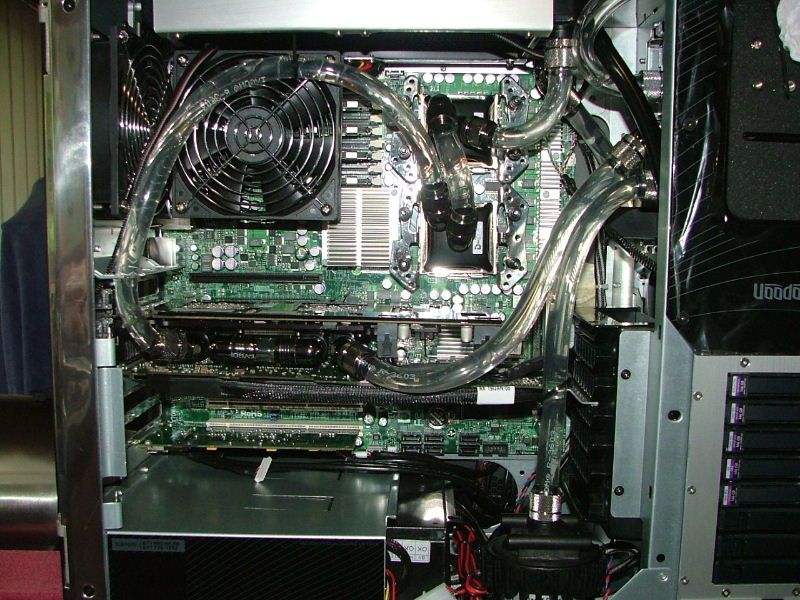
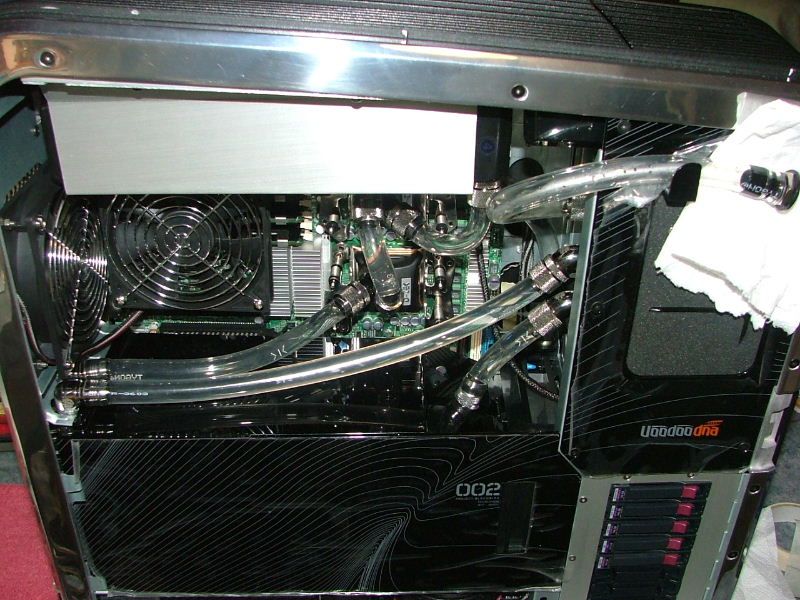
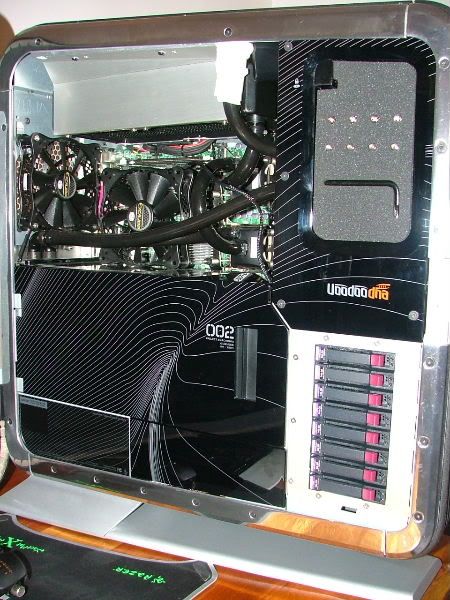
That looks very slick. Excellent job. I can't wait to see it at 100%
Follow along with the video below to see how to install our site as a web app on your home screen.
Note: This feature may not be available in some browsers.
")
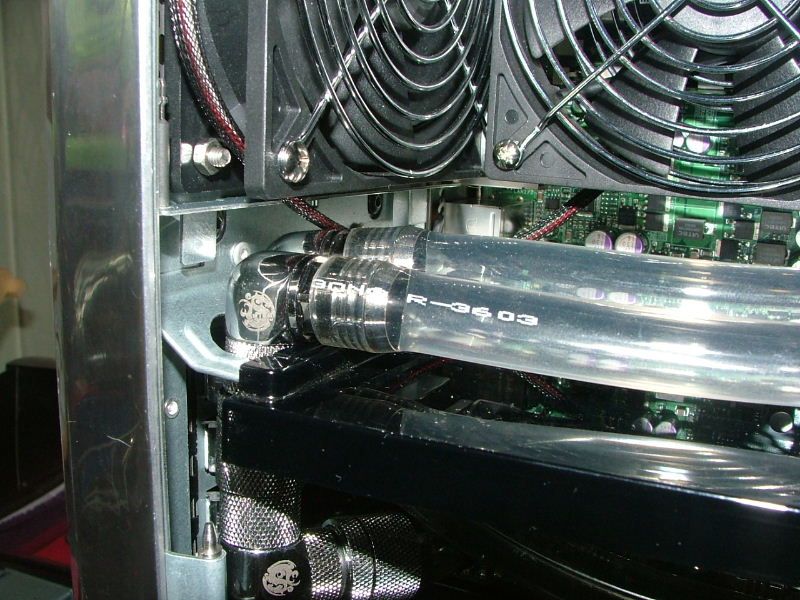
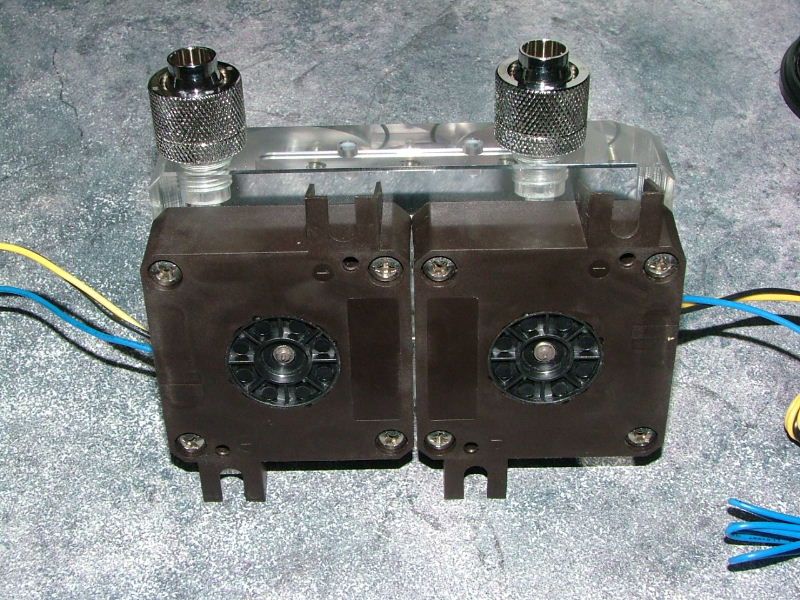
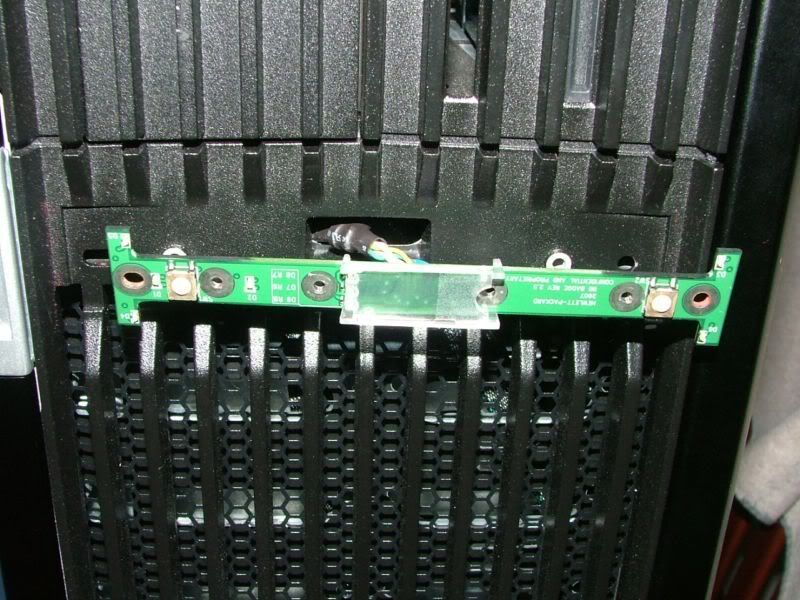
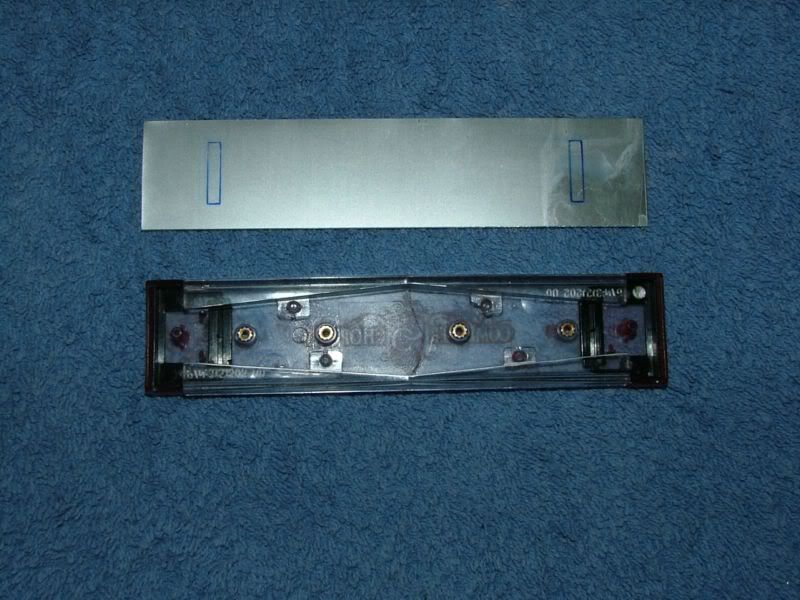
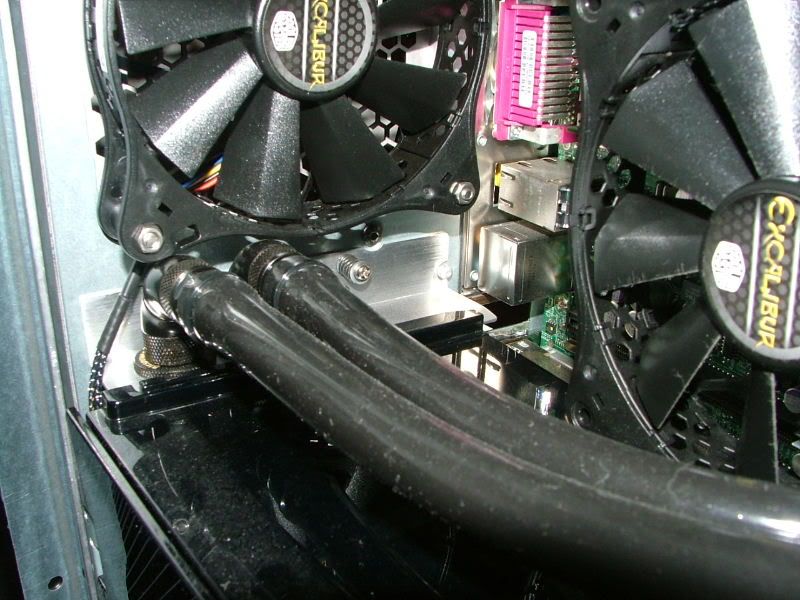
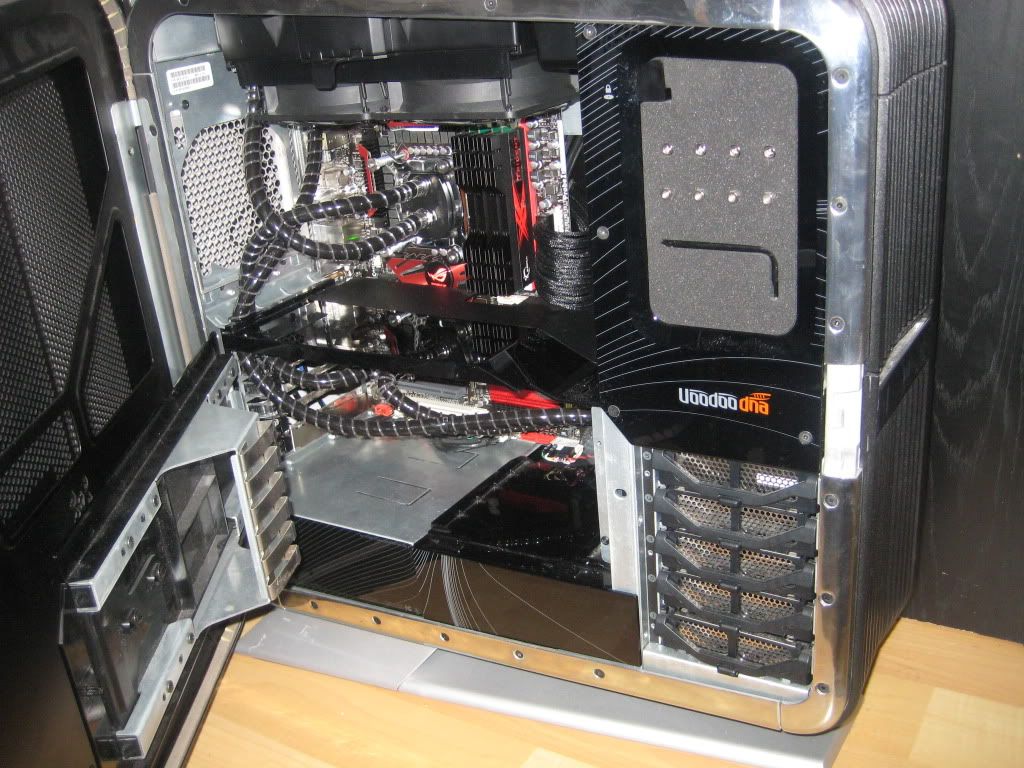
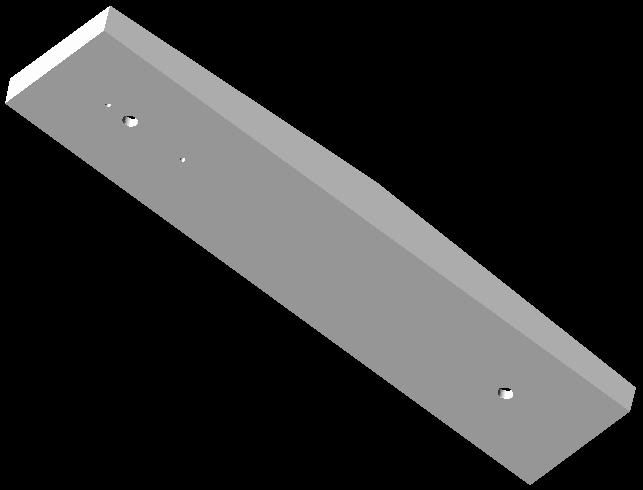
I will get two decent fans to use, these one's shown here are for measuring purposes only....


 (unless mobo has a dedicated fan controller ap built in, then i guess no need one) Yeay.