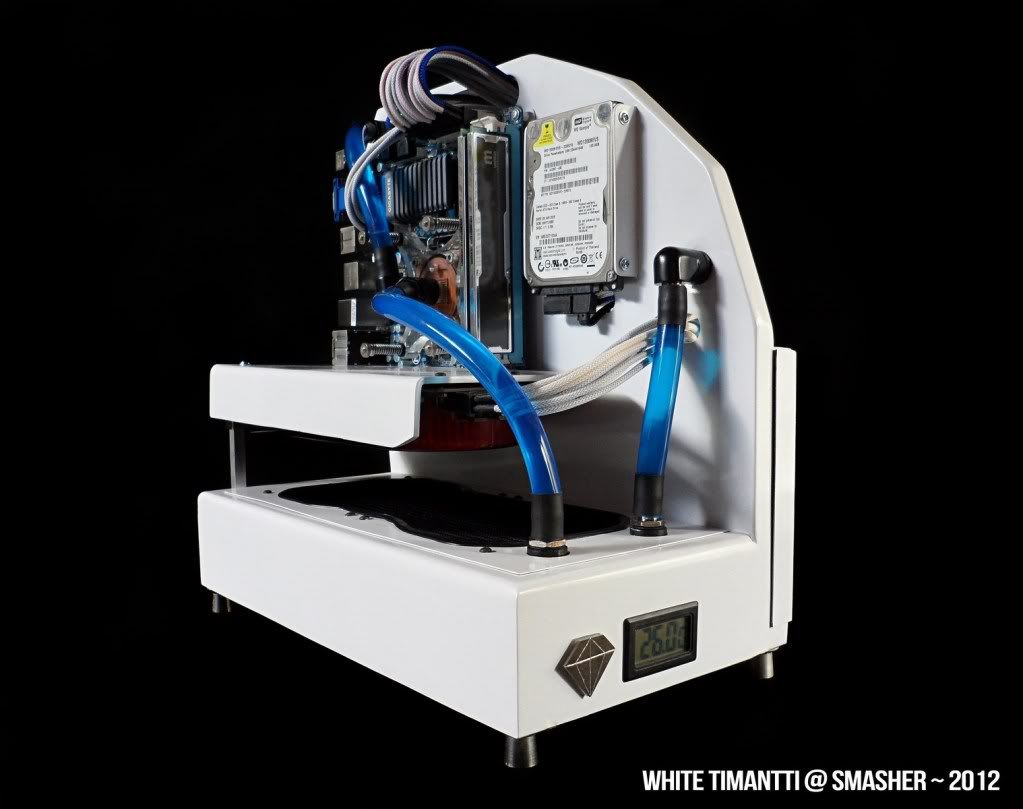
[Worklog] White Timantti (mITX MoD) ~ Smasher

Smasher

n00b
Joined
Jun 3, 2011
Messages
34
White Timantti
Integrate performance, cooling and beauty in the smallest space possible, not impossible.
We begin this project with this ideology.
Go through this worklog developed displays neatness, sobriety, extreme beauty and a model ever seen. (So far)
Named White Timantti (White Diamond in Finnish) highlighting the earliest described;)

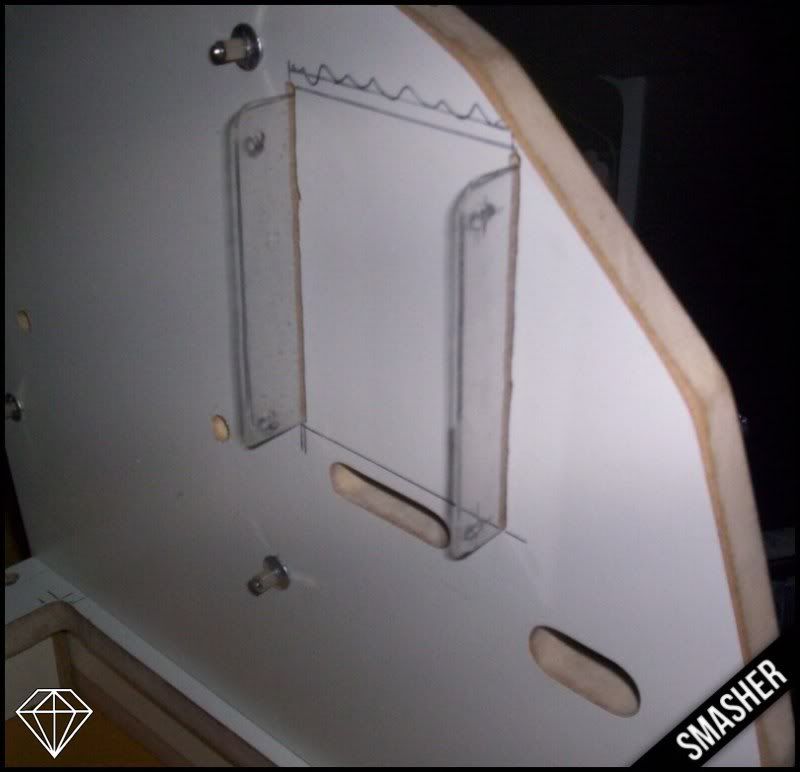
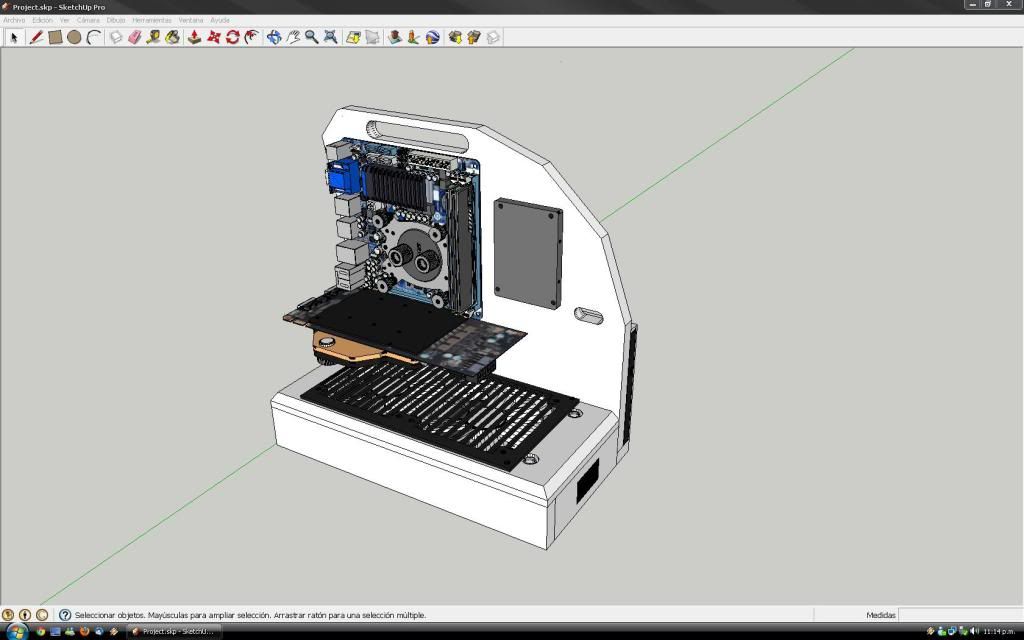
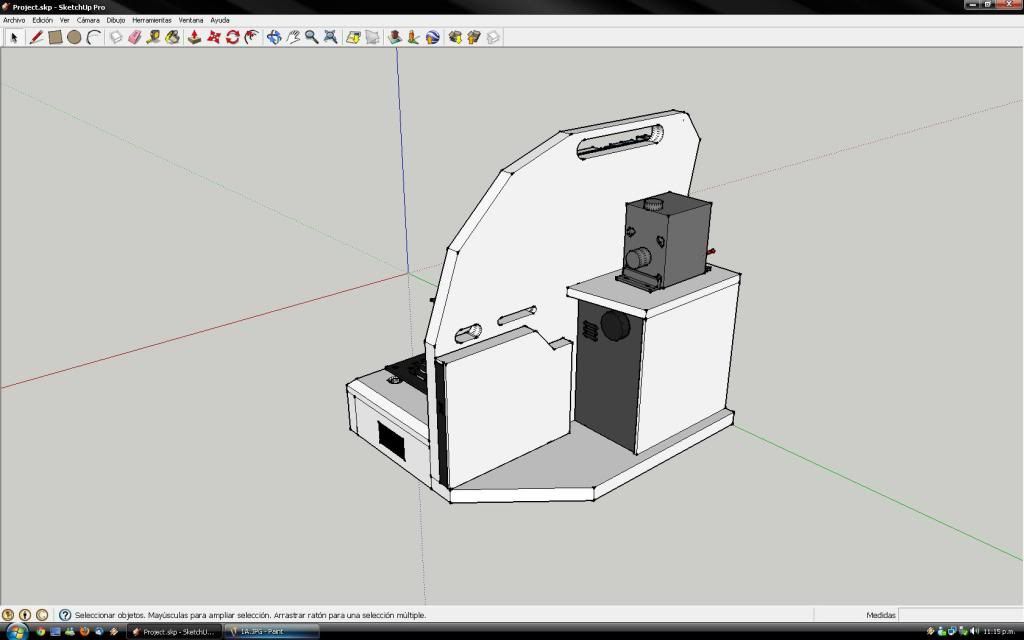
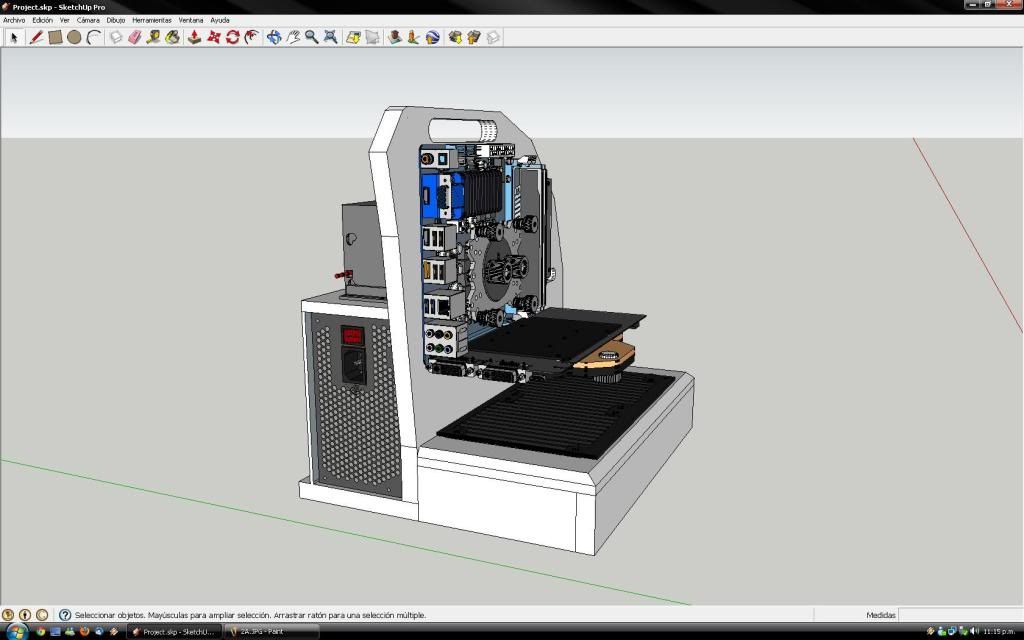
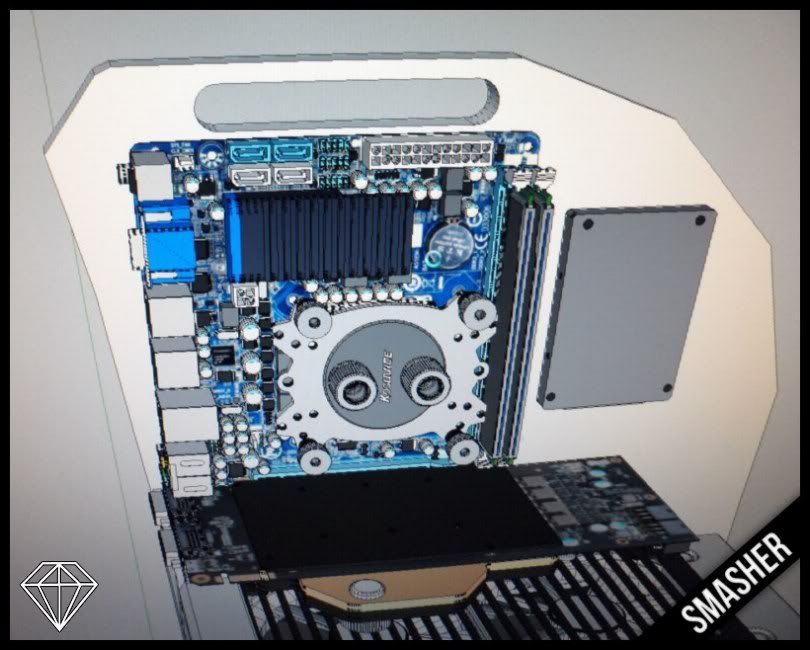
The project would be as follows (Not finished design, as it progresses will be modified and go up photos of the scheme)

1A.jpg

2A.jpg

3A.jpg


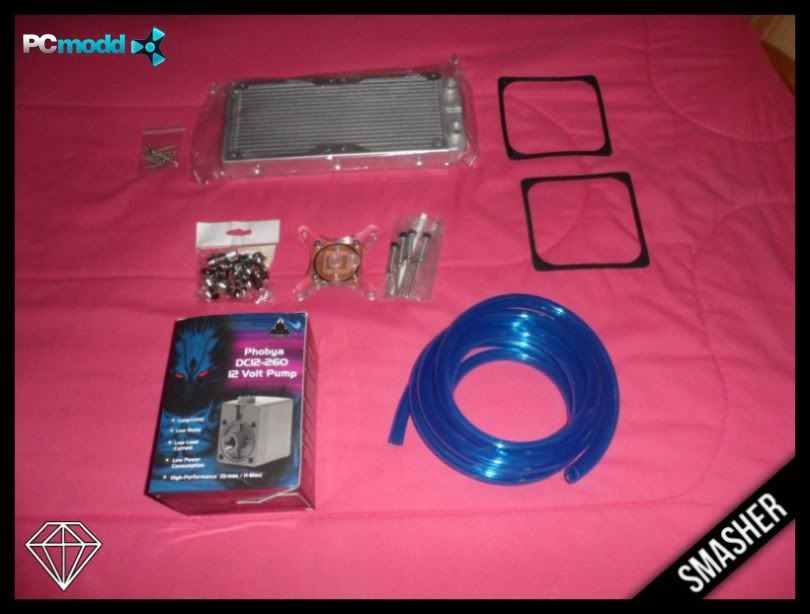
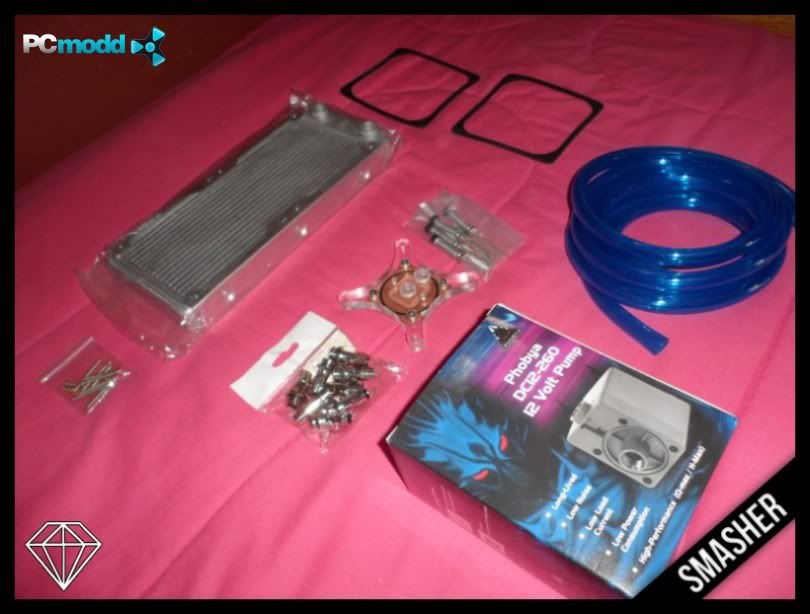
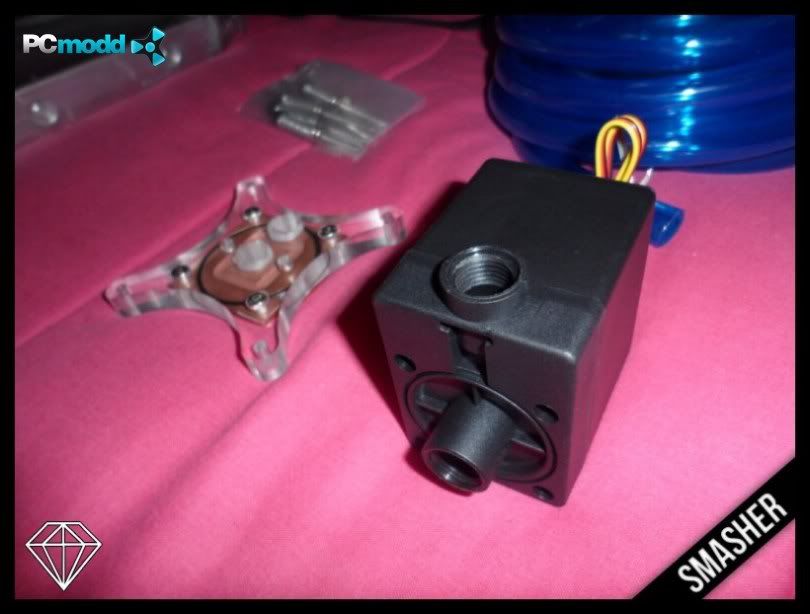
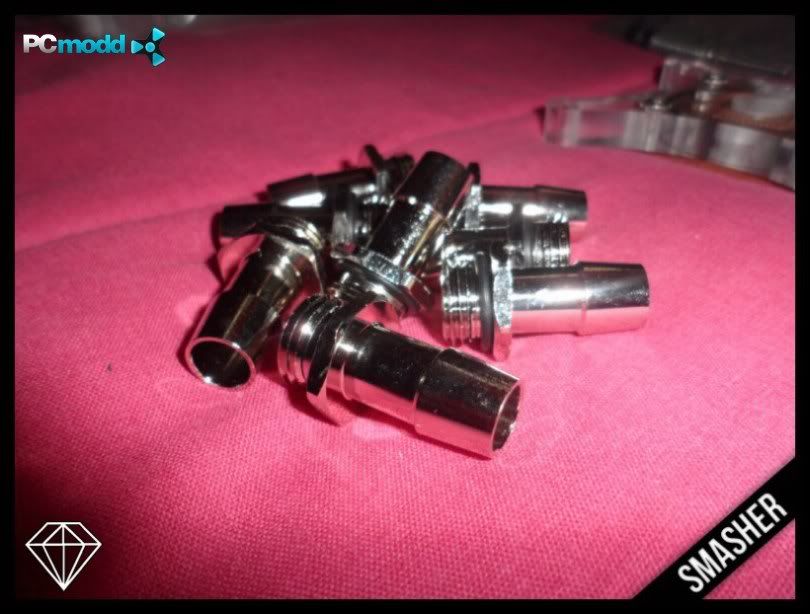
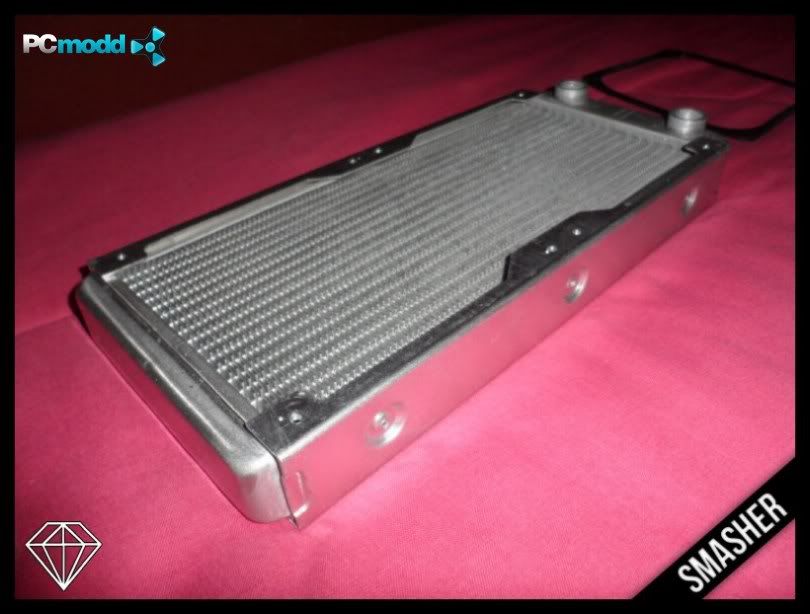
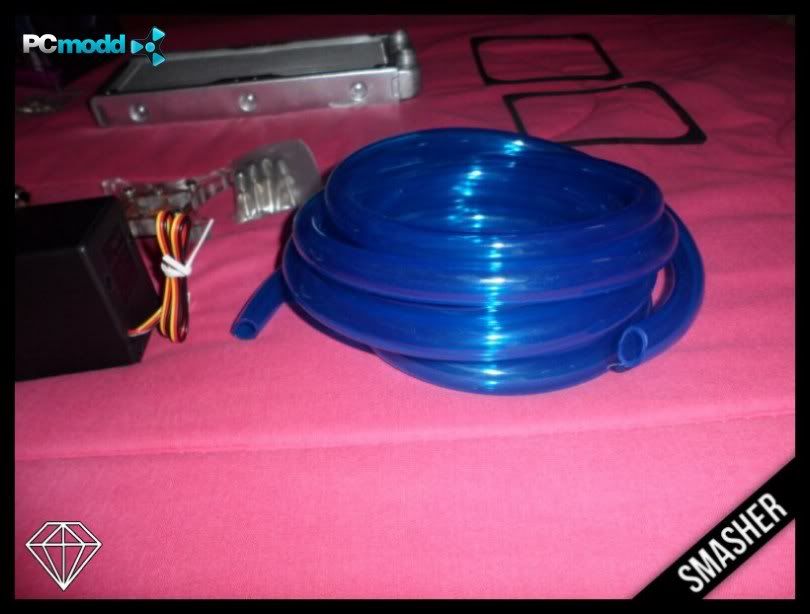
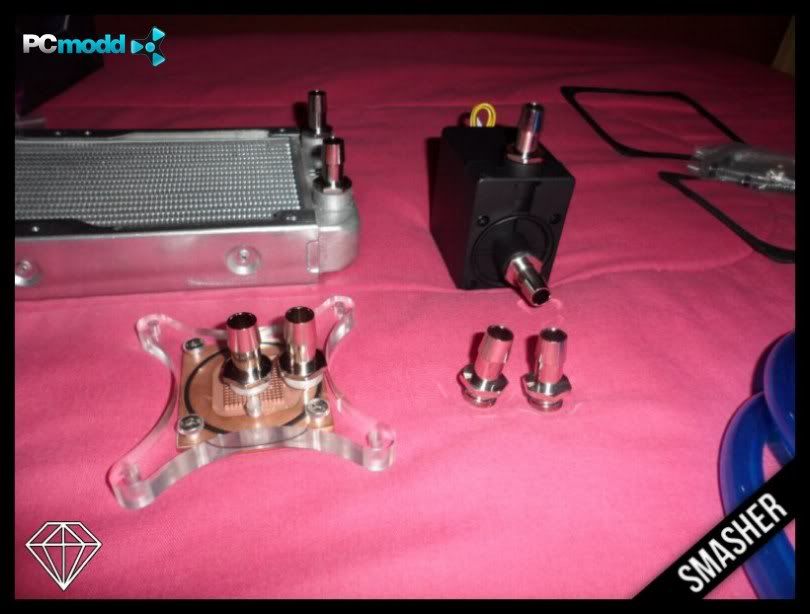
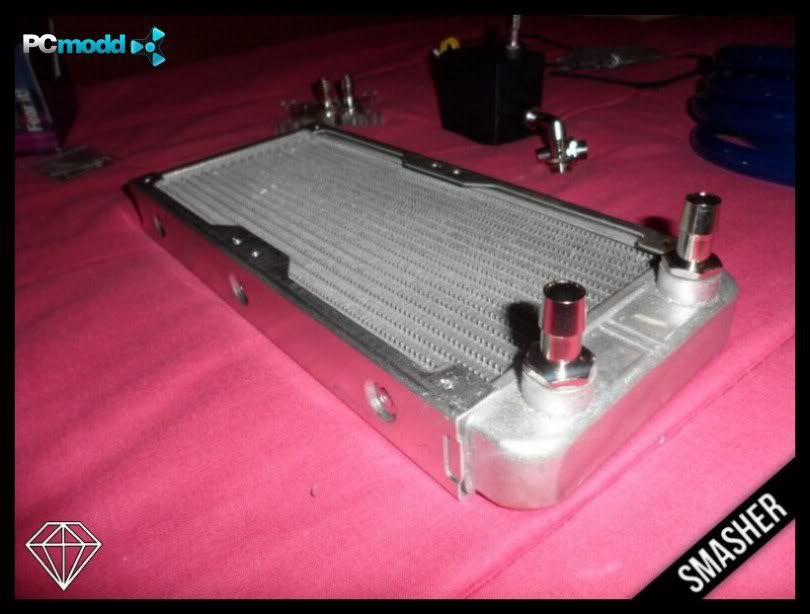
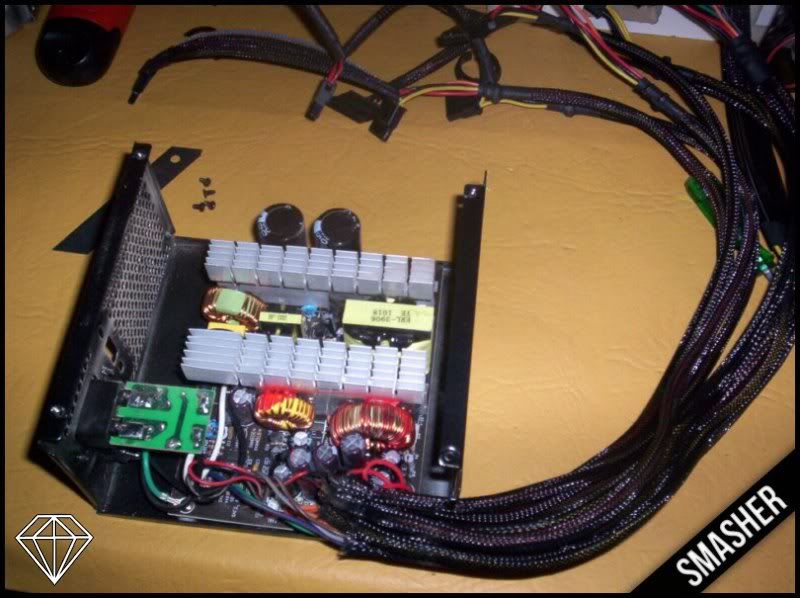
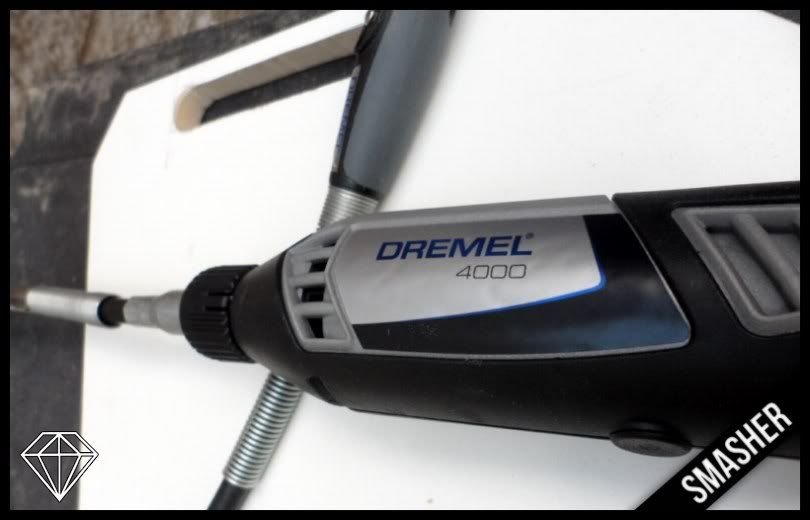
Without further ado, I proceed to present our sponsors. Thank you very much!


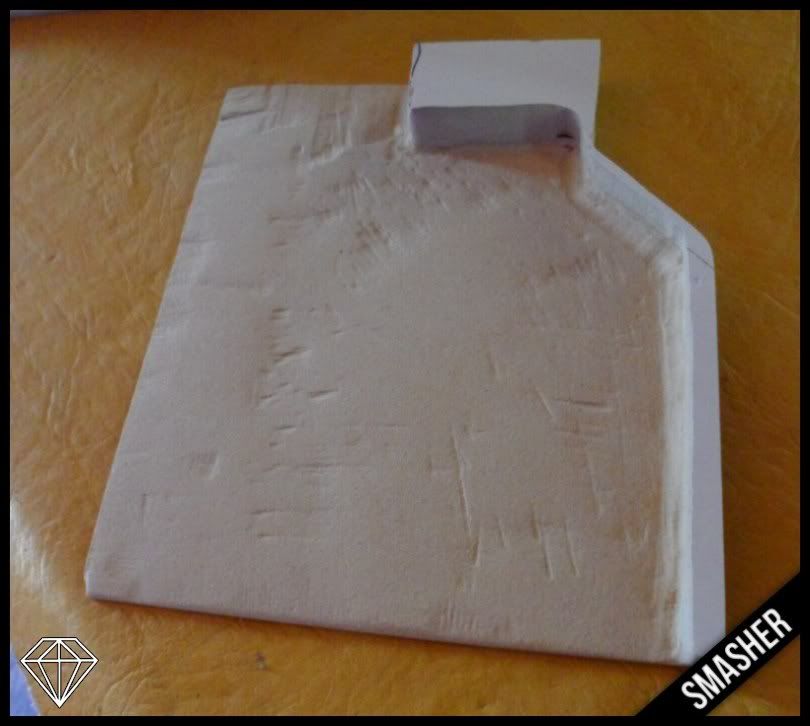
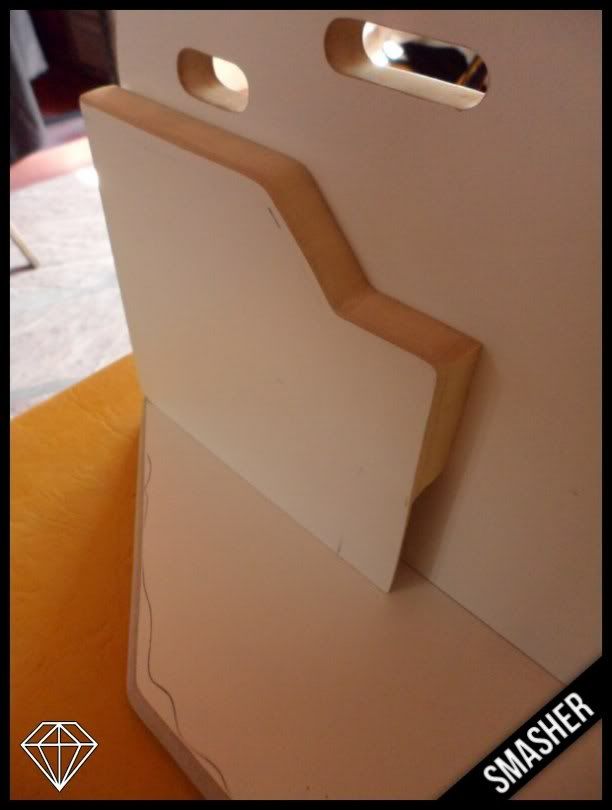
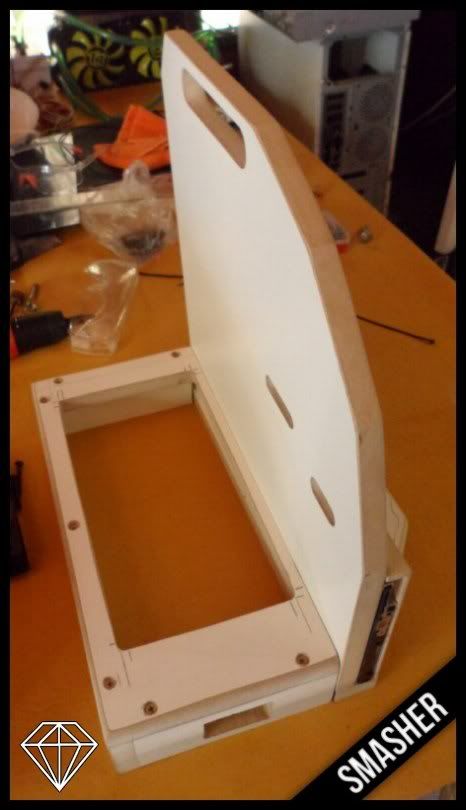
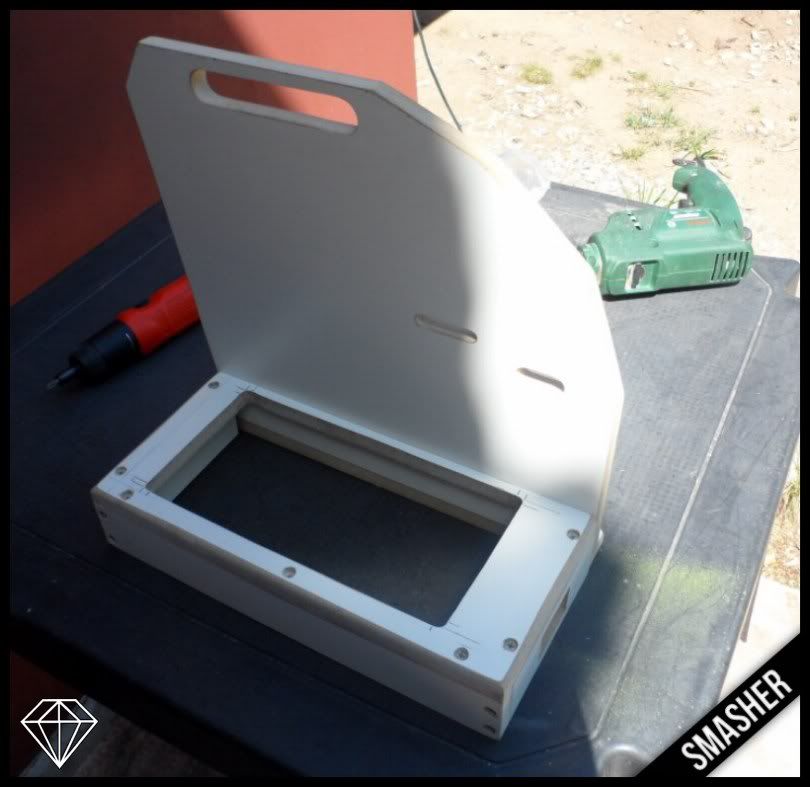
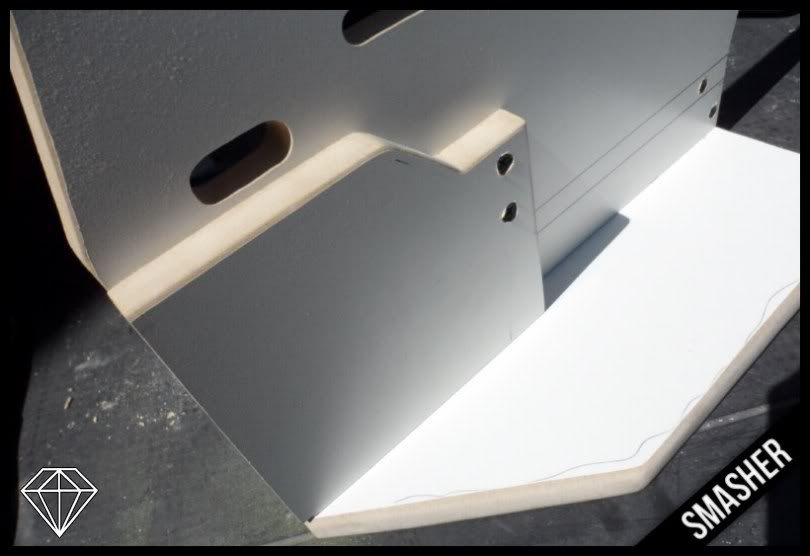
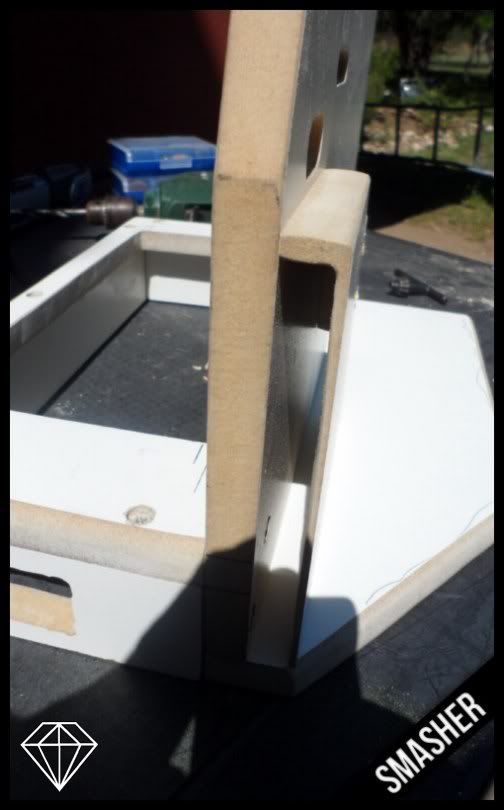
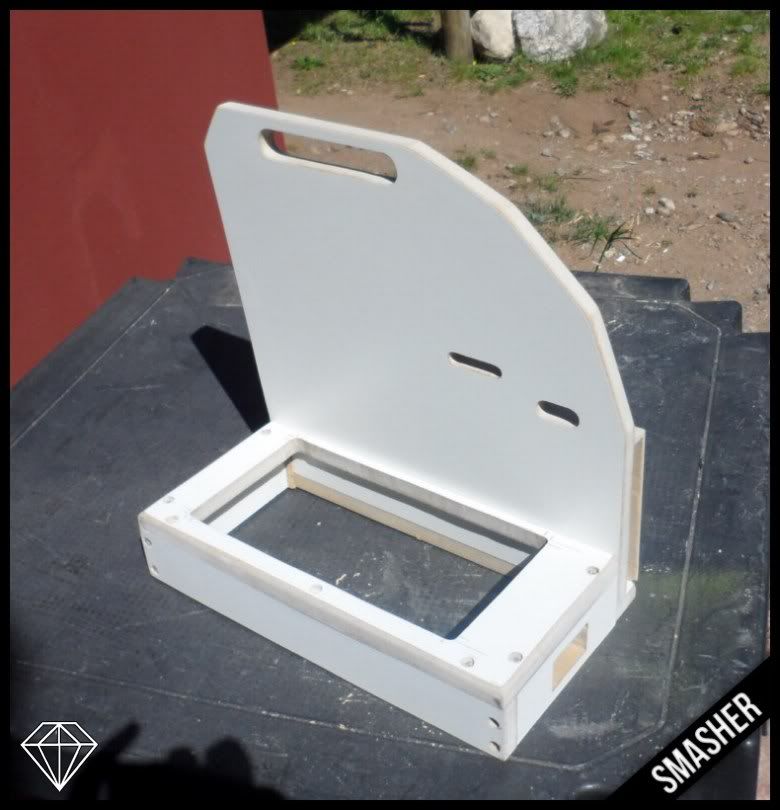
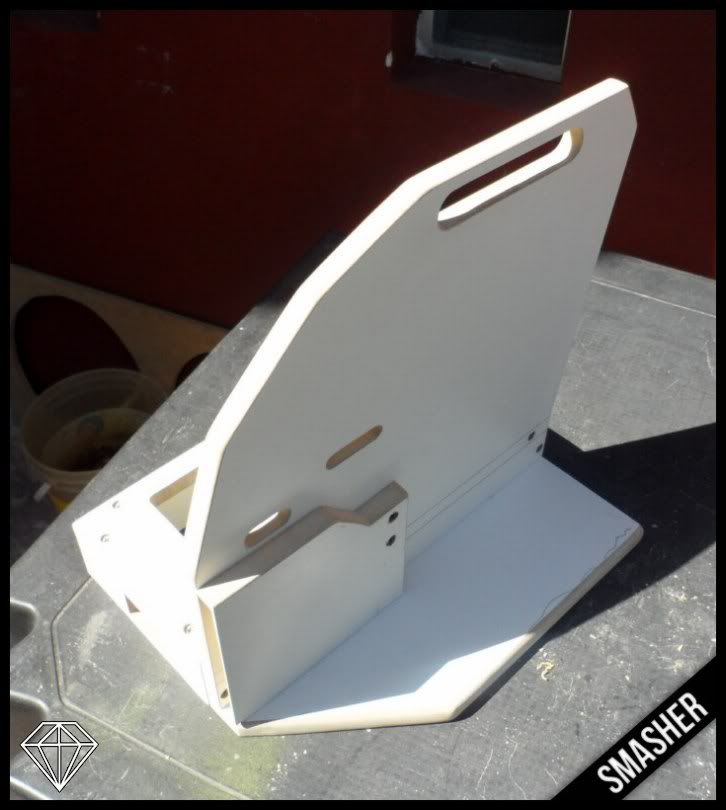
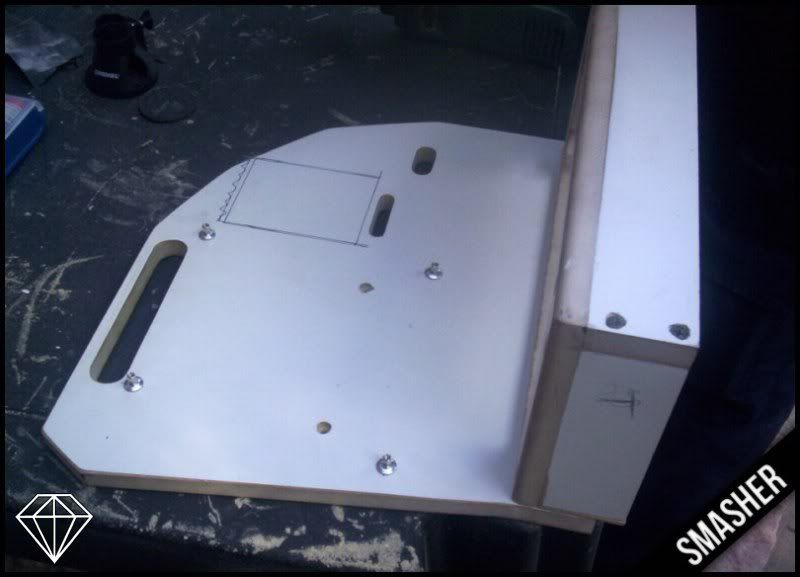
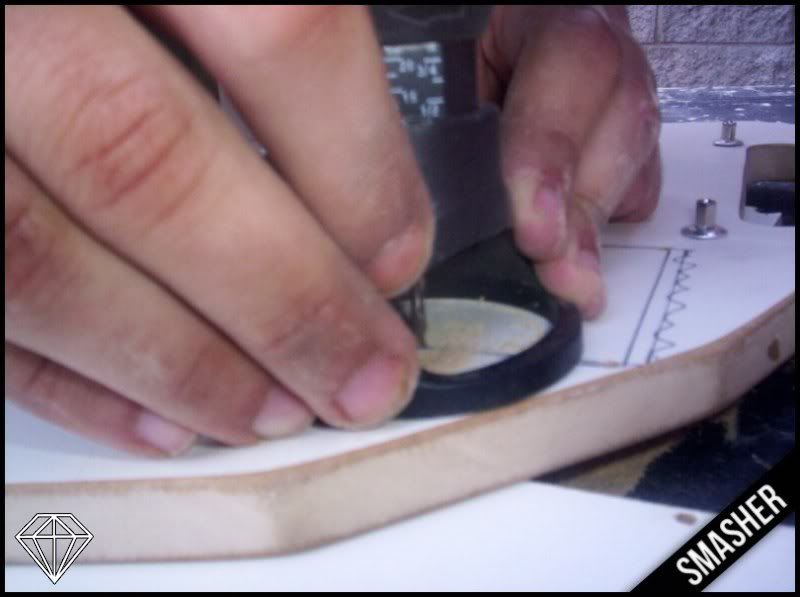
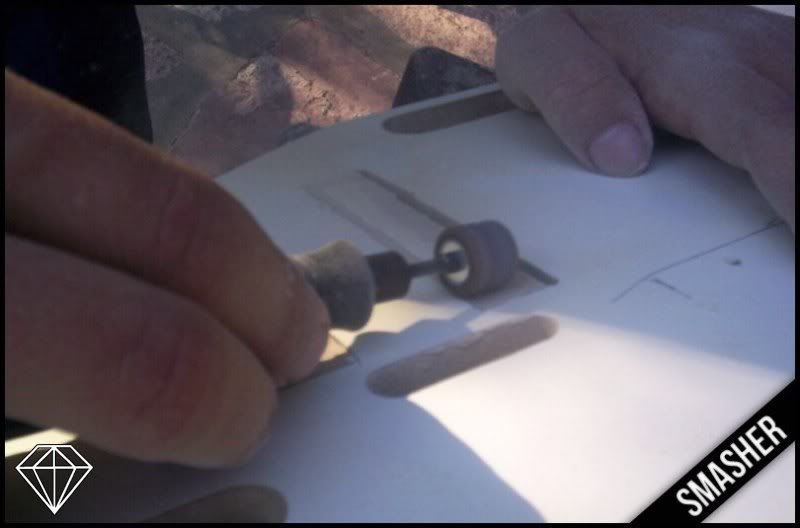
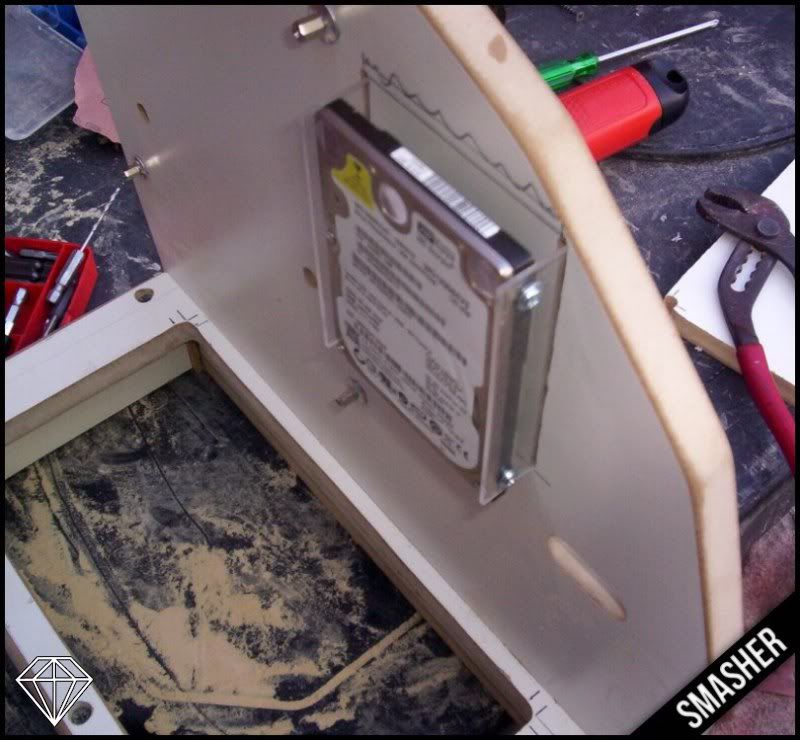
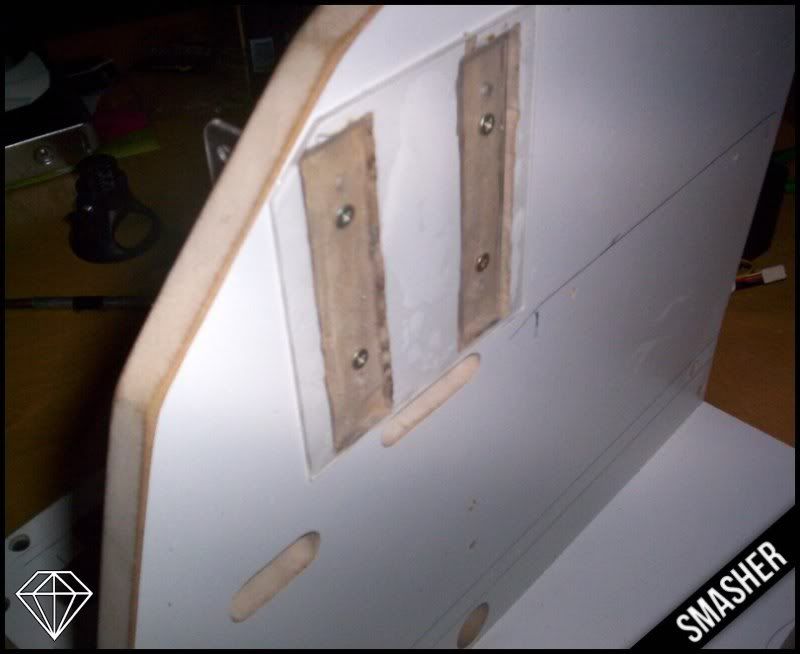
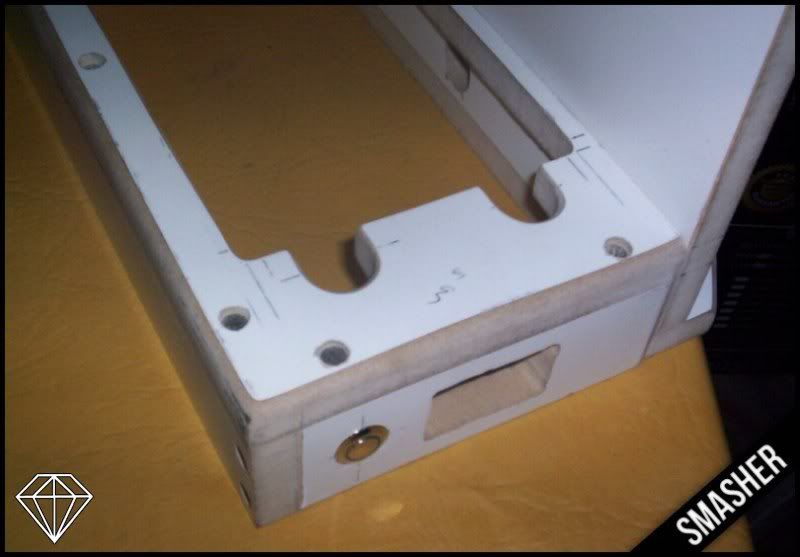
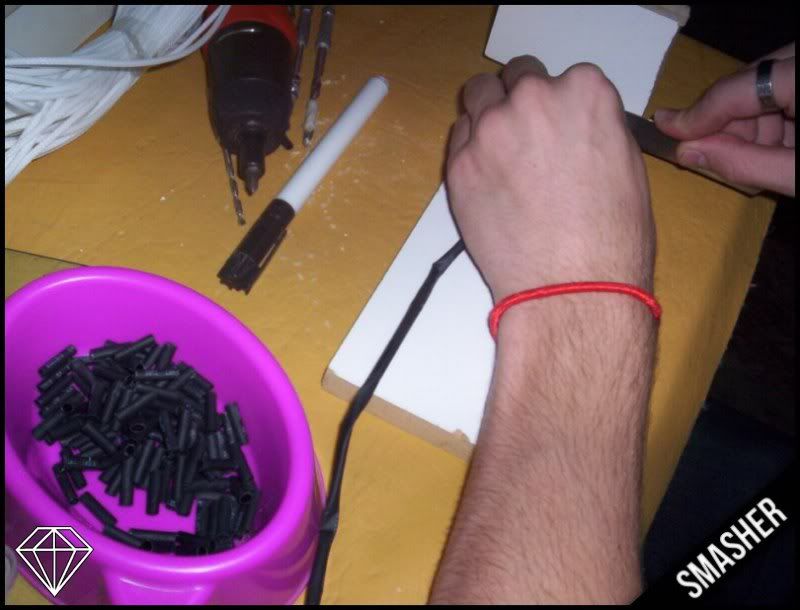
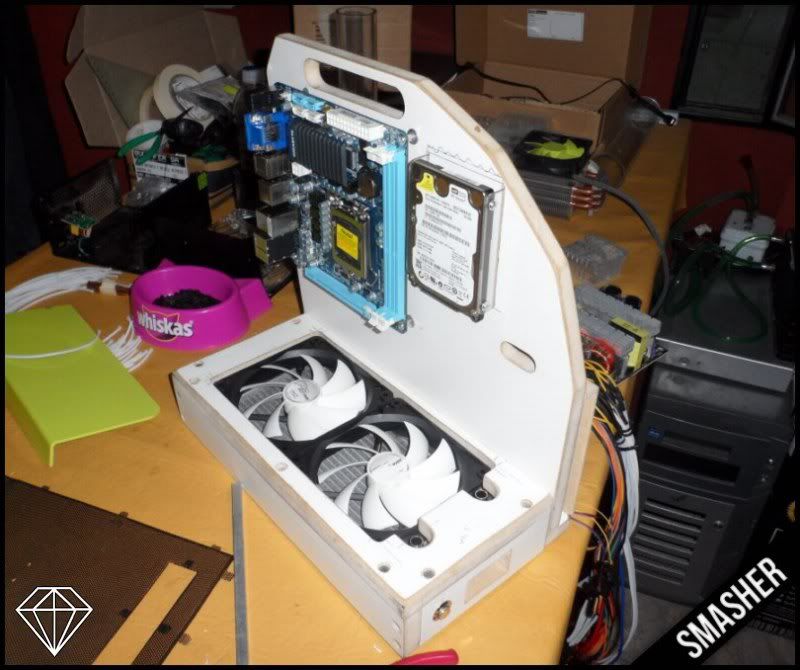
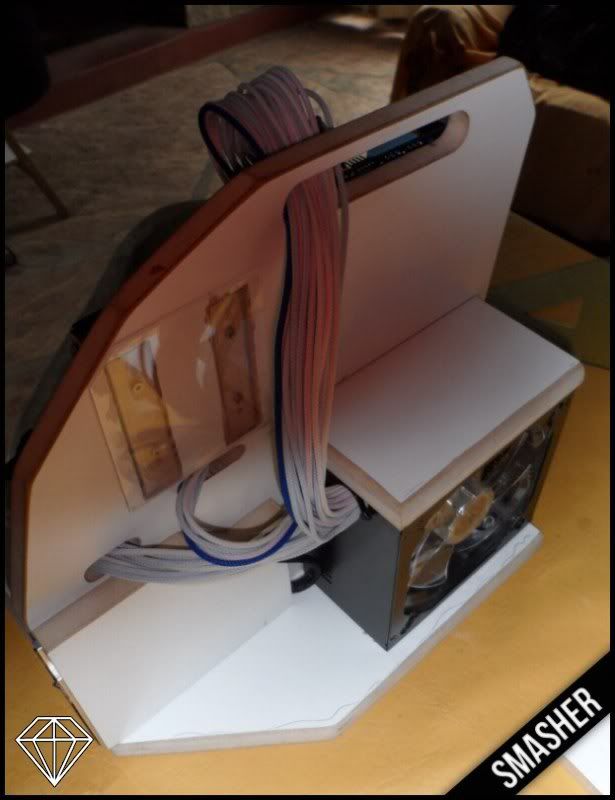
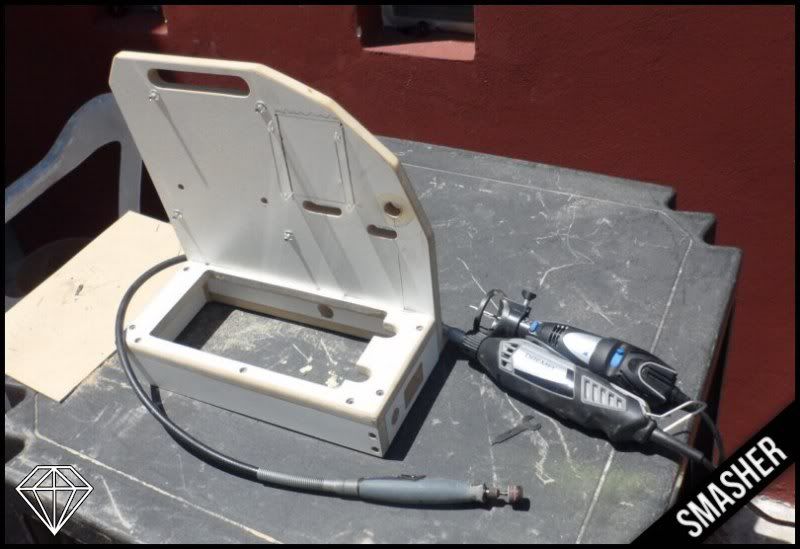
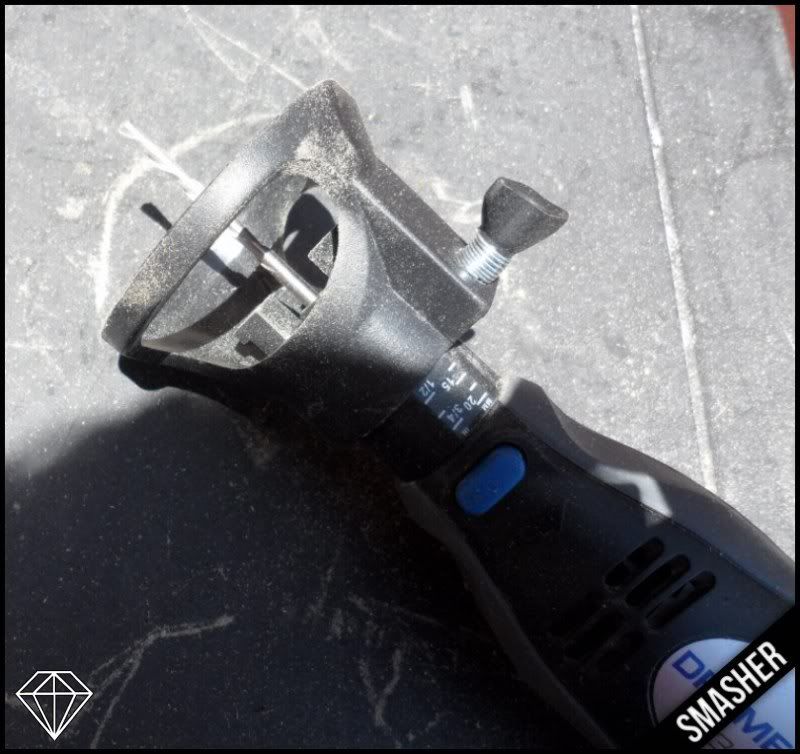
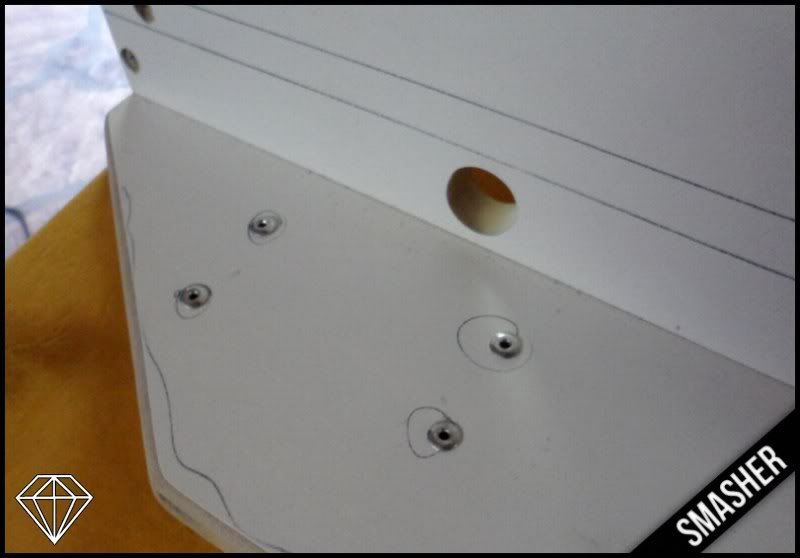
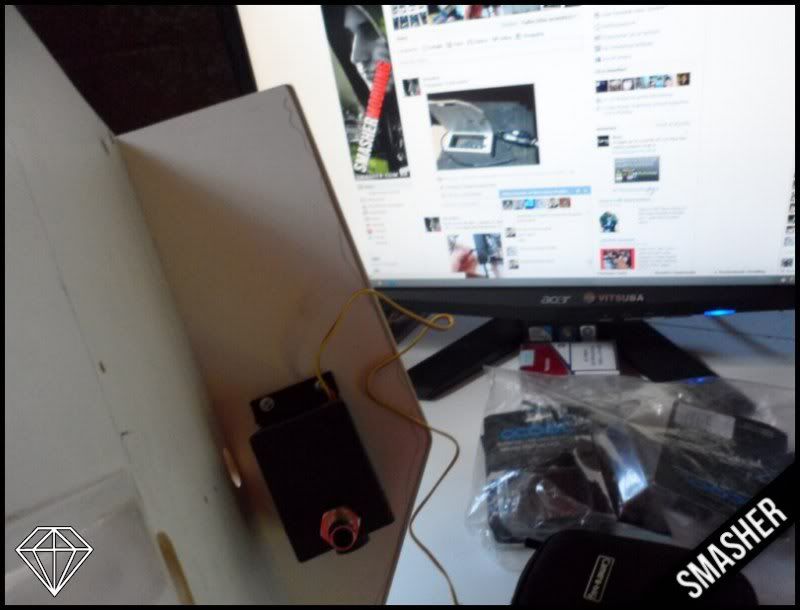
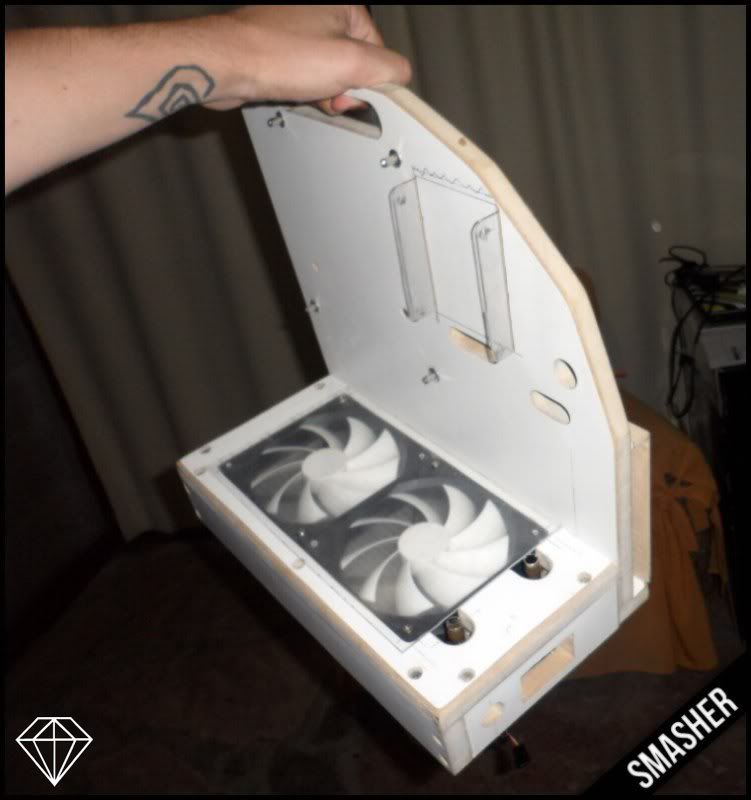
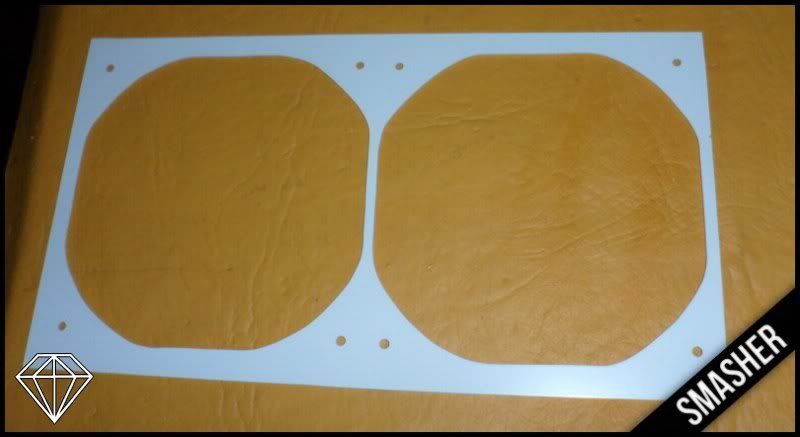
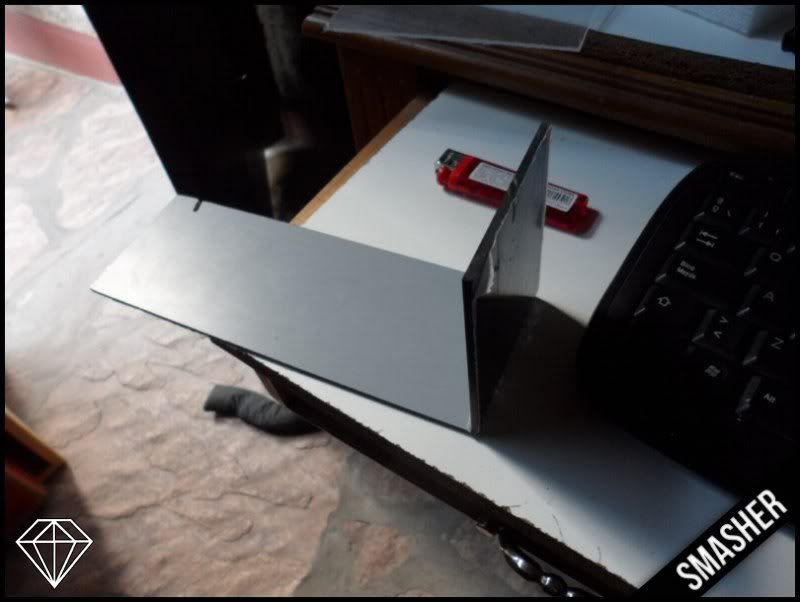
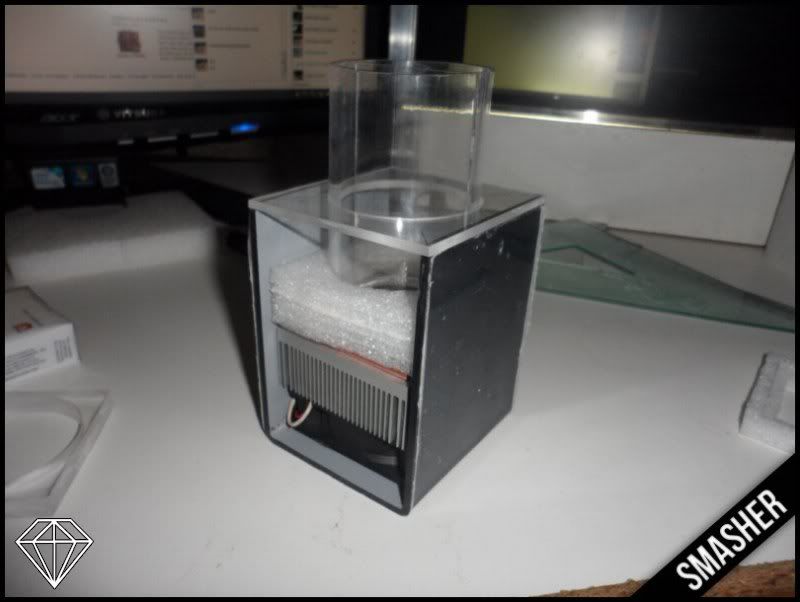
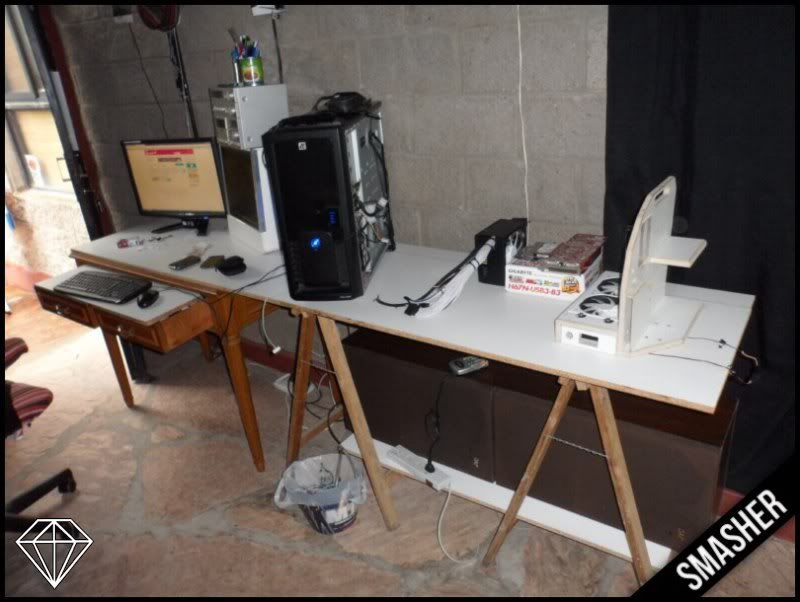
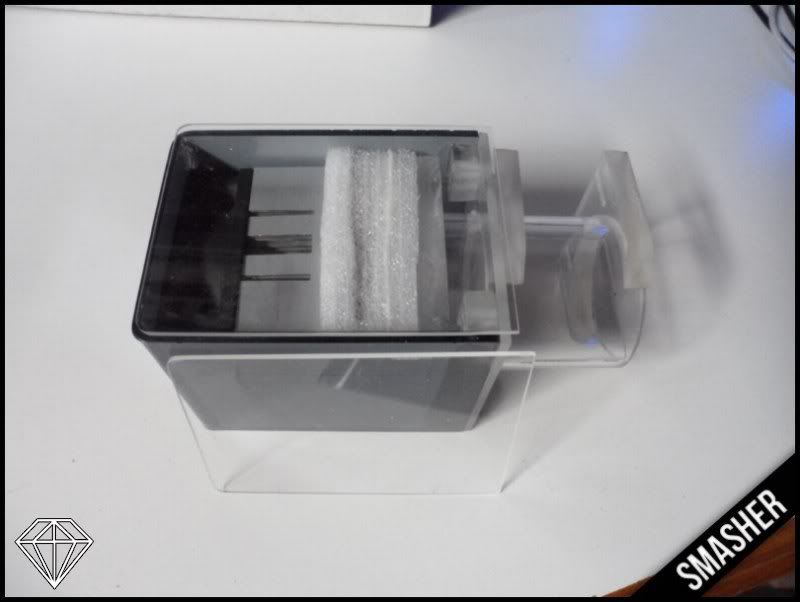
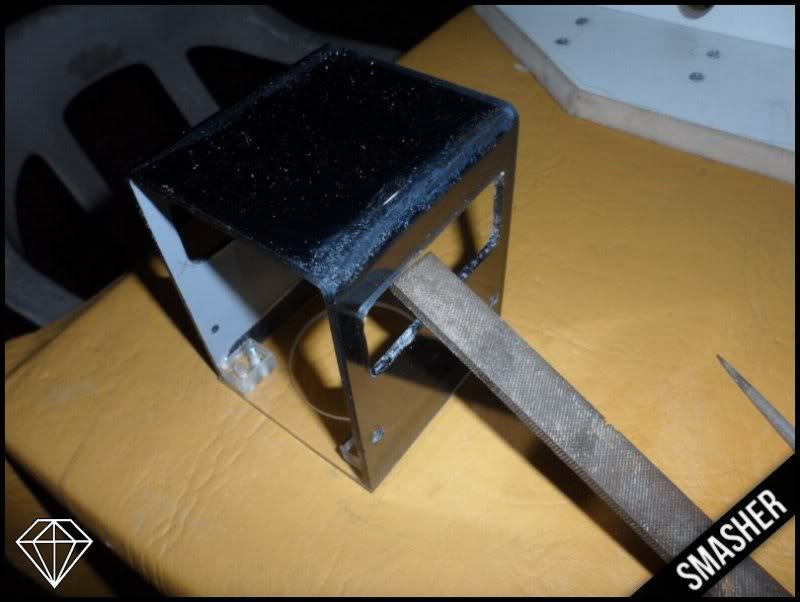
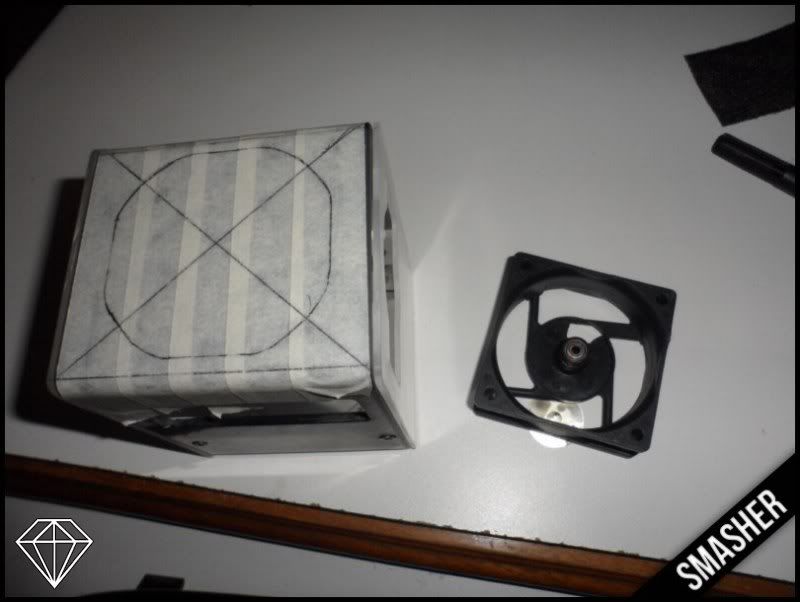
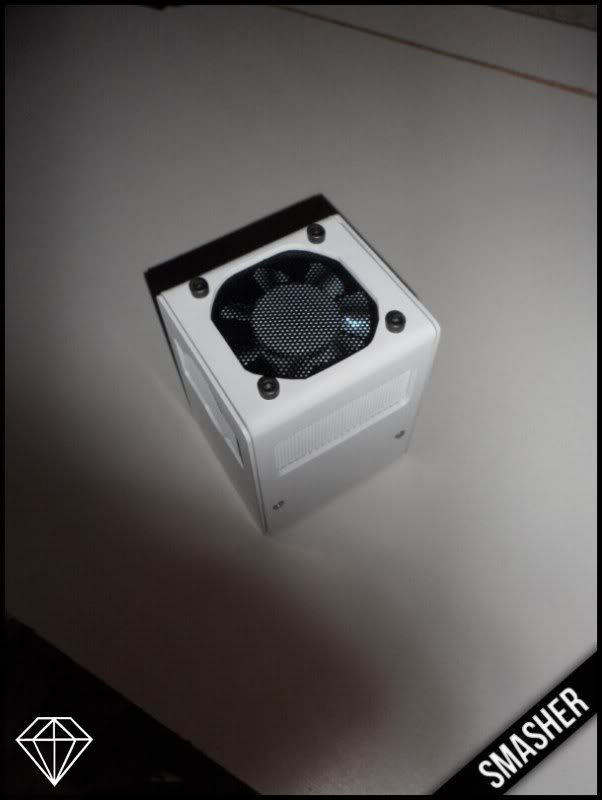
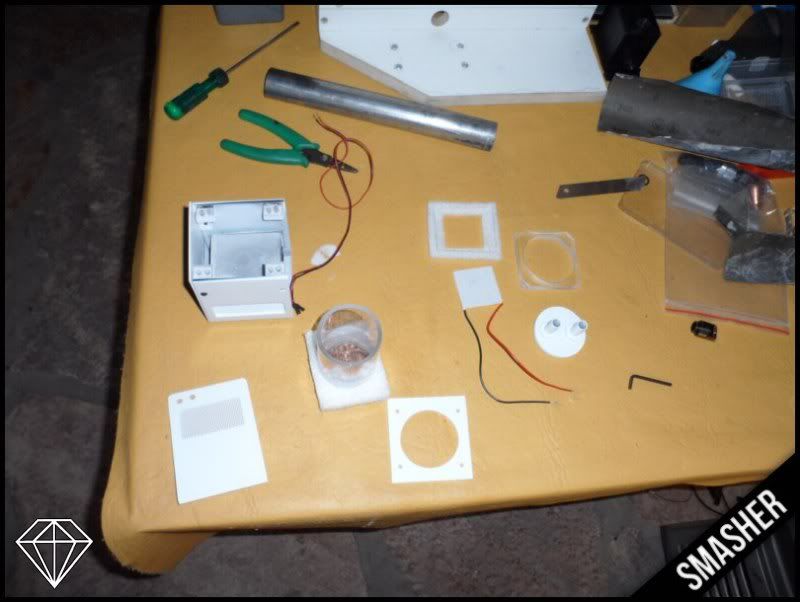
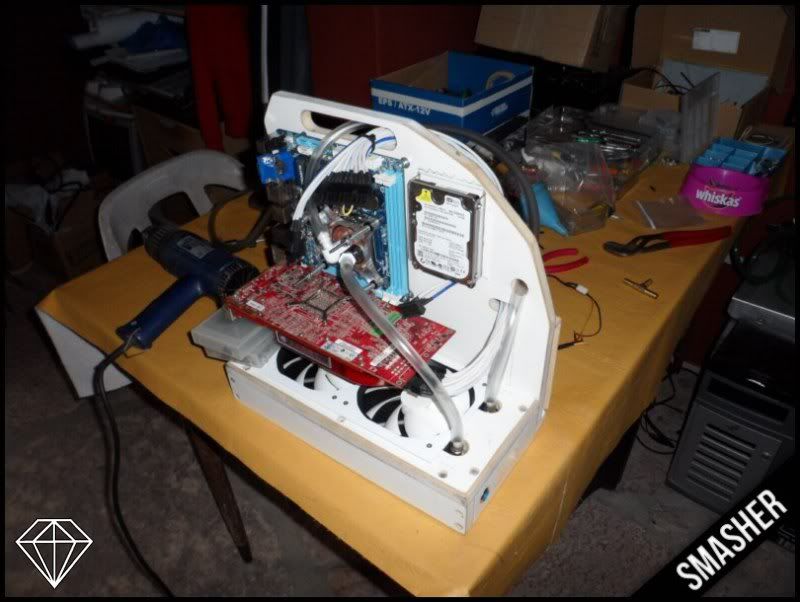
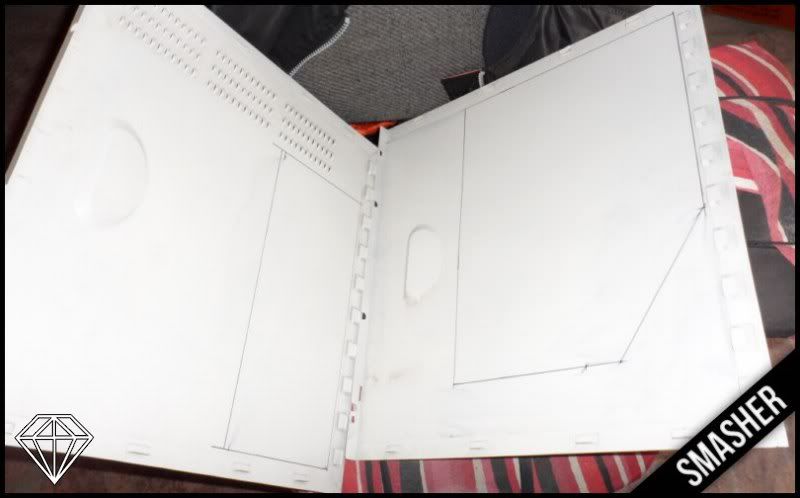
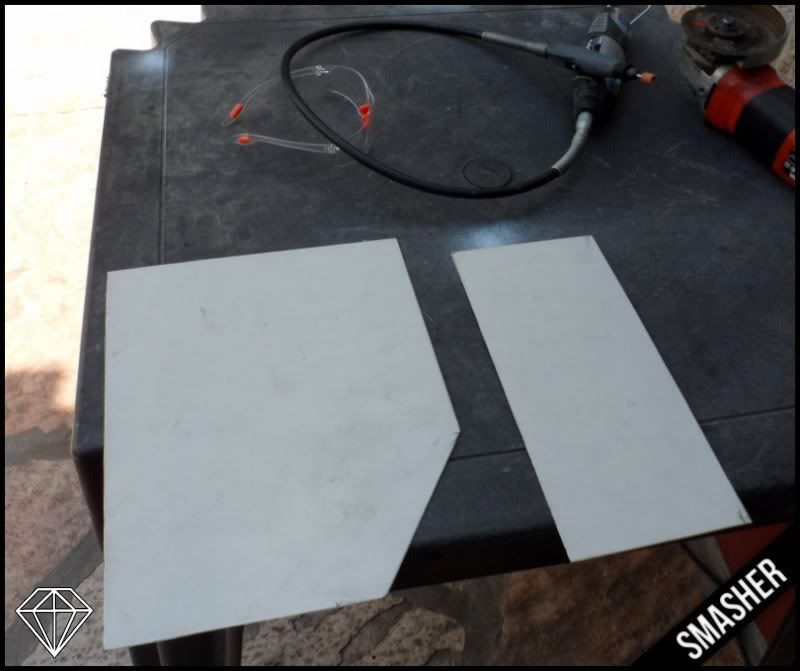
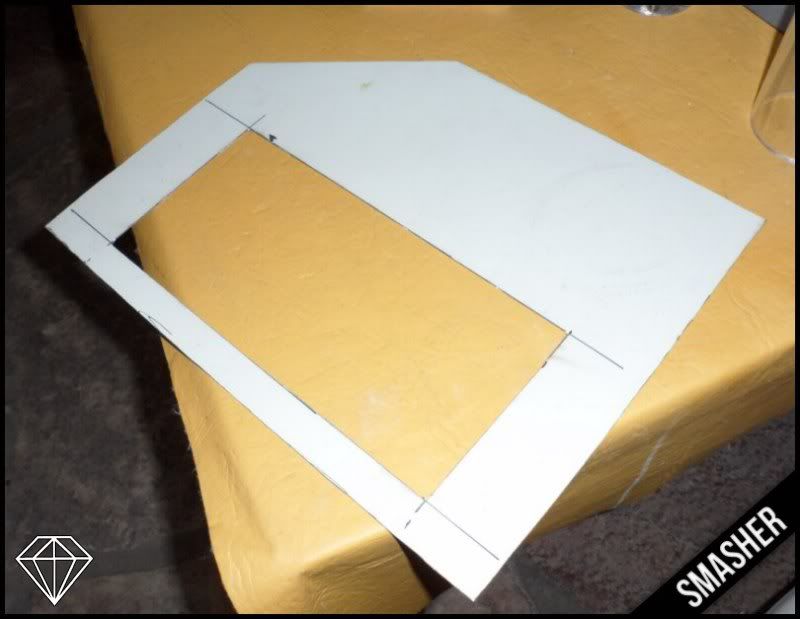
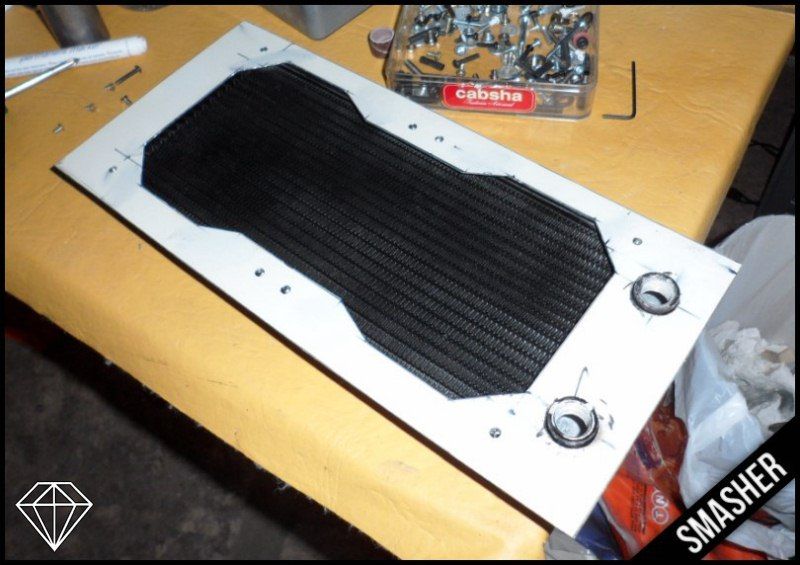
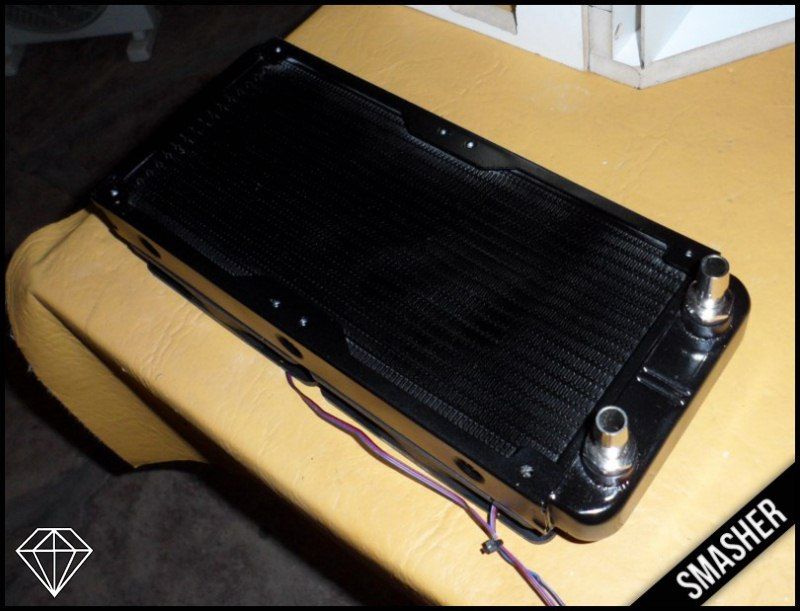
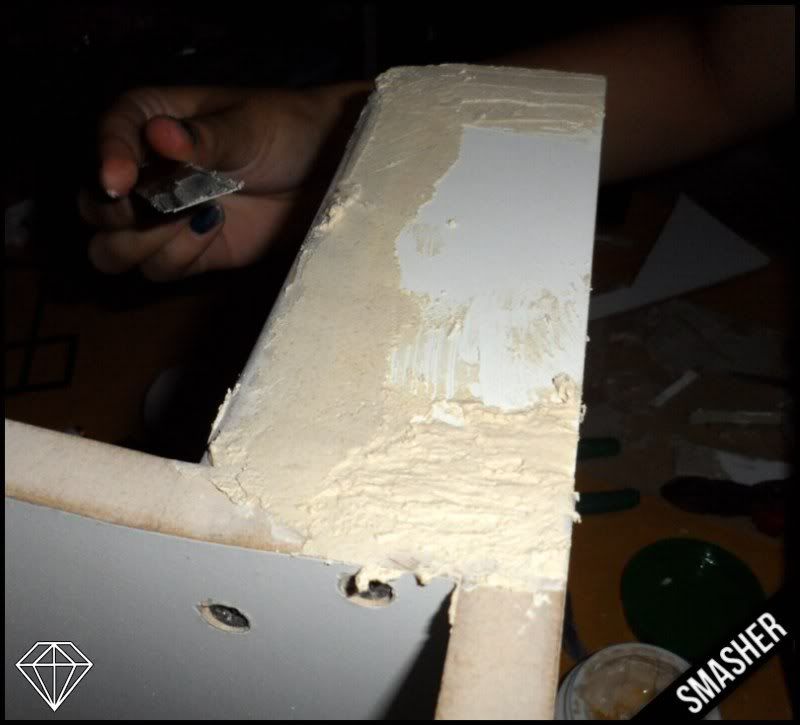
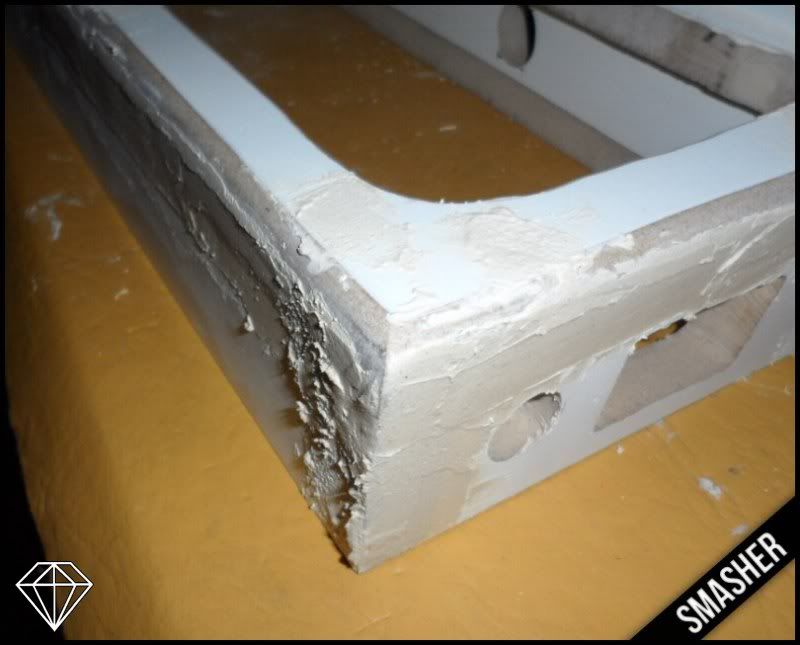
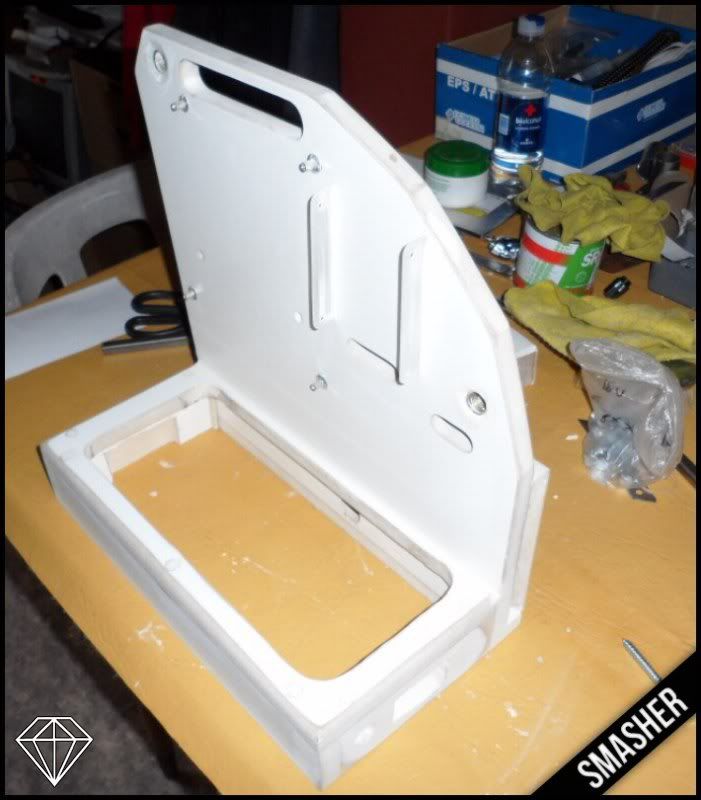
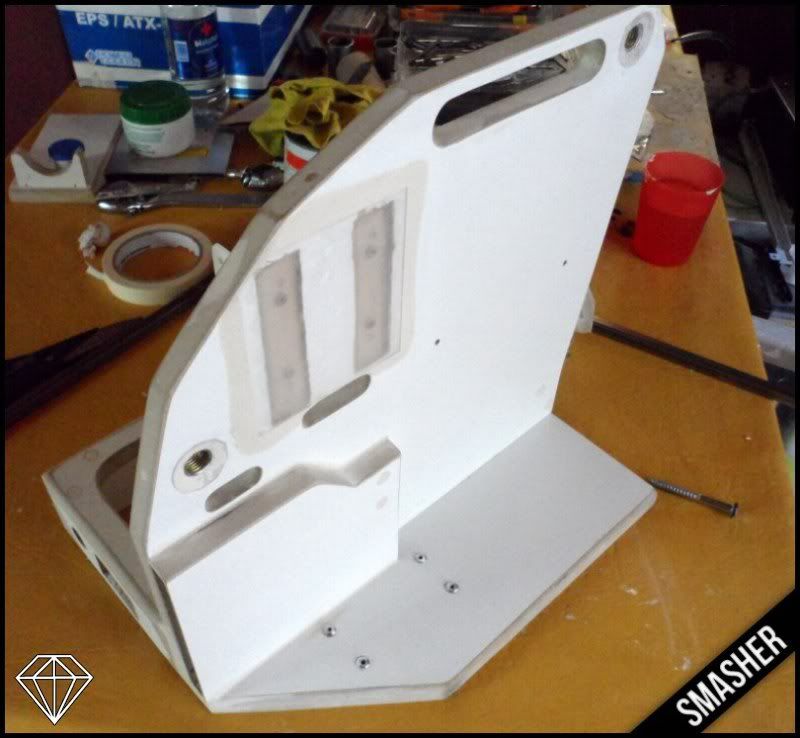
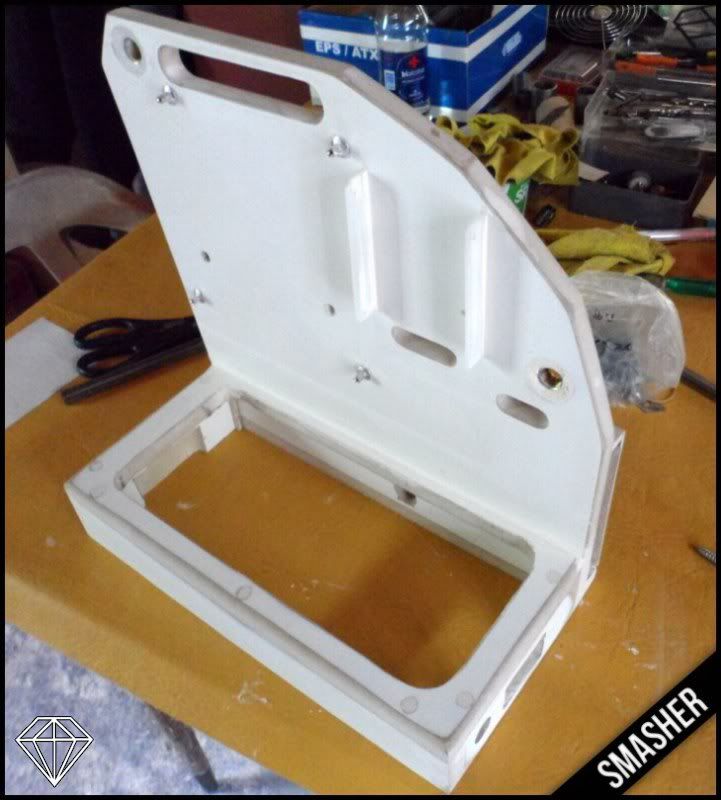
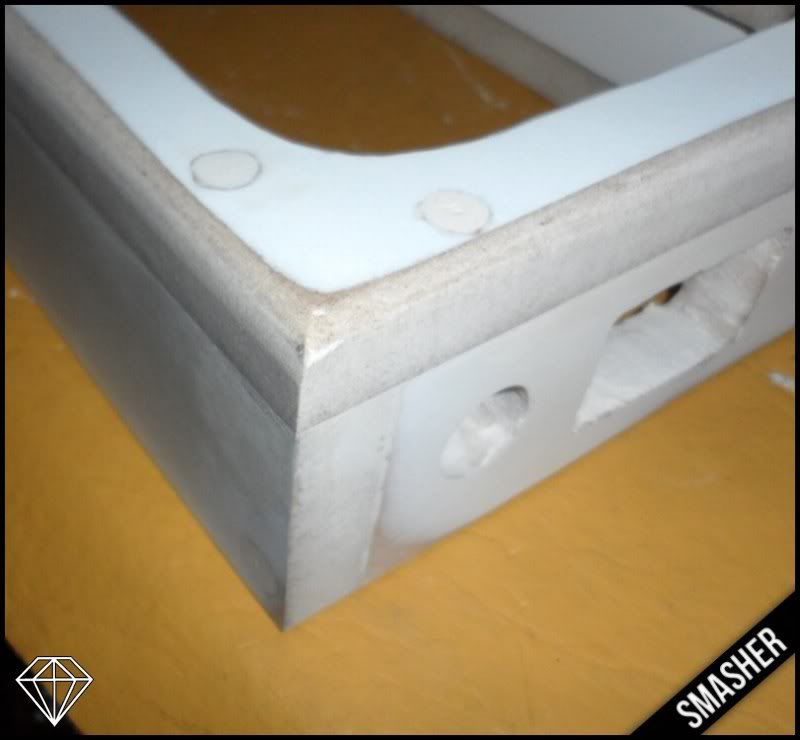
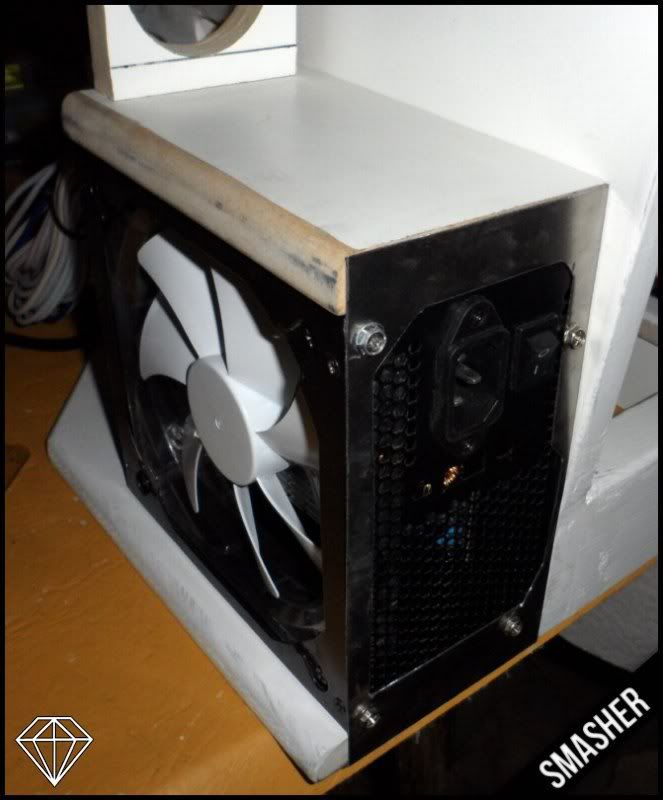
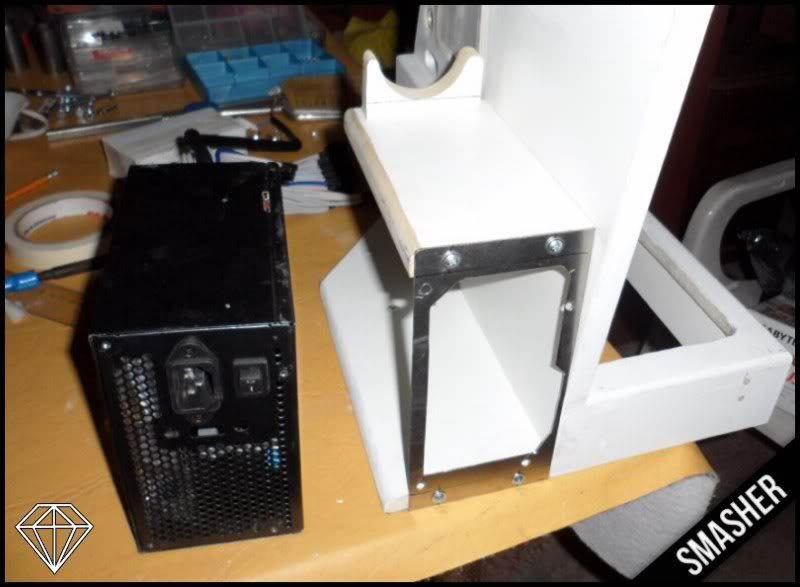
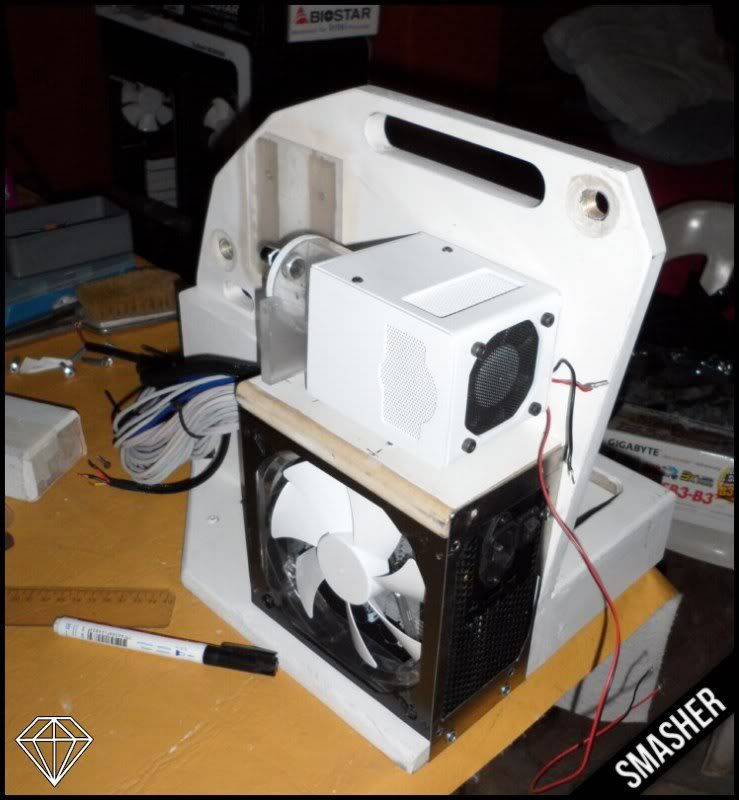
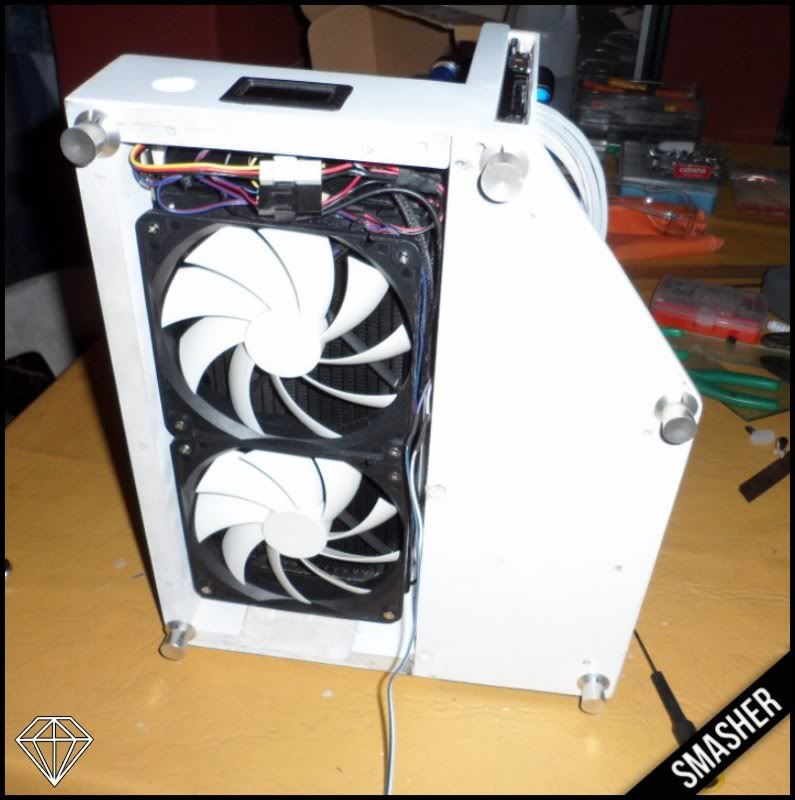
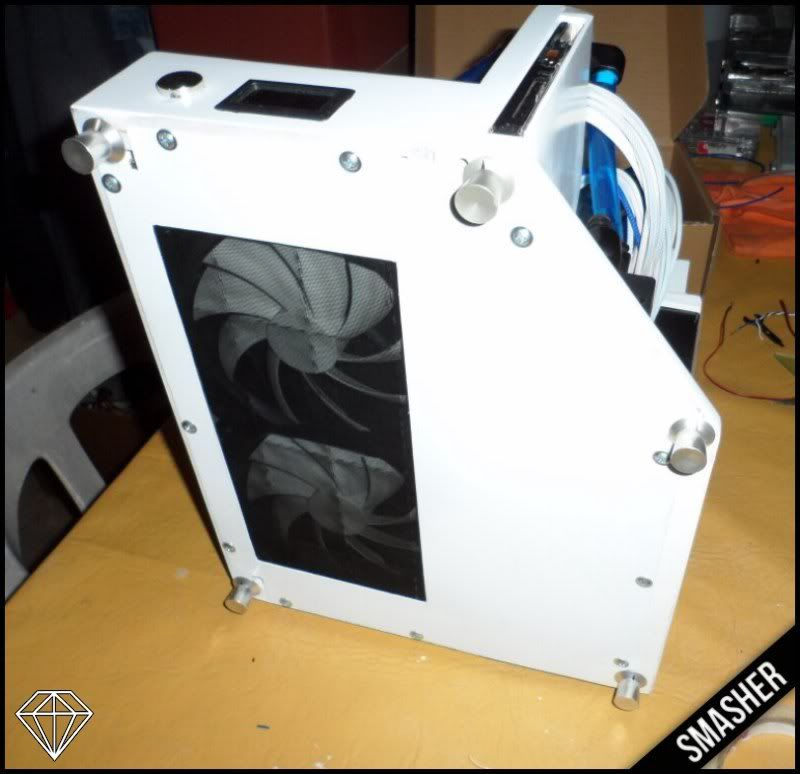
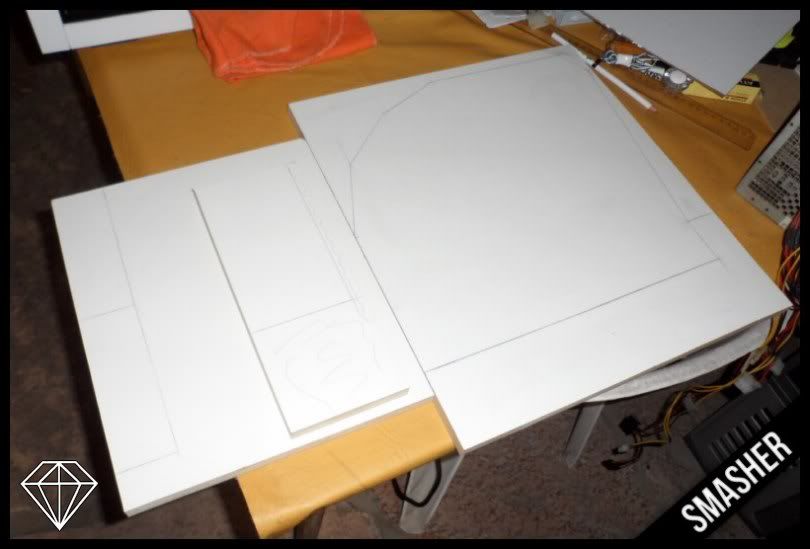
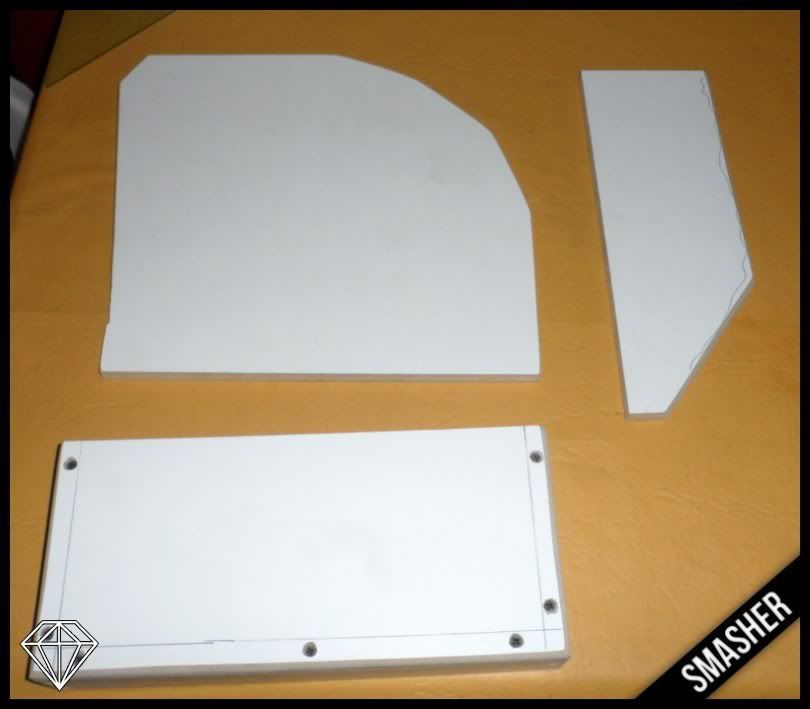
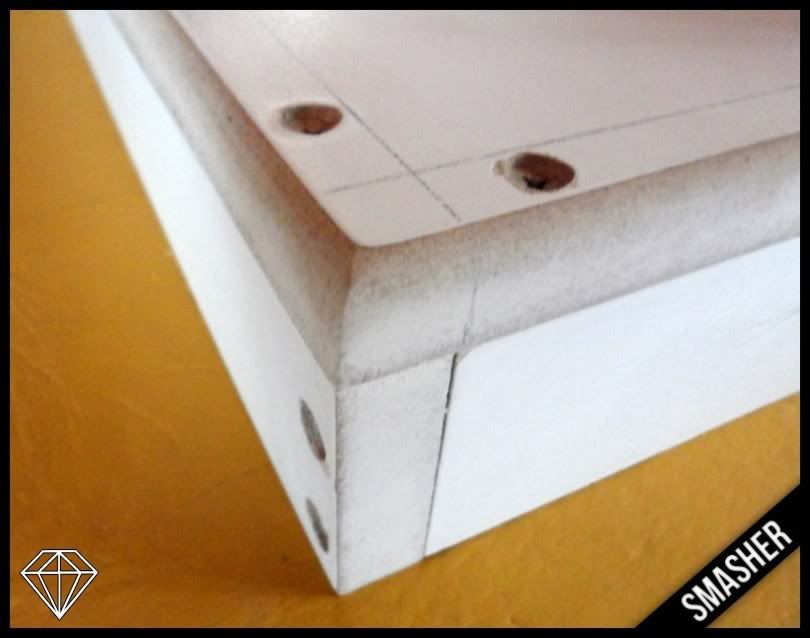
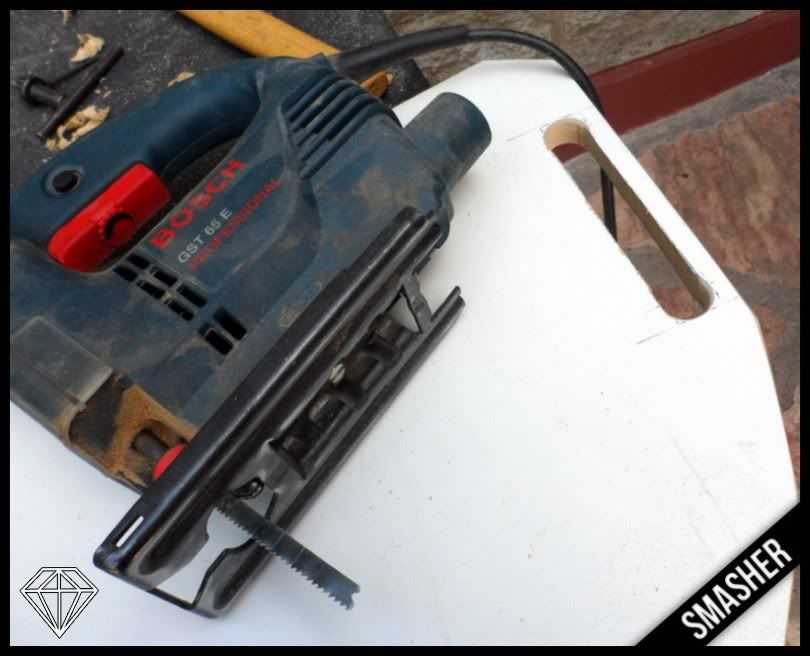
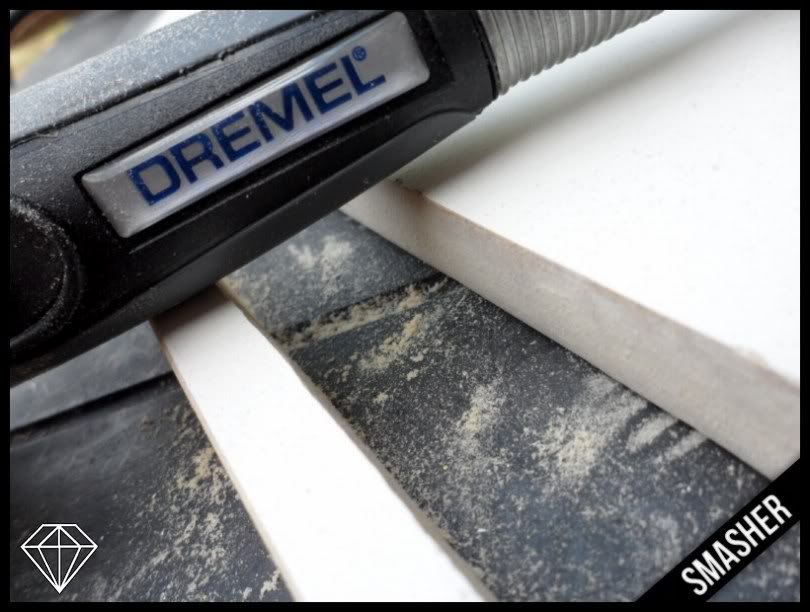
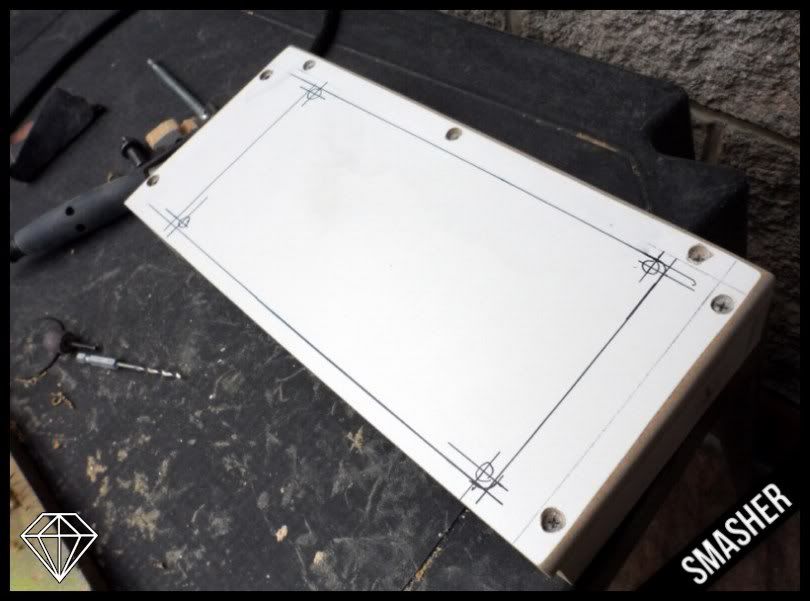
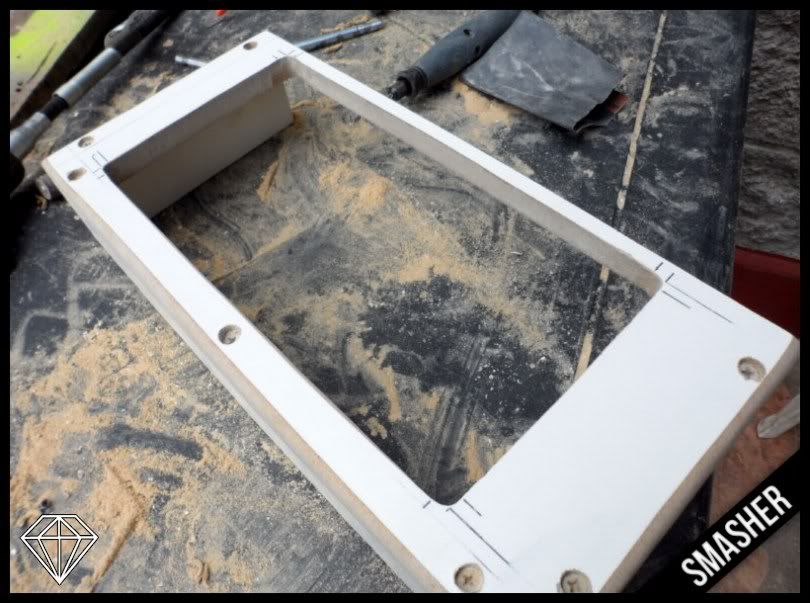
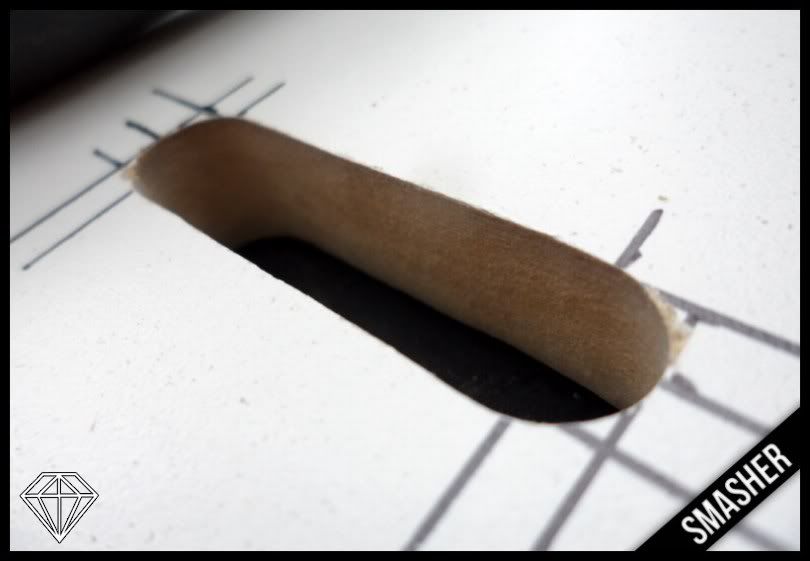
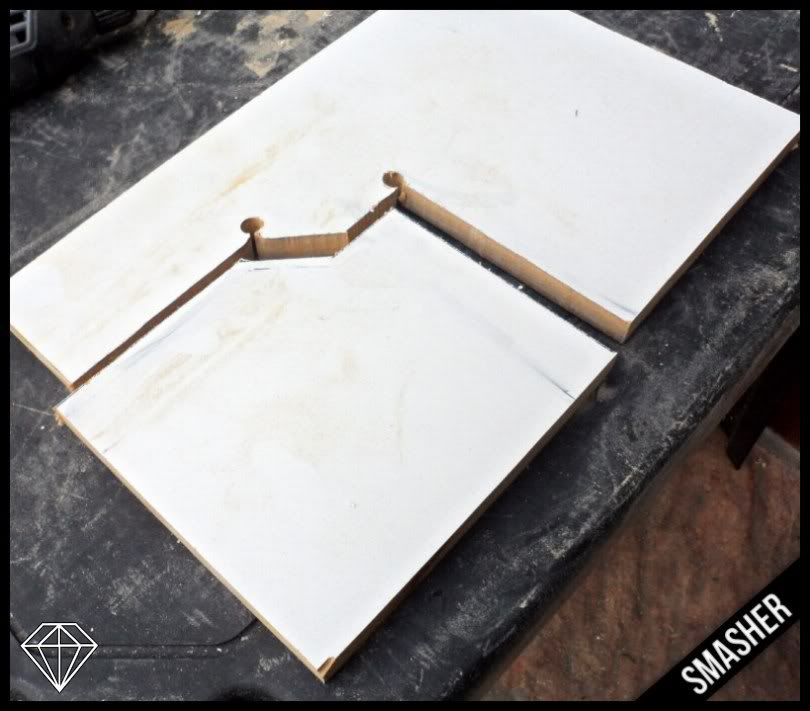
We started the project with MDF Laminated.
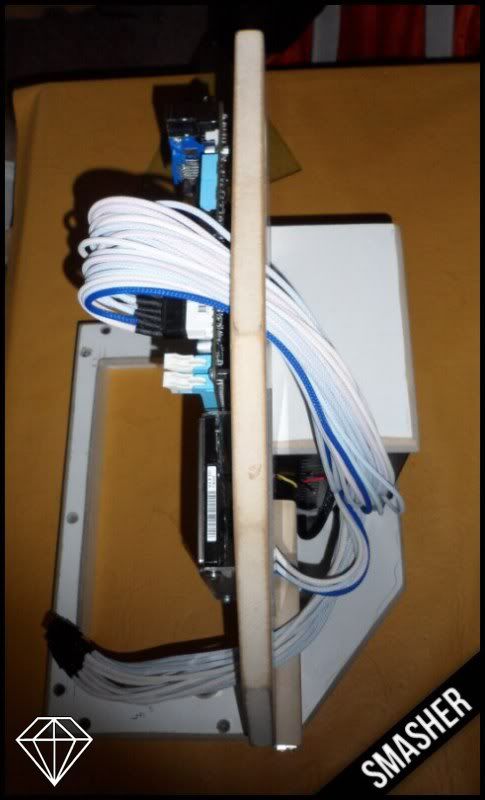
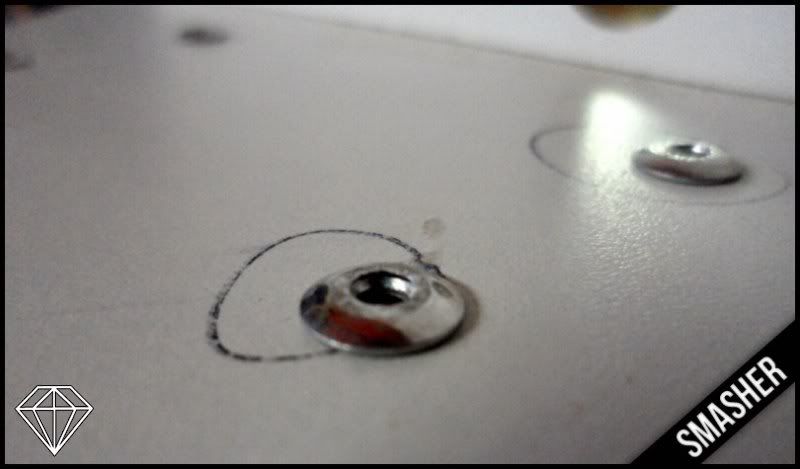
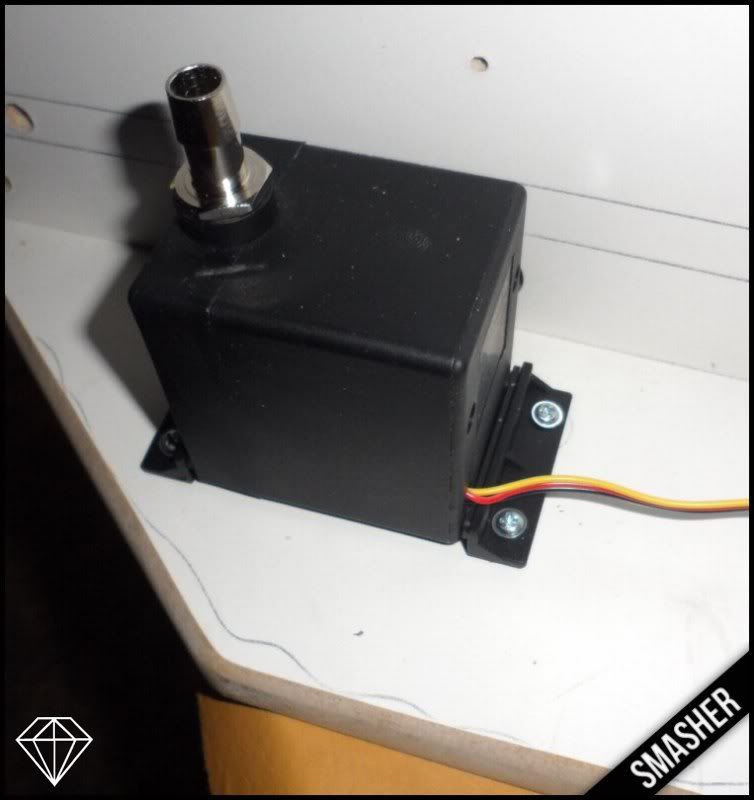
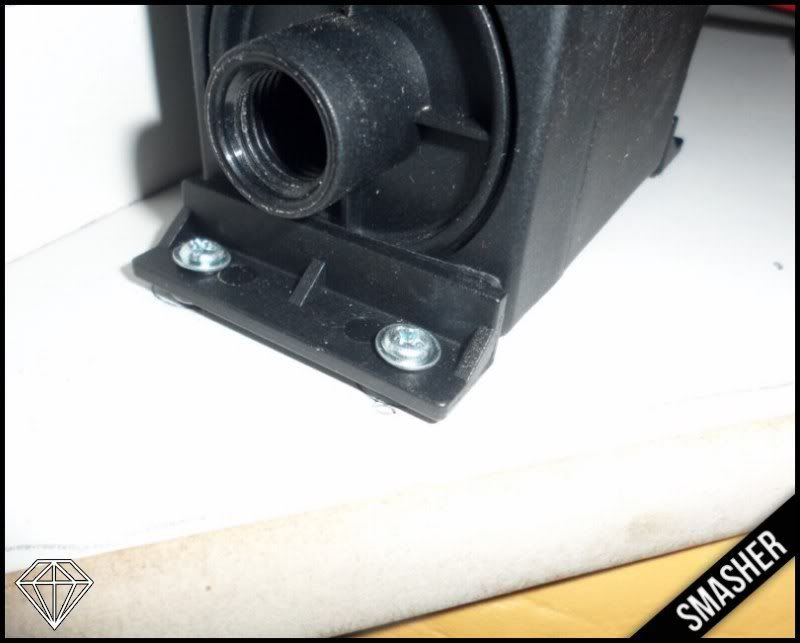
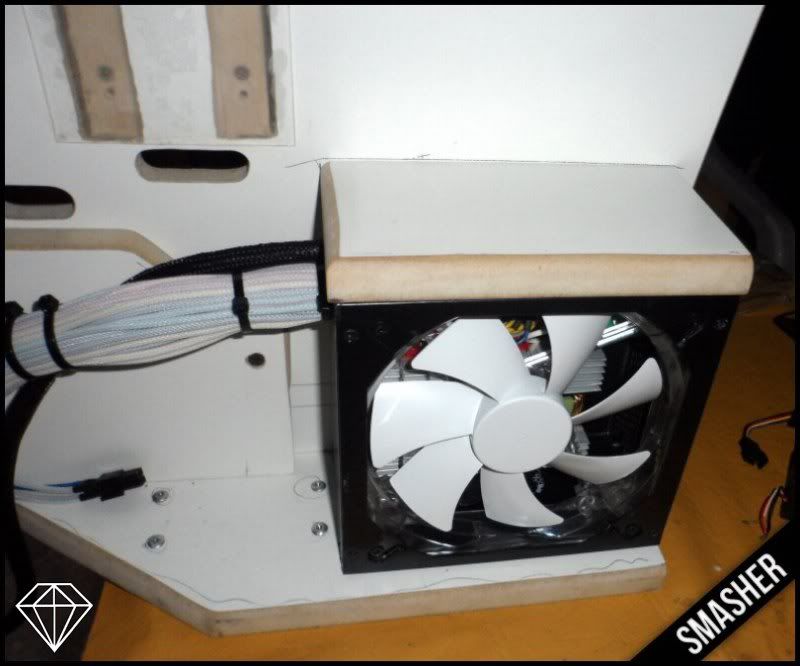
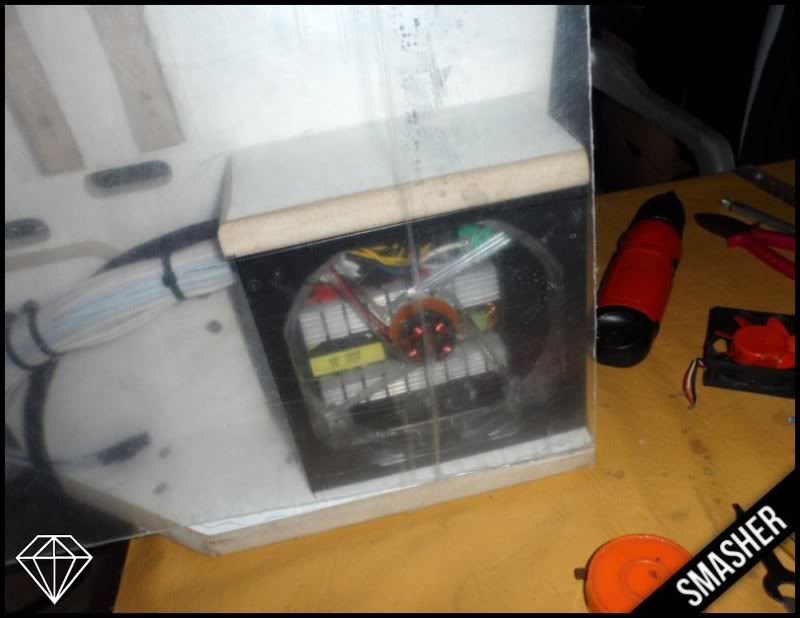
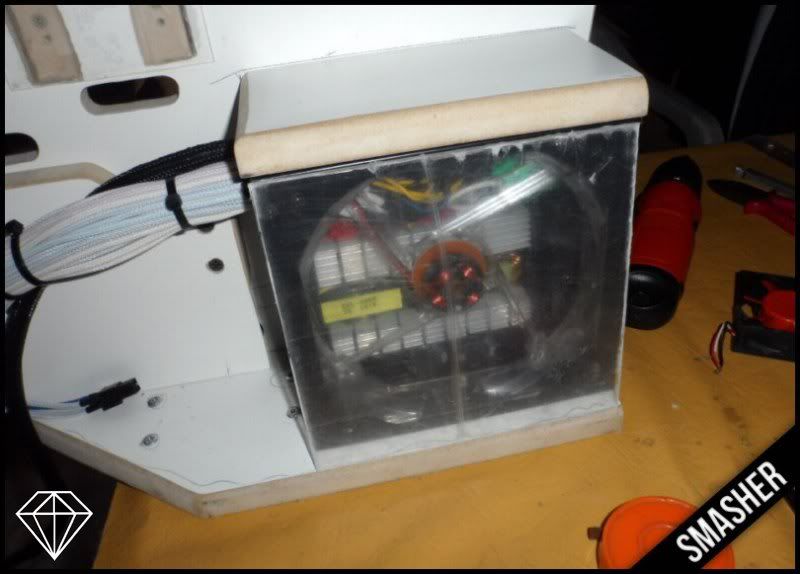
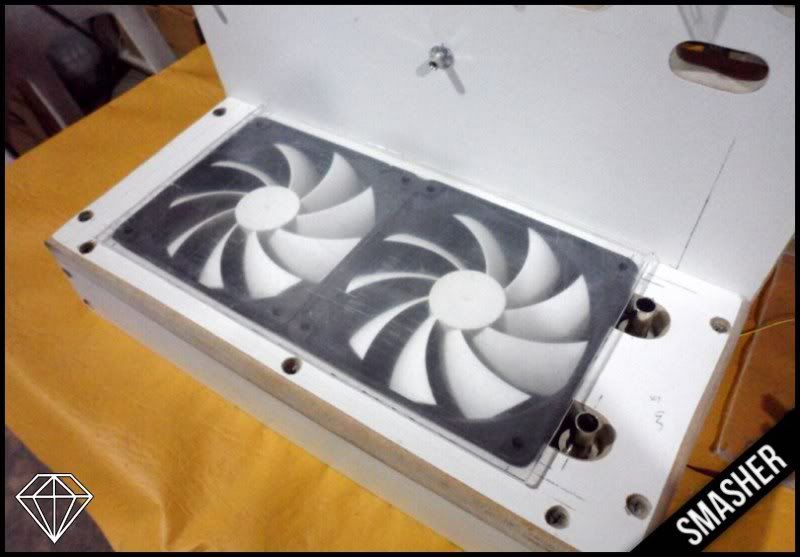
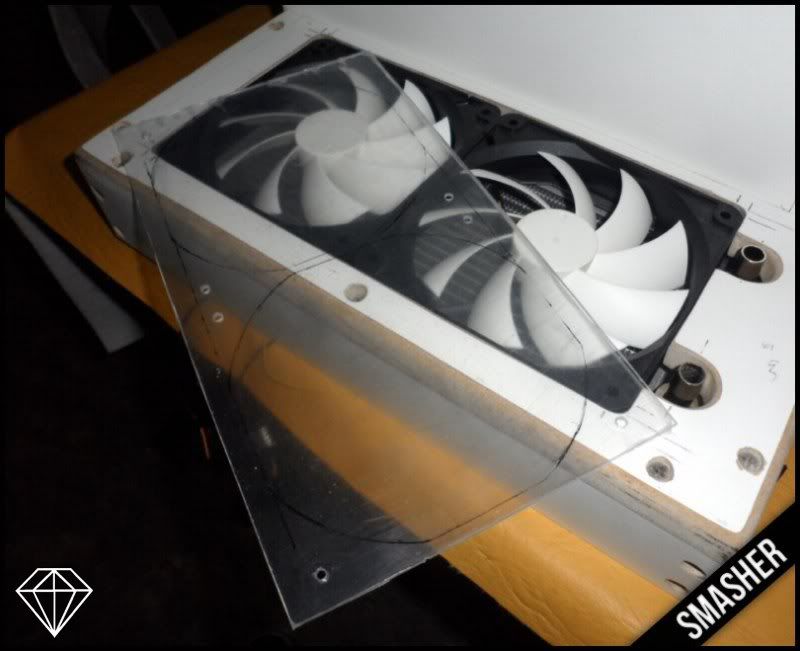
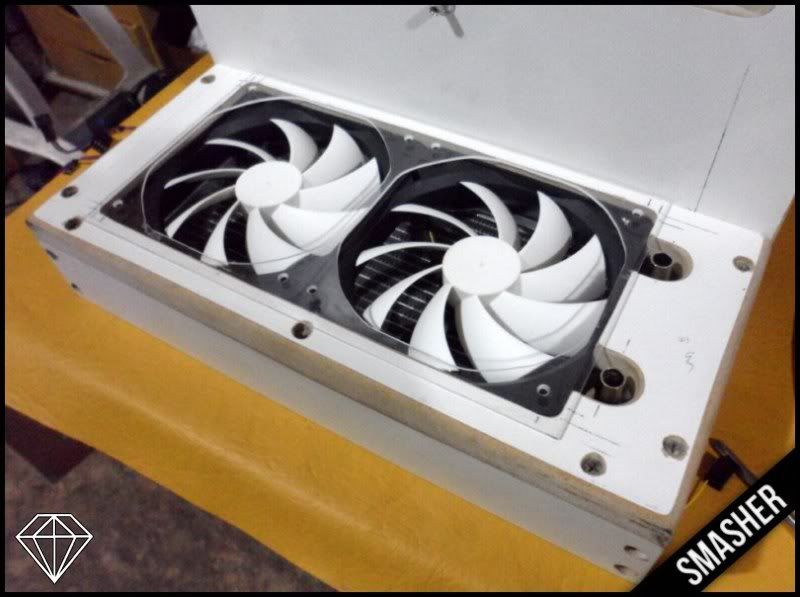
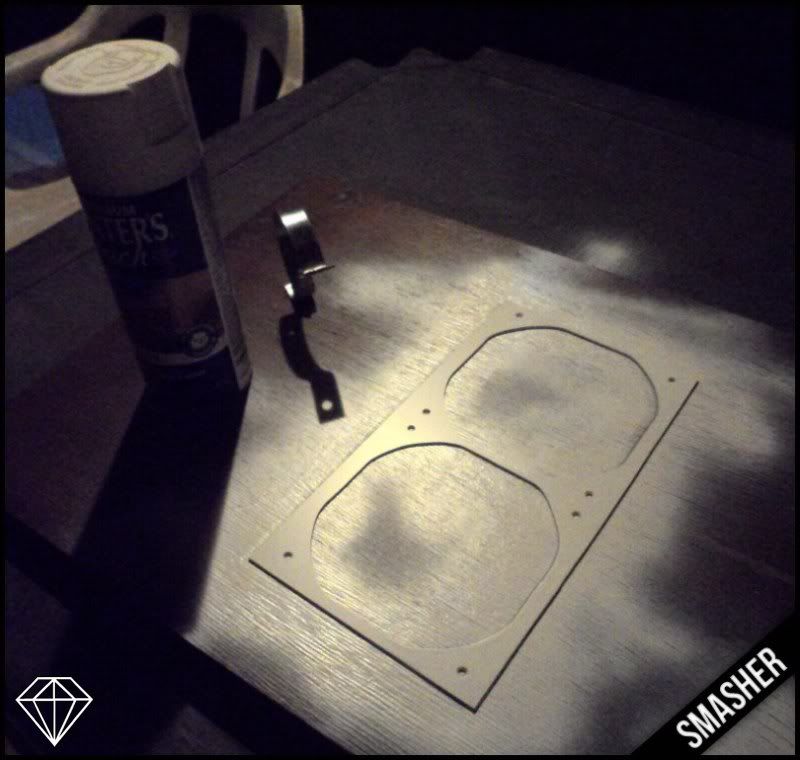
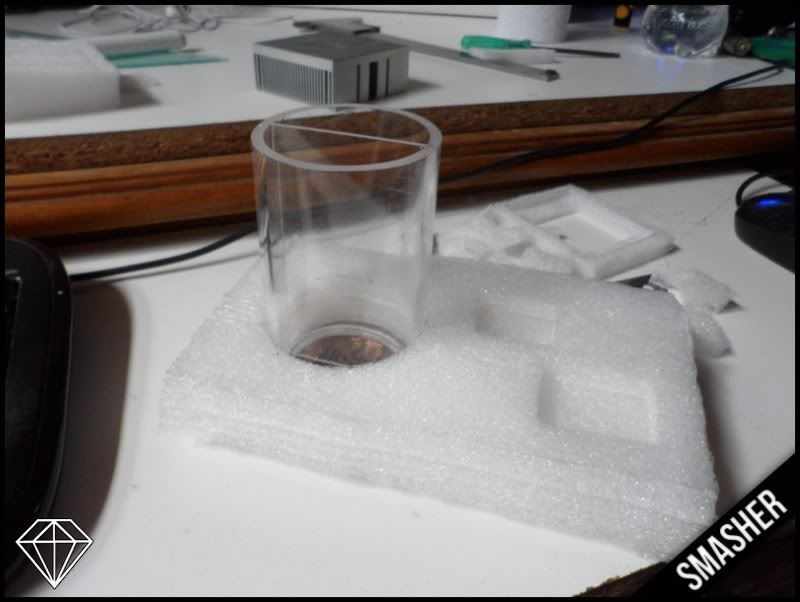
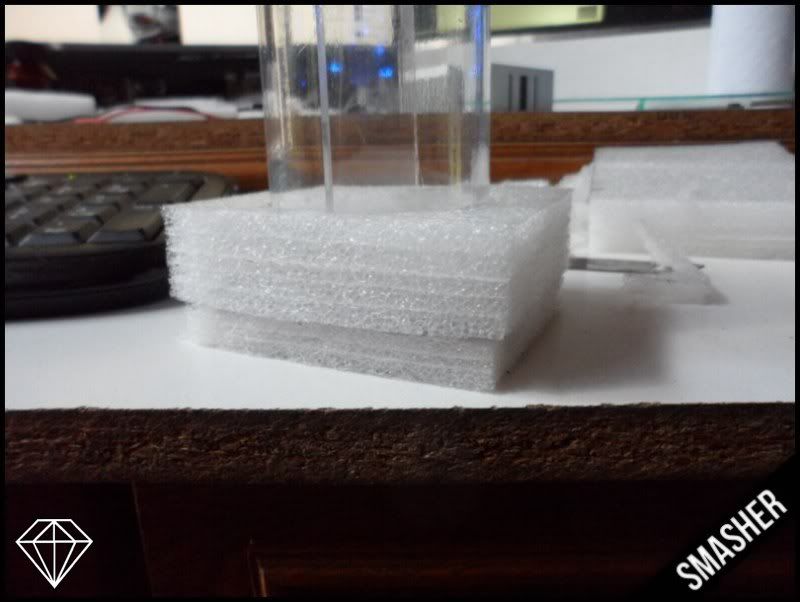
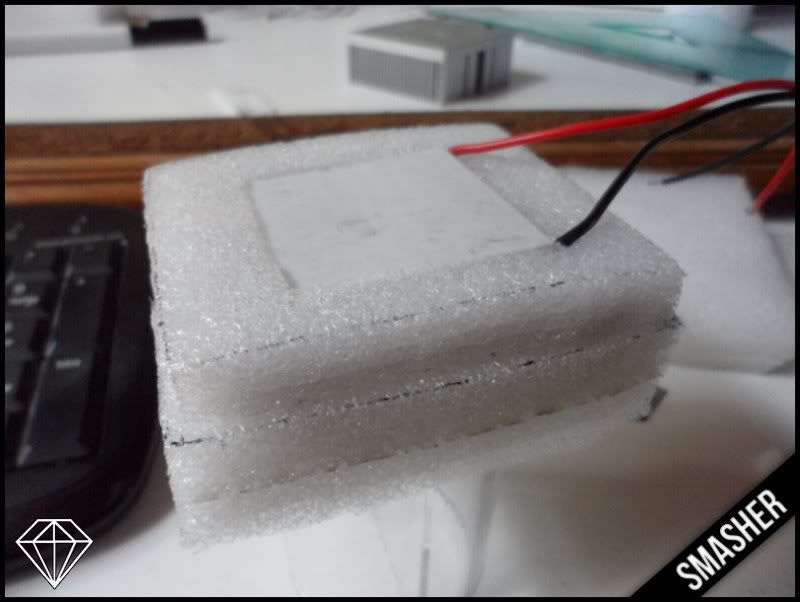
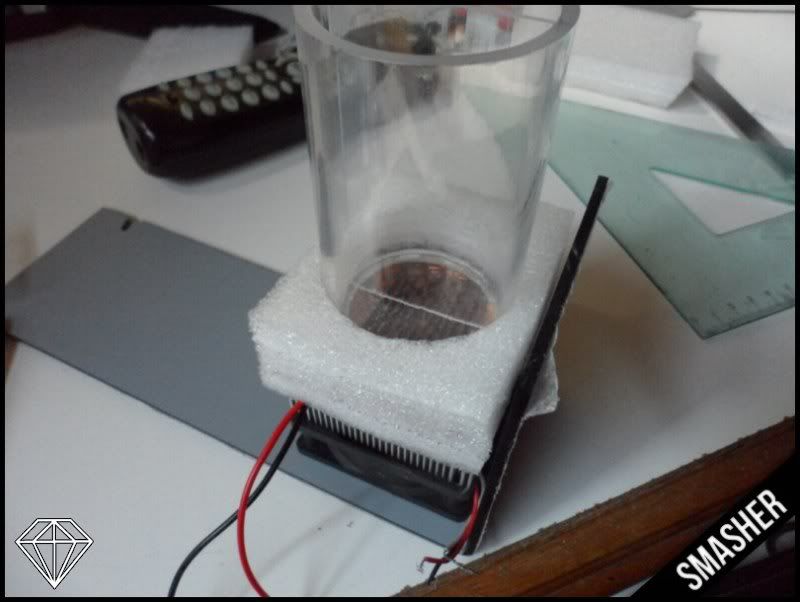
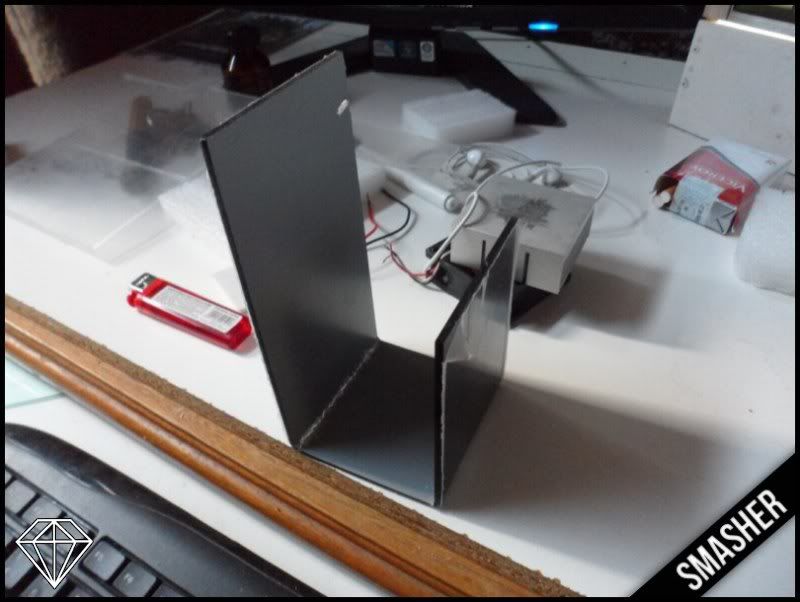
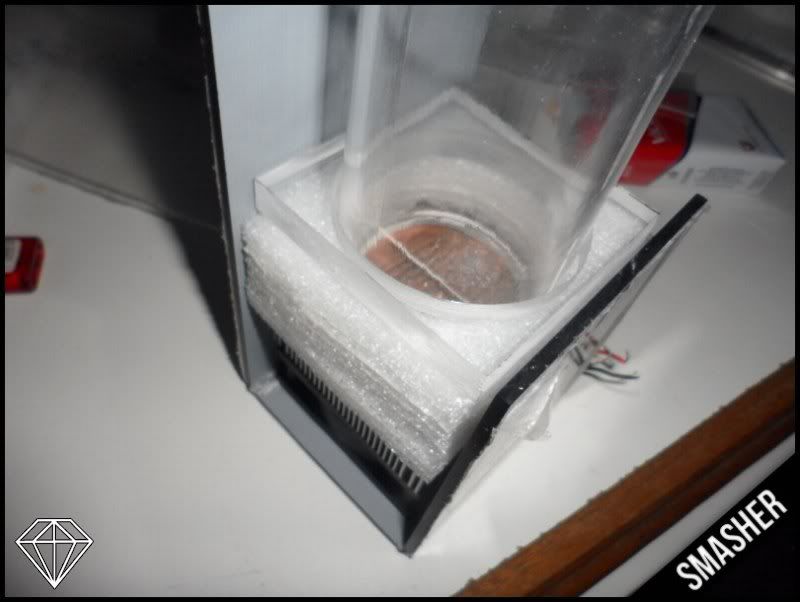
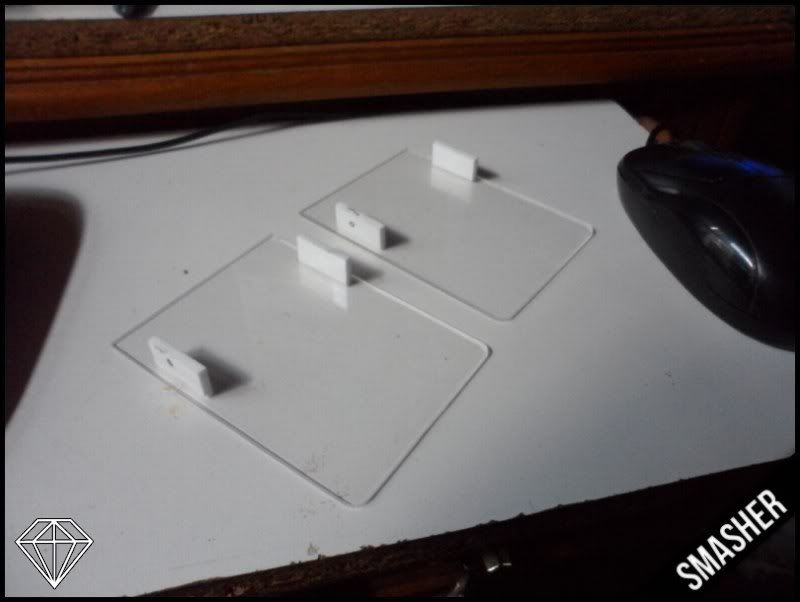
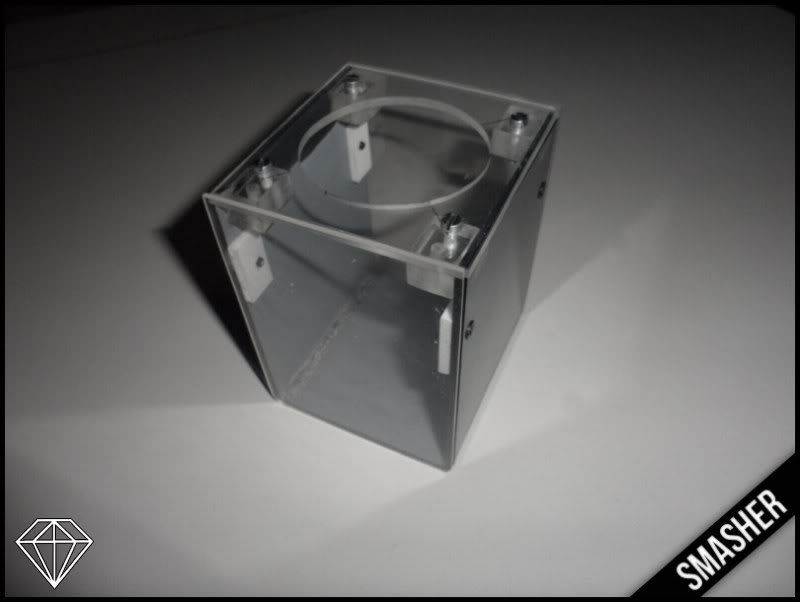
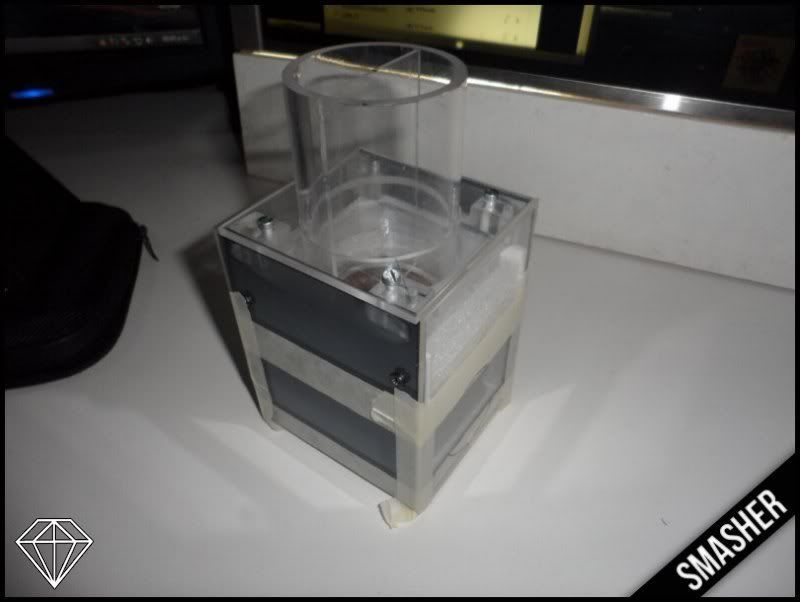
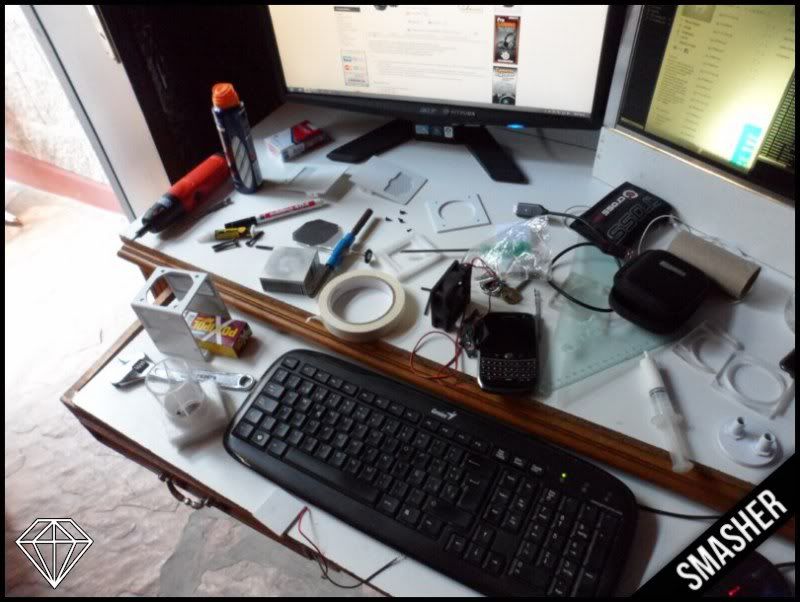
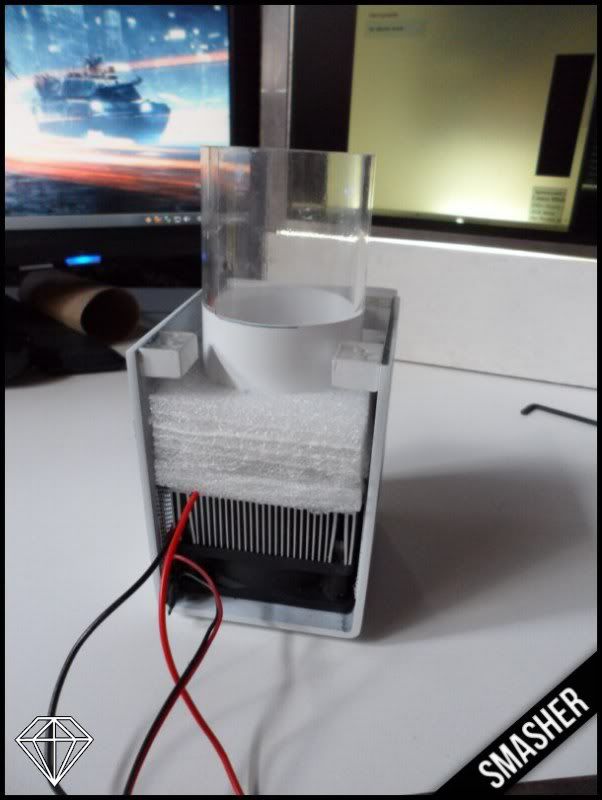
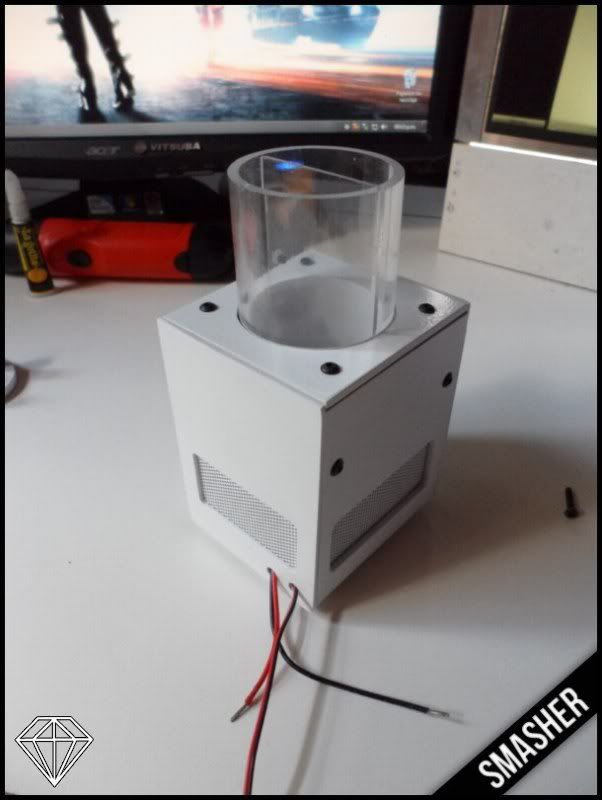
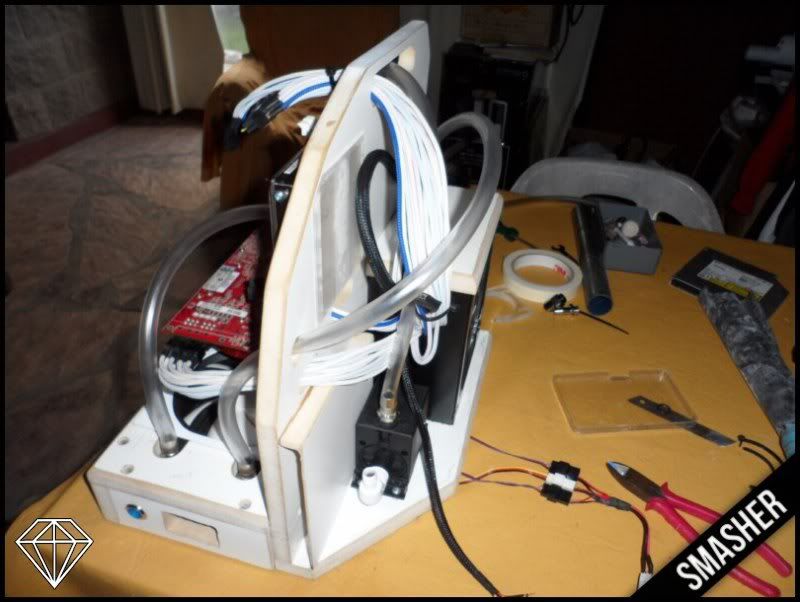
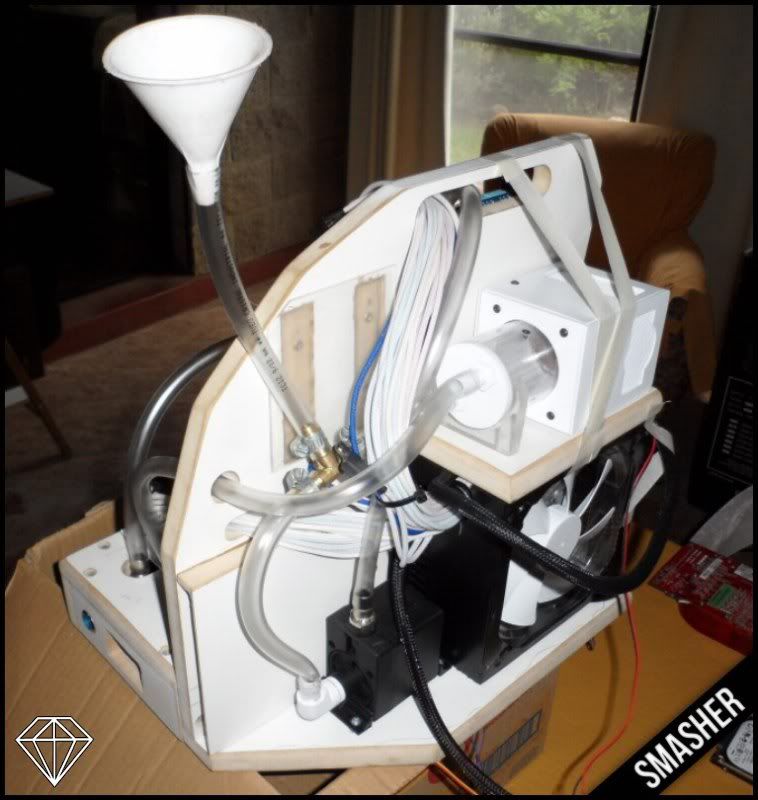
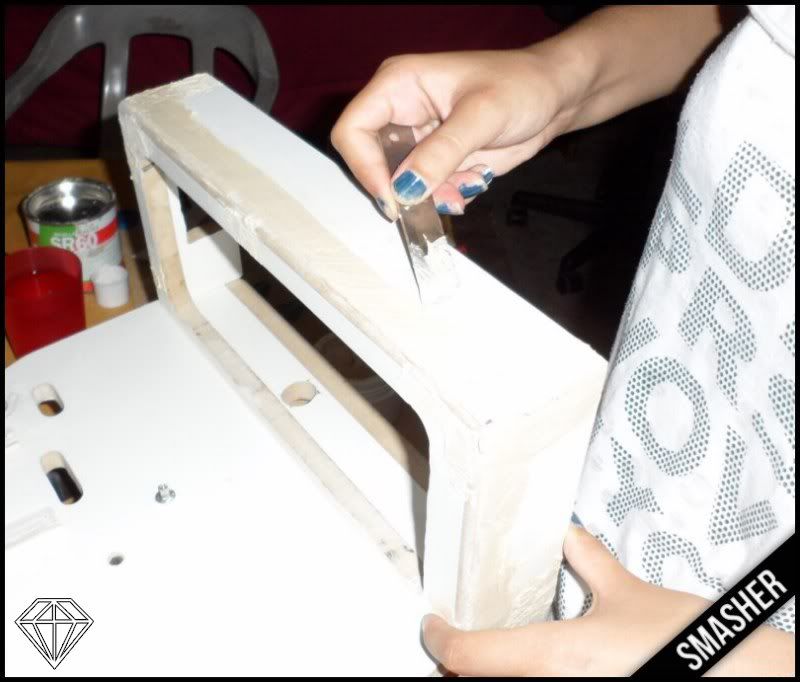
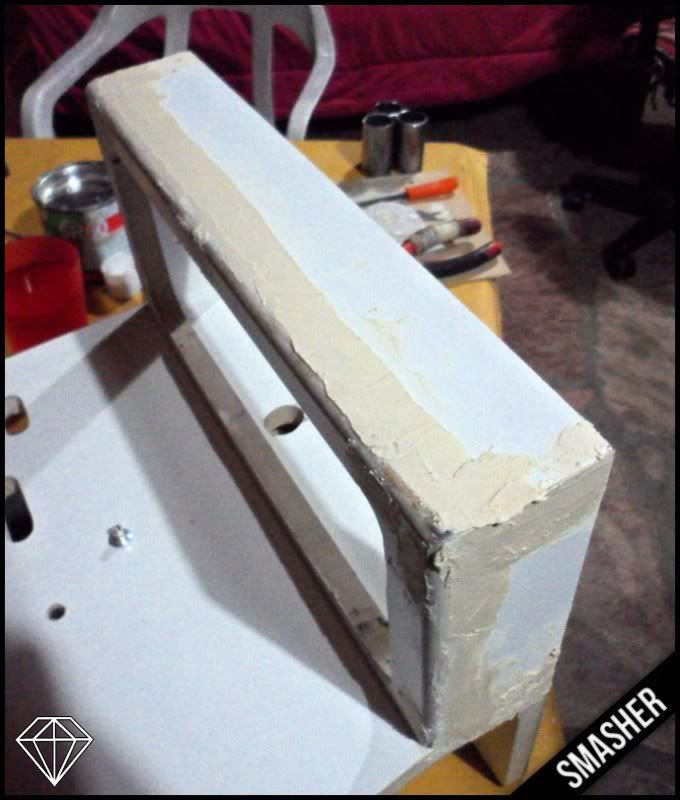
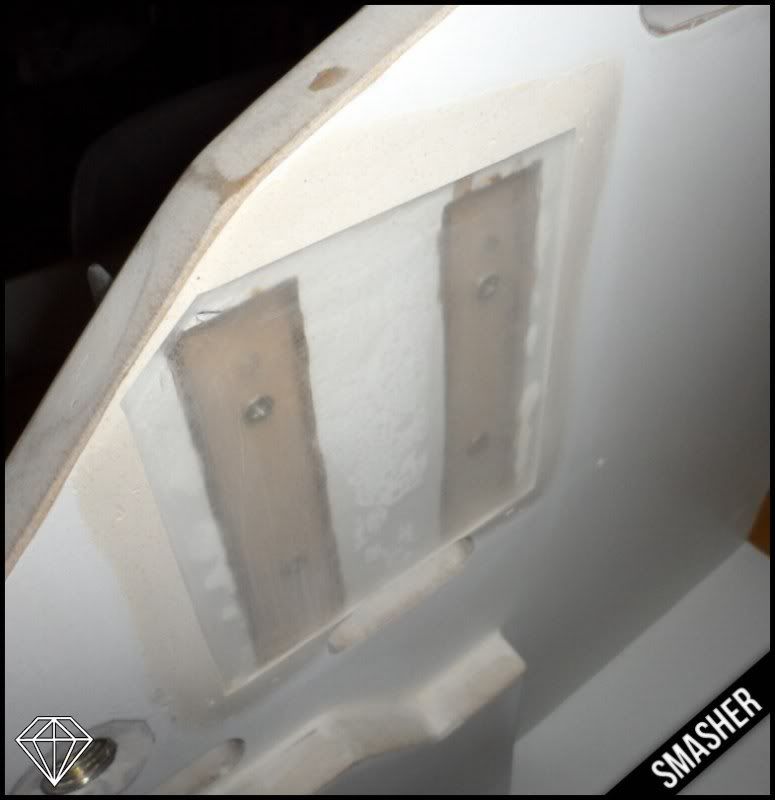
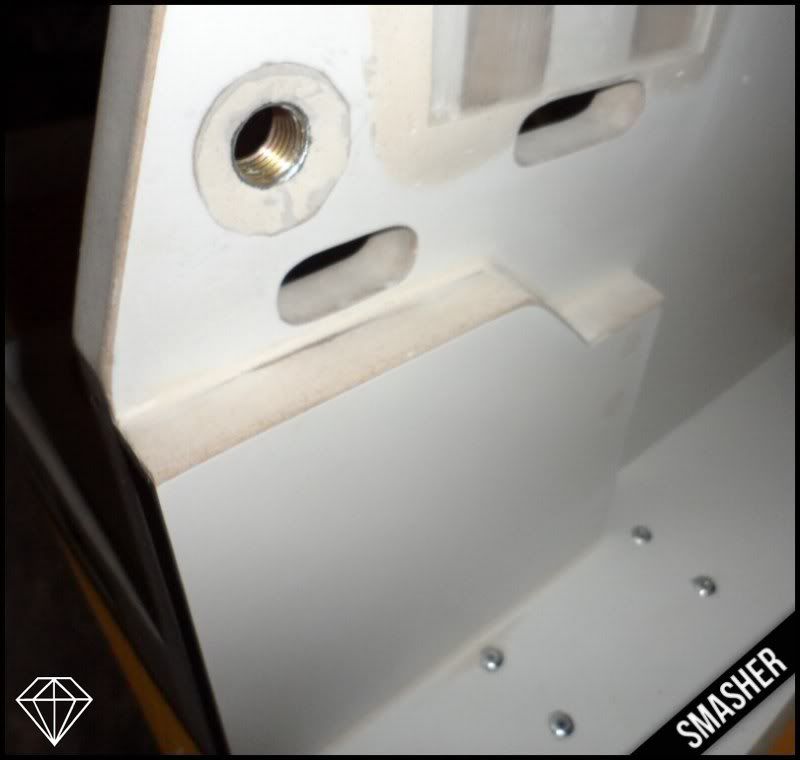
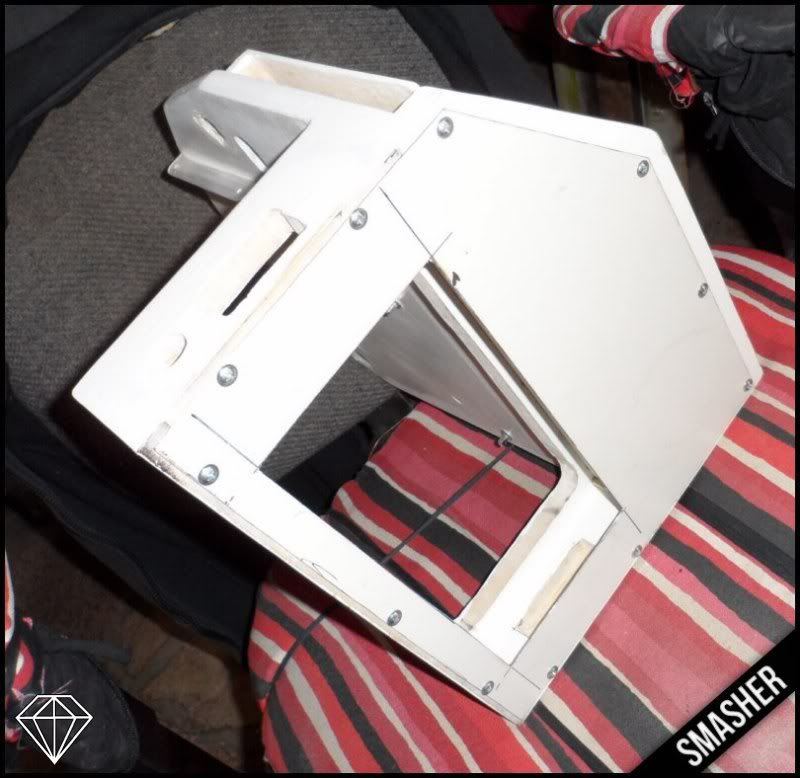
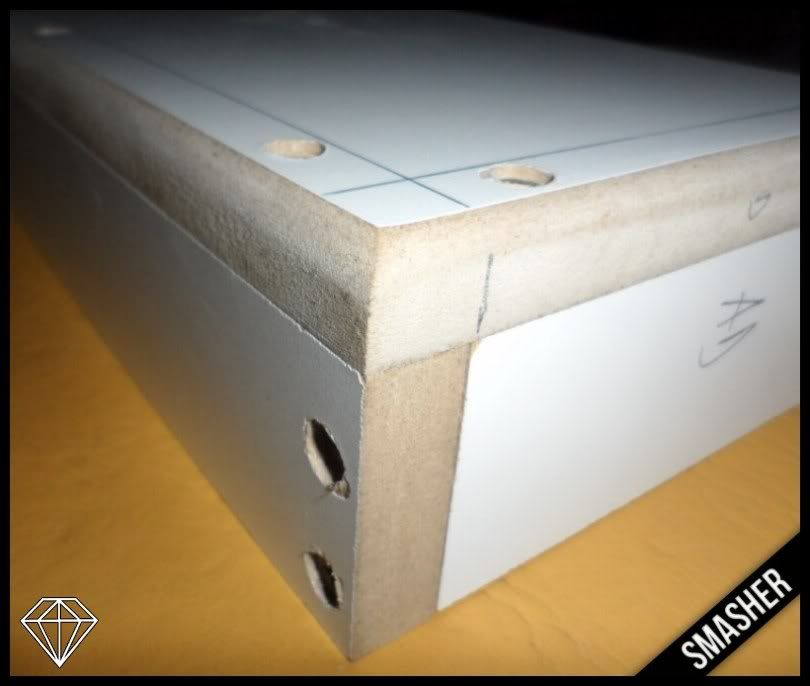
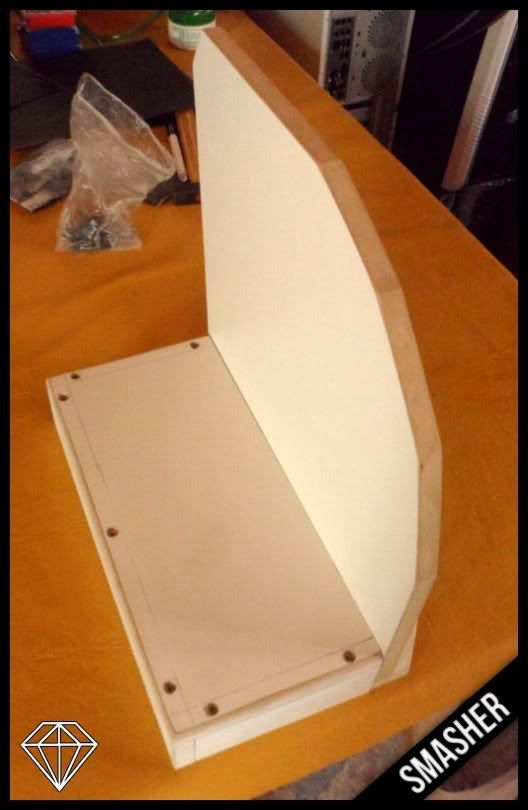
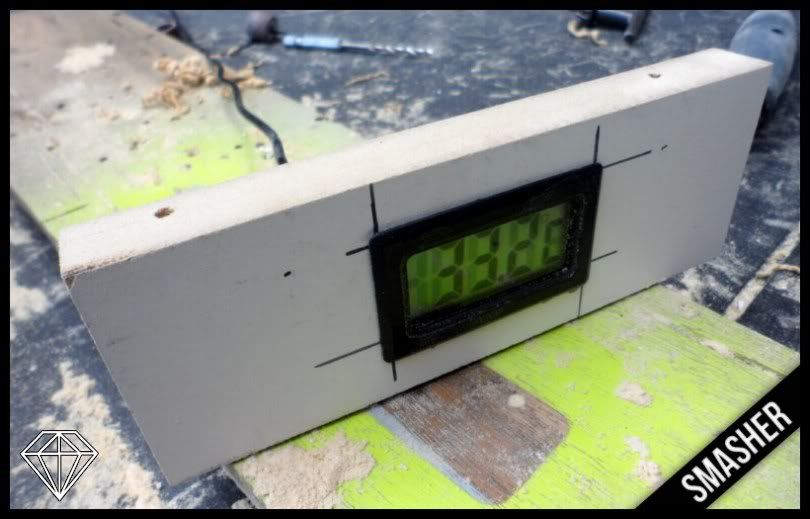
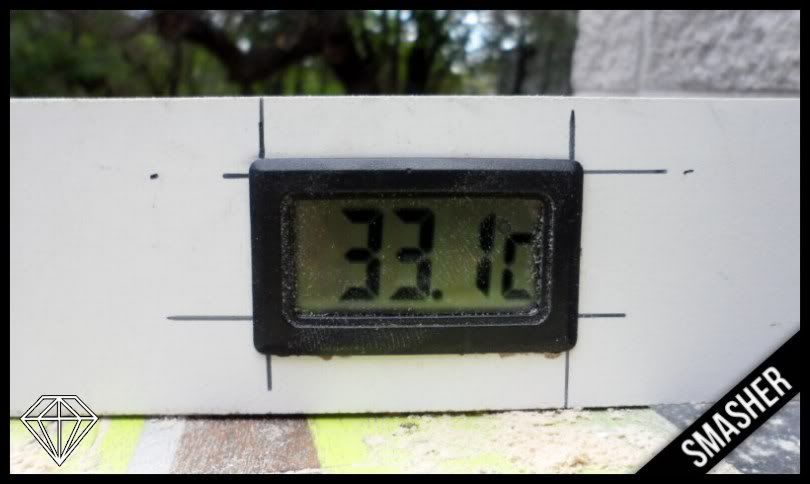
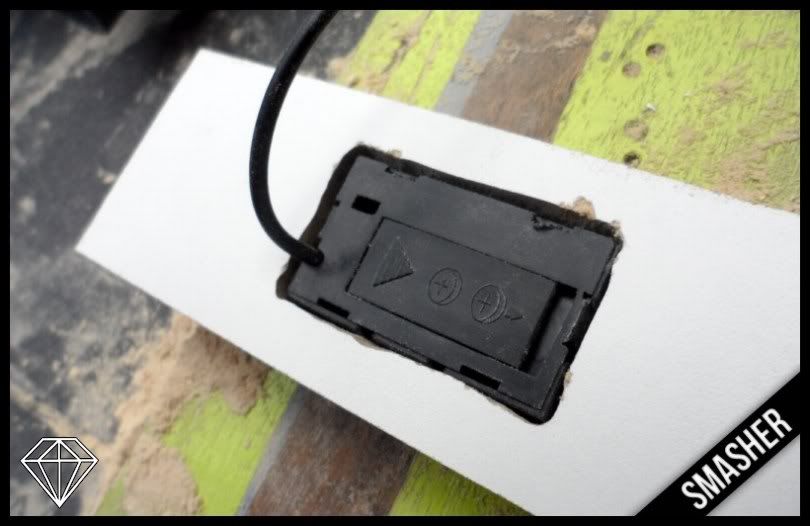
As always, the photos speak for themselves.
WhiteTimantti-Smasher-001.jpg

WhiteTimantti-Smasher-002.jpg

WhiteTimantti-Smasher-003.jpg

WhiteTimantti-Smasher-004.jpg

WhiteTimantti-Smasher-005.jpg

WhiteTimantti-Smasher-006.jpg

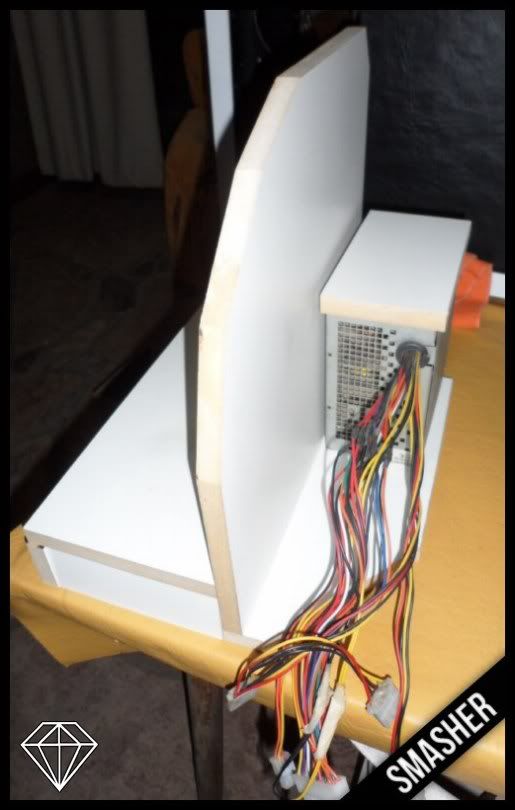
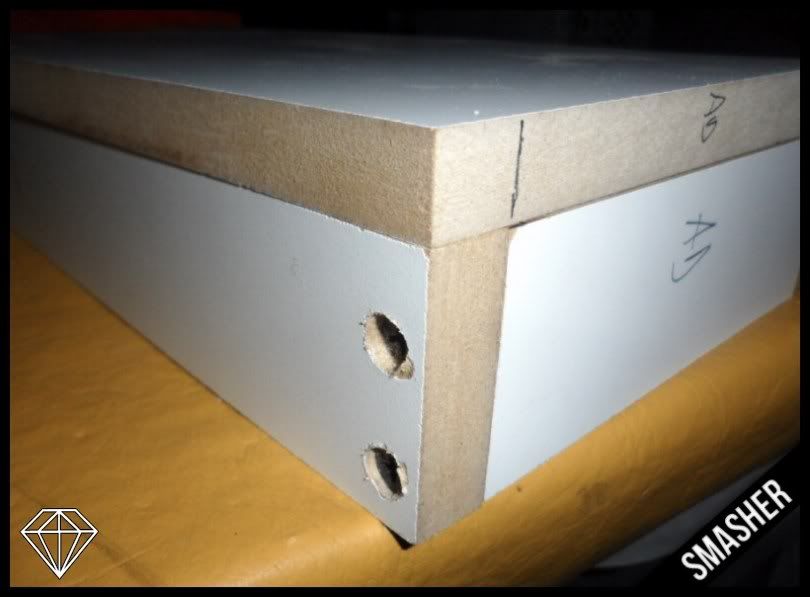
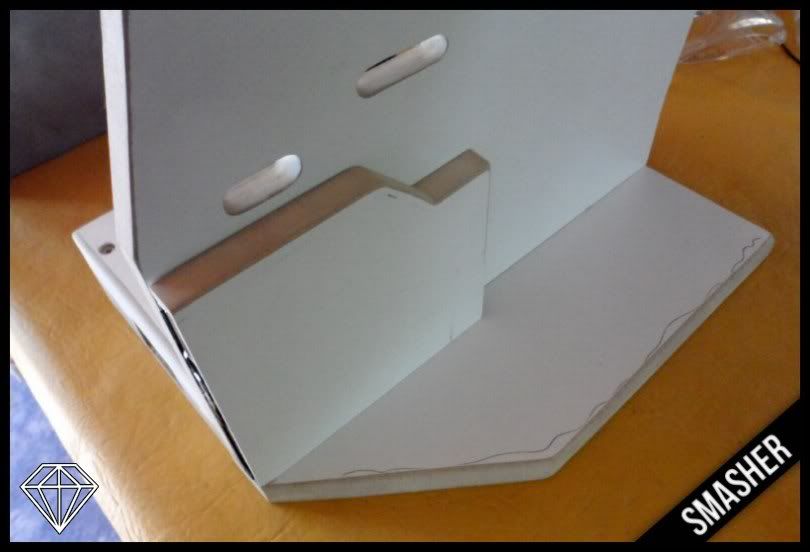
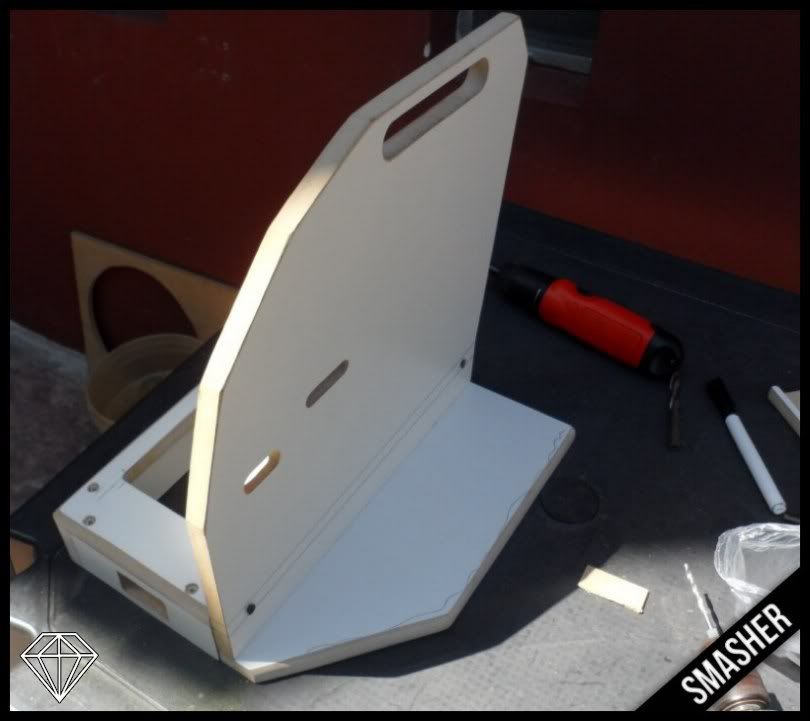
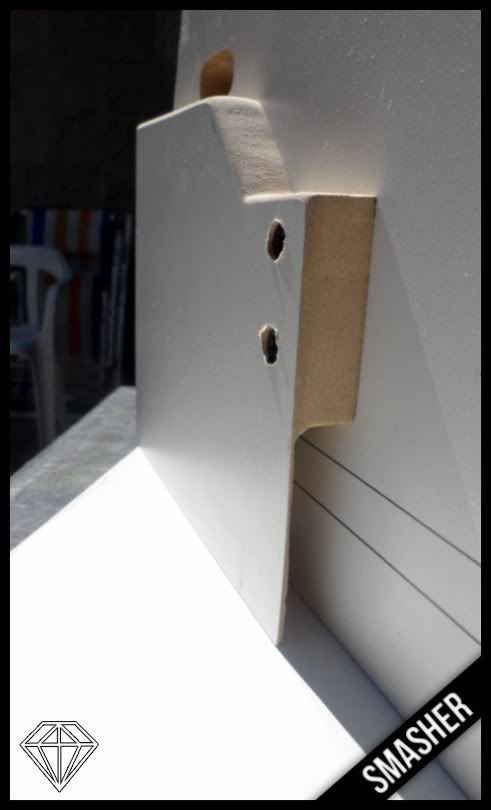
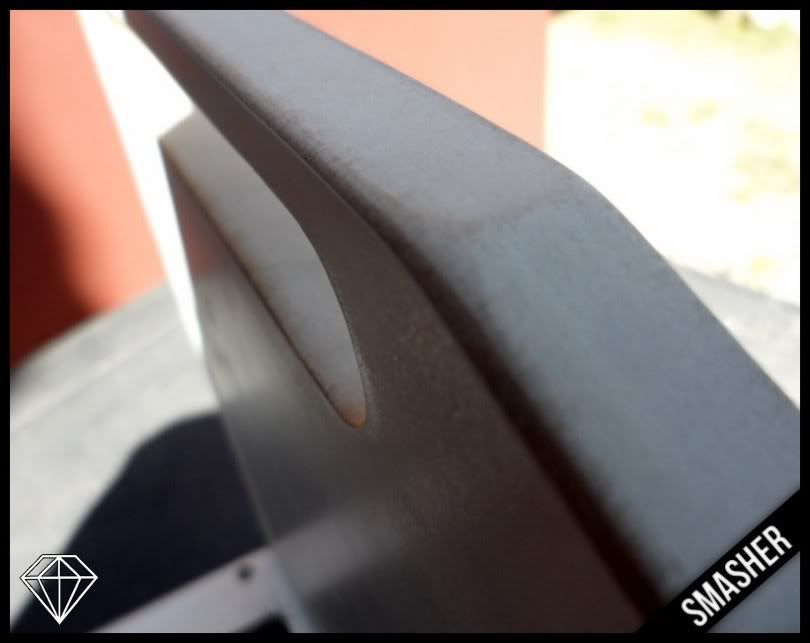
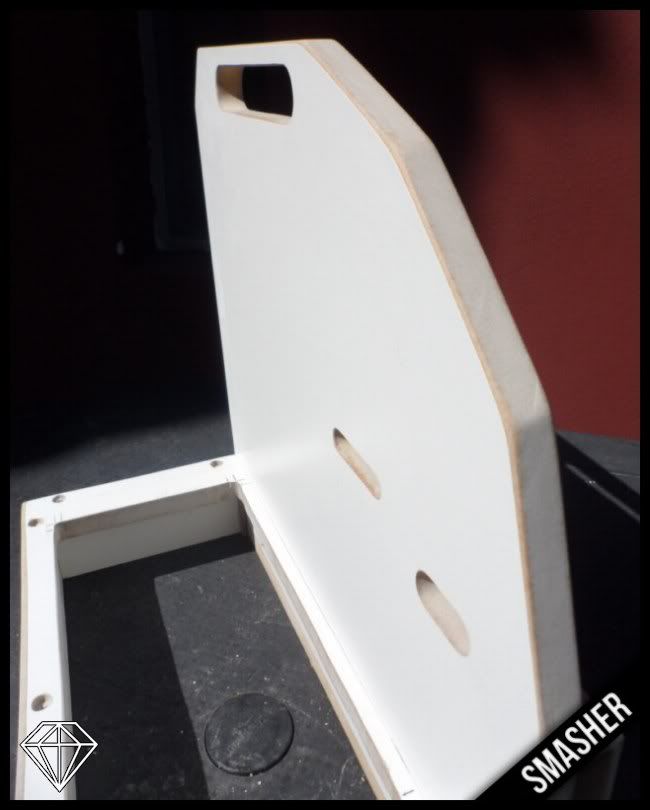
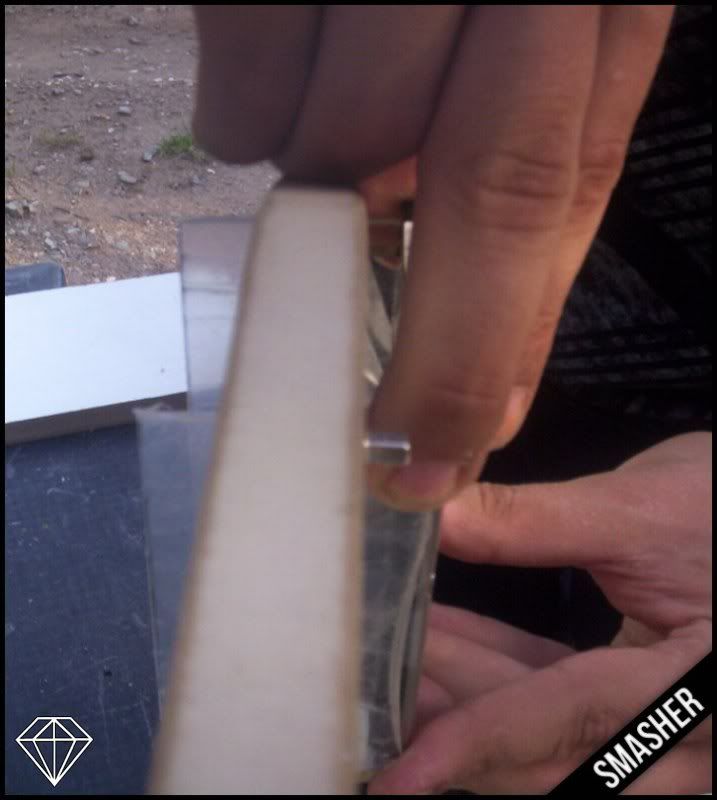
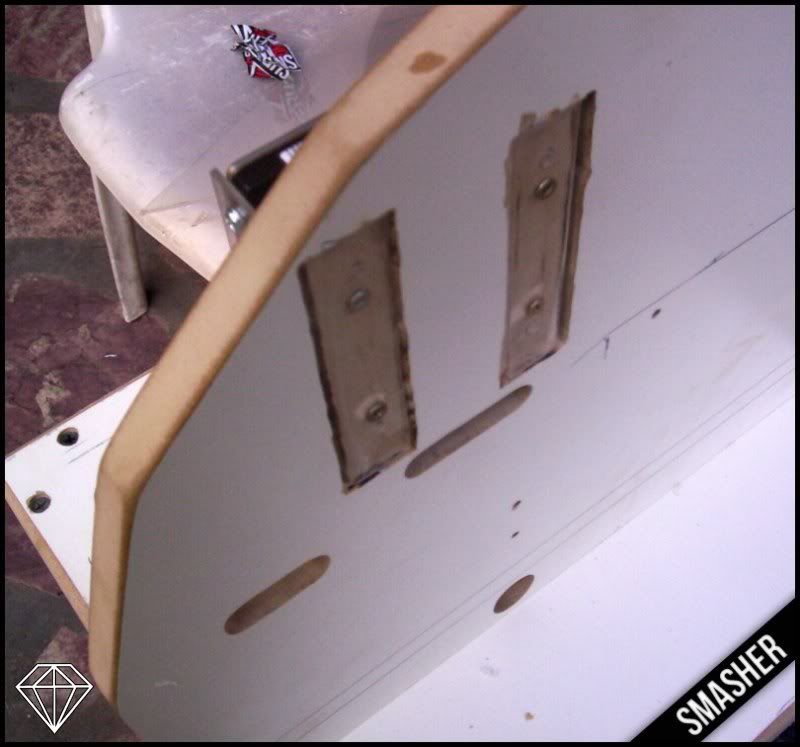
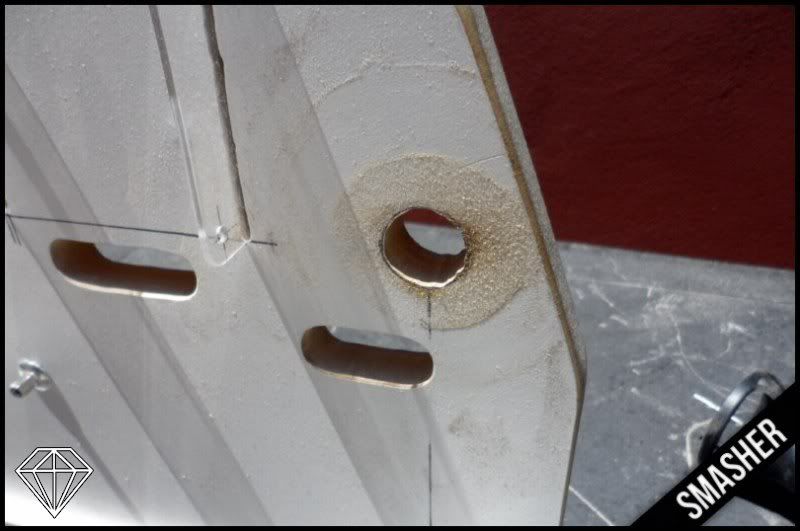
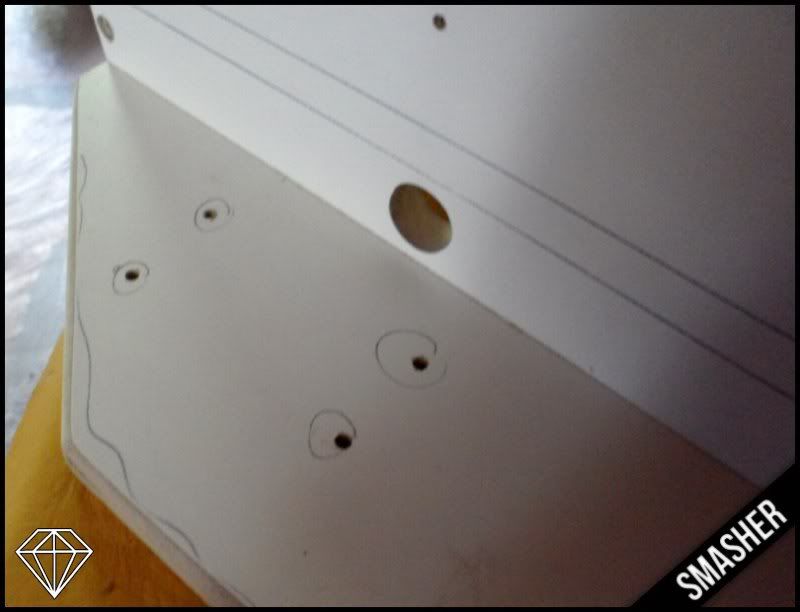
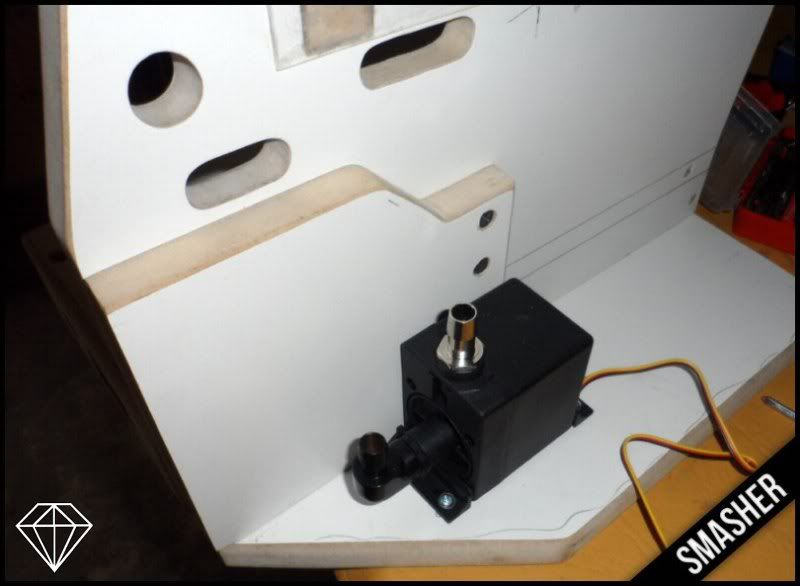
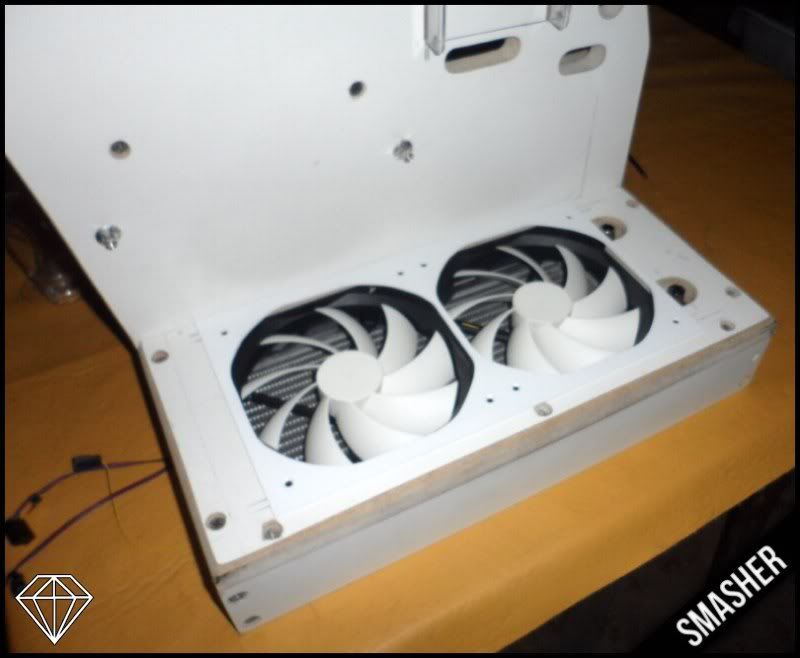
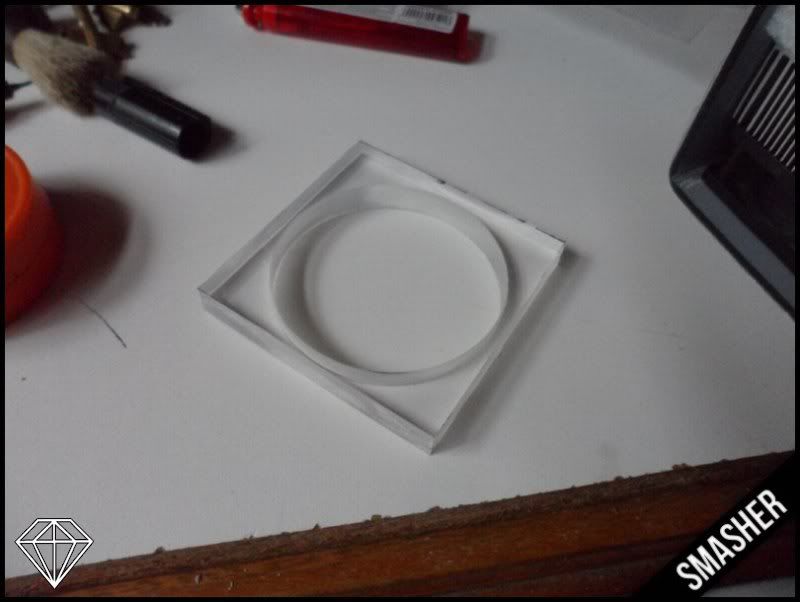
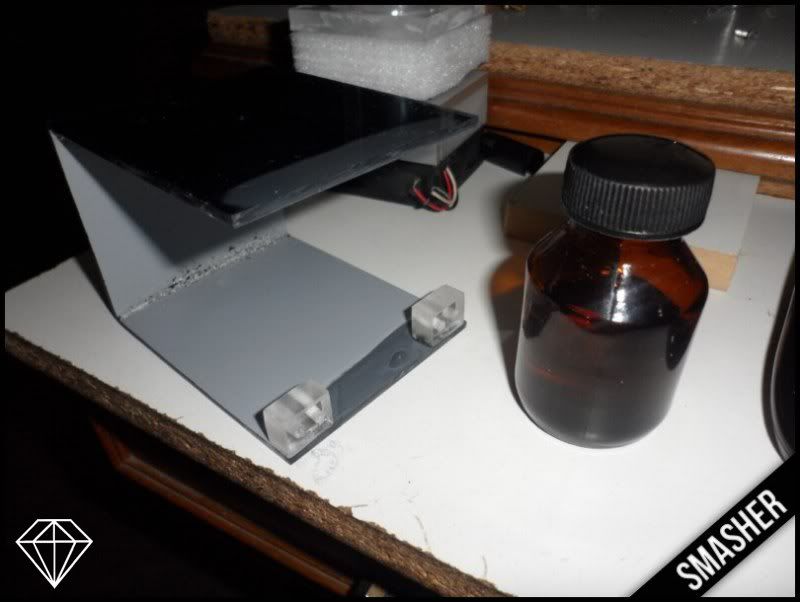
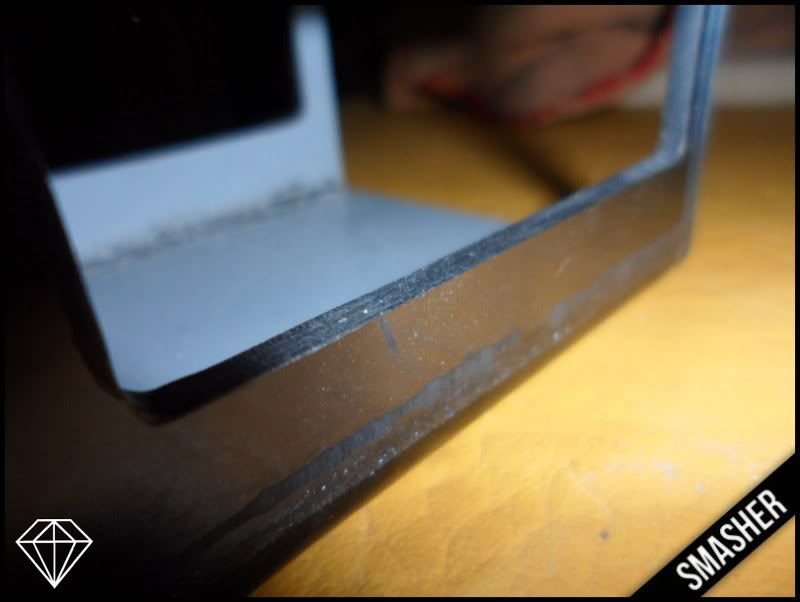
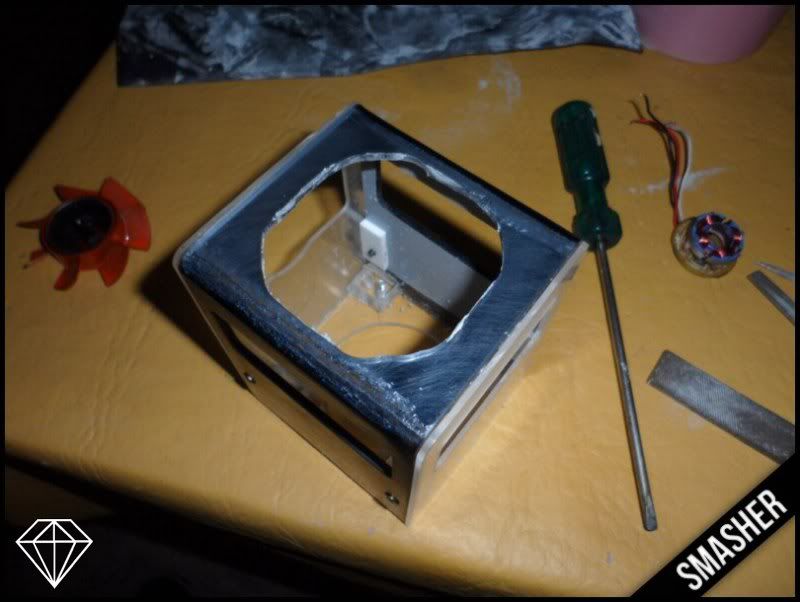
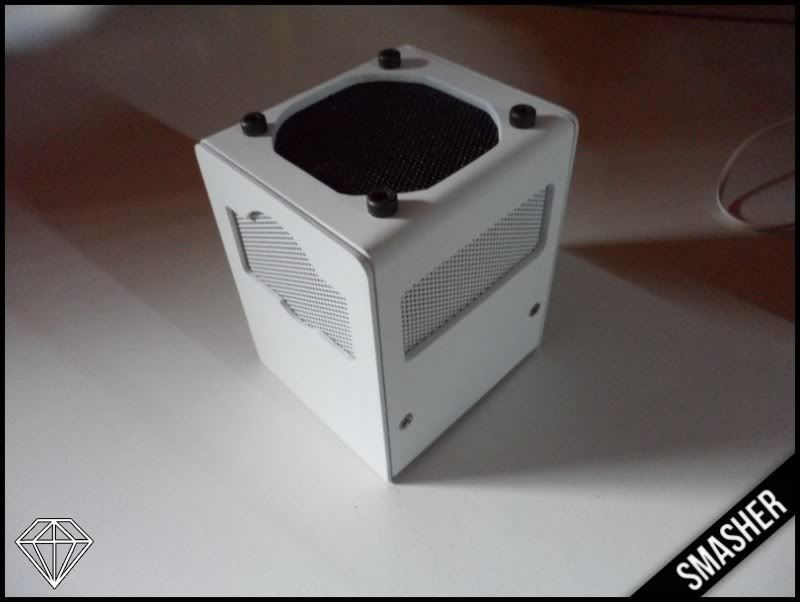
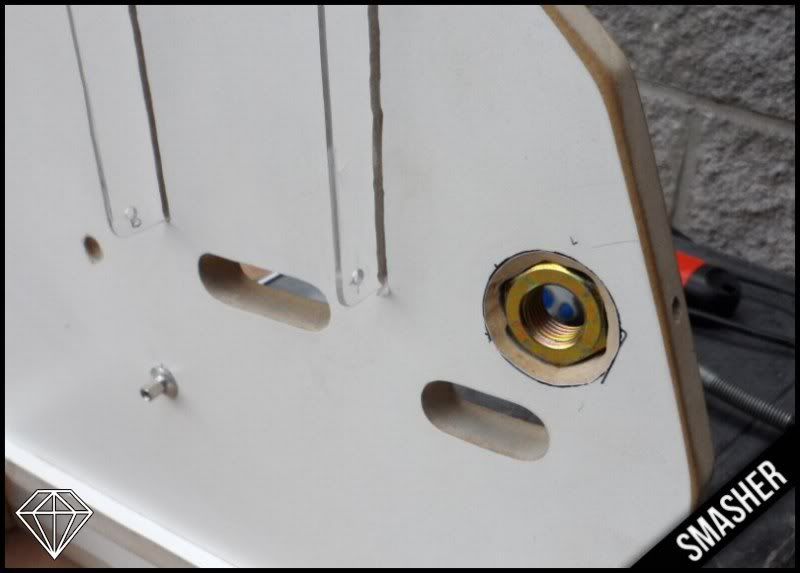
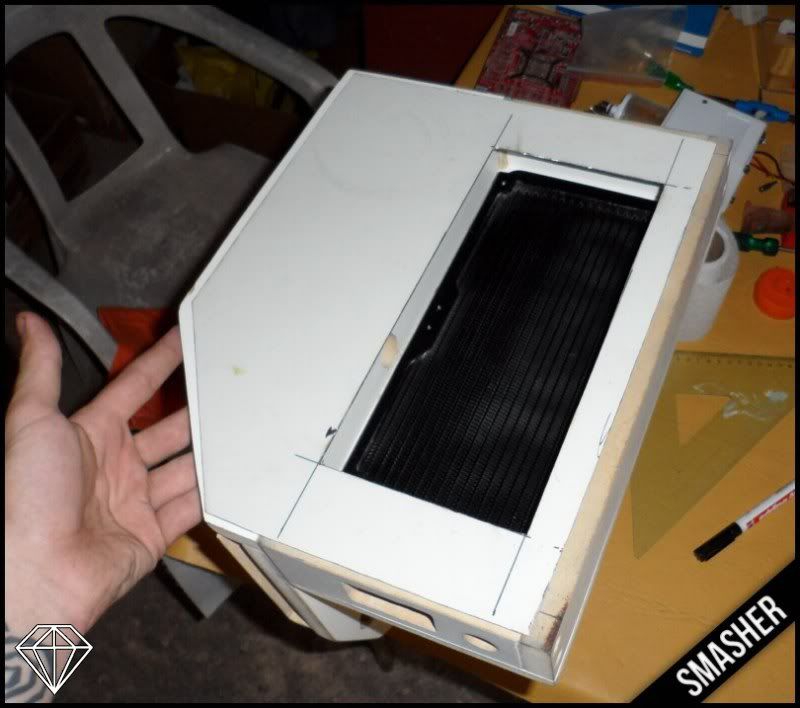
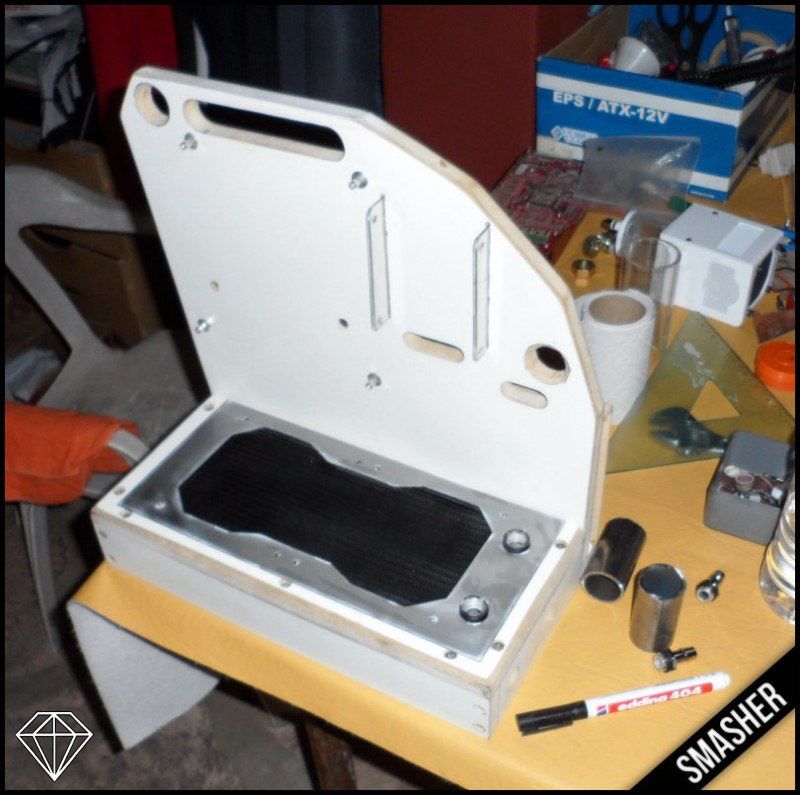
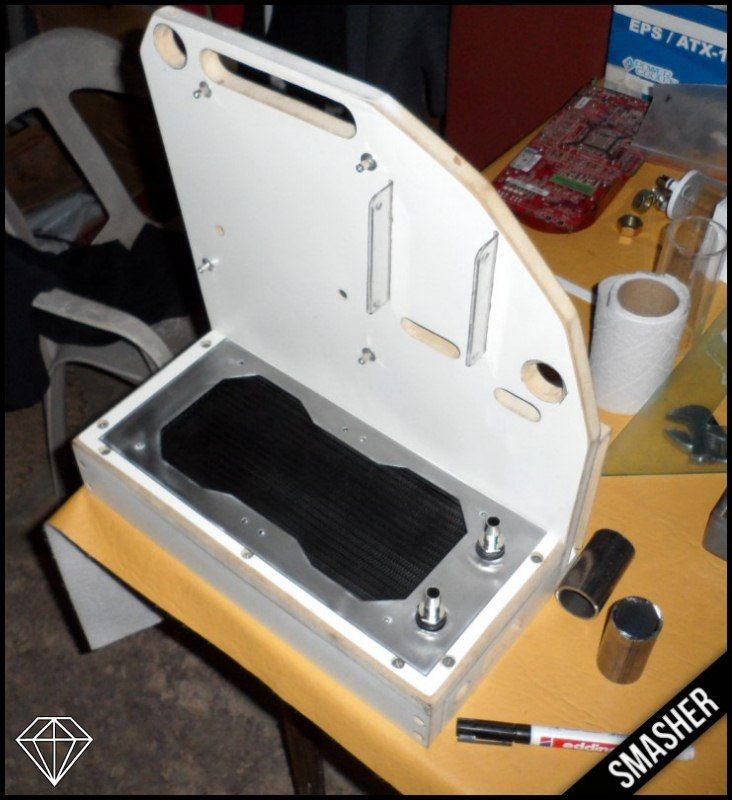
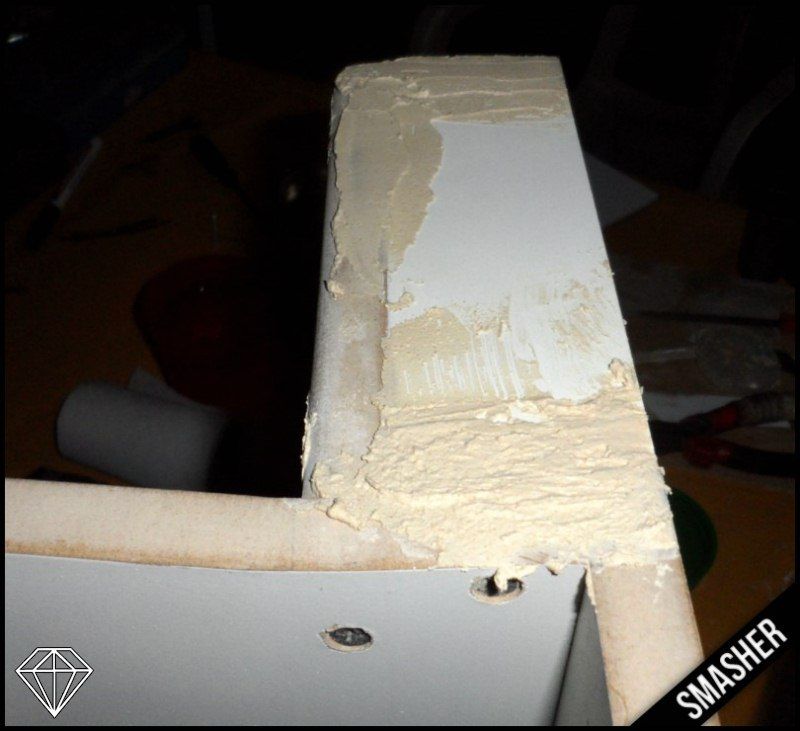
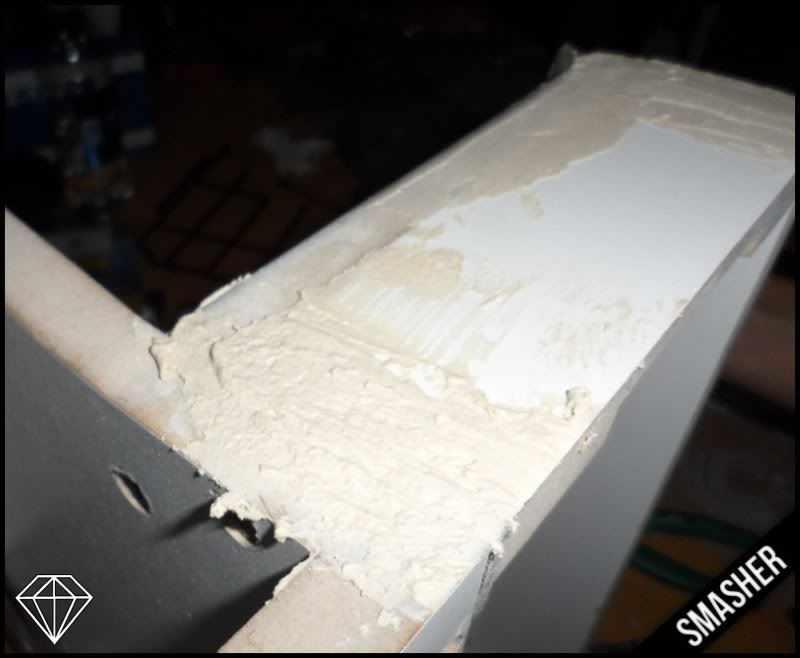
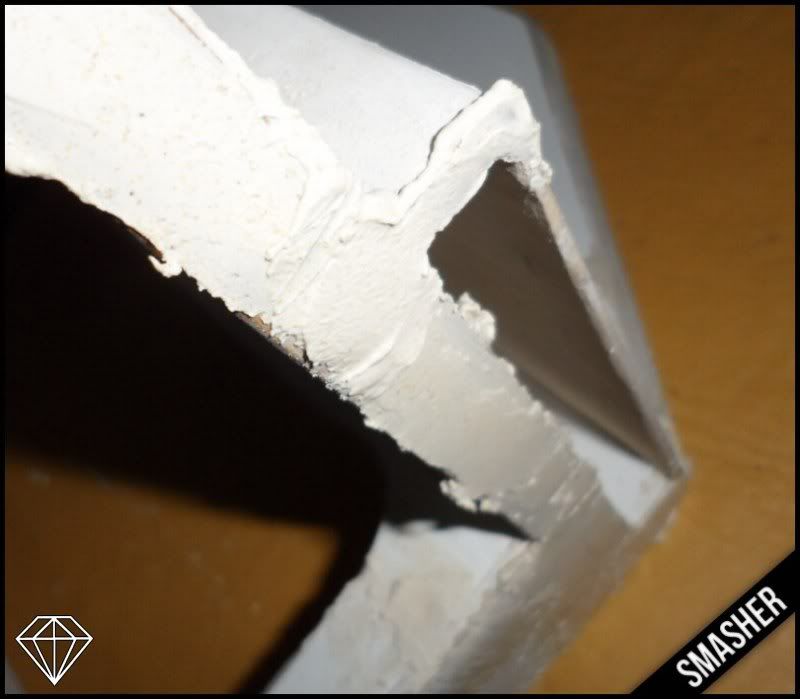
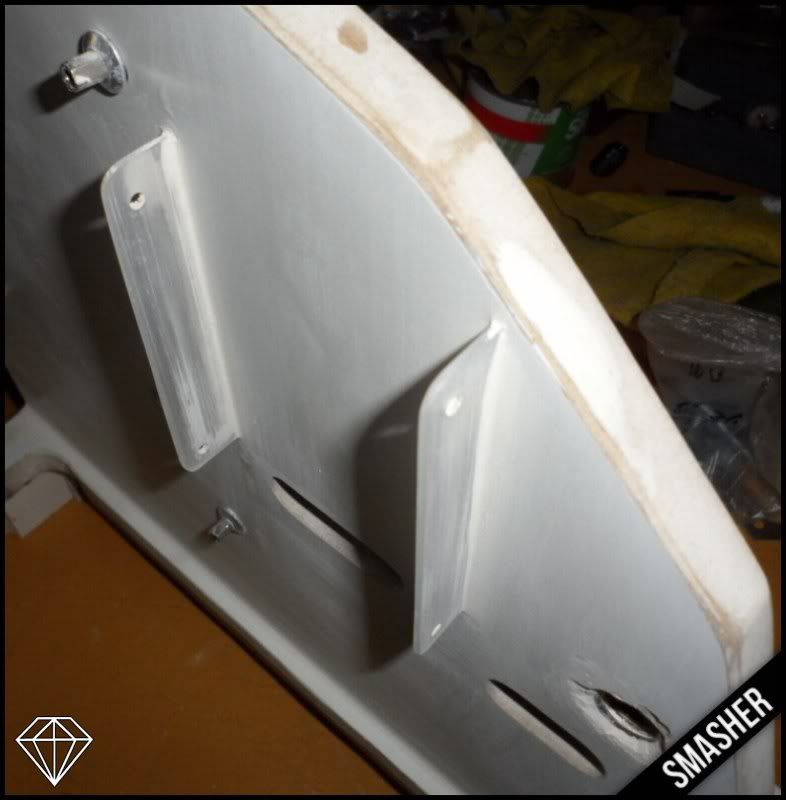
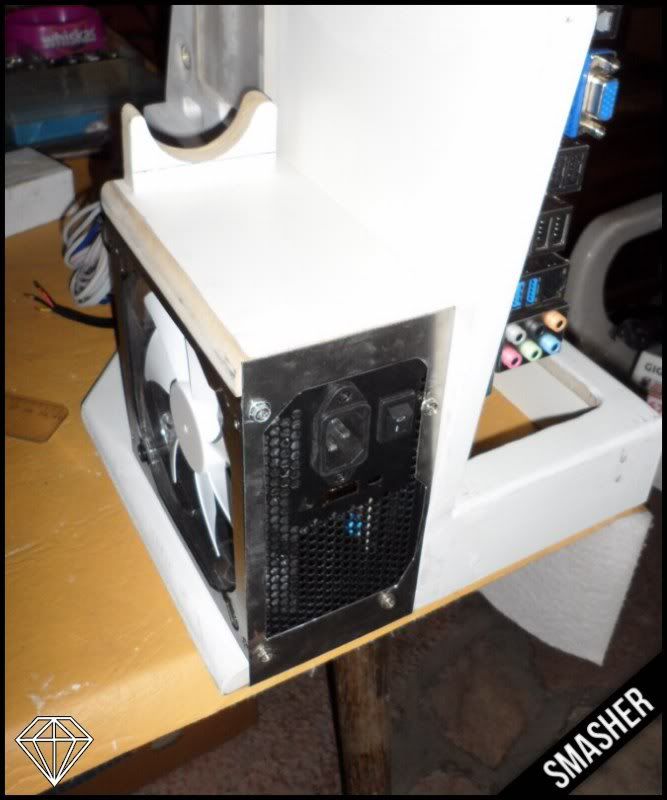
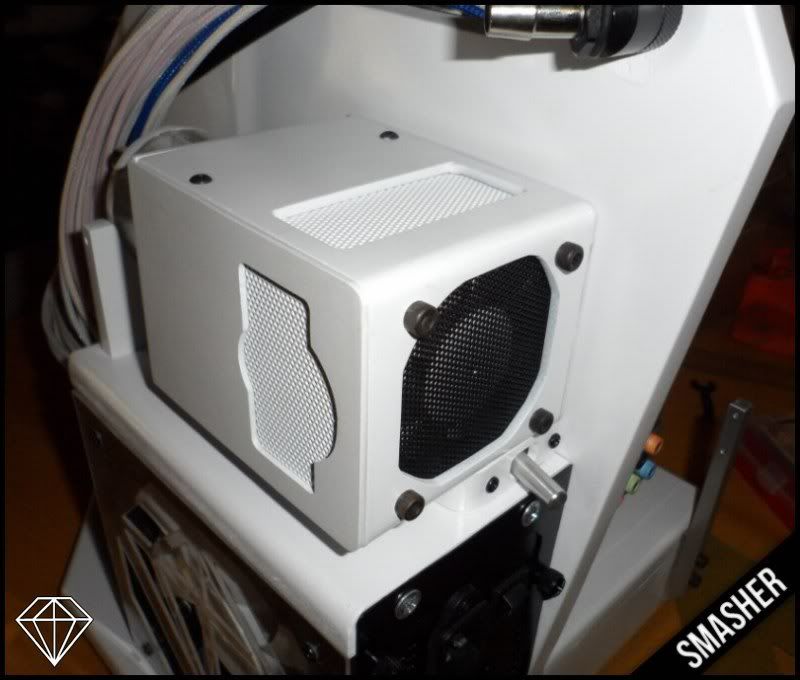
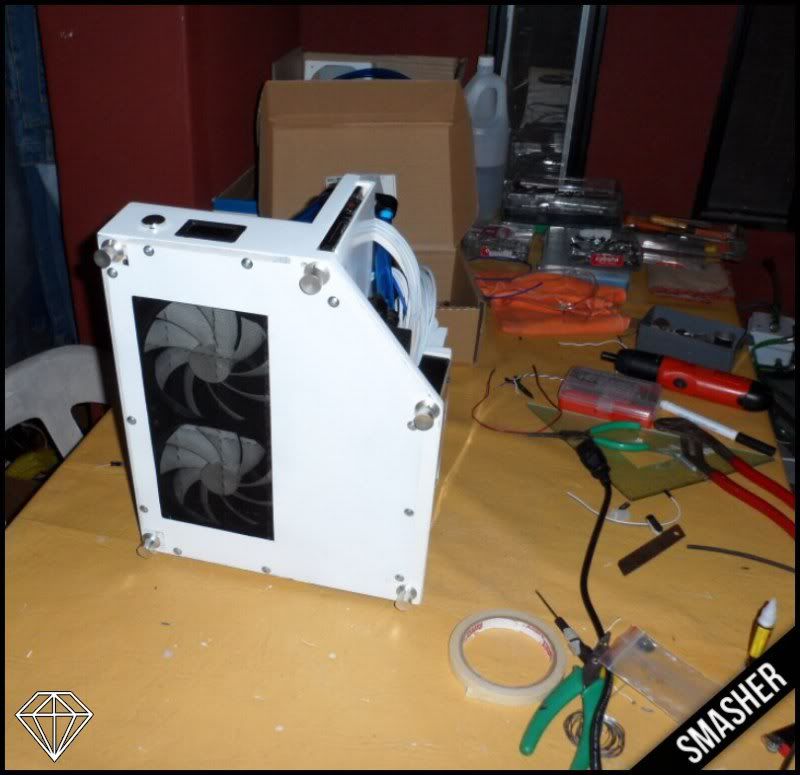
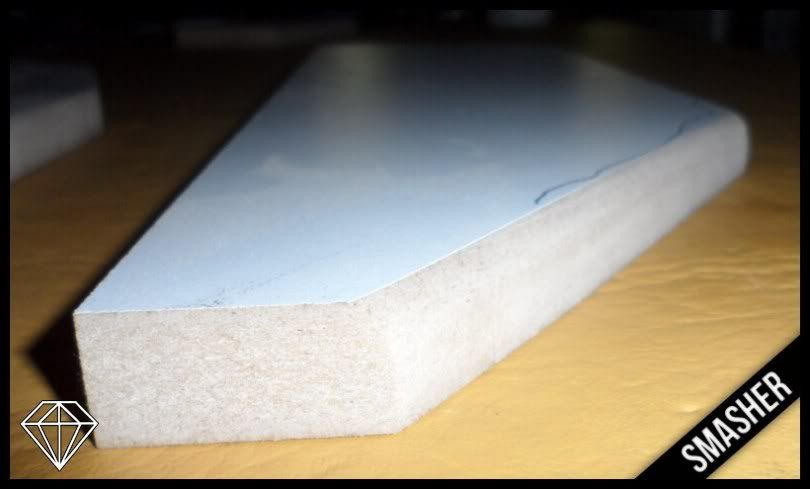
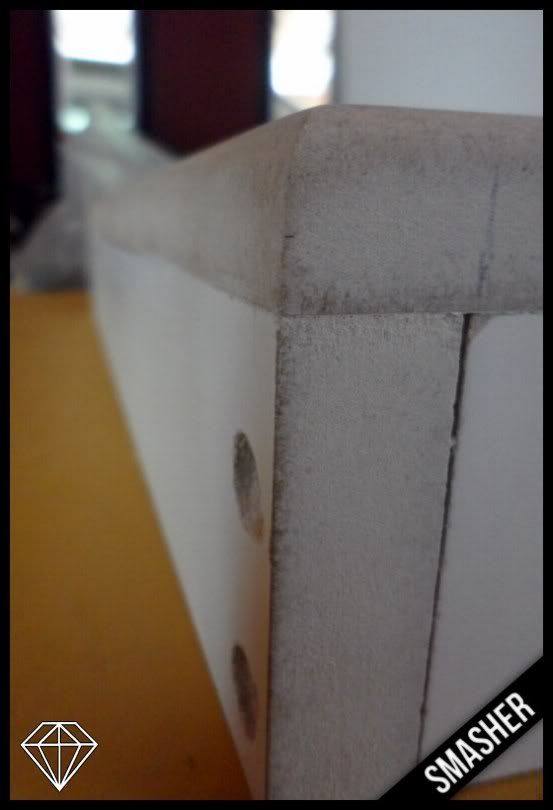
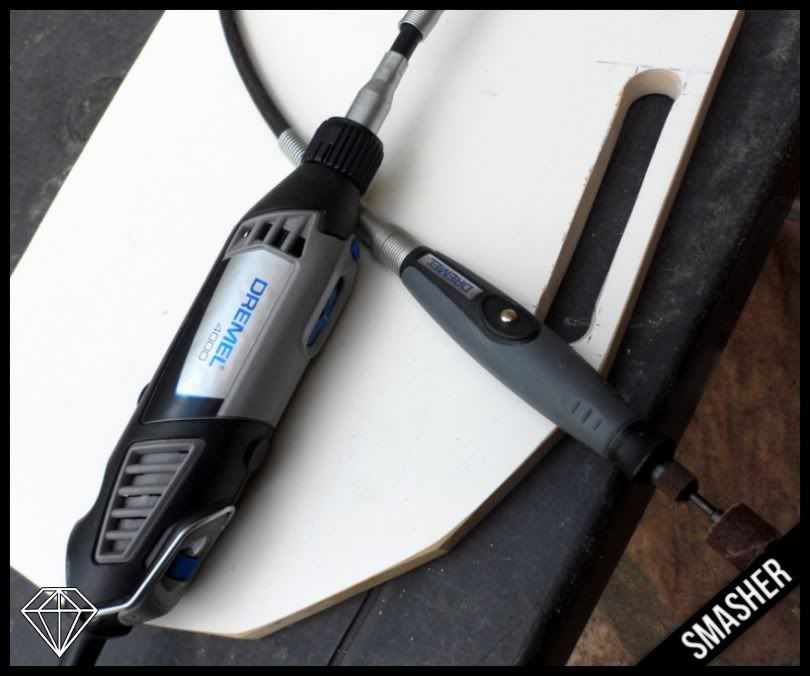
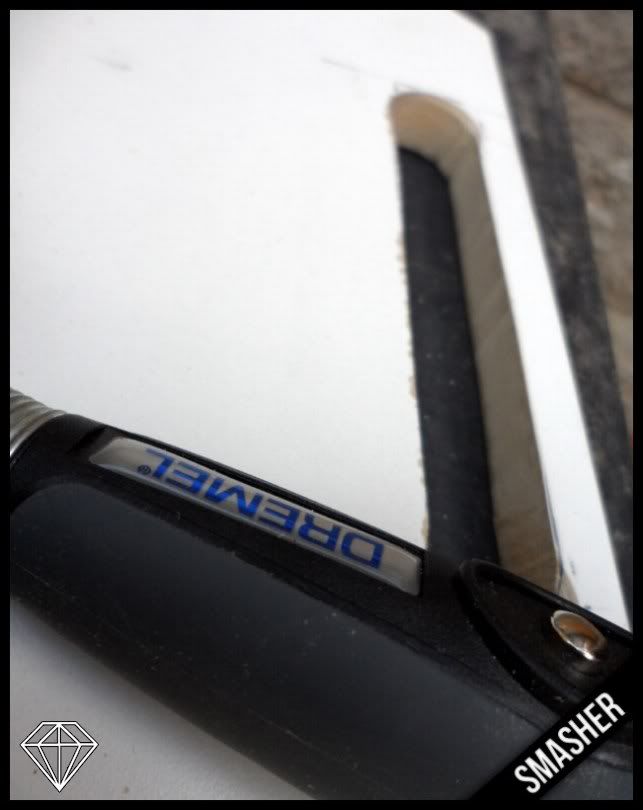
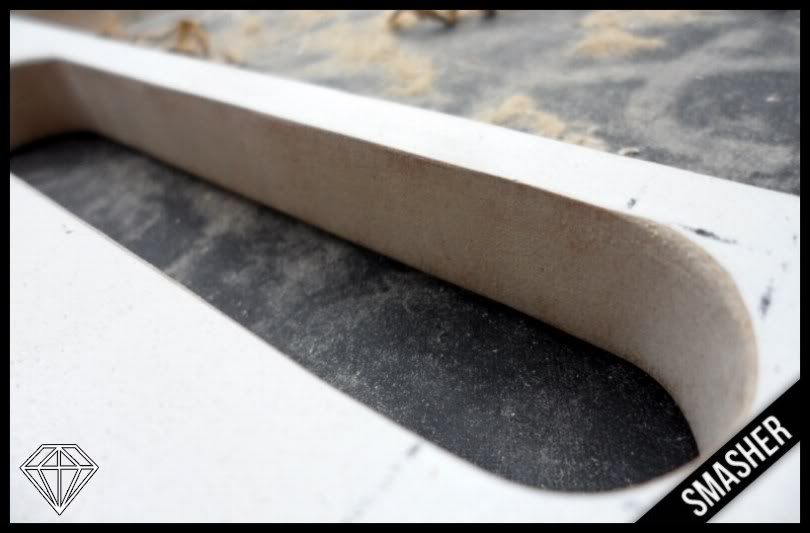
Terminations curves at the edges:
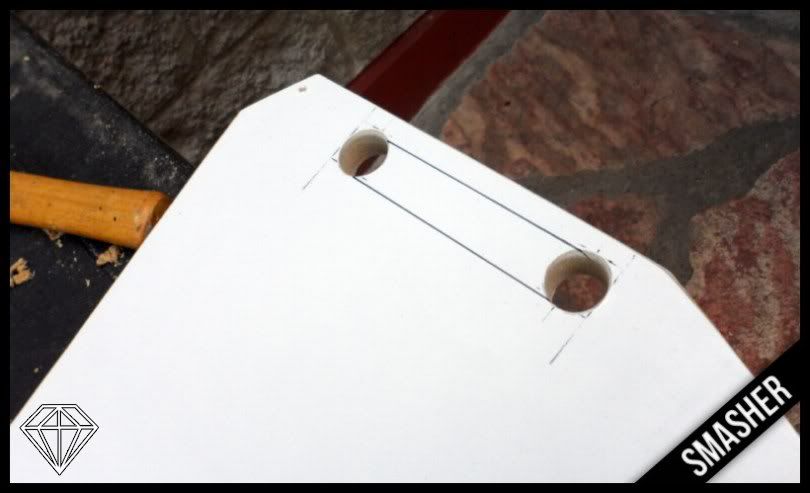
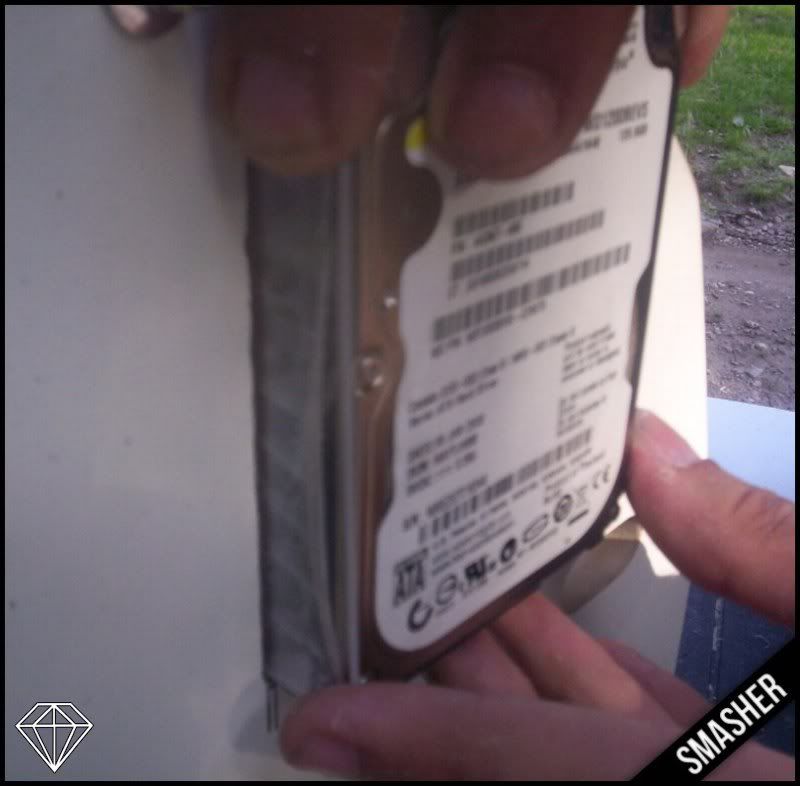
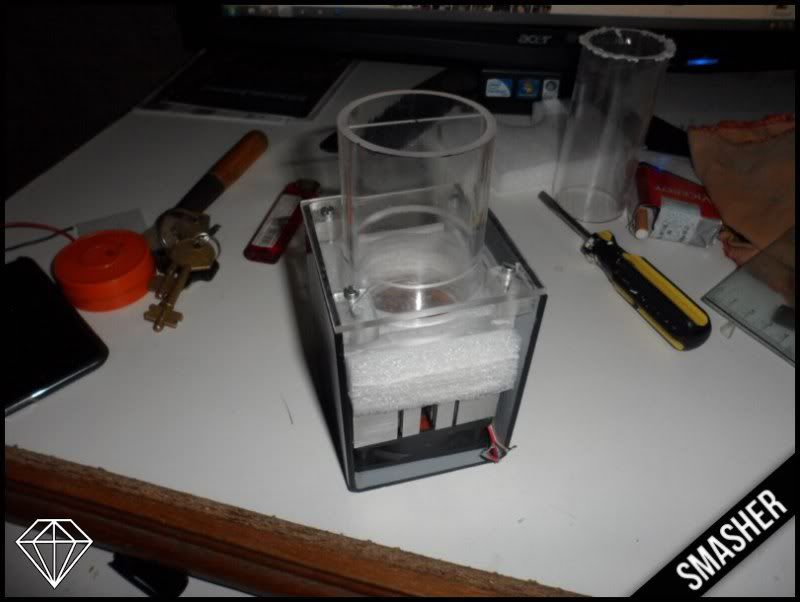
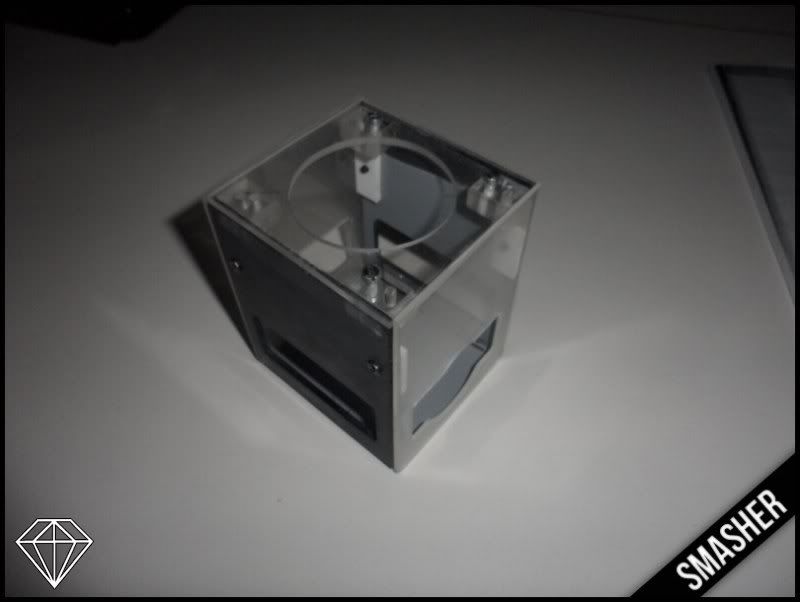
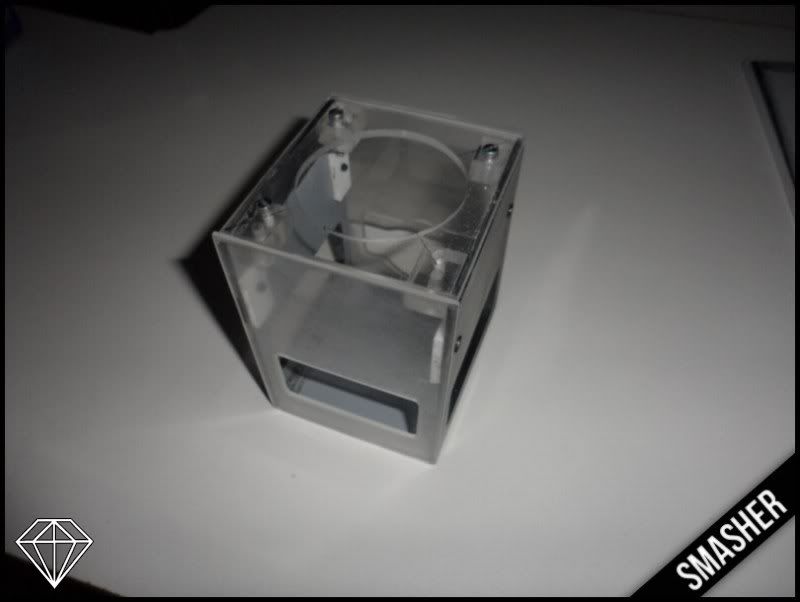
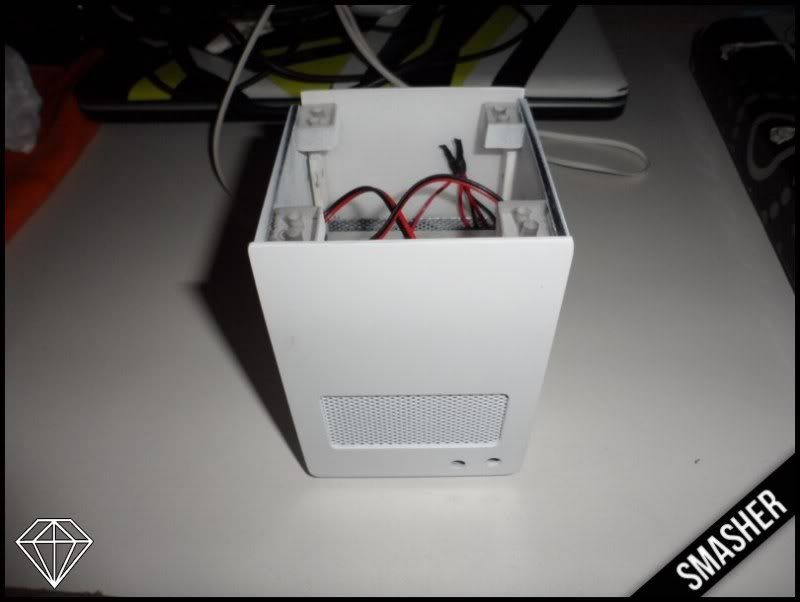
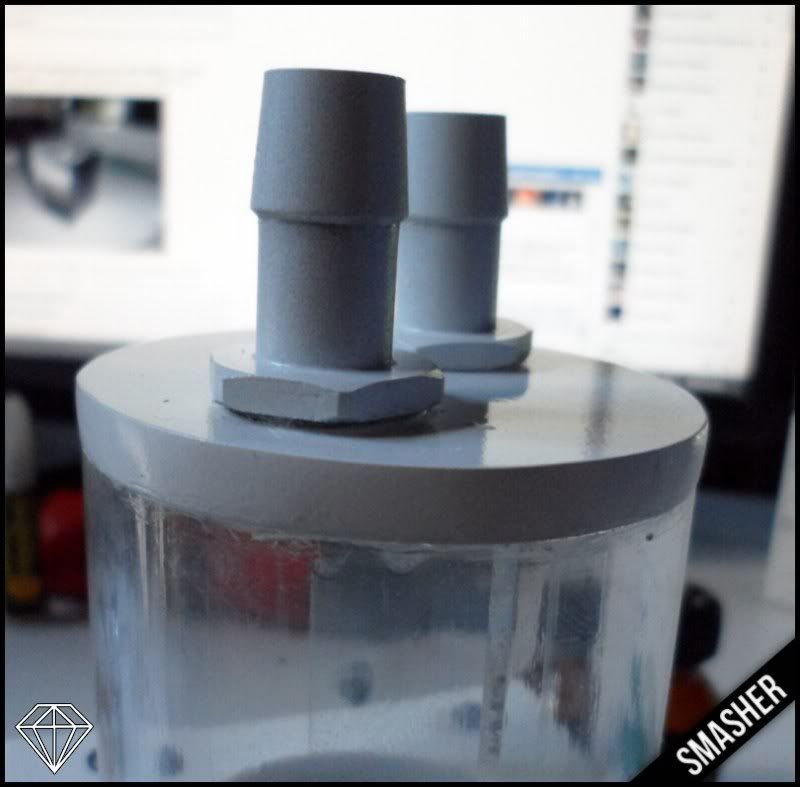
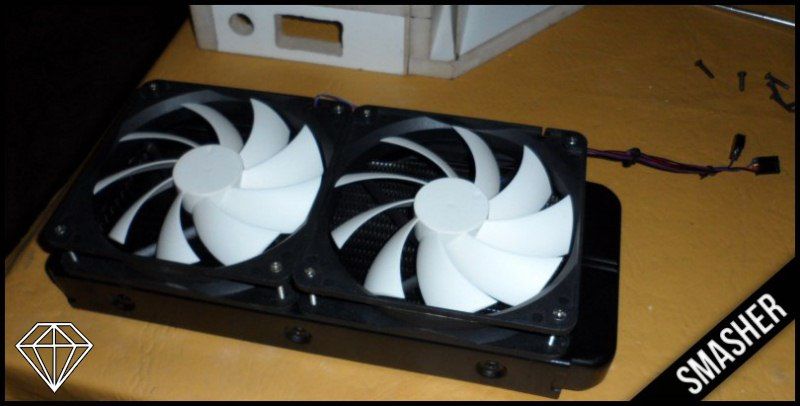
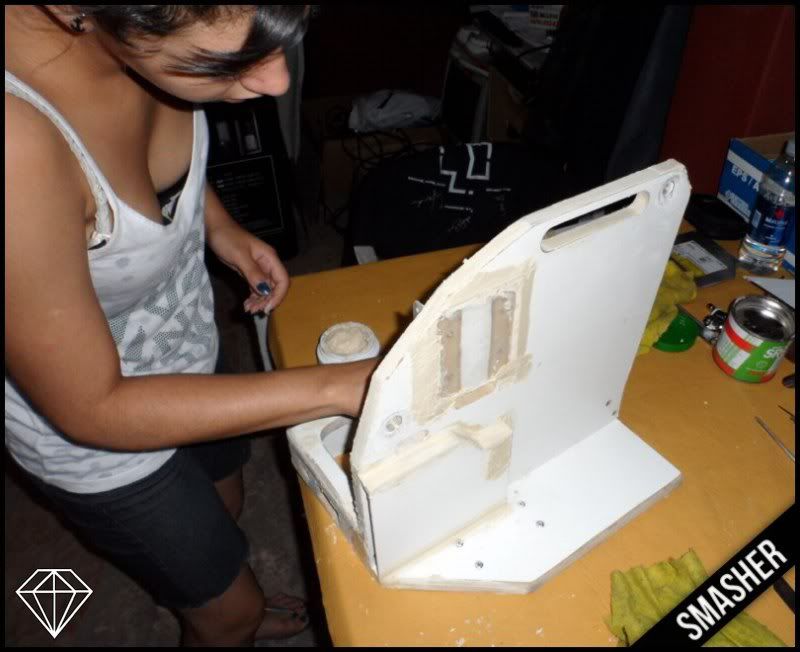
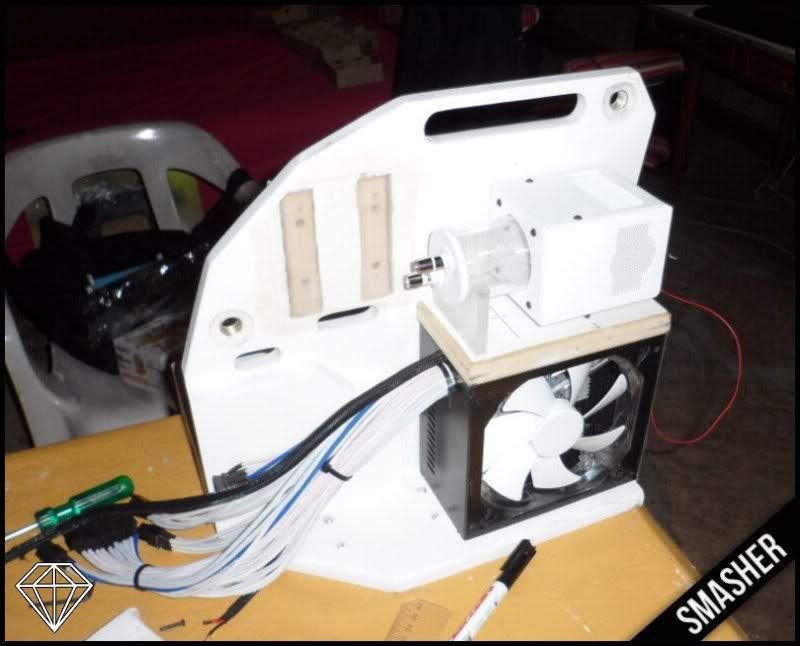
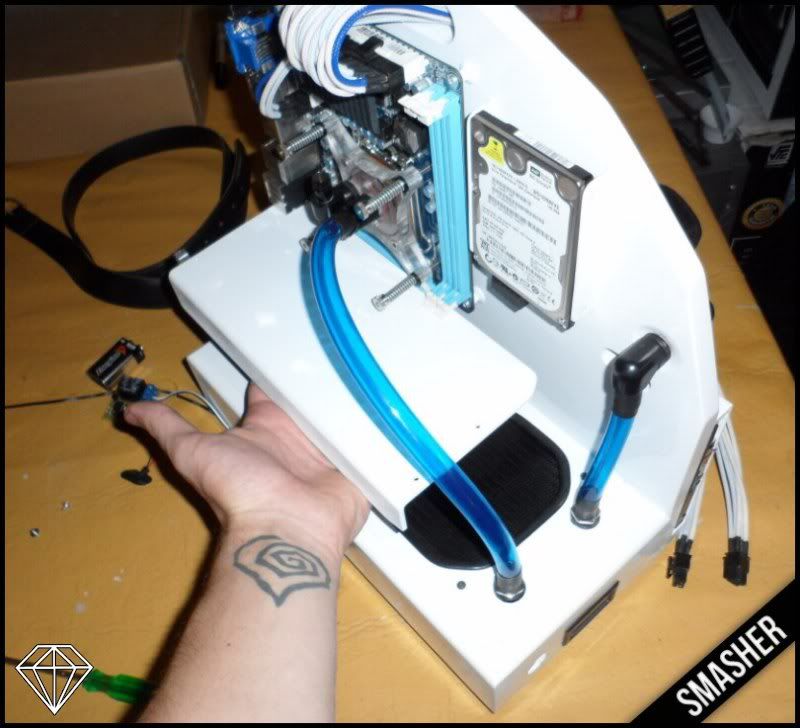
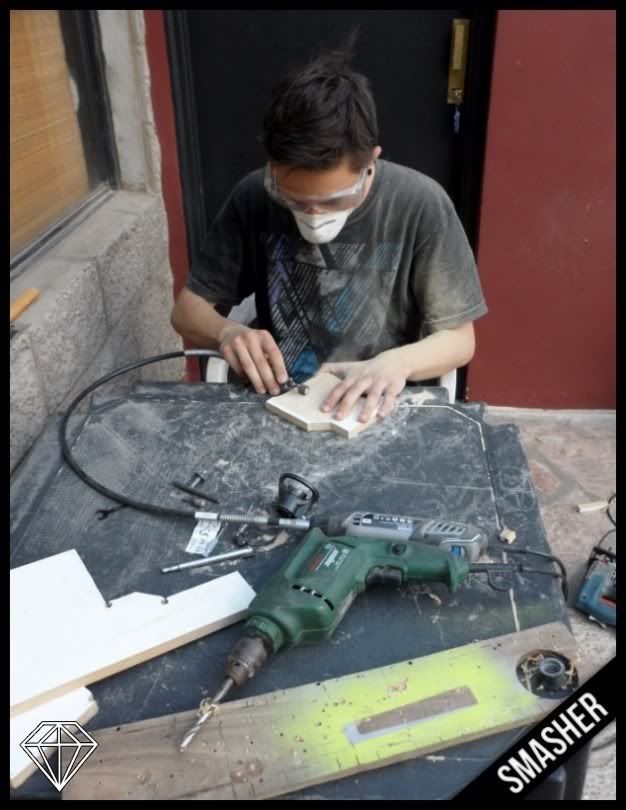
WhiteTimantti-Smasher-007.jpg

WhiteTimantti-Smasher-008.jpg

WhiteTimantti-Smasher-009.jpg

WhiteTimantti-Smasher-010.jpg

WhiteTimantti-Smasher-011.jpg

WhiteTimantti-Smasher-012.jpg

WhiteTimantti-Smasher-013.jpg

WhiteTimantti-Smasher-014.jpg

WhiteTimantti-Smasher-015.jpg

WhiteTimantti-Smasher-016.jpg

WhiteTimantti-Smasher-017.jpg

WhiteTimantti-Smasher-018.jpg

WhiteTimantti-Smasher-019.jpg

WhiteTimantti-Smasher-020.jpg

WhiteTimantti-Smasher-021.jpg

WhiteTimantti-Smasher-022.jpg

WhiteTimantti-Smasher-023.jpg

WhiteTimantti-Smasher-024.jpg

WhiteTimantti-Smasher-025.jpg

WhiteTimantti-Smasher-026.jpg

WhiteTimantti-Smasher-027.jpg

WhiteTimantti-Smasher-028.jpg

WhiteTimantti-Smasher-029.jpg

Surprise! Ahah
WhiteTimantti-Smasher-030.jpg

Da ModderSuperstar
WhiteTimantti-Smasher-031.jpg


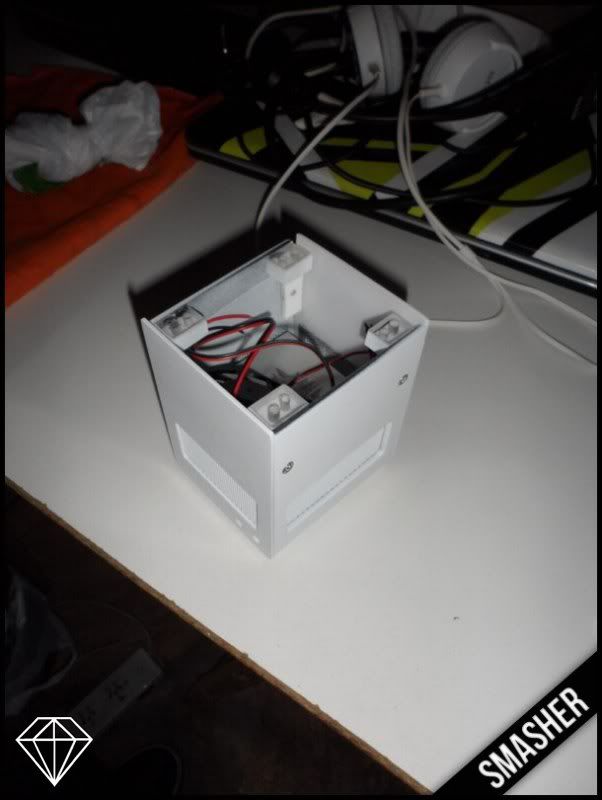
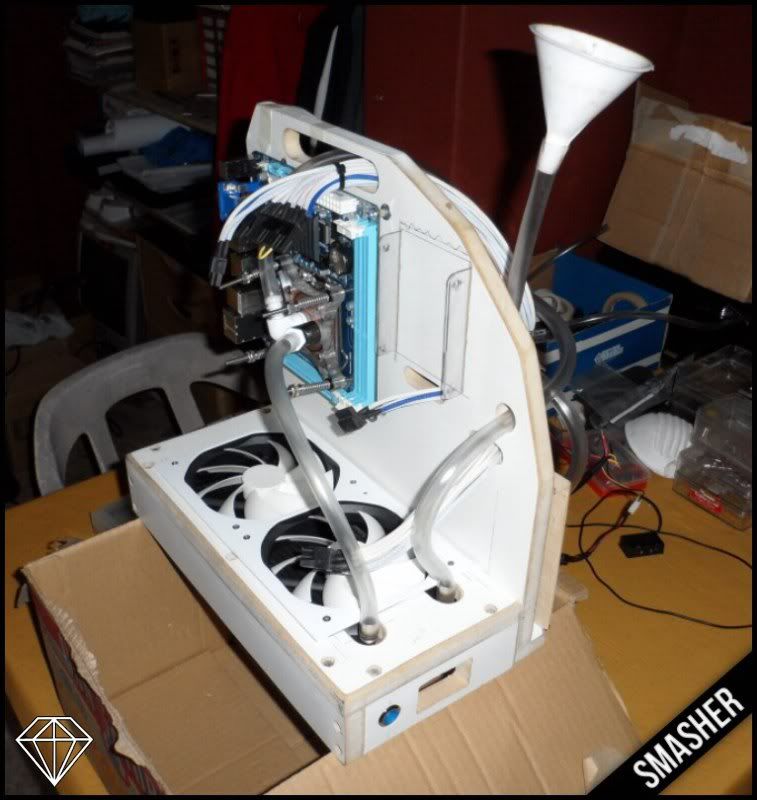
Next week I go over advancements! Greetings!

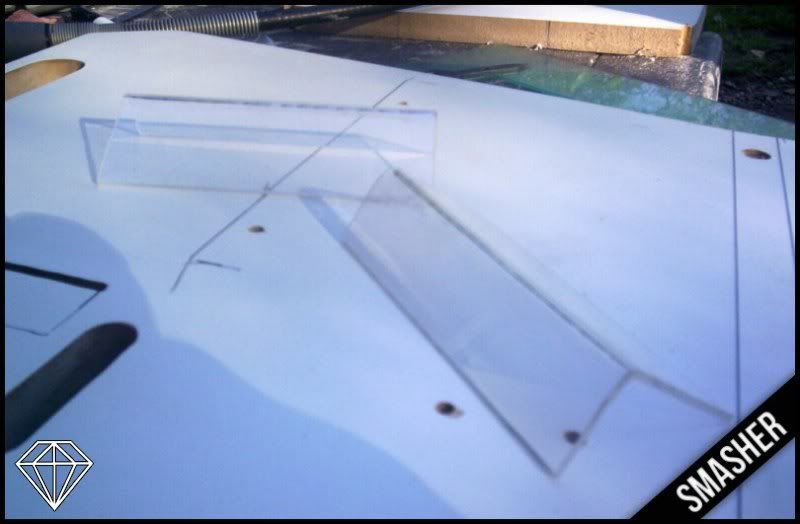
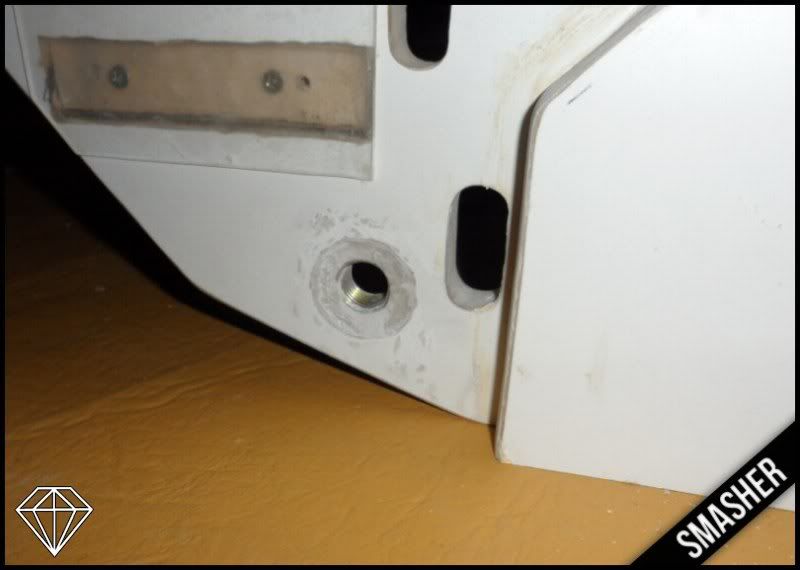
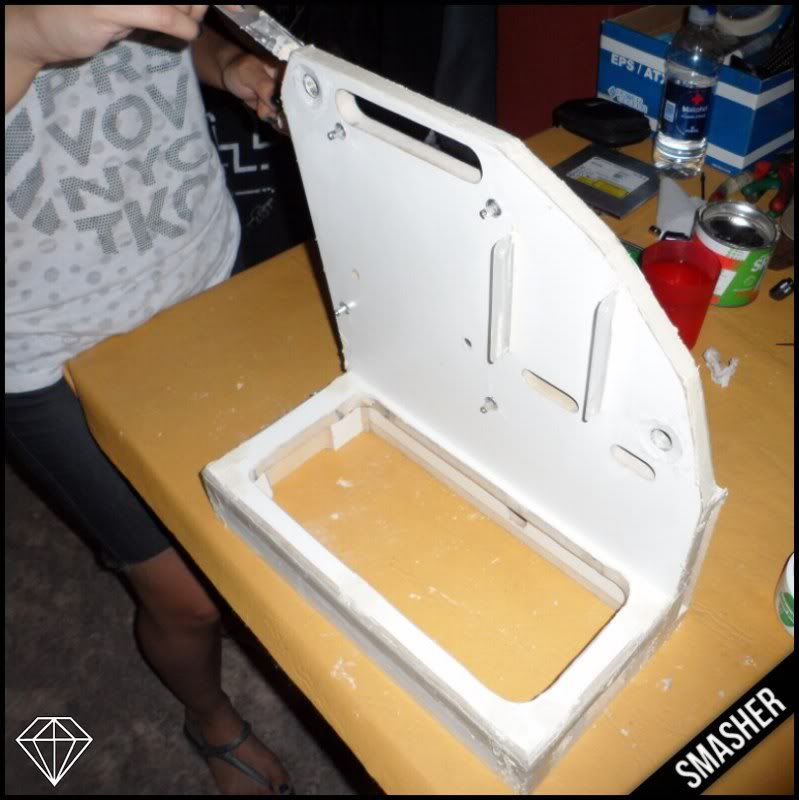
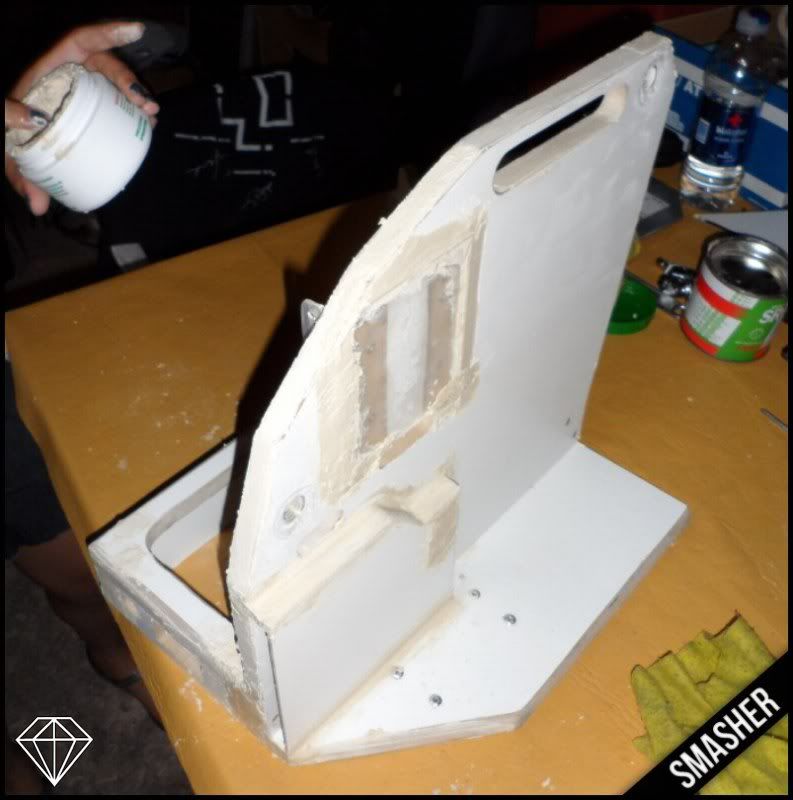
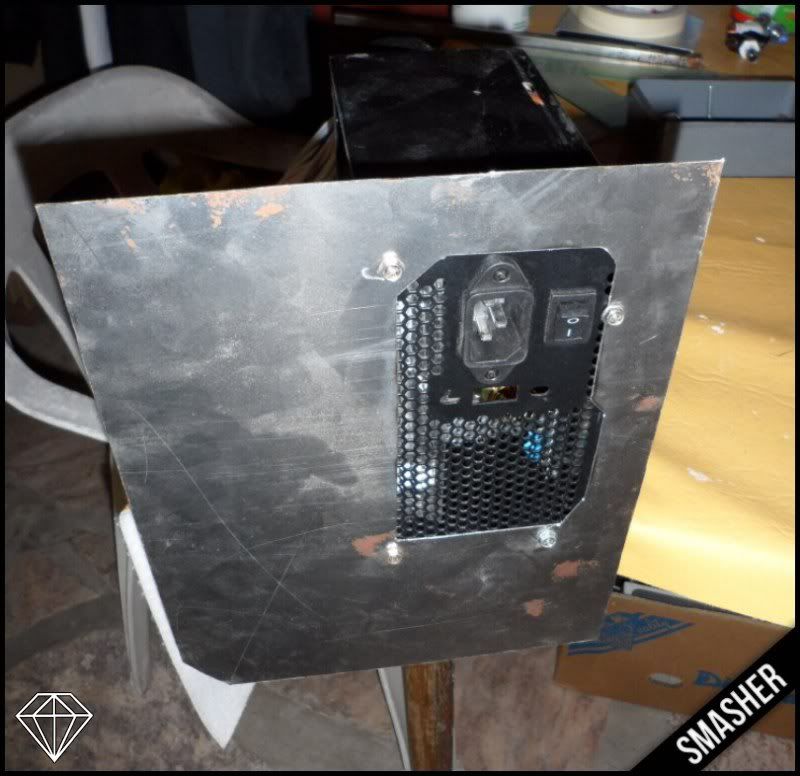
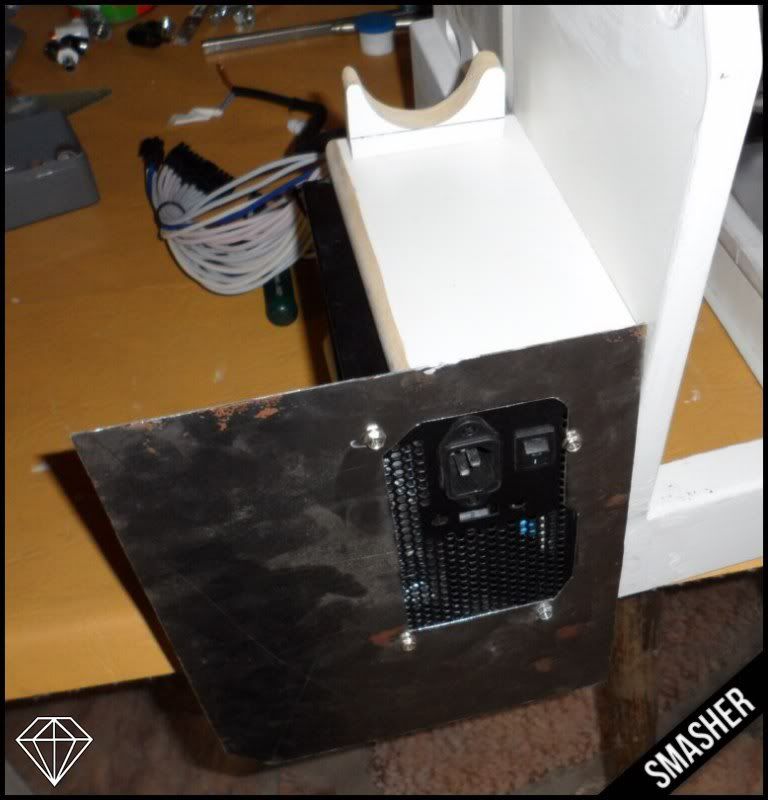
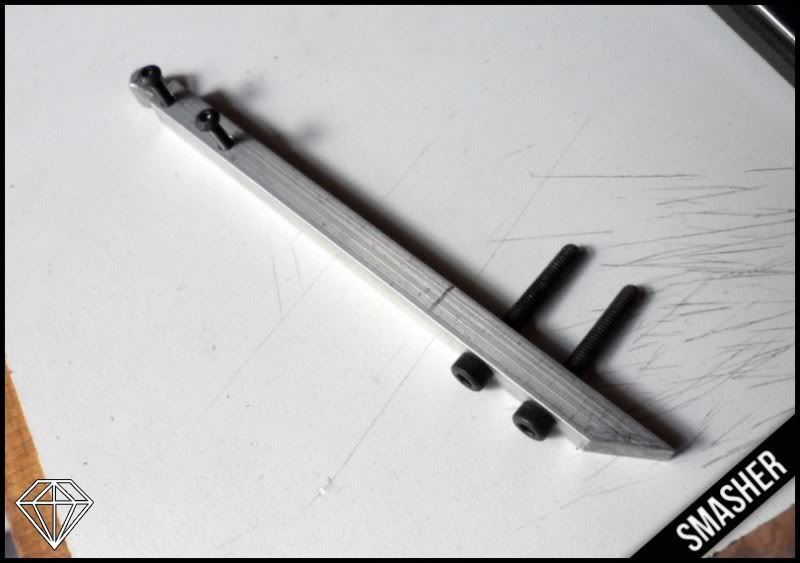
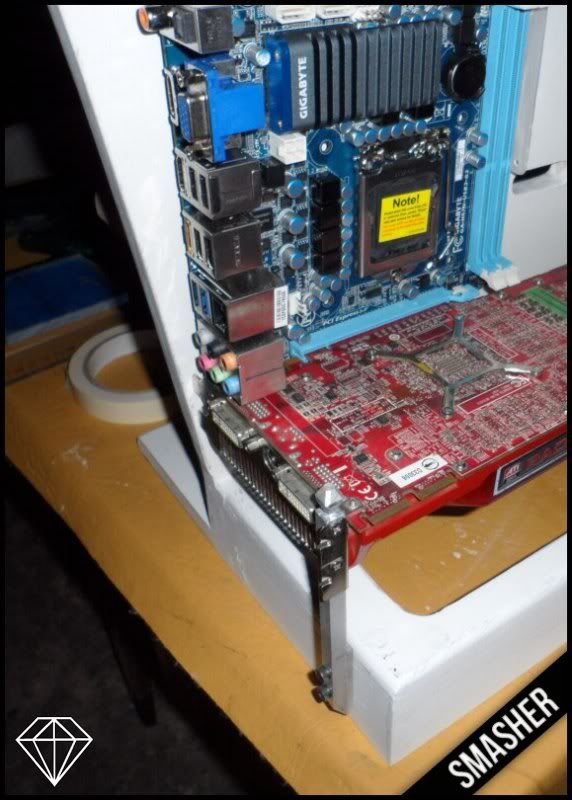
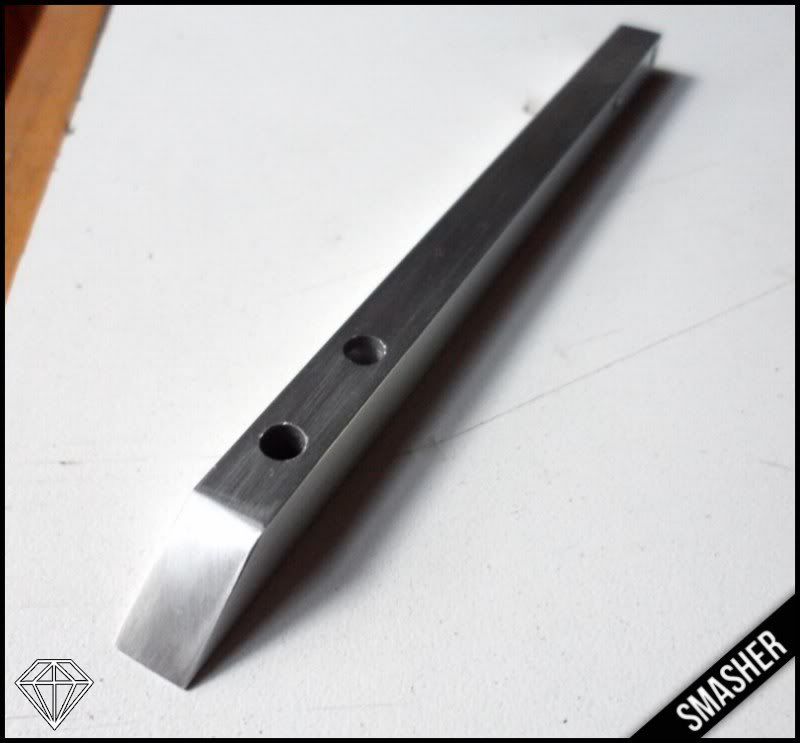
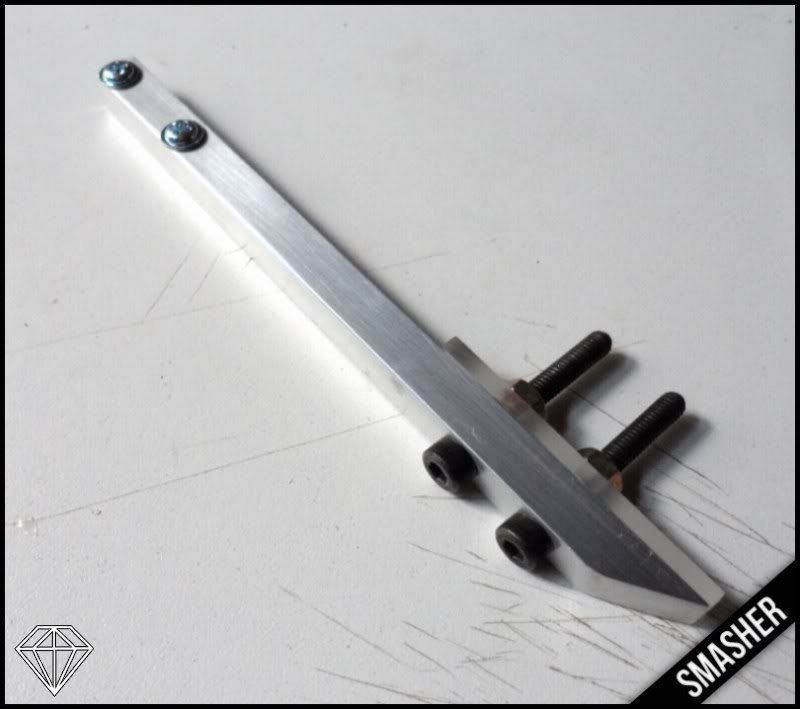
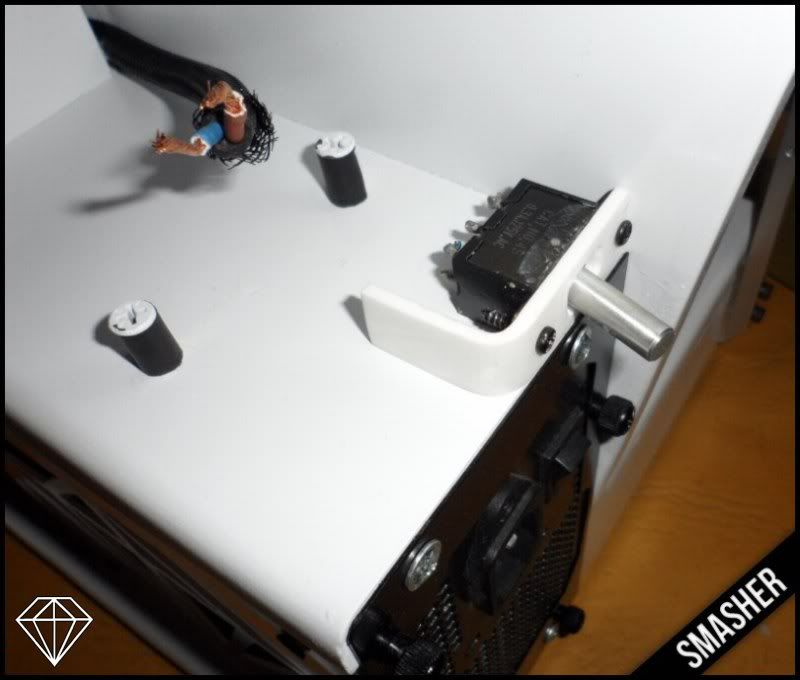
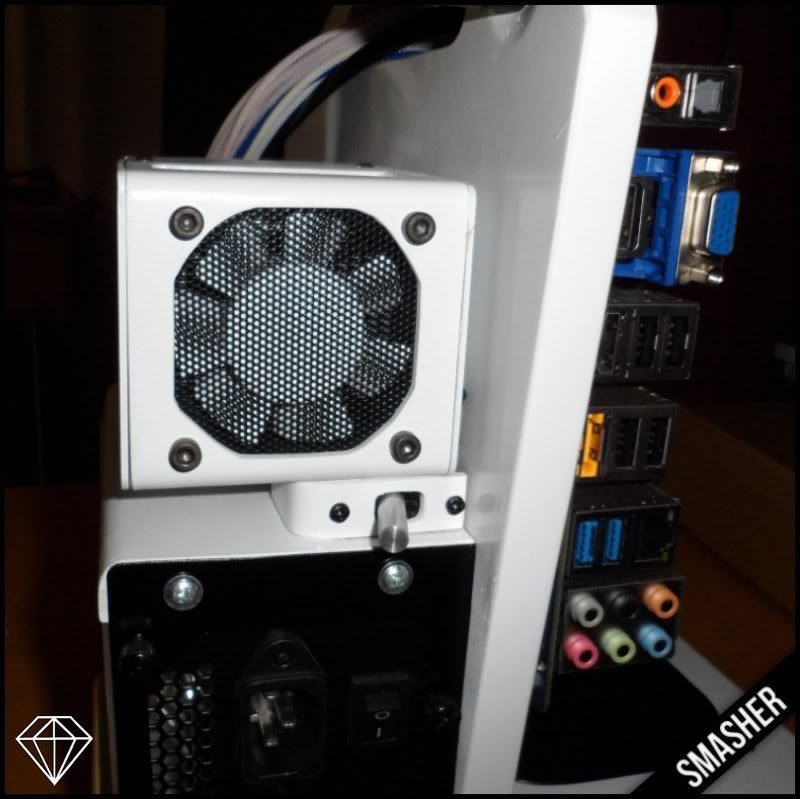
PS: Any idea to make the I / O back panel? (Structure which hold the pci-e, inputs / outputs motherboard, etc)
 
That looks very interesting. Are you planning for it to be open, or will there be some kind of cover? To mimic a real diamond? Btw, my google-translate says that "white" in Finnish is "valkoinen" - Valkoinen Timantti.
 
That looks very interesting. Are you planning for it to be open, or will there be some kind of cover? To mimic a real diamond? Btw, my google-translate says that "white" in Finnish is "valkoinen" - Valkoinen Timantti.

Well. im thinking some cover with acrilic.

White in English. Timantti in Finnish :D
 
Well I bring you more developments! The Slim DVD cover:

WhiteTimantti-Smasher-032.jpg

WhiteTimantti-Smasher-033.jpg

WhiteTimantti-Smasher-034.jpg

WhiteTimantti-Smasher-035.jpg

WhiteTimantti-Smasher-036.jpg

WhiteTimantti-Smasher-037.jpg


Fixing of all parties:

WhiteTimantti-Smasher-038.jpg

WhiteTimantti-Smasher-039.jpg

WhiteTimantti-Smasher-040.jpg

WhiteTimantti-Smasher-041.jpg

WhiteTimantti-Smasher-042.jpg

WhiteTimantti-Smasher-043.jpg

WhiteTimantti-Smasher-044.jpg

WhiteTimantti-Smasher-045.jpg

WhiteTimantti-Smasher-046.jpg


Hope you like in a few days I go more progress!
Greetings!
 
Looking good for progress. I have another question: the radiator fans, where does the air flow to? It looks like the radiator box is closed.
 
Its going to have a fangrill under the case and 4 legs to exit the hot airflow
 
Crappy tubing, outdated water-block, extremely poor performance radiator. The pump will suffice however. You are making an awesome project (assuming you will give it an excellent finish when you are done) but the water-cooling components really detract from it. Are you located in the states? Maybe I can hook you up with someone like Koolance or another company?
 
I just don't see it. Just because there isn't some huge name brand attached to it all doesn't make it any less effective.
 
I just don't see it. Just because there isn't some huge name brand attached to it all doesn't make it any less effective.

that tubing is thin walled and has a lousy bend radius. the radiator is too think and does not have enough surface area . . .dude I build more water-cooled rigs than anyone here. . .just trust me on this.


go to www,outoftheboxmods.com look around then you will see proper parts that you should be using

at the stage you are at, it should not be hard to get some sponsorship support for decent H20
 
...if you say so, pal. Not everyone in the world uses water cooling for the purpose of overclocking.
 
Ugly is in the eye of the beholder. Just because you find it ugly doesn't mean all of its aspects are shit. And when I was referring to not using water cooling for "performance", I was referring to silence.
 
Ugly is in the eye of the beholder. Just because you find it ugly doesn't mean all of its aspects are shit. And when I was referring to not using water cooling for "performance", I was referring to silence.

Don't get sour DB is speaking the truth and was offering to help get you sponsorship. They will send you stuff for free more likely than not.
 
Don't get sour DB is speaking the truth and was offering to help get you sponsorship. They will send you stuff for free more likely than not.

Some Koolance gear would look mighty fine on this project, imo. ;)

I like how its looking so far.
 
way to ruin a guys thread darthbeavis and other associated arguers.

let the guy build his project without getting thrashed because he is using less expensive hardware/cooling. I think its a pretty cool setup, cant wait to see more!
 
way to ruin a guys thread darthbeavis and other associated arguers.

let the guy build his project without getting thrashed because he is using less expensive hardware/cooling. I think its a pretty cool setup, cant wait to see more!

Um the op is the one who started it, But yes it is a great setup that I will have to copy one day.
 
Dont fight... its the watercooling that give me my sponsor, in argentina its very complicated get an sponsor... if anyone knows an sponsor that sponsor me from another country, i will be extremely greeting...wathever...


Well after a while I went back to study the project and leave you some progress, excuse the poor quality of the images, I have no good camera!
Support HDD. Thanks to Mr. Magerakis for the idea!

WhiteTimantti-Smasher-047.jpg

WhiteTimantti-Smasher-048.jpg

WhiteTimantti-Smasher-049.jpg

WhiteTimantti-Smasher-050.jpg

WhiteTimantti-Smasher-051.jpg

WhiteTimantti-Smasher-052.jpg

WhiteTimantti-Smasher-053.jpg

WhiteTimantti-Smasher-054.jpg

WhiteTimantti-Smasher-055.jpg

WhiteTimantti-Smasher-057.jpg

WhiteTimantti-Smasher-058.jpg


Then it goes putty.

Power button

WhiteTimantti-Smasher-056.jpg


Cutting shrink, all the same size.

WhiteTimantti-Smasher-059.jpg


The victim…

WhiteTimantti-Smasher-060.jpg

WhiteTimantti-Smasher-061.jpg

WhiteTimantti-Smasher-062.jpg

WhiteTimantti-Smasher-063.jpg


And missing cables. In the week update! Greetings!
 
Well, here we stay last time… Presentation of the components to make the cuts, holes and final measurements

WhiteTimantti-Smasher-064.jpg


Lets start flexing like Millon Dólar PC Style!!!

WhiteTimantti-Smasher-065.jpg

WhiteTimantti-Smasher-066.jpg

WhiteTimantti-Smasher-067.jpg

WhiteTimantti-Smasher-068.jpg

WhiteTimantti-Smasher-069.jpg

WhiteTimantti-Smasher-072.jpg


Working Area… a bit disordered, but I order it every one or to days :D

WhiteTimantti-Smasher-073.jpg


Your opinion:

WhiteTimantti-Smasher-074.jpg

WhiteTimantti-Smasher-075.jpg

WhiteTimantti-Smasher-075.jpg

WhiteTimantti-Smasher-076.jpg

WhiteTimantti-Smasher-077.jpg

WhiteTimantti-Smasher-078.jpg


Here I will make a break to show you what will be the deposit; the liquid runs through the deposit and will be cooled by a TEC (Peltier) with a cooper block… There are some missing modifications, such as a guide to parse the input and the output of the fluid.

WhiteTimantti-Smasher-079.jpg

WhiteTimantti-Smasher-080.jpg

WhiteTimantti-Smasher-081.jpg


This is an old Cooper block that imade for a Microproc. WC. It has the middle modification for the acrylic tube.

WhiteTimantti-Smasher-082.jpg


After stick it with special acrylic glue, we check for leaks with liquid at rest;

WhiteTimantti-Smasher-083.jpg

WhiteTimantti-Smasher-084.jpg

WhiteTimantti-Smasher-085.jpg


As a Chrystmas present, www.pcmodd.com.ar brought to the project the WC fittings
WhiteTimantti-Smasher-086.jpg


This is the test I’ve made with the Peltier cell, cooper block in touch with the fluid at the “cold side” of the Peltier, and a sink + cooler to chill out the “hot side”.
The results were pretty good, at first, the temperature increased with the water at rest, then, I moved the water at the reservoir and this are the results.

WhiteTimantti-Smasher-087.jpg

WhiteTimantti-Smasher-088.jpg


Frozen Water!!!

WhiteTimantti-Smasher-089.jpg

WhiteTimantti-Smasher-090.jpg


Making atest,i checked that the Cooper blockwith the cell needs an insulation to avoid condensation… Also, I had an issue with a molex, the cables were very thin so they overheat… talking with “masbuskado”, he told me the solution… Thick cables to dissipate the heat.

WhiteTimantti-Smasher-091.jpg

WhiteTimantti-Smasher-092.jpg


Aftersome tets, we still making changes; a hole to pass the radiator hose  Deposit

WhiteTimantti-Smasher-093.jpg


With the “fresa” and the Dremel 4000’s complement, this is a piece of cake thing

WhiteTimantti-Smasher-094.jpg

WhiteTimantti-Smasher-095.jpg


No its time to set the bomb to the box, Using pop rivets, modifying it and making it bagel, it’s a good choice to make bagels to wood.

WhiteTimantti-Smasher-096.jpg

WhiteTimantti-Smasher-097.jpg

WhiteTimantti-Smasher-098.jpg

WhiteTimantti-Smasher-099.jpg

WhiteTimantti-Smasher-100.jpg

WhiteTimantti-Smasher-101.jpg


www.facebook.com/SmashModding !

WhiteTimantti-Smasher-102.jpg

WhiteTimantti-Smasher-103.jpg


PSU Fan Paint

WhiteTimantti-Smasher-104.jpg

WhiteTimantti-Smasher-105.jpg

WhiteTimantti-Smasher-106.jpg

WhiteTimantti-Smasher-109.jpg


PSU Fan Grill. Later we will see the draft design.

WhiteTimantti-Smasher-107.jpg

WhiteTimantti-Smasher-108.jpg


Now the Fan Radiator support!

WhiteTimantti-Smasher-110.jpg

WhiteTimantti-Smasher-111.jpg

WhiteTimantti-Smasher-112.jpg

WhiteTimantti-Smasher-113.jpg

WhiteTimantti-Smasher-114.jpg

WhiteTimantti-Smasher-115.jpg

WhiteTimantti-Smasher-116.jpg


If you have any advice, opinión (positive or negative) I read the comments. See You Next Time !
 
I went back! After all this time. I continue to progress:
We continue with the construction of the shell with peltier, for those who do not knowwhich is the peltier, leave a brief explanation:

Thermoelectric cooling uses the Peltier effect to create a heat flux between the junction of two different types of materials. A Peltier cooler, heater, or thermoelectric heat pump is a solid-state active heat pump which transfers heat from one side of the device to the other, with consumption of electrical energy, depending on the direction of the current. Such an instrument is also called a Peltier device, Peltier heat pump, solid state refrigerator, or thermoelectric cooler (TEC). The Peltier device is a heat pump: when direct current runs through it, heat is moved from one side to the other. Therefore it can be used either for heating or for cooling (refrigeration), although in practice the main application is cooling. It can also be used as a temperature controller that either heats or cools.[1]
This technology is far less commonly applied to refrigeration than vapor-compression refrigeration is. The main advantages of a Peltier cooler (compared to a vapor-compression refrigerator) are its lack of moving parts or circulating liquid, and its small size and flexible shape (form factor). Its main disadvantage is that it cannot simultaneously have low cost and high power efficiency. Many researchers and companies are trying to develop Peltier coolers that are both cheap and efficient. (See Thermoelectric materials.)
A Peltier cooler can also be used as a thermoelectric generator. When operated as a cooler, a voltage is applied across the device, and as a result, a difference in temperature will build up between the two sides.[2] When operated as a generator, one side of the device is heated to a temperature greater then the other side, and as a result, a difference in voltage will build up between the two sides (the Seebeck effect). However, a well-designed Peltier cooler will be a mediocre thermoelectric generator and vice-versa, due to different design and packaging requirements.
Well I wanted to clean the tank with alcohol and this happened, the acrylic adhesive does not get along with alcohol.

WhiteTimantti-Smasher-117.jpg


And we started again.

WhiteTimantti-Smasher-118.jpg

WhiteTimantti-Smasher-119.jpg

WhiteTimantti-Smasher-120.jpg

http://i1124.photobucket.com/albums/l561/Smashermod/Timantti/WhiteTimantti-Smasher-121.jpg

Rubber for the condensation ...

[IMG]http://i1124.photobucket.com/albums/l561/Smashermod/Timantti/WhiteTimantti-Smasher-122.jpg
WhiteTimantti-Smasher-123.jpg

WhiteTimantti-Smasher-124.jpg

WhiteTimantti-Smasher-125.jpg

WhiteTimantti-Smasher-126.jpg

WhiteTimantti-Smasher-127.jpg


Now for the construction of your cover.

WhiteTimantti-Smasher-128.jpg

WhiteTimantti-Smasher-129.jpg

WhiteTimantti-Smasher-130.jpg

WhiteTimantti-Smasher-131.jpg

WhiteTimantti-Smasher-132.jpg

WhiteTimantti-Smasher-133.jpg

WhiteTimantti-Smasher-134.jpg

WhiteTimantti-Smasher-135.jpg

WhiteTimantti-Smasher-136.jpg

WhiteTimantti-Smasher-137.jpg

WhiteTimantti-Smasher-138.jpg

WhiteTimantti-Smasher-139.jpg

WhiteTimantti-Smasher-140.jpg

WhiteTimantti-Smasher-141.jpg

WhiteTimantti-Smasher-142.jpg

WhiteTimantti-Smasher-143.jpg


Workstation ordered :D

WhiteTimantti-Smasher-144.jpg

WhiteTimantti-Smasher-145.jpg

WhiteTimantti-Smasher-146.jpg

WhiteTimantti-Smasher-147.jpg

WhiteTimantti-Smasher-148.jpg


Connectors, pump and fans.

WhiteTimantti-Smasher-149.jpg

WhiteTimantti-Smasher-150.jpg

WhiteTimantti-Smasher-151.jpg

WhiteTimantti-Smasher-152.jpg

WhiteTimantti-Smasher-153.jpg

WhiteTimantti-Smasher-154.jpg


Last details before painting:

WhiteTimantti-Smasher-155.jpg

WhiteTimantti-Smasher-156.jpg

WhiteTimantti-Smasher-157.jpg

WhiteTimantti-Smasher-158.jpg

WhiteTimantti-Smasher-159.jpg

WhiteTimantti-Smasher-160.jpg

WhiteTimantti-Smasher-161.jpg

WhiteTimantti-Smasher-162.jpg

WhiteTimantti-Smasher-163.jpg

WhiteTimantti-Smasher-164.jpg

WhiteTimantti-Smasher-165.jpg

WhiteTimantti-Smasher-166.jpg

WhiteTimantti-Smasher-167.jpg

WhiteTimantti-Smasher-168.jpg

WhiteTimantti-Smasher-169.jpg

WhiteTimantti-Smasher-170.jpg

WhiteTimantti-Smasher-171.jpg


Tested fttings, hoses, filling, etc..

WhiteTimantti-Smasher-172.jpg

WhiteTimantti-Smasher-173.jpg
 
Fittings

WhiteTimantti-Smasher-174.jpg


Testing the wc

WhiteTimantti-Smasher-175.jpg

WhiteTimantti-Smasher-176.jpg

WhiteTimantti-Smasher-177.jpg

WhiteTimantti-Smasher-178.jpg


Cover down and radiator grille

WhiteTimantti-Smasher-179.jpg

WhiteTimantti-Smasher-180.jpg

WhiteTimantti-Smasher-181.jpg

WhiteTimantti-Smasher-182.jpg

WhiteTimantti-Smasher-183.jpg

WhiteTimantti-Smasher-184.jpg

WhiteTimantti-Smasher-185.jpg

WhiteTimantti-Smasher-186.jpg

WhiteTimantti-Smasher-187.jpg

WhiteTimantti-Smasher-188.jpg

WhiteTimantti-Smasher-189.jpg

WhiteTimantti-Smasher-190.jpg

WhiteTimantti-Smasher-191.jpg

WhiteTimantti-Smasher-192.jpg

WhiteTimantti-Smasher-193.jpg

WhiteTimantti-Smasher-194.jpg


My girlfriend

WhiteTimantti-Smasher-195.jpg

WhiteTimantti-Smasher-196.jpg

WhiteTimantti-Smasher-197.jpg

WhiteTimantti-Smasher-198.jpg

WhiteTimantti-Smasher-199.jpg

WhiteTimantti-Smasher-200.jpg

WhiteTimantti-Smasher-201.jpg

WhiteTimantti-Smasher-202.jpg

WhiteTimantti-Smasher-203.jpg

WhiteTimantti-Smasher-204.jpg

WhiteTimantti-Smasher-205.jpg

WhiteTimantti-Smasher-206.jpg

WhiteTimantti-Smasher-207.jpg

WhiteTimantti-Smasher-208.jpg


Test:

WhiteTimantti-Smasher-201.jpg

WhiteTimantti-Smasher-210.jpg

WhiteTimantti-Smasher-211.jpg

WhiteTimantti-Smasher-212.jpg


Vga holder

WhiteTimantti-Smasher-213.jpg

WhiteTimantti-Smasher-214.jpg

WhiteTimantti-Smasher-215.jpg

WhiteTimantti-Smasher-216.jpg

WhiteTimantti-Smasher-217.jpg

WhiteTimantti-Smasher-218.jpg

WhiteTimantti-Smasher-219.jpg

WhiteTimantti-Smasher-220.jpg

WhiteTimantti-Smasher-221.jpg

WhiteTimantti-Smasher-222.jpg

WhiteTimantti-Smasher-223.jpg

WhiteTimantti-Smasher-224.jpg
 
Well after a while I bring some news and small steps:
Key to On / Off Peltier along with the fan.

WhiteTimantti-Smasher-226.jpg

WhiteTimantti-Smasher-227.jpg

WhiteTimantti-Smasher-228.jpg

WhiteTimantti-Smasher-229.jpg


Accommodated in the lower wiring

WhiteTimantti-Smasher-230.jpg


Legs and lower filter completed:

WhiteTimantti-Smasher-233.jpg

WhiteTimantti-Smasher-234.jpg


VGA Cover

WhiteTimantti-Smasher-235.jpg

WhiteTimantti-Smasher-236.jpg


See you in a few hours!
 
This thing looks great. It's a shame that your location is stopping you from getting sponsers. Your worksmanship is top notch.
 
Back
Top