Project: Nakamura

Joined
Dec 5, 2005
Messages
54
BackGround

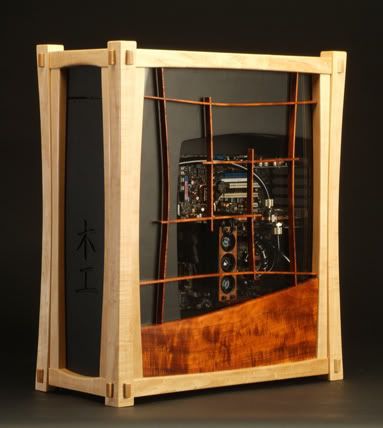
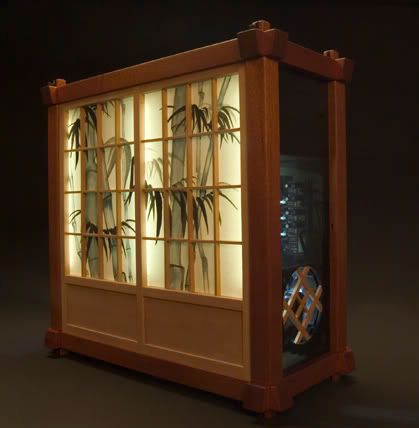
You might remember me as the maker of Yuugou and Sangaku pictured below. Well, I'm back with a brand new case, however this time, it is for a customer.

Yuugou.jpg
Sangaku.jpg


Project Nakamura

I'd like to introduce to you, Project Nakamura. I was approached by a client after the release of Yuugou who was interested in an HTPC type case which turned out to be great since that was where I wanted to take this. He is half Japanese and wanted me to incorporate his family symbol (below) and I've turned it into the main influence of the case lines.

tomoe1copy.jpg


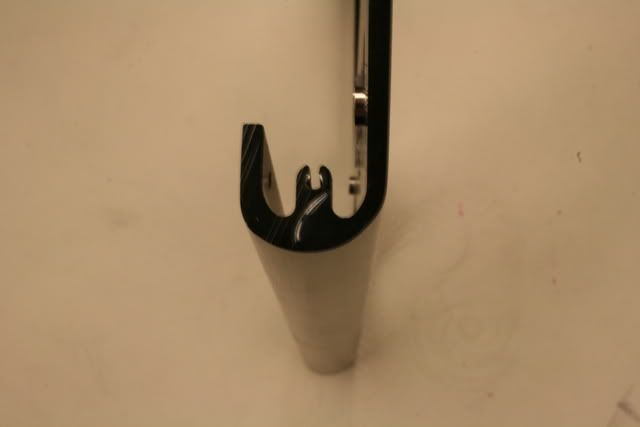
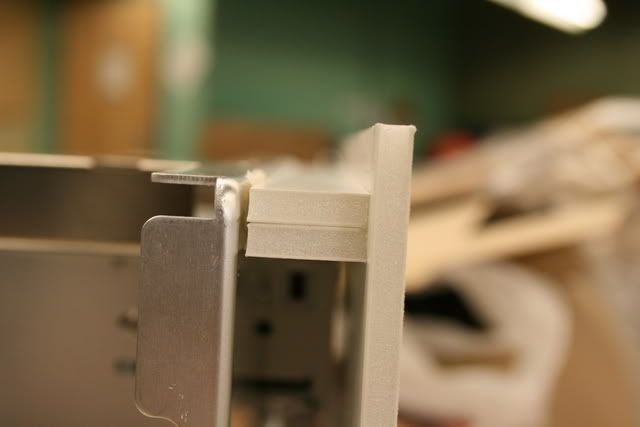
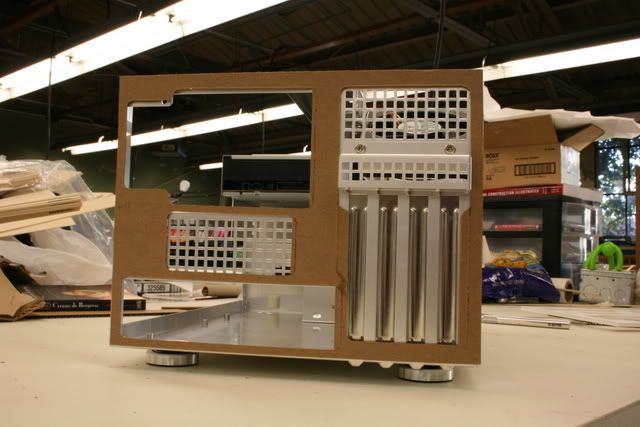
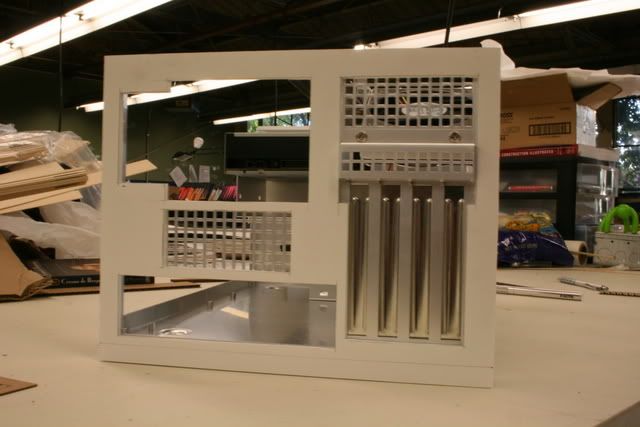
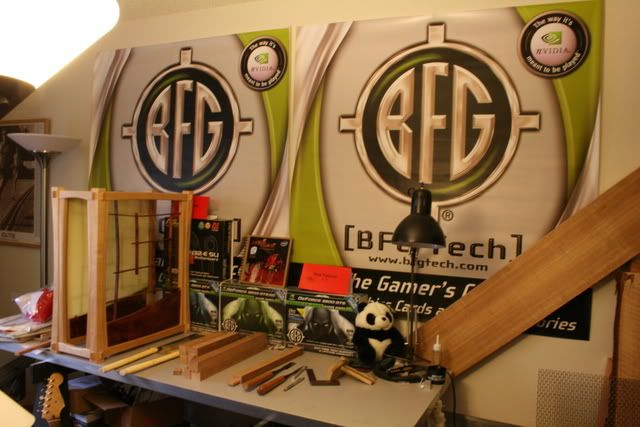
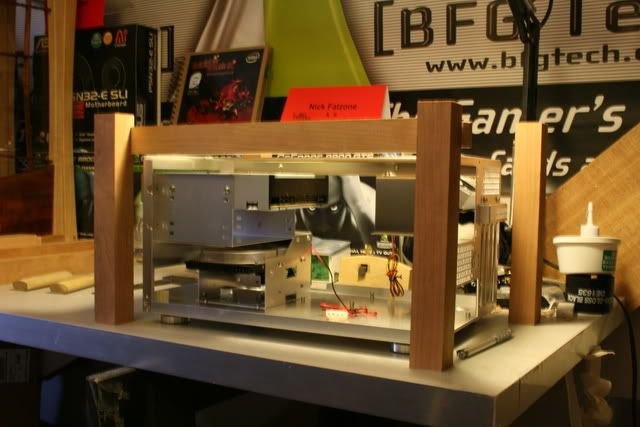
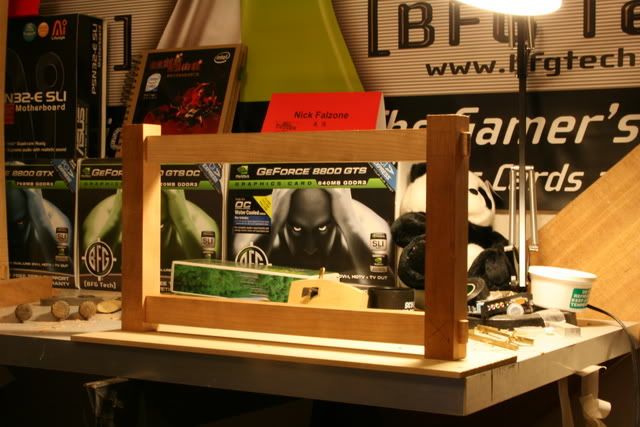
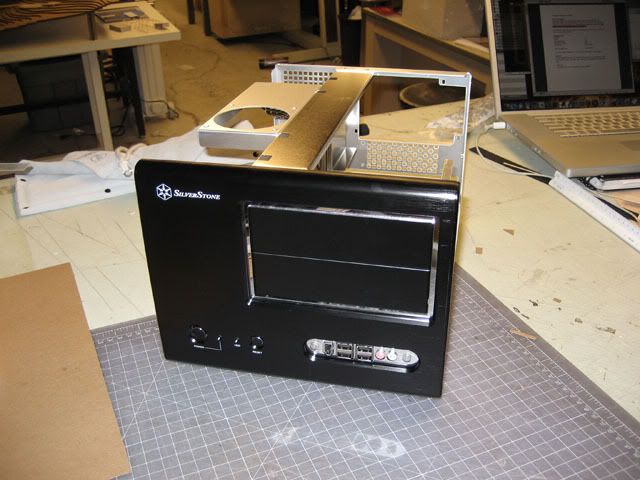
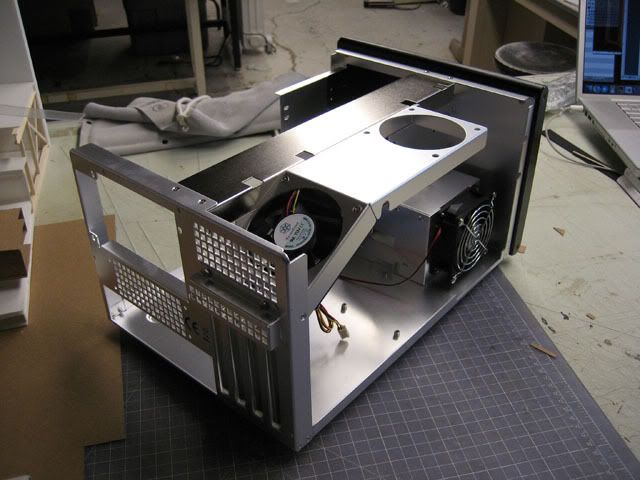
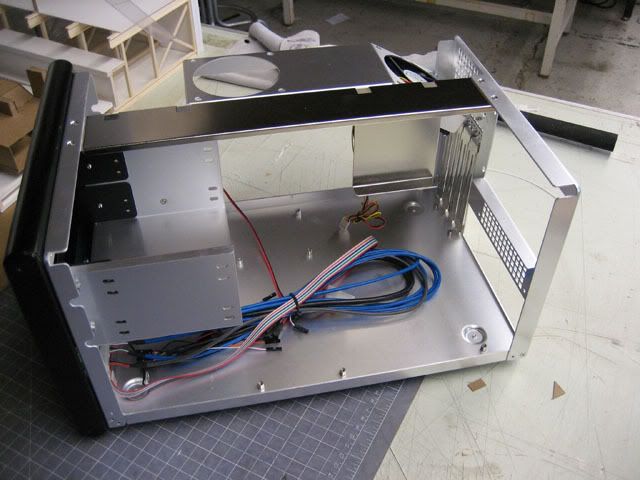
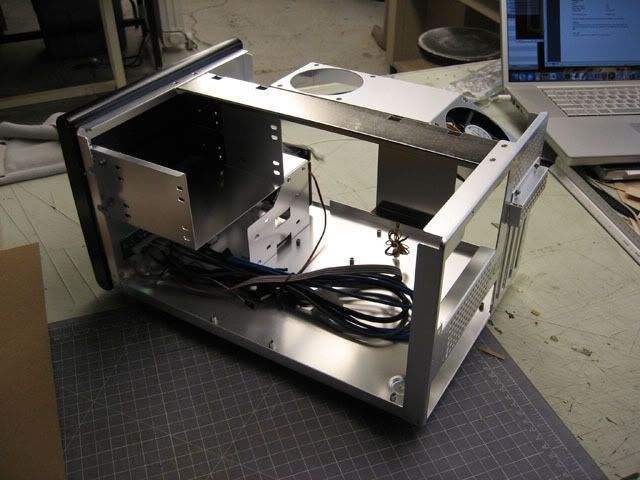
The case I will be using as a base will be the SilverStone SG01 which will serve as beautifully made chassis that will accept a Yuugou-esque frame.

Here are some pictures of the chassis.

a5.jpg


a6.jpg


a2.jpg


a.jpg


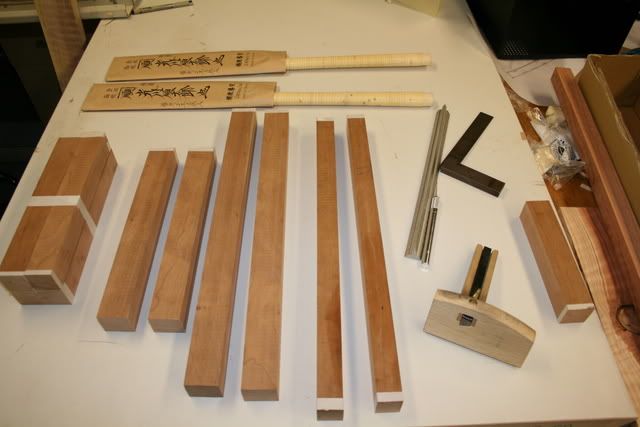
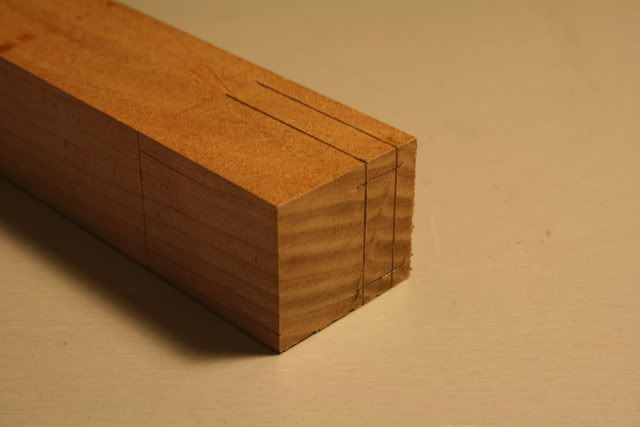
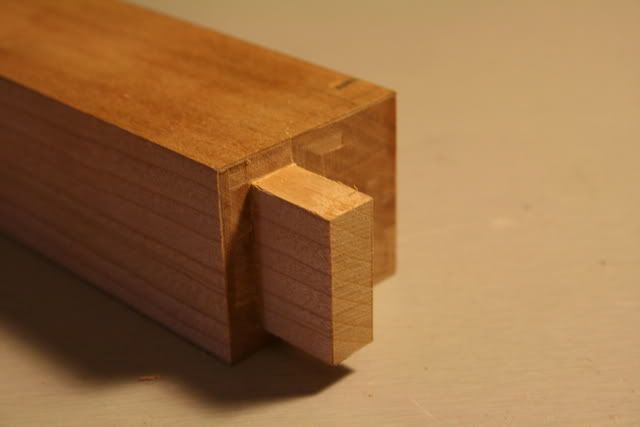
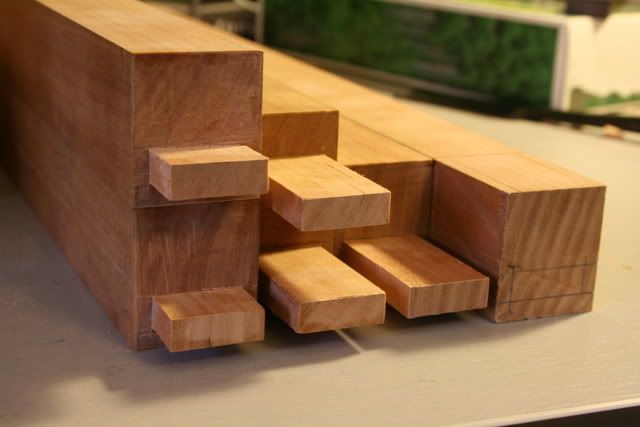
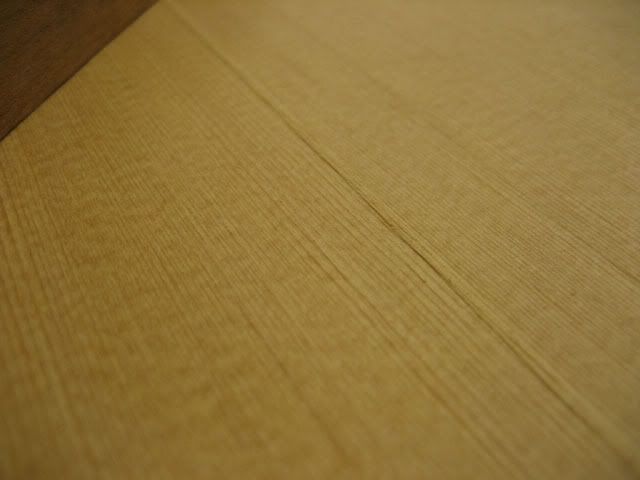
The main woods will be Cherry for the frame and shoji, and Sitka Spruce for the panels.

a4.jpg


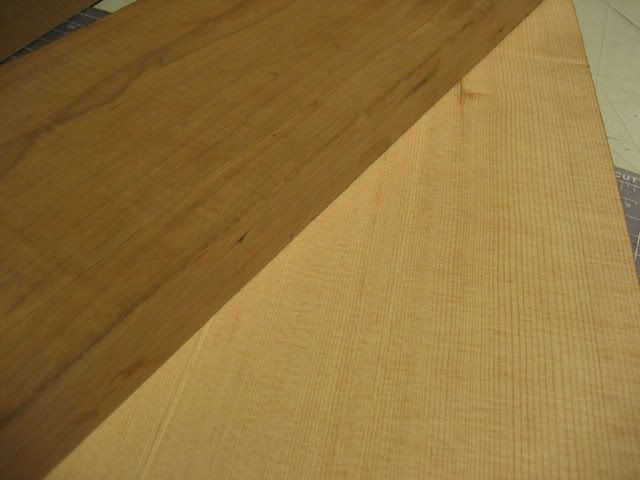
This old growth spruce has an amazing grain. This piece has over 250 rings alone.
a3.jpg


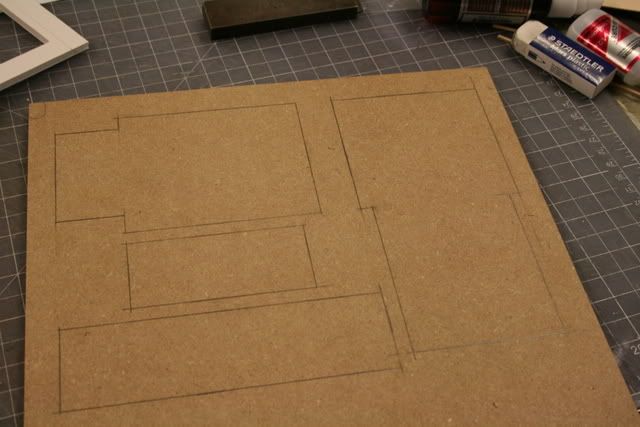
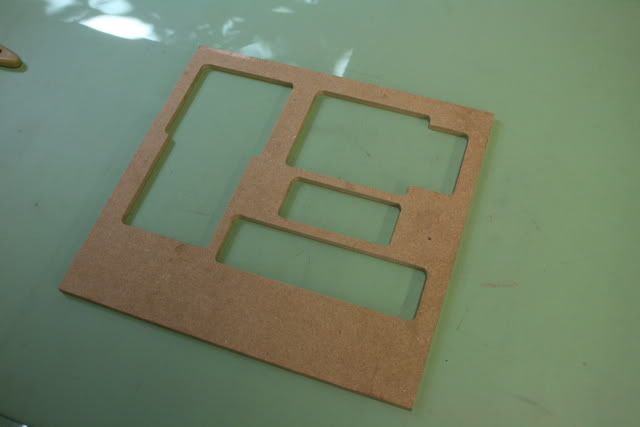
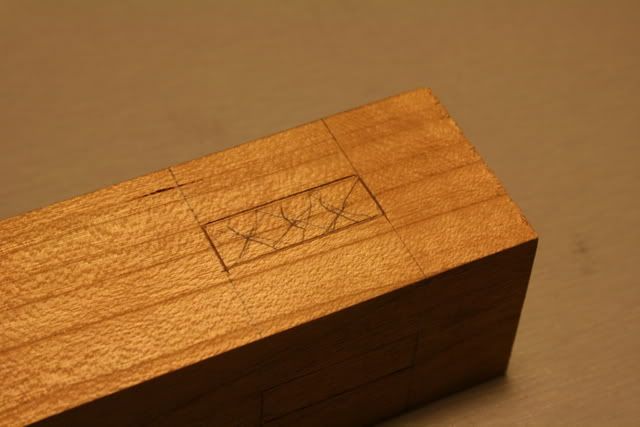
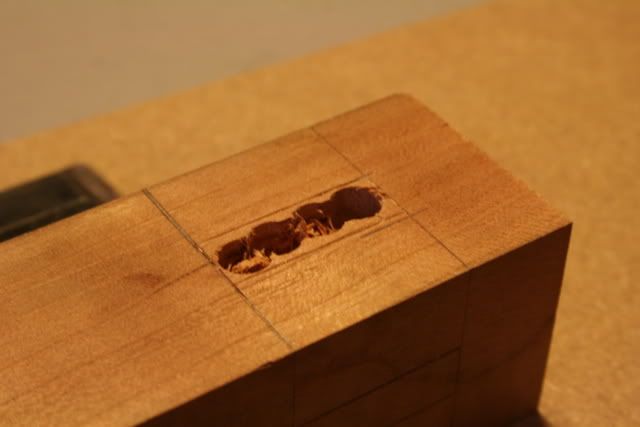
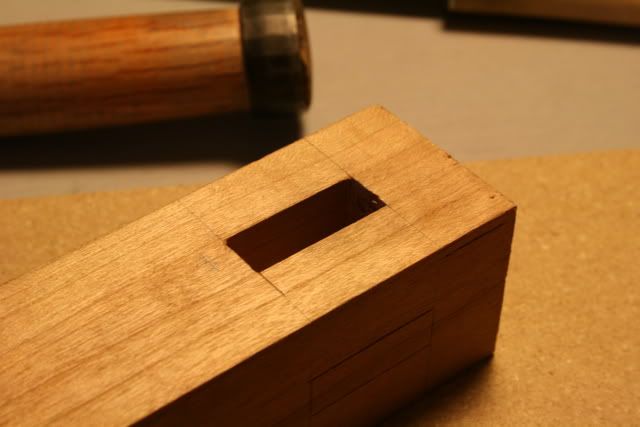
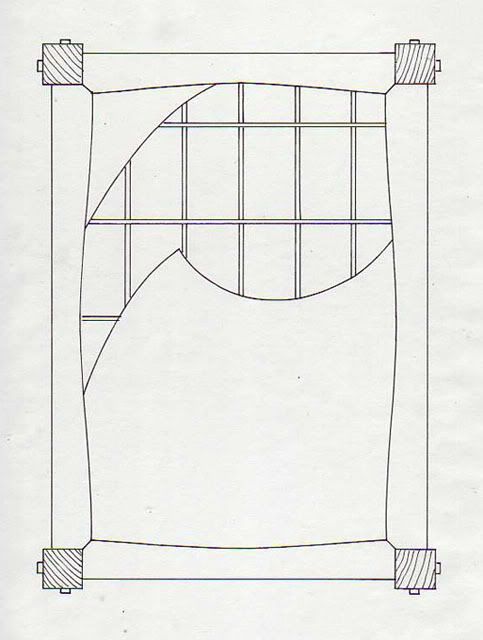
As for the design, the influence of the client's family symbol is evident.

Side View:
Nakamuraside.jpg


Top View:
Nakamuratop.jpg


As always, I'm very much looking forward to sharing this project with you all and your comments and suggestions are much appreiciated. If all goes well, I'll get a good start on the wood this weekend. Stay tuned, this will be a relatively quick project.

Nick (GreenSabbath)
 
Very nice. If you don't mind me asking what would it cost for you to build someone a case like your previous cases?
 
Realy loved your previous mods, your skill is amazing!
/subscribed
 
I liked your past projects and I'm sure that i will like this one.

Staying tuned!
 
Mega Update here, enjoy:

Hey everyone, sorry for disappearing, I've actually been working my butt off on things (and China took some time :D ) and you can expect a lot in the next coming months out of me (2-5 cases), including this case which I have an update on now.

The first step in making the case was to make the chassis able to take my wood frame. The steps involved turned out to be surprisingly simple, 1.Make a new front plate, and make another backplate to put over the back of the case.

1. Front plate:
If you remember how Yuugou works (if you don't, go back and read the log) the wood only touches the aluminum along a groove at the front and back of the case and I needed that same thing here.

The stock front plate obviously wouldn't work:
IMG_1465.jpg


So I mocked up a new one out of foam core board:
IMG_1469.jpg


On to the backplate, this is also an aesthetic detail too as the front and back will match without having to powdercoat or anodize the chassis.

I mocked it up with some cardboard first:
IMG_1461.jpg


Then foam core:
IMG_1464.jpg


Then I marked it on a piece of mdf which would become a template for my router table:
b1.jpg


Then i milled it with the end mill:
b12.jpg


Now I'm left with a reusable template for this particular chassis; very helpful if I need to make more than one.

Next is a tool introduction. I'd like to make this log educational as well but if you want to skip to the real work, feel free.

The first part of the case that I will be building is the frame, involving mortise and tenon joints. I'll do the tenons first.

Paring Chisels:
b4.jpg

b5.jpg

These are great for shaving wood off of joints to make them fit perfectly. I use them a lot and recommend getting at least two. I have a 1/2 inch and 1 inch and they are meant to be used with two hands and never hit with a hammer.

Marking Gauge:
b6.jpg

This tool is great for marking out tenons and such since its repeatable which avoids measuring. It also looks kinda cool.

Measuring tools:
b7.jpg

These aren't Japanese but they're still very handy. The exacto knife (I need to get a real one) is used instead of a pencil as it leaves a more accurate line and also acts as a starting point for the saw blade.

The Saws:
b8.jpg

A good saw is a must, two is even better. One is for cross cut, the other is for rip cutting. These saws are Mitsukawa saws (there are many grades) and cost about 170 usd each but they are worth it.

Workspace:
I'm doing most if not all of the handwork in my bedroom in my apartment here:
b3.jpg


And now for the tenons.

First i started by laying everything out.
b2.jpg


They say that the hardest part of a furniture job is getting the wood to the stage shown in the photo above (by hand at least) and the joinery by hand is pretty easy. That just goes to show how much more I have to learn since the joinery by hand is still a challenge.

First, lay out the tenon lines. I went over them in pencil to make them more visible:
b9.jpg


Then cut the tenons:
b10.jpg

I didn't get too many pictures of this but it took a while. Its a great learning experience though.

Most of the tenons cut:
b11.jpg


two more tenons left and then its on to the mortises and then this baby will really start looking like something. If this seems familiar, its because its the same basic principle as Yuugou's frame, just simplified. Stay tuned.
 
I'll just right in with some more tools.

Sharpening Stones:
c.jpg

These are extremely important because idealy, I'd be sharpening my chisels every half hour or so, especially given the characteristics of the wood which require sharp tools.

The stones I have are a double sided diamond stone (not really a stone) but it works great for the rough grits and a very high grit polishing stone. Using these things is hard and i'm still at a low level. They are both water stones which mean you don't need oil to use them, just water.

Bench Chisels:
c1.jpg

These are the work-horses in my tool arsenal. I beat the crap out of them, literally and i use them for most of the grunt work in my projects. The reason why I can use a hammer with them are the hoops that are on the end which reinforce the wood:
c2.jpg


Marking Knife:
c4.jpg

Here is my real marking knife, still not great but better than an exacto knife because one side of the blade is flat and the other is tapered where both side of the exacto are tapered.

Mini-Clamps:
c5.jpg

These are great for marking things where your need to clamp them all together.

Now, on with the frame of the case. Here I was laying things out to try to see where they'd fall:
c3.jpg


Mortise:

To do the mortises, first start by laying out the lines. For this I used the marking gauge, pencil, and then marking knife.
c6.jpg

c7.jpg


And then i drilled out a lot of the material using my drill press.
c8.jpg


Now the fun begins. First i started with the long sides of the mortise and then i moved to the short:
c10.jpg


And soon it looks like this:
c11.jpg


The trick with making these perfect is going slow, taking off a little bit at a time, and really figuring out where the joint is sticking. Since the tenons are made by hand too, they are often not perfect and require more attention.

One panel complete:
c9.jpg


And not too long later, two sides complete:
c12.jpg


And here are the next pieces to get attached.
c13.jpg


The joint at the top gets a little more complicated but i'll cover that in the next update. Stay tuned.
 
I followed your previous mods every now and then, cant wait to see this one pan out as well!

Also, I'd like to reiterate an earlier question as to the cost of one of these cases. If this is something you'd rather not discuss in an open forum I understand :)
 
Looking great so far! It's going to take a lot to out-do your other two Japanese-style wood mods. Are you shooting to do something more elaborate than your past mods, or is this a sub-amazing (almost uber) mod for a customer? ;)

As for the 170 USD saws... ouch! You'd have to really be into that style of woodworking to appreciate those. It's beyond any sort of casual interest, that's for sure. Again, nice job so far! :)
 
Thank very much guys.

@oneil : you've got PM

@cipher_nemo: This is actually a mod for a customer that I'm getting paid (a good amount) of money for. He liked the style of Yuugou so i'm using that as a base. I'm not really trying to outdo the other two as I can't really compete with Yuugou by trying to make a better version. My plans for modding right now are finish 3 cases this summer using this same chassis. Then i'll be in italy for a year (no modding) and then i'll be back with a new full custom case which should be very different from either of the prior ones.

As for the saws, 170 really isn't that bad, i have a 550 one being made right now for me ;) but you're right, its more than a casual thing and I'll have these saws my whole life.
 
Wow, those saws must be made by hand. You might as well be buying a hand-made samurai sword, lol. No wait, those are thousands and thousands of dollars. That's quite a commitment to your art, and it shows in all of your mods so far. :)

I didn't really find out (in your other mods' work logs) where you purchase your wood material for these mods. May be I didn't search enough. Where do you buy the wood? Do you get it pre-treated or dried, or do you buy it raw and do the treatment and finishing yourself? Thanks!
 
I get the material usually from either Oakland California or Berkeley CA. My favorite stores are Macbeath in Berekeley for quality and selection and White Brothers in oakland for their student discounts and service.

Some times I buy the wood wet and dry it myself but usually it is already dried. The spruce I get is rough though and I have to plane it down but most of the wood is S2S meaning its dressed (planed) on two sides which is cheaper than S4S and just makes sense most of the time.


Nope, i'm not Asian, or Japanese (i'm German and Italian) but the Japanese inspired furniture is just so damn cool. For a good example of one of my inspirational stores, check this out www.berkeleymills.com They're amazing.
 
Your the guy with the wooden case from GeForce Lan 3 right? If so whats your experience with using bamboo?

/subscribed

{edit}

When I read the title I was thinking about Hiro Nakamura.

{edit #2}

What kind of strat is that?
 
Your the guy with the wooden case from GeForce Lan 3 right? If so whats your experience with using bamboo?

/subscribed

{edit}

When I read the title I was thinking about Hiro Nakamura.

{edit #2}

What kind of strat is that?


Hey man, I am the Geforce Lan 3 guy but I've never used bamboo for building furniture. The strat is a Mexican Fender strat that i added a new pick guard and replaced the knobs with chrome.
 
Back
Top