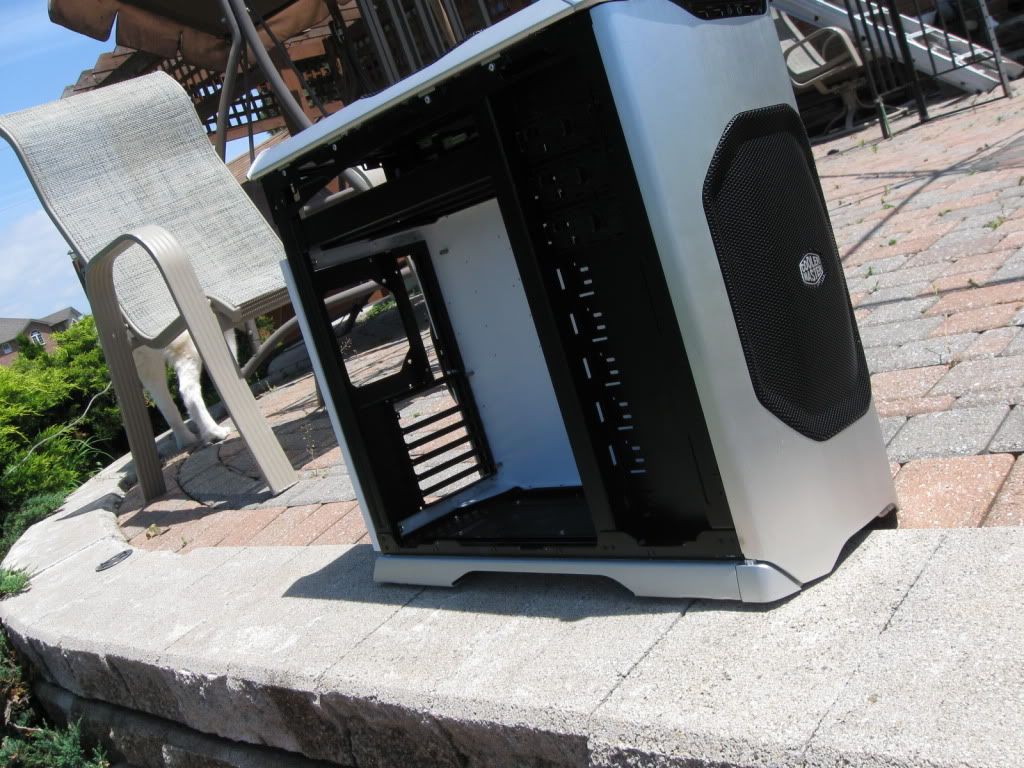
• Some users have recently had their accounts hijacked. It seems that the now defunct EVGA forums might have compromised your password there and seems many are using the same PW here. We would suggest you UPDATE YOUR PASSWORD and TURN ON 2FA for your account here to further secure it. None of the compromised accounts had 2FA turned on.
    Once you have enabled 2FA, your account will be updated soon to show a badge, letting other members know that you use 2FA to protect your account. This should be beneficial for everyone that uses FSFT.

Project: Black/White

mattlef

Weaksauce
Joined
Dec 13, 2008
Messages
120
header.jpg


Back Story:
So,
I came upon this Stacker 830, and while i was first put off by how insanely huge it is. I decided to give modding it a try. I originally wanted something in black, but decided to change it up a little and go with something I thought was classy. I hope you guys like what I've got planned as much as I do, and hope you enjoy the process as much as I'm sure I will.


The Mod:

Without ruining my ideas for you guys, i have a few innovative ideas with this build, that include custom paint, lighting and a few other surprises.

The theme for this mod is black white and brushed aluminum..

Things for me to do: said:
* Teardown - Done
* Cable management holes - done
* Painting - in progress
* Lighting
* Cooling
* rest TBA ;)

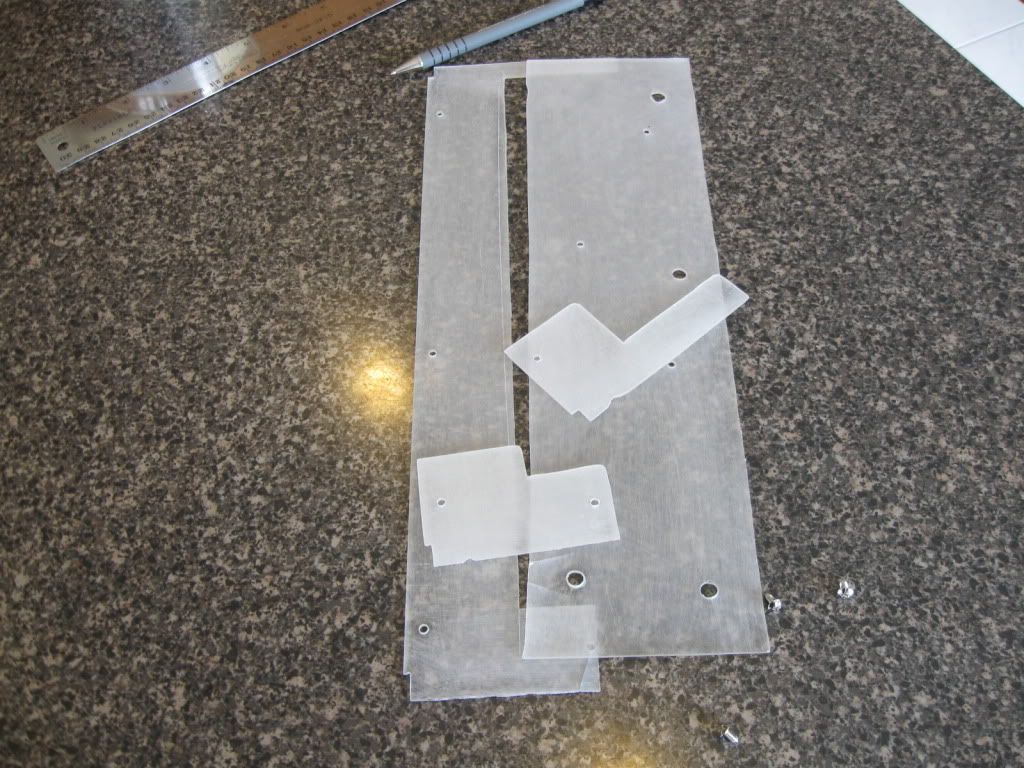
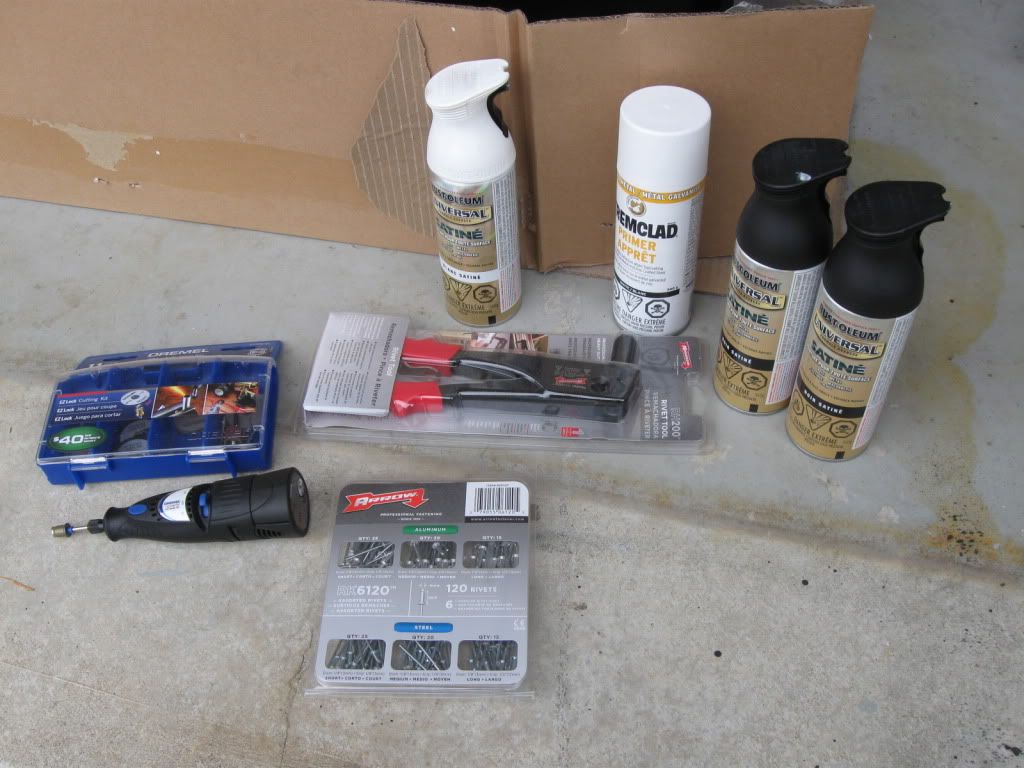
Here are some of the tools I'll be using...
Pretty straight forward,
MIA is the File and Jigsaw.

IMG_0516.jpg


So lets get'r started.

IMG_0511.jpg


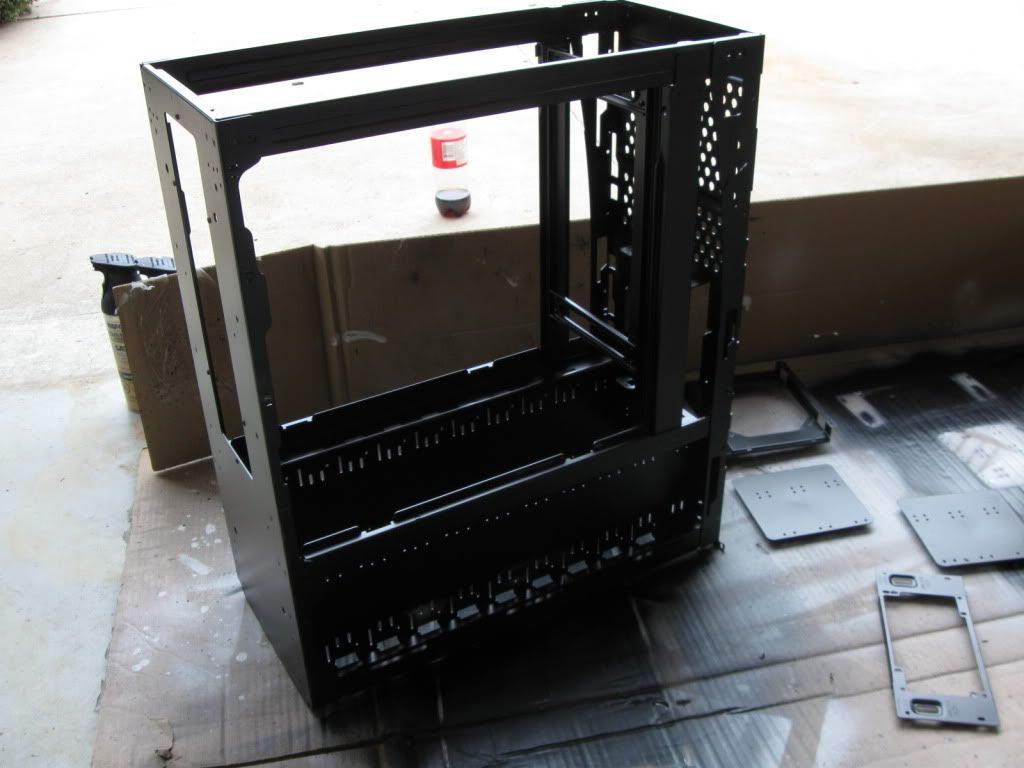
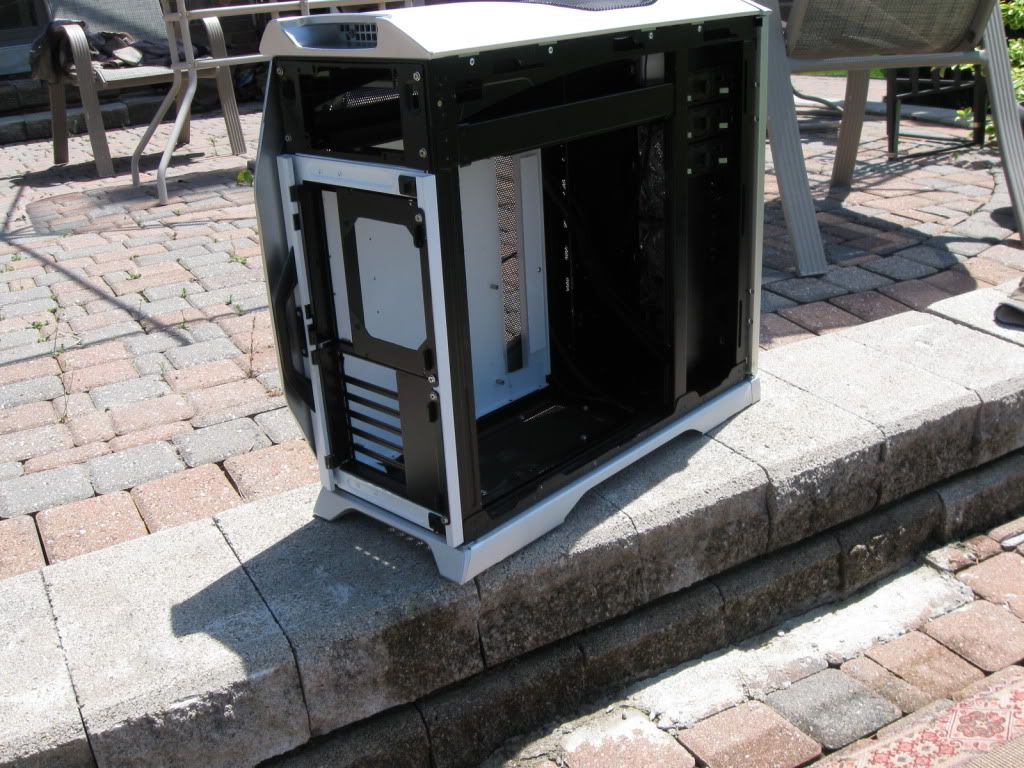
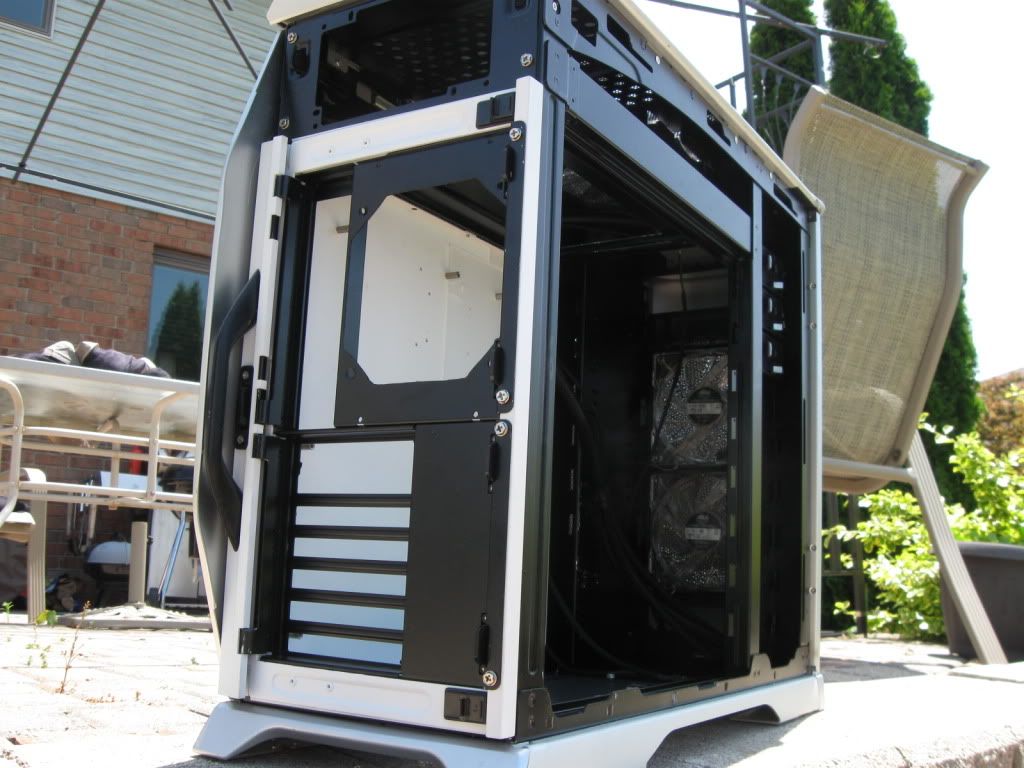
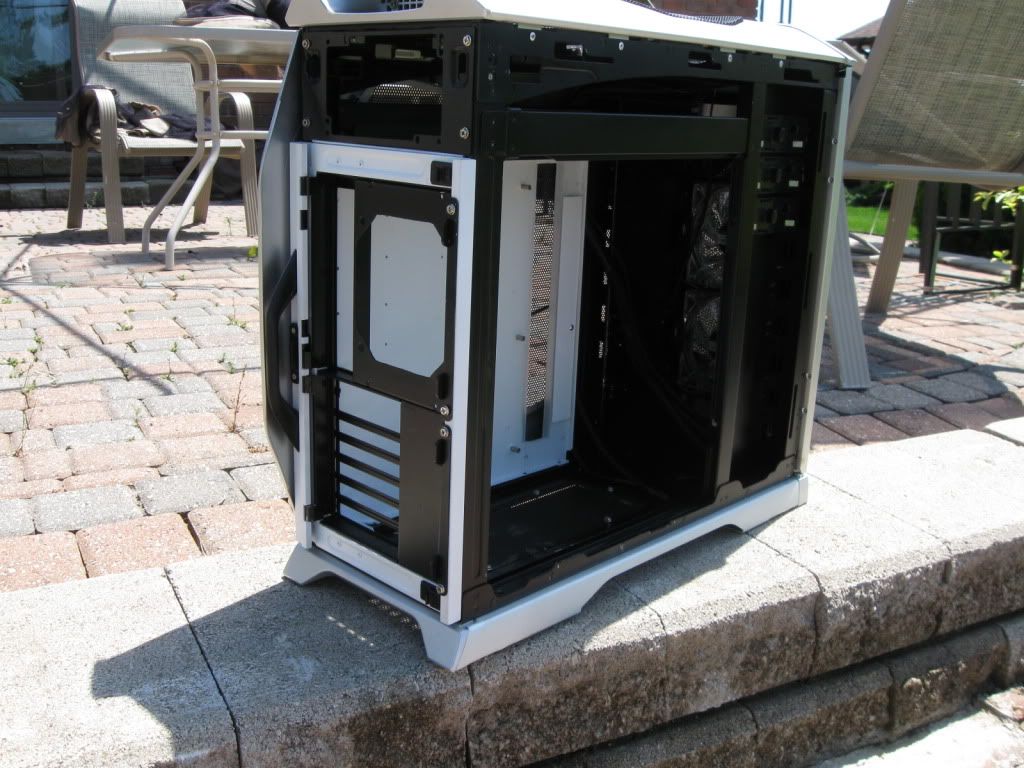
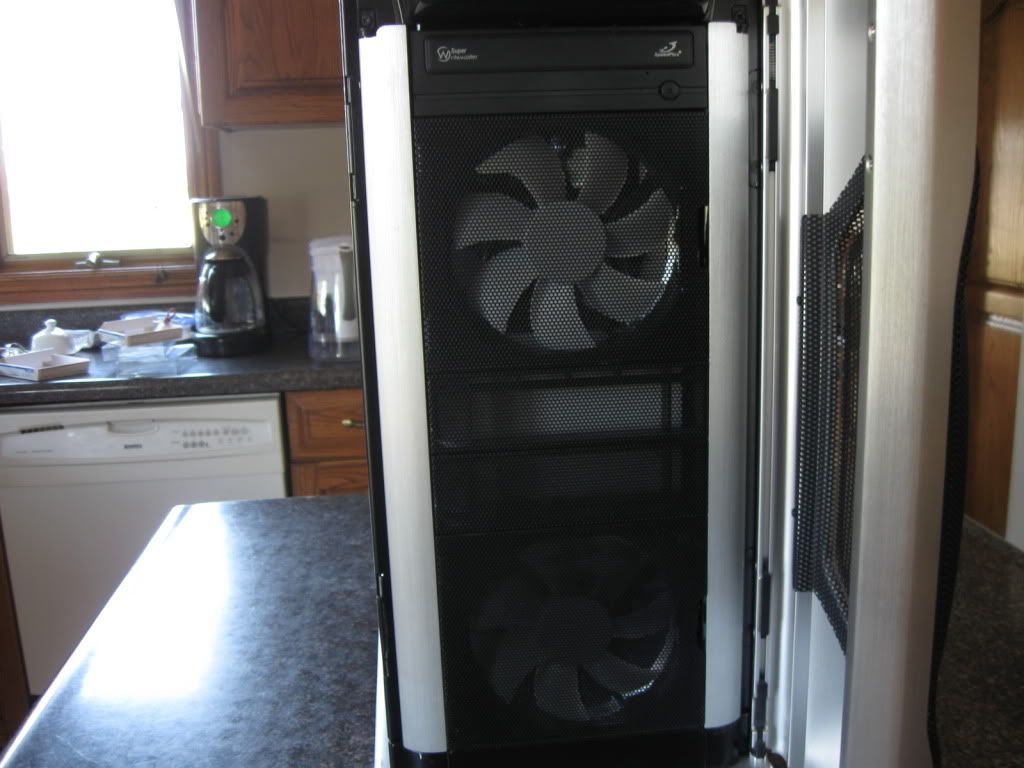
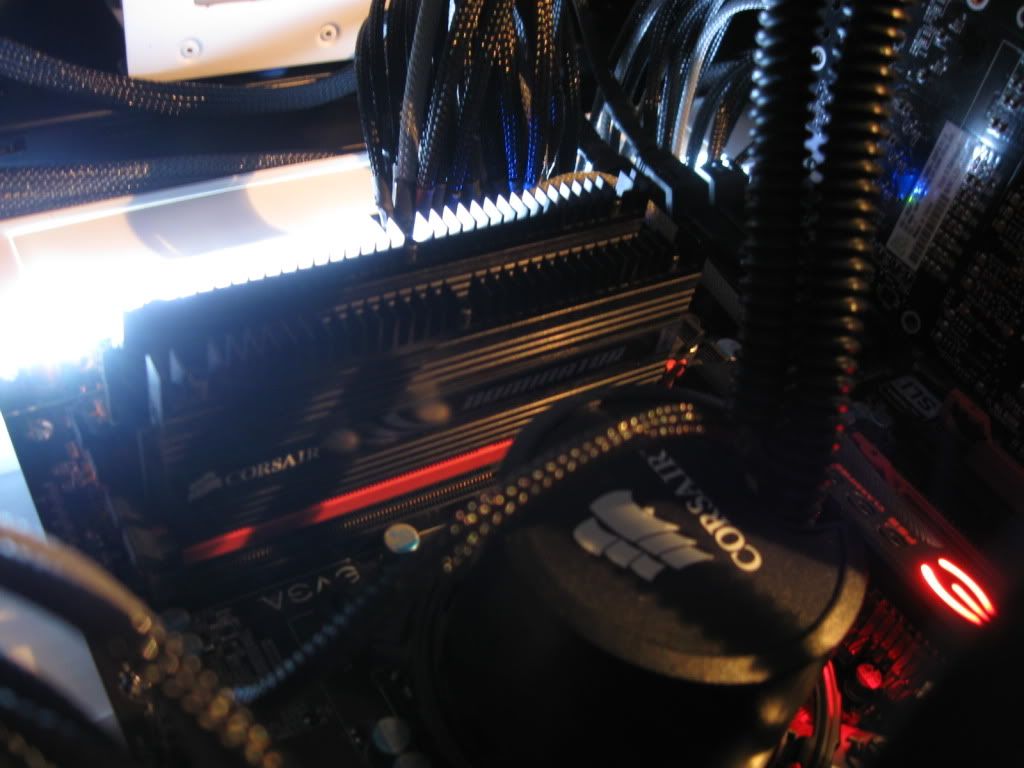
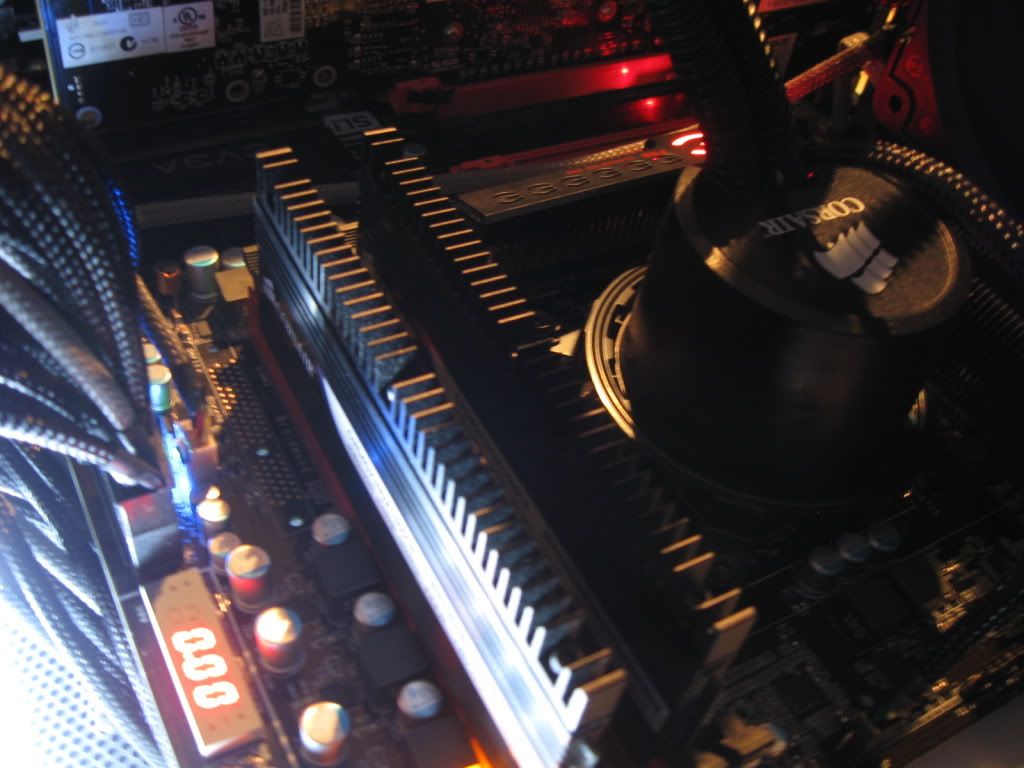
This is when I was thinking about selling her,

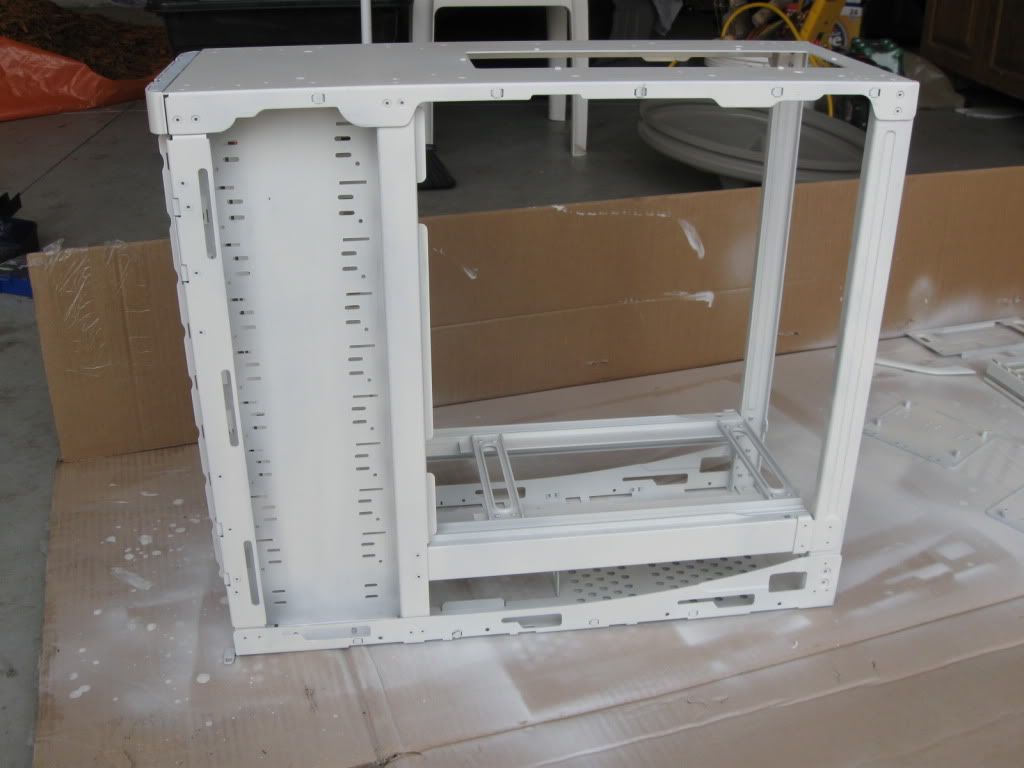
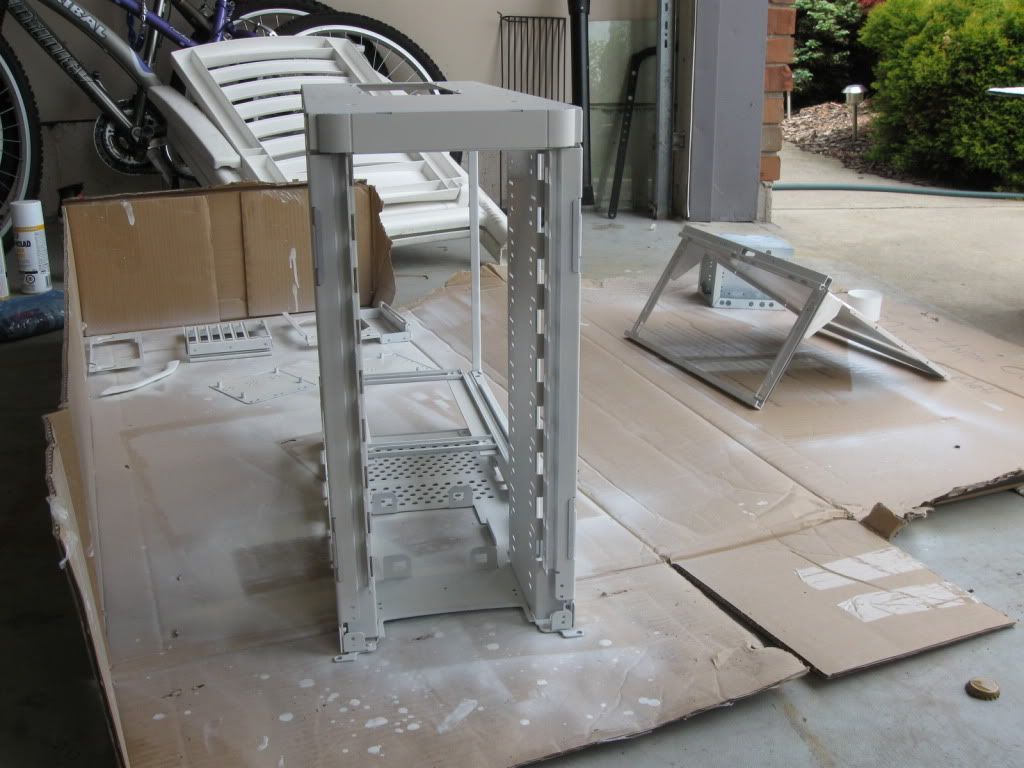
but now, with the first coat of primer:


IMG_0513.jpg


IMG_0515.jpg


IMG_0514.jpg


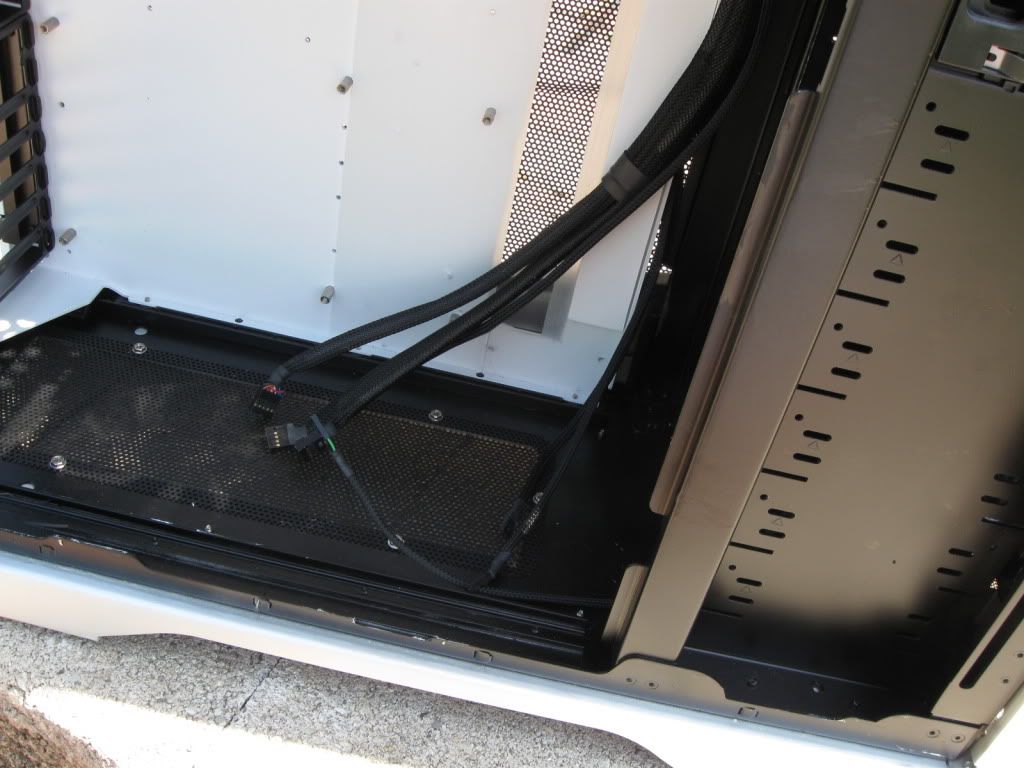
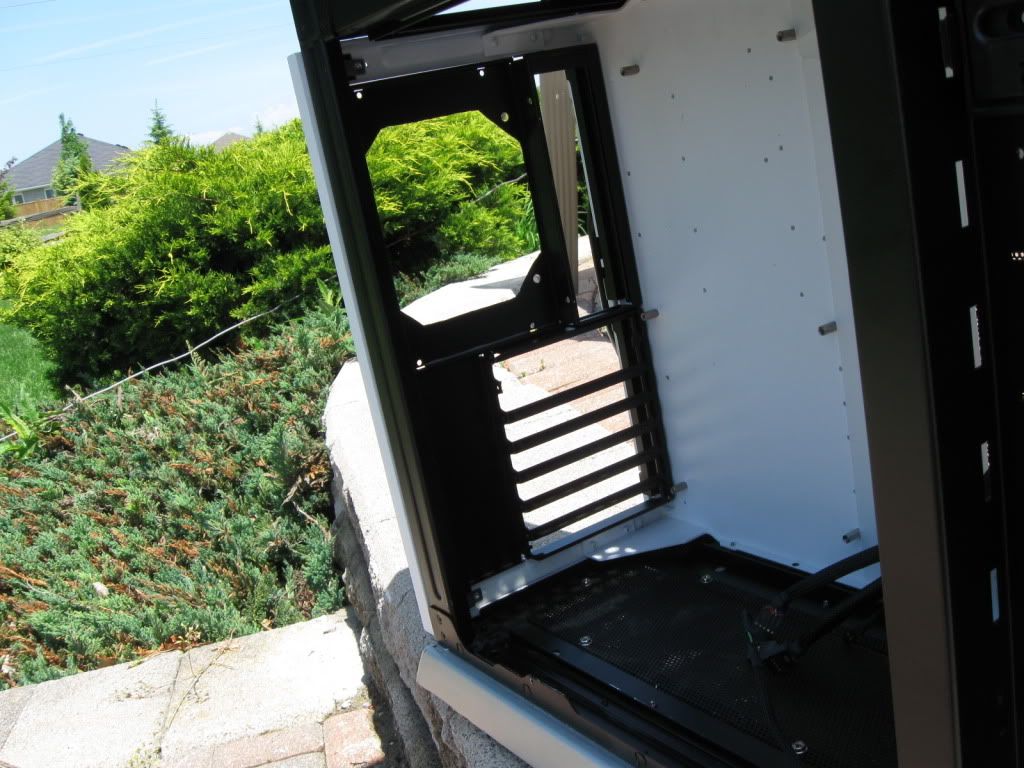
I wish I took some pics of the next part
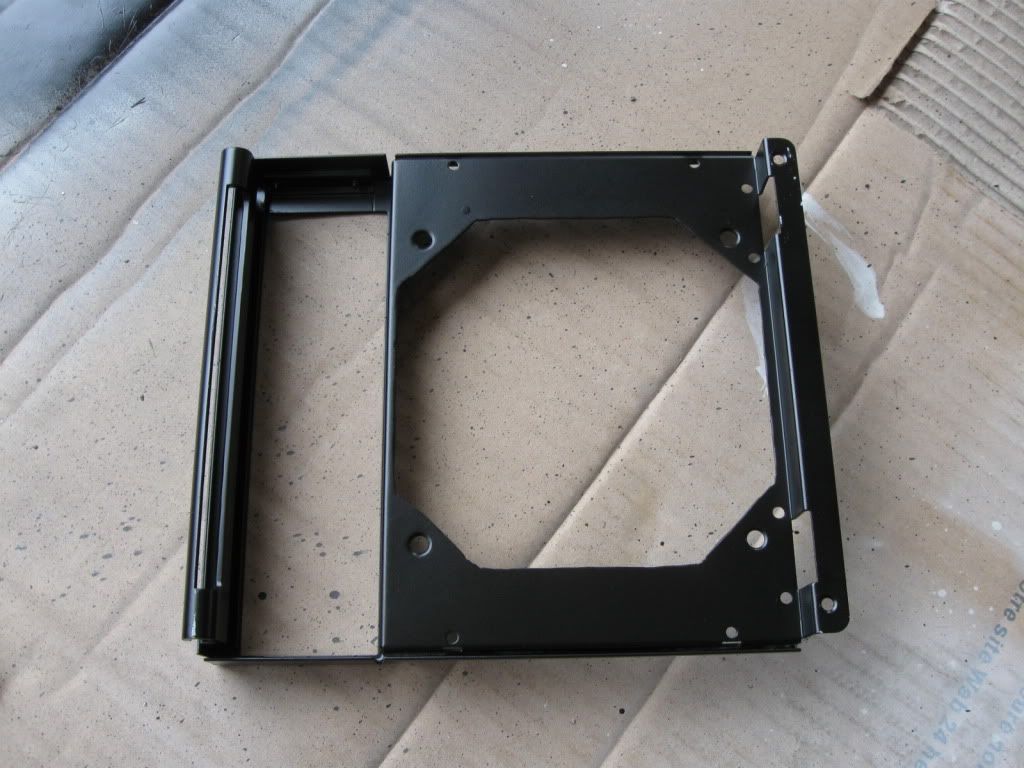
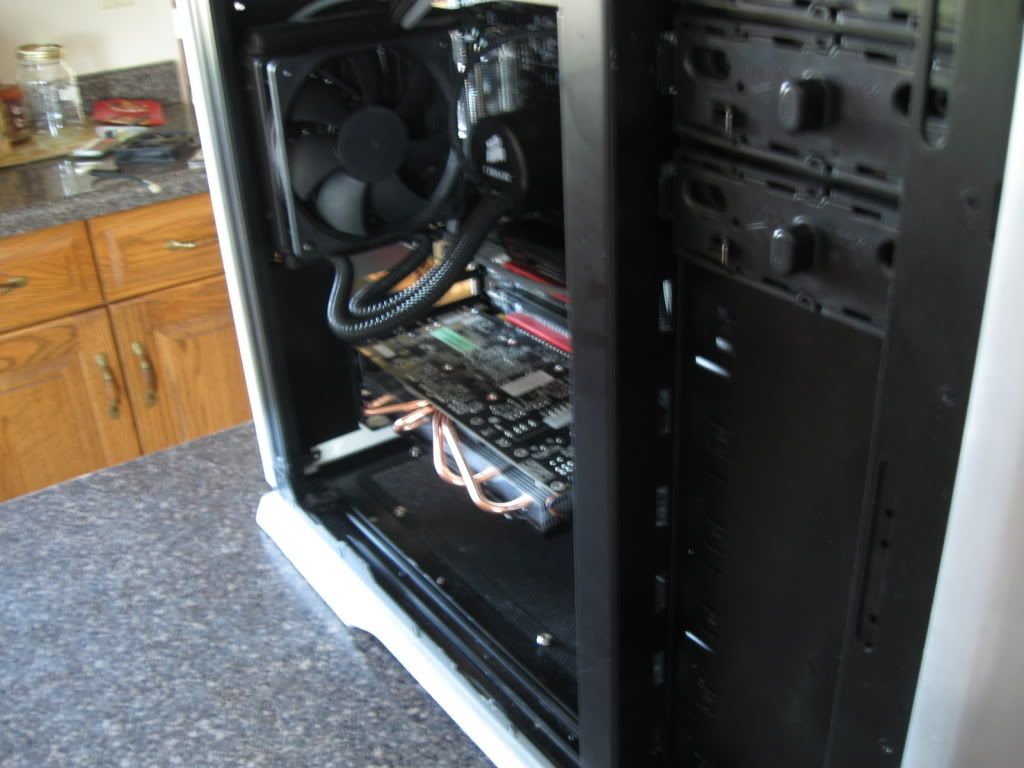
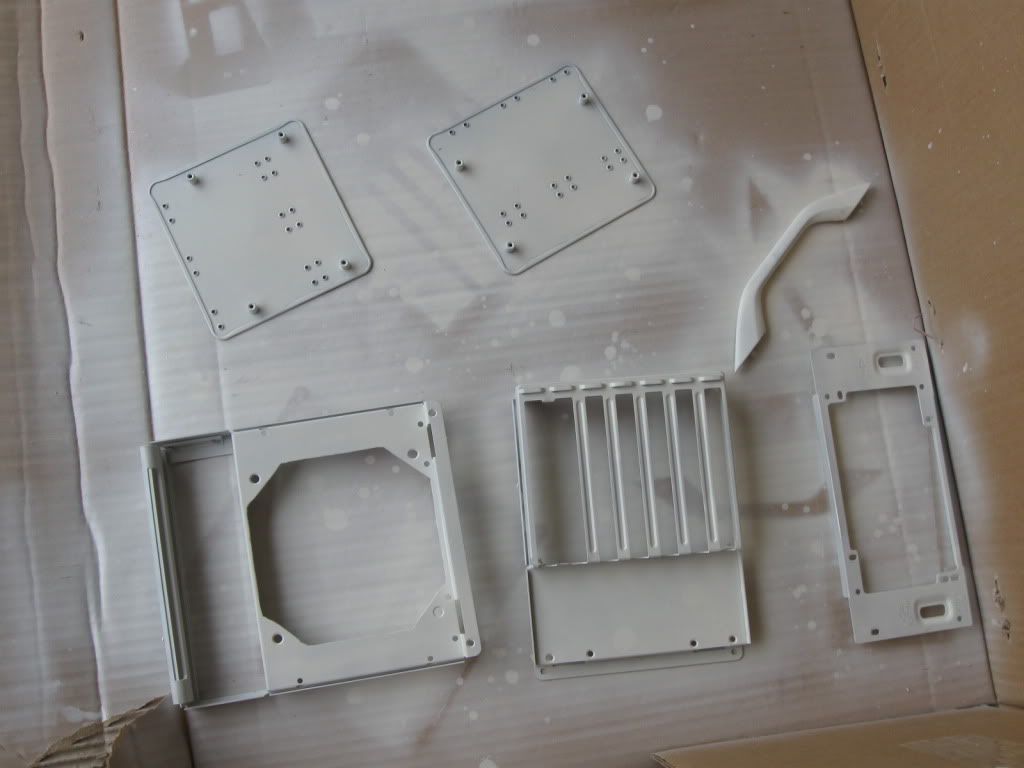
As you can see, where the 120mm fan is, I used snips to cut the mesh, and a file to even out the edges.
Little did i know.... I'd end up using that file quite a bit...... live and learn i guess....

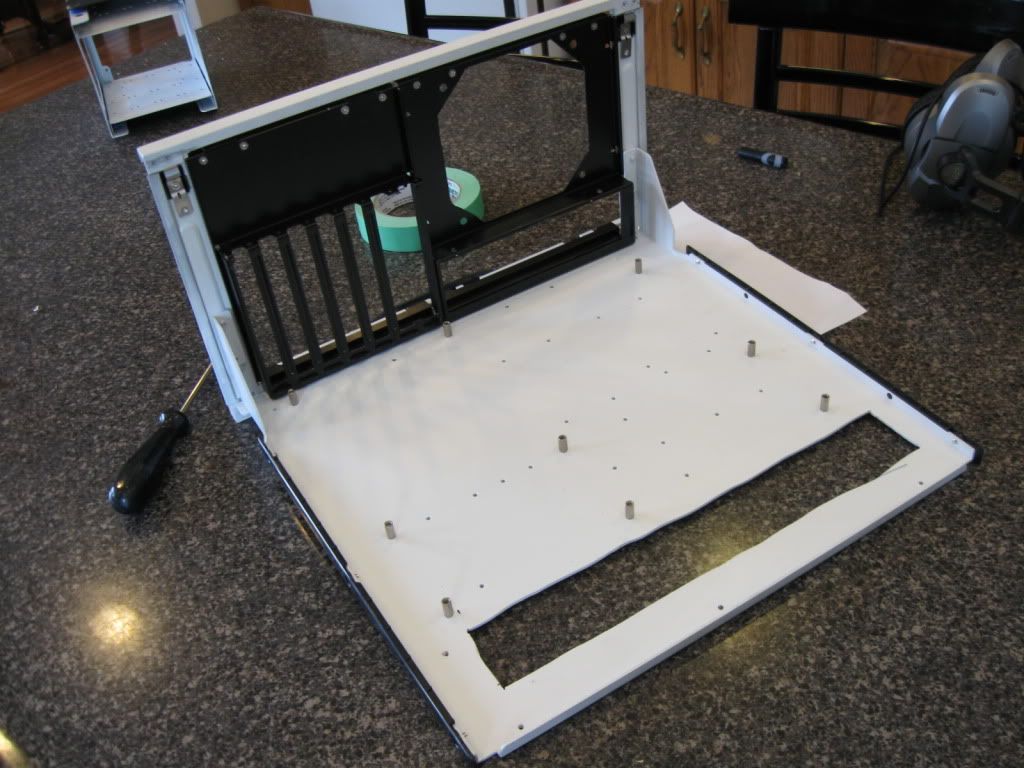
MoboTray and a unique drive bay solution coming up in a bit.
 
Update:

Paint seems to be coming along quite nicely.
IMG_0518.jpg

IMG_0519.jpg

IMG_0517.jpg


The white looks like its going to turn out great!!!!
IMG_0520.jpg

IMG_0521.jpg
 
Looks great. What type of prep work did you perform on the metal?
 
Werd. No metal prep produces bad results. The metal is generally just to smooth. I heard sandblasting works best, but certain primers will handle it as well. I'm not taking chances, and will be Sandblasting mine. (If I can find someone with a sandblaster)

Looks good so far though!
 
I wet sanded the metal for a good few hours.... then applied a self etching primer.
 
So here's the update for today...
Paint's done, and thankfully, it came out nice.

IMG_0524.jpg


I'm very pleased thus far, however I am noticing a few little spots that need some touching up. I'm going to use something else for that,


IMG_0525.jpg


The mobo tray however is another story.... I kinda messed up on one of my cuts.....

IMG_0526.jpg


So how do I plan to fix this? Well, i could just buy a pre-made tray from coolermaster, or do something innovative, so lets see if you guys can figure out how the peices fit ;)

IMG_0527.jpg


The acrylic was cut using a jigsaw, and then filed down to appropriate sizes... told you I had more filing to do
 
Werd. No metal prep produces bad results. The metal is generally just to smooth. I heard sandblasting works best, but certain primers will handle it as well. I'm not taking chances, and will be Sandblasting mine. (If I can find someone with a sandblaster)

Looks good so far though!

Thanks for the positive comments :D

I'll elaborate a little bit. I sanded the metal, rinsed and used the leftover water to wet-sand, air dry. I was using 80 grit paper. The primer was applied after, just needed a single coat, surprisingly. Then just put a two coats of paint. First a base coat, waited 10-15 mins to see it start to settle, and applied another coat to the areas that looked thin. Still some thin areas, but I'm in the process of touching it up.

I really like that satine finish. How durable is the paint?

The paint is really durable. I made an idiotic mistake to do a quick test fit of the HDD tray before it was completely dry and it scratched the hell out of it. I'm in the process of fixing that, but so far, so good.
 
Well, a quick update, been doing some paint touch ups as well as a few other little things to make this ready to build.
I have a few new parts coming my way, but I wont ruin the surprise. It looks like I might end up modding my H50, or going with a full WC loop, haven't completely decided yet.

Quick update.
I might be getting some new sleeve, but I'm going to wait a bit on that. As of right now the PSU color scheme is going to remain much the same as before. Black, Grey...... this time, due to popular demand sans bleu lol.
This is a shot from my past K62 build, the PSU will be coming over from that, thanks to Nils and his fantastic sleeve choices, they may still work.

IMG_0309.jpg


What do you guys think?
should i keep the gray or go with some white or another color choice?
 
So while I'm waiting on the last of my motherboard tray parts to dry.... i decided to take the stacker outside, to get a little bit of sun to catch you guys up on some of the work that has been done.
The majority are just shots of the paint, and what it looks like thus so far.... and I kinda gave away a part of the motherboard tray design/patch up lol.
Oh well,

IMG_0534.jpg


IMG_0535.jpg


IMG_0536.jpg


IMG_0537.jpg


As you can see, the front panel connectors have been sleeved. Was a bit difficult, because of the size of the cables themselves, I had to use the sata sleeve and shrink and attempt to make it as tight as possible.
I think the end result looks alright, but only a test fit on the mobo will really tell the true story.

IMG_0539.jpg


Here's a few more shots, this time with the focus on the back IO Panel and the 120mm fan cut out.

IMG_0541.jpg


IMG_0542.jpg


Finally, i have my helper watching me take these, just relaxing in the shade after a good brushing
Shes about 9 years old, Siberian Huskey-Wolf mix, bought from a breeder in Quebec who said her father was a tamed wolf, but according to our vet here in southwestern ontario, shes around 75-80% wolf.
Was a bitch to handle when she was young, but an amazing dog none the less.

IMG_0544.jpg
 
So here is the update I promised,


I started pretty much everything on Friday. The last of my packages came in, and I thought you myself, "Matt, you have a few hours..... get this put together!"

First up was the GPU.
She started out as this, then met the twin turbo.
IMG_0479.jpg


about 15 minutes of metal snipping and quite a bit of erasing later, she looked almost perfect.
IMG_0577.jpg

IMG_0578.jpg

IMG_0580.jpg

IMG_0554.jpg


So I plugged in the fan header and tried to hide it the best I could
IMG_0555.jpg


Now, I received the cooler a week before and was ever so tempted to install, but for some reason AC had forgotten a few screws. So I had to wait for them to come in....
but voila

IMG_0557.jpg


Next up was installing the motherboard on the tray.
Easy enough, I just wish i had the IO port. Might contact EVGA for it later on.... dont know if i'll paint it white or black. Then popped in the Dominators and mounted the new Push-Pull config'd Scythe S-Flex
1600'd H50.

IMG_0558.jpg


Sleeving the fan cables wasn't difficult at all, thankfully, but just my luck one has a low frequency bearing buzz, and i'm out of sleeving.... oh well
IMG_0559.jpg

IMG_0561.jpg

IMG_0563.jpg


Installed the GPU...
IMG_0564.jpg

IMG_0568.jpg


But wait, where are the HDD's?
IMG_0565.jpg

IMG_0566.jpg


So with everything together this is how she looks....
IMG_0570.jpg

IMG_0571.jpg

IMG_0572.jpg


Oh, and just in case you guys were wondering why I spent so much time sanding that Plexiglas....
it was to get this effect:

IMG_0573.jpg

IMG_0574.jpg


Shes almost 100% done. All that is missing is a soundcard, connecting the frontpannel audio and boom. Done.
 
Last edited:
I decided to snap a few mobo shots,
Been a little MIA recently thanks to some family stuff and the girl lol, so no work has really been completed. I'm ironing out a few issues right now with the 5850, and working on a mod design for the H50, as well as looking at the best option for a pci-e sound card..... some modding mesh mods to come ;)

Constructive criticism as always is appreciated,

IMG_0581.jpg

IMG_0582.jpg

IMG_0583.jpg

IMG_0584.jpg
 
This kind of reminds me of my stacker that is powder coated white with a black interior, I like it.
 
Oh, and just in case you guys were wondering why I spent so much time sanding that Plexiglas....
it was to get this effect:
IMG_0573.jpg
That's exactly the effect I'm attempting to go for with some LED's under my case!

Great job on this project, its looking very clean. Bravo!!!!!
 
Back
Top