MrAhlefeld
Weaksauce
- Joined
- Jan 16, 2016
- Messages
- 73
Old build log not posted on [H]ardOPC, updated since with new hardware
This build was originally made in 2012, but updated a few months ago.
Time for a (old) project

I've allways loved the style of the PowerMac G5 enclosure, and with much inspiration from other people's builds I've decided to do my own.
This will not be like the other G5 ATX convertions with Lian-Li motherboard tray
 (sorry guys, I think those builds look cool but it's not my style)

I've sourced a PowerMac G5 from a local MAC shop in my city. It was dirt cheap, cause one of the handles on the to was bend out of shape.
Watercooling: I will be using some of my old parts as I love my Eheim 1048 pump, just can't beat it at those noise levels.
SPONSORS - None
List of parts:
Will be updated as the build comes along.
OLD SPECS
System
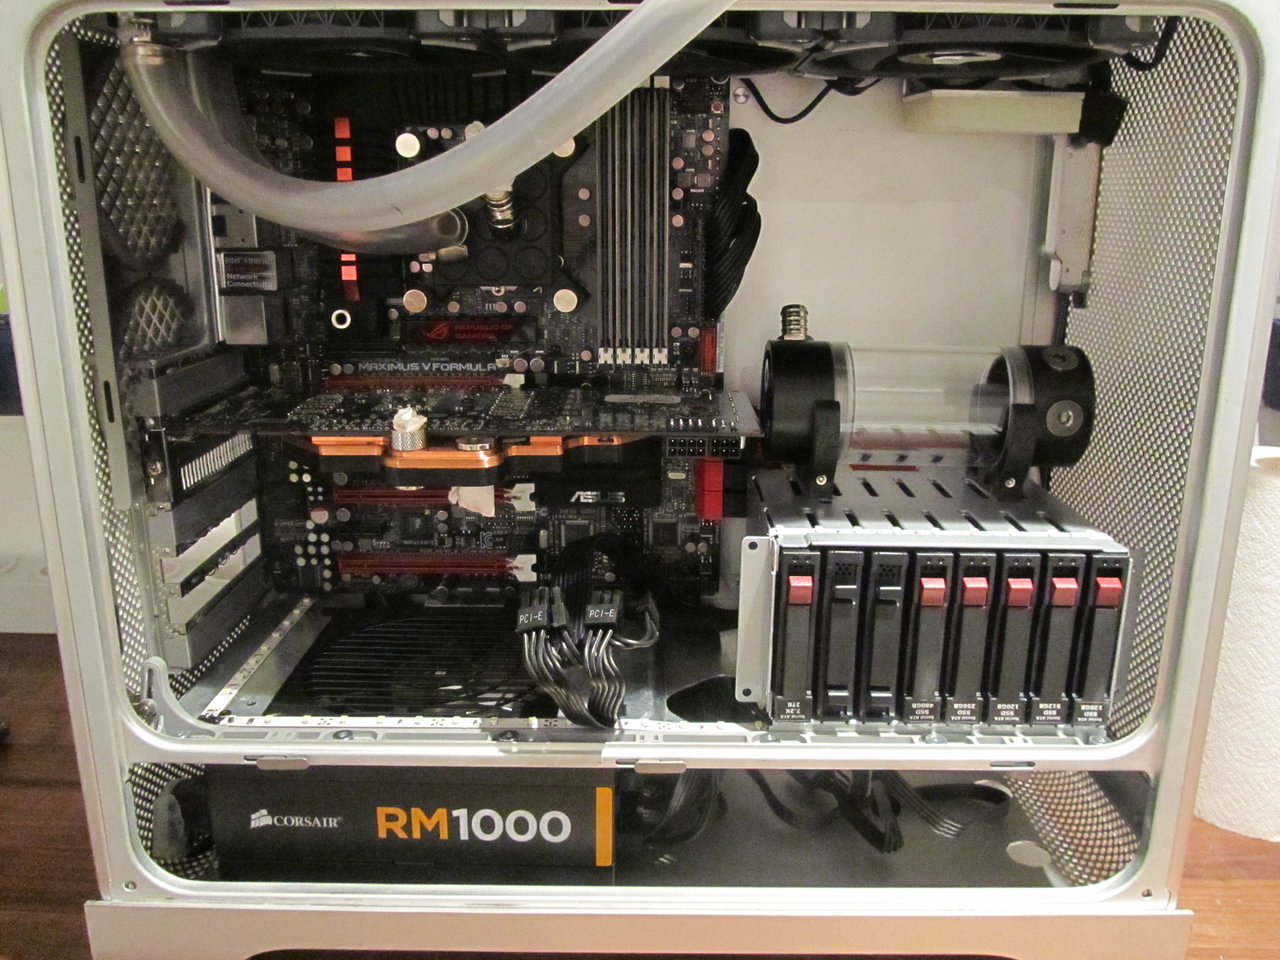
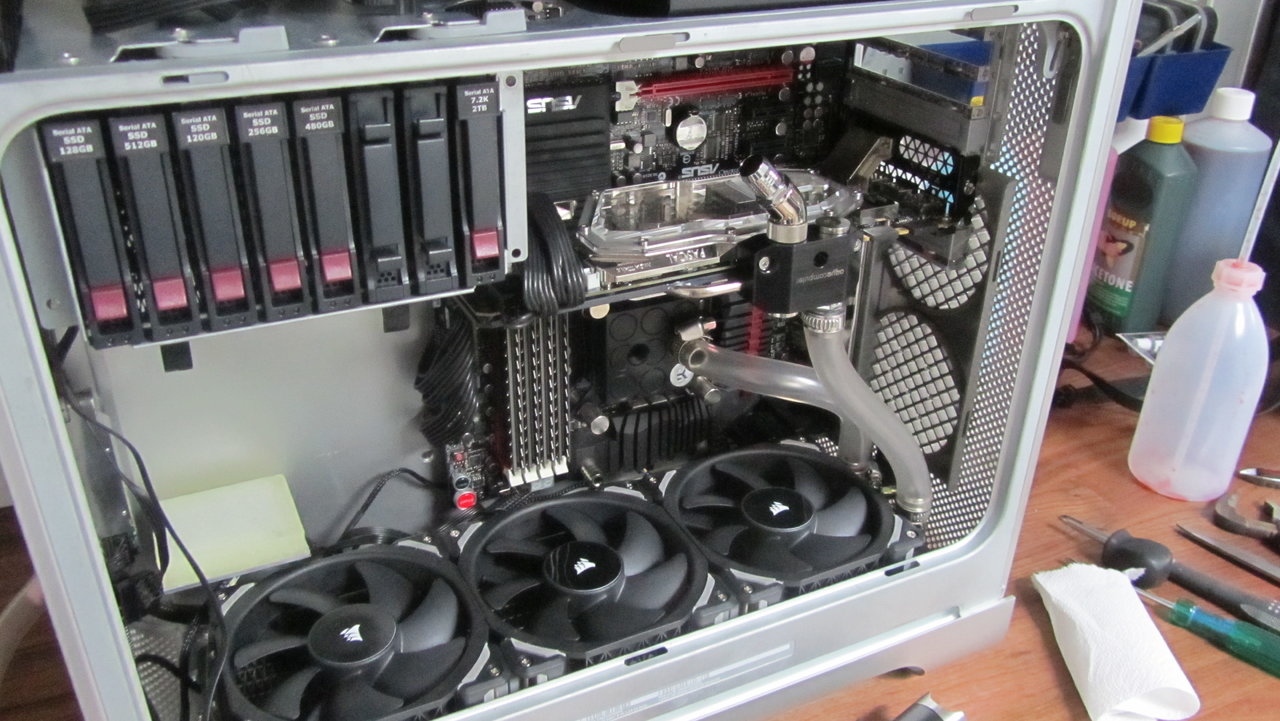
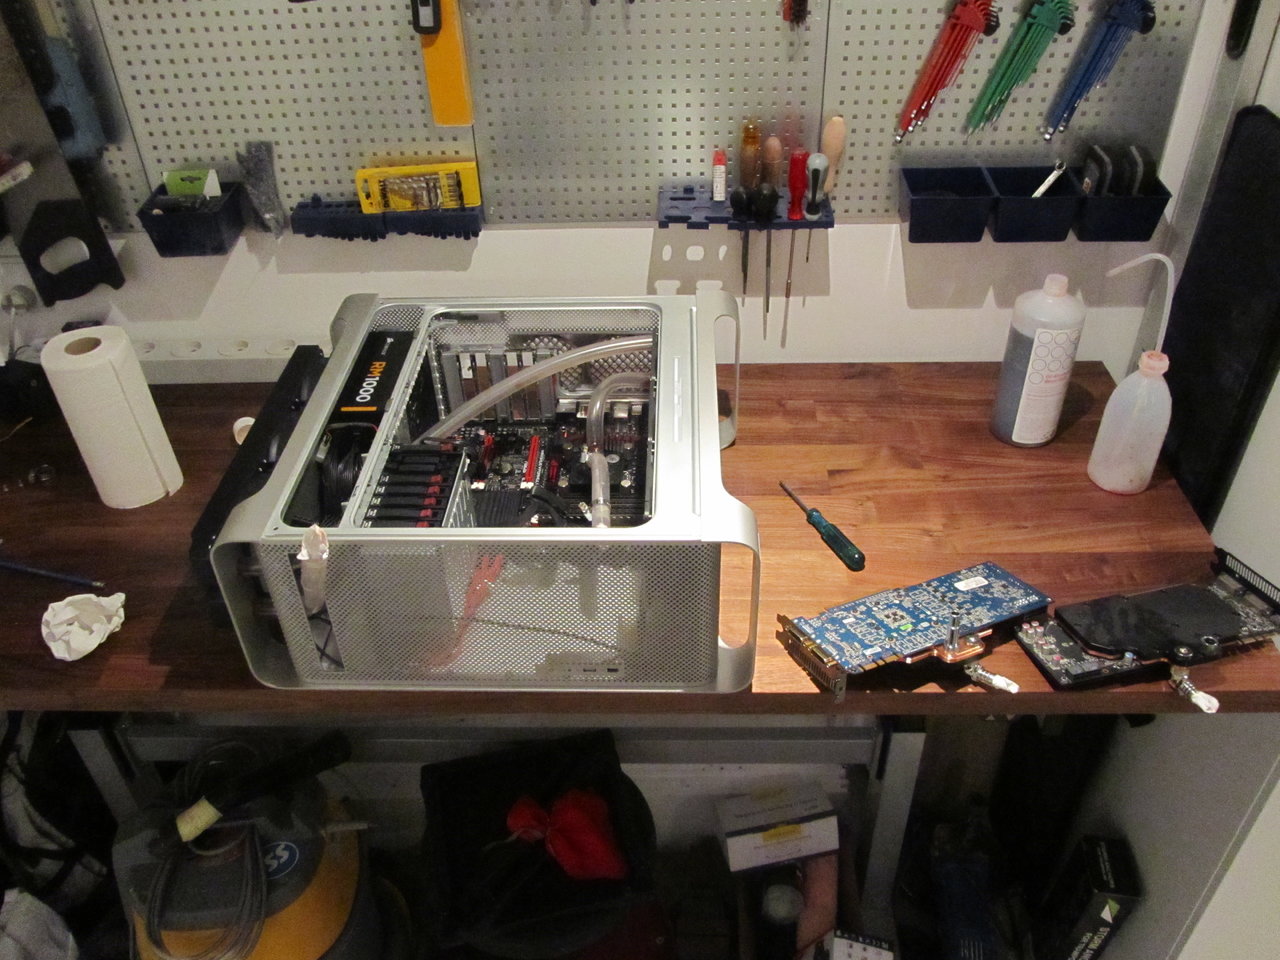
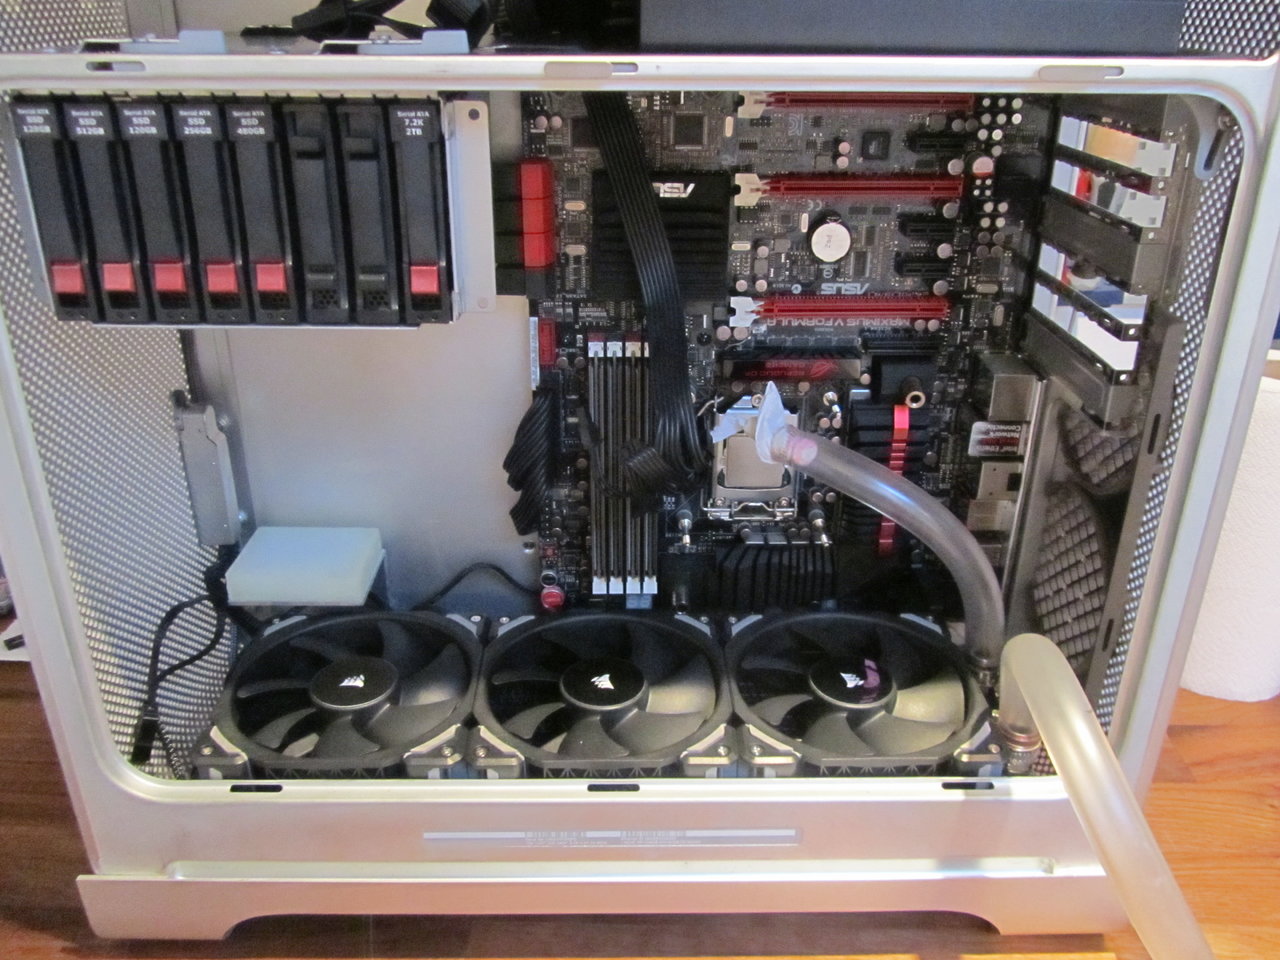
PowerMac G5 enclosure
PSU - CHILL INNOVATION CP-1000M 1000W Modular PSU
MB - ASUS MAXIMUS V FORMULA
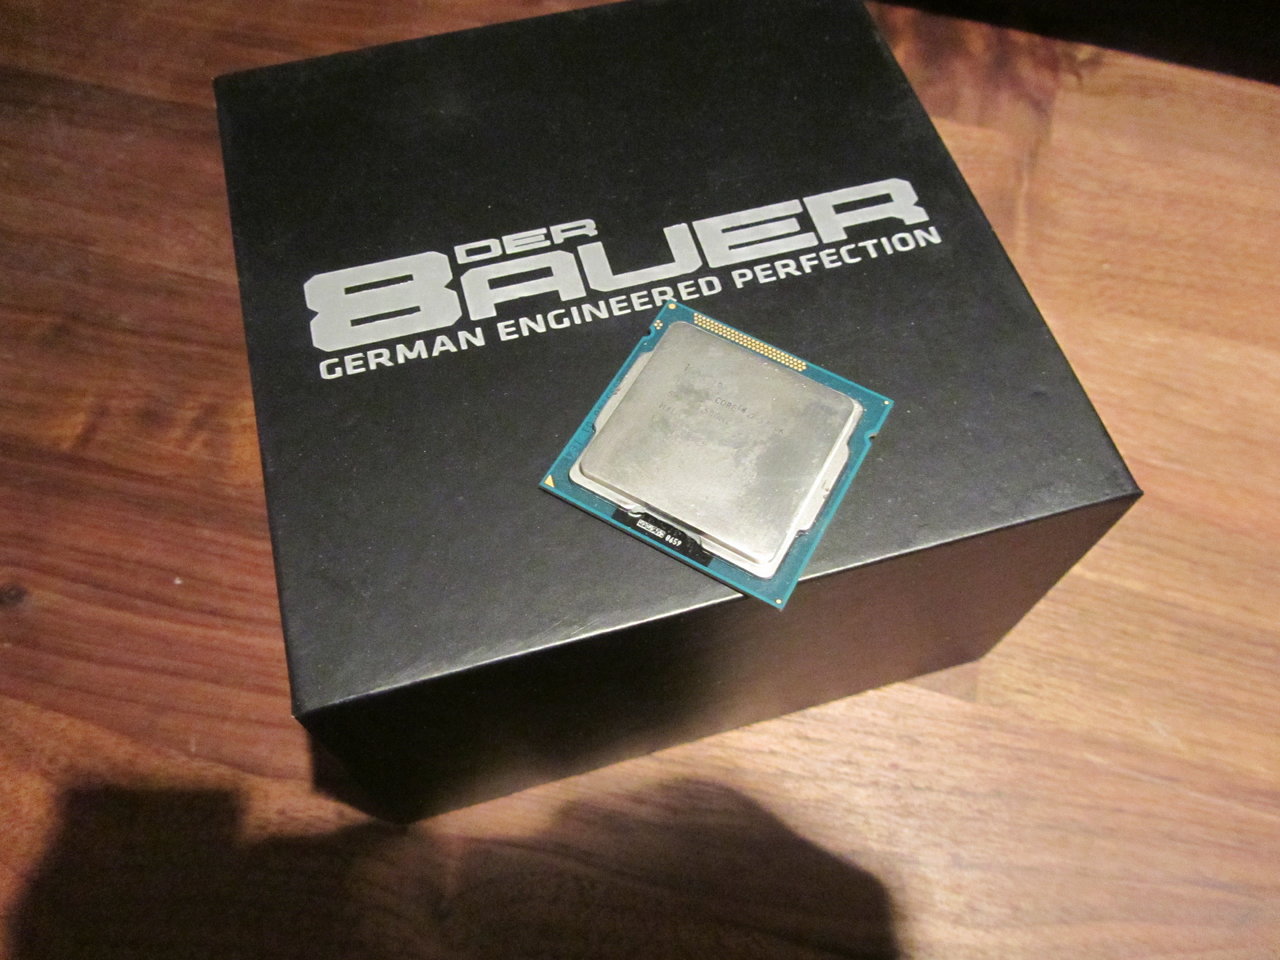
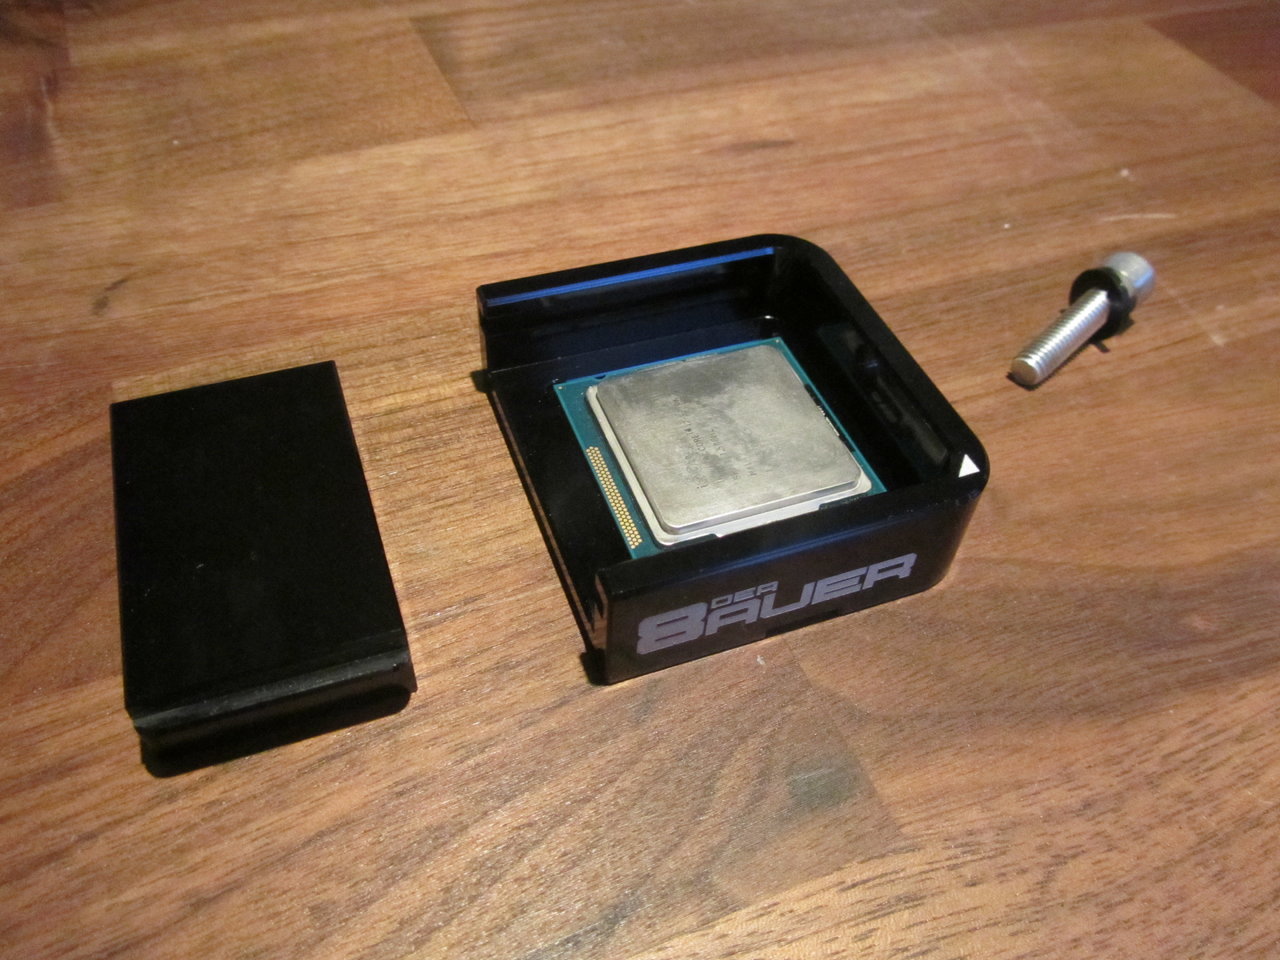
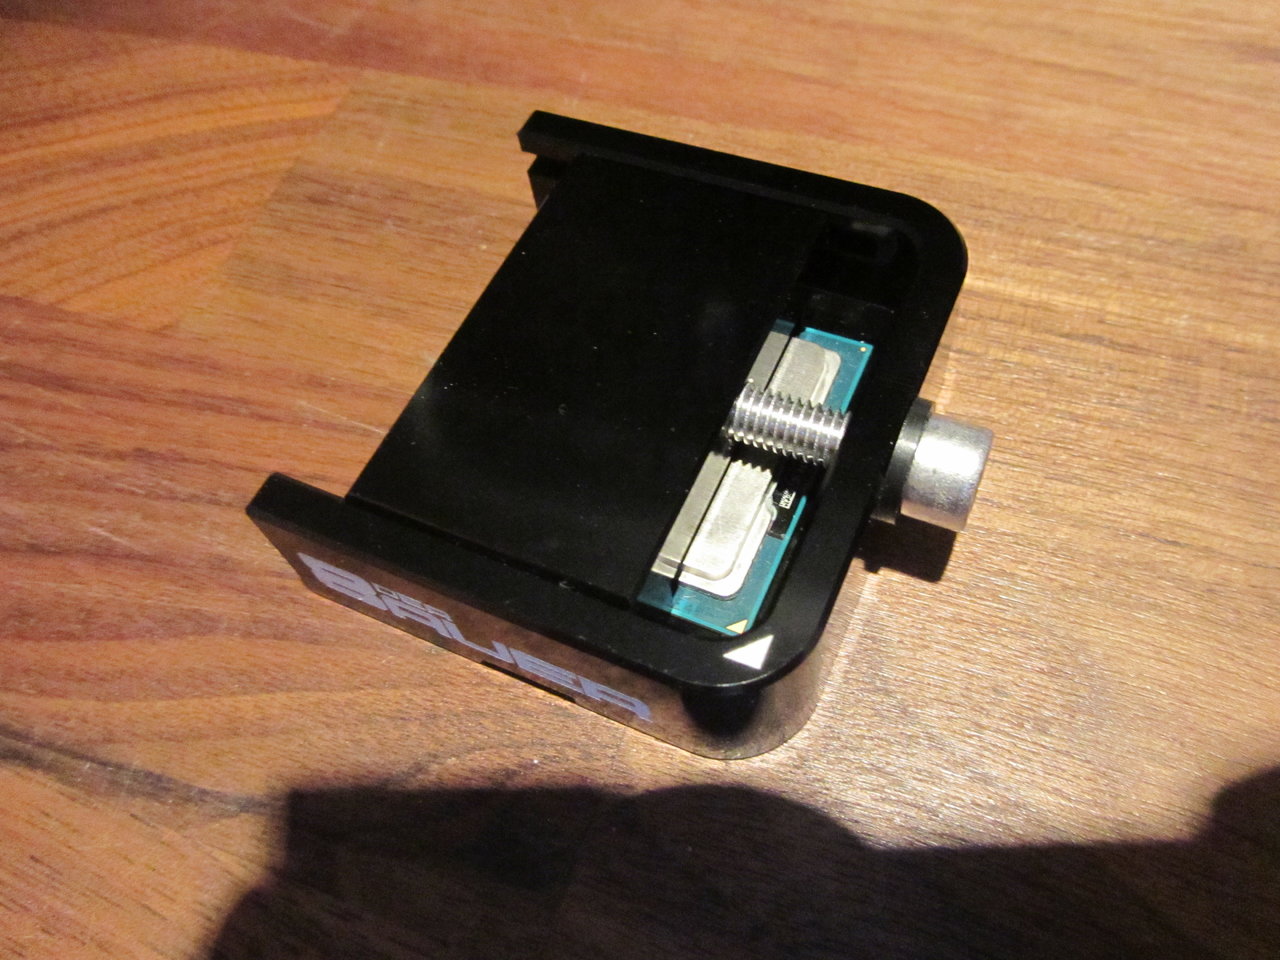
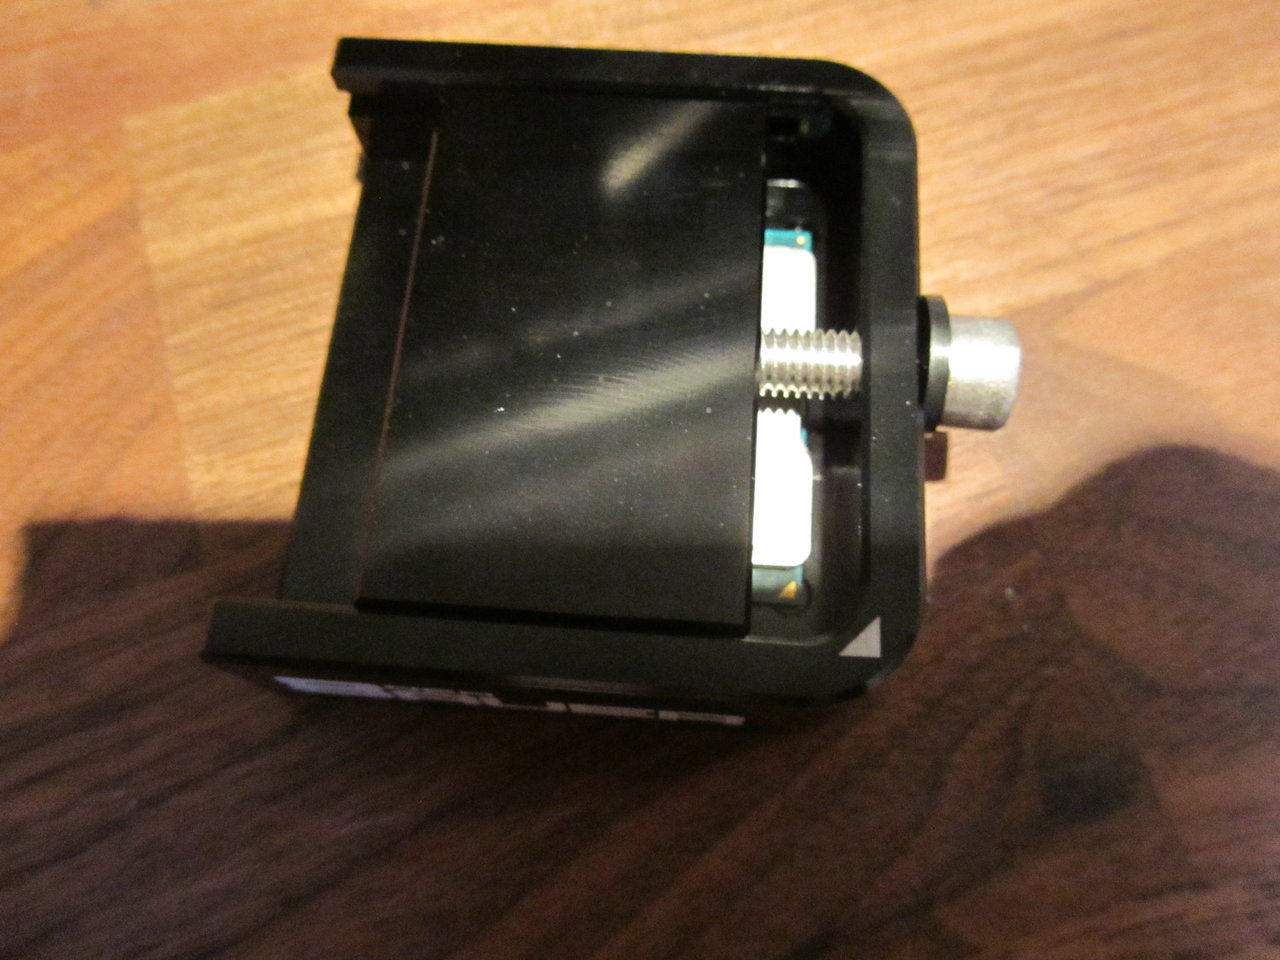
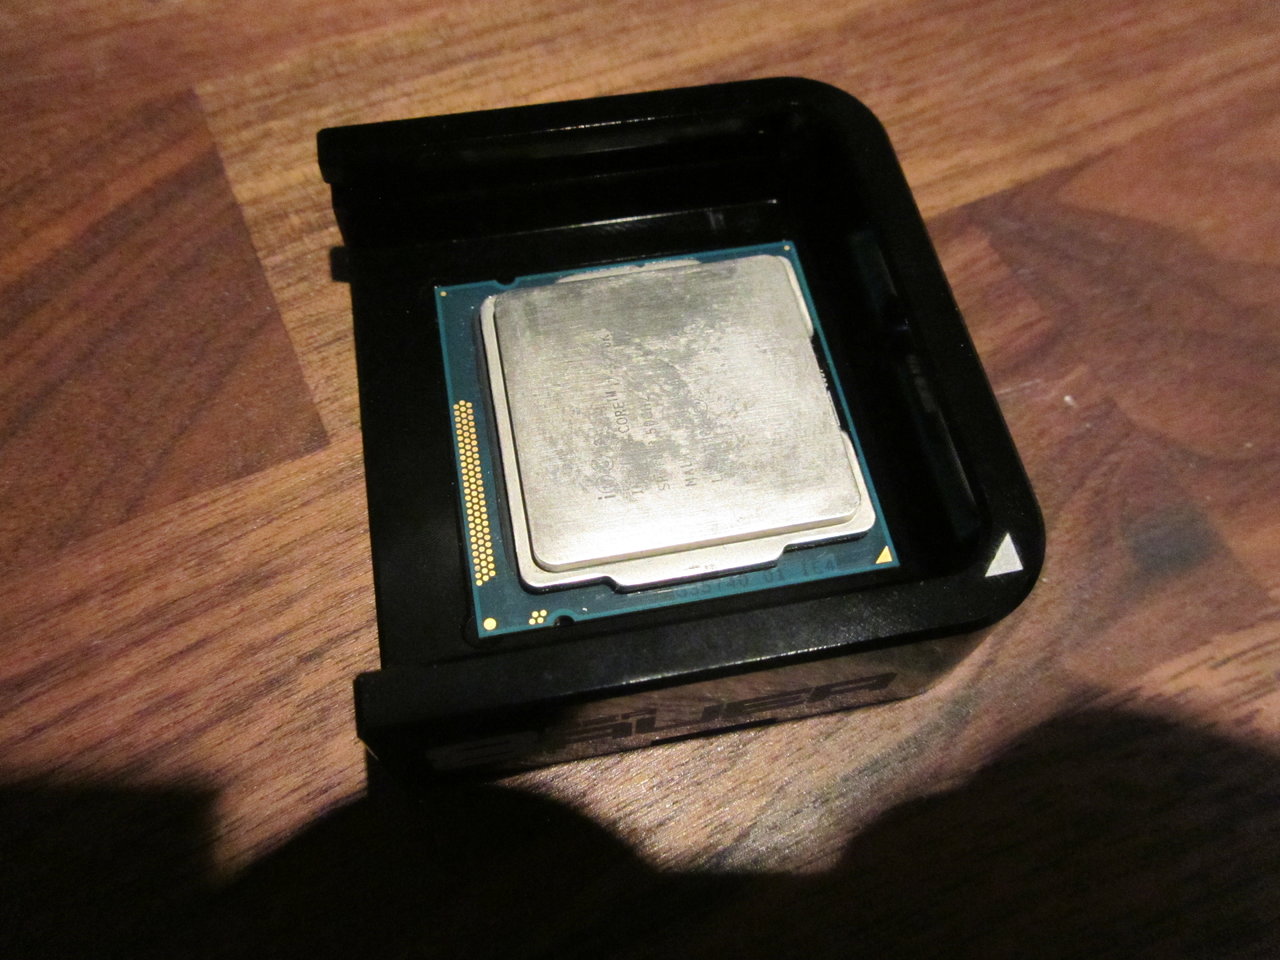
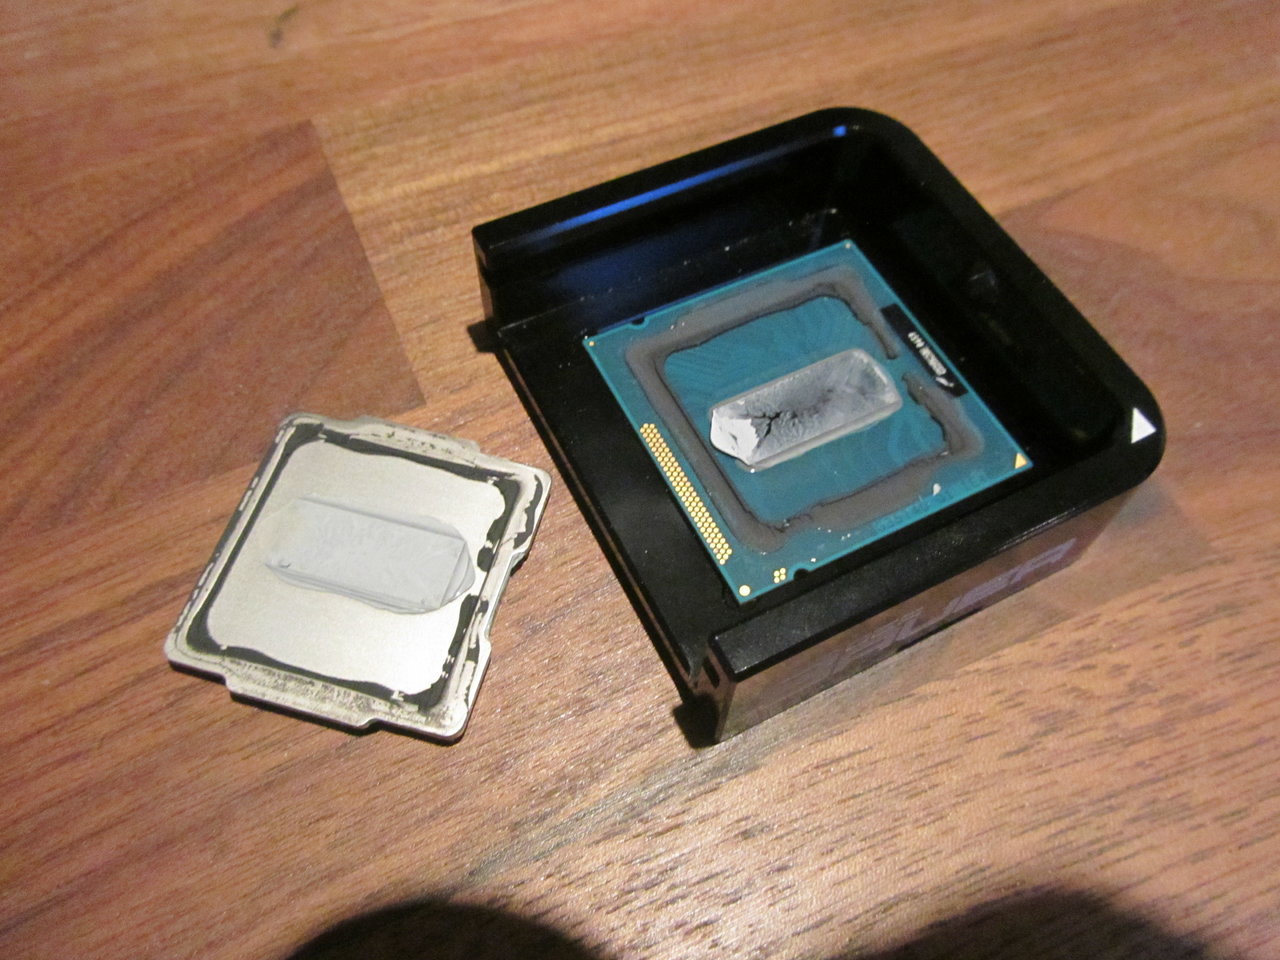
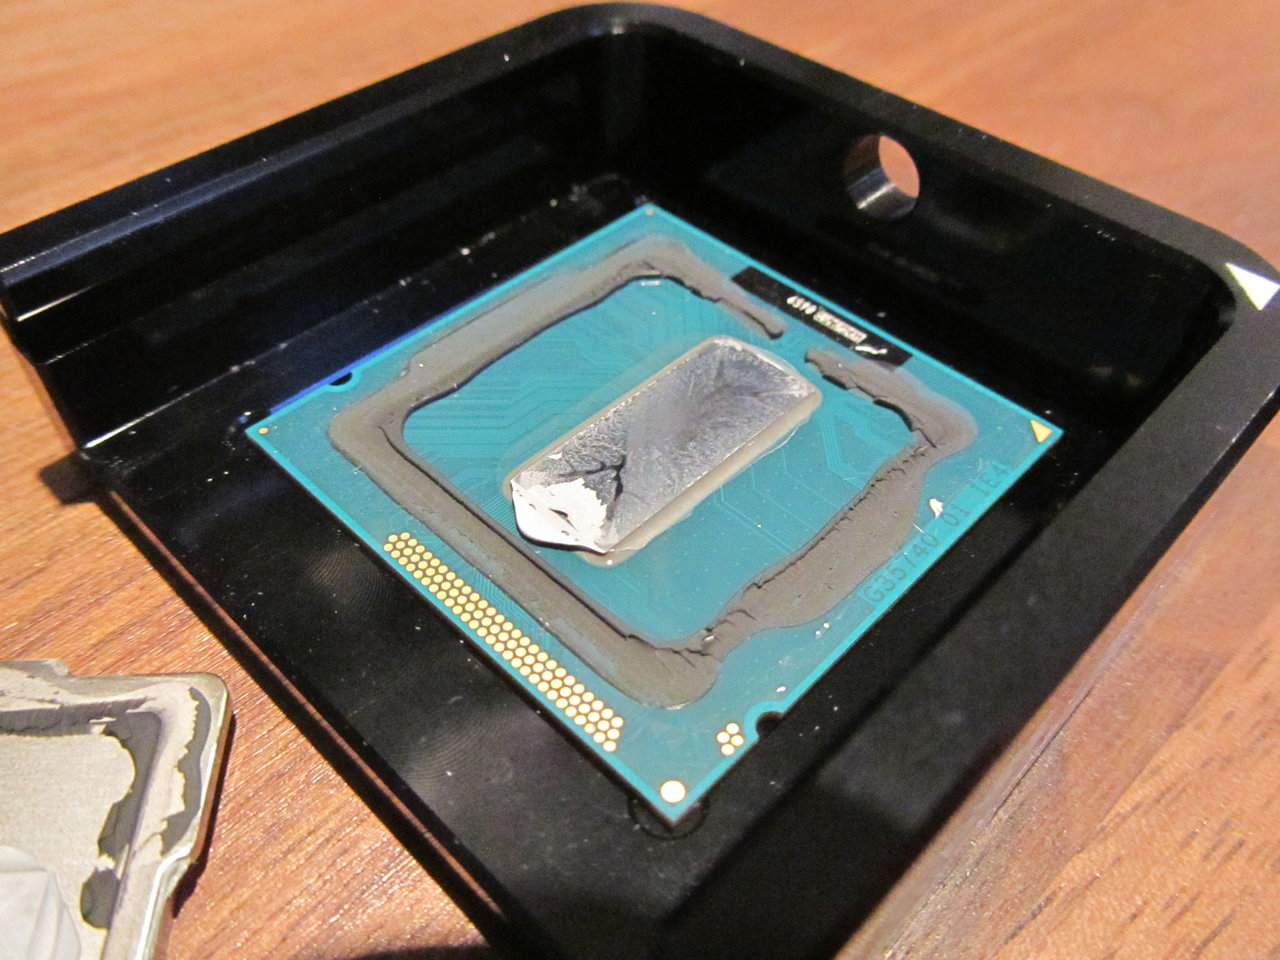
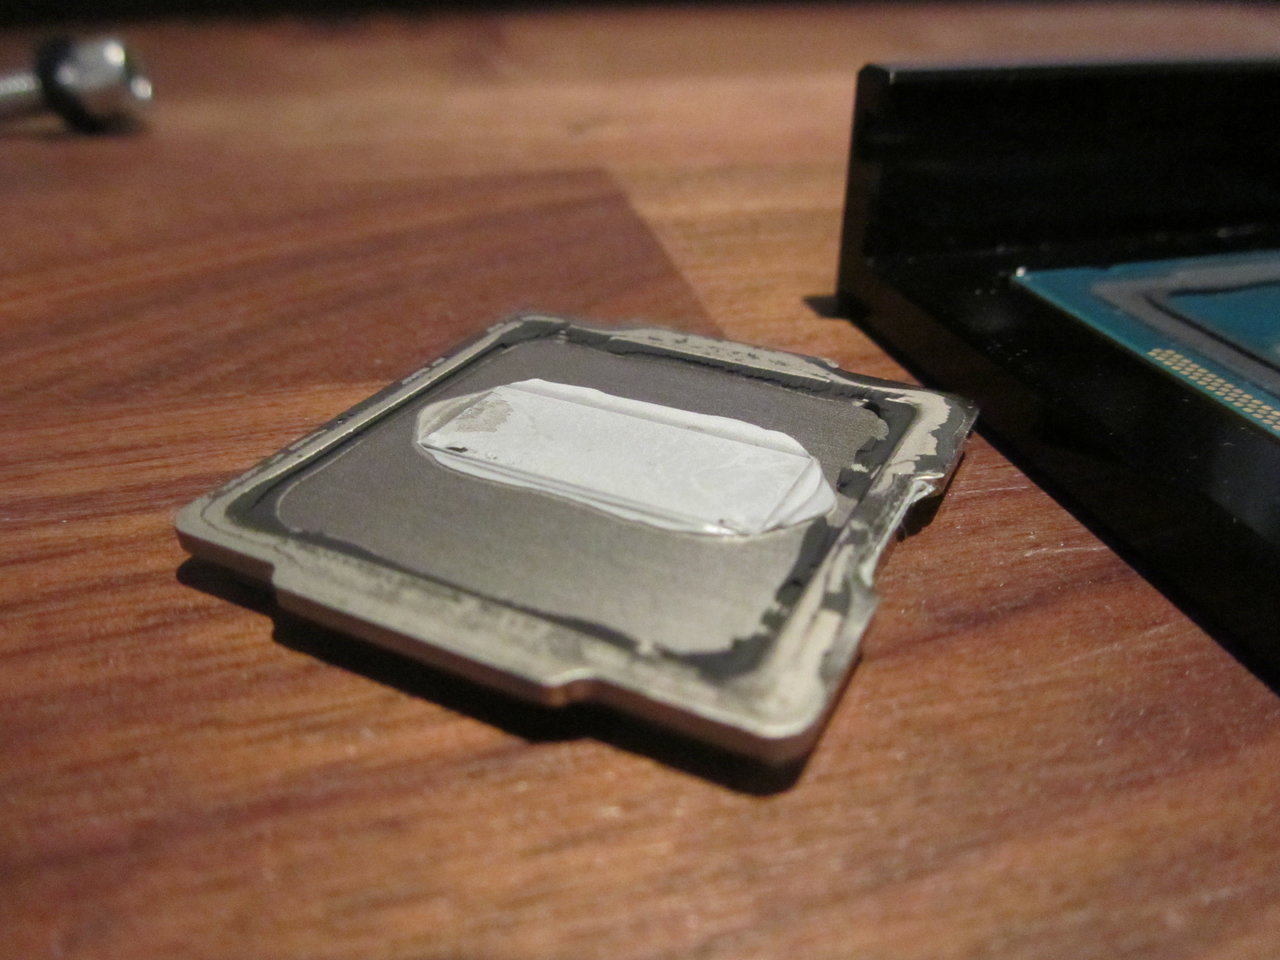
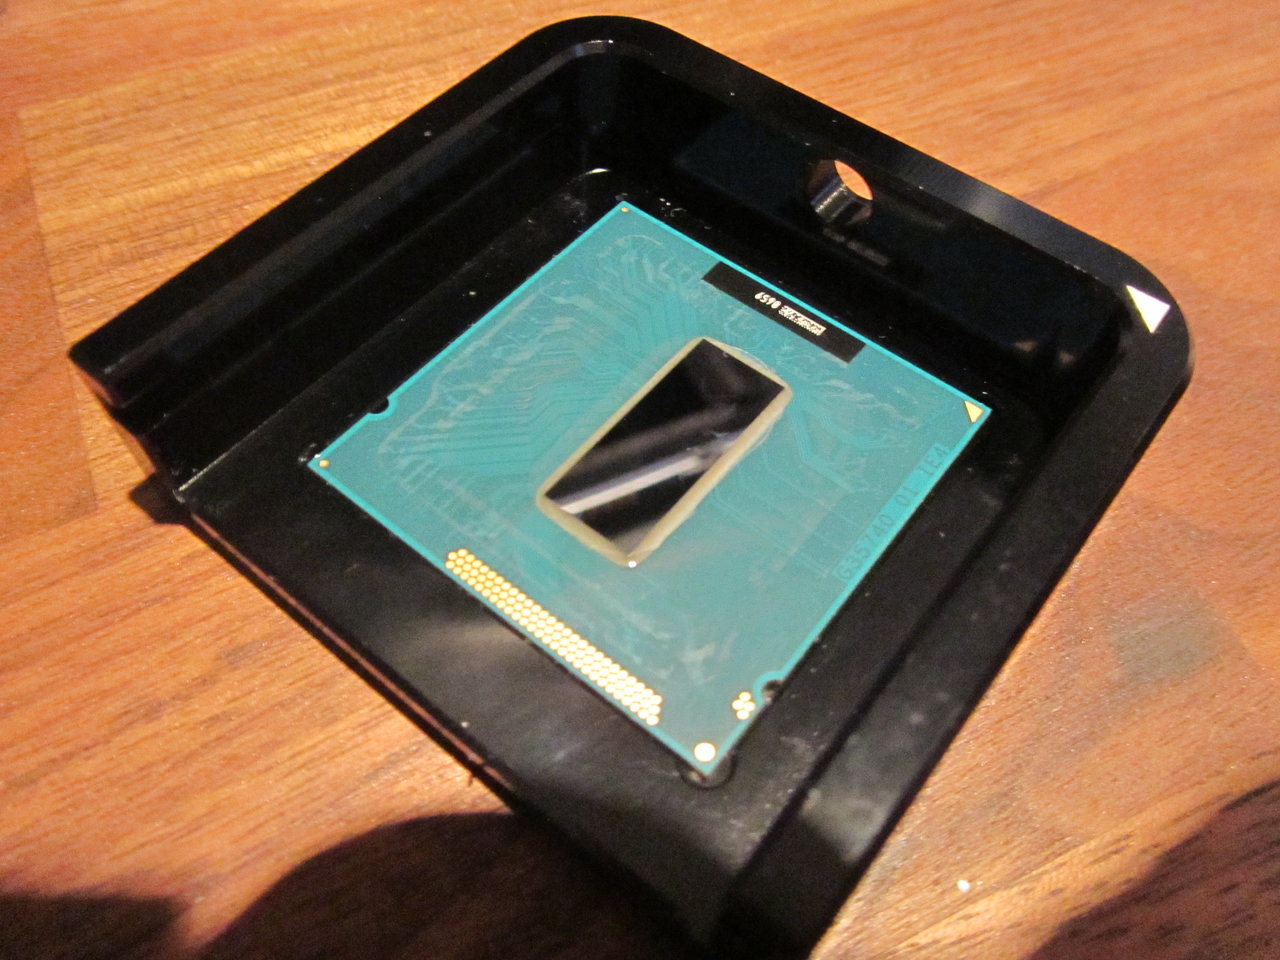
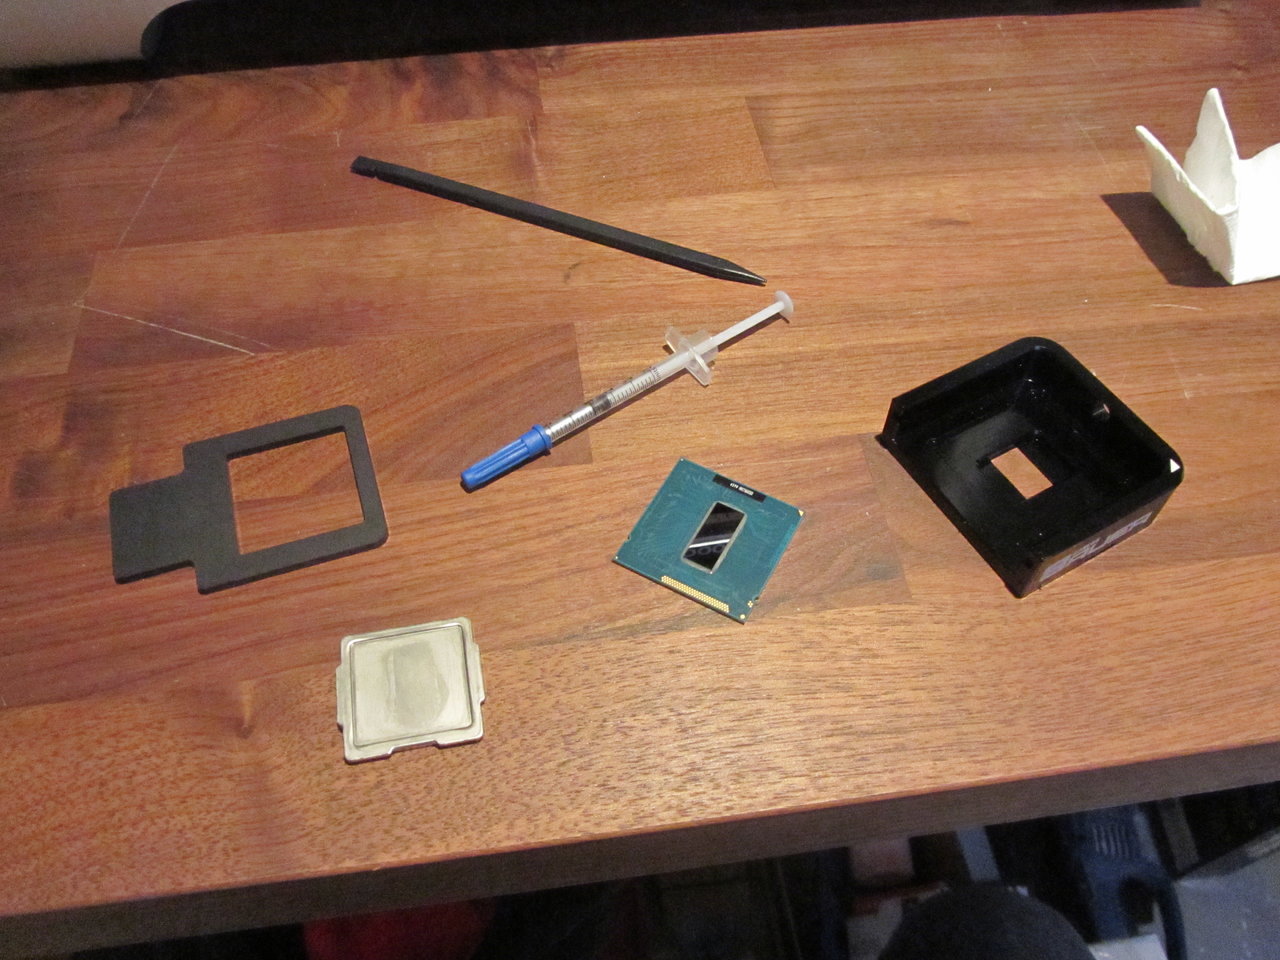
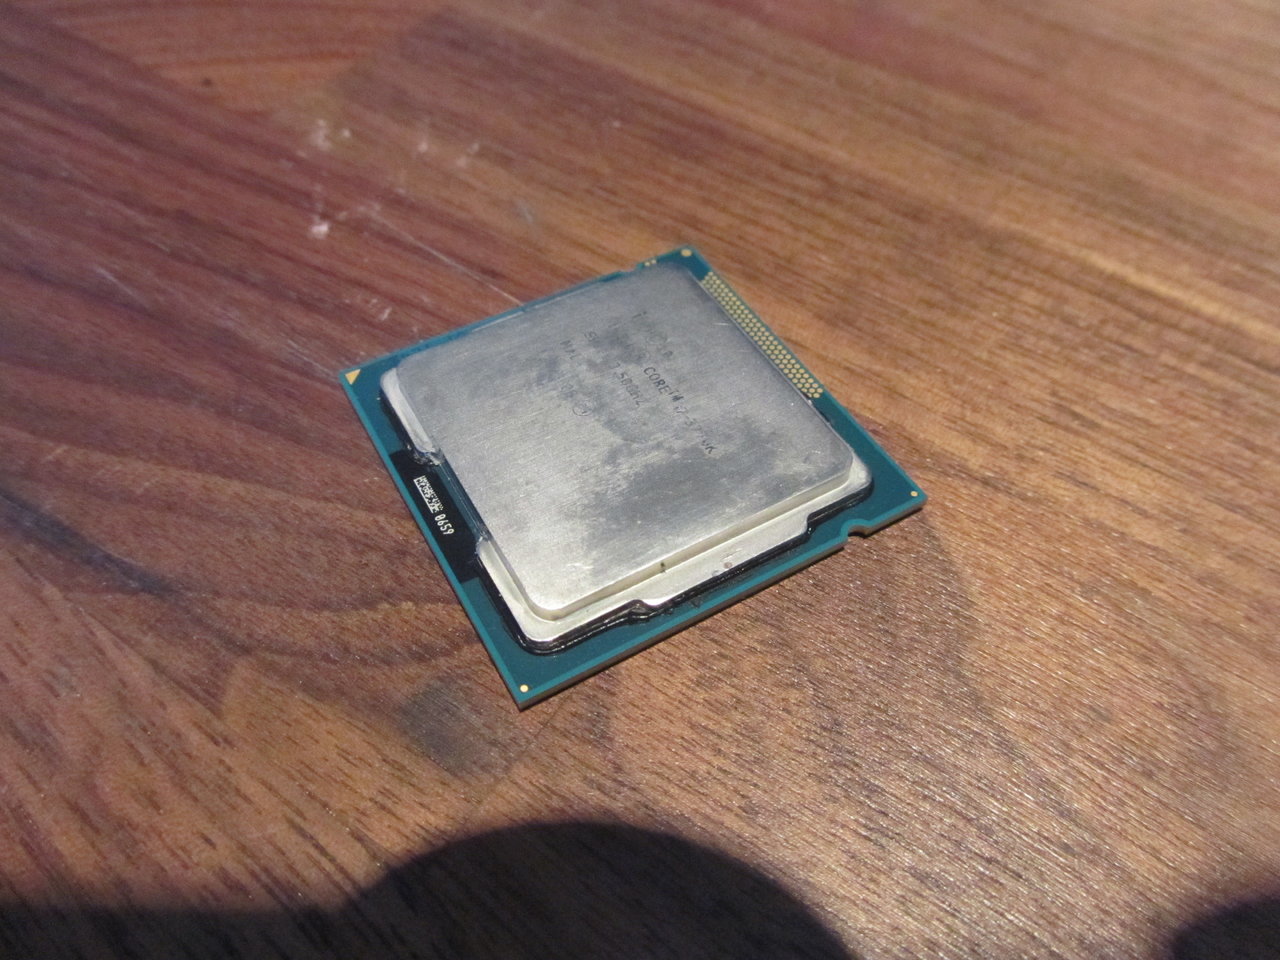
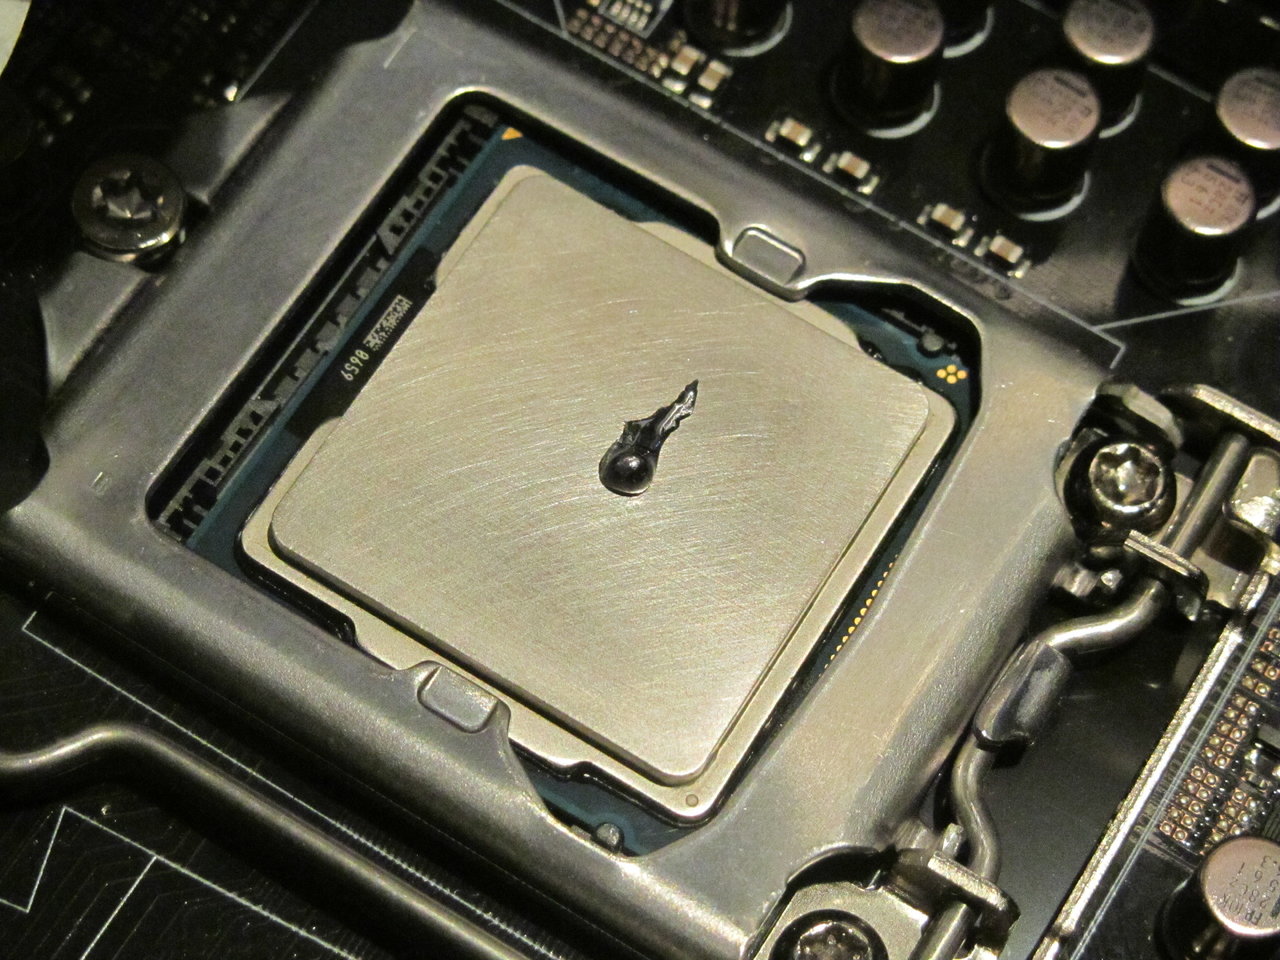
CPU - Intel Core i7-3770K
RAM - Kingston HyperX Predator 2400MHz 4x4GB - Ugly blue color, but this will be solved once I know the RAM is 100% ok
GPU - NVIDIA GTX580
SSD - OCZ VERTEX 3 120GB
HDD - 1.5TB SATA-II HDD 3.5"
HP SAS/SATA 2.5" 8 Bay Enclosure
Cooling
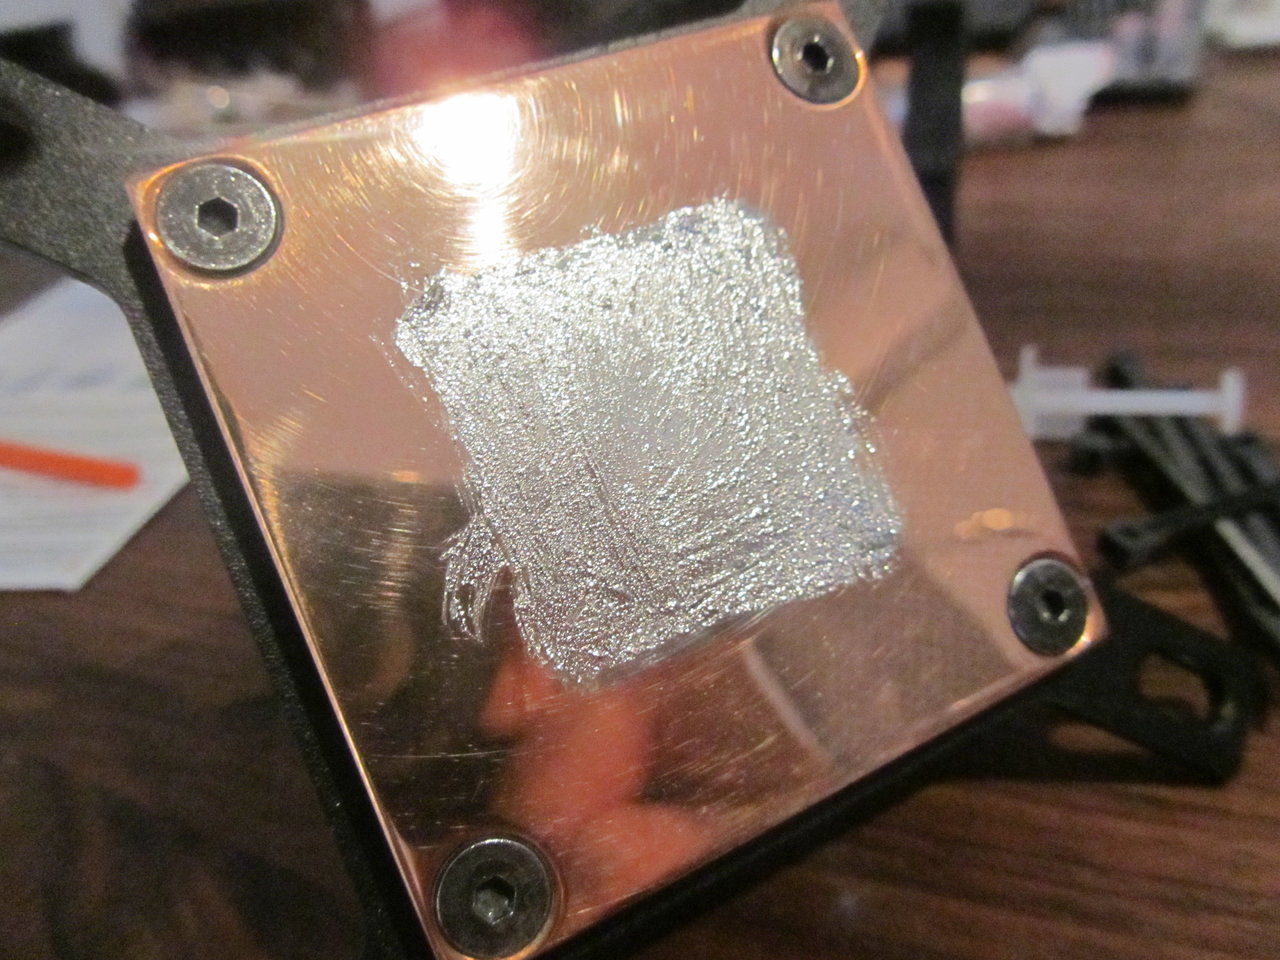
CPU - EK Supremacy Acetal
GPU - EK GTX580 Acetal
RAD - EK XT 360
RES - EK - Multioption RES X2 Advanced
PUMP - EHEIM 1048
FAN - ARCTIC F12 x 3
FITTINGS - Mixed bunch of EK's
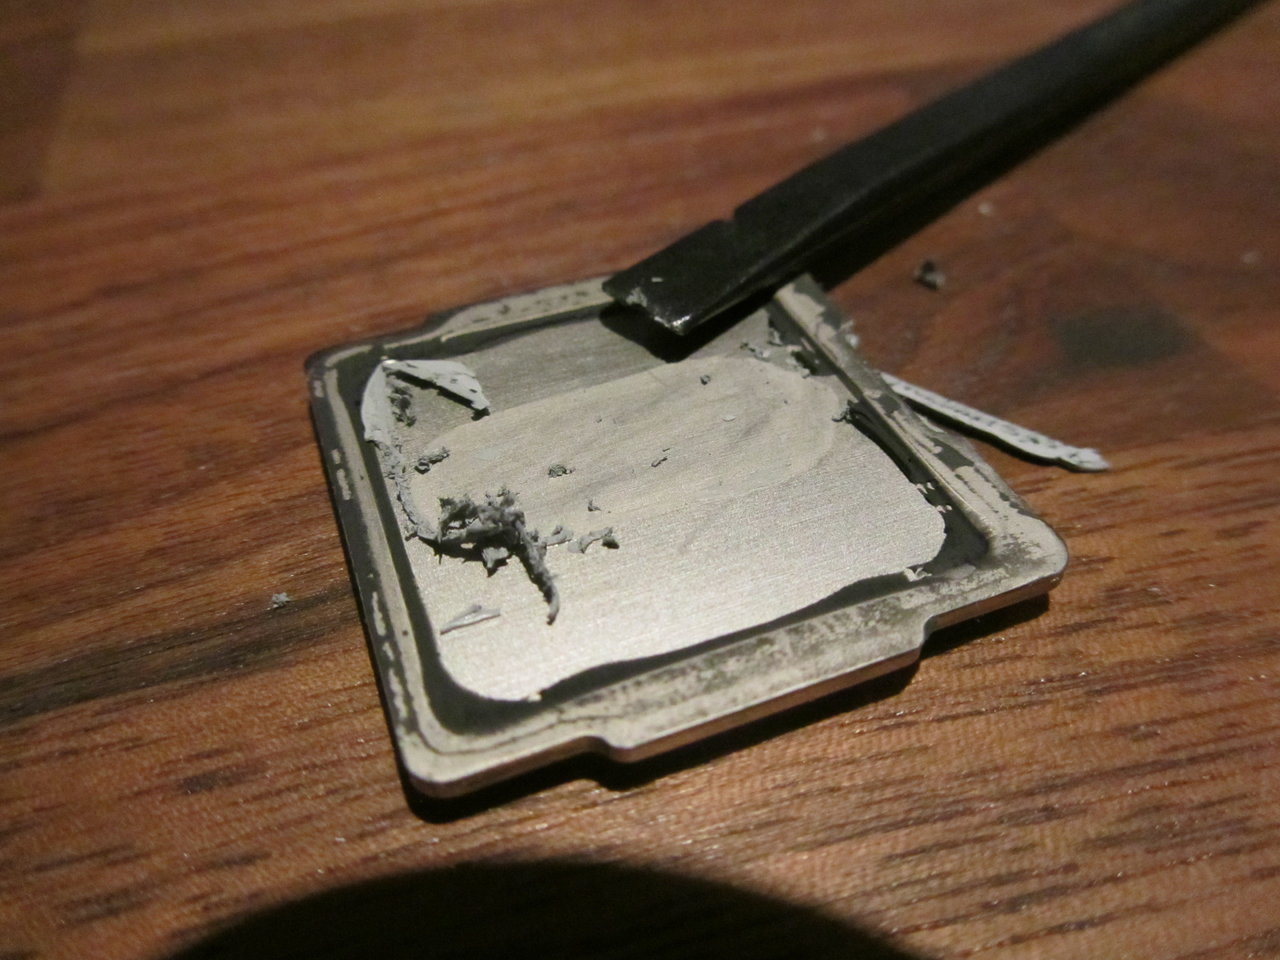
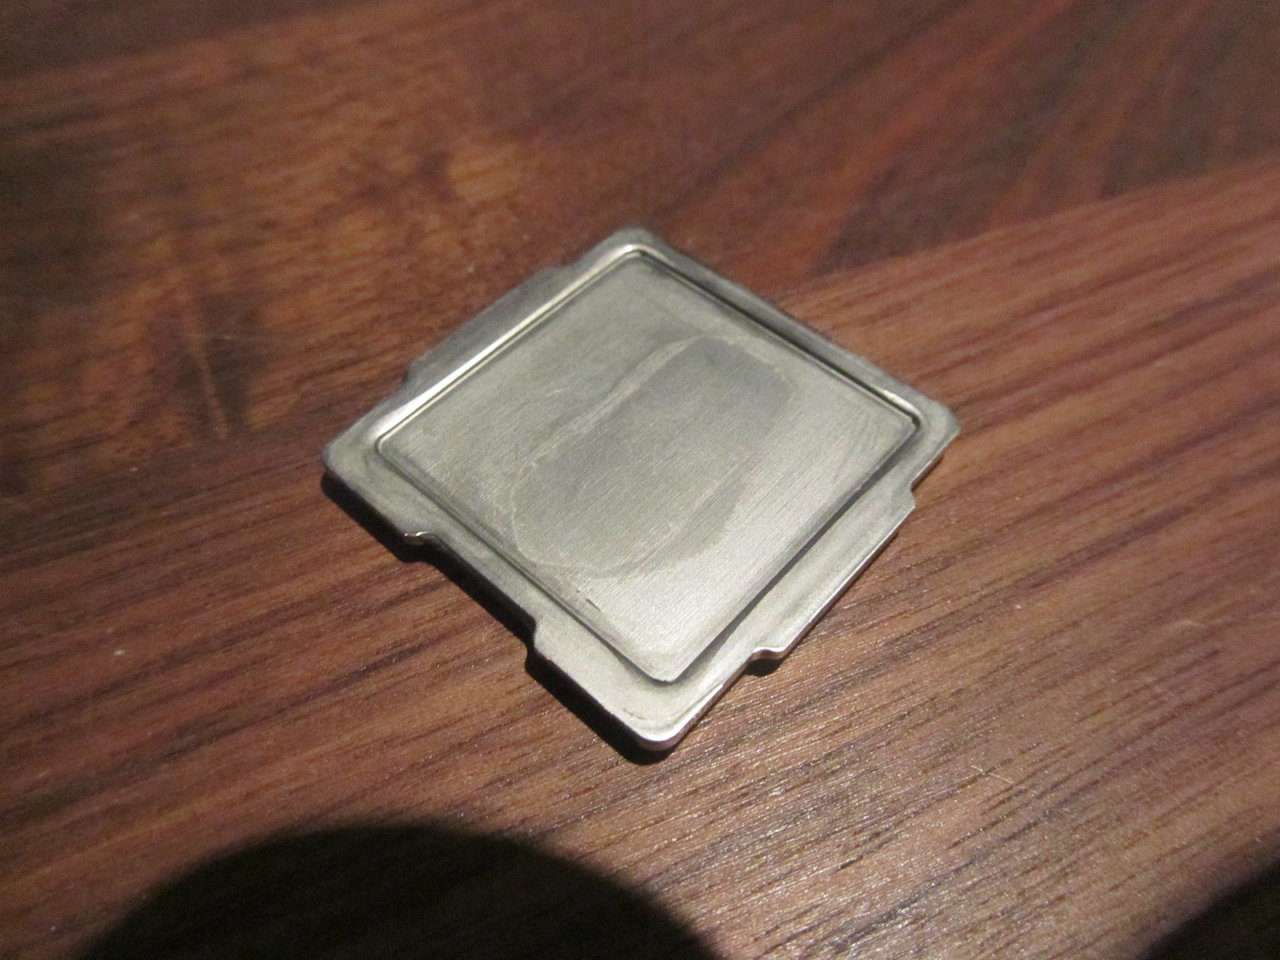
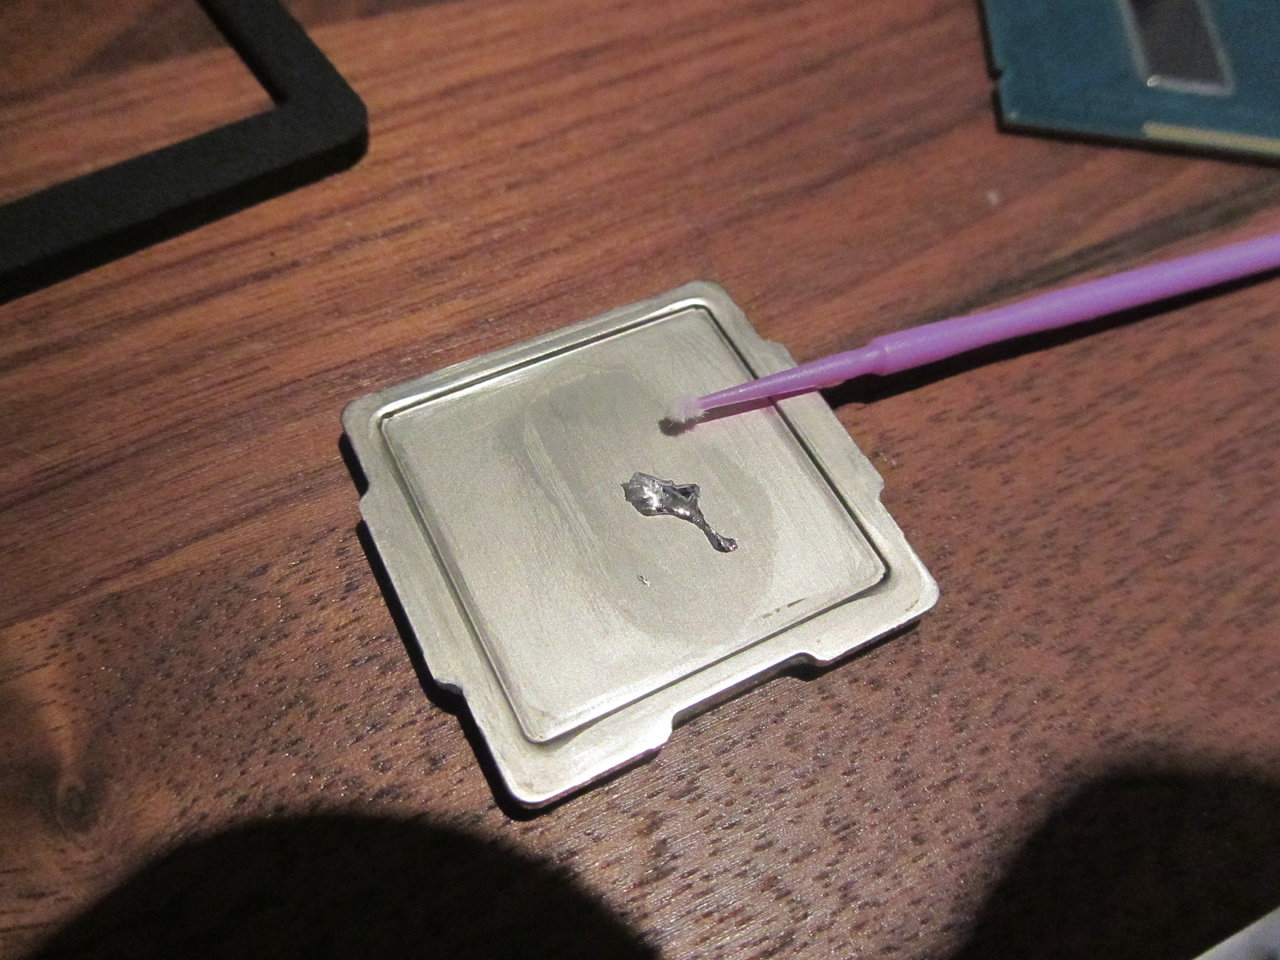
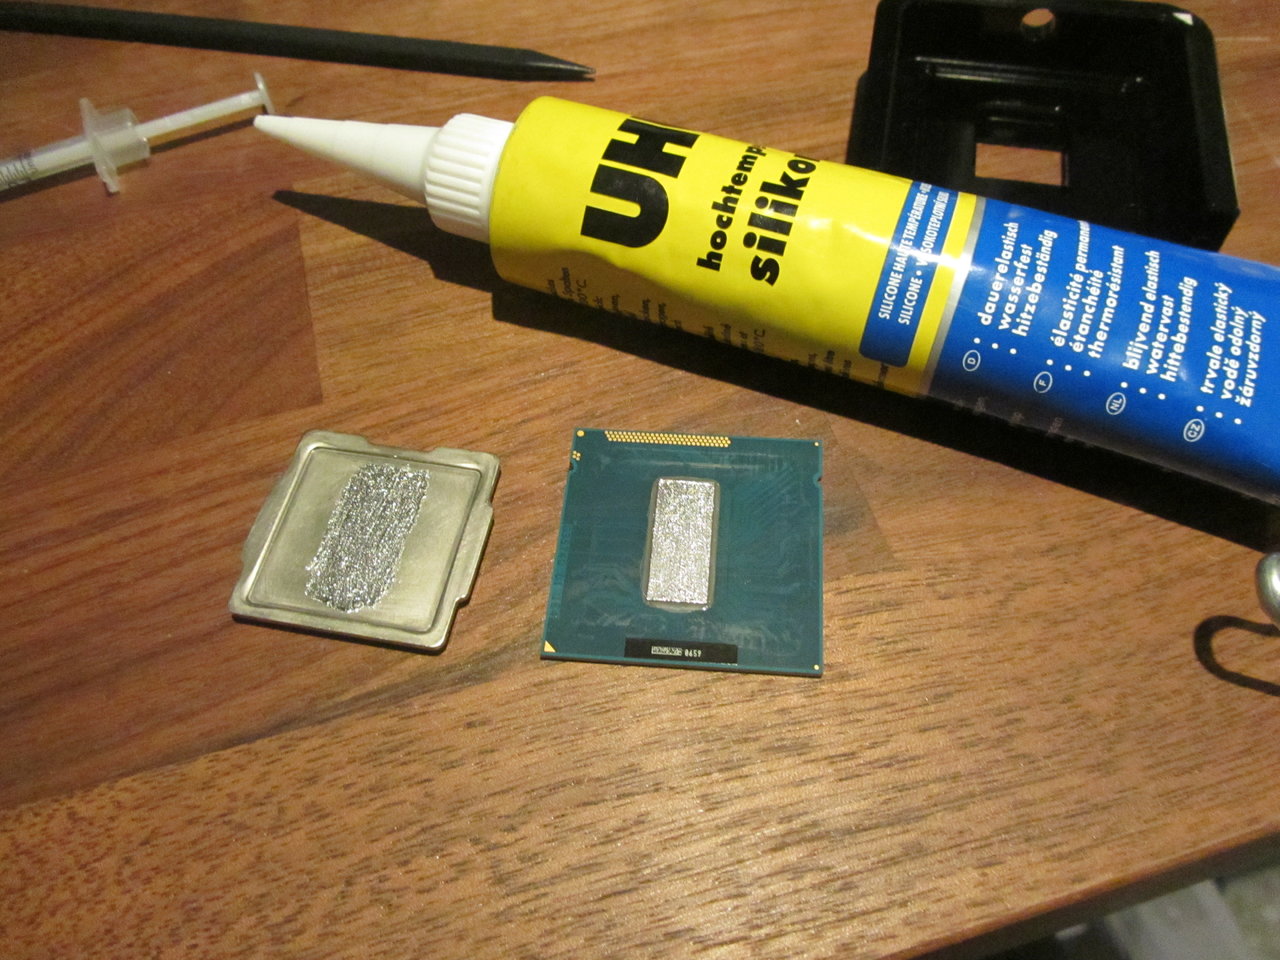
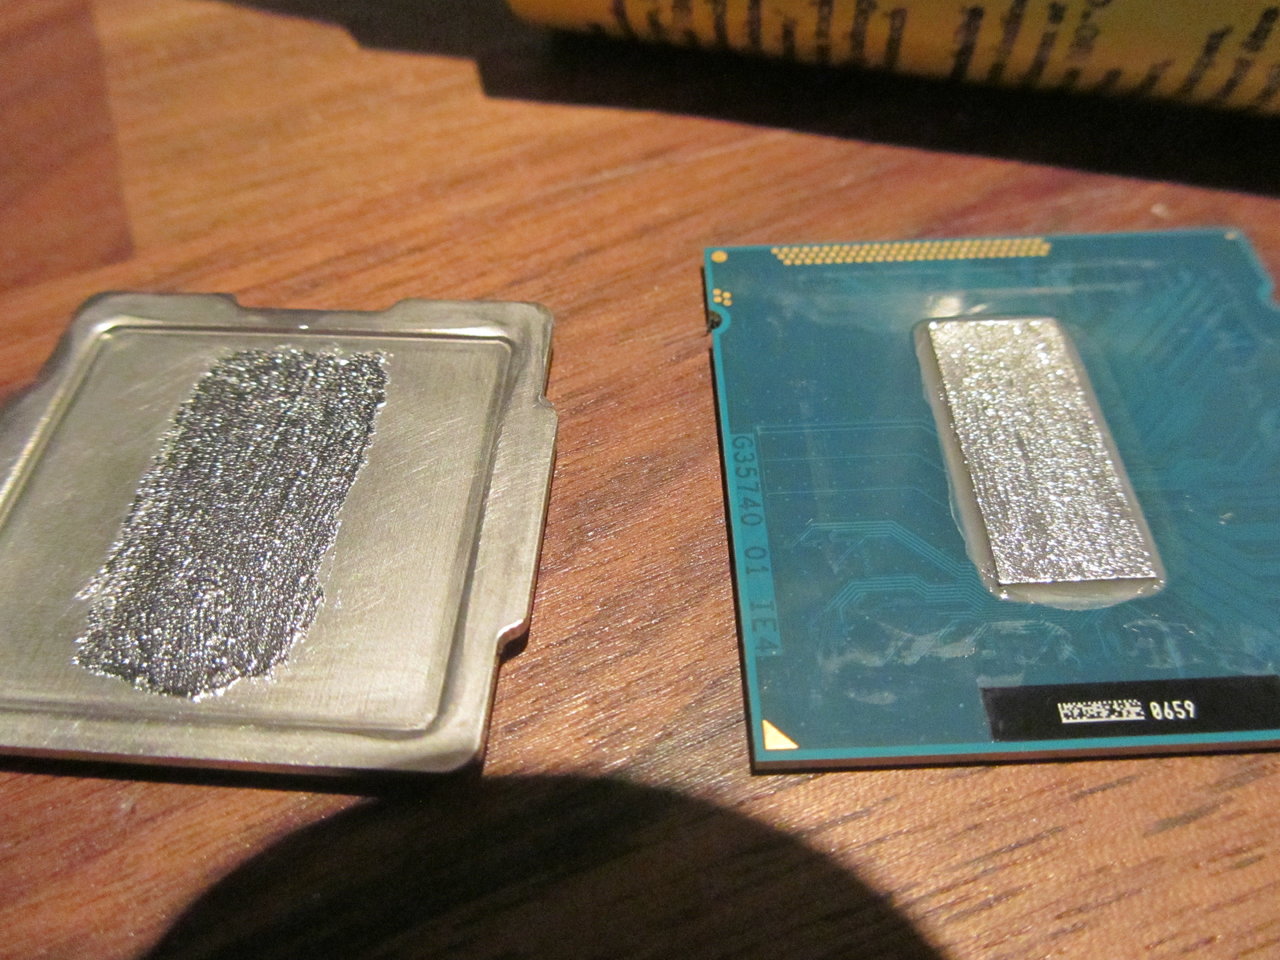
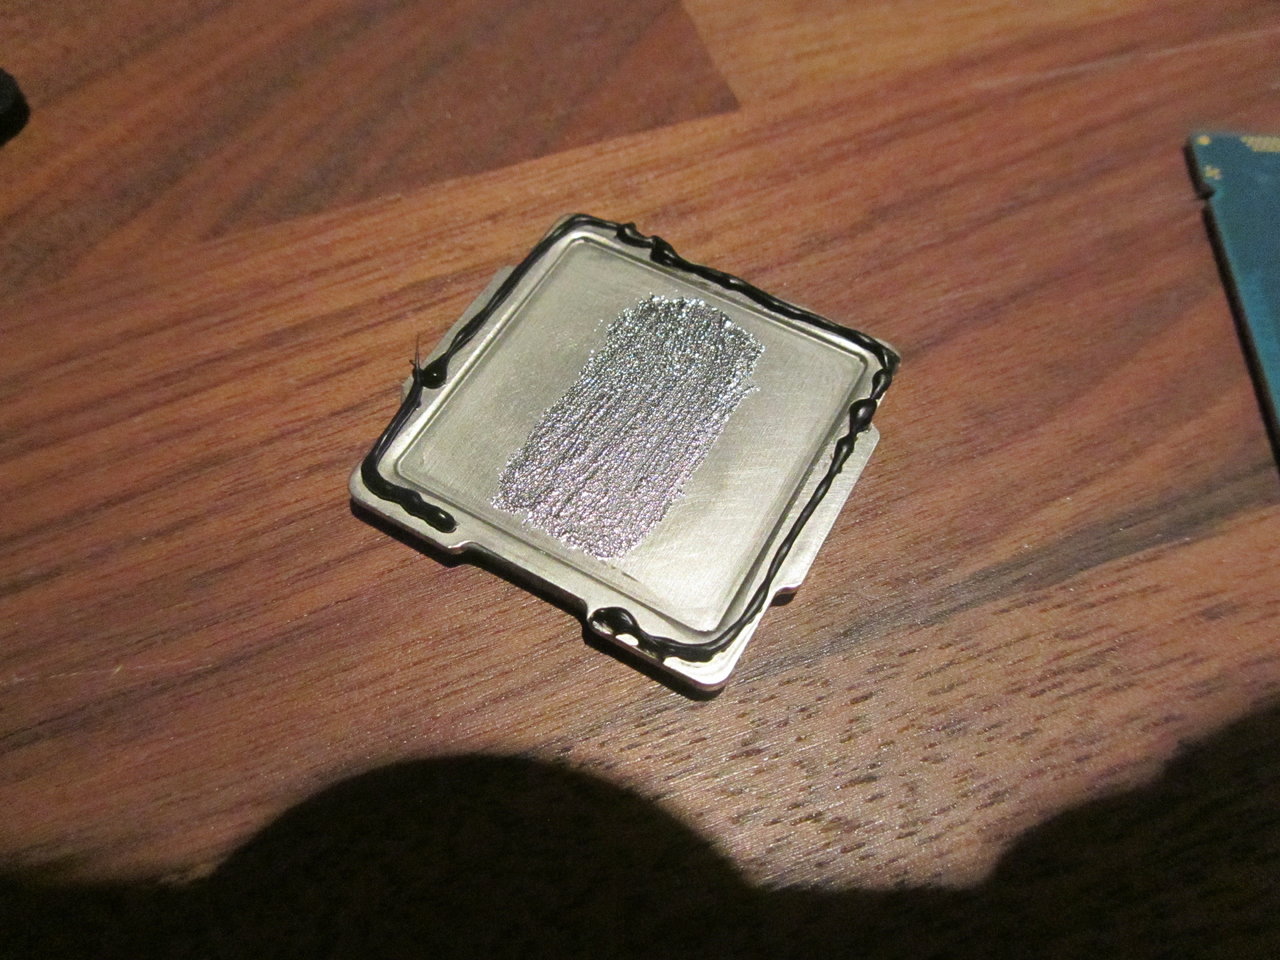
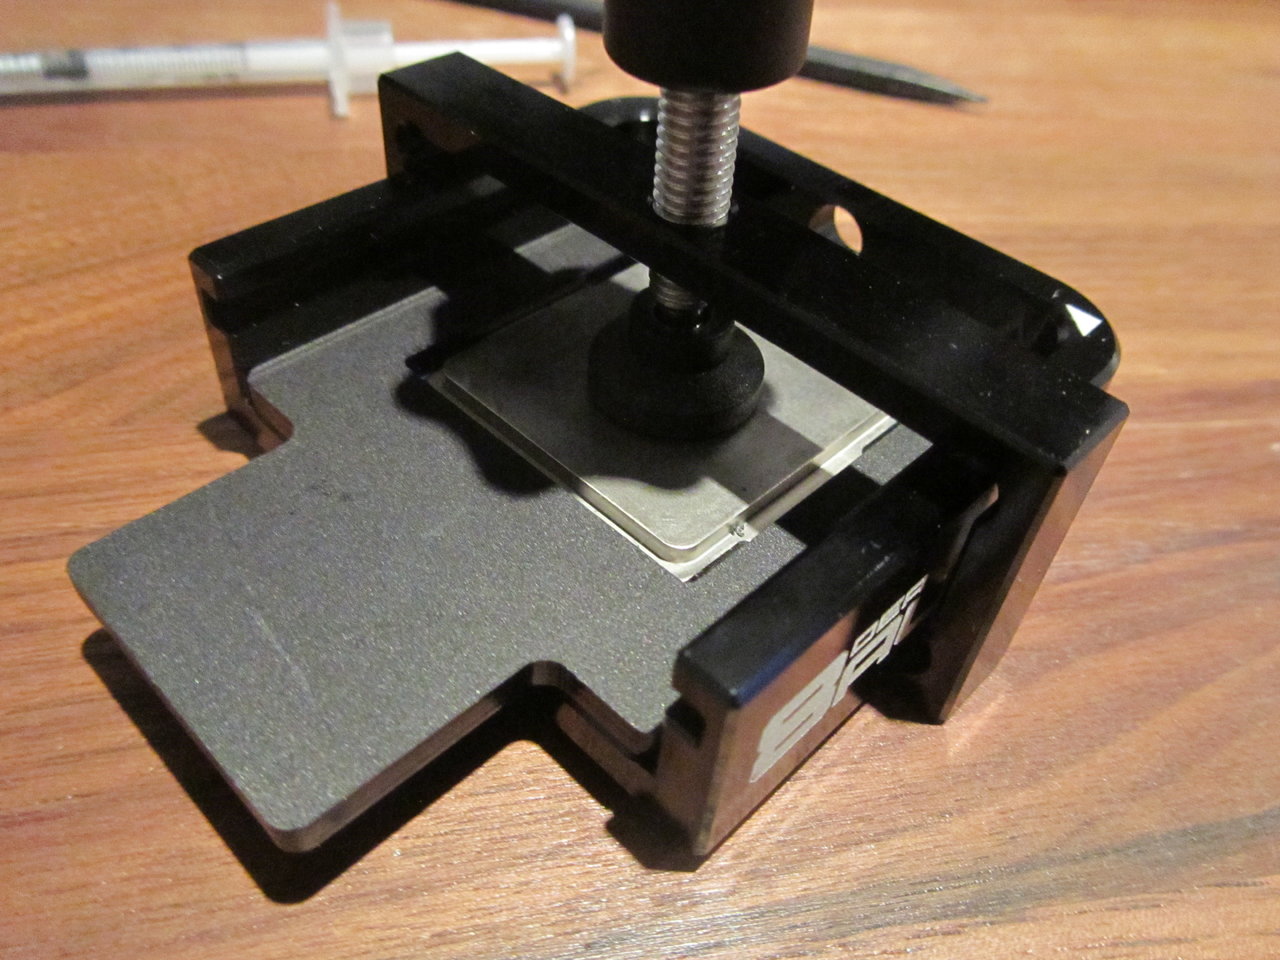
TIM - Coollaboratory Liquid Ultra
UPDATED SPECS! 2014
System
PowerMac G5 enclosure
PSU - CHILL INNOVATION CP-1000M 1000W Modular PSU
MB - ASUS MAXIMUS V FORMULA
CPU - Intel Core i7-3770K
RAM - Kingston HyperX Predator 2400MHz 4x4GB - Ugly blue color, but this will be solved once I know the RAM is 100% ok
GPU - NVIDIA GTX580
GPU - NVIDIA GTX580
SSD - OCZ VERTEX 3 120GB
HDD - 1.5TB SATA-II HDD 3.5"
HP SAS/SATA 2.5" 8 Bay Enclosure
Cooling
CPU - EK Supremacy Acetal
GPU - EK GTX580 Acetal
GPU - EK GTX580 Acetal
RAD - EK XT 360
RAD - EK RX? 360
RES - EK - Multioption RES X2 Advanced
PUMP - EHEIM 1048
FAN - ARCTIC F12 x 6
FITTINGS - Mixed bunch of EK's
TIM - Coollaboratory Liquid Ultra
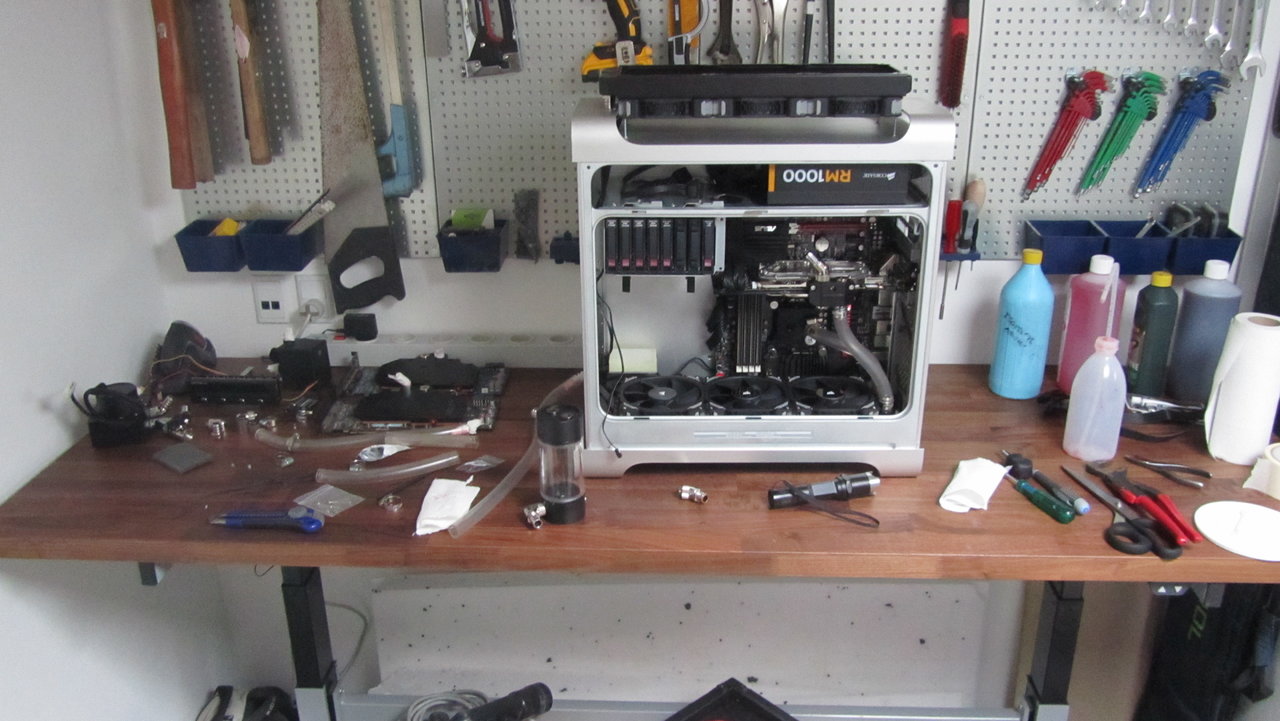
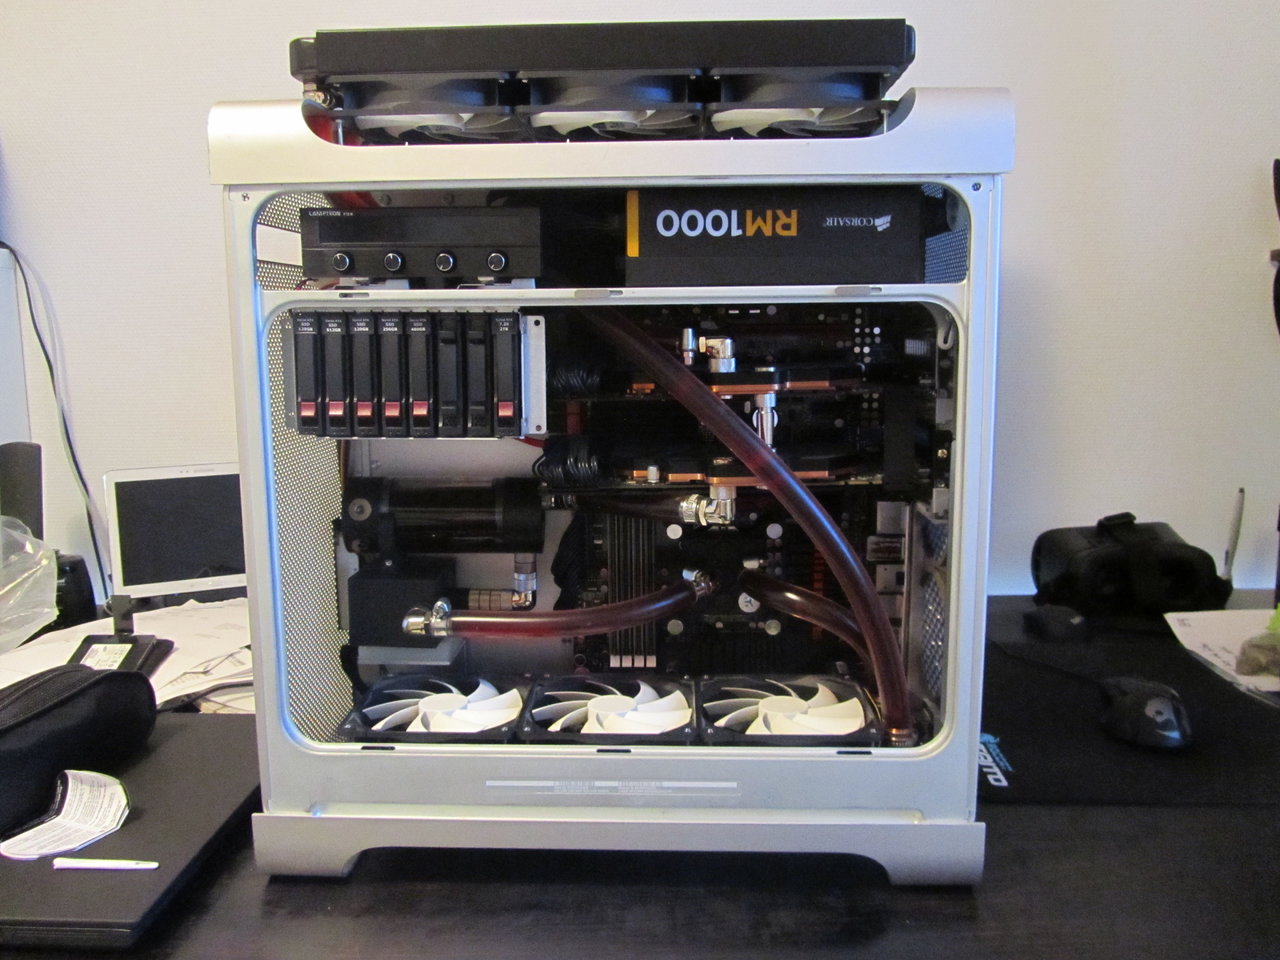
UPDATED SPECS! 2017
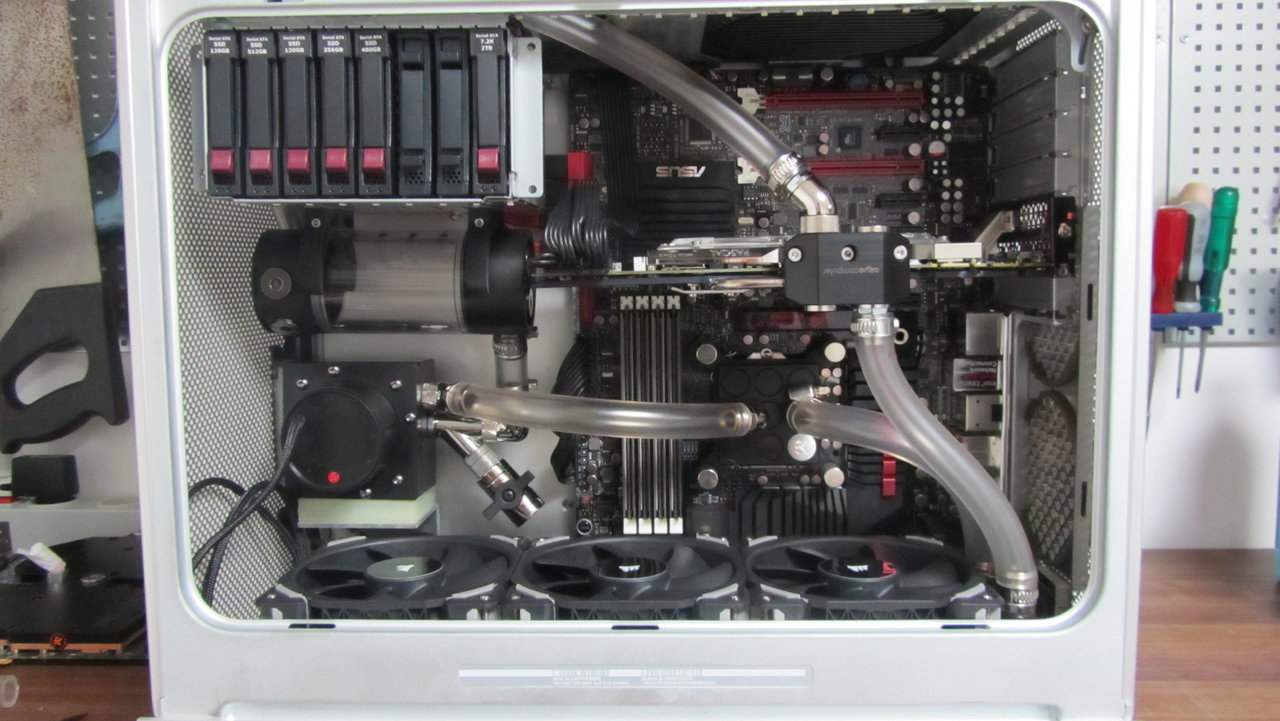
System
PowerMac G5 enclosure
PSU - Corsair RM1000
MB - ASUS MAXIMUS V FORMULA
CPU - Intel Core i7-3770K @ 4.7Ghz
RAM - 32GB Cricual Ballistix 1600Mhz @ 2000Mhz
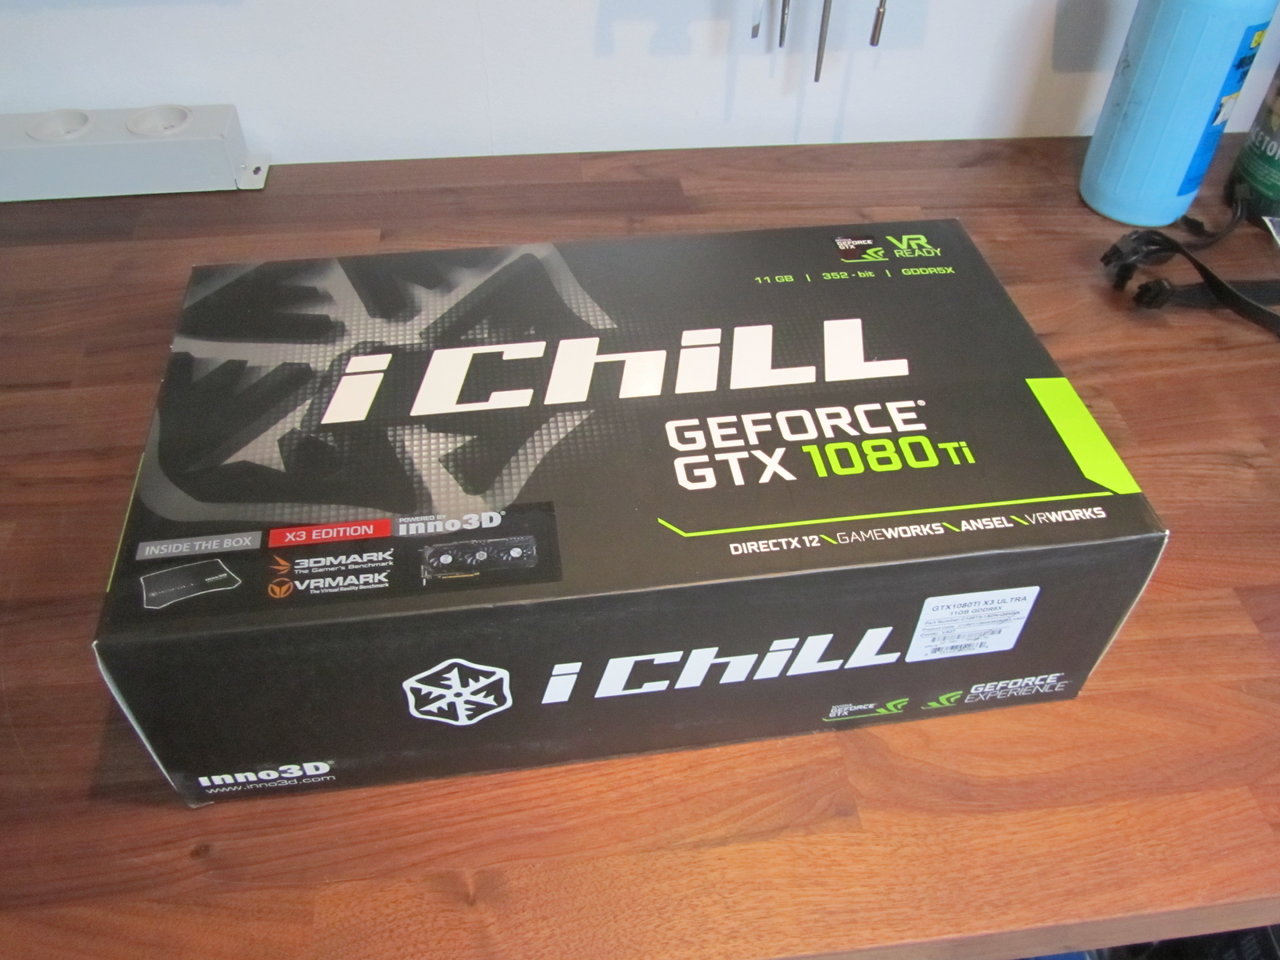
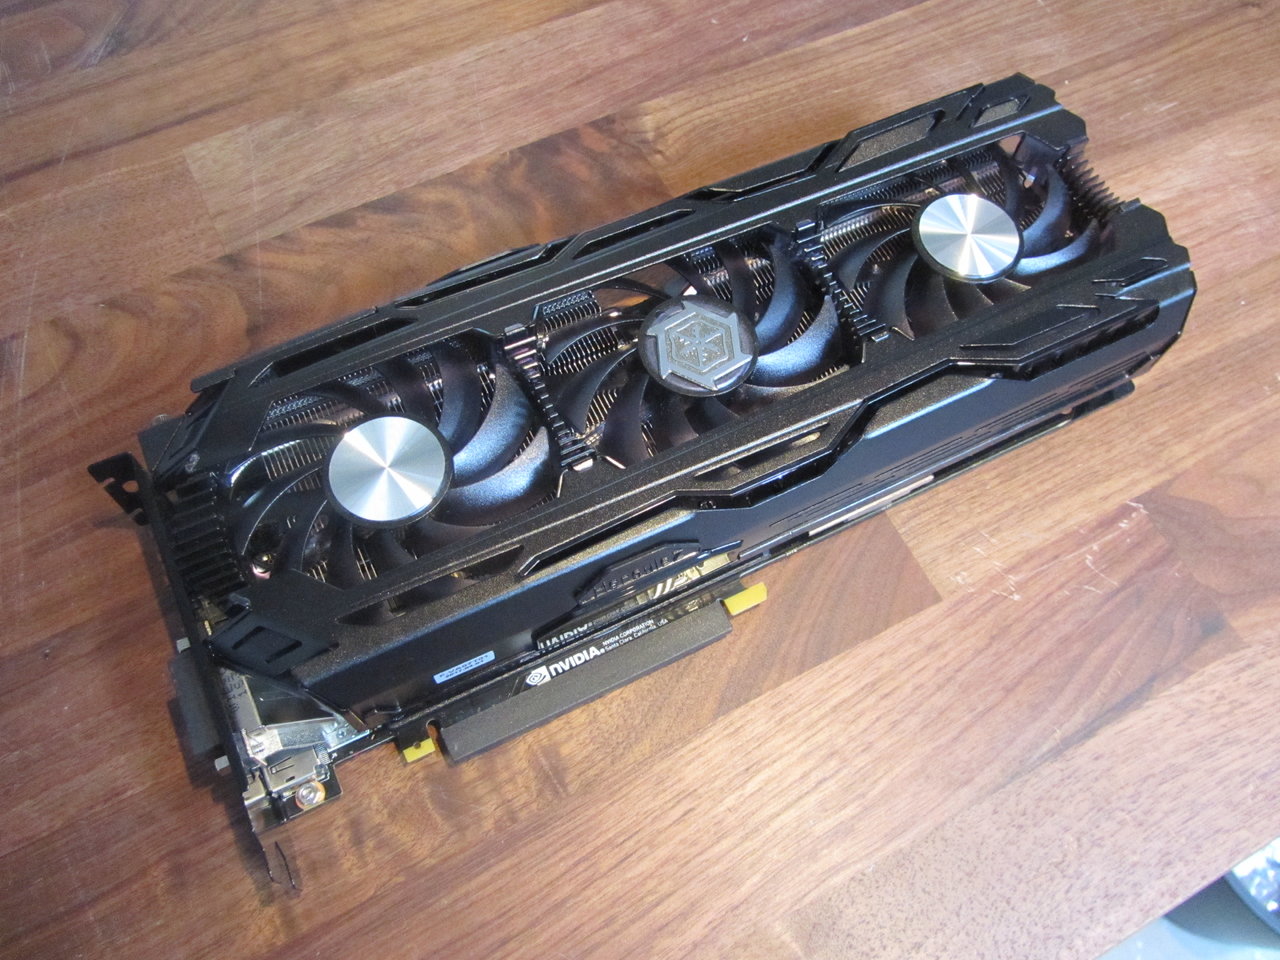
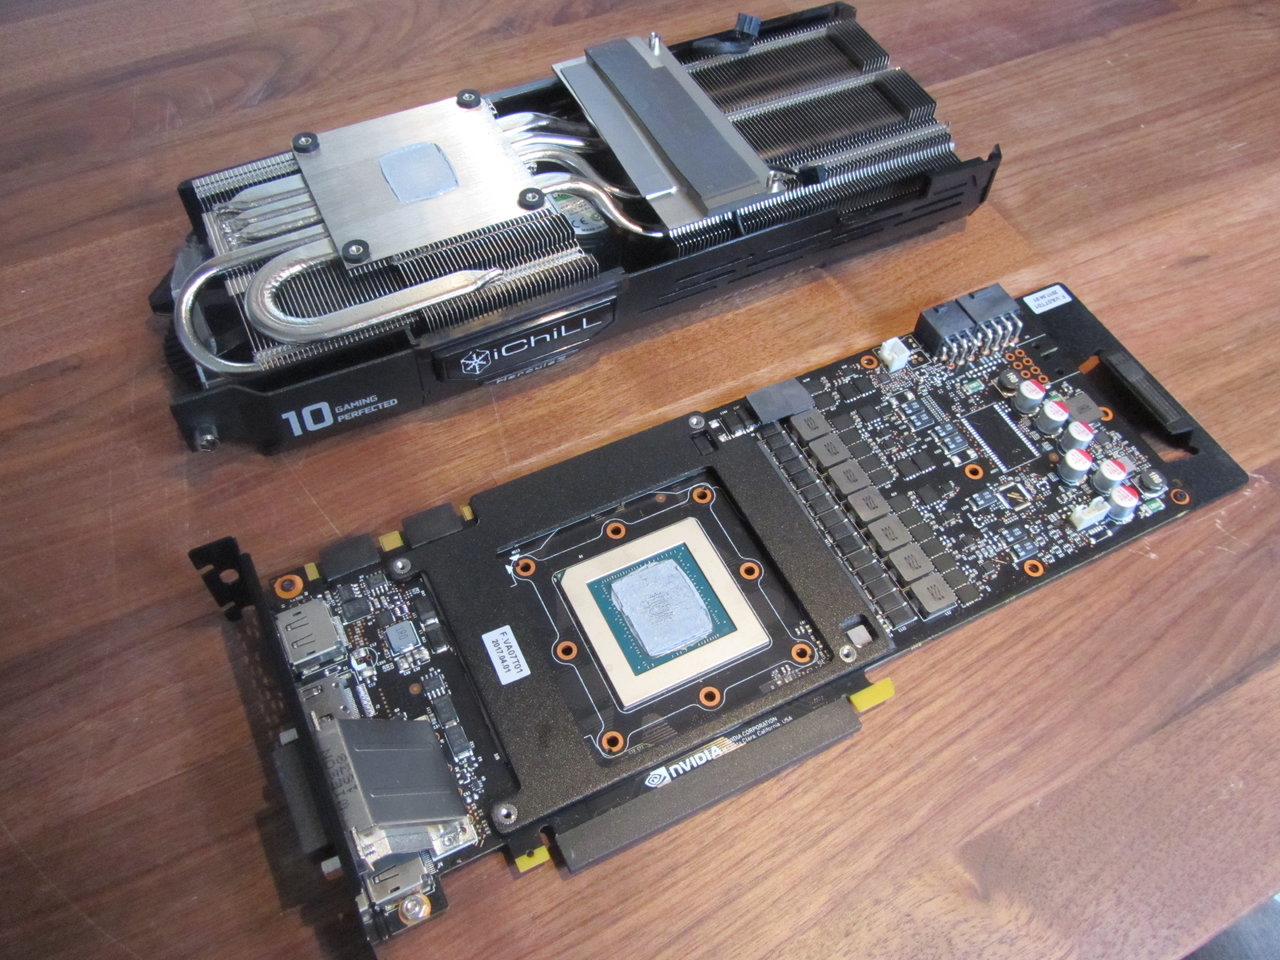
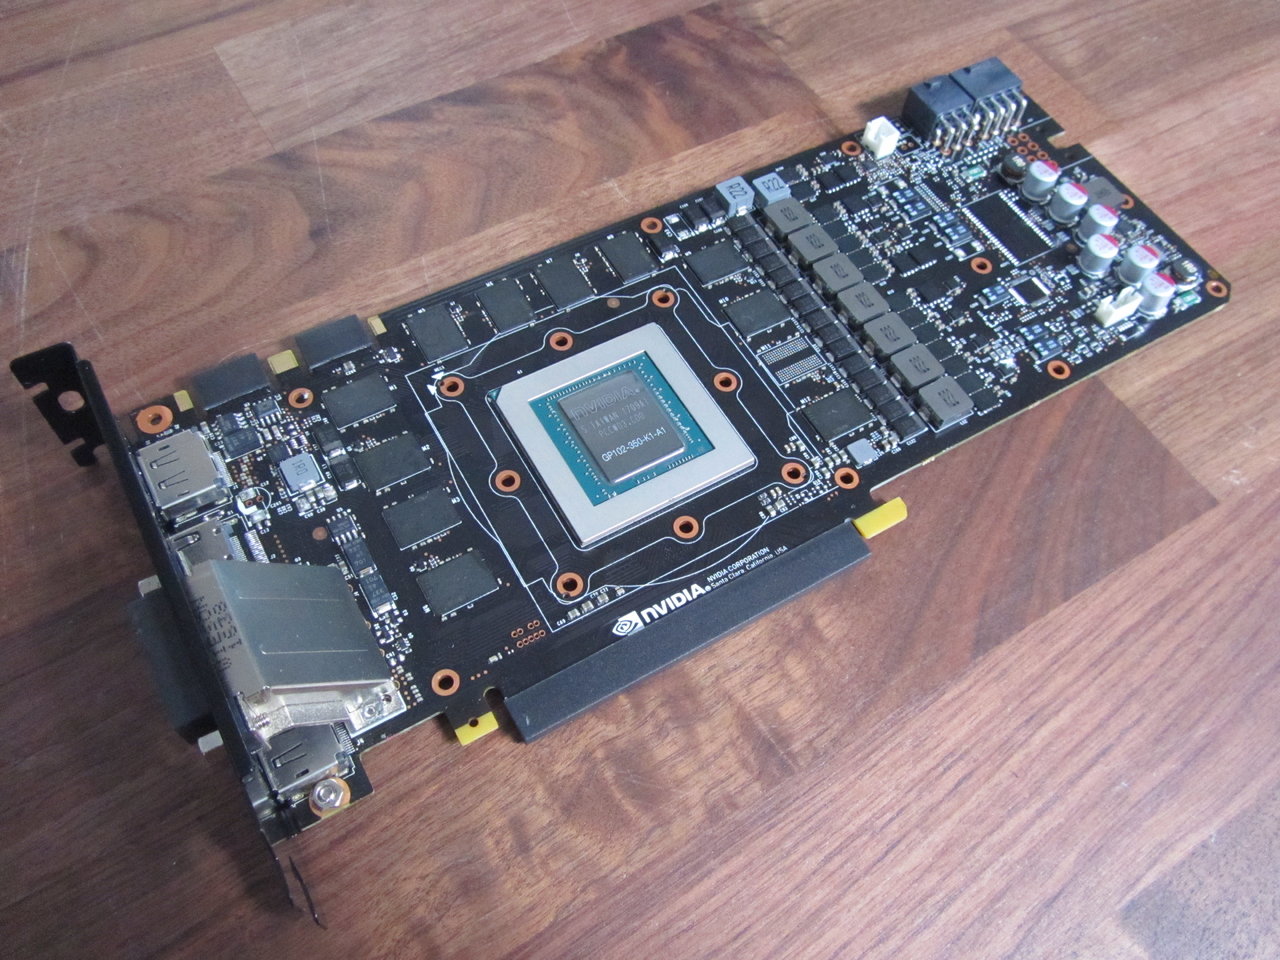
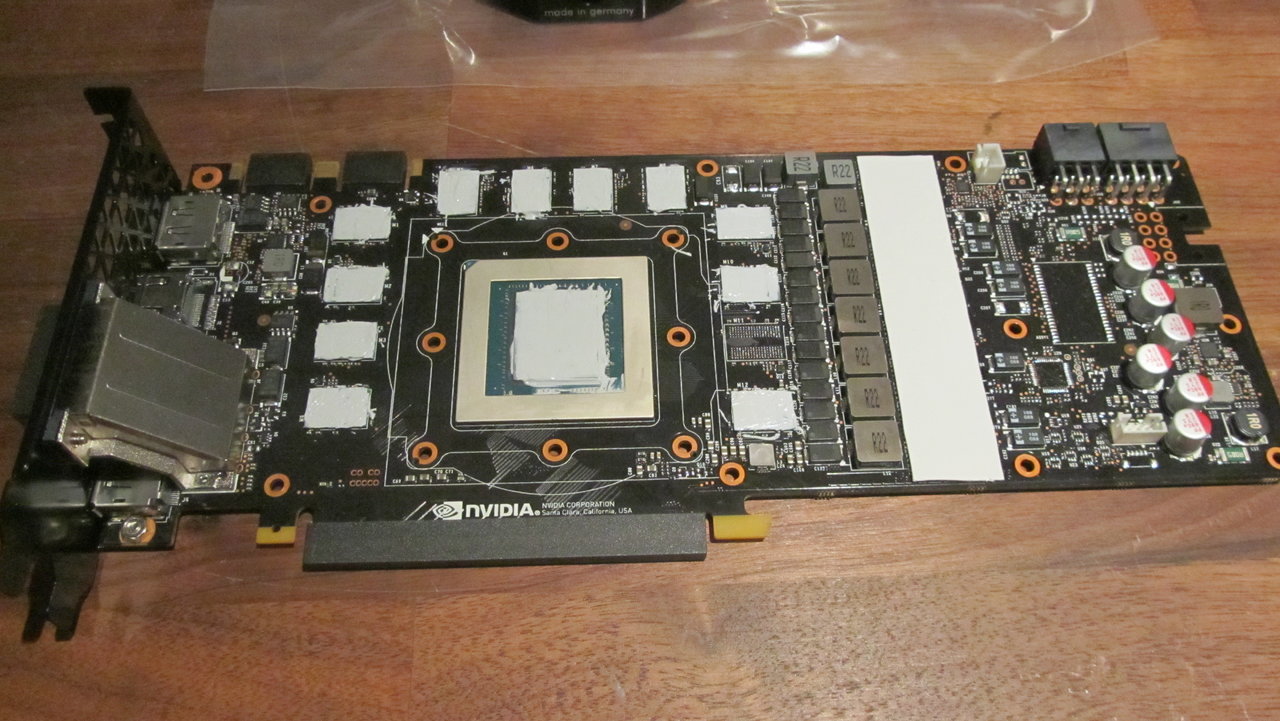
GPU - NVIDIA GTX1080 Ti iChill X3 Ultra - something.. it's an OC'd FE board with DVI Connector
SSD - A bunch of different") Look at the SATA cage for sizes
Look at the SATA cage for sizes
HDD - 2TB
HP SAS/SATA 2.5" 8 Bay Enclosure
Cooling
CPU - EK Supremacy Acetal
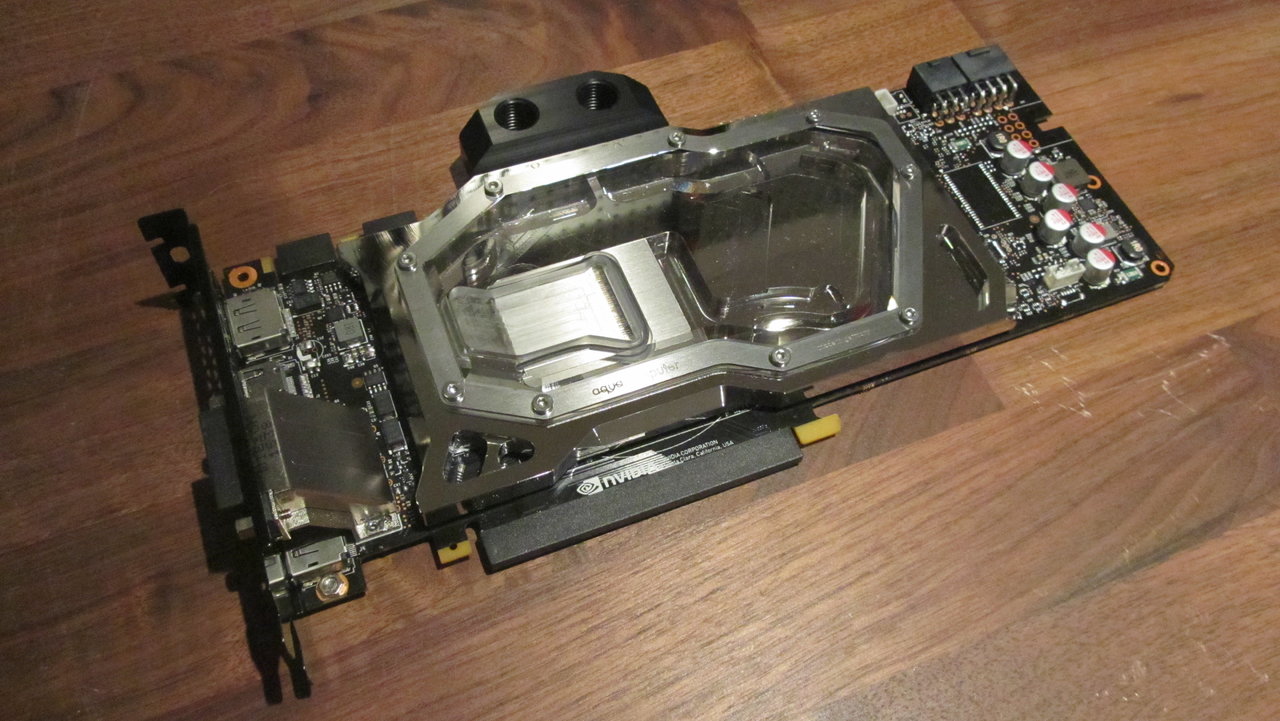
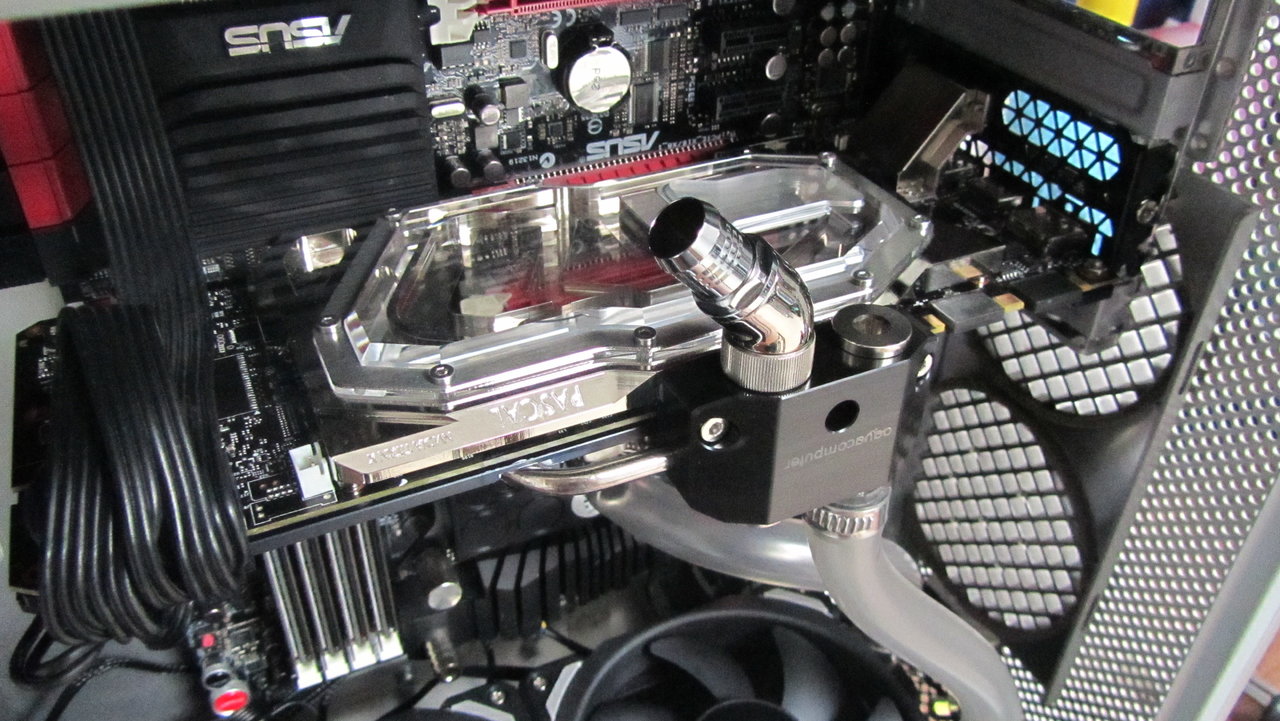
GPU - kryographics Pascal NVIDIA TITAN X and GTX 1080 Ti acrylic glass edition, Nickel plated
GPU - Backplate for kryographics Pascal NVIDIA TITAN X and GTX 1080 Ti, aktiv XCS
RAD - EK XT 360
RAD - EK RX? 360
RES - EK - Multioption RES X2 Advanced
PUMP - Dangerden D5 Vario
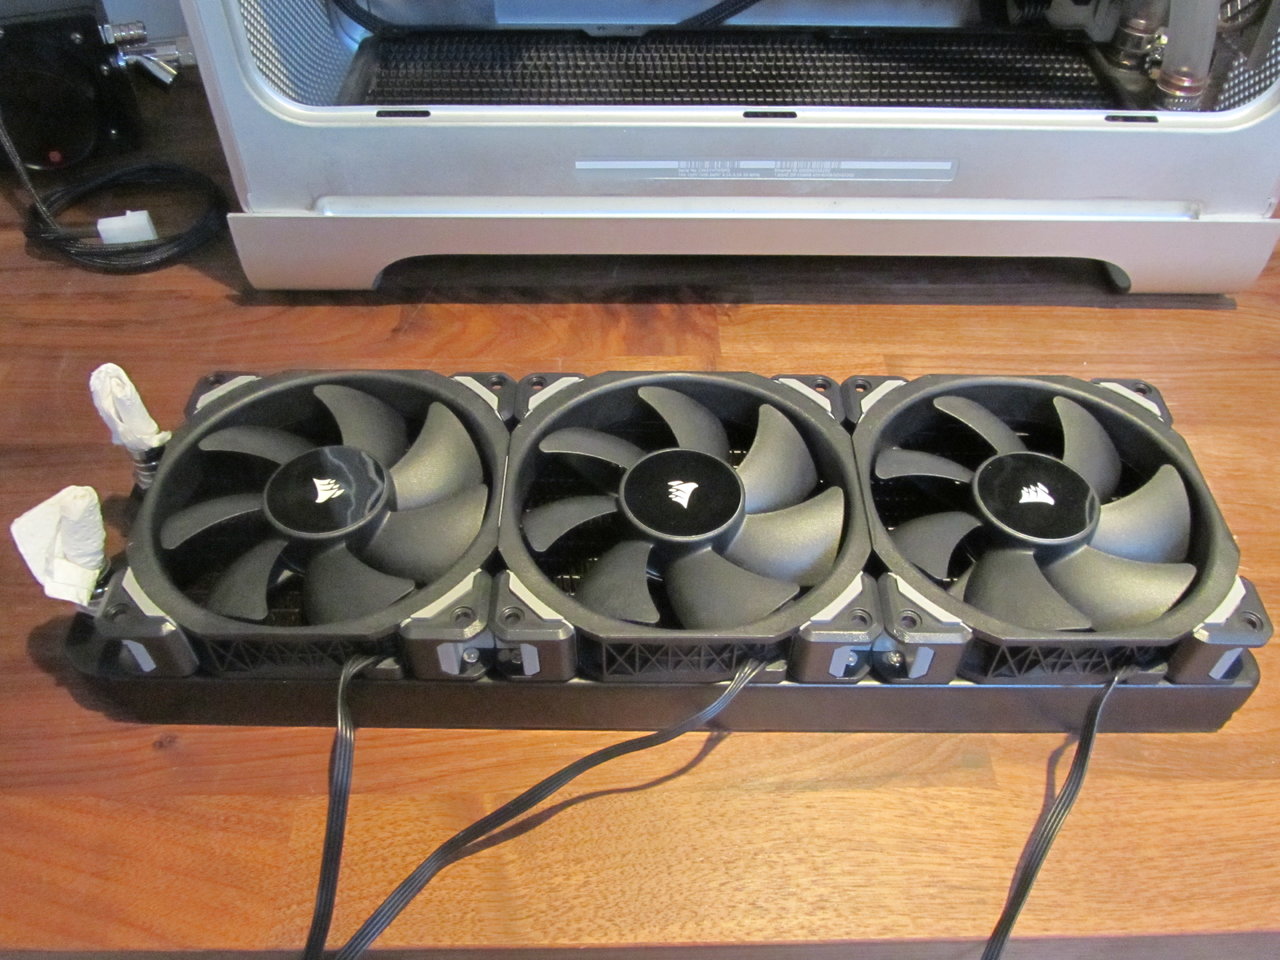
FAN - Corsair ML120 Pro Premium
FITTINGS - Mixed bunch of EK's and others
No updates for the 2017 Rebuild yet ! need to edit and upload pics first
Hope you enjoy reading / watching the progress
All comments are wellcome !
This build was originally made in 2012, but updated a few months ago.
Time for a (old) project
I've allways loved the style of the PowerMac G5 enclosure, and with much inspiration from other people's builds I've decided to do my own.
This will not be like the other G5 ATX convertions with Lian-Li motherboard tray
I've sourced a PowerMac G5 from a local MAC shop in my city. It was dirt cheap, cause one of the handles on the to was bend out of shape.
Watercooling: I will be using some of my old parts as I love my Eheim 1048 pump, just can't beat it at those noise levels.
SPONSORS - None
List of parts:
Will be updated as the build comes along.
OLD SPECS
System
PowerMac G5 enclosure
PSU - CHILL INNOVATION CP-1000M 1000W Modular PSU
MB - ASUS MAXIMUS V FORMULA
CPU - Intel Core i7-3770K
RAM - Kingston HyperX Predator 2400MHz 4x4GB - Ugly blue color, but this will be solved once I know the RAM is 100% ok
GPU - NVIDIA GTX580
SSD - OCZ VERTEX 3 120GB
HDD - 1.5TB SATA-II HDD 3.5"
HP SAS/SATA 2.5" 8 Bay Enclosure
Cooling
CPU - EK Supremacy Acetal
GPU - EK GTX580 Acetal
RAD - EK XT 360
RES - EK - Multioption RES X2 Advanced
PUMP - EHEIM 1048
FAN - ARCTIC F12 x 3
FITTINGS - Mixed bunch of EK's
TIM - Coollaboratory Liquid Ultra
UPDATED SPECS! 2014
System
PowerMac G5 enclosure
PSU - CHILL INNOVATION CP-1000M 1000W Modular PSU
MB - ASUS MAXIMUS V FORMULA
CPU - Intel Core i7-3770K
RAM - Kingston HyperX Predator 2400MHz 4x4GB - Ugly blue color, but this will be solved once I know the RAM is 100% ok
GPU - NVIDIA GTX580
GPU - NVIDIA GTX580
SSD - OCZ VERTEX 3 120GB
HDD - 1.5TB SATA-II HDD 3.5"
HP SAS/SATA 2.5" 8 Bay Enclosure
Cooling
CPU - EK Supremacy Acetal
GPU - EK GTX580 Acetal
GPU - EK GTX580 Acetal
RAD - EK XT 360
RAD - EK RX? 360
RES - EK - Multioption RES X2 Advanced
PUMP - EHEIM 1048
FAN - ARCTIC F12 x 6
FITTINGS - Mixed bunch of EK's
TIM - Coollaboratory Liquid Ultra
UPDATED SPECS! 2017
System
PowerMac G5 enclosure
PSU - Corsair RM1000
MB - ASUS MAXIMUS V FORMULA
CPU - Intel Core i7-3770K @ 4.7Ghz
RAM - 32GB Cricual Ballistix 1600Mhz @ 2000Mhz
GPU - NVIDIA GTX1080 Ti iChill X3 Ultra - something.. it's an OC'd FE board with DVI Connector
SSD - A bunch of different
Look at the SATA cage for sizesHDD - 2TB
HP SAS/SATA 2.5" 8 Bay Enclosure
Cooling
CPU - EK Supremacy Acetal
GPU - kryographics Pascal NVIDIA TITAN X and GTX 1080 Ti acrylic glass edition, Nickel plated
GPU - Backplate for kryographics Pascal NVIDIA TITAN X and GTX 1080 Ti, aktiv XCS
RAD - EK XT 360
RAD - EK RX? 360
RES - EK - Multioption RES X2 Advanced
PUMP - Dangerden D5 Vario
FAN - Corsair ML120 Pro Premium
FITTINGS - Mixed bunch of EK's and others
No updates for the 2017 Rebuild yet ! need to edit and upload pics first
Hope you enjoy reading / watching the progress
All comments are wellcome !
Last edited:


")