Phanteks Enthoo Primo, ASUS Rampage iv Black Edition build

If you know how to solder it's easy. Just use the 2 prong connectors from the original strips, Solder and sleeve the black wire to black, And red to red. Theres 2 3 mm LED's inside of the power switch as well. The hardest part was taking the lenses off without breaking the tabs off.

Could you tell me what you mean by the lenses? Is that the part where the LED light shines through?
 
x2 great looking build man
Thanks mate. Was'nt sure how well it would be received since it wasn't a full custom build, But people seem to like it :D
And pictures don't do it justice. The hoses and lighting look much better in person.
 
Do you know what the molex on the pwm hub for the Phanteks case is for? I remember there was a sticker that said something along the lines of don't plug it into the motherboard unless you have to.
 
Do you know what the molex on the pwm hub for the Phanteks case is for? I remember there was a sticker that said something along the lines of don't plug it into the motherboard unless you have to.
It's to provide extra power to the fans if the motherboard 4 pin cannot supply enough. I don't know if it is just a crappy hub, But I cannot control the fans connected to it through fan xpert 2. I just let them run wide open. Now the 8 fan hub I got for my radiator fans works just fine.
 
If you know how to solder it's easy. Just use the 2 prong connectors from the original strips, Solder and sleeve the black wire to black, And red to red. Theres 2 3 mm LED's inside of the power switch as well. The hardest part was taking the lenses off without breaking the tabs off.

I'm seriously wanting to change the blue LED strip to red now and I've had plenty of experience in soldering. If it's not too much trouble, could you type up a step by step procedure to changing the LED strip? I know I can figure it out eventually but that's probably after I mess up something and break a few other things.
 
How did you light up the power button? What did you do with the wires that were glued to the back of the power botton?
 
How did you light up the power button? What did you do with the wires that were glued to the back of the power botton?

I reused the wires for all 3 LED's and soldered on new 3 mm red and white LED's I got from frozencpu. Just pay attention to which wire goes to which post on the LED.
 
Yeah, I love it, The only reason im getting vdroop is that im stressing it to the max with 13 case fans 2 HDD's 1 SSD, An overclocked 4960x, 1.65v RAM, 2 overclocked 290x's, Case lighting, And a pump. It's super quiet, And also has a mode where the fan will not even spin up until it's put under load. The build quality is also nice. I just wish somebody sold individually sleeved cables for it like these.

They do now:
http://www.evga.com/Products/Produc...Power+Supply+Cable+Set+(Individually+Sleeved)
 
Leaving team RED and going team GREEN!

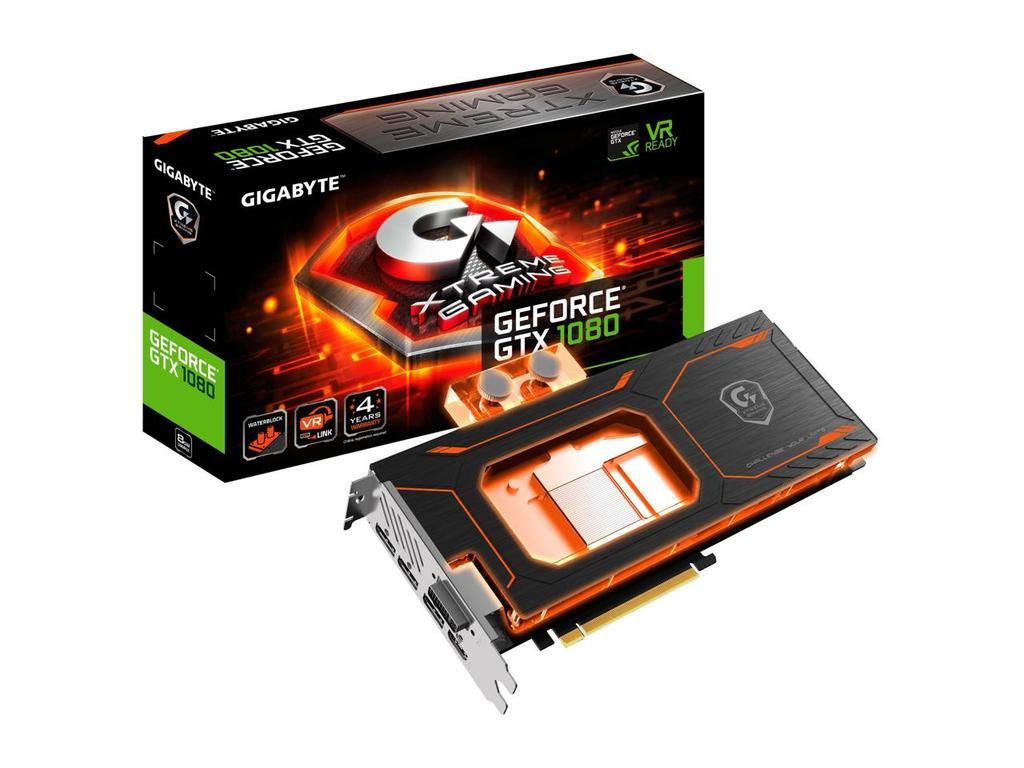
So I have ordered one of these from Newegg


https://www.newegg.com/Product/Product.aspx?Item=N82E16814125921

http://www.gigabyte.us/products/product-page.aspx?pid=6060#kf

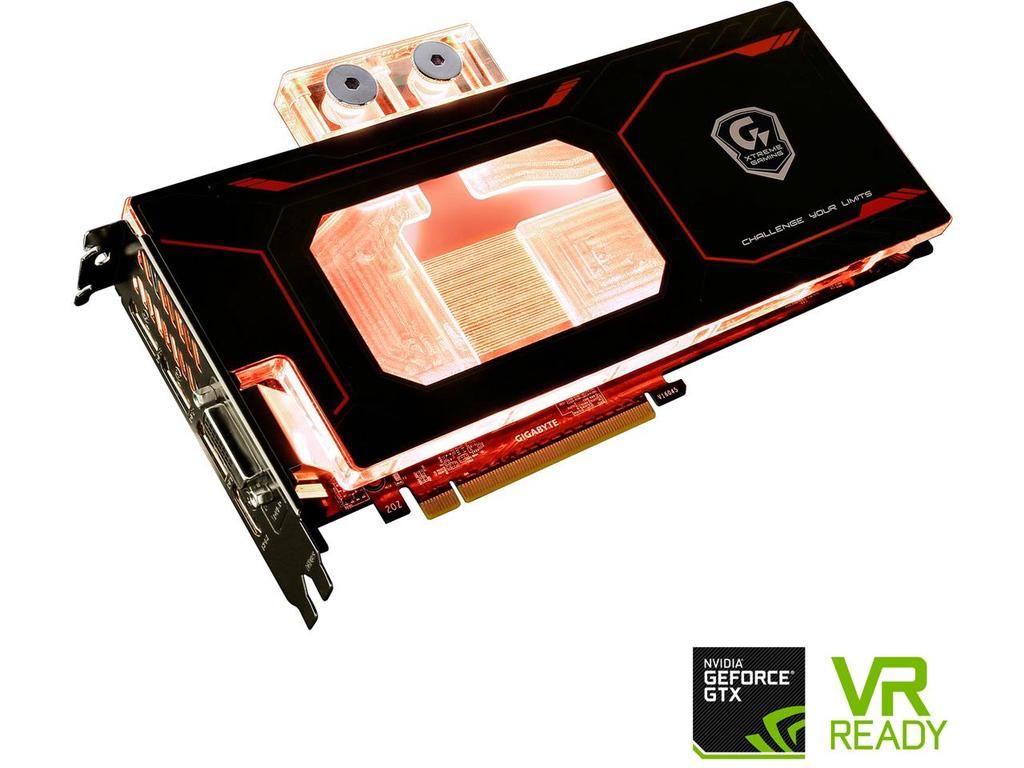
One of, if not the highest stock clock GTX 1080's available. It's not a Titan X, but im not paying $1500.00 on ebay for one card. That said, If this thing works out, And plays well with everything else, I'll likely be buying a 2nd one. The GPU has gone through the Gigabyte "GPU Gauntlet sorting" process apparently to cherry pick only the best overclocking GPUs.

I will be benchmarking at least:
DOOM
Crysis 3
Futuremark Firestrike - All versions
Unigine: Heaven & Valley

I may have to bench DOOM on OPENGL because I'm still on windows 7, And presentmon only runs on DX 12, Any help with this would be appreciated.

Other news with the build.

One stick of my GSkill memory died in November of 2015, Which GSkill replaced with 2 8Gb dimms instead of the 4 4Gb. Took a while to troubleshoot because I could not boot fully into windows. Finally tried booting with one dimm removed at a time until I found the problem stick.

I have only cleaned my water loop Once! at the end of 2015...While waiting on my replacement ram. So it's been about a year now. Well see what the inside of the Heatkiller GPU blocks looks like. Unless of course someone wants to buy the 2 290x's from me in which case i'll leave them sealed. I do check the loop from time to time, And the Dead water I added is clearly doing its job, So the blocks probably look pretty good on the inside. I have noticed zero temperature increase over the past 3 years.

I have been running a 4.0 Ghz OC on the 4960x as a daily driver speed, And it is rock solid. I currently see no point upgrading my motherboard, or CPU right now. The only new features I really really want are m.2 support and ASUS Aura Sync.

Biggest reasons for going Nvidia is wanting to run Doom maxed without texture pop in. Also really looking forward to Ansel, And buying an ultrawide Gsync monitor.
 
It's here!
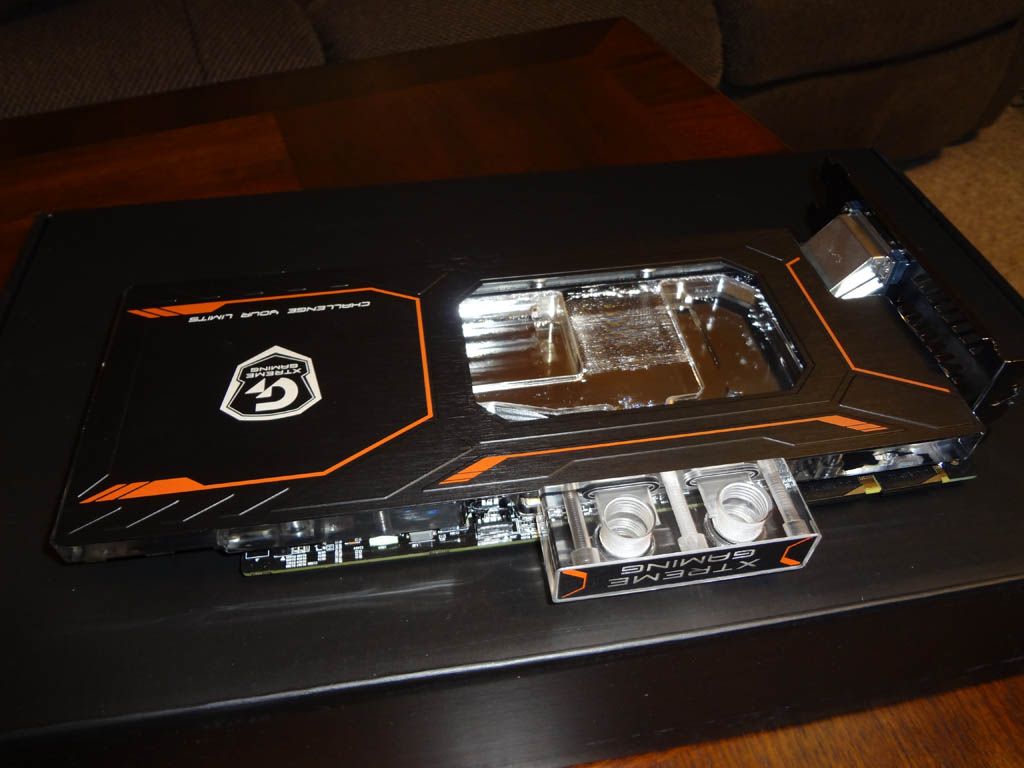
All that copper is heavy


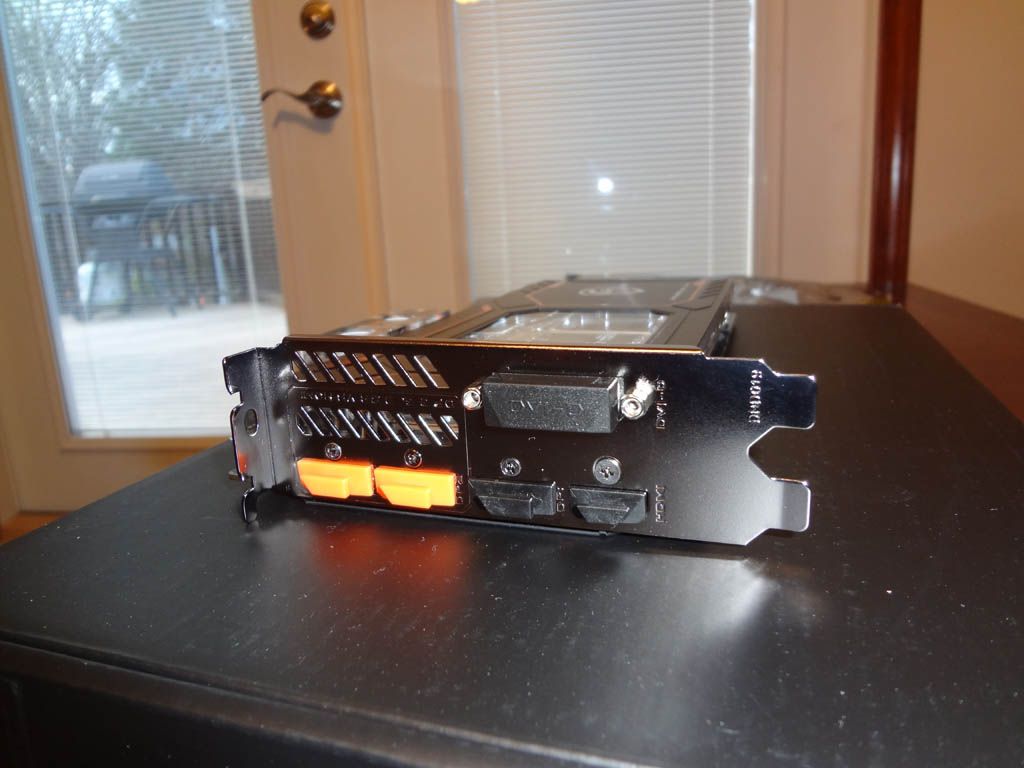
3 display port, 1 HDMI, And one dual link DVI connector in the back, and 2 more HDMI connectors on the other end of the card to run a passthrough to the front of your case to easily hook up your VR headset.


The coolant inlet/outlet is some kind of acrylic. Far from ideal but it seems sturdy enough.


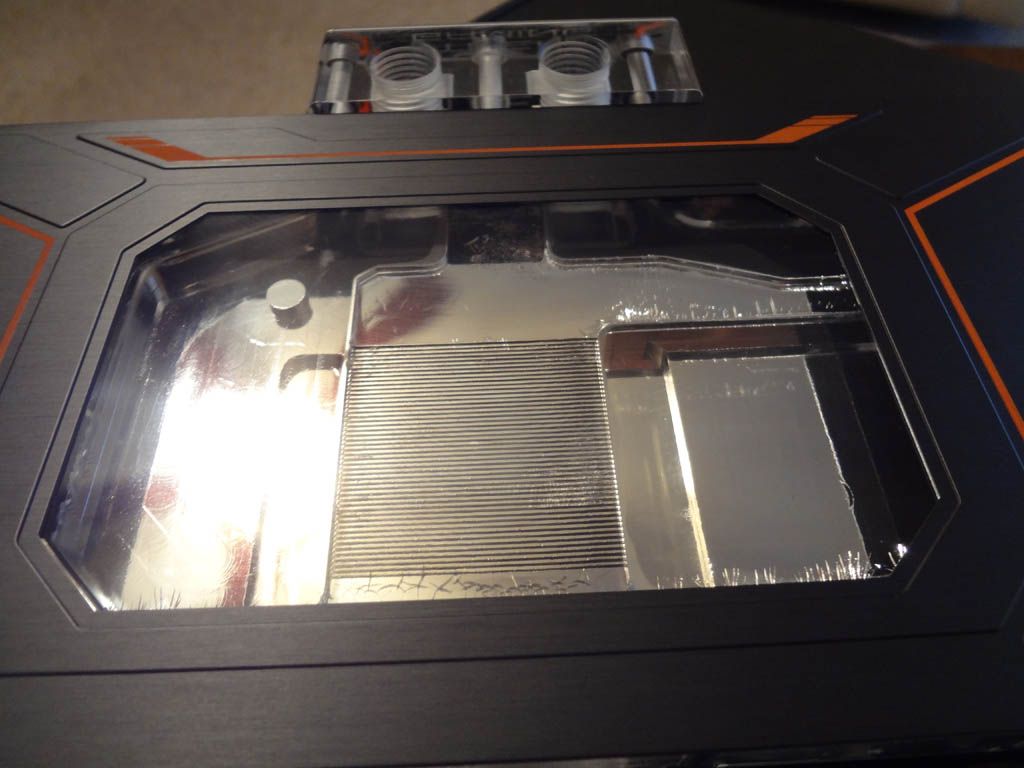
Nickel plated copper heatsink with grooves cut into it to give it more surface area for better cooling.


Came with this syringe with??? Im guessing Thermal Compound??? nothing in the literature said anything about it, And actually was very brief about install instructions. I guess they think anybody who orders this probably knows what they're doing. It also came with a dual 6 pin PCI-E to 8 pin adapter, And some Gigabyte wristband...thing...for reasons.


Install pictures coming soon!
 
BOOM! Everything disconnected, And parallel tubes cut through.


One down.


Cleared out. I'm kind of shocked how easy it was to remove both of these.


Hard times ahead. reconnecting the new card turned out to take a lot longer than it did to take these out. I just wanted to get it in there asap to make sure it worked, And do some benchmarking.

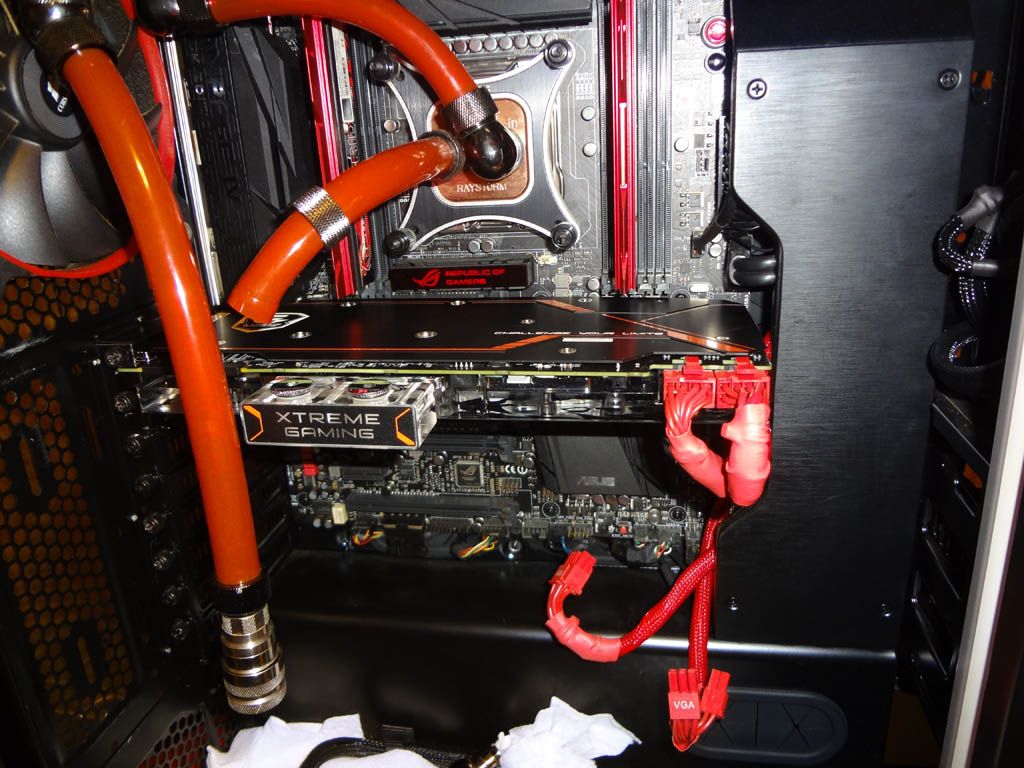
Went into the slot and the power hooked up easy enough. though the connectors are upside down compared to the 290x's.


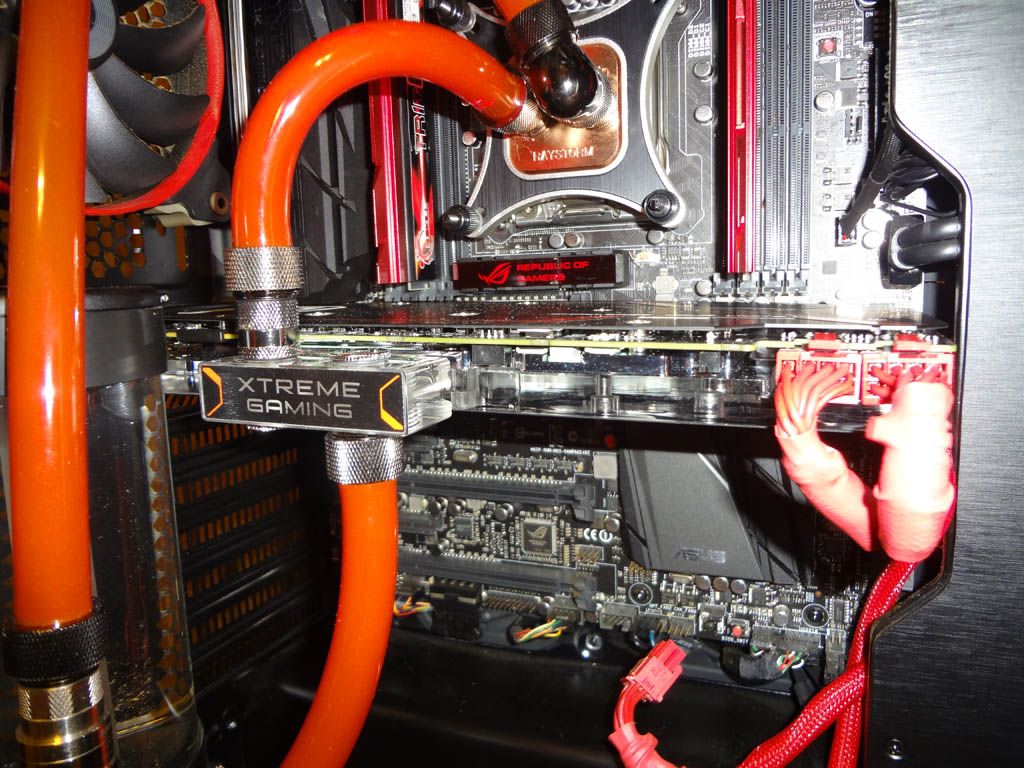
The PCB next to the inlet connector was so close to the hole that i could not install a standard compression fitting. I had to first use a narrow extension, And all i had was a rotary extension, Which made threading the compression fitting cap onto the barb interesting to say the least. Also managed to mar up my Raystorm CPU block because of the same problem. The threads on the GPU block had 2 good holes, And 2 that were not properly threaded. Some fittings would go right in while others felt like it was going to crack the acrylic. Of course the one i needed was the latter.


Filling the loop, Tons of small bubbles.


mmmm RGB lighting!


BTW guys, dont forget to reconnect your pump before booting!!! I did. On first boot, The radiator fans started ramping up and down like crazy. I noticed on the ROG connect on the front that the CPU temp would rise fast, Then fall slow. Every time it did this it would get a little hotter. It took me a minute to figure out what was going on, And i slapped the power switch on the power supply. I thought i had just fried my very expensive processor. Upon reboot windows was corrupted and would only boot into safe mode. I tried different boot options, And some regedit hacks to no avail, And ended up reinstalling windows...BLEH!

Everything was fine in the end.

As garbage as the install looks makes me think I'm going to redo most of the loop. I'm likely going to a dual radiator, Hard line system with a Monsoon reservoir mounted horizontally in the bottom of the case, So i can get to my slots easier, And also install the SLI bridge. The current res is just too close to the card.

Benchmarks coming up as i finish them. :D
 
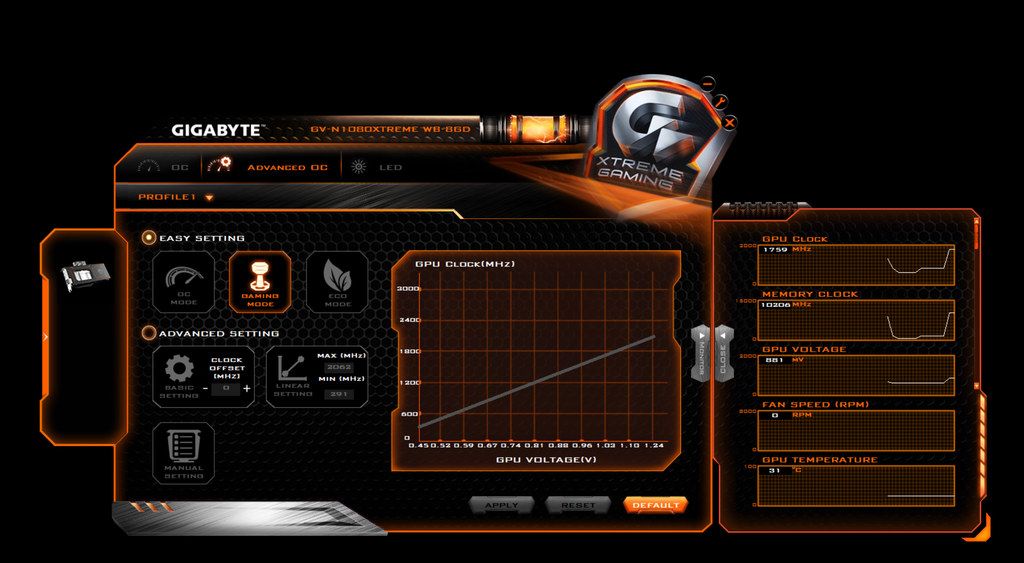
Here is the "Gigabyte Xtreme Gaming Engine" software for overclocking, Controlling the LED's etc. I will not be testing in eco mode for obvious reasons. "Gaming mode" clock speeds @ 1759 Mhz (1898 boost), and memory @ 10206 Mhz will be used as the standard speed in the benchmarks. And "OC mode" clock speeds @ 1784 Mhz (1936 boost), with memory @ 10400 Mhz, Will be used for the overclock benchmark.

The 290x's standard clock will be 1000 Mhz, And memory @ 1250 Mhz (5000 Mhz effective), And 1090 Mhz with memory @ 1325 Mhz (5300 Mhz effective) for the overclock benchmark.

All tests will be done at 4k with max settings to stress the cards, And for time constraints.


Off to a bad start on the Unigine Valley benchmark! -9% score @ standard clock speeds, And -15% score @ overclock speeds. Very impressive considering this is being put up against a crossfire setup.


+.5% @ standard, And -3% with Unigine Heaven.


-1.5% in Firestrike by Futuremark.


And now the 1080 starts to flex its muscles with Firestrike Ultra! +1% score.


I was actually able to find a crossfire profile that worked with Crysis 3! The 1080 going strong with a 230% lead! though still completely unplayable at this framerate, It is quite impressive.


And finally DOOM! It does not support multiple card setups so the single 290x was on its own, And got completely destroyed by the 1080 which had a 246% lead. I did'nt even have to take the Gigabyte out of its gaming oc to go and stay above 60 fps. Of course using the vulkan API gave the 290x a slight boost to 48 fps, With settings all at their lowest.
The Gigabyte dosen't even break a sweat @ Ultra settings with shadows quality, And virtual texturing page size set to nightmare. Also there was absolutely no texture pop in like there was with the 290x.
It should be noted though that with the latest drivers i was not able to run the vulkan API with the 1080.


Nice rig man! I'm getting the itch to build another or upgrade my current setup. Keep up the good work.
 
Back
Top