DDCustomMods
Weaksauce
- Joined
- Nov 10, 2011
- Messages
- 97
UPDATED 9/3/15
Hey all,
Now that school is done and found a comfortable steady income, time to start collecting materials to begin working on the case. Bear with me as it might take a while to get everything constructed. I'll be fitting in work in between diaper changes of our new baby due Aug 29th 2015.
So.... this will be a build that will take a long time to complete(just warning everyone now)
 Just wanted to get some input while in the beginning stages of the build.
PARTS LIST
P - Pending
O - Ordered
H - Have
MAIN COMPONENTS
- MSI Z87-GD65 Gaming ATX Extreme OC - P
- CORSAIR Vengeance Pro 16GB (2 x 8GB) 240-Pin DDR3 SDRAM DDR3 1866 - P
- Corsair RM Series 850 Watt ATX/EPS 80PLUS Gold - P
- Kingston SSDNow V300 Series 120GB 2.5" Solid State Drive - P
- Seagate Barracuda 1TB 3.5" 7200RPM Internal Hard Drive - P
COOLING
- Swiftech Apogee XL PPCS Custom Dragon II - P
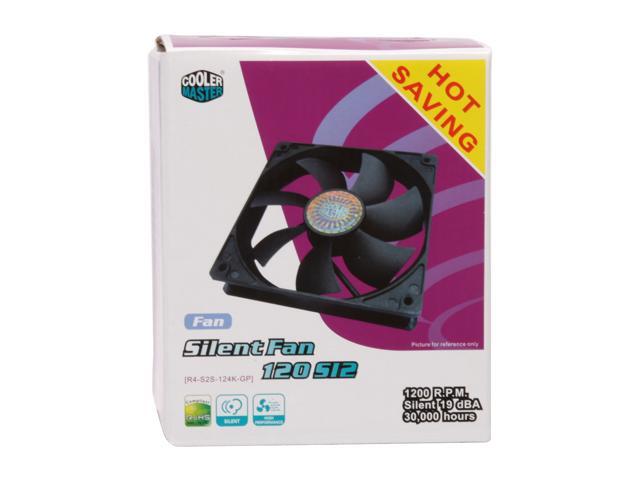
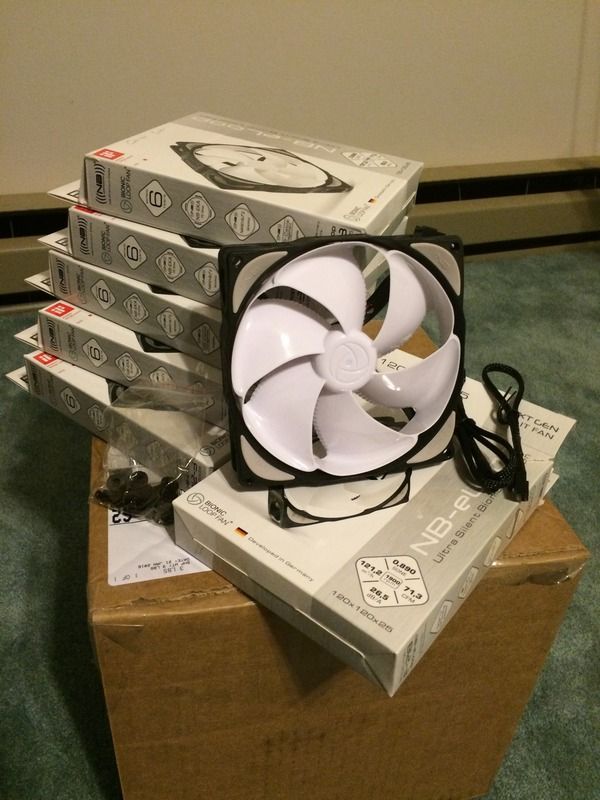
- Corsair AF120s Twin Pack Quiet Edition(x2) - P
- Monsoon Chain Gun Compression Fitting - 3/8"ID x 5/8"OD – Red - Quantity: 2 - H
- Bitspower G1/4 Male to Female Extender - 30mm - Matte Black - Quantity: 4 - H
- Bitspower G1/4" D-Plug Male / Male Coupler Set - Bold Red - Quantity: 1 - H
- Bitspower SLI / Crossfire Multi-Link Adapter Pair - Deep Bold Red - Quantity: 2 pairs - H
- Rigid PrimoChill Ghost Compression 3/8in. ID x 1/2in. OD Fitting – Knurled Grip – Anodized Black - Quantity: 1 - H
- Bitspower Quick-Disconnect Male w/ Inner G1/4 - Matte Black - Quantity: 1 - H
- Bitspower SLI / Crossfire Crystal Link Tube Set - H
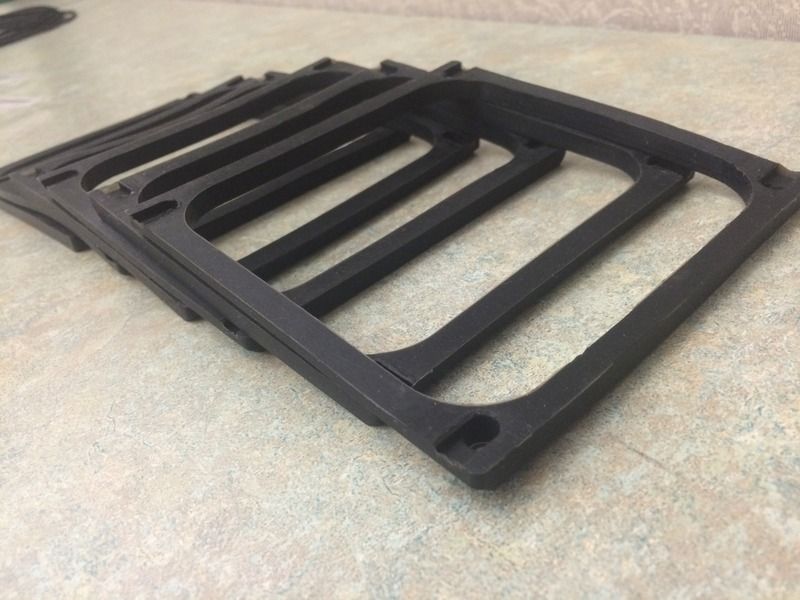
- Phobya Fan Shroud 120mm Black x6 - H
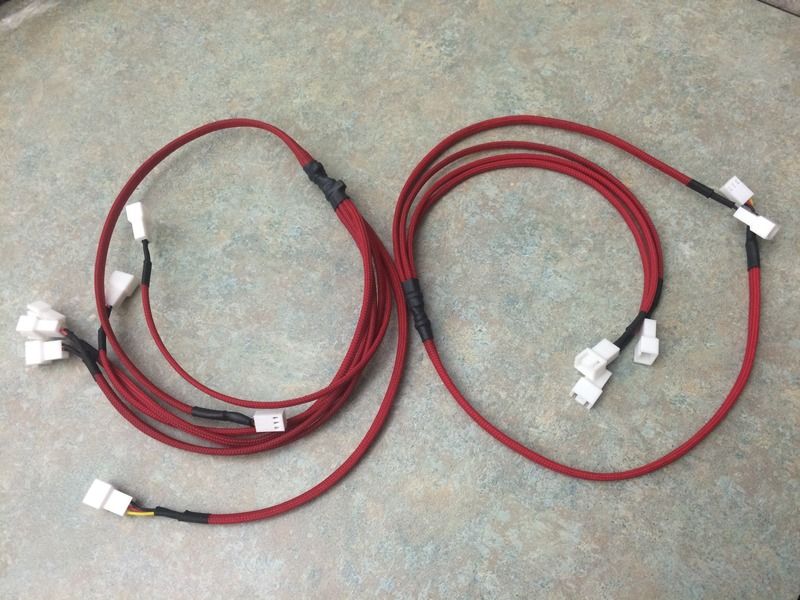
- Phobya Y- Cable 3 pin to 6 3 pin splitter (black) - H
- Phobya Y- Cable 3 pin to 6 3 pin splitter (red) - H
- Phobya Y- Cable 3 pin to 4 3 pin splitter (red) - H
- Phobya Angled clip 90° for 19/13mm tubing (black) - H
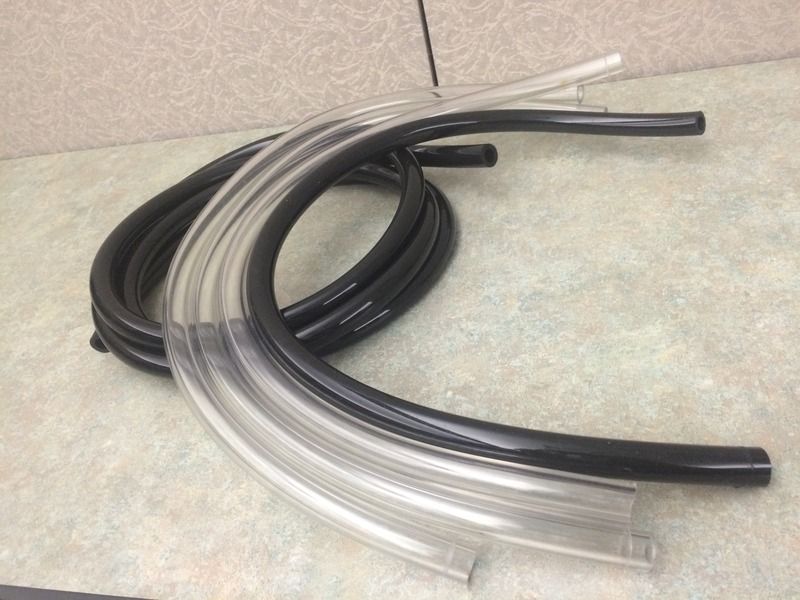
- PrimoChill flex tubing x 6ft (Clear) - H
- PrimoChill flex tubing x 9ft (Black) - H
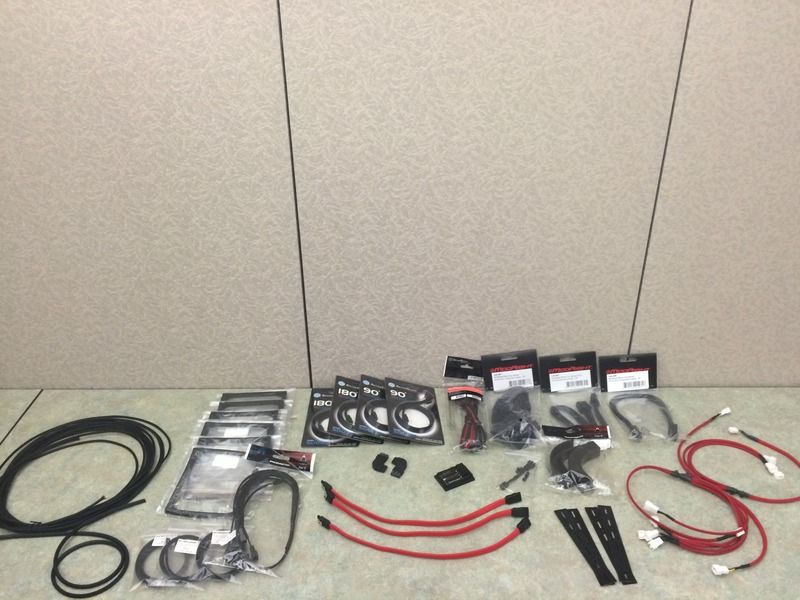
MISC. MOD SUPPLIES
- Black Gutless Paracord - H (Night Shark Leftovers)
- Red Gutless Paracord - P
- White Gutless Paracord - P
- Several feet of sleeving (black) - H
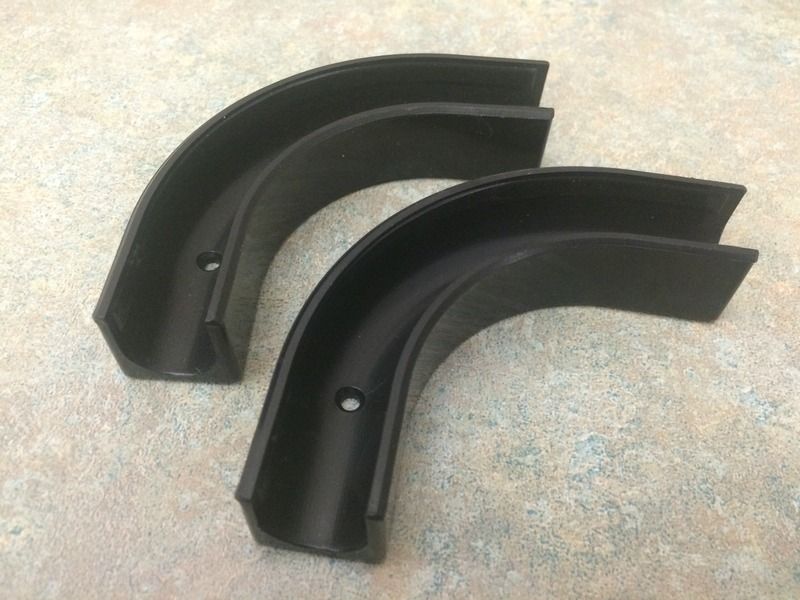
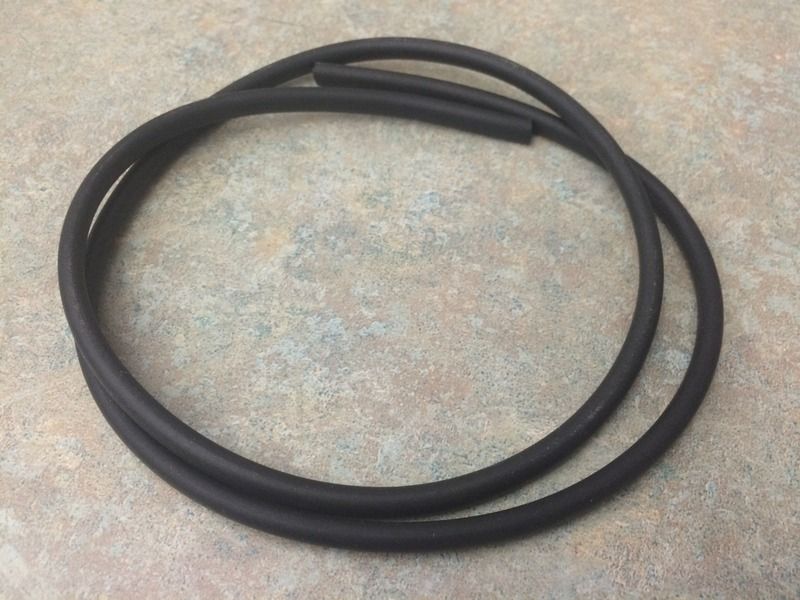
- ~24" of rubber trim (black) - H
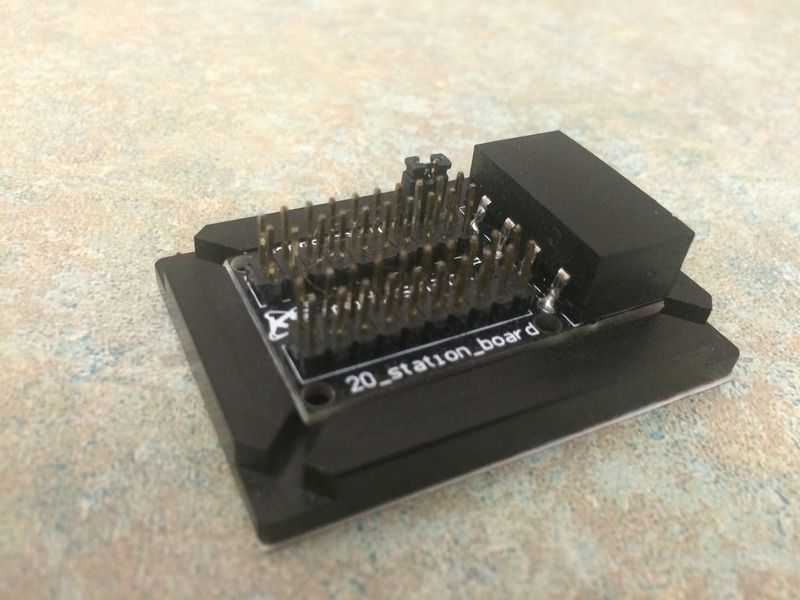
- 20 LED Station/ molex power - H
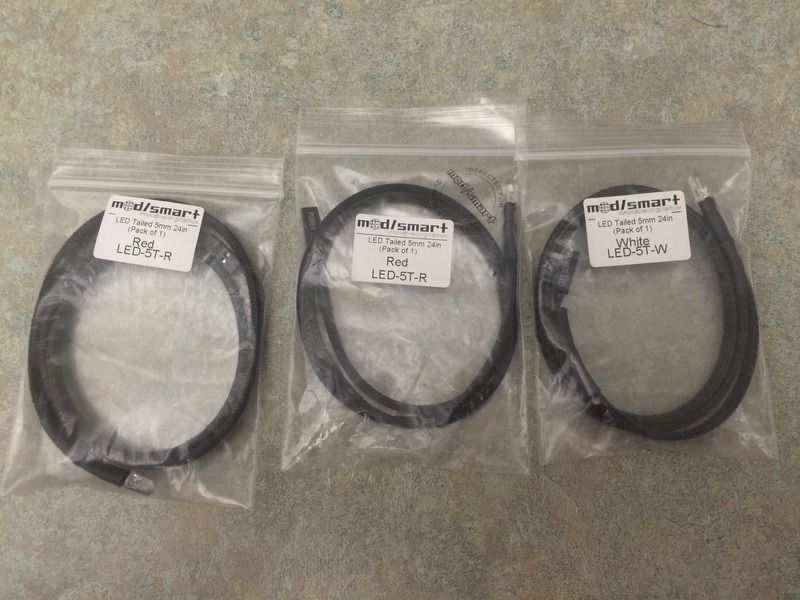
- 24" LED (red) x2 - H
- 24" LED (white) - H
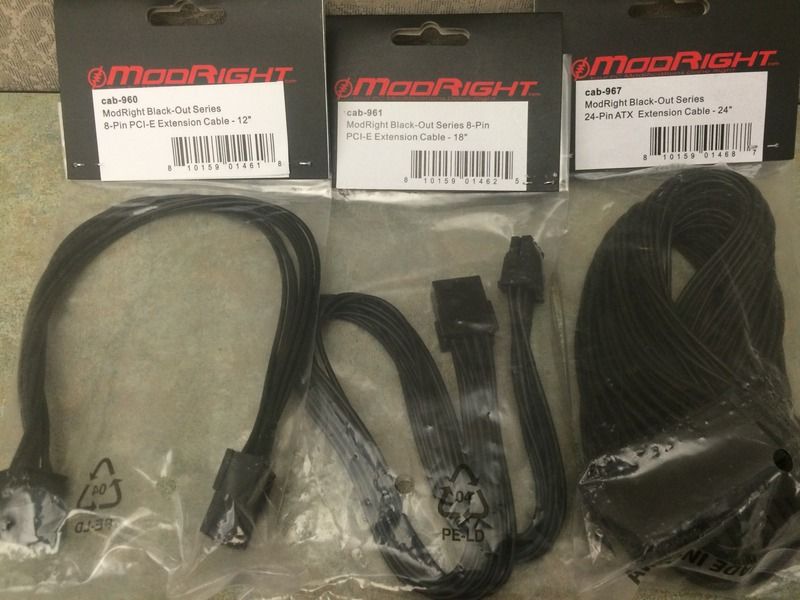
- 12" 8 pin Extension (black) - H
- 18" 8 pin Extension (black) - H
- 24" 24 pin Extension (black) - H
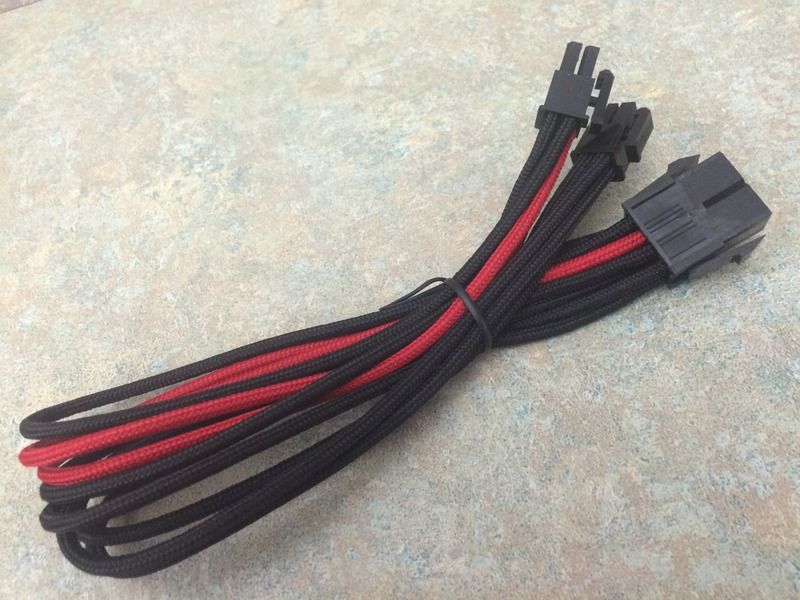
- 12" 8 pin to 2x 4 pin Extension (black/red) - H
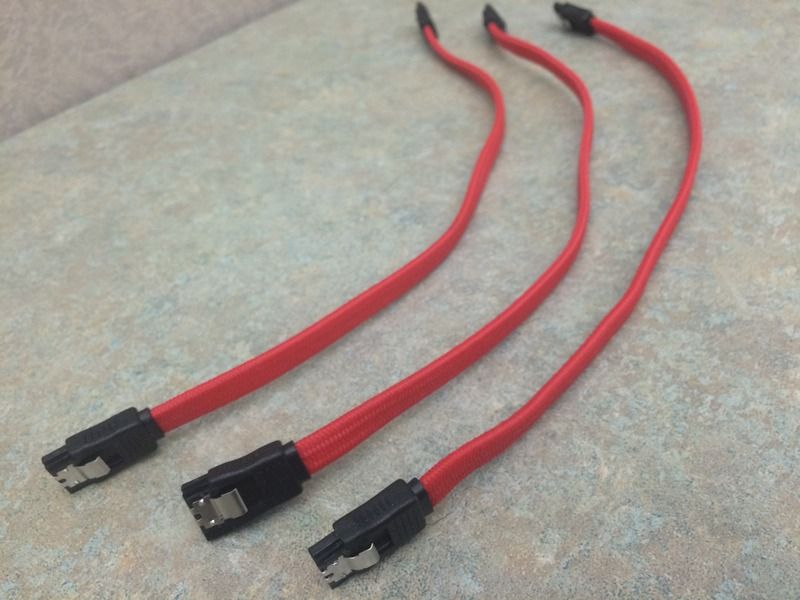
- 12" SATA cables (red) x3 - H
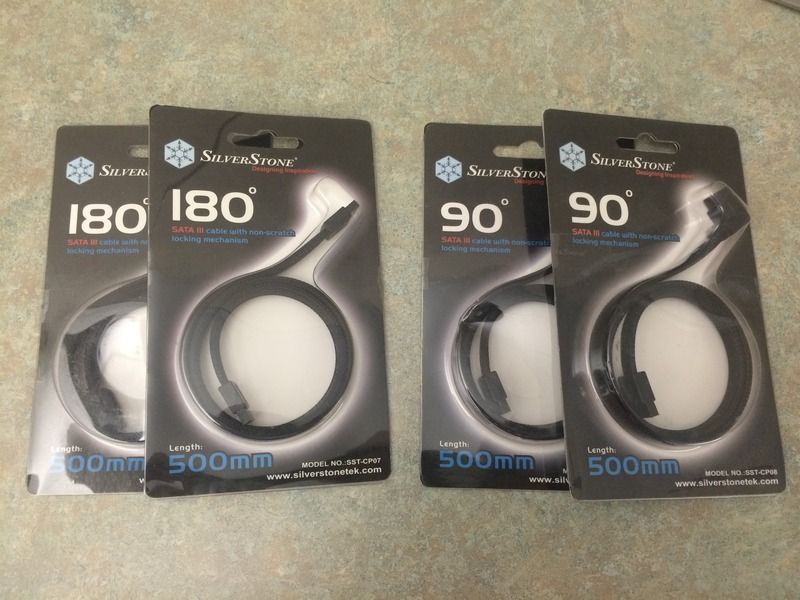
- 500mm 180 SATA cables (black) x2 - H
- 500mm 90 SATA cables (black) x2 - H
TO DO
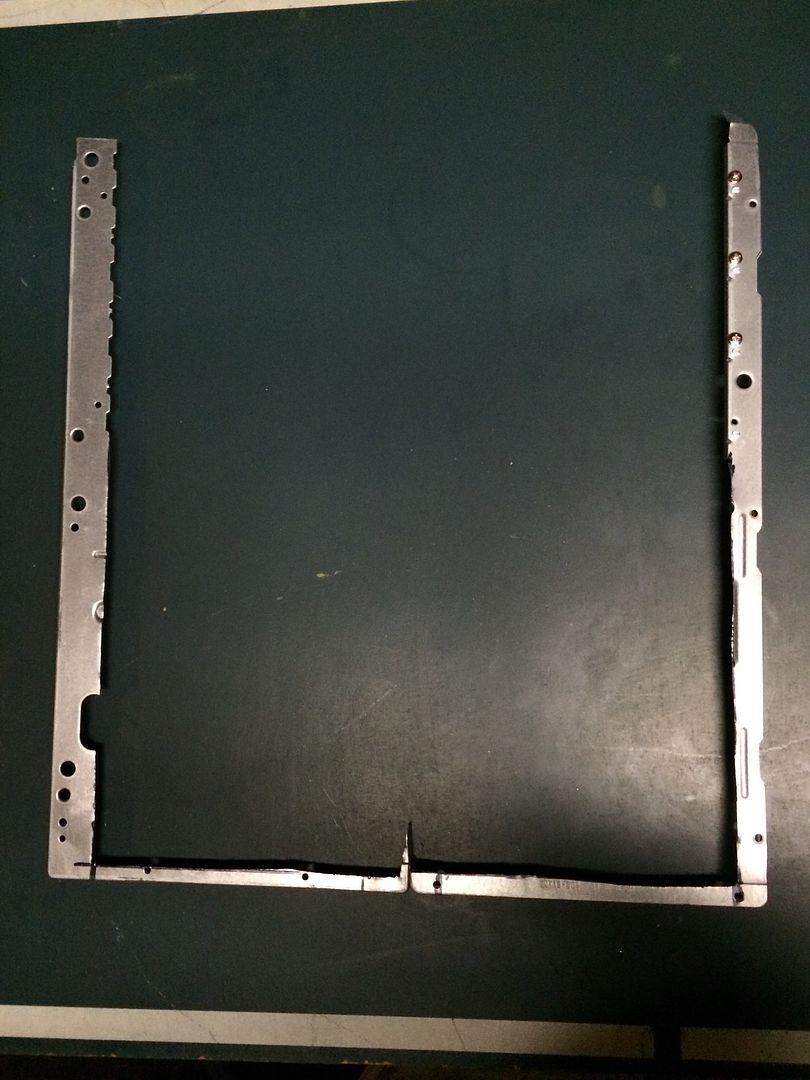
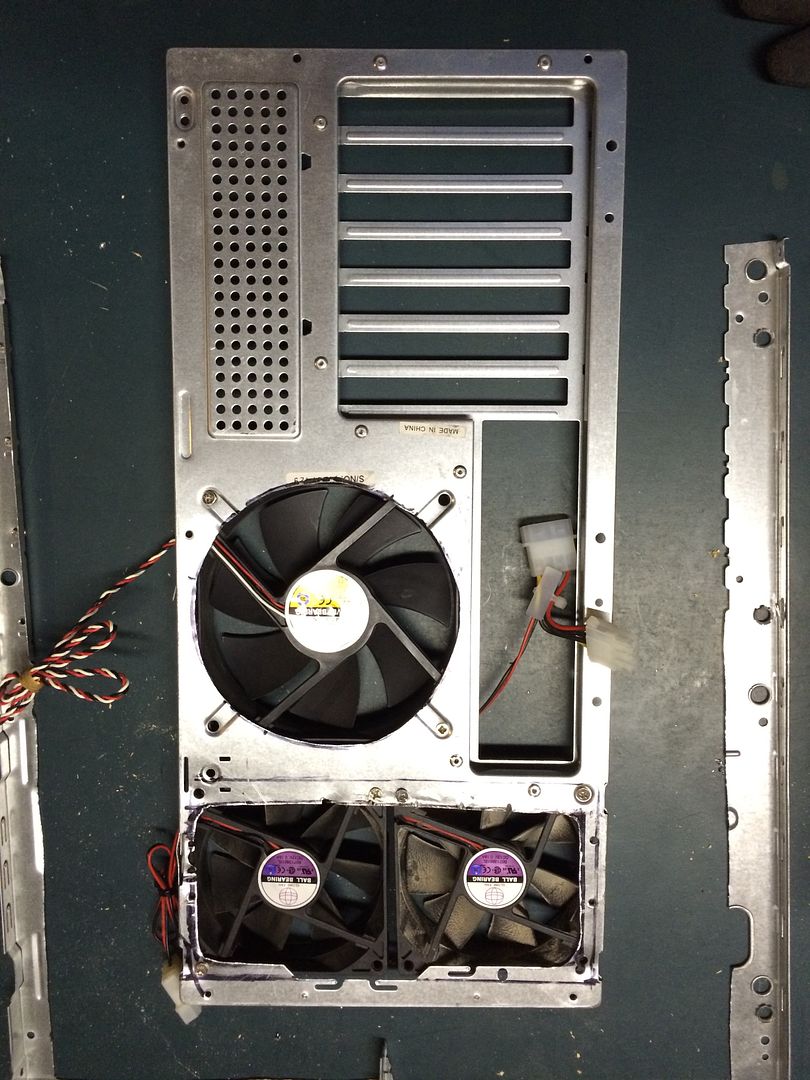
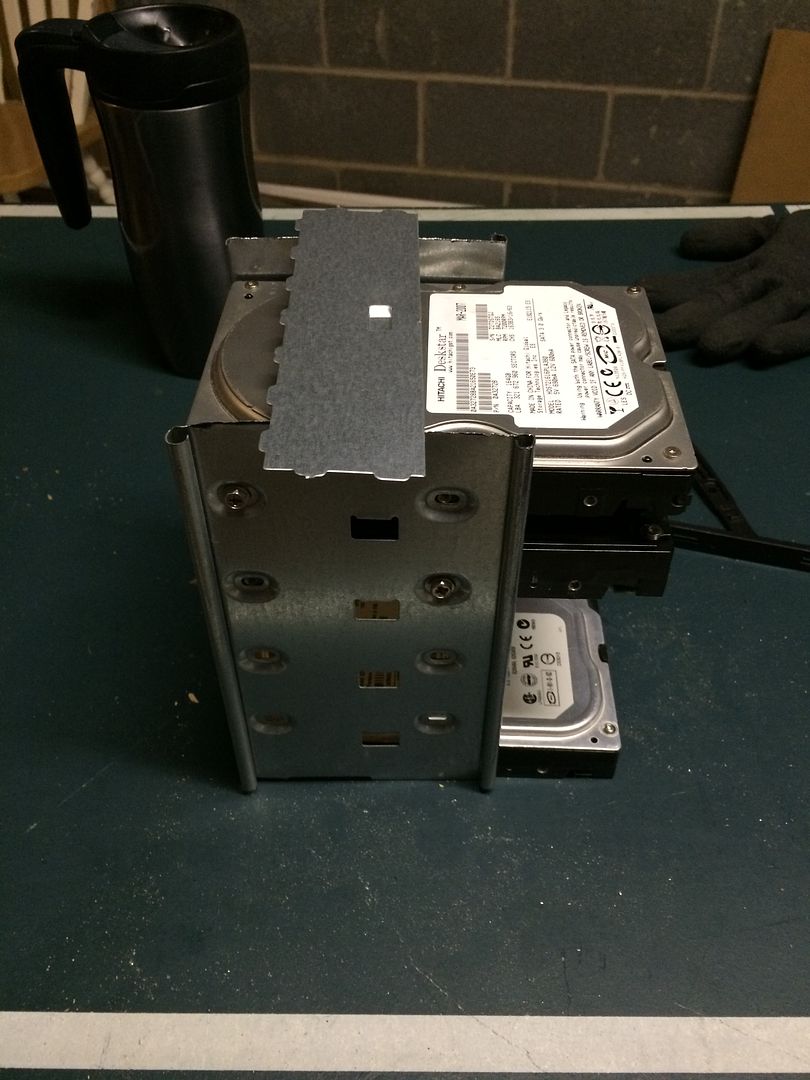
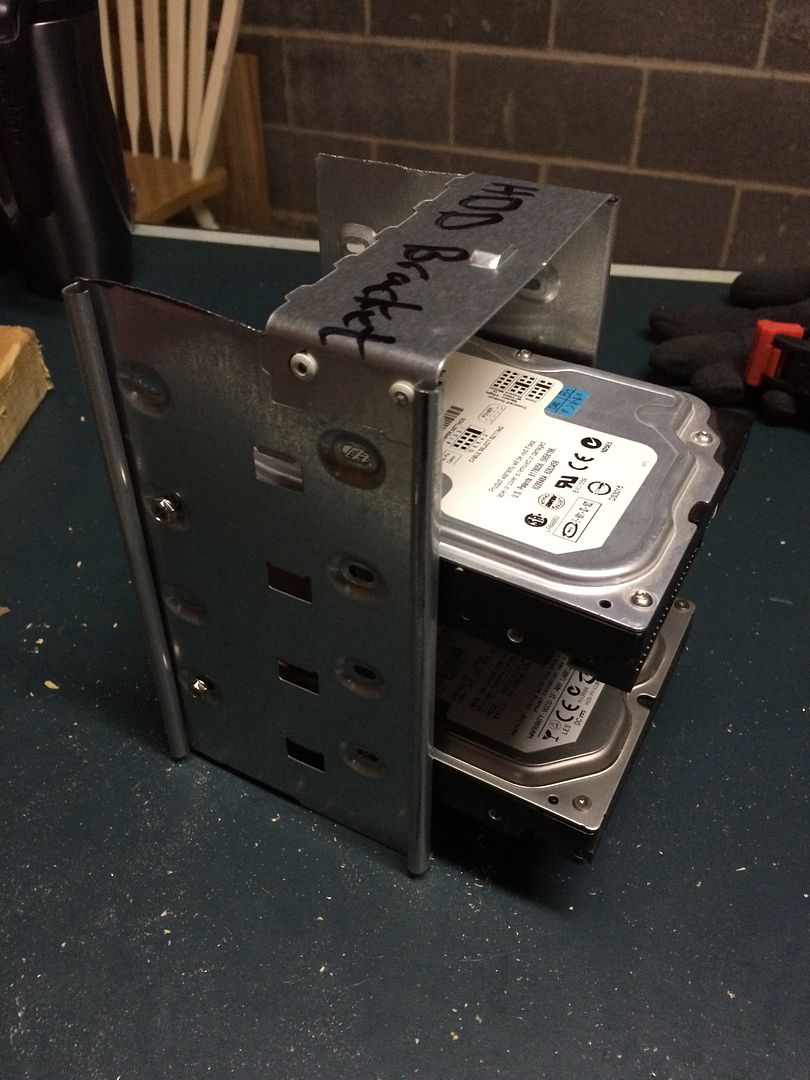
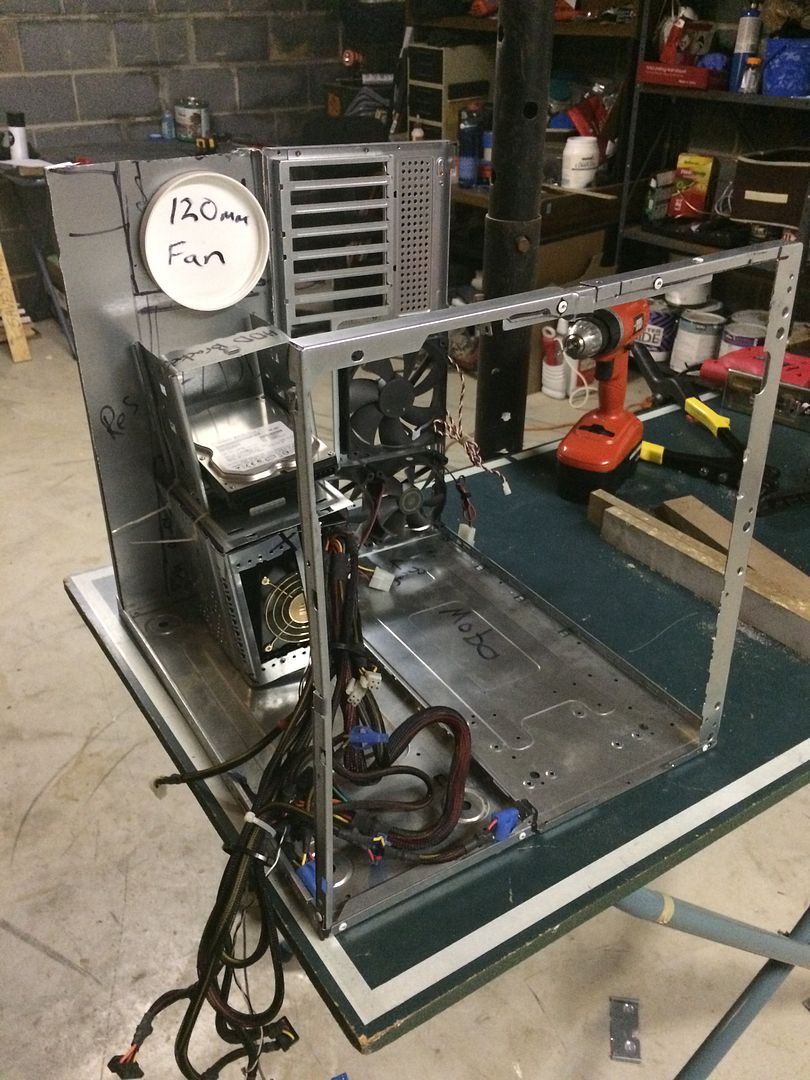
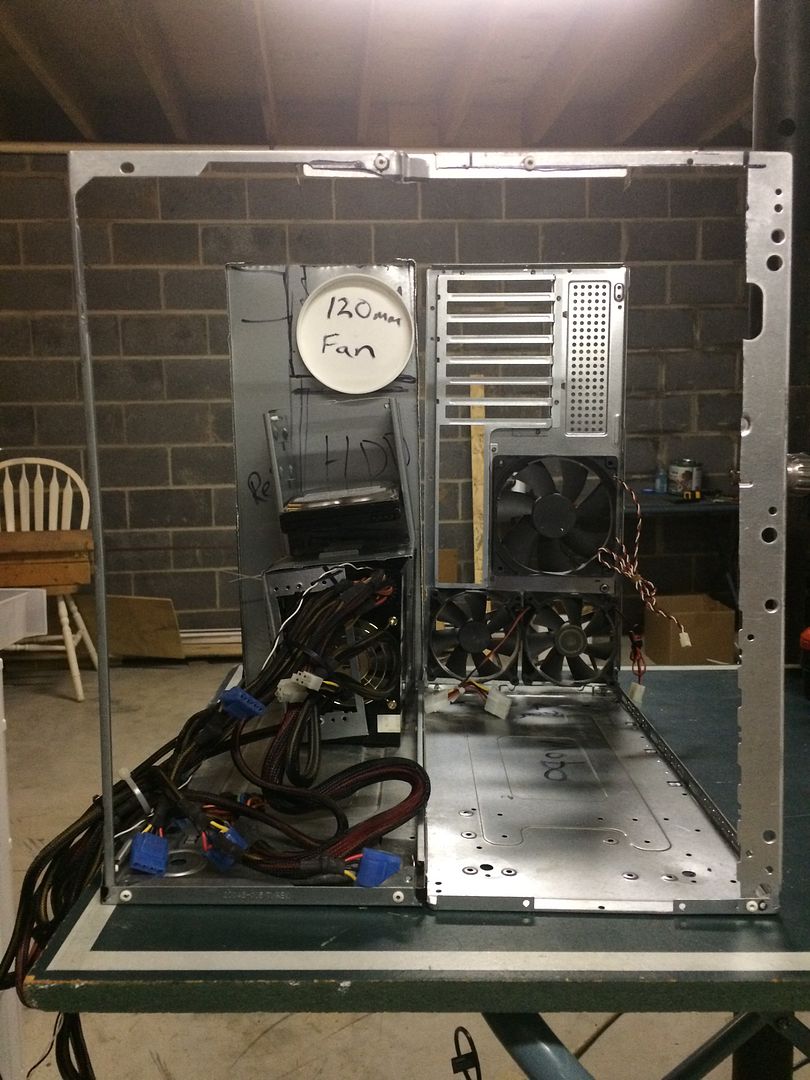
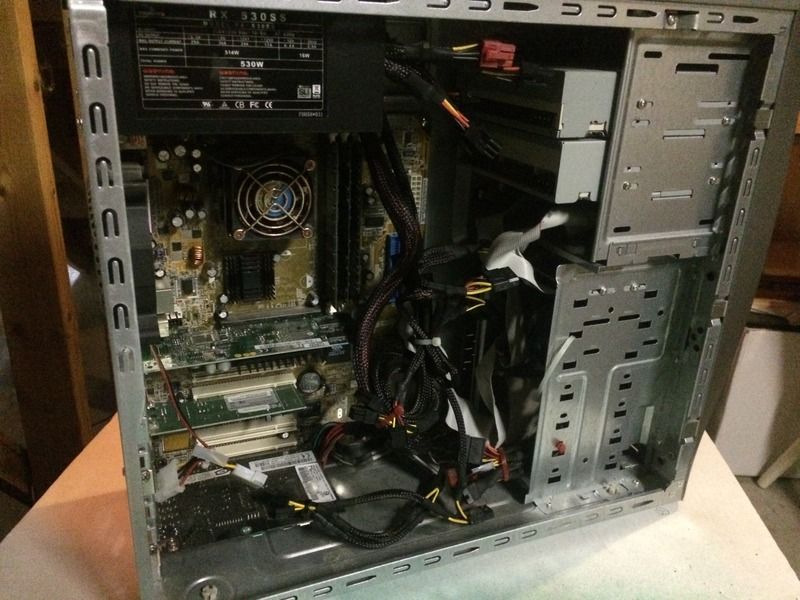
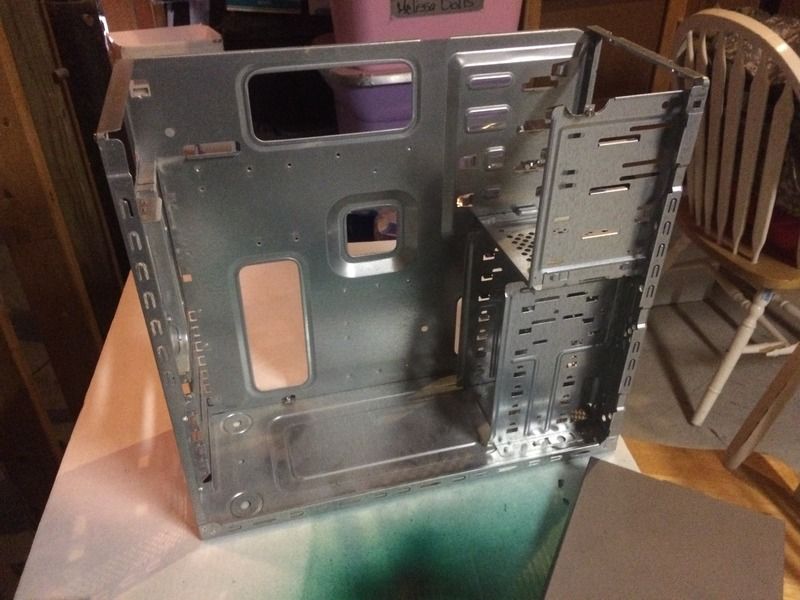
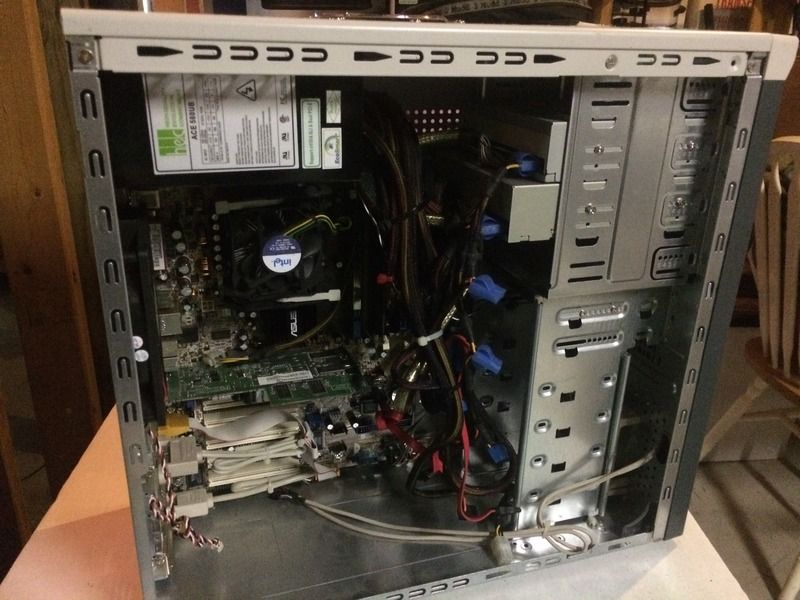
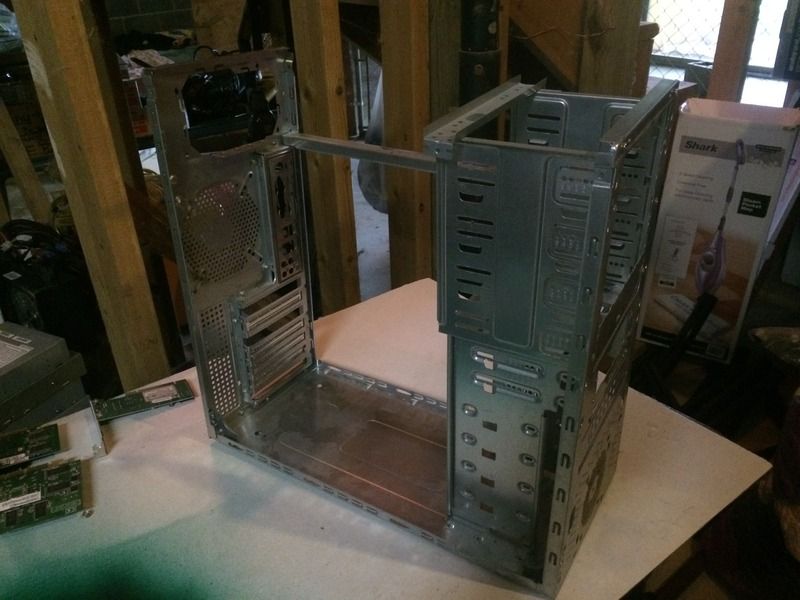
- Take cases apart down to the bones - Complete
- Design custom reservoir and send to 3D printer
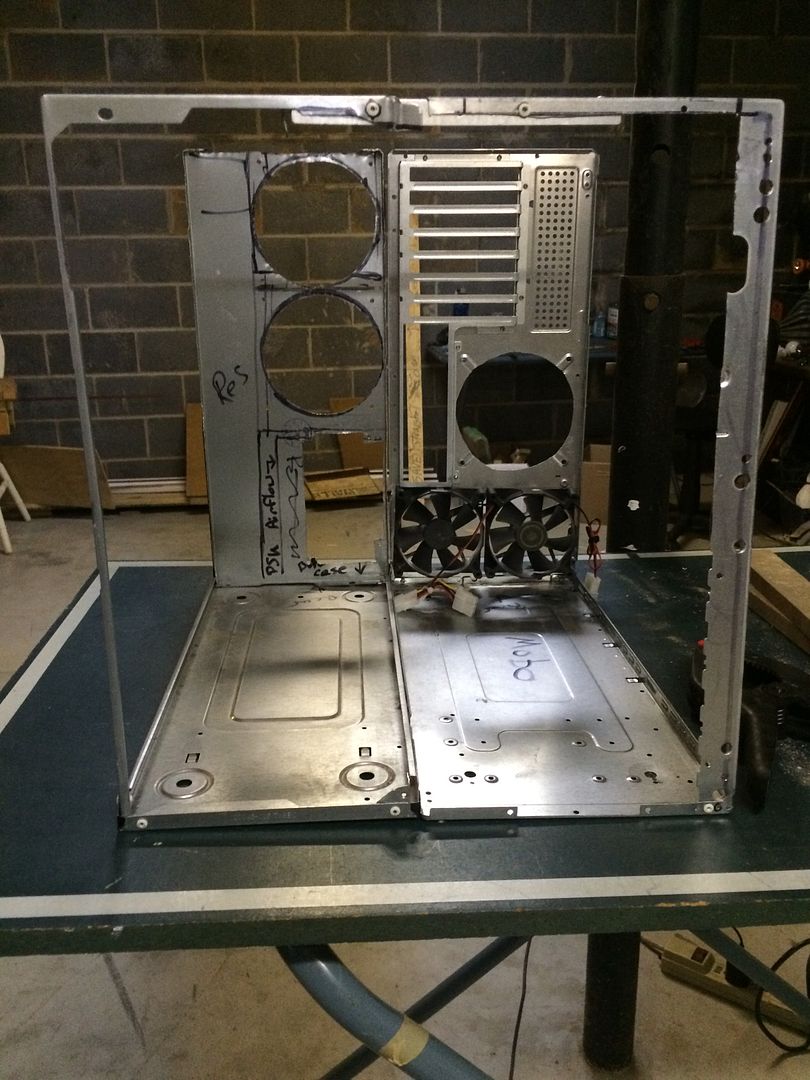
- Trim case #2(white) to match height of case #1(grey)
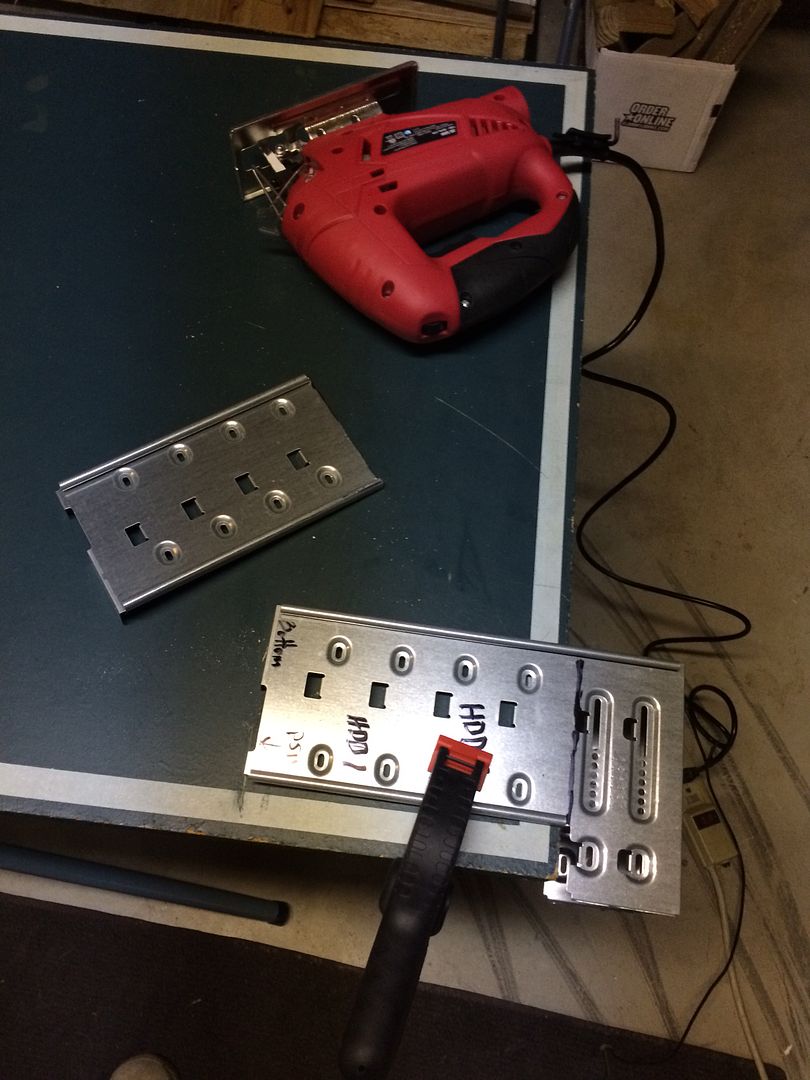
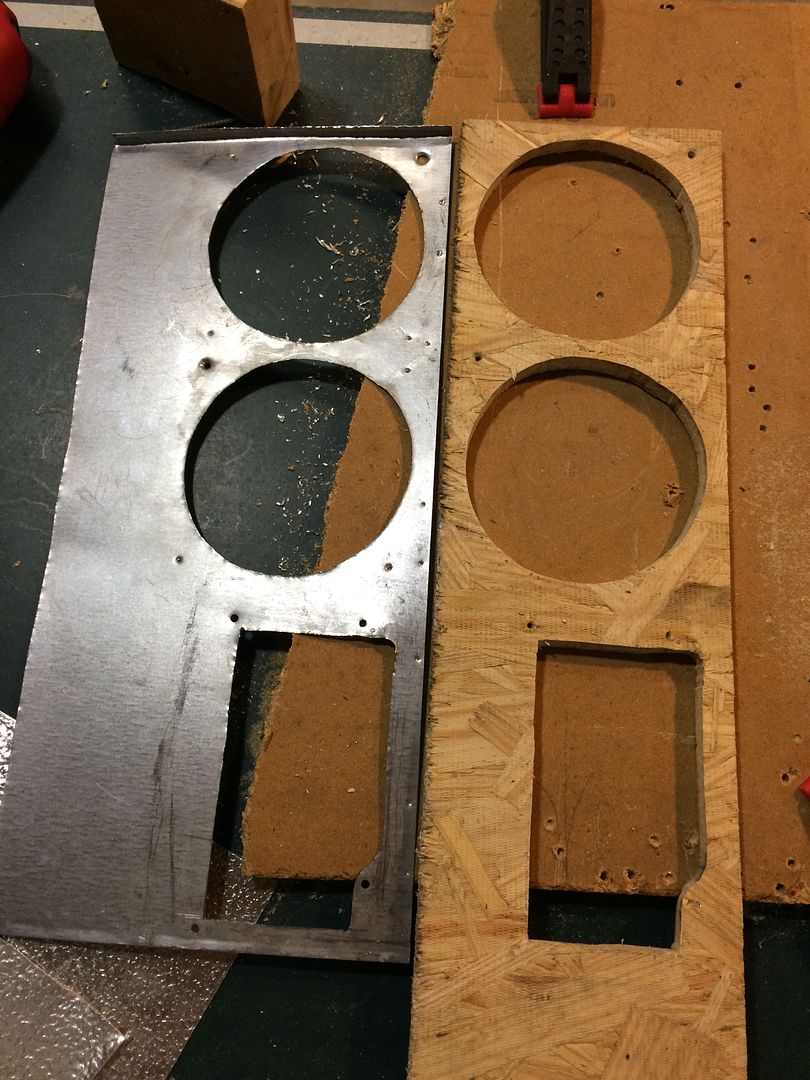
- Rework motherboard plate to provide management holes
- Cut and redesign frame to allow for bottom and rear fans
- Flip back panel in reverse ATX style
- Price Acrylic vs Aluminum for new back cover, top panel, front cover
- Order panel material
- Craft top panel
- Craft back cover
- Craft front cover
- Craft cable routing covers
- Paint
- Order any remaining components
- Test components for bad pieces
- Install watercooling components
- Test fit components
- Install asthetics(fan convers, fan controller)
- Install main components
- Redesign waterloop(if needed)
- Install loop
- Leak test loop
- Finalize build
- Post final pictures and celebrate!!
UPDATES - Most Recent First
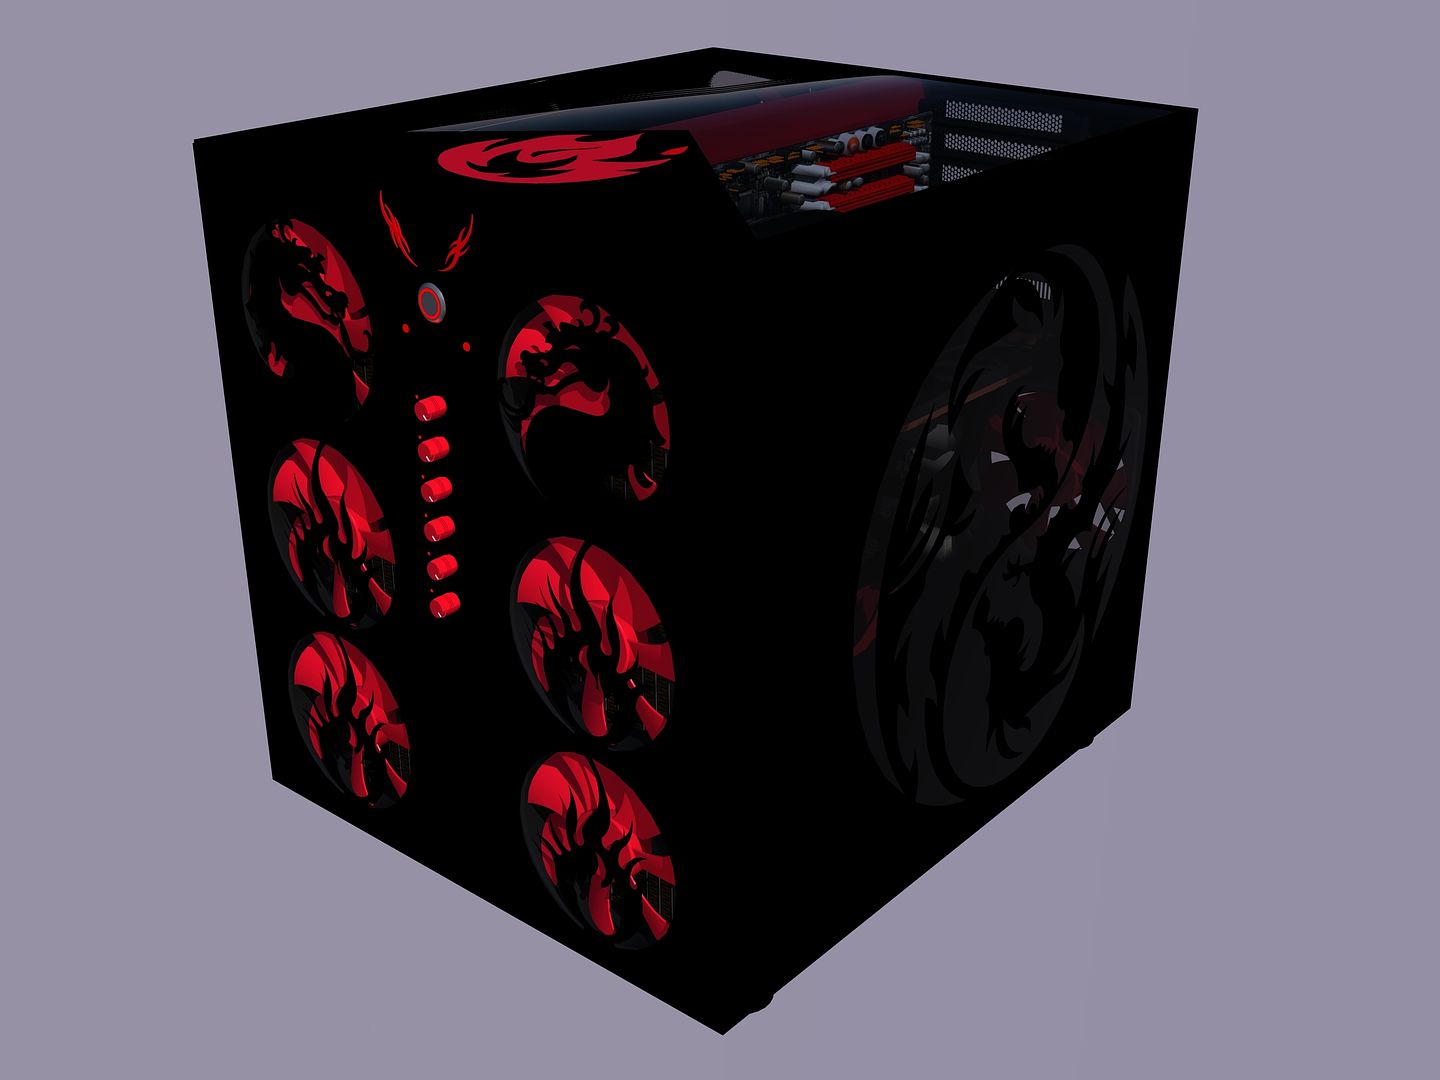
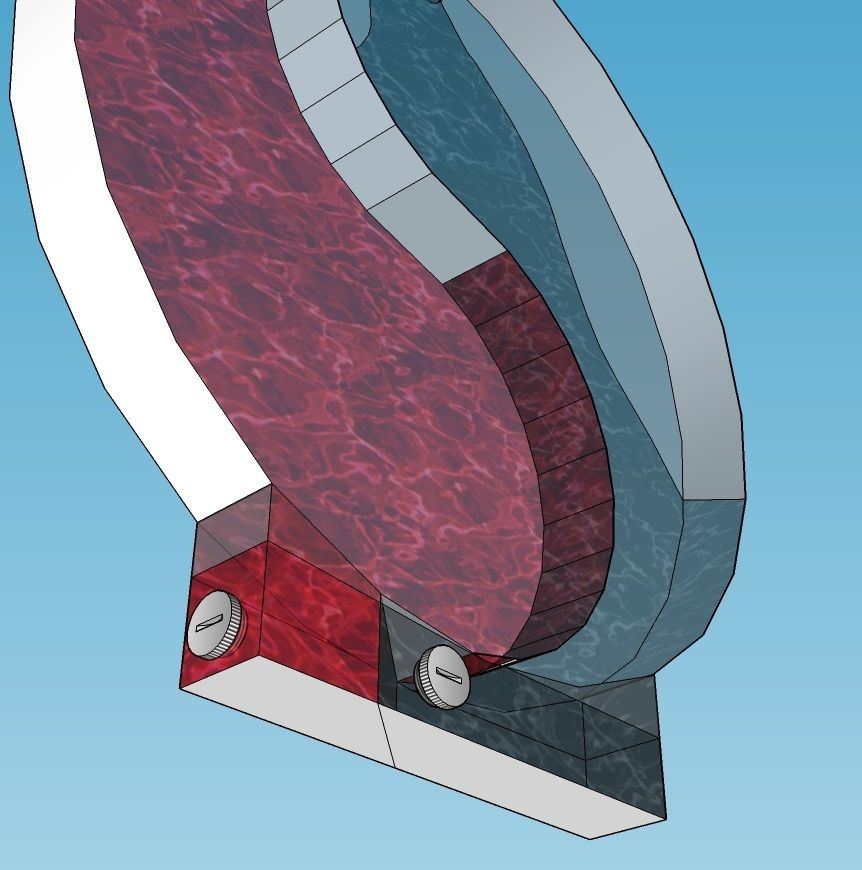
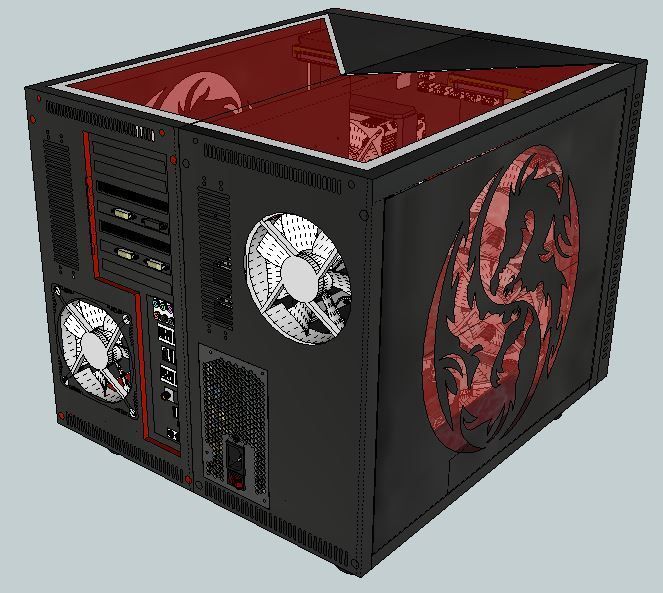
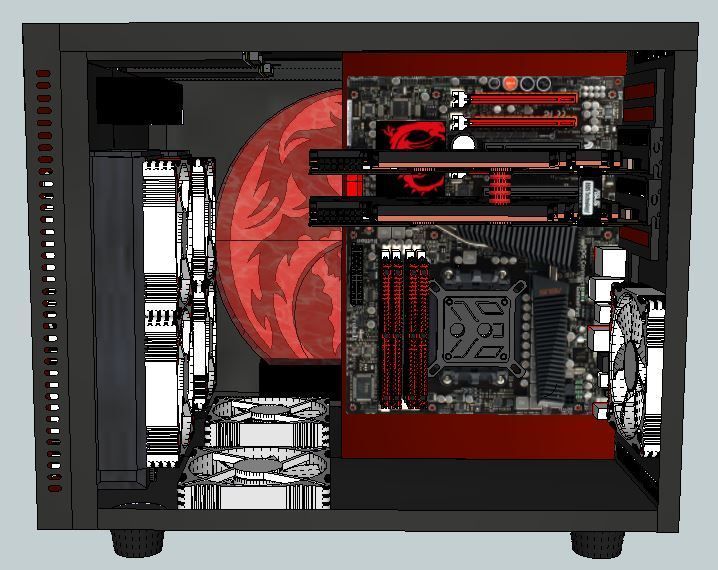
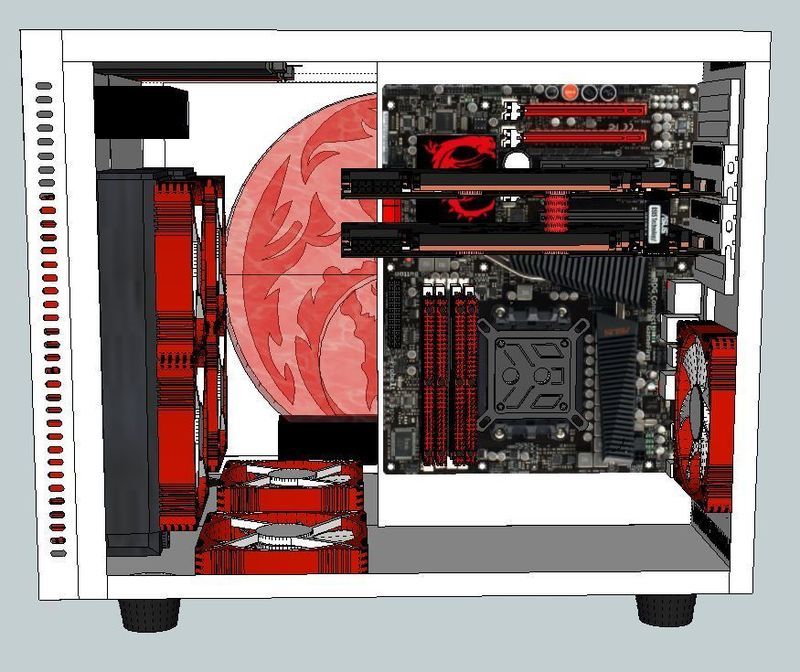
Final Renders
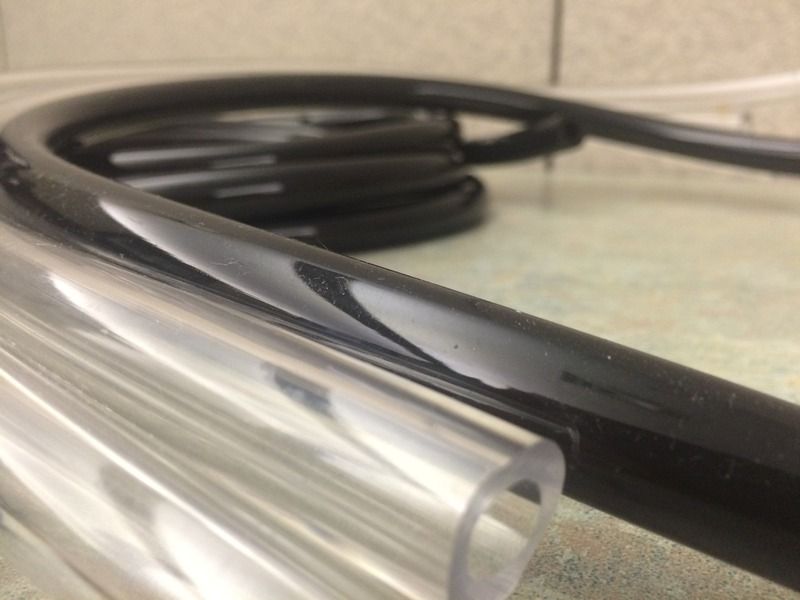
Tubing is here!
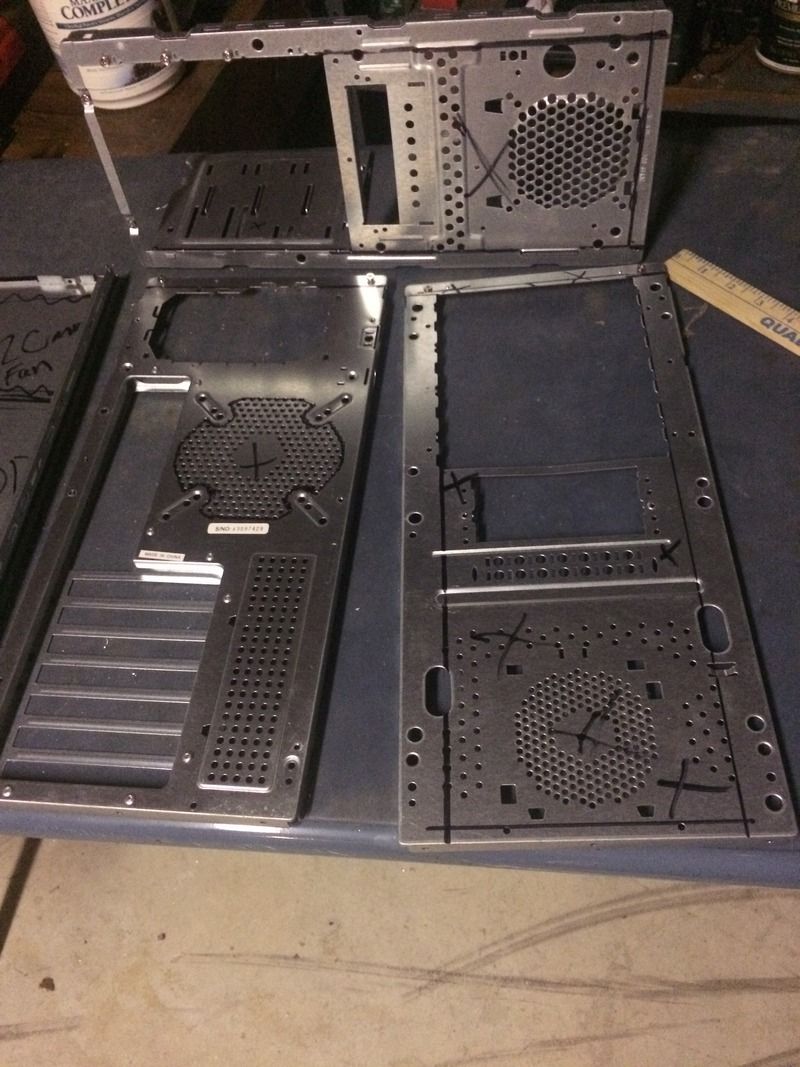
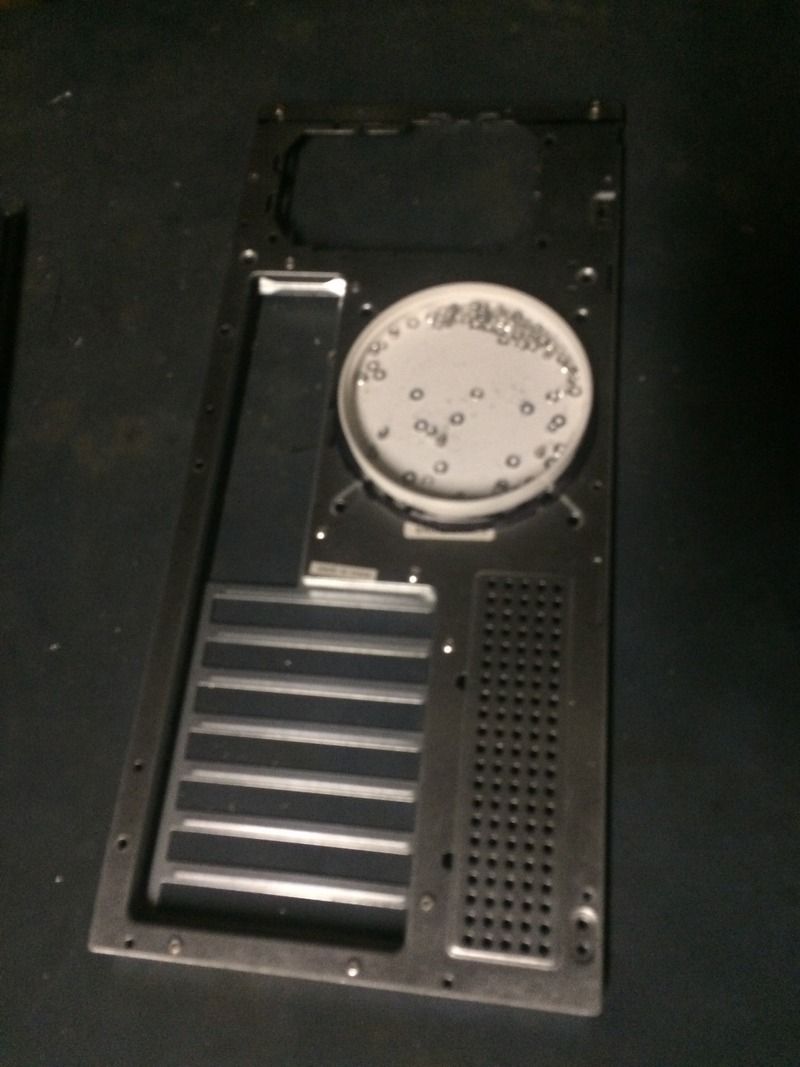
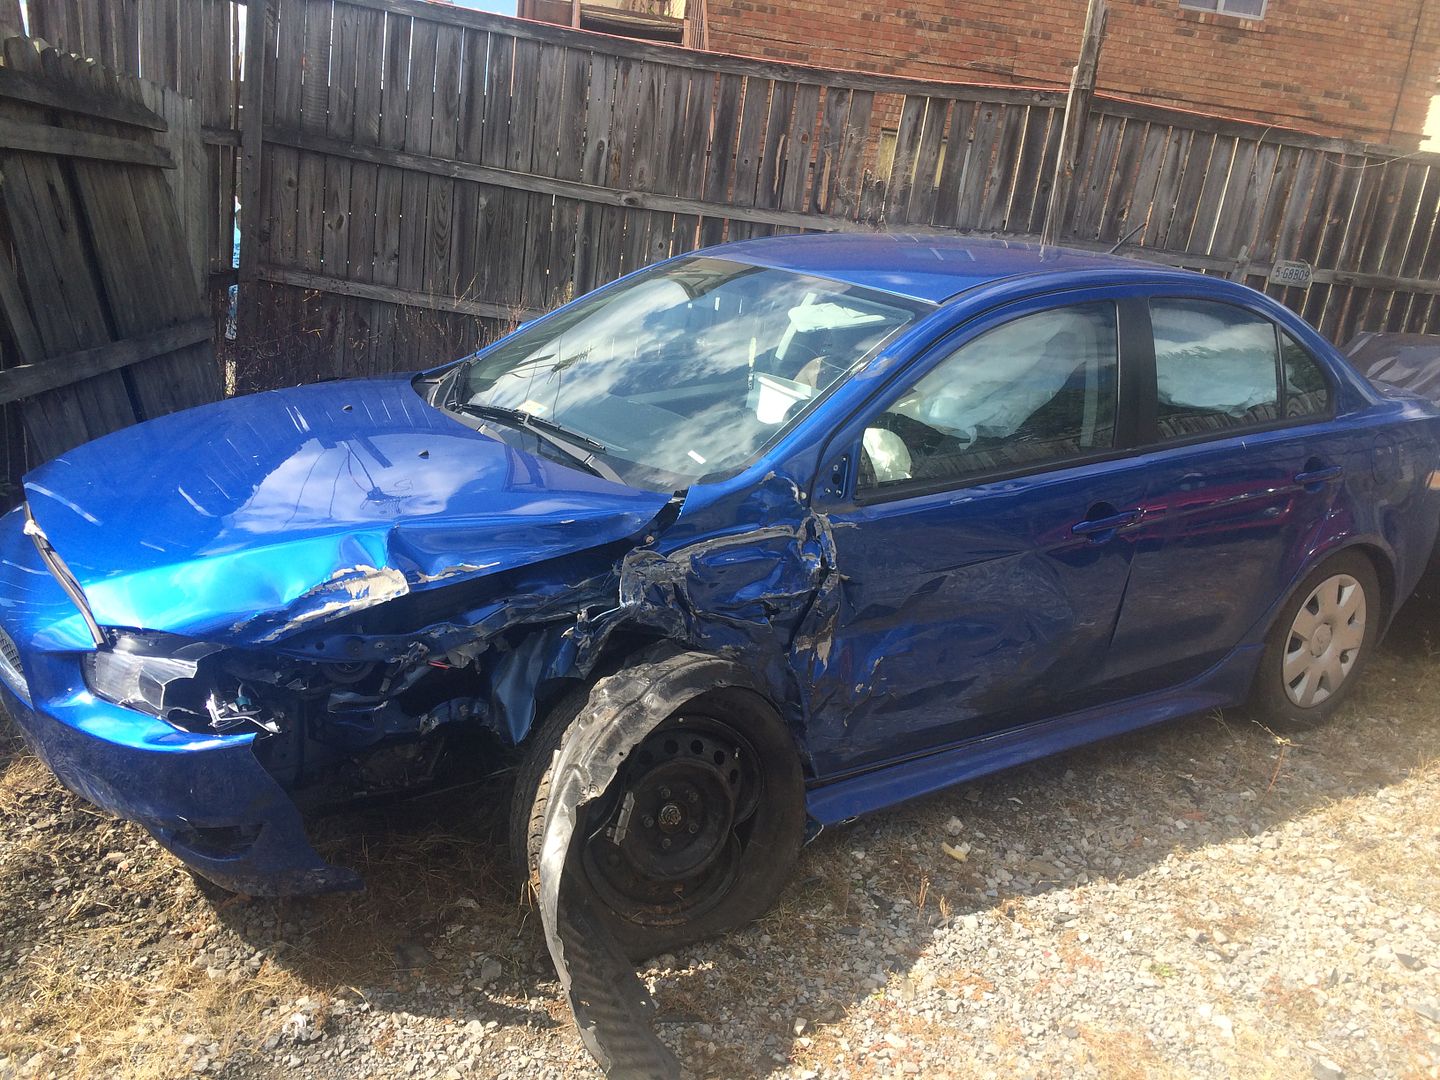
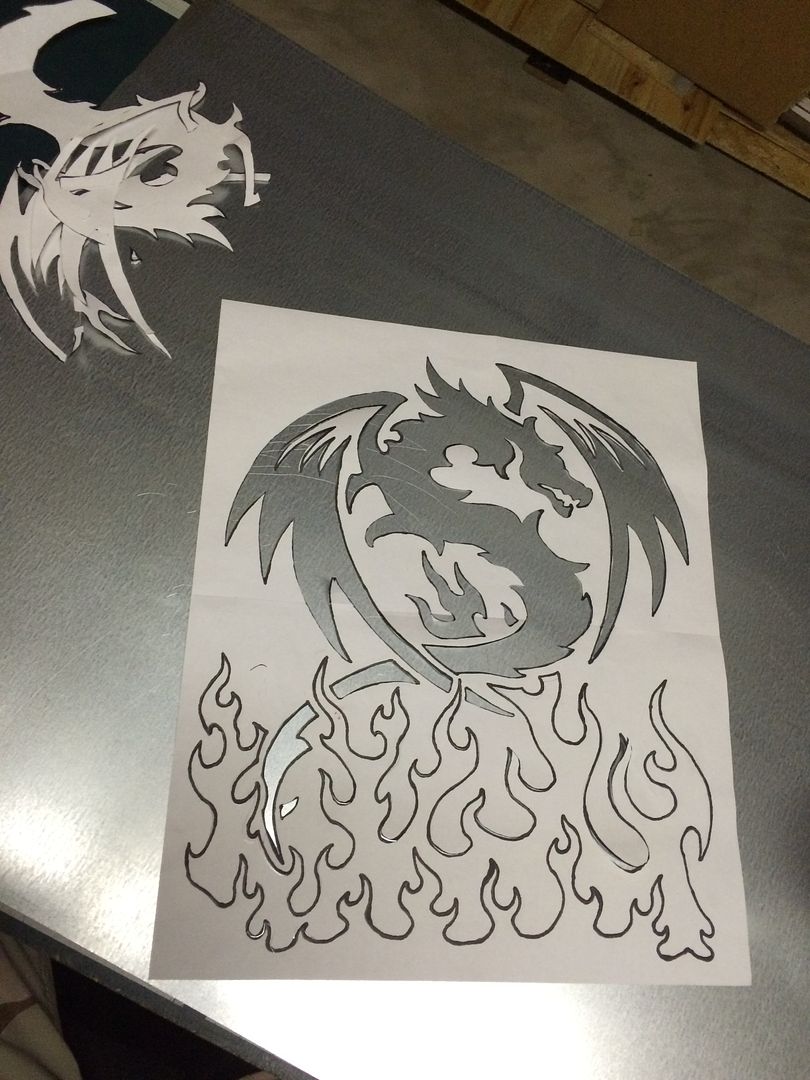
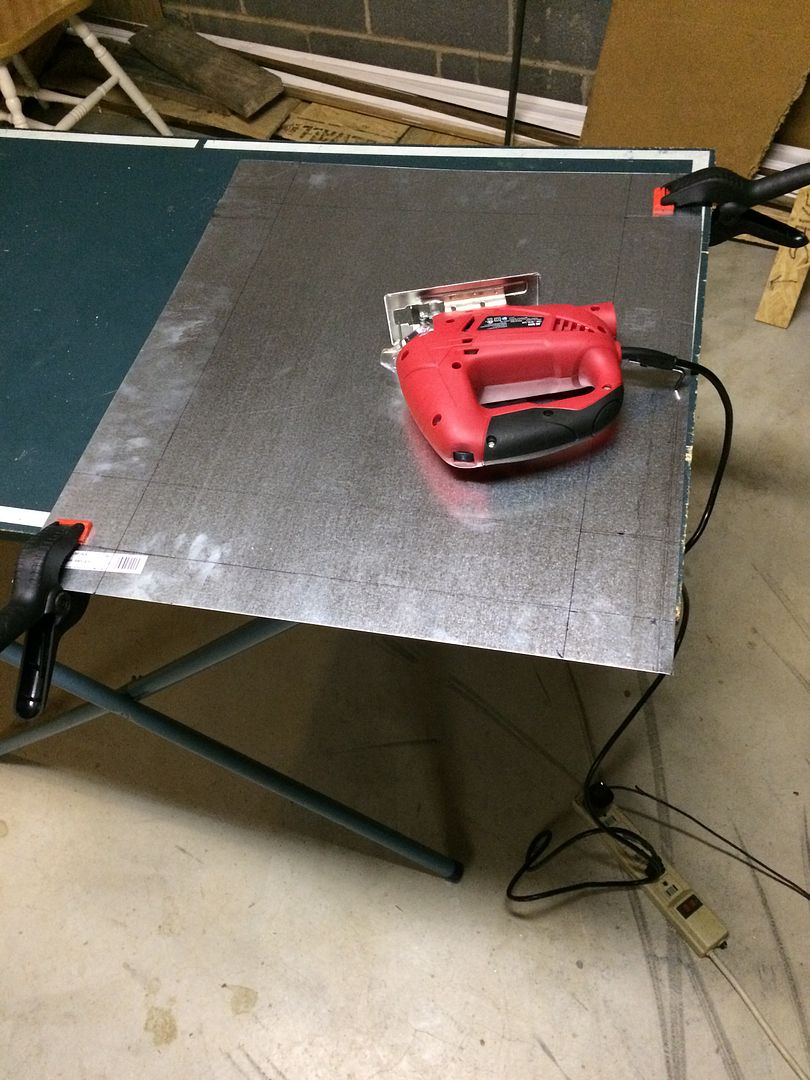
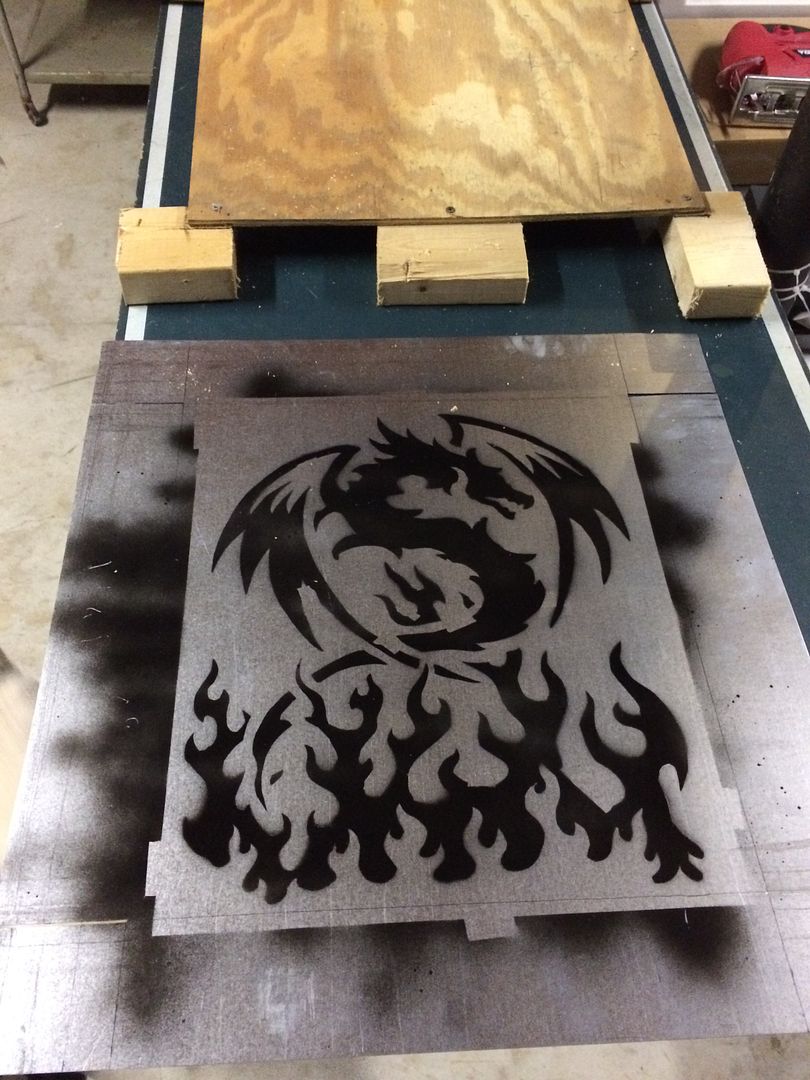
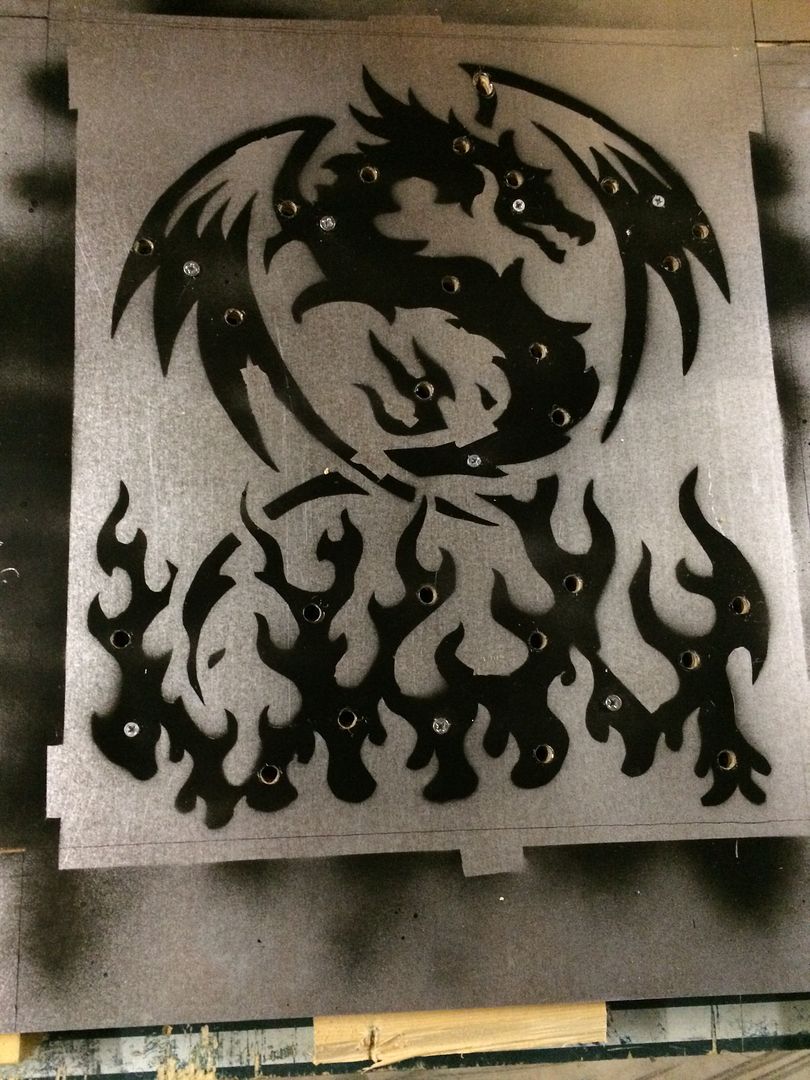
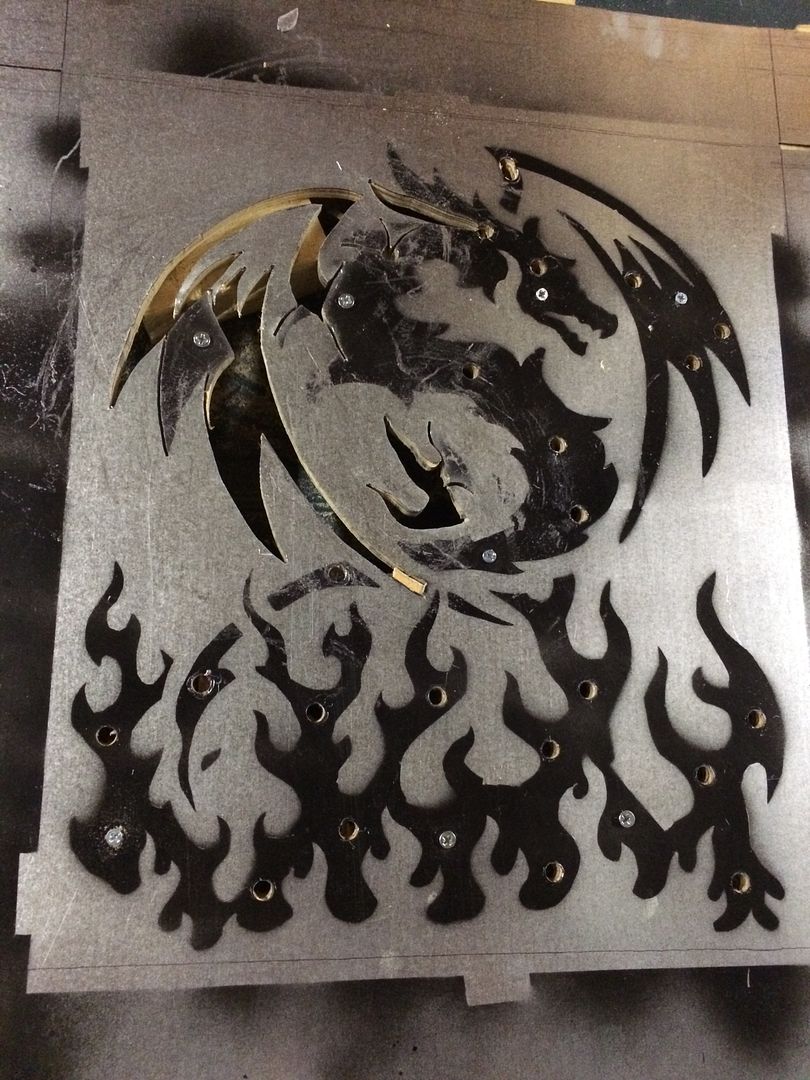
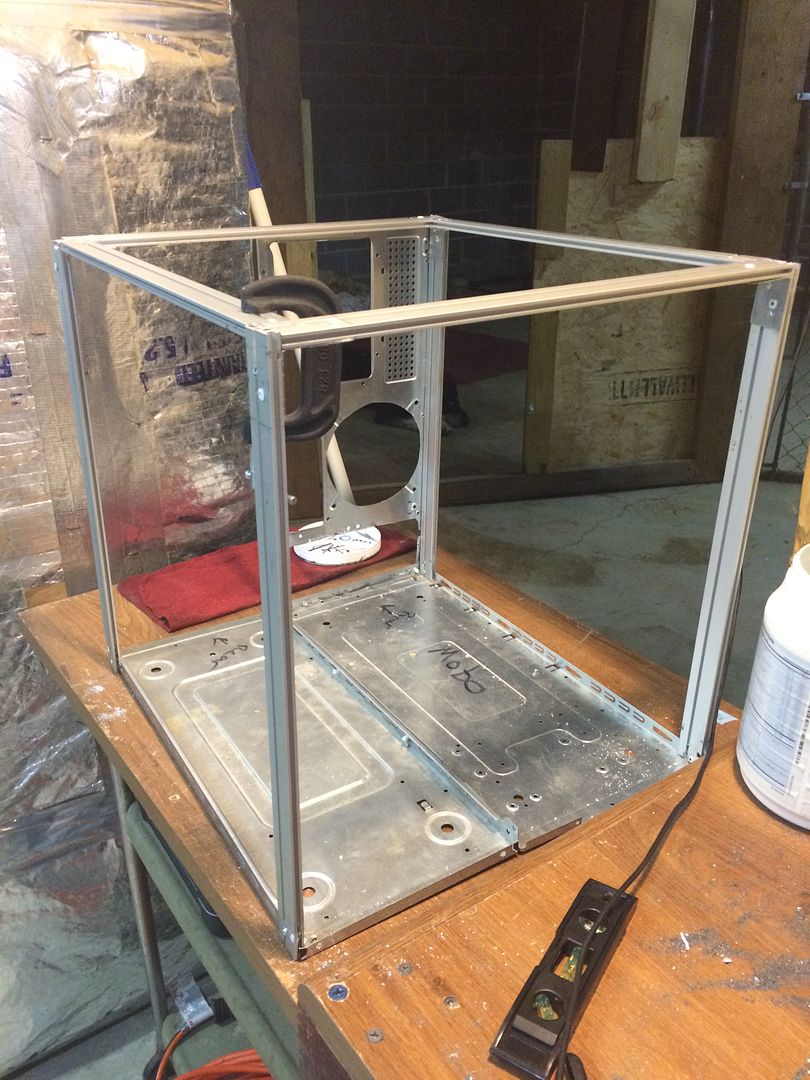
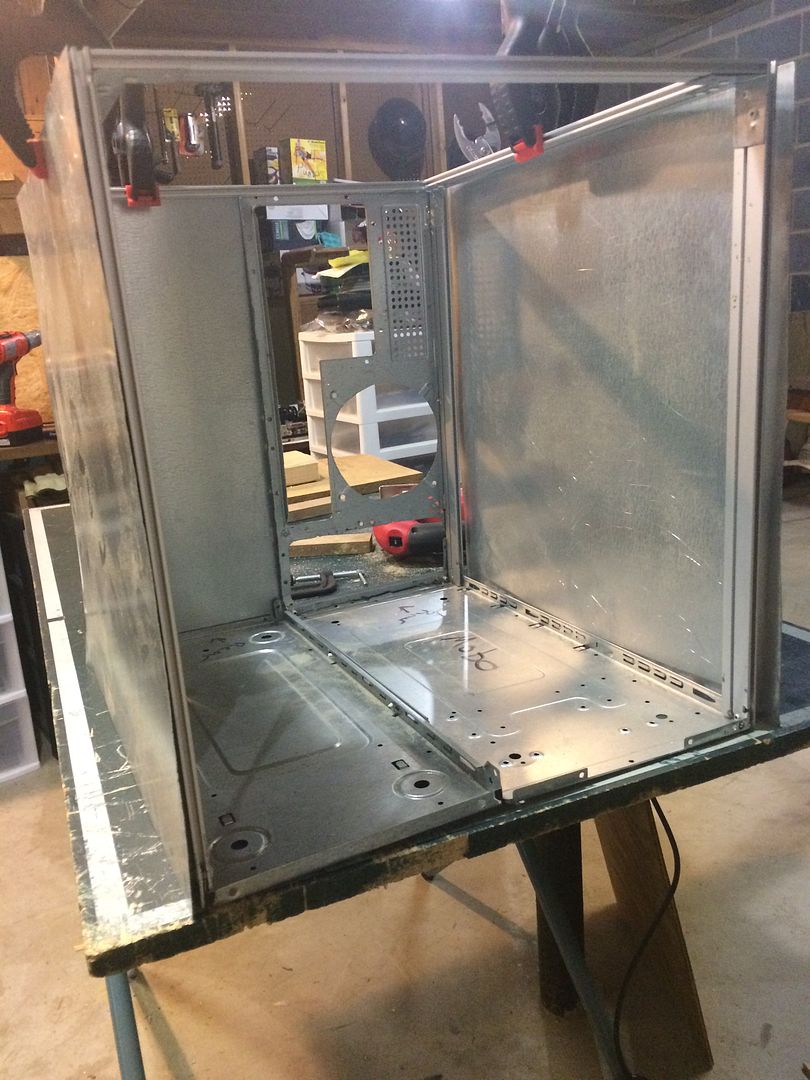
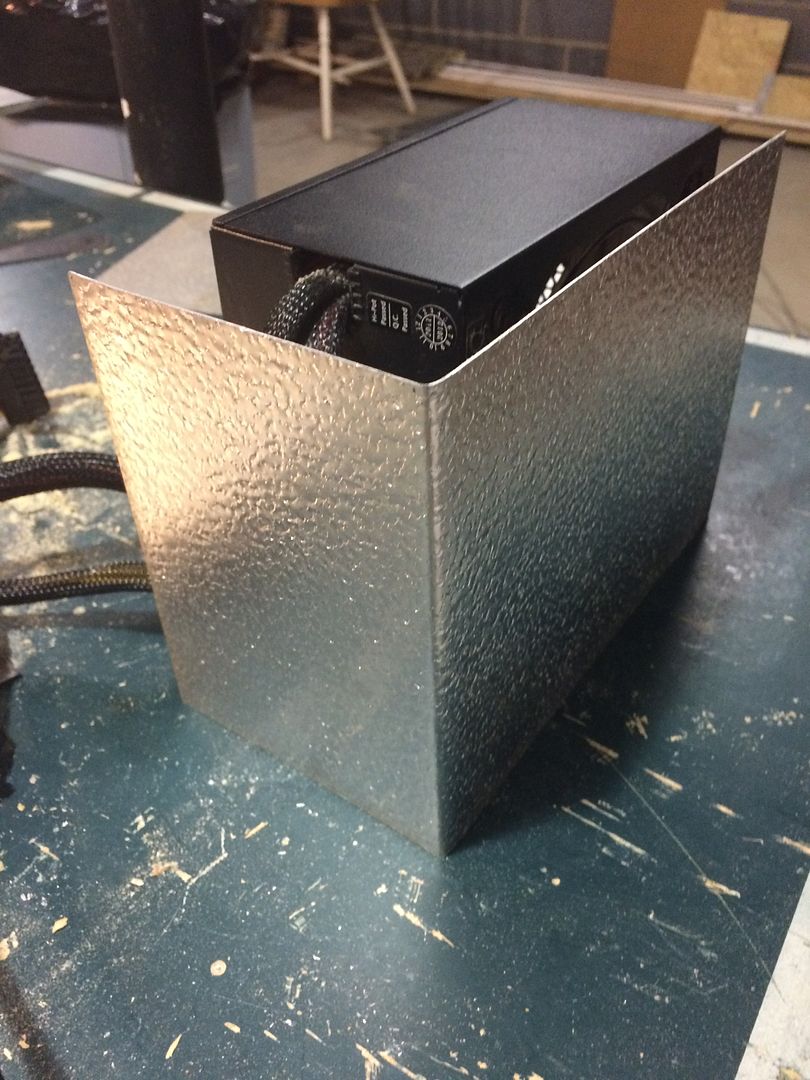
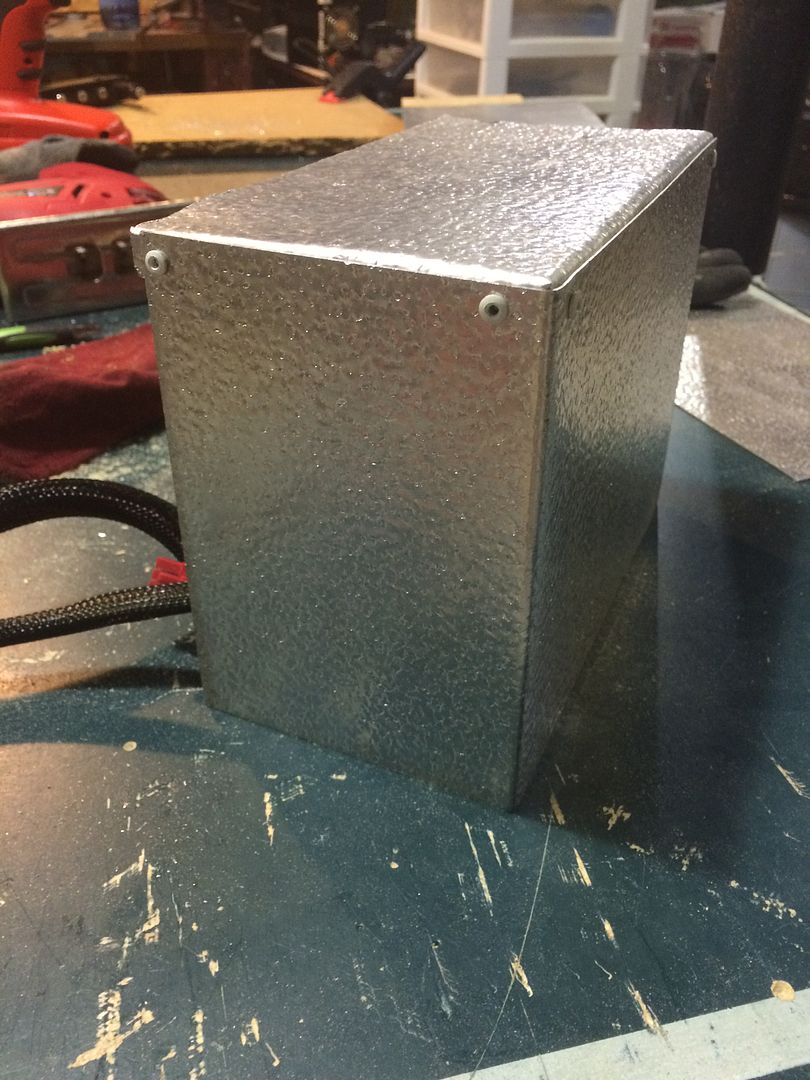
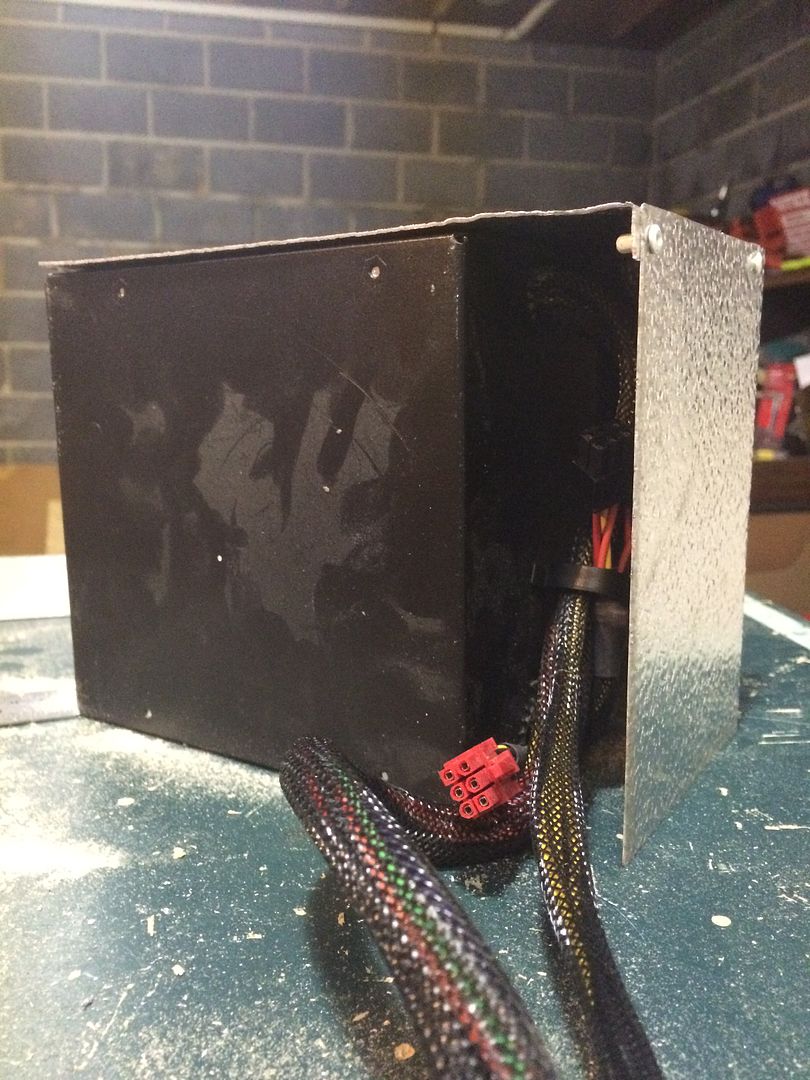
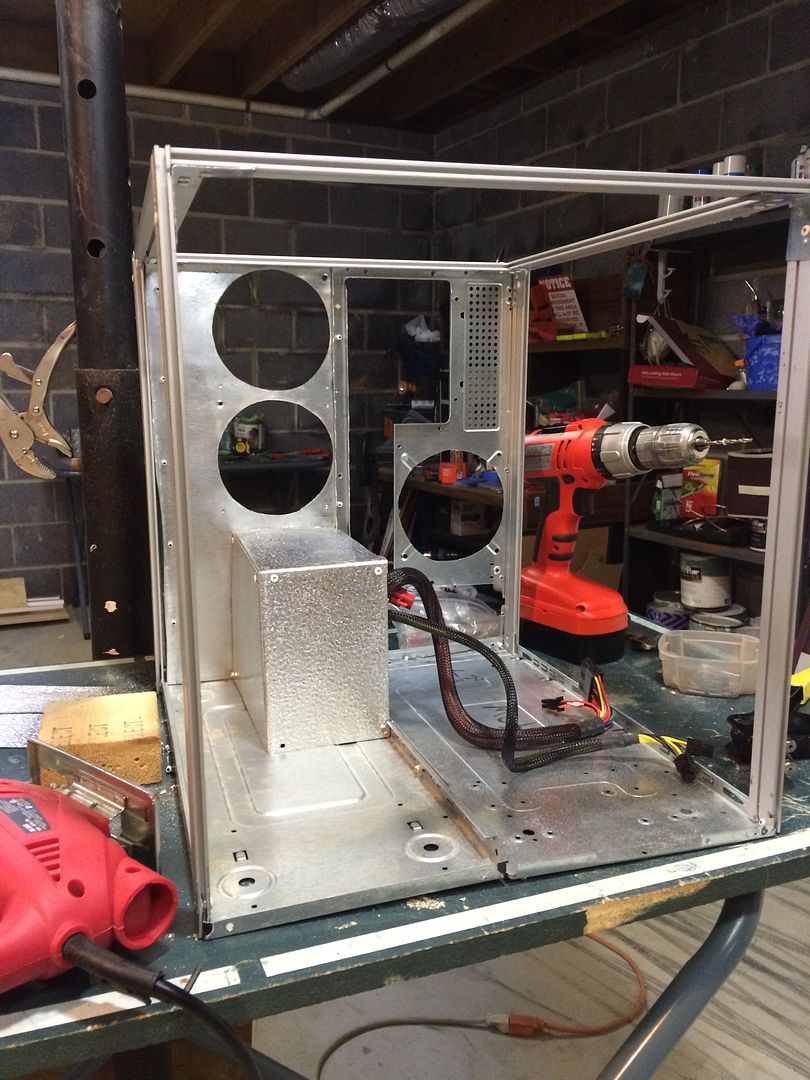
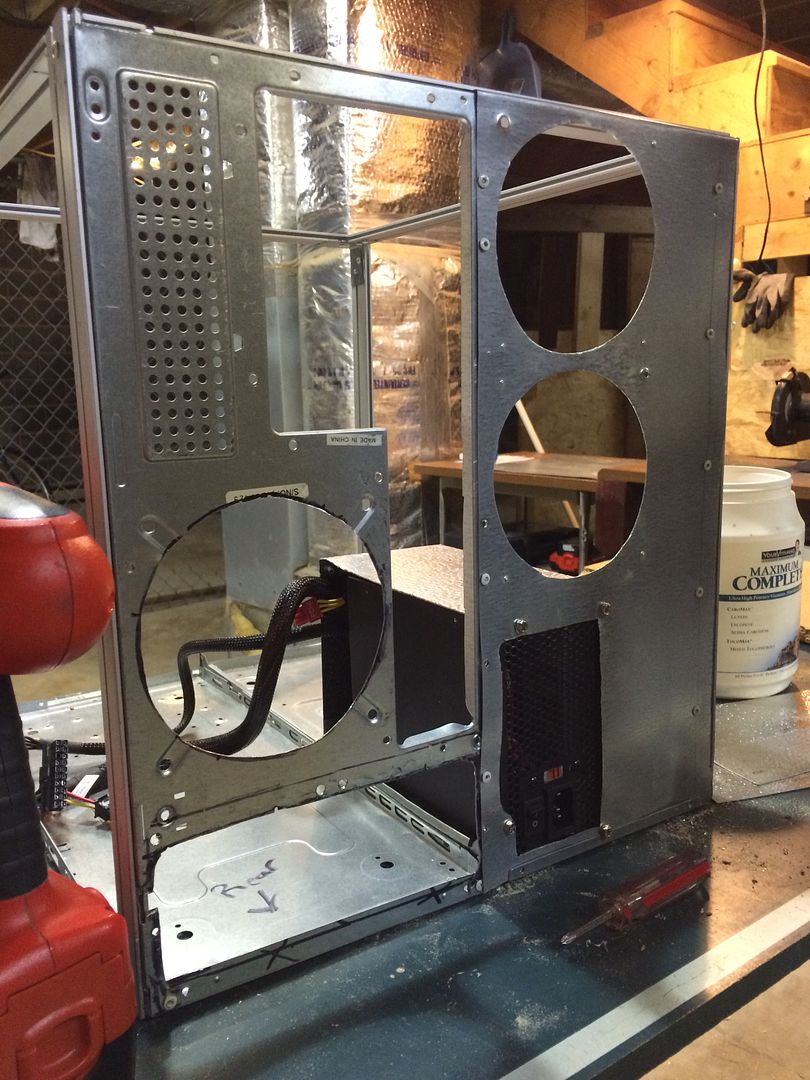
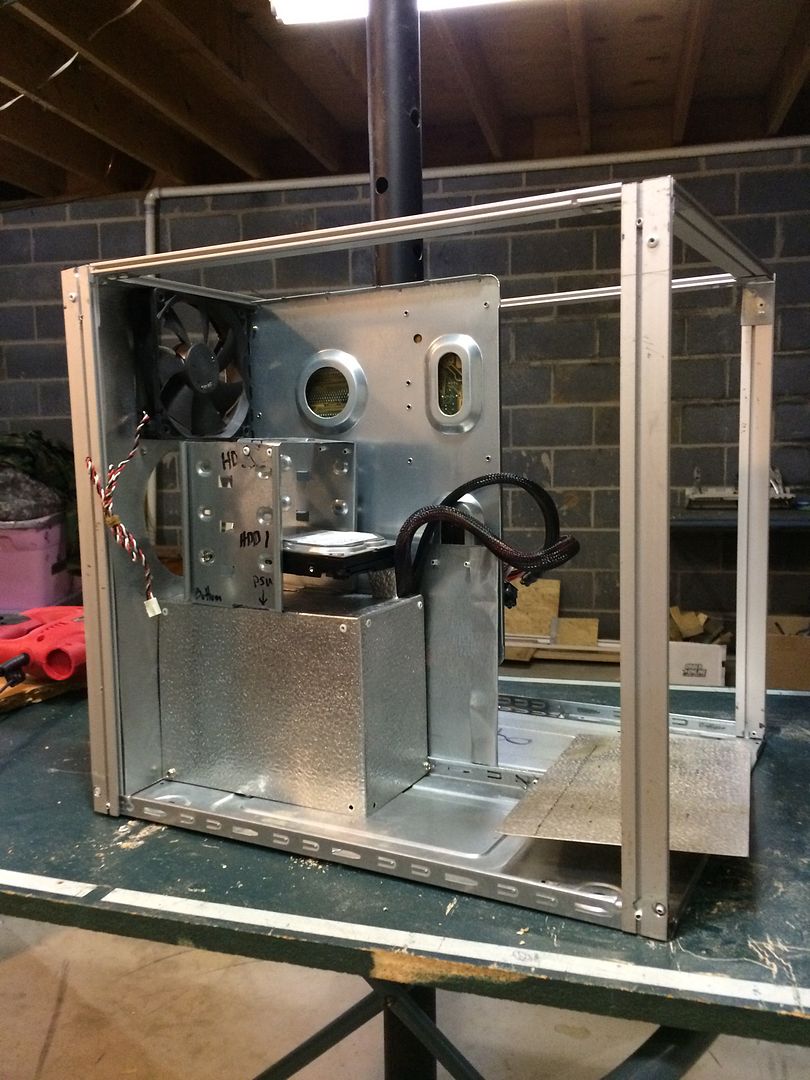
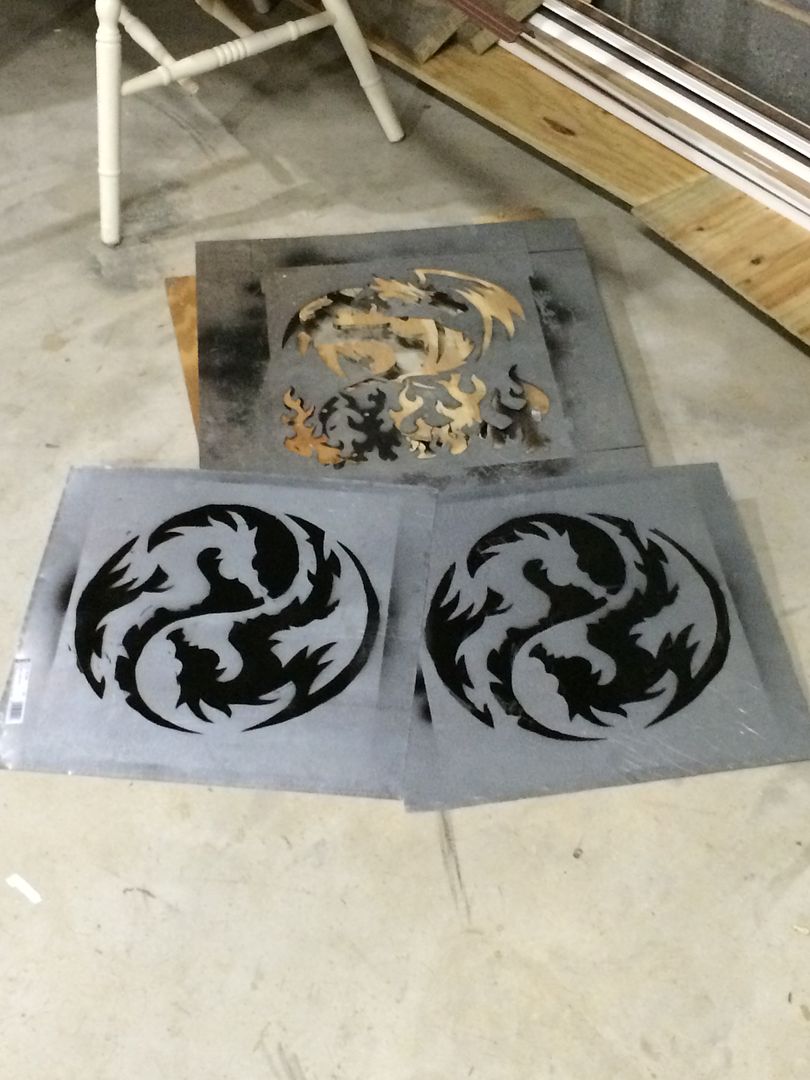
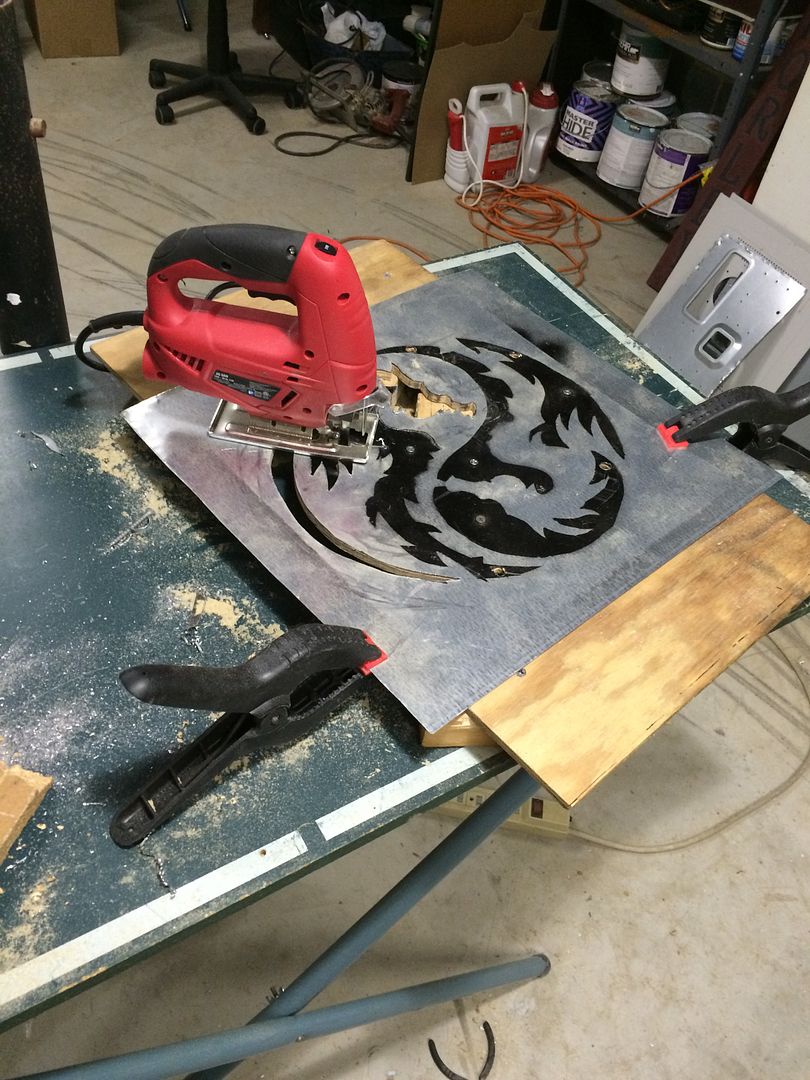
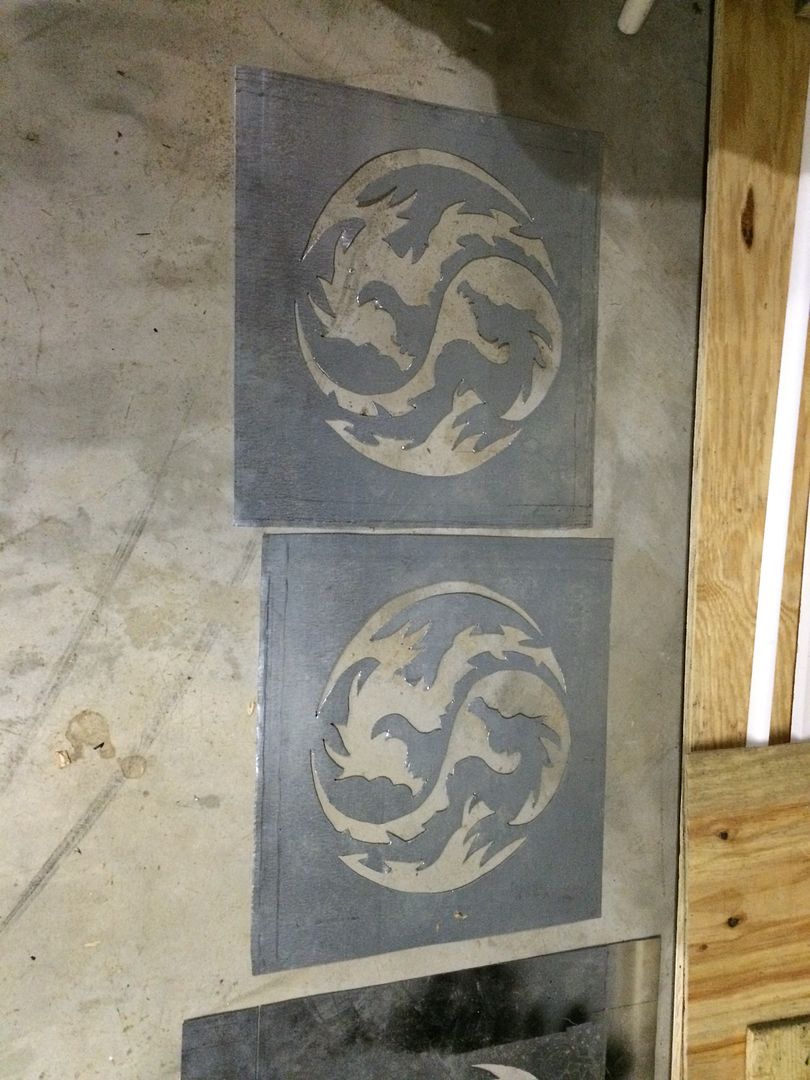
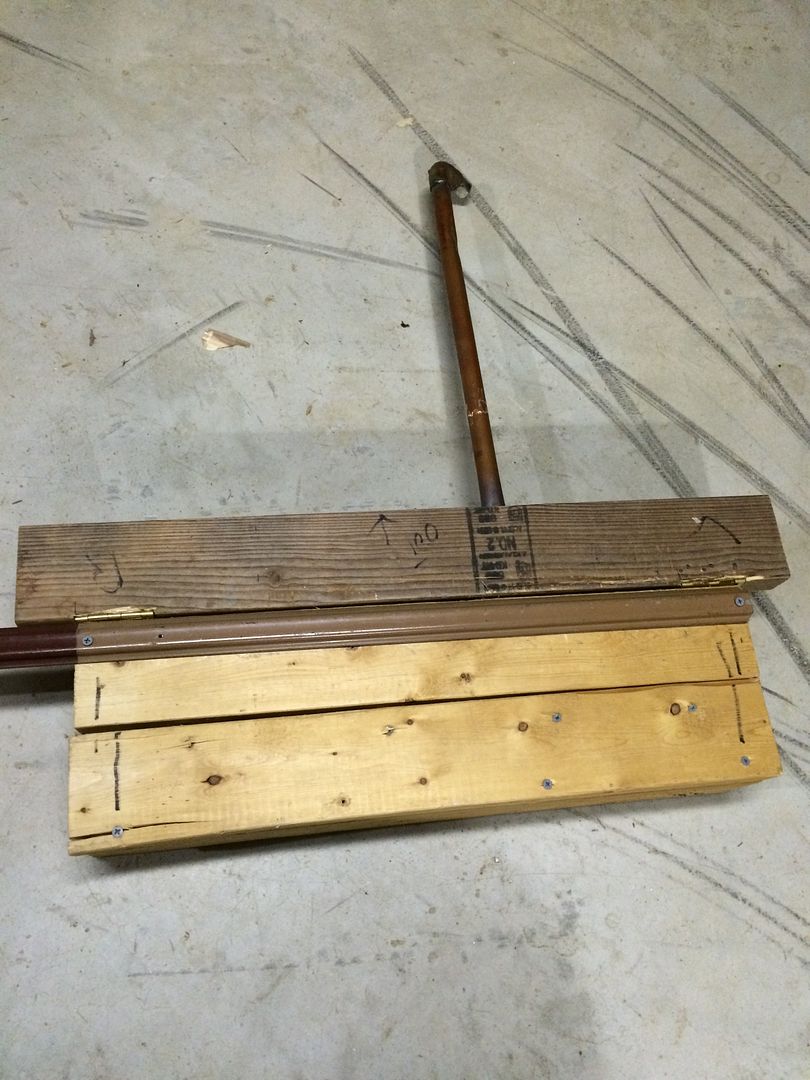
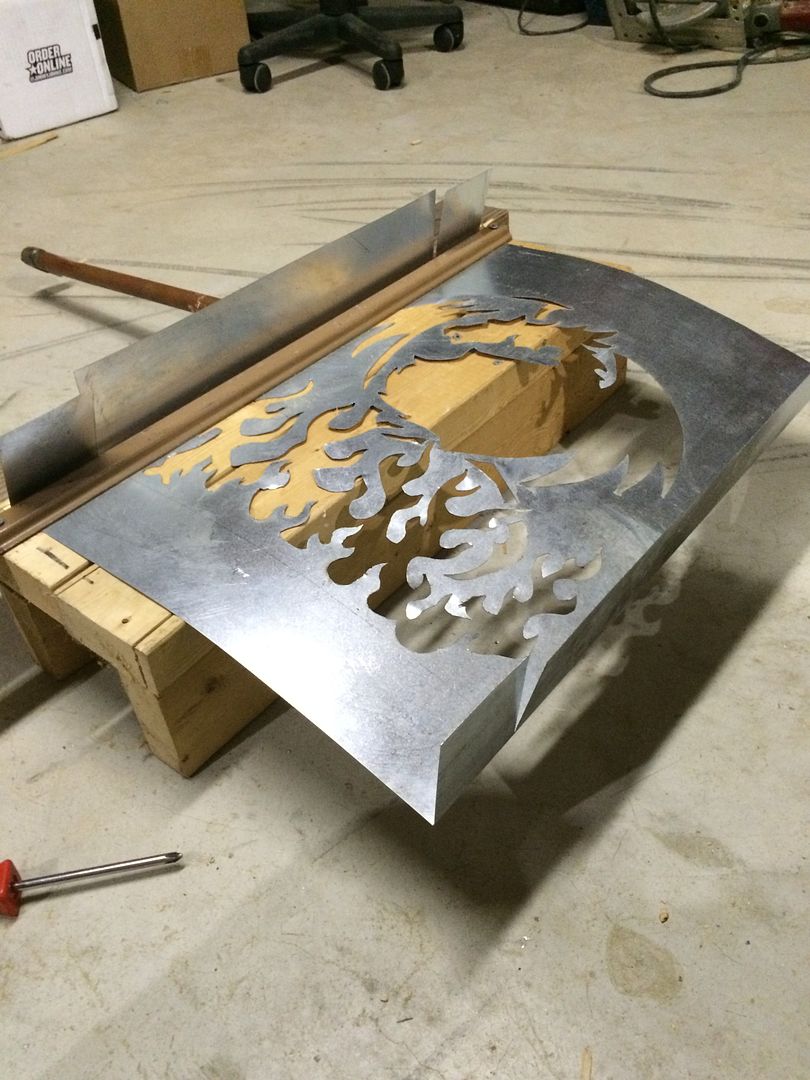
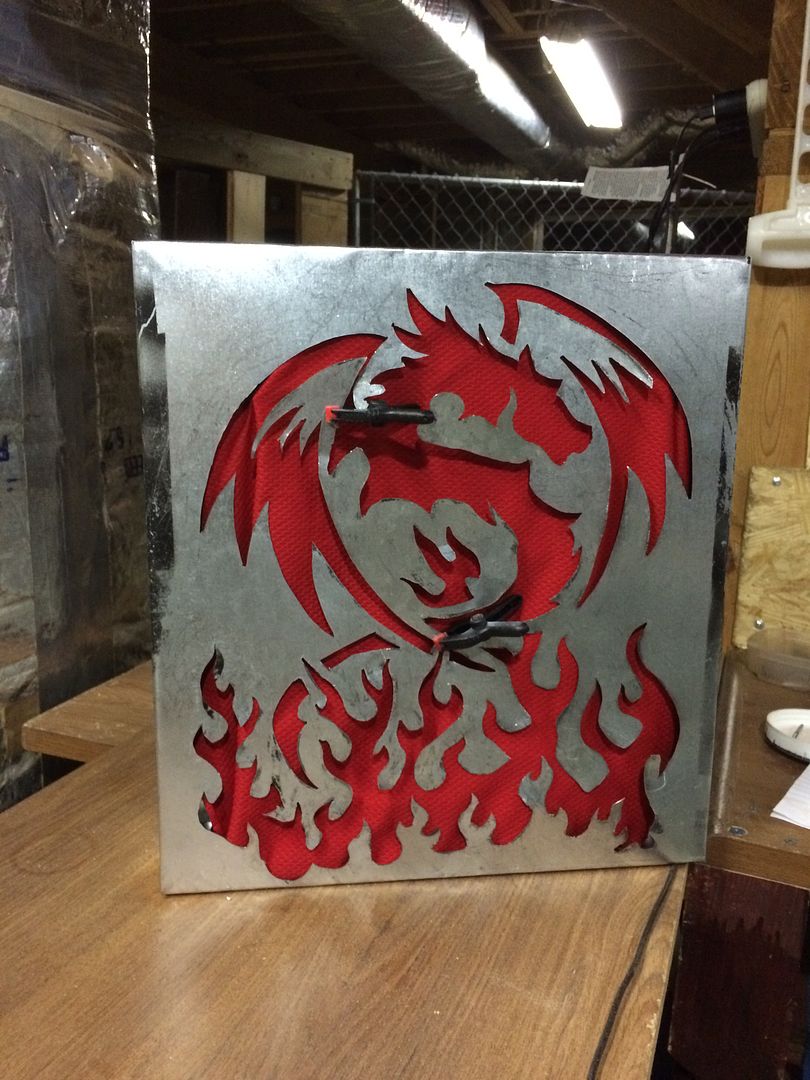
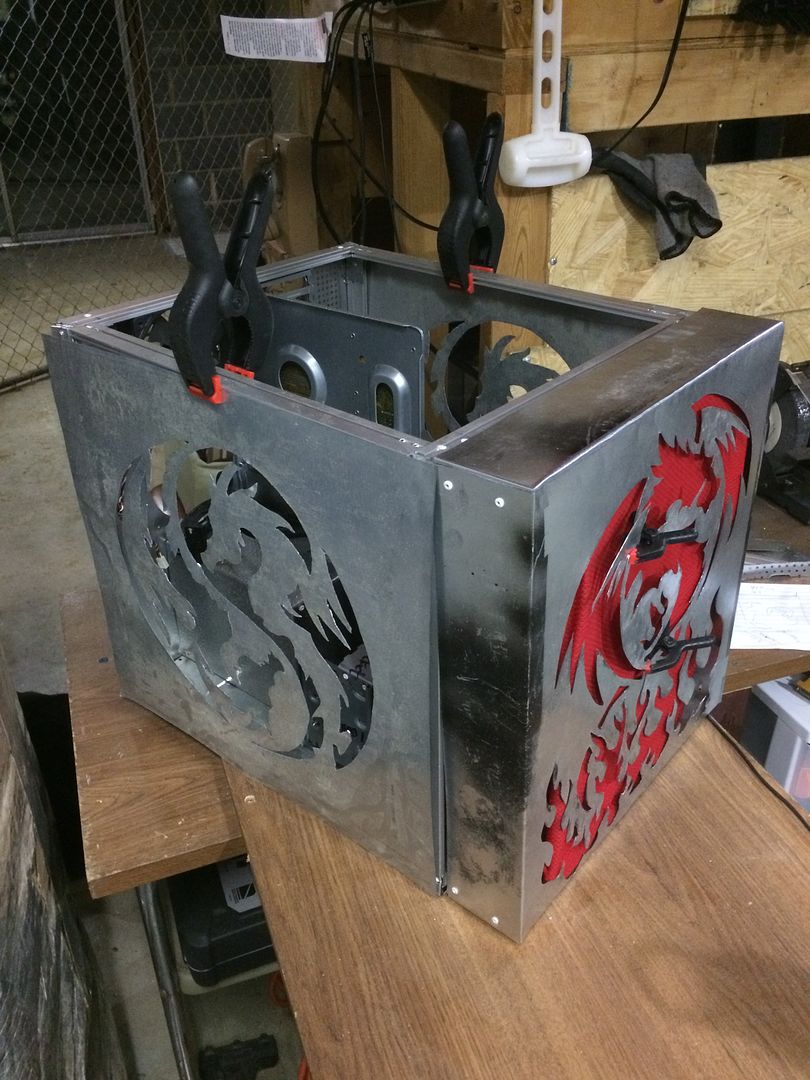
More Destruction and Planning
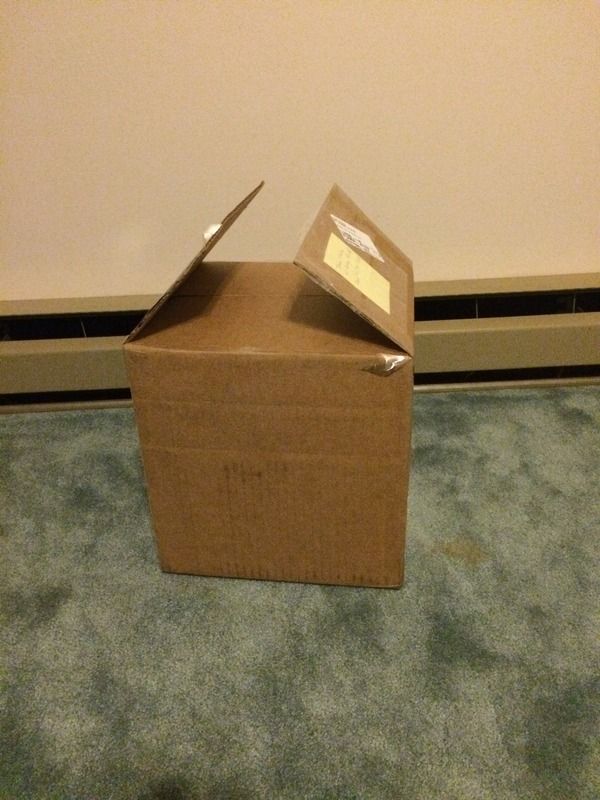
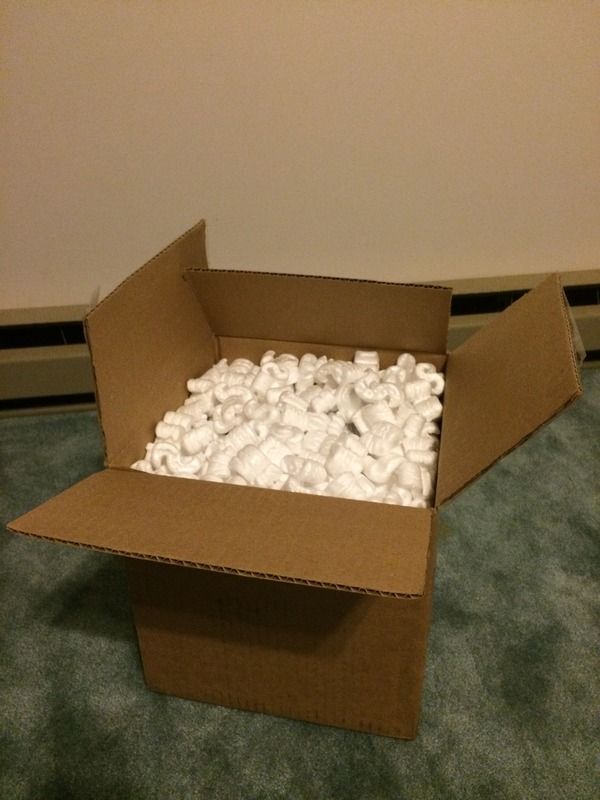
More Parts
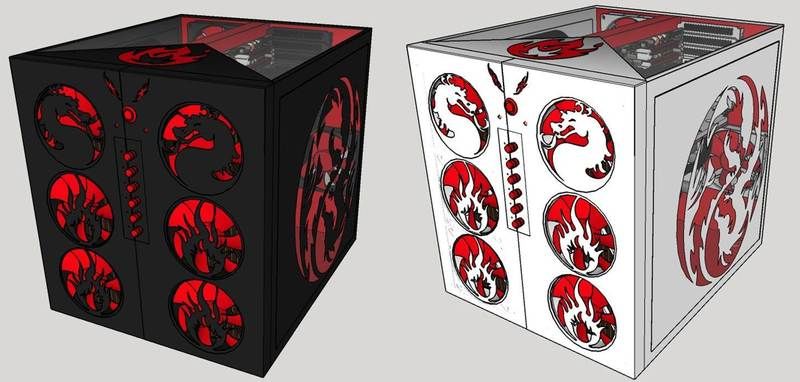
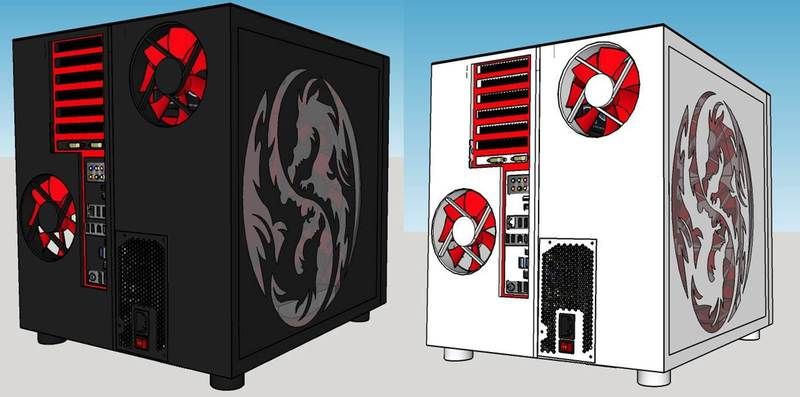
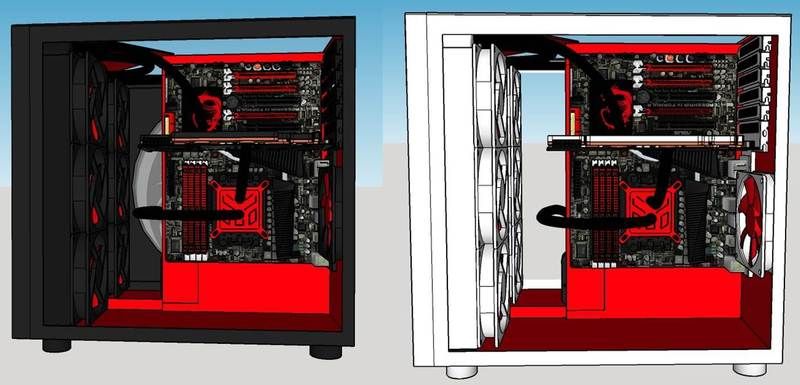
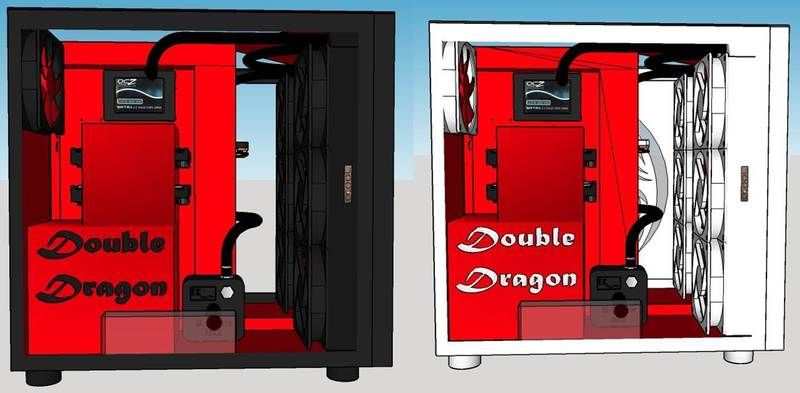
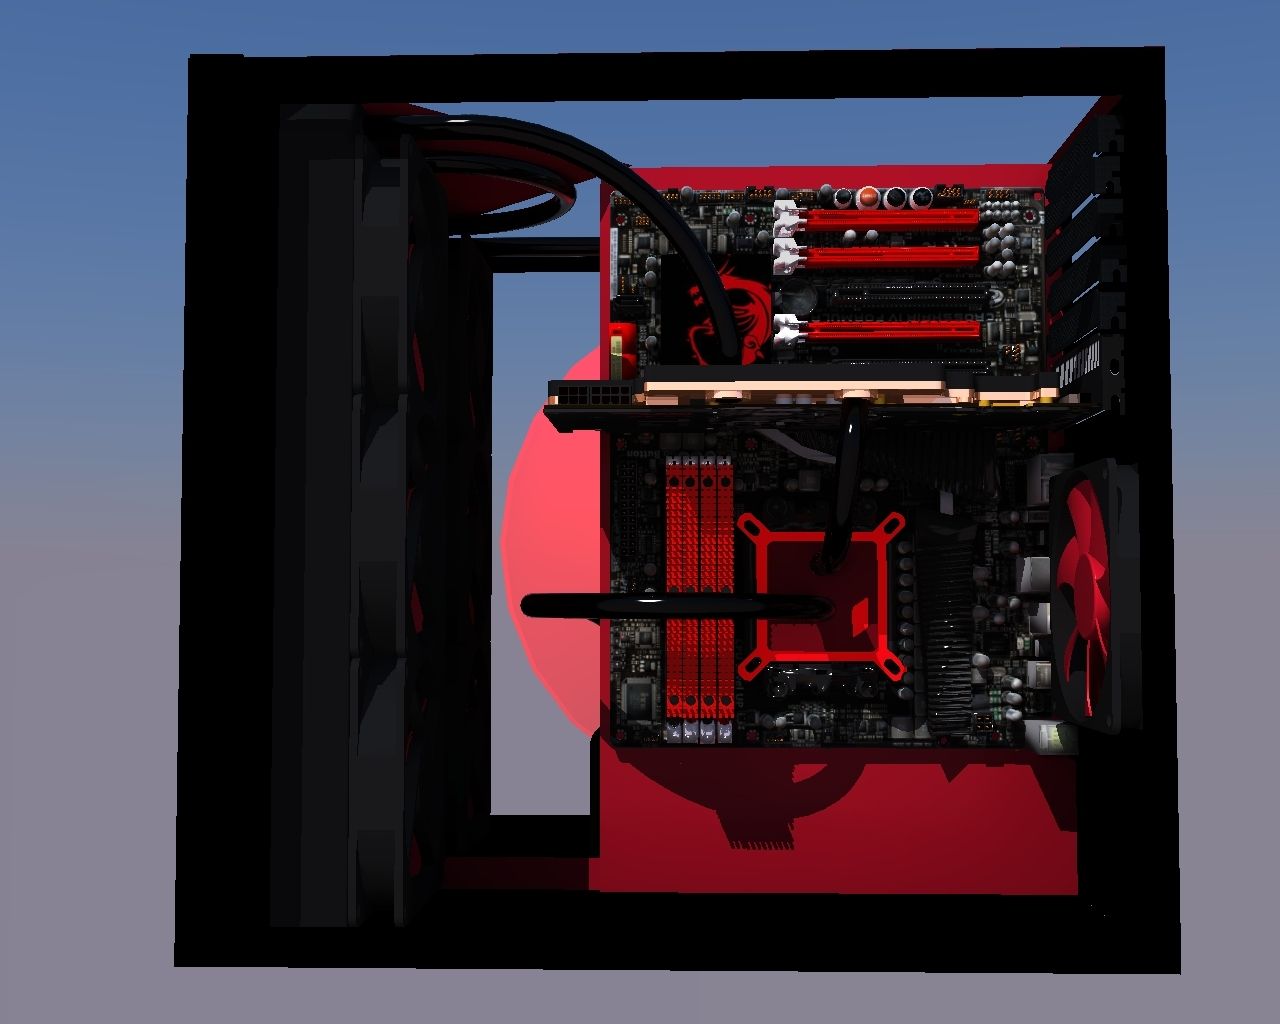
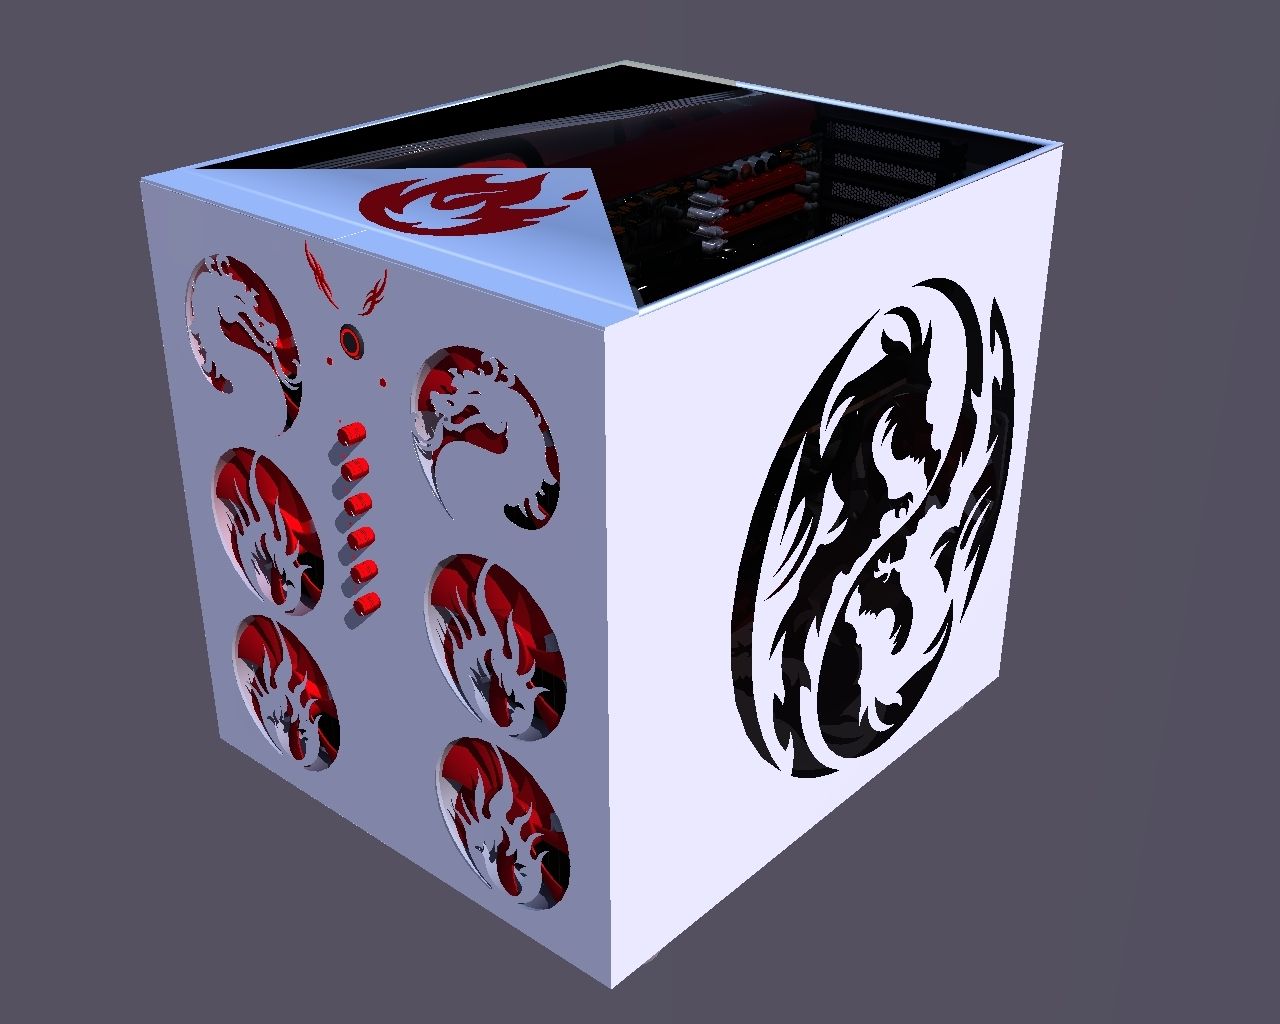
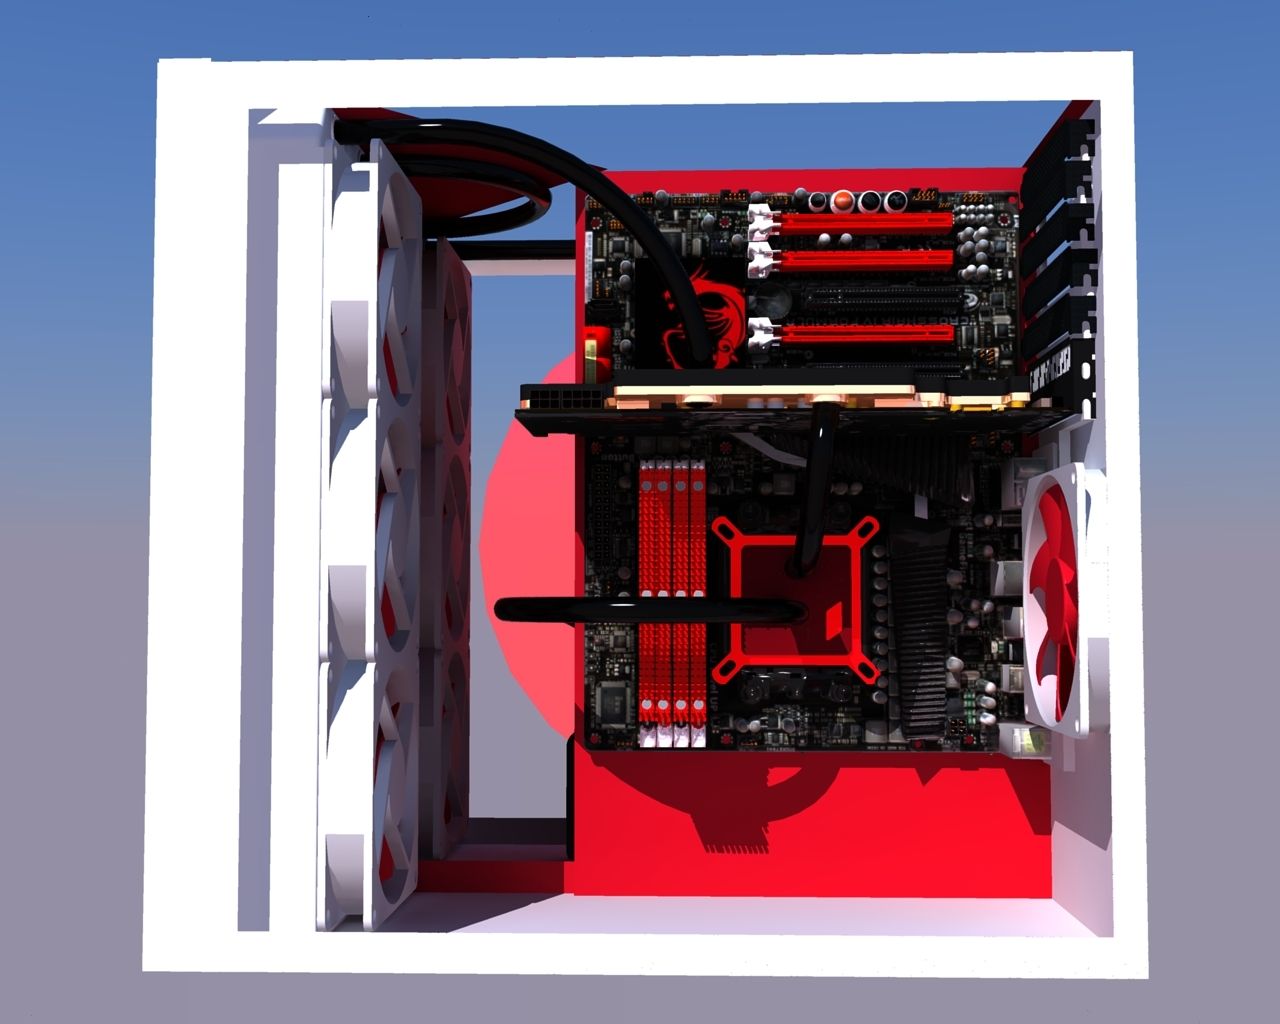
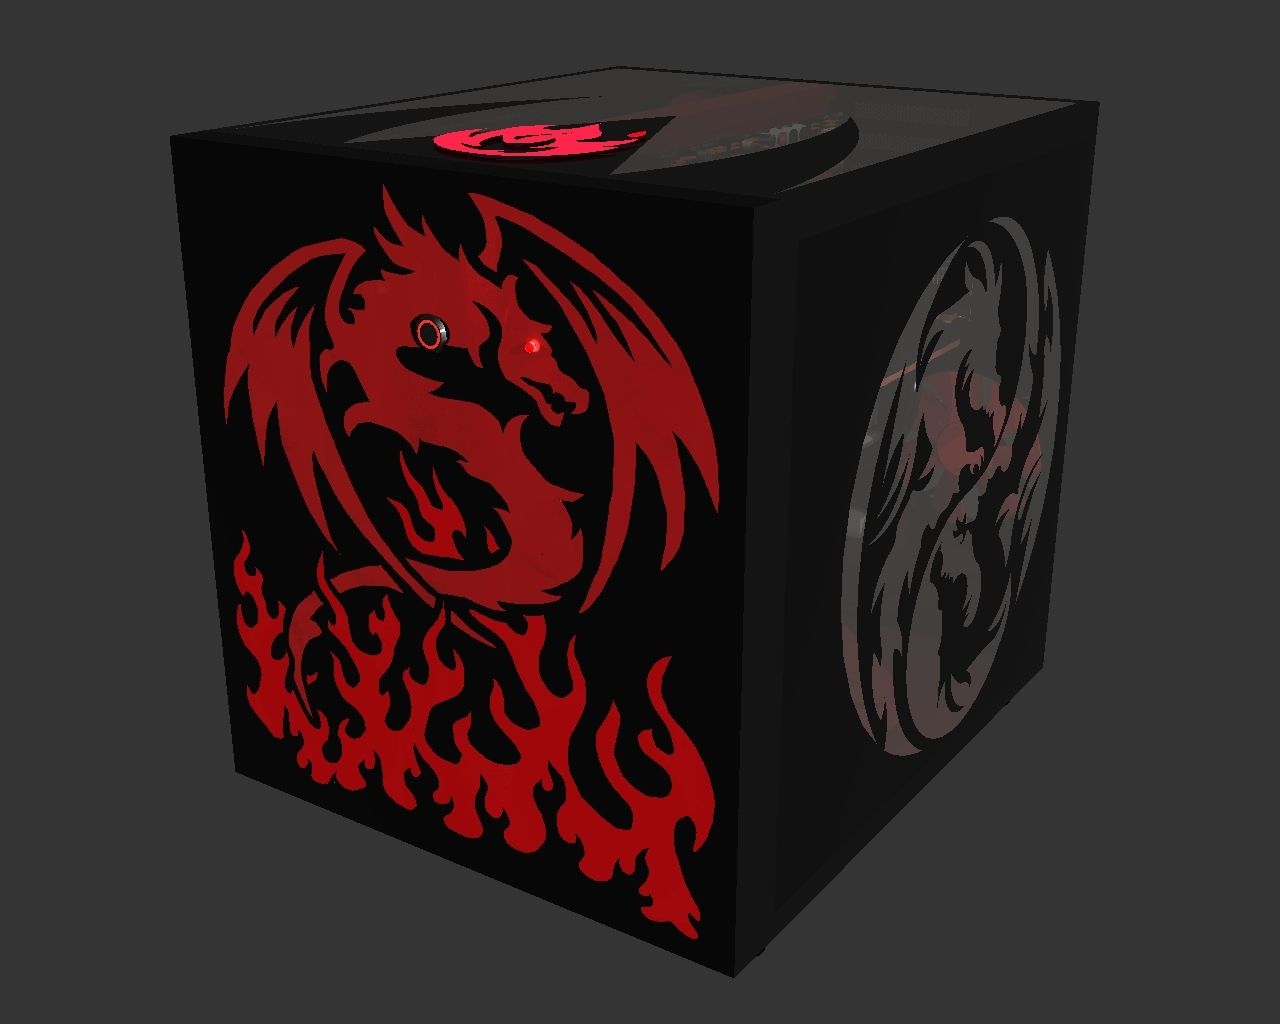
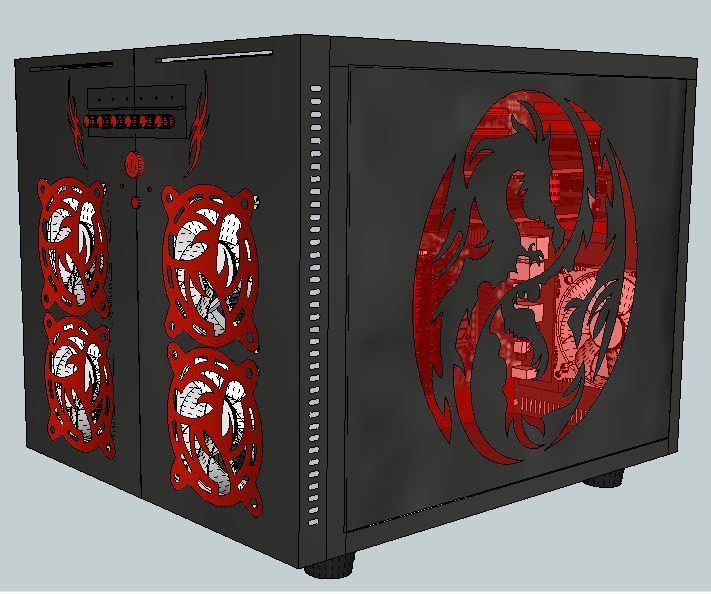
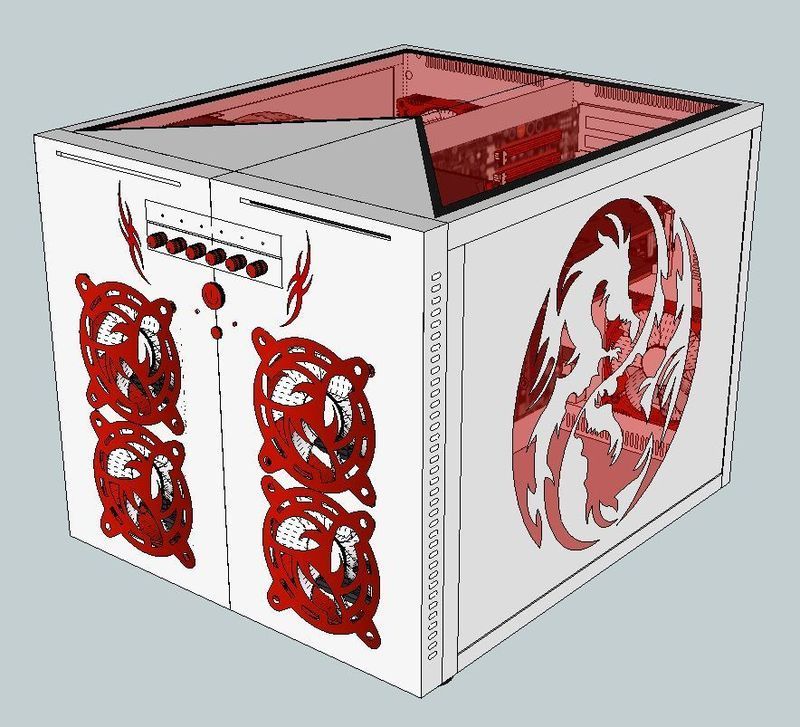
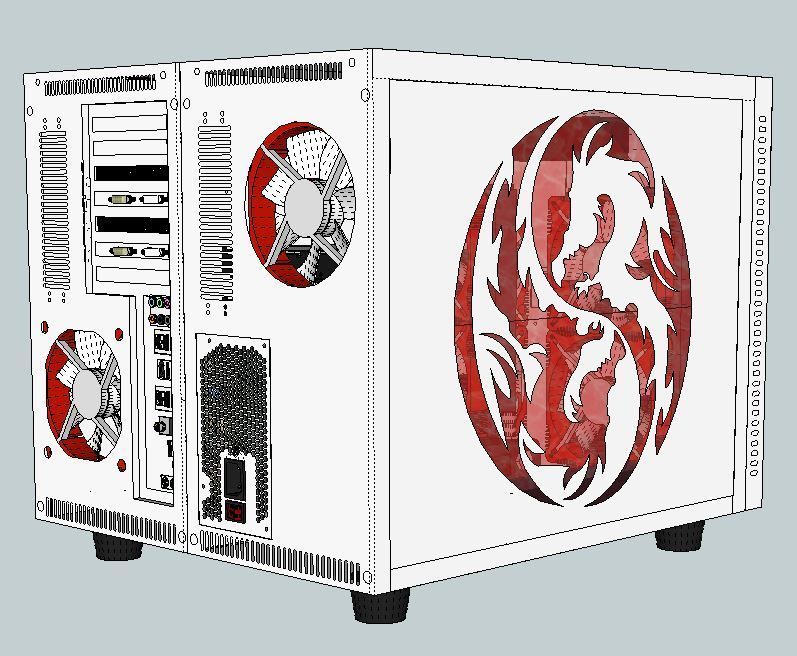
Sketchup Renders
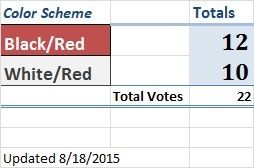
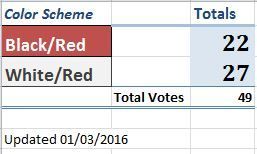
Black and Red?
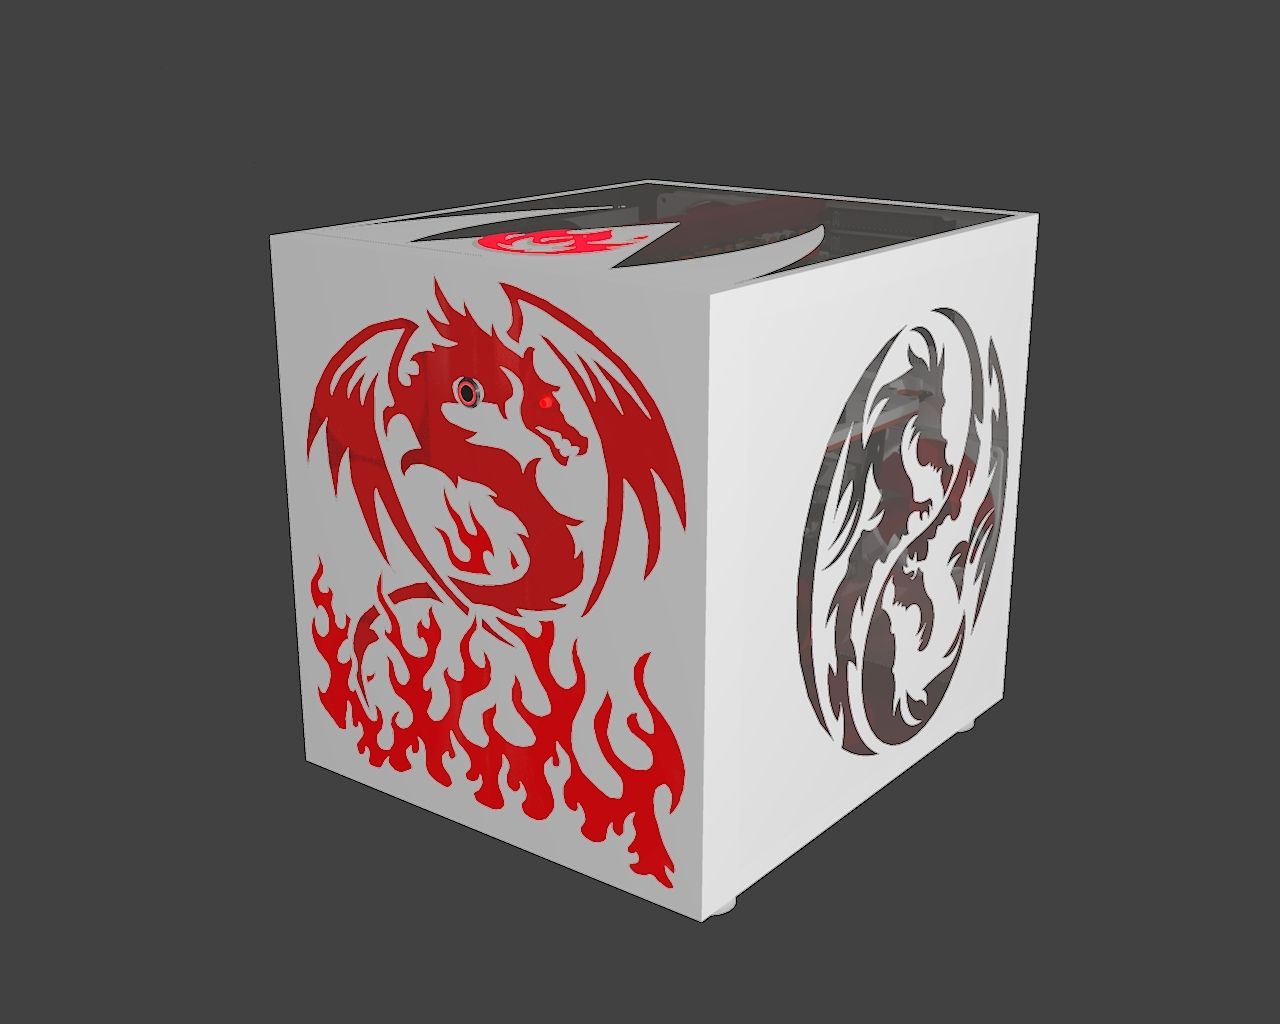
OR......
White and Red???
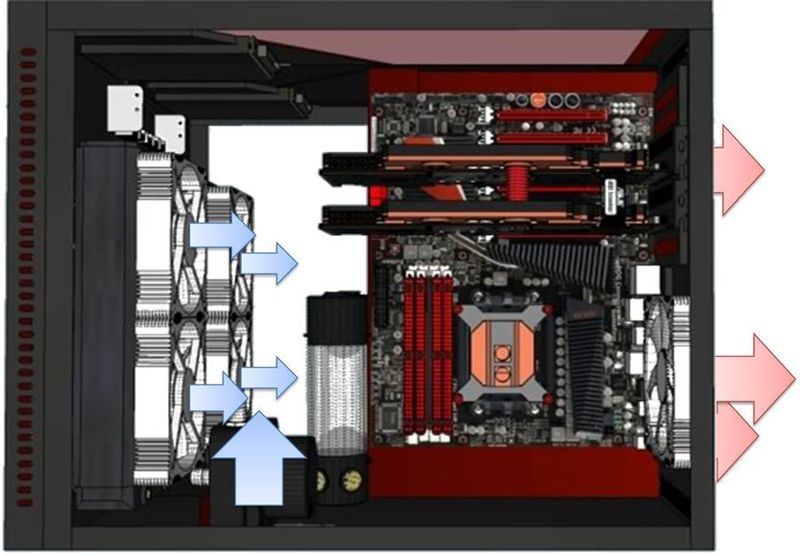
Design Considerations
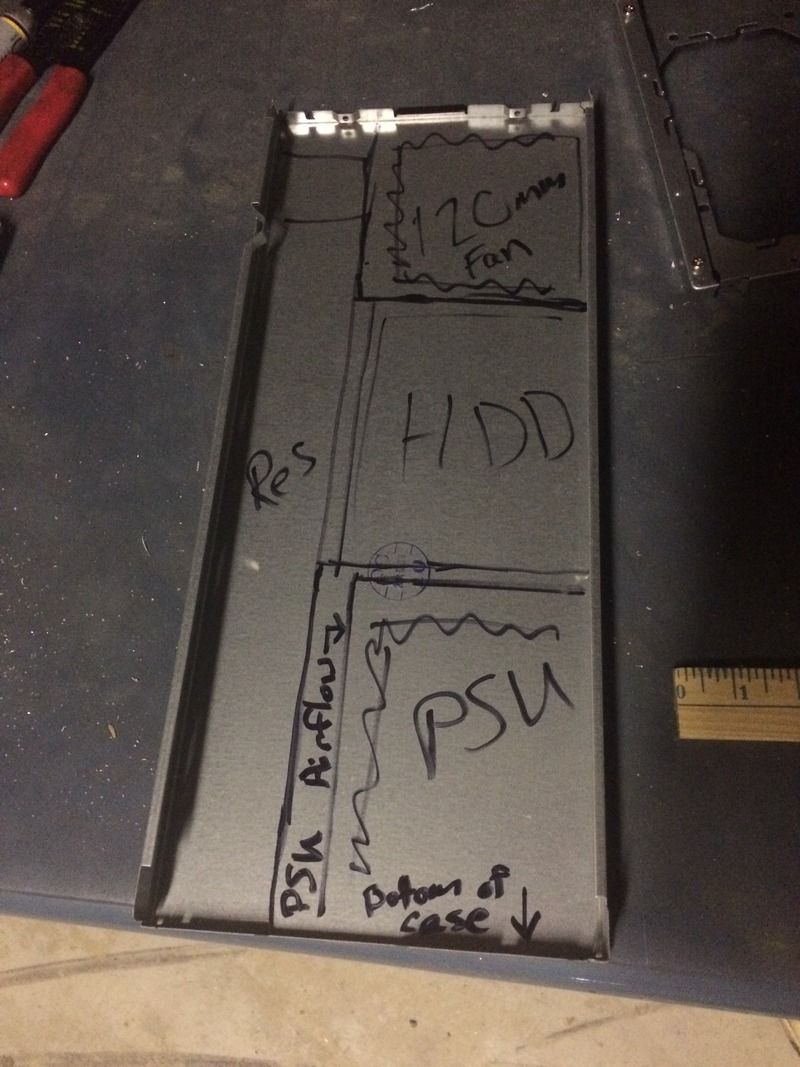
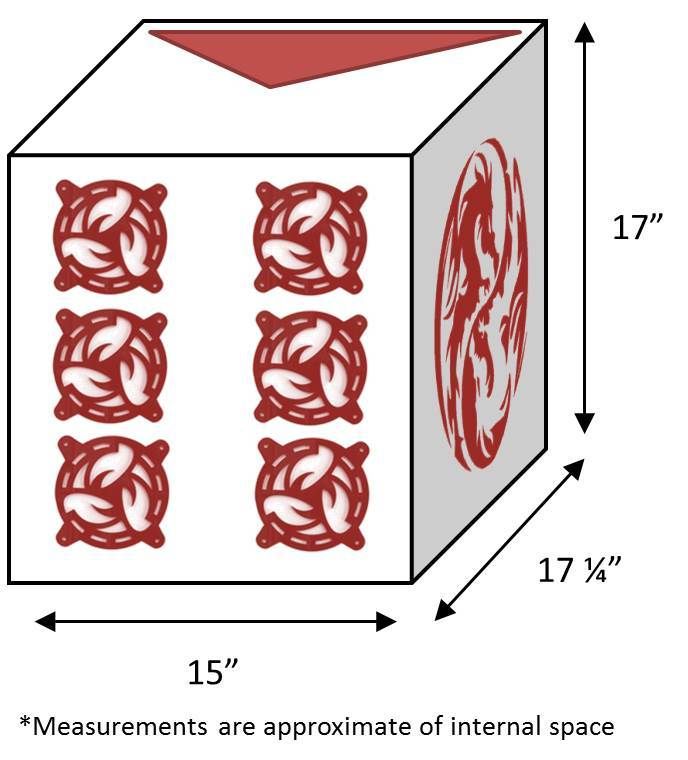
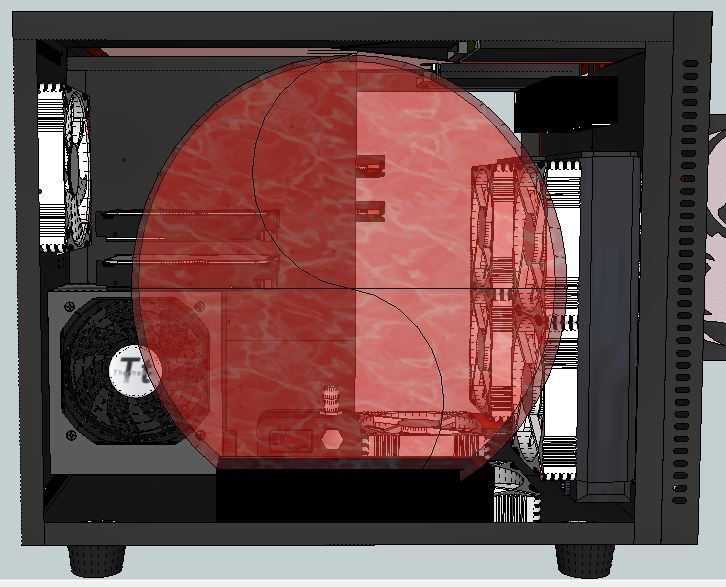
Air Flow Diagram
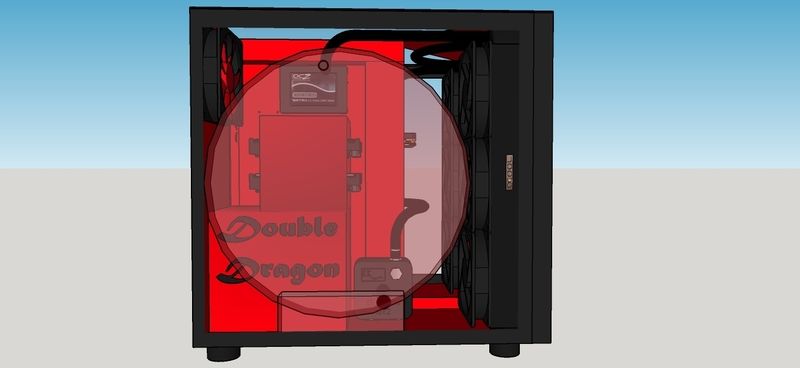
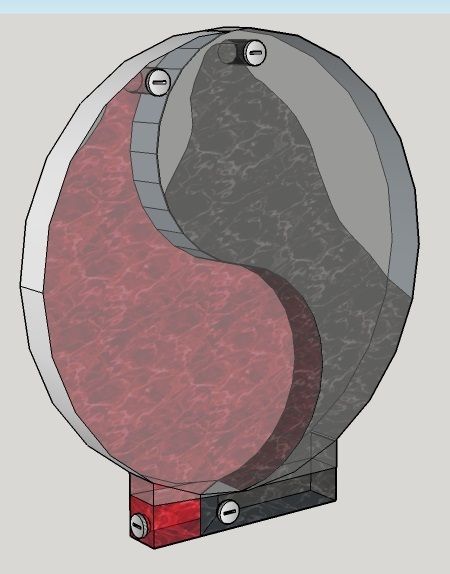
Custom Waterfall Reservoir(for side panel)

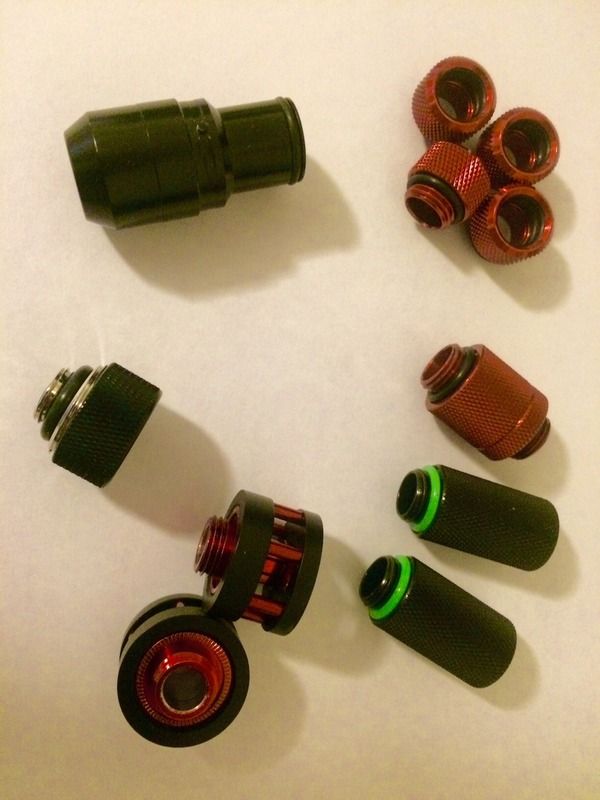
First Watercooling Parts Arrive
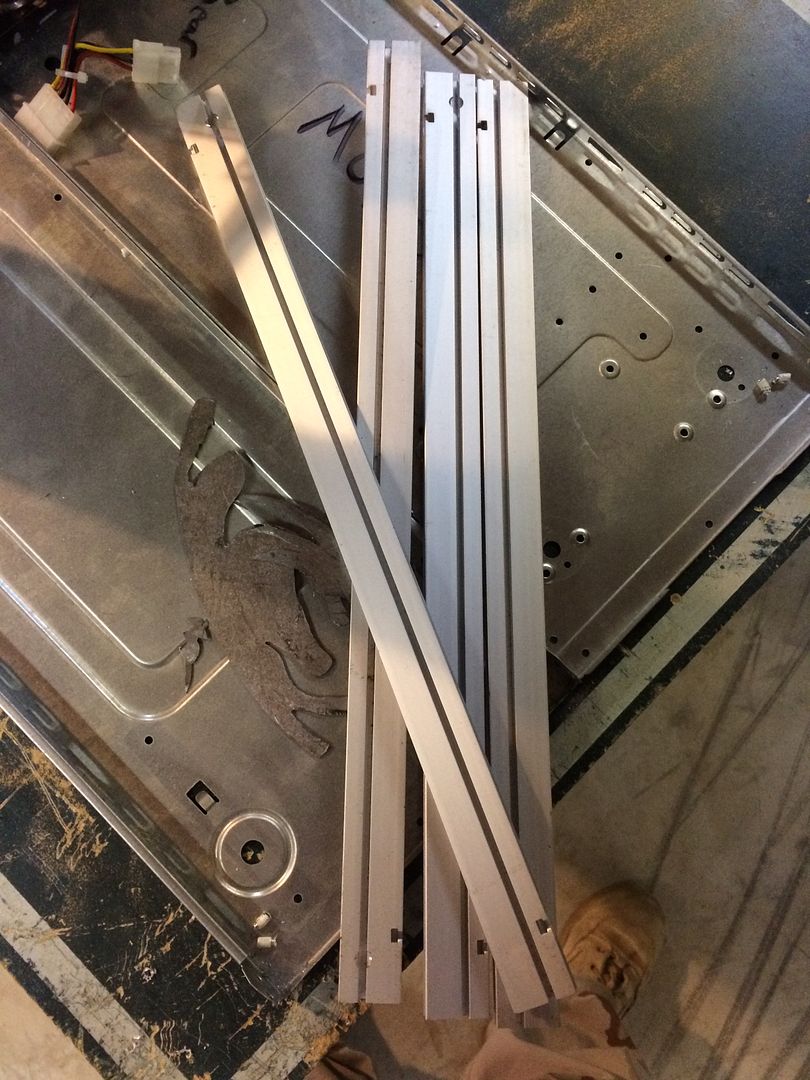
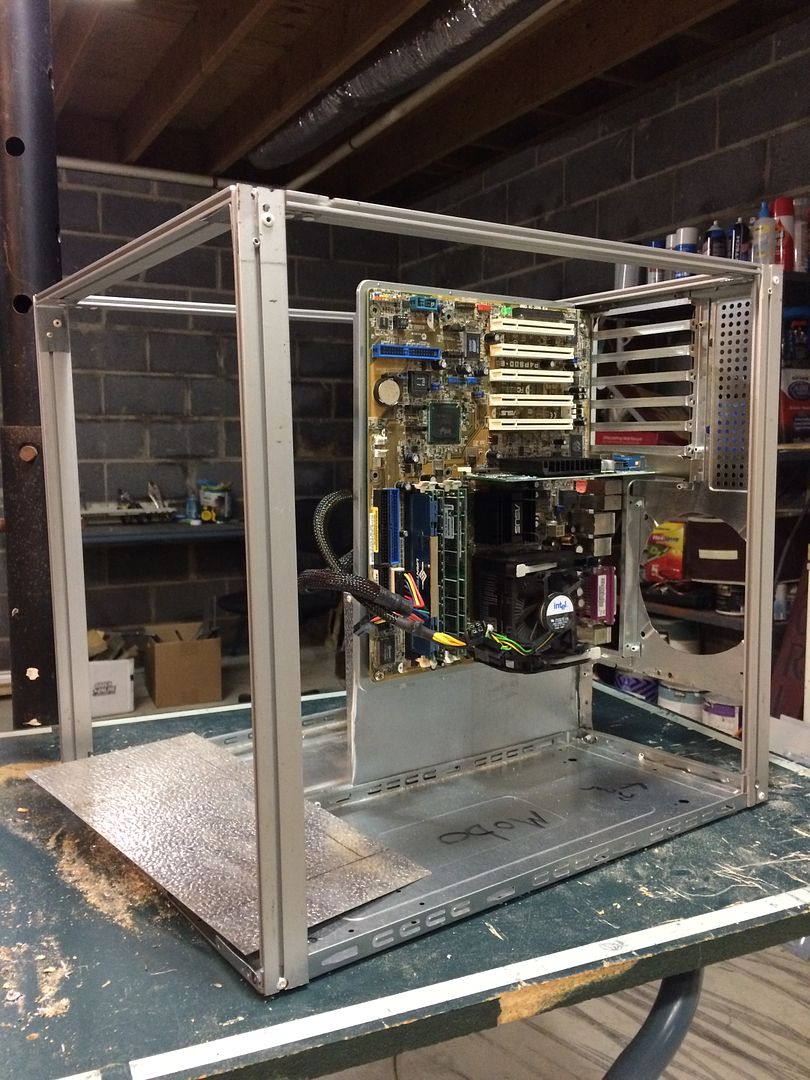
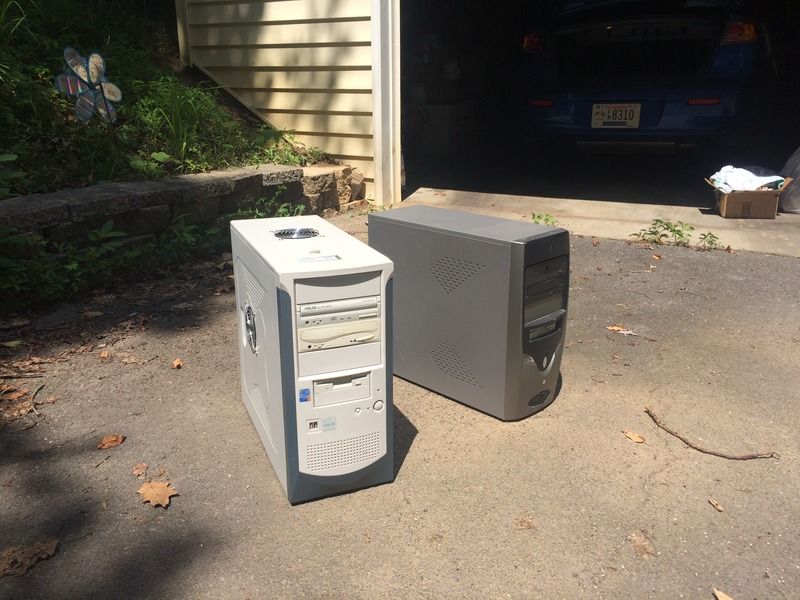
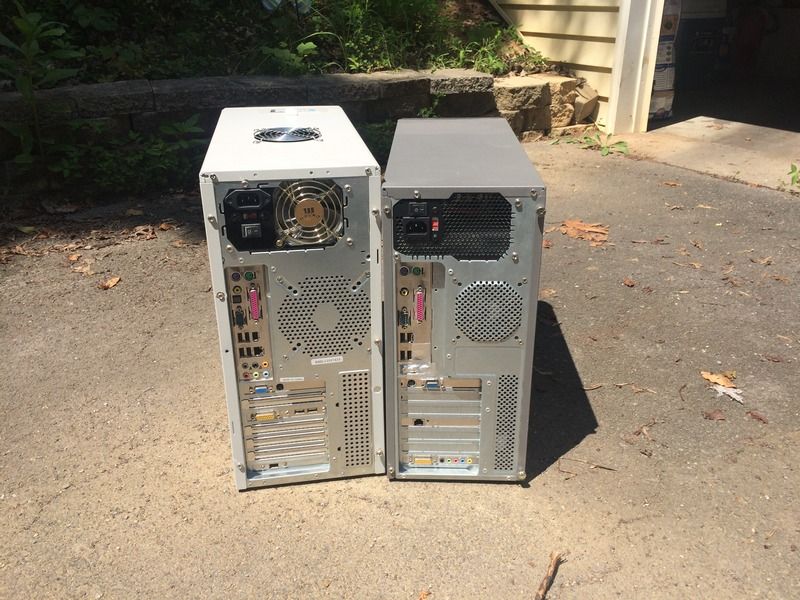
Demolition of Cases
Last edited: