jedihobbit
Gawd
- Joined
- Nov 3, 2005
- Messages
- 963
Im starting to feel like Dr. Frankenstein, as the friend I built the NF7-S system for has decided he would like a micoATX gaming system like mine
.that being either DreamCatcher v2.0 (less wcing) or Yodas SMN. So here be his system (Silver Bullet) specs:
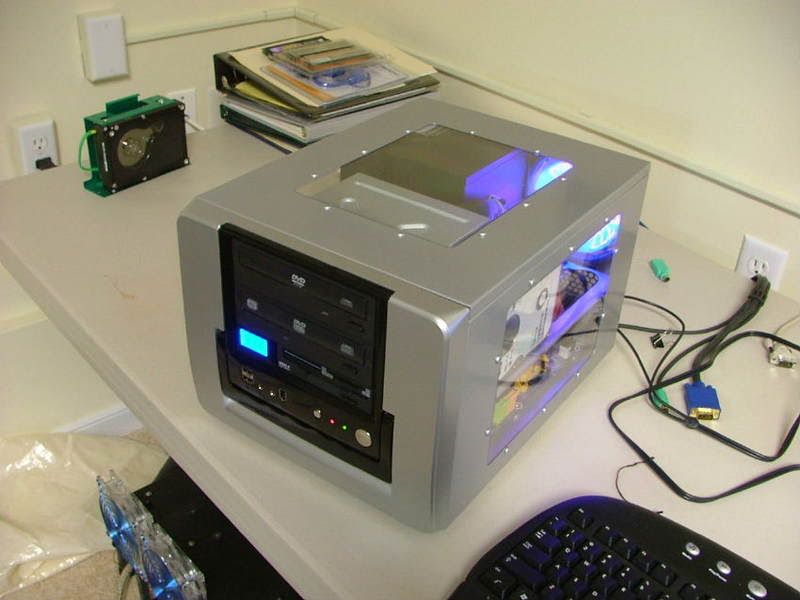
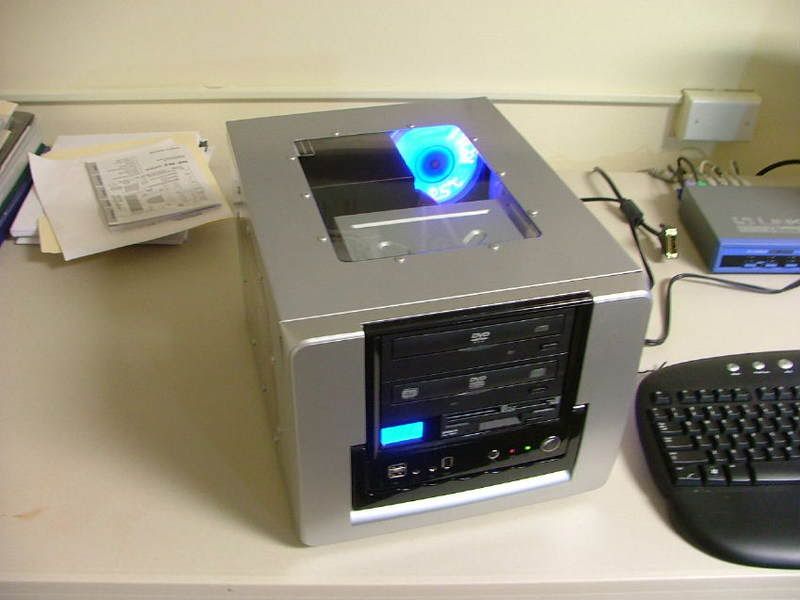
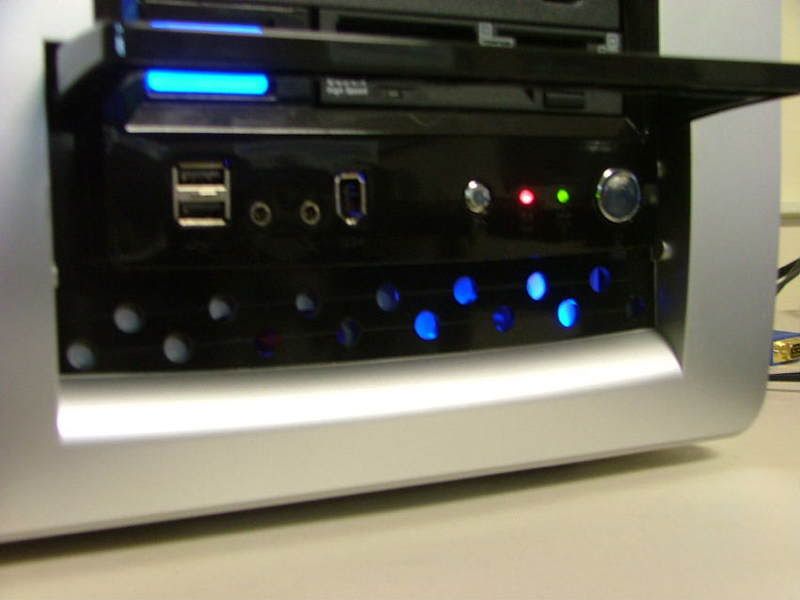
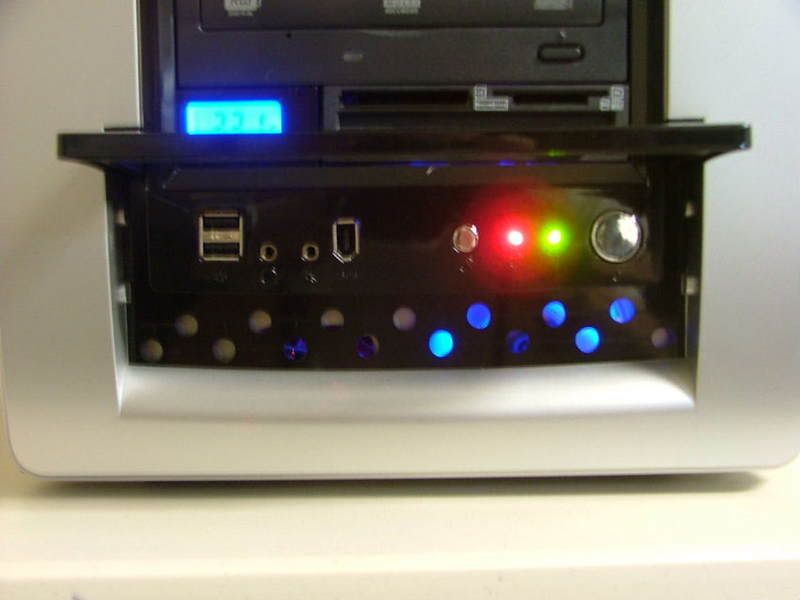
Case: Ultra MicroFly
PSU: Ultra 600W (from a MX6) [update later]
Mobo: Biostar Tf 7025-M2
CPU: AMD 4400+ Brisbane (CAA4C 0725WPDW) w/ zalman CNPS8700
GPU: MSI NX8800GT OC (Dual Slot version)
Memory: 2 x 1024 Corsair CM2X1024 6400C4
HDD: TBD
Optical Drive #1: Lite-On SATA DVD-R #DH-16D2S-04
Optical Drive #2: Lite-On SATA DVD-RW+ #LH-20A1S
FDD: Mitsumi Card Reader/ Writer + Floppy
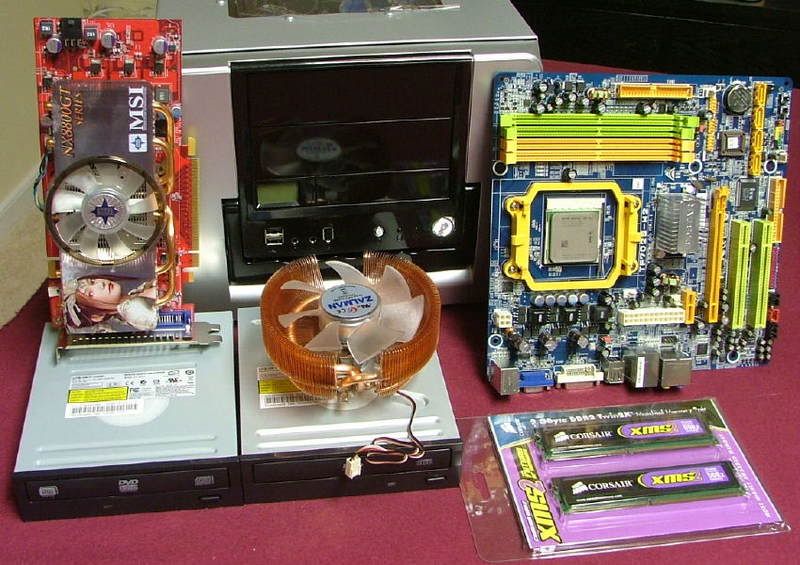
Here you see most of the parts ..
Actual case modding will be very little. Will take out the front and rear fan grills, drill some cooling holes in the face plate like YsSMN, and then see what goes from there. One interesting thing were going to try is to use an 80mm Tt SmartFan 2 in the front spot and control its speed via the system fan header that is on the mobo. It if works like my nView the speed of the fan will be controlled by the mobos system temp sensor ..should be interesting!
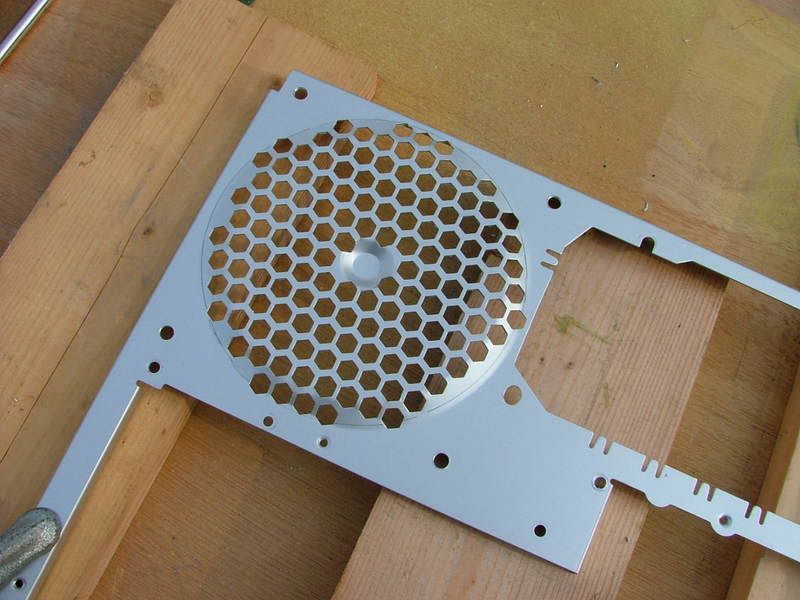
The only chassis mod is the usual remove factory tamped fan grills thing. Dont know how many MicroFly builders are reading this, but counting the MX6 this will be my third with this chassis. I have always had issues with the PSU flexing the case and now think I know why. By removing the stamped 120mm fan grill a lot of the rigidity in the back side of the case has disappeared. In the I wonder if this would help department Im not going to mount the PSU until after the 120mm fan and finger grill are installed. In the first two builds the PSU has been in place without the fan and grill giving some support and that may have been what sprung the case.
These before and after pics from DreamCatcher shows how much metal disappears.

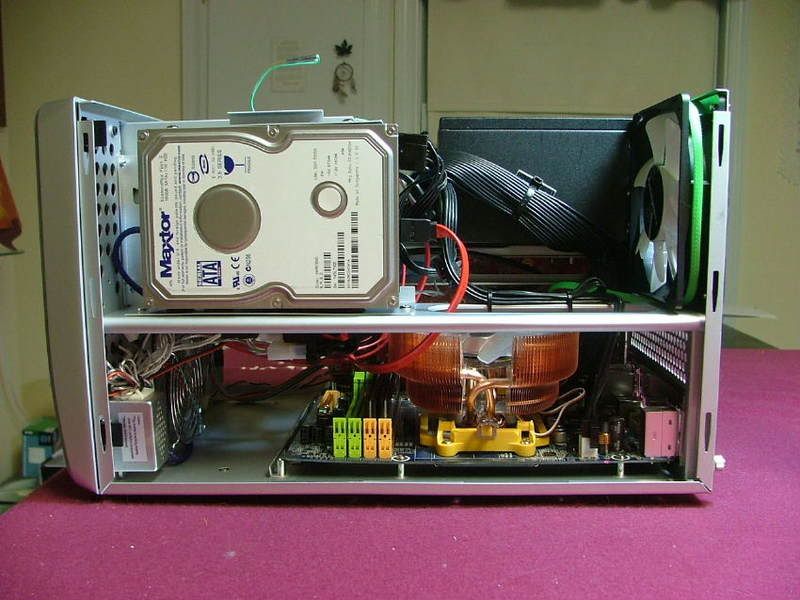
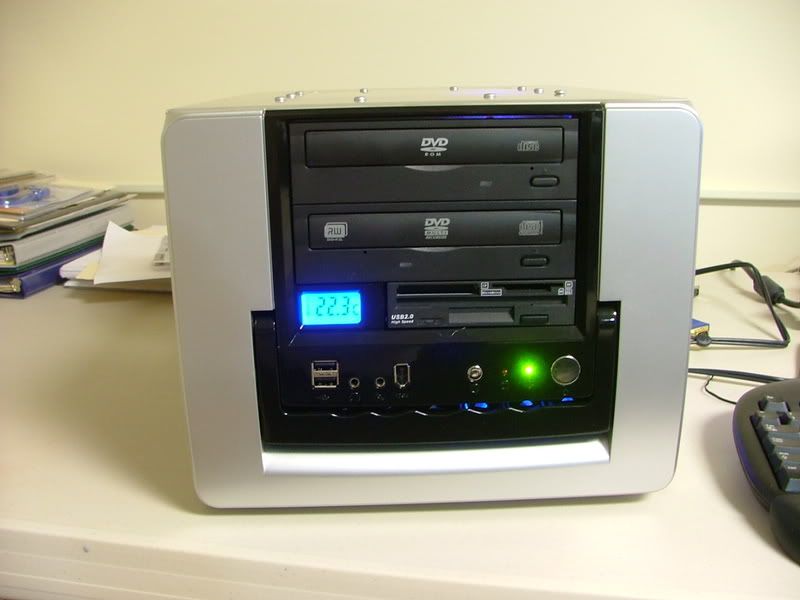
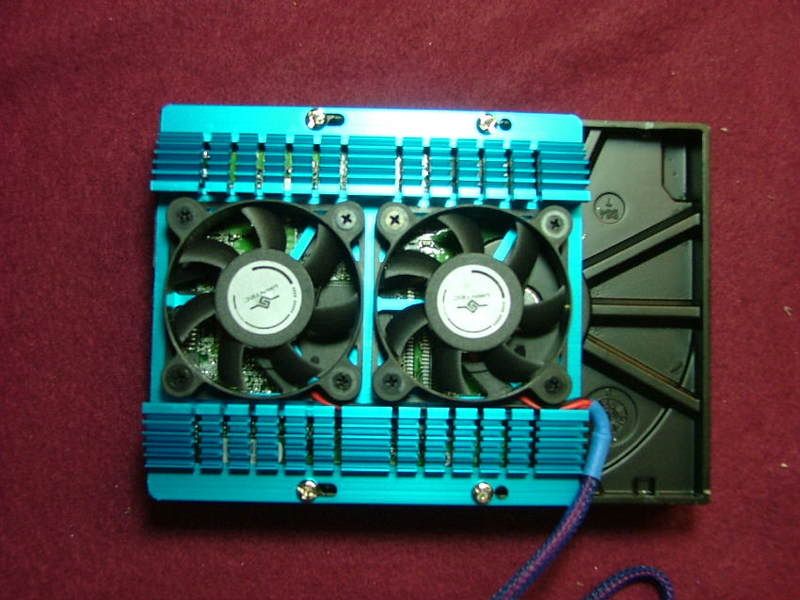
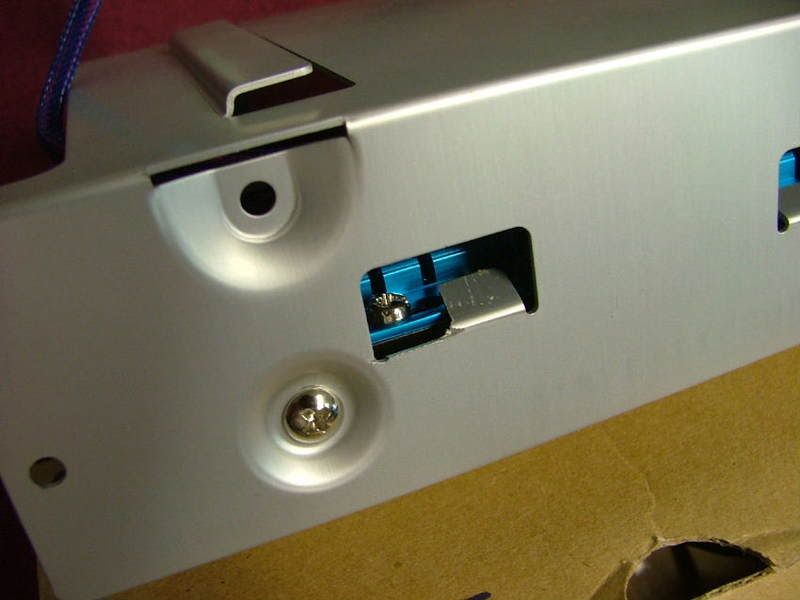
Slow in moving on this thing, but I did manage to mount the front 80mm, FDD, and the two optical drives. Also modded the HDD carrier so I could mount the HDD cooler. The tabs have to be bent up a little to allow for the extra thickness of the cooler and one needs to be cut to miss a mounting screw. Here is a good example how everything is the same but different, made the cut base on the one in DreamCatcher and it ended up be a little too big. I will always be a fan of this particular cooler by Vantec. Im using them on YsSMNs Raptor X and the 74GB Raptor in BHrDx.

While mounting the mobo to the mobo tray came across something, to me anyway, rather different. The Biostar 6100-939s I used in YsSMN and BHrDx are 24.5cm square and so are my two abit NF-M2 nViews. However the Tf7025 for this build is supposedly 24.3cm x 24.4cm and so this is what I ended up with when mounting the mobo ..

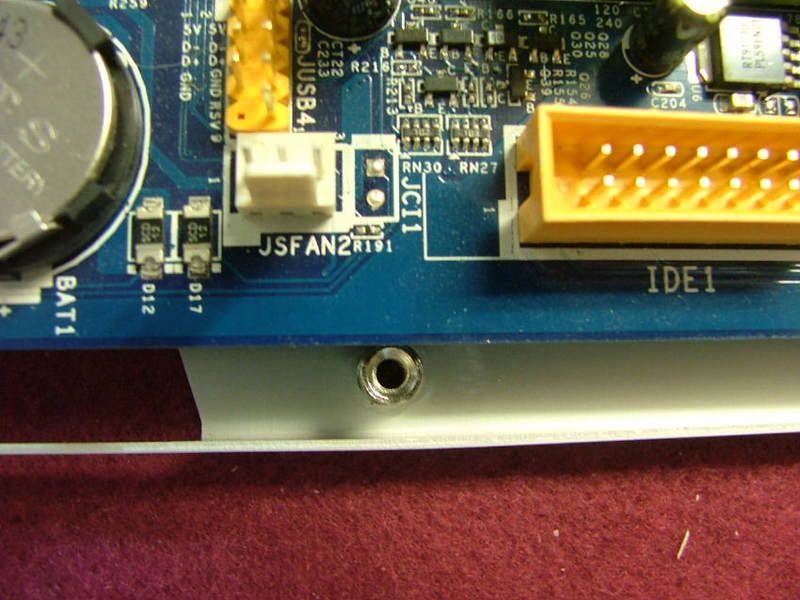
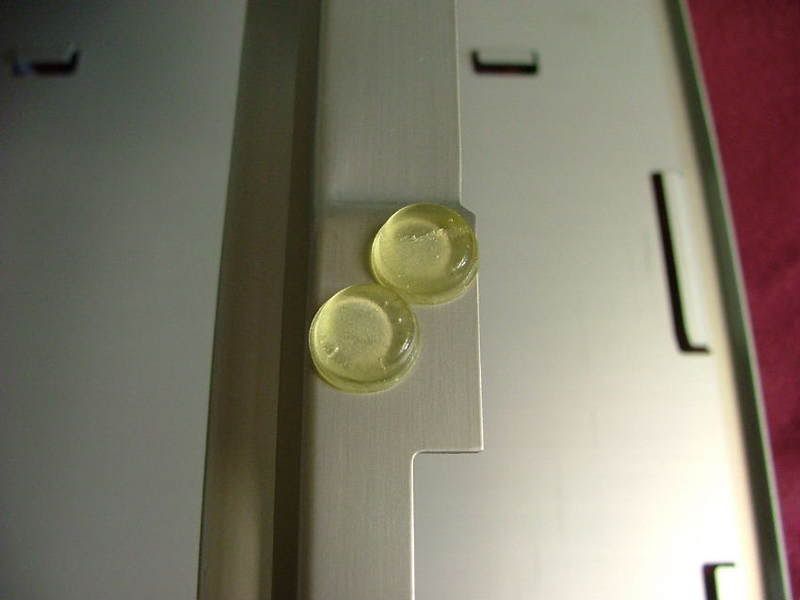
This must have been part of the design and one of the reasons the PSU power connector was moved to where it is. Dont want to remove the standoffs incase this case gets another board that will fit. So guess Ill just tape them up to avoid any potential of shorting something.
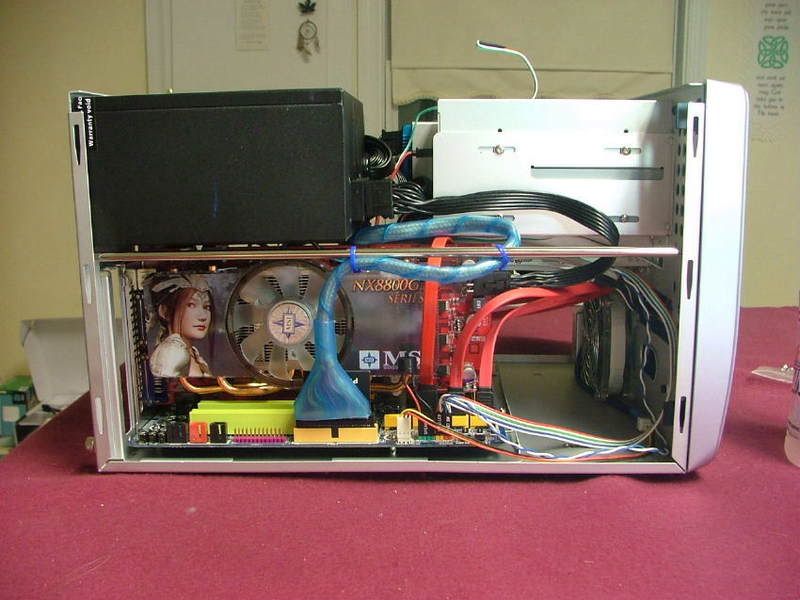
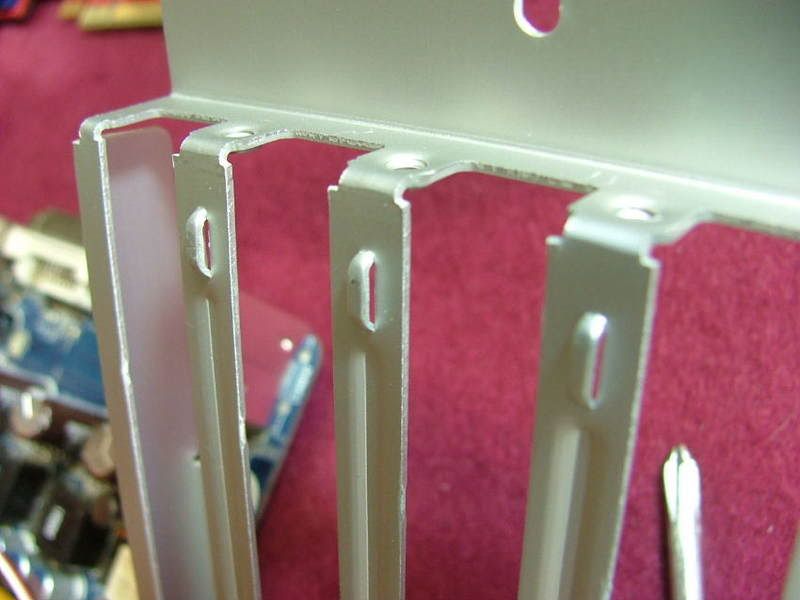
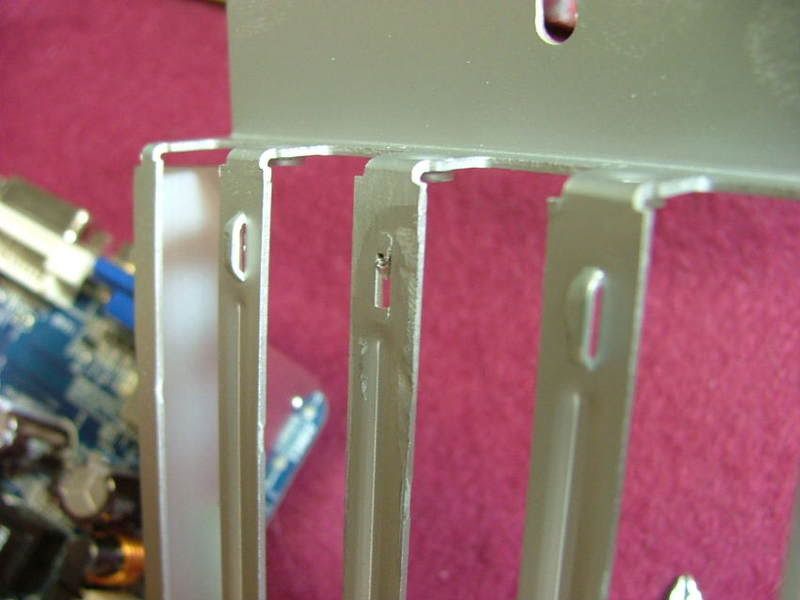
The expansion slots on the mobo tray have guide dimples to help anchor cards when mounted. This is cool except when mounting something like a dual slot GPU. So did a quick and dirty mod for that.
On the honey dos and will get back to this as I can.
Case: Ultra MicroFly
PSU: Ultra 600W (from a MX6) [update later]
Mobo: Biostar Tf 7025-M2
CPU: AMD 4400+ Brisbane (CAA4C 0725WPDW) w/ zalman CNPS8700
GPU: MSI NX8800GT OC (Dual Slot version)
Memory: 2 x 1024 Corsair CM2X1024 6400C4
HDD: TBD
Optical Drive #1: Lite-On SATA DVD-R #DH-16D2S-04
Optical Drive #2: Lite-On SATA DVD-RW+ #LH-20A1S
FDD: Mitsumi Card Reader/ Writer + Floppy
Here you see most of the parts ..
Actual case modding will be very little. Will take out the front and rear fan grills, drill some cooling holes in the face plate like YsSMN, and then see what goes from there. One interesting thing were going to try is to use an 80mm Tt SmartFan 2 in the front spot and control its speed via the system fan header that is on the mobo. It if works like my nView the speed of the fan will be controlled by the mobos system temp sensor ..should be interesting!
The only chassis mod is the usual remove factory tamped fan grills thing. Dont know how many MicroFly builders are reading this, but counting the MX6 this will be my third with this chassis. I have always had issues with the PSU flexing the case and now think I know why. By removing the stamped 120mm fan grill a lot of the rigidity in the back side of the case has disappeared. In the I wonder if this would help department Im not going to mount the PSU until after the 120mm fan and finger grill are installed. In the first two builds the PSU has been in place without the fan and grill giving some support and that may have been what sprung the case.
These before and after pics from DreamCatcher shows how much metal disappears.
Slow in moving on this thing, but I did manage to mount the front 80mm, FDD, and the two optical drives. Also modded the HDD carrier so I could mount the HDD cooler. The tabs have to be bent up a little to allow for the extra thickness of the cooler and one needs to be cut to miss a mounting screw. Here is a good example how everything is the same but different, made the cut base on the one in DreamCatcher and it ended up be a little too big. I will always be a fan of this particular cooler by Vantec. Im using them on YsSMNs Raptor X and the 74GB Raptor in BHrDx.
While mounting the mobo to the mobo tray came across something, to me anyway, rather different. The Biostar 6100-939s I used in YsSMN and BHrDx are 24.5cm square and so are my two abit NF-M2 nViews. However the Tf7025 for this build is supposedly 24.3cm x 24.4cm and so this is what I ended up with when mounting the mobo ..
This must have been part of the design and one of the reasons the PSU power connector was moved to where it is. Dont want to remove the standoffs incase this case gets another board that will fit. So guess Ill just tape them up to avoid any potential of shorting something.
The expansion slots on the mobo tray have guide dimples to help anchor cards when mounted. This is cool except when mounting something like a dual slot GPU. So did a quick and dirty mod for that.
On the honey dos and will get back to this as I can.