I'm finally building a whole new rig and I just ordered a Centurion 5 in blue. Once it gets here (Tuesday or Wednesday) I'll have my rig built. Specs are in sig.
Martinez, that orange case is awesome!
Be sure to post pictures
")
Follow along with the video below to see how to install our site as a web app on your home screen.
Note: This feature may not be available in some browsers.
I'm finally building a whole new rig and I just ordered a Centurion 5 in blue. Once it gets here (Tuesday or Wednesday) I'll have my rig built. Specs are in sig.
Martinez, that orange case is awesome!
Be sure to post pictures
Anyone have the black clip that hold the expansion card? I will gladly pay shipping to cover it. Thanks PM ME please
Question for you Centurion 5 owners!
How does this case hold up today? My brother is giving me his S939 rig soon, which is inside a Centurion 5, and I remember that back in those days this was one of the best mid-tower cases you can get.
Is this case still able to hold its own in terms of cooling ability for today's systems? I am planning on building a C2D system this winter (or maybe C2Q), but I am going for a budget bang-for-the-buck build. If I can reuse the Centurion 5 then that would save me about a bill or so.
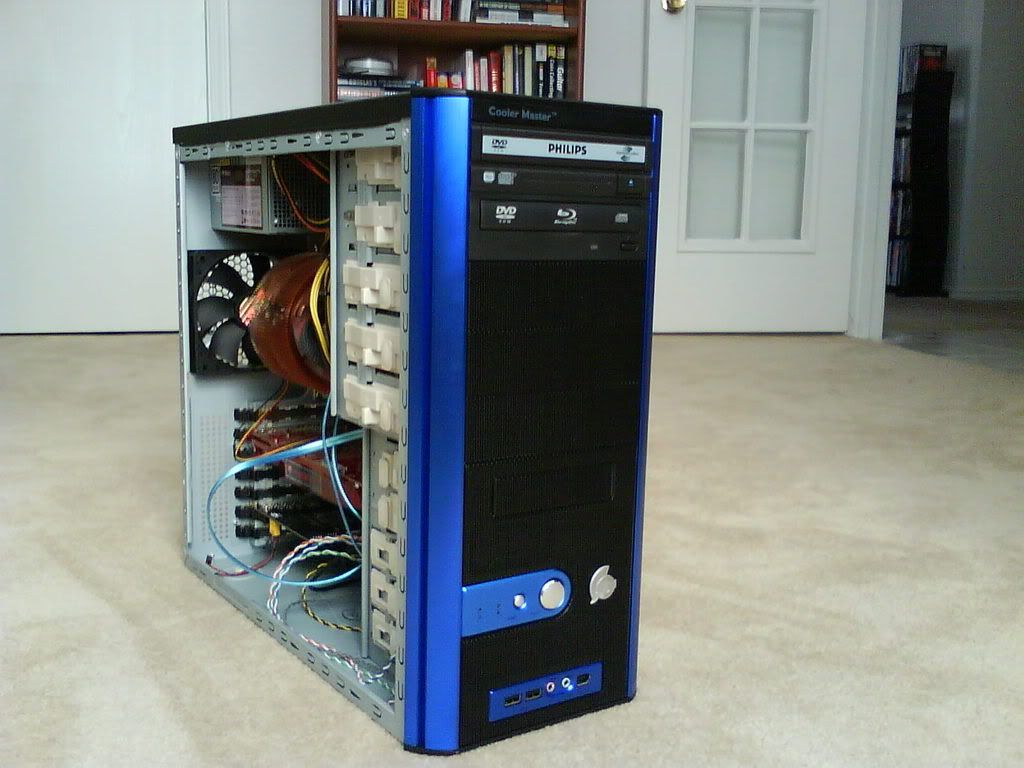
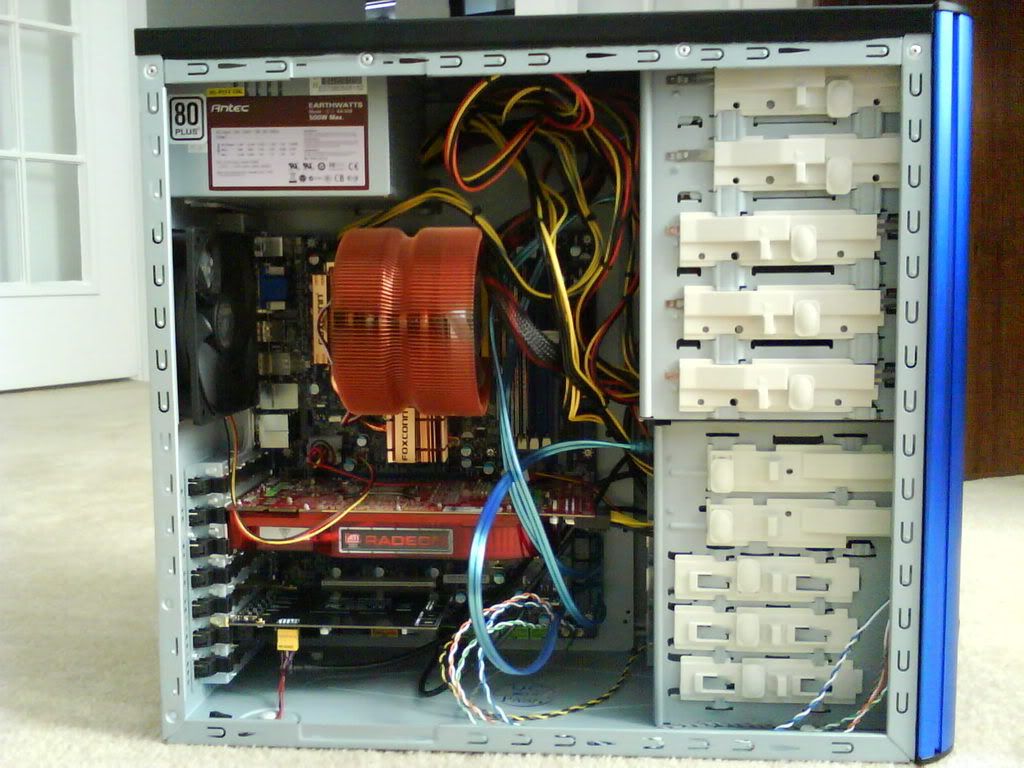
Very nice computer. Could use some cable management, but overall good!
Welcome to the club!
yeah, i slapped it together in a hurry hoping she wouldn't notice, but when she came home and got on it, she immediately knew a difference (old p4 2.4 before)
yeah, i slapped it together in a hurry hoping she wouldn't notice, but when she came home and got on it, she immediately knew a difference (old p4 2.4 before)
Well going from a P4 to an Intel E8400 is a pretty noticeable difference.


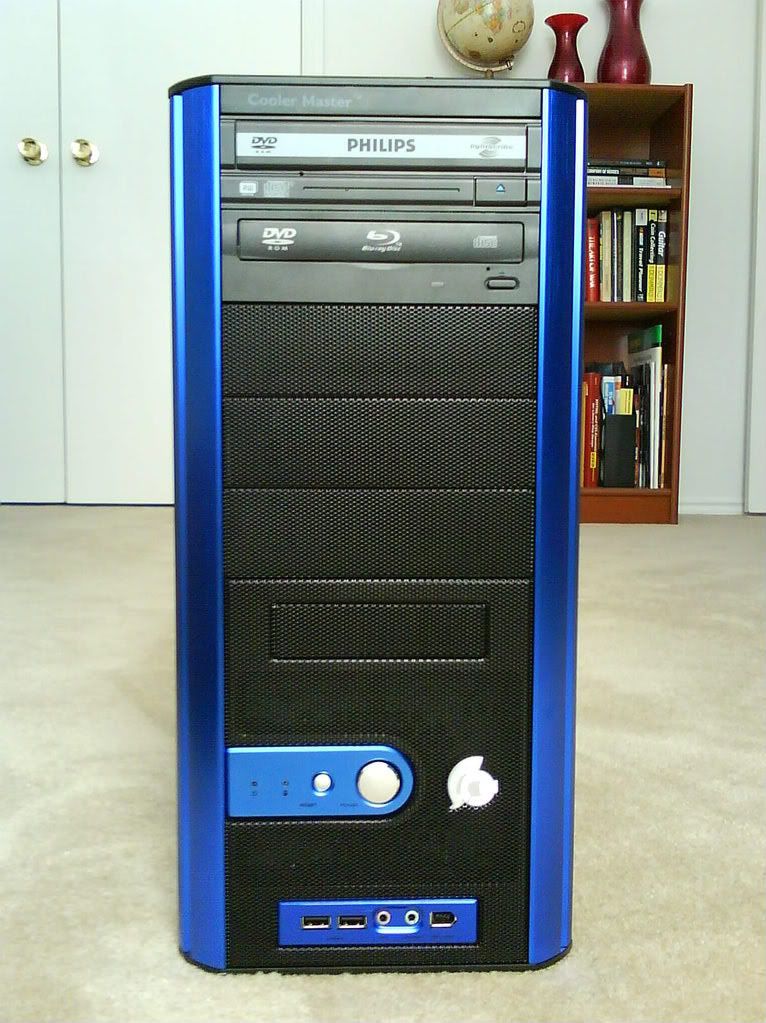
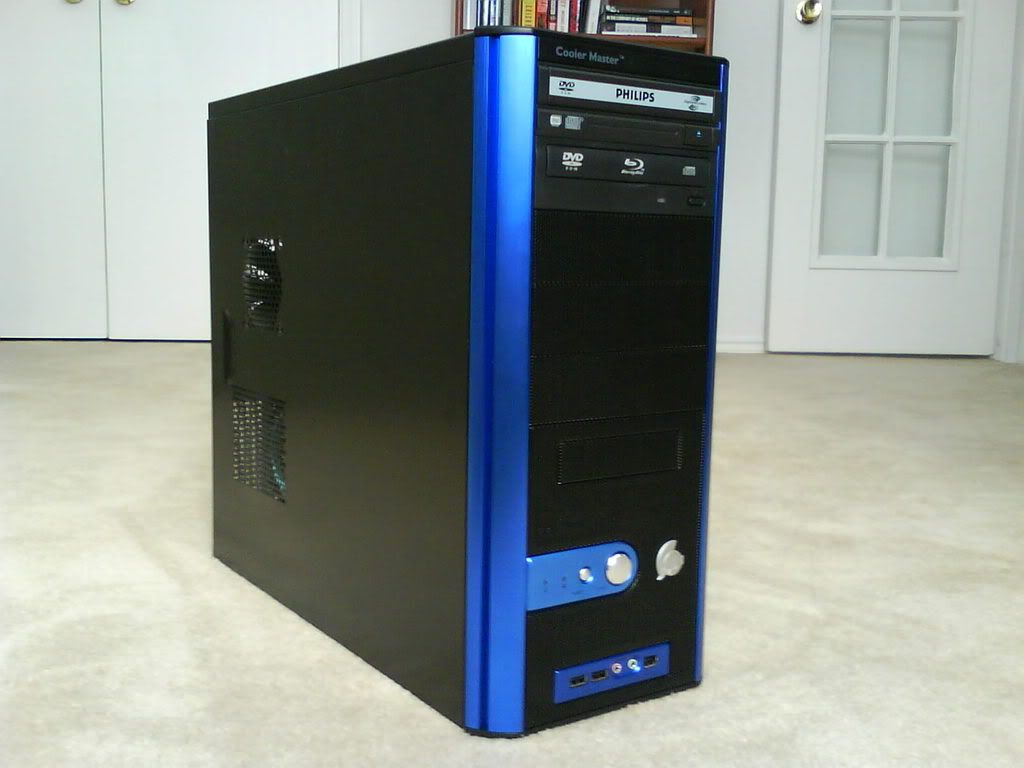
Welcome to the club JinxyBoi! What's that sticker on the side?
Is there stores in the US? Thanks
I have 4 of those Be sure to post pictures
Actually t'was my first foire into painting (with brushes).
It's a silhouette of a cartoon girl dressed as a witch playing a guitar.
If you look closely you can almost see my many places where i messed up. I'm half considering ordering another panel and painting something else at the request of my sister.


 hope u guys like it


hey sten. Those side panel stickers are usually quite sturdy so if you can get hold of an extremely thin blade such as a stanley knife or a scalpel you should be able to slip it underneath the stickers and get just enough leverage under them they will 'pop' off.
Hey guys, I'm jealous of everyone's case. I built my first computer last year but haven't
modded it yet. I'm trying to add two 80mm fans to the side panel but I'm having a few problems.
1) which ways should my fans be? Both intake or one intake+one exhaust?
2) If I use my fans as intake fans, they make an annoying buzzing noise. I've read it's
because of the way air passes through the grill holes. How do you guys deal with this?
My fans are running at 100% speed (26-28k rpm) because I don't have a fan controller to
lower the speed of my fans. I can get a controller if it will fix my problem.
Thanks, will post a pic of my computer later


Well you were right JustLink Studios, the Akasa fan controller is very nice. Didn't realize it comes with 4 thermometers, and since its not pwm, its ideal for my wife's led fans...and it looks really nice.
It should fit just fine PixelAh sweet so it looks to me like a GTX 260 fits in this case fine?
Spy troop, Those pictures are a bit hard to see my friend, too big, could you resize them?


