LiLi Reborn - Steath

Arcygenical

Fully [H]
Joined
Jun 10, 2005
Messages
25,066
Lian Li PC-V1000B. The Second Generation: Stealth.

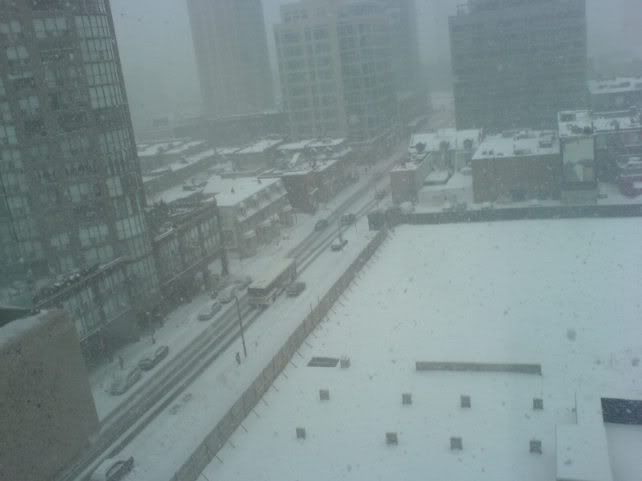
Well, spring is in the air (not literally, it's -20c outside, and snowing like all hell), and like every year before this, I've got the itch to mod something. As my winter dreariness dies off, and is replaced by quick spurts of mania. Some of you might remember the first worklog I had on this case, the Arcygenical01 Redux thread (if not, I urge you to take a look, now that the search feature is working again!), and I'm sure lots don't. Well, either way, today I'll be finishing up some of the mods that I never got around to last time. A bit of paint, a bit of LED flare, and a bit of other stuff I haven't decided on yet!

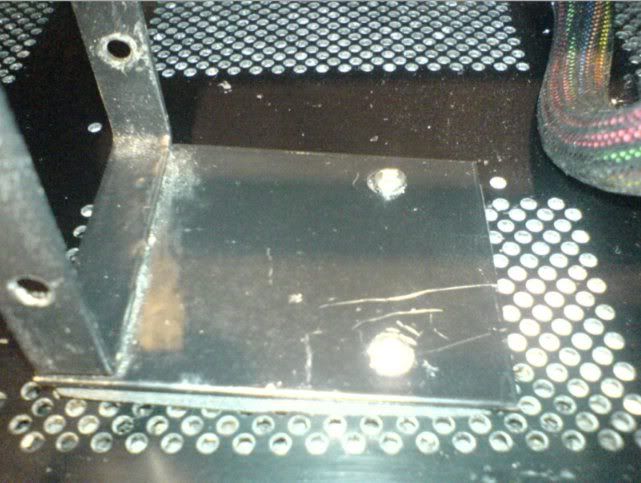
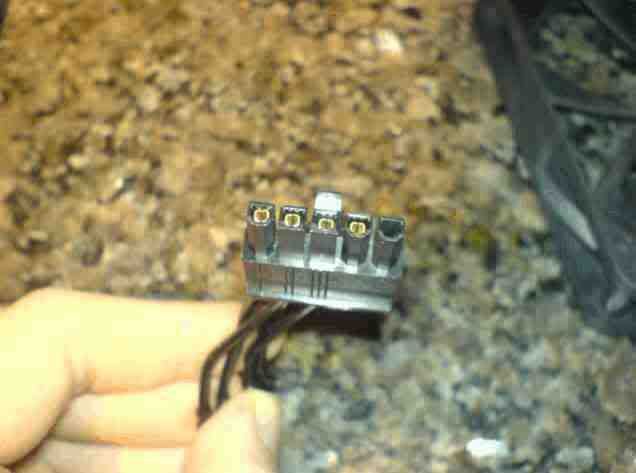
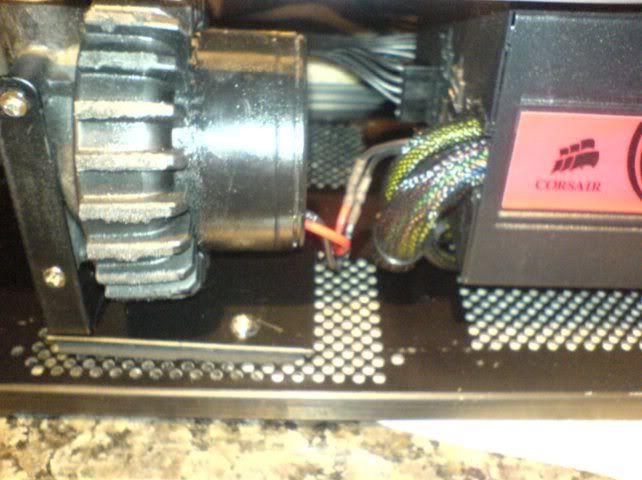
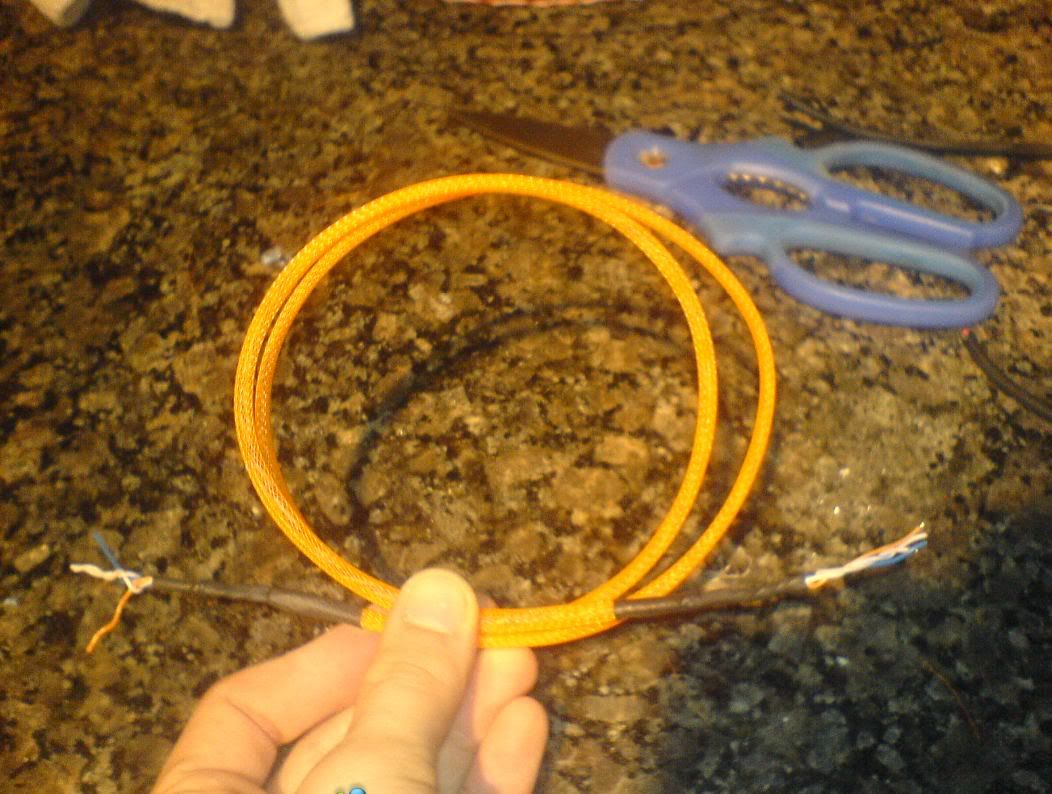
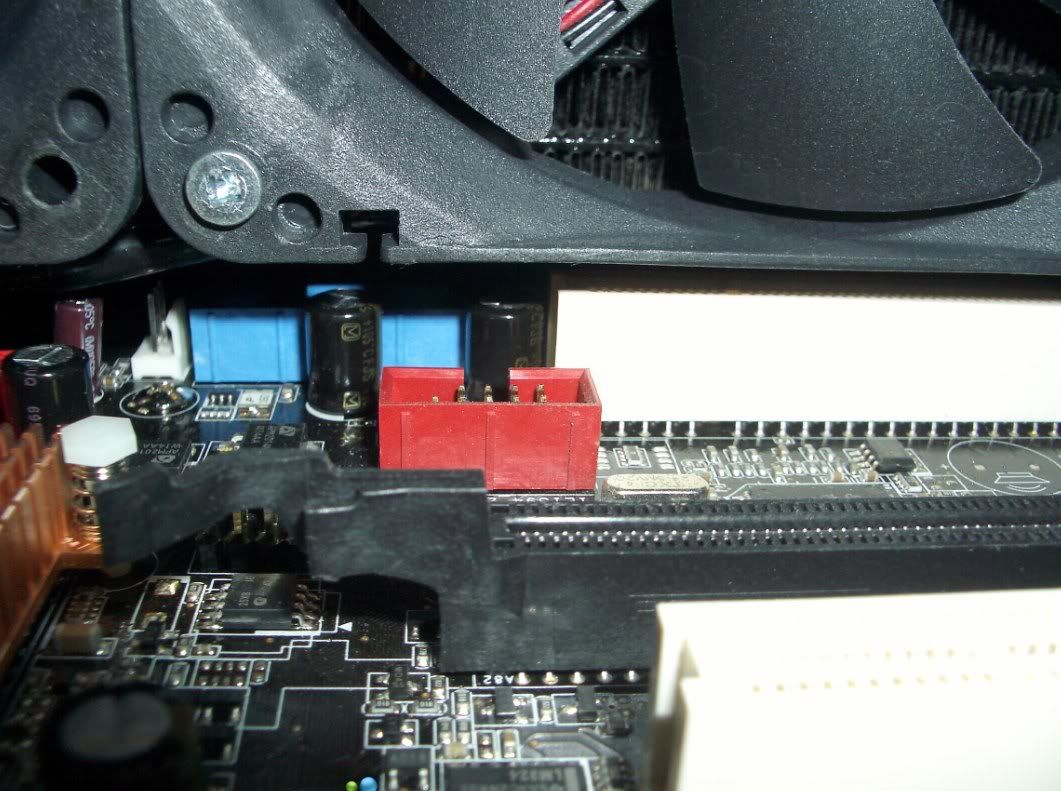
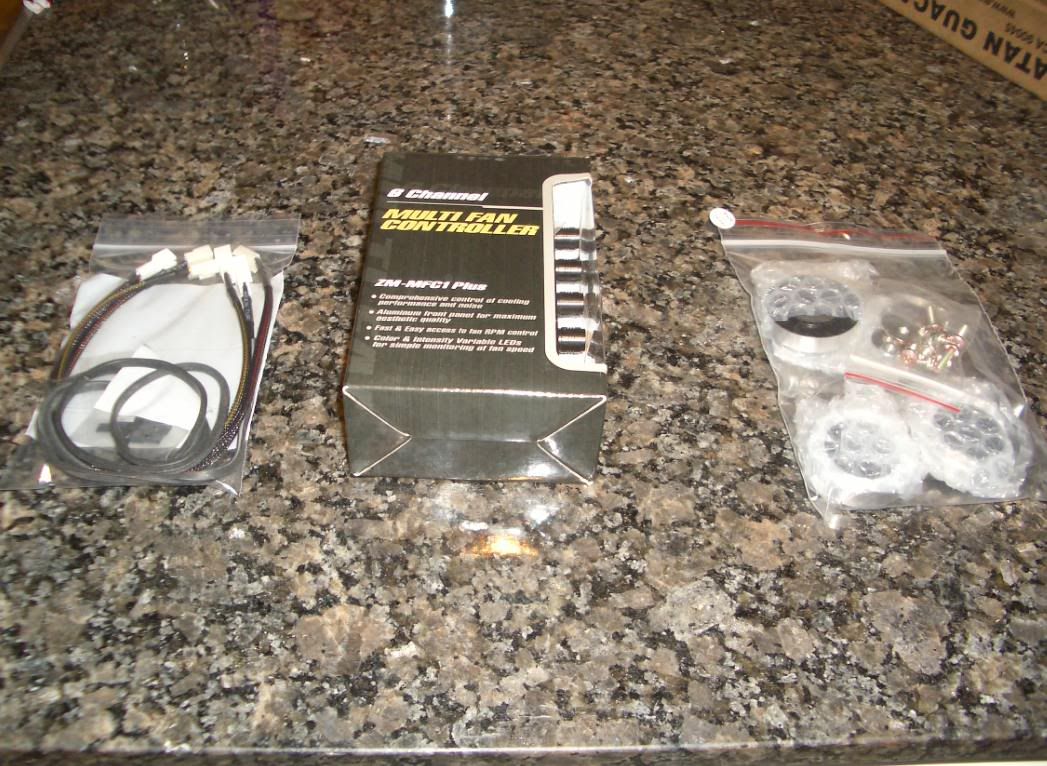
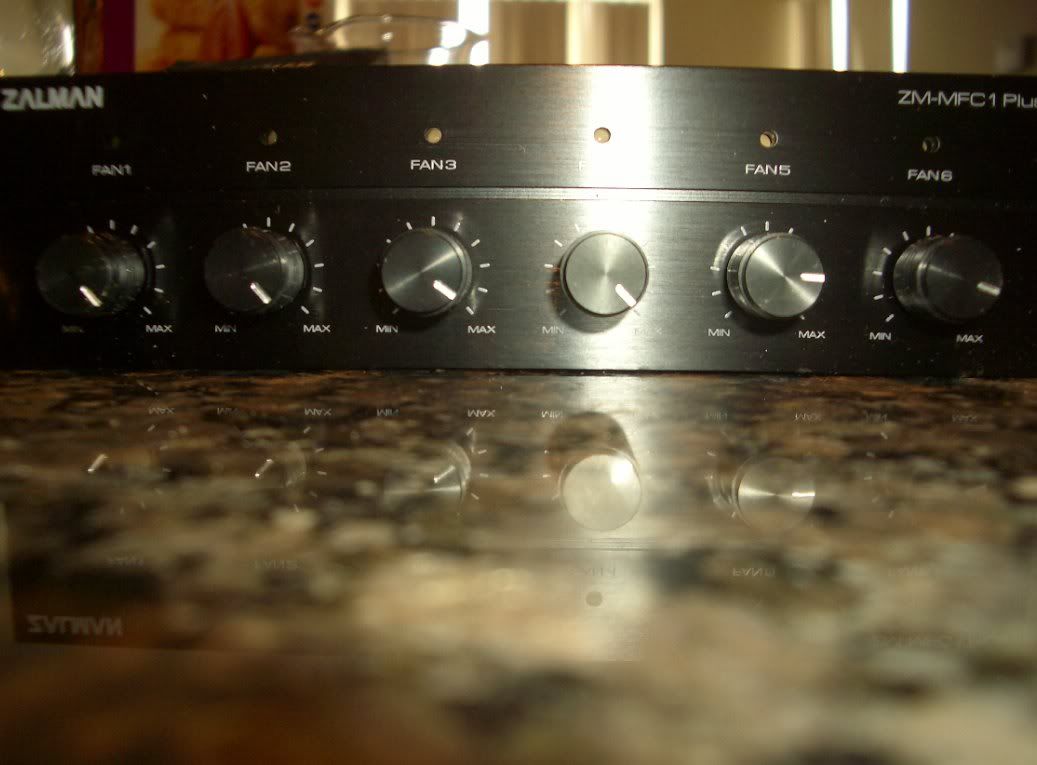
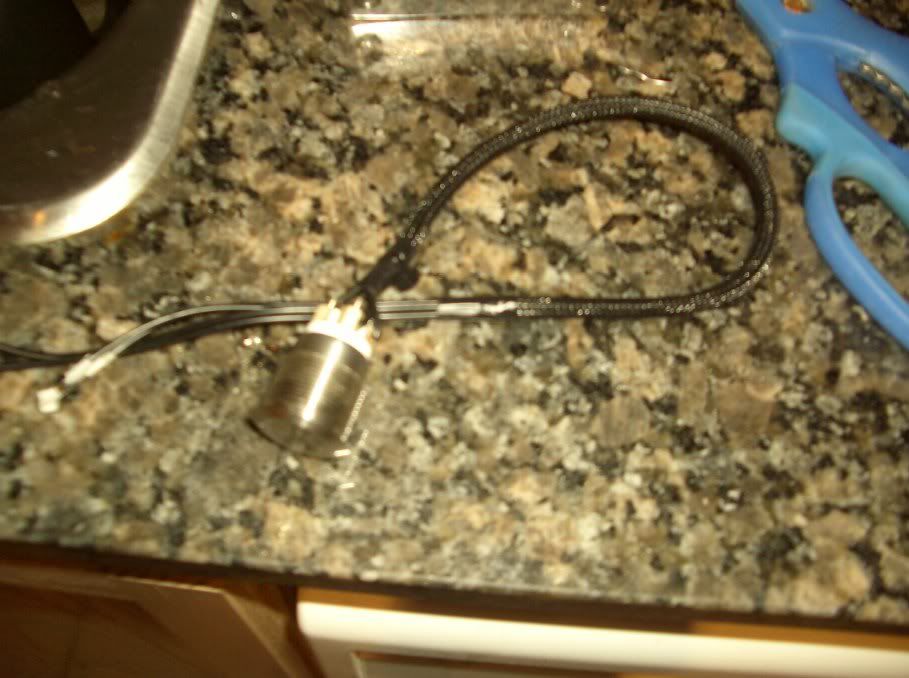
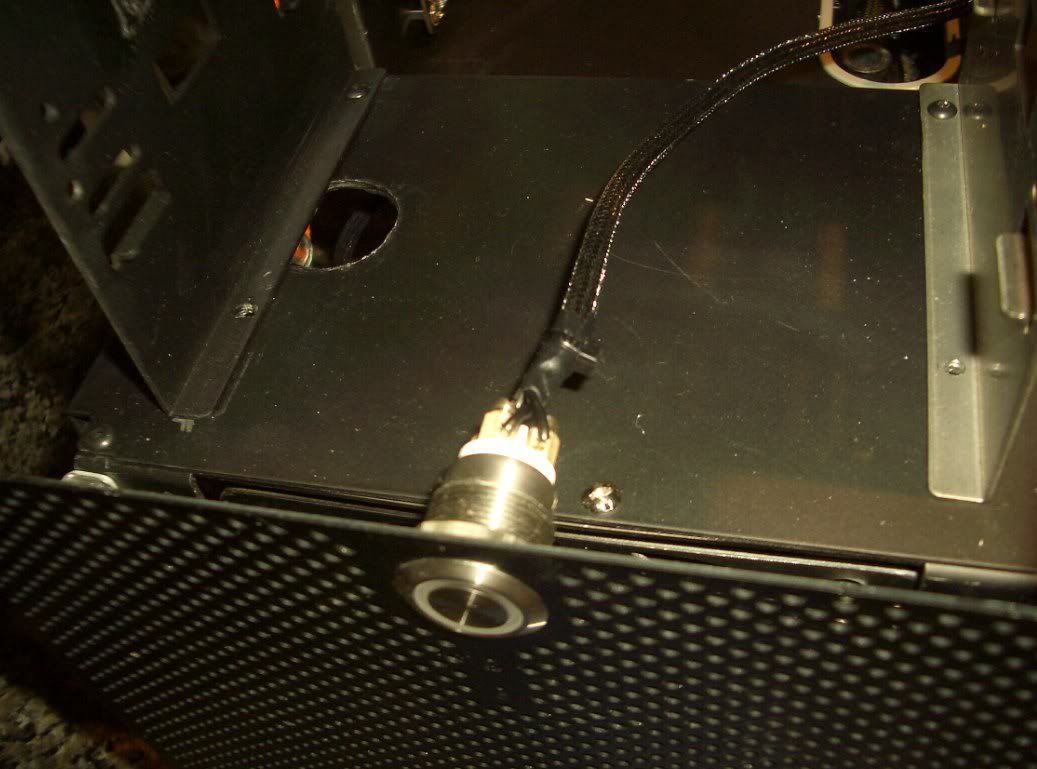
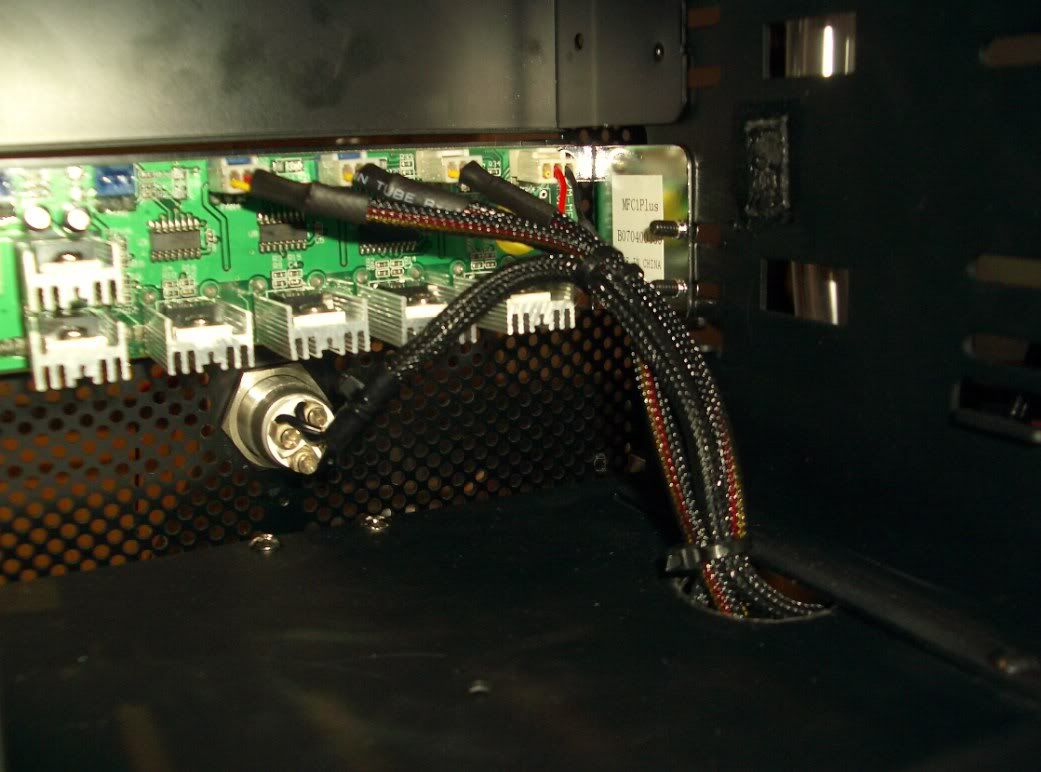
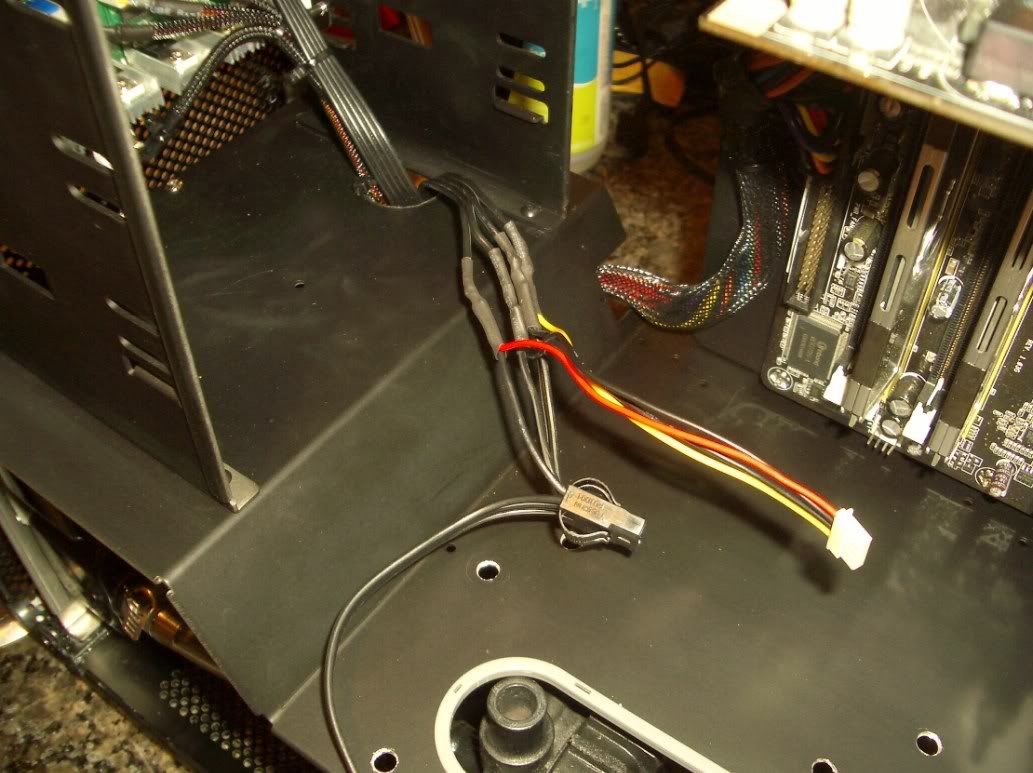
Also, I'll be focusing on wiring elegance and robustness. The last iteration of this project used some sketchy wiring principles, that I figured I should get around to correcting :D.

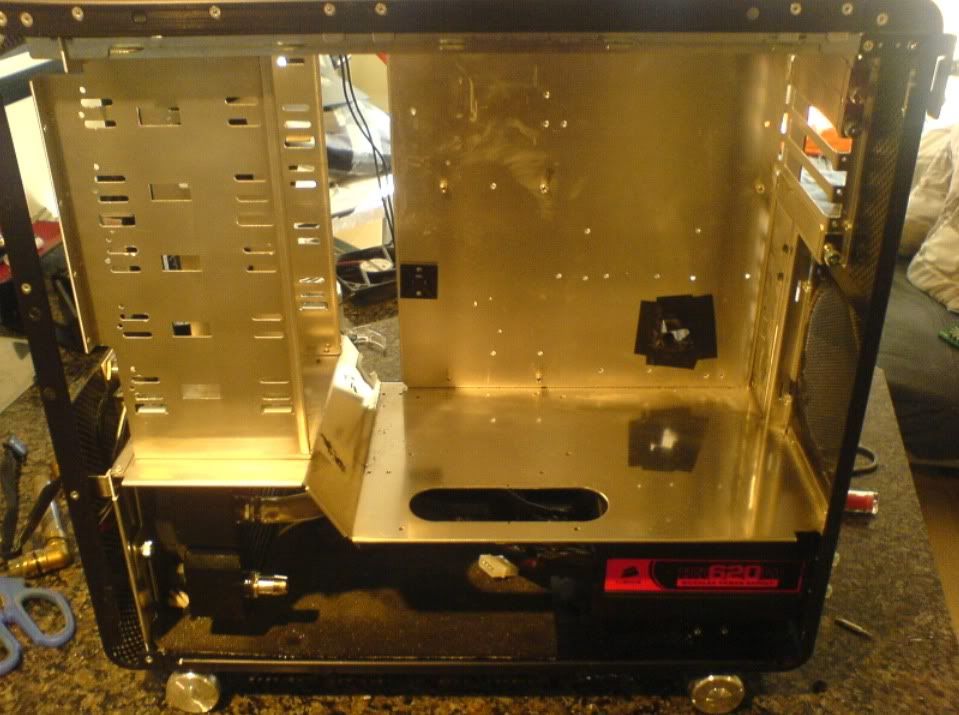
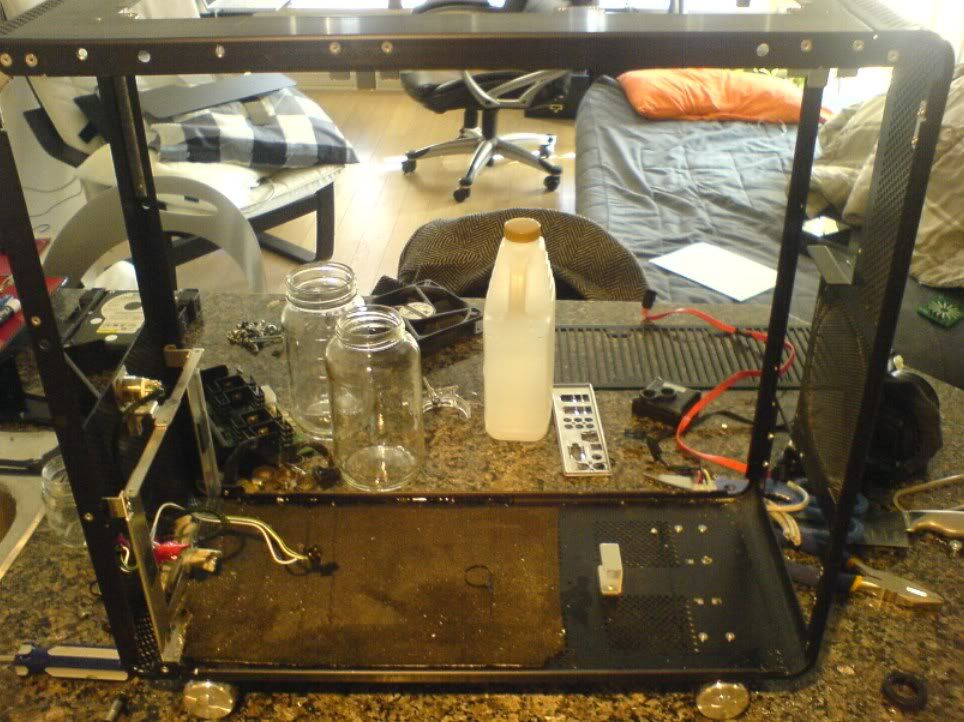
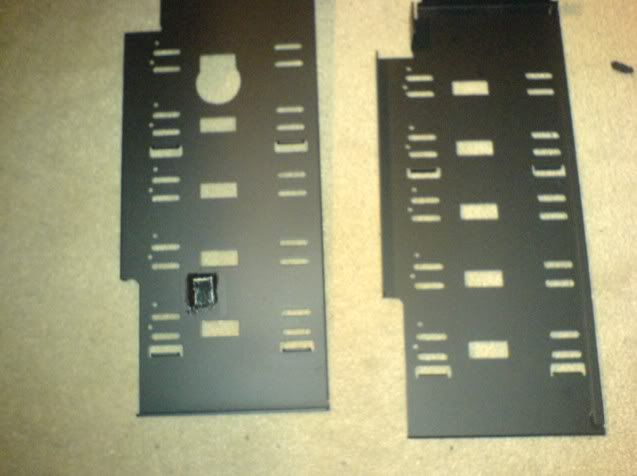
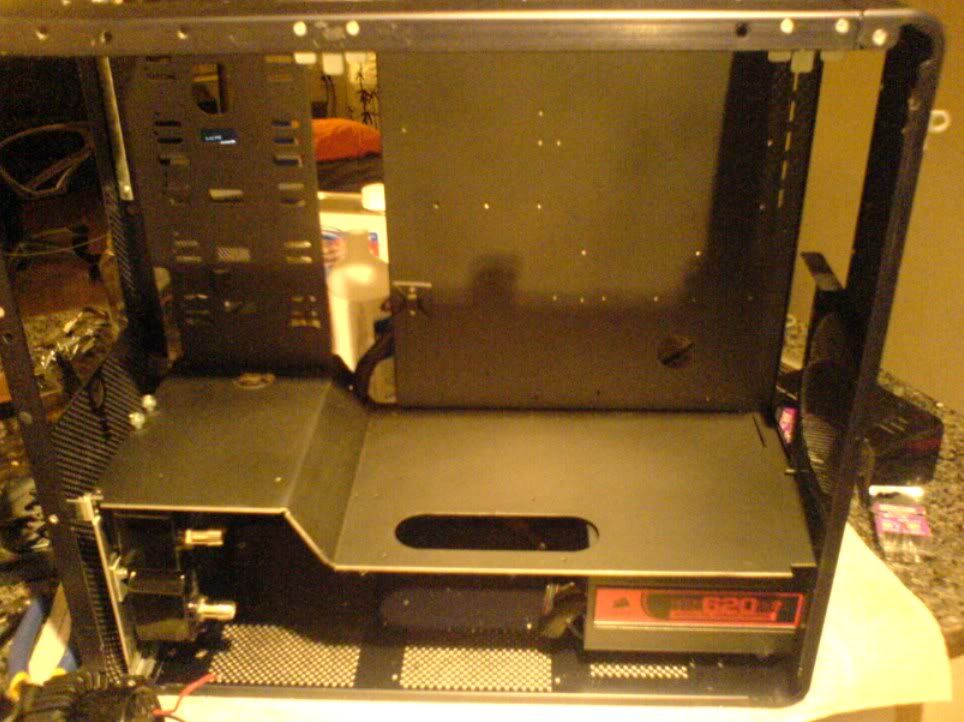
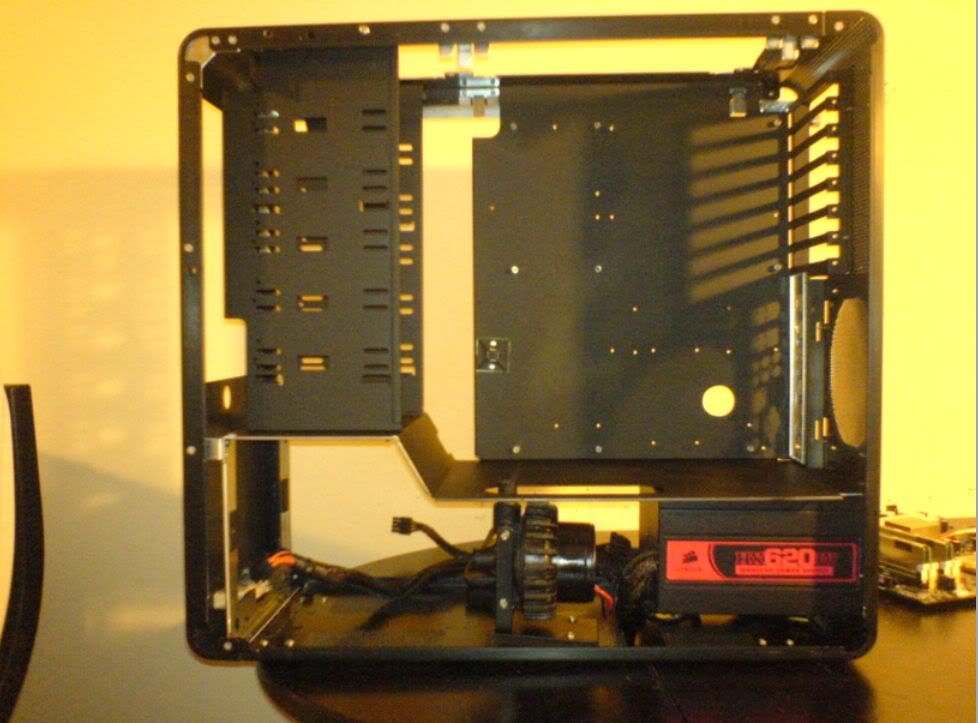
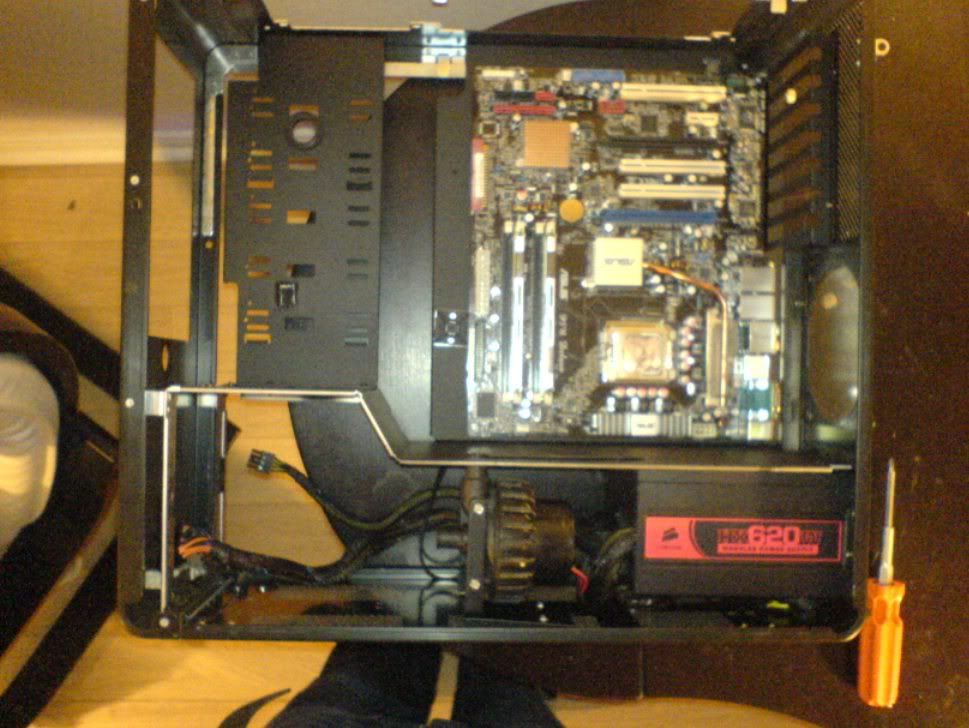
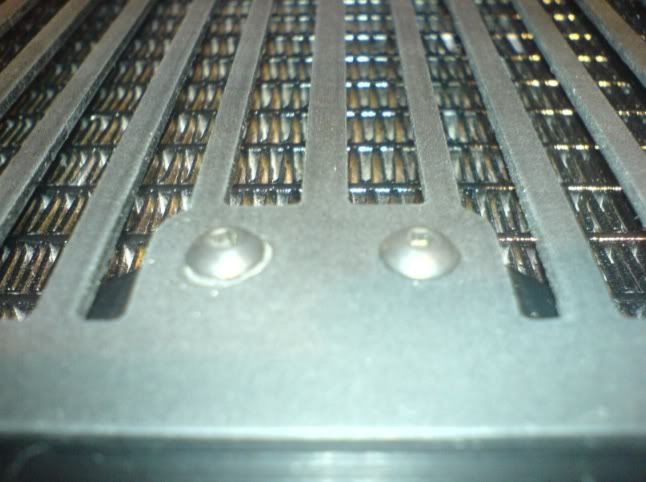
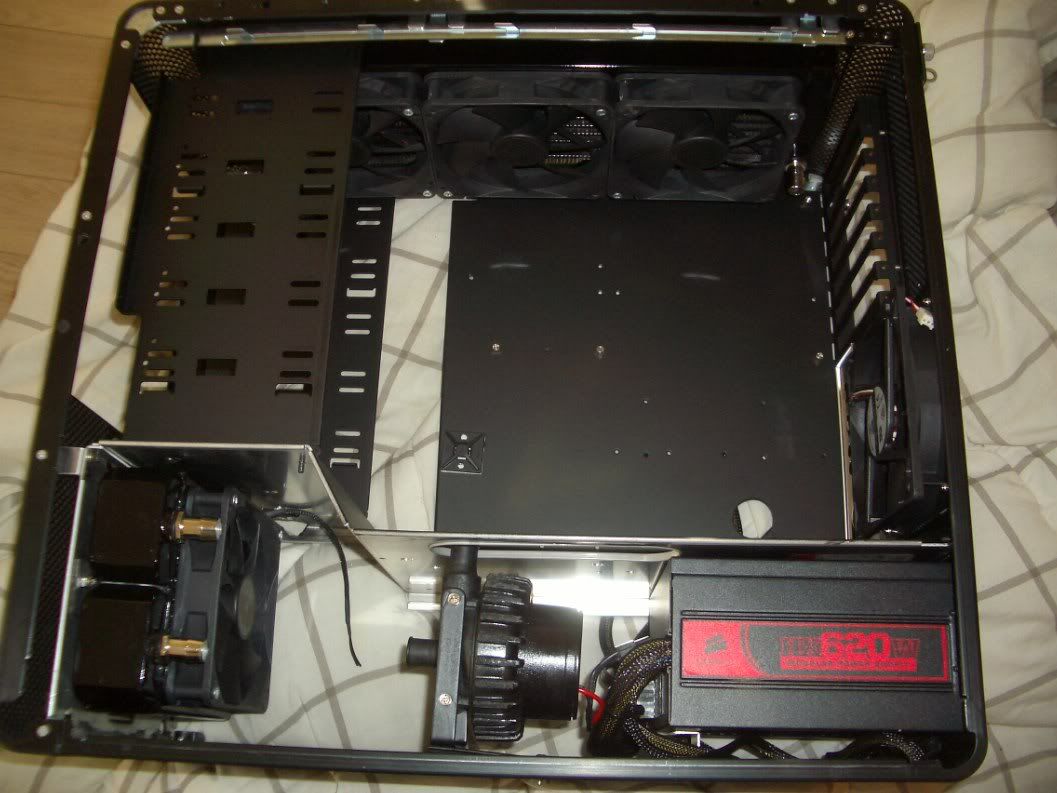
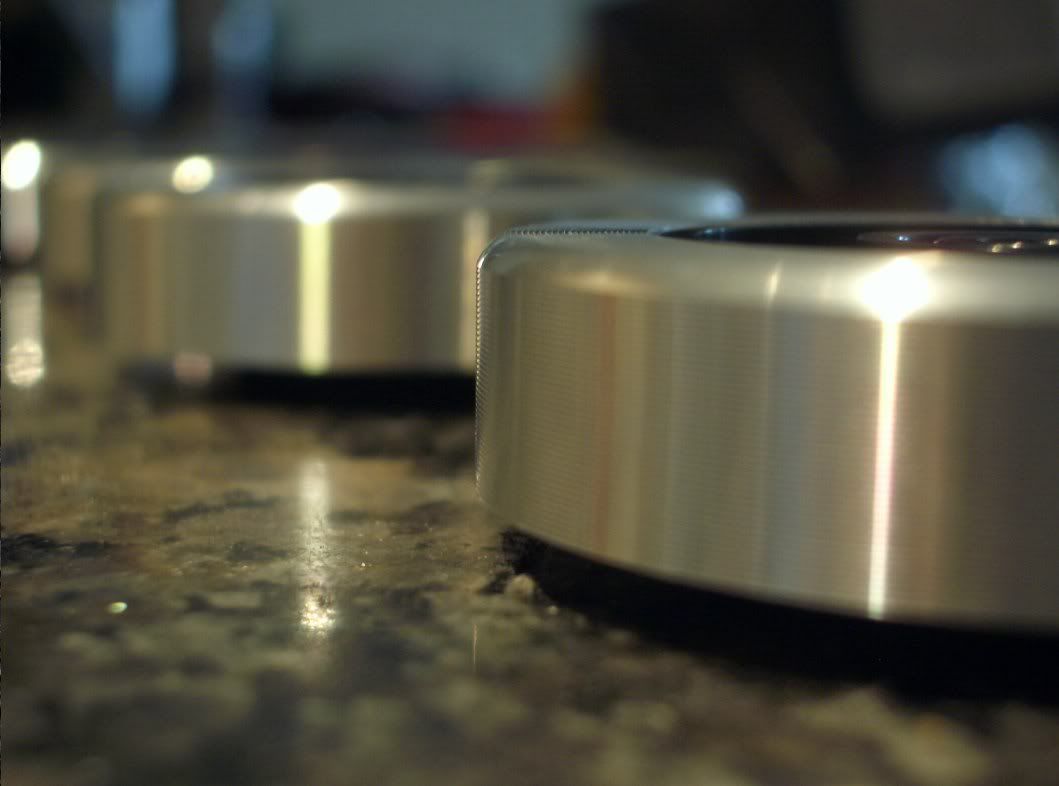
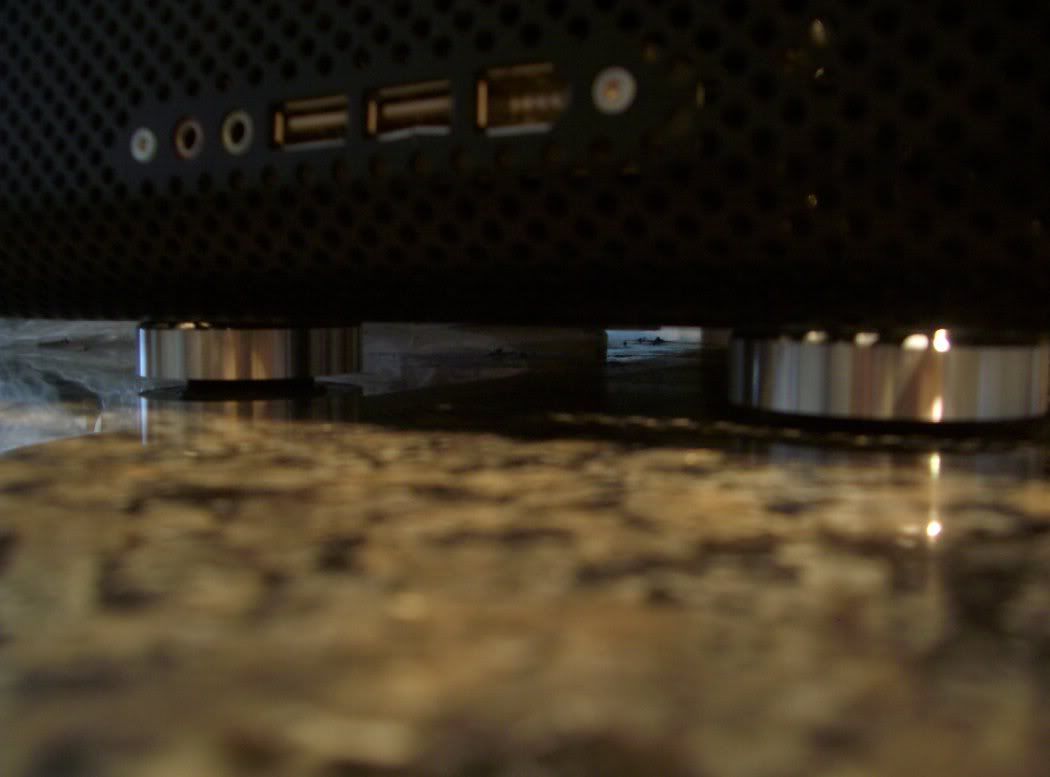
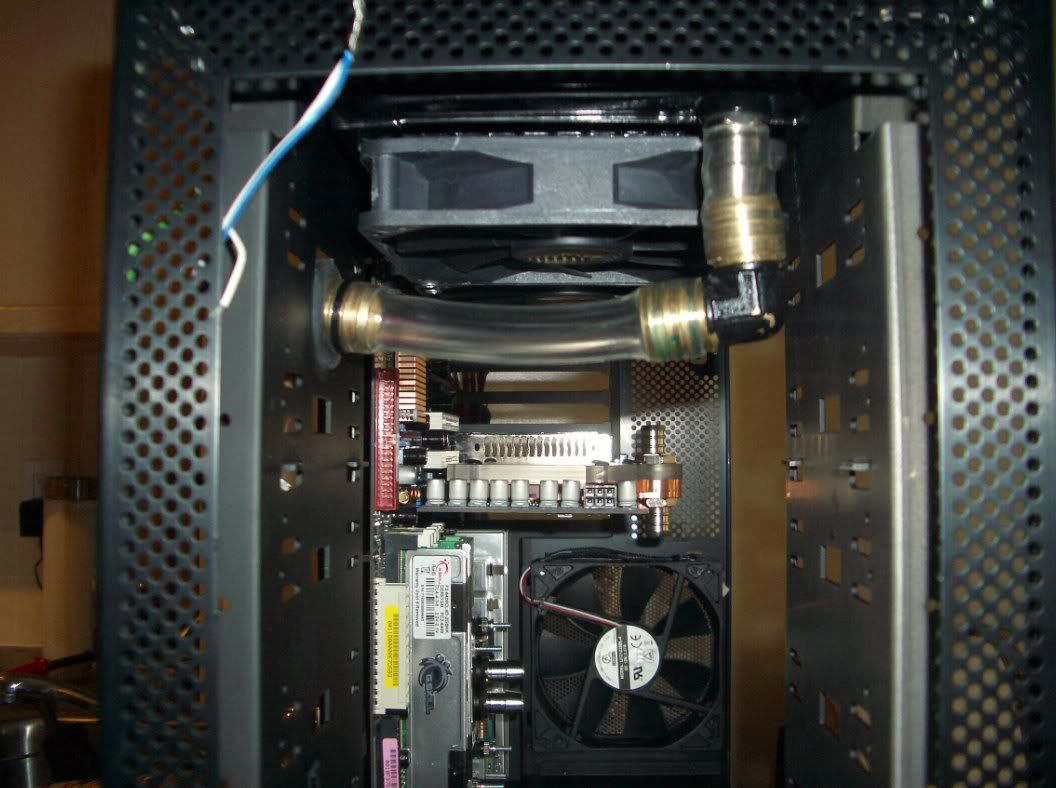
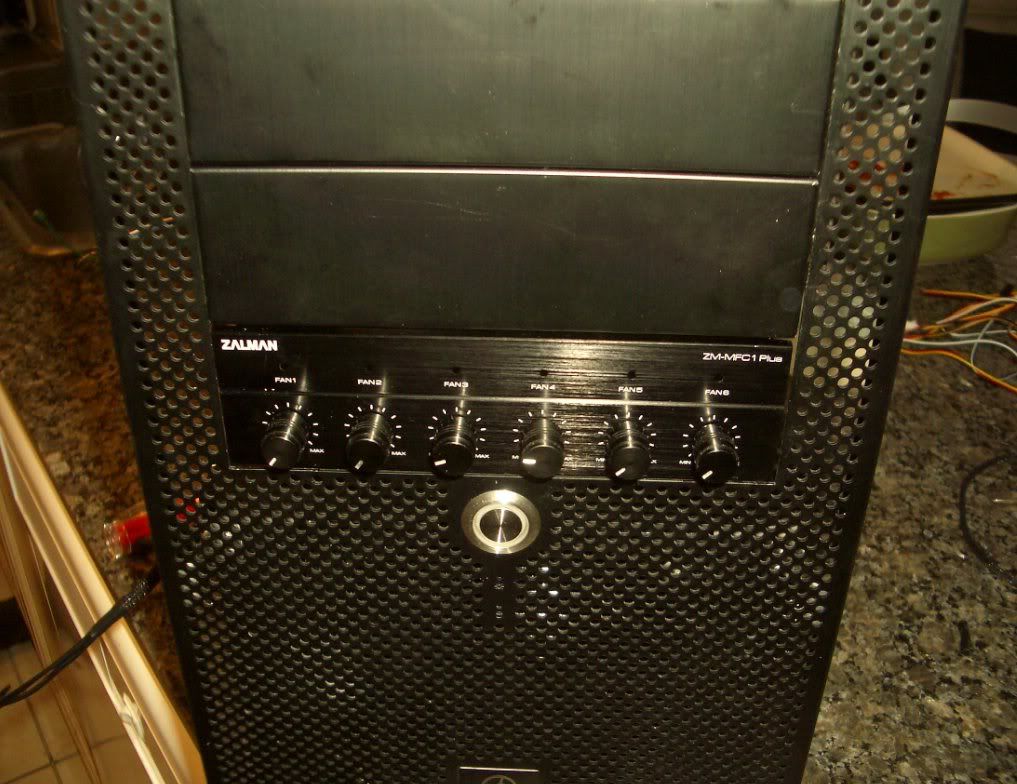
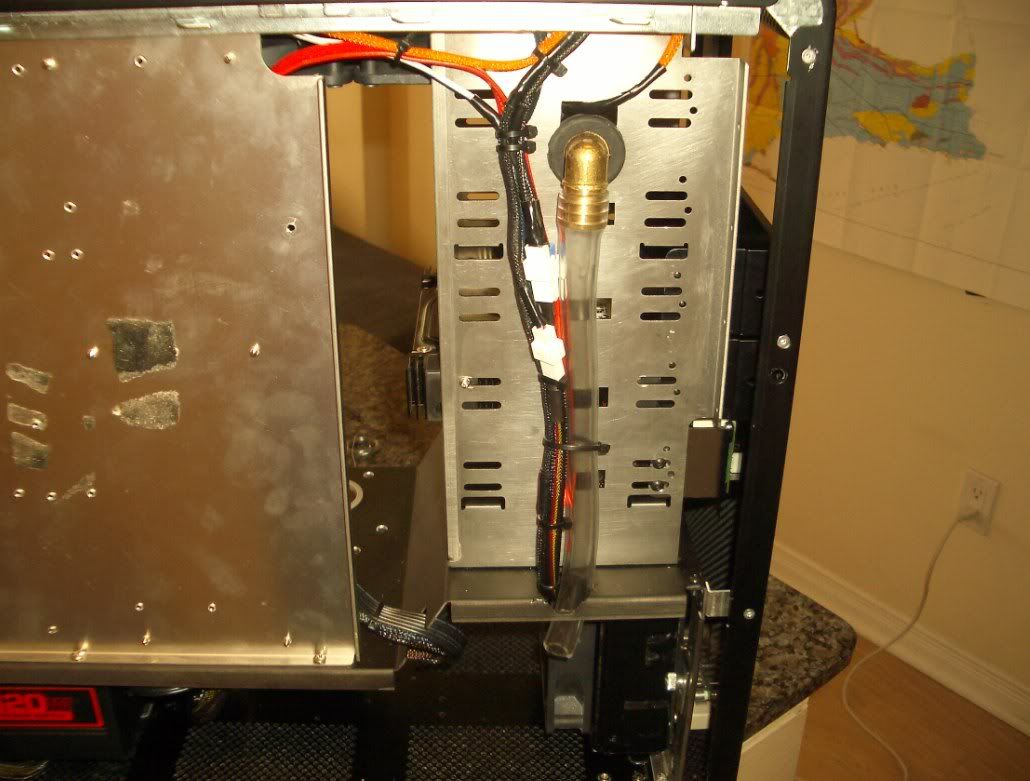
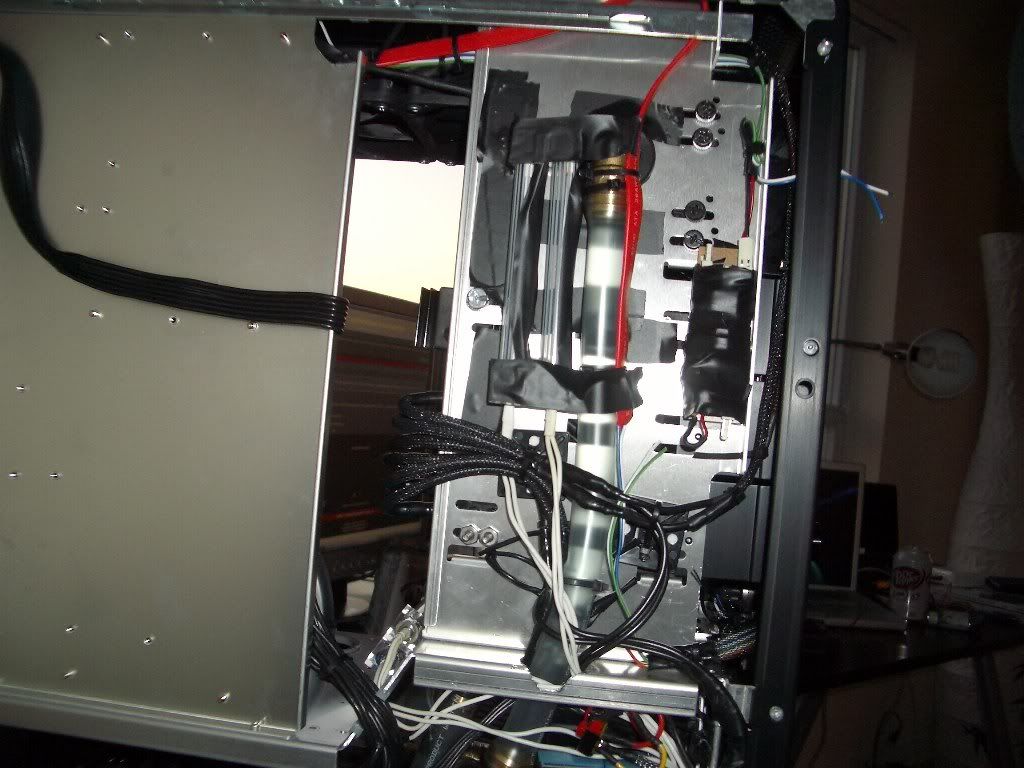
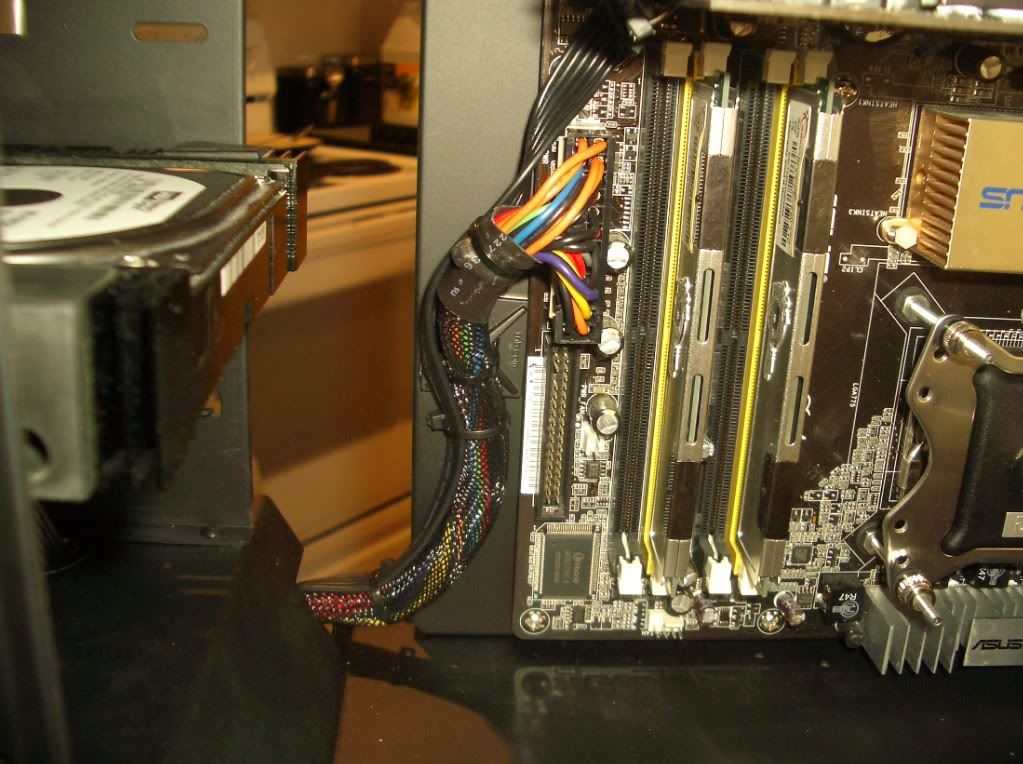
So, as my case stood, at 4:30am this morning, before I ripped it apart, I was staring at this:
fullout.jpg


It's now in lots of pieces strewn across my apartment, but I digress.

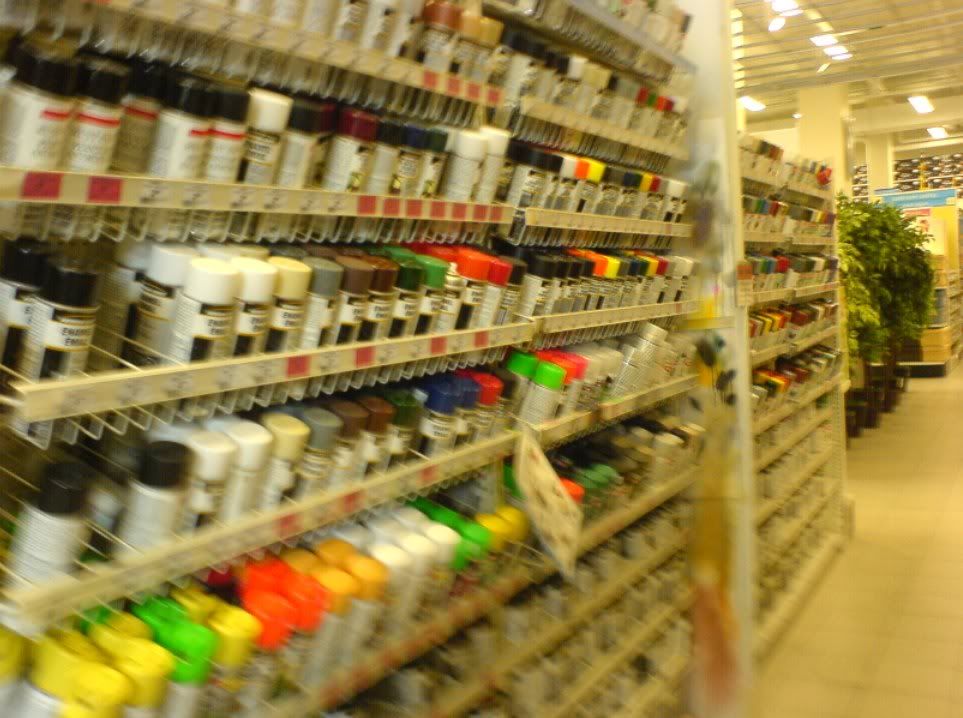
I'm going to the hardware store right now, to pick up some more paint, as I've run out, conveniently, when I need it the most. I'll post a few more pictures when I get back!
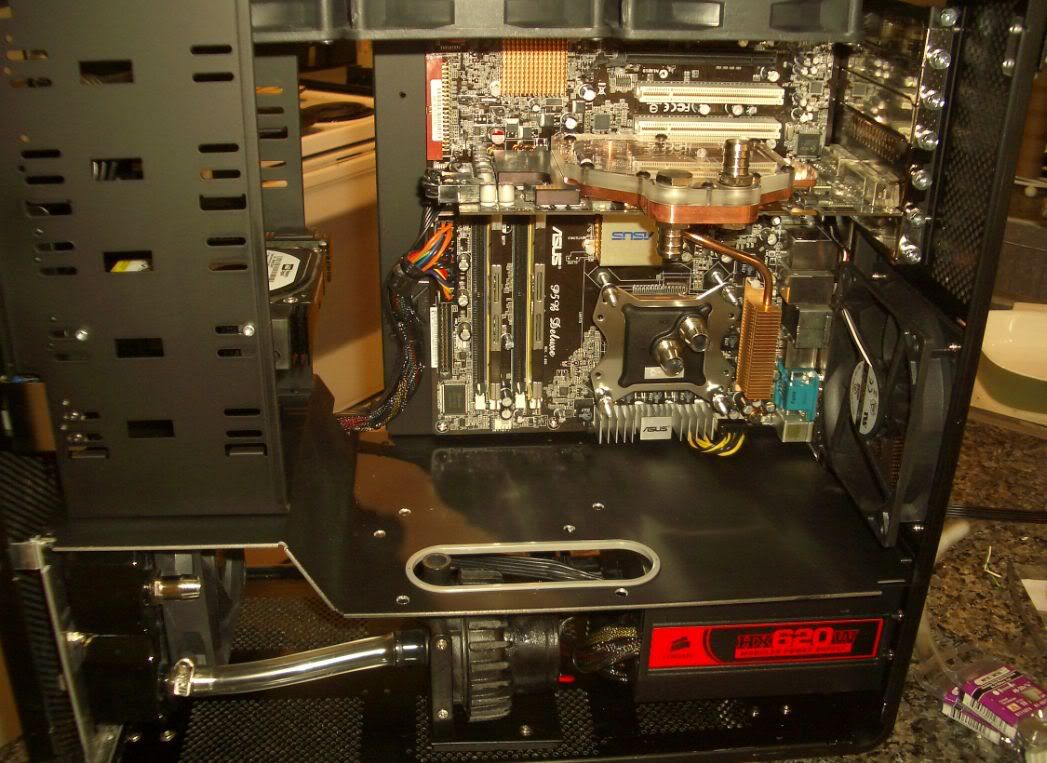
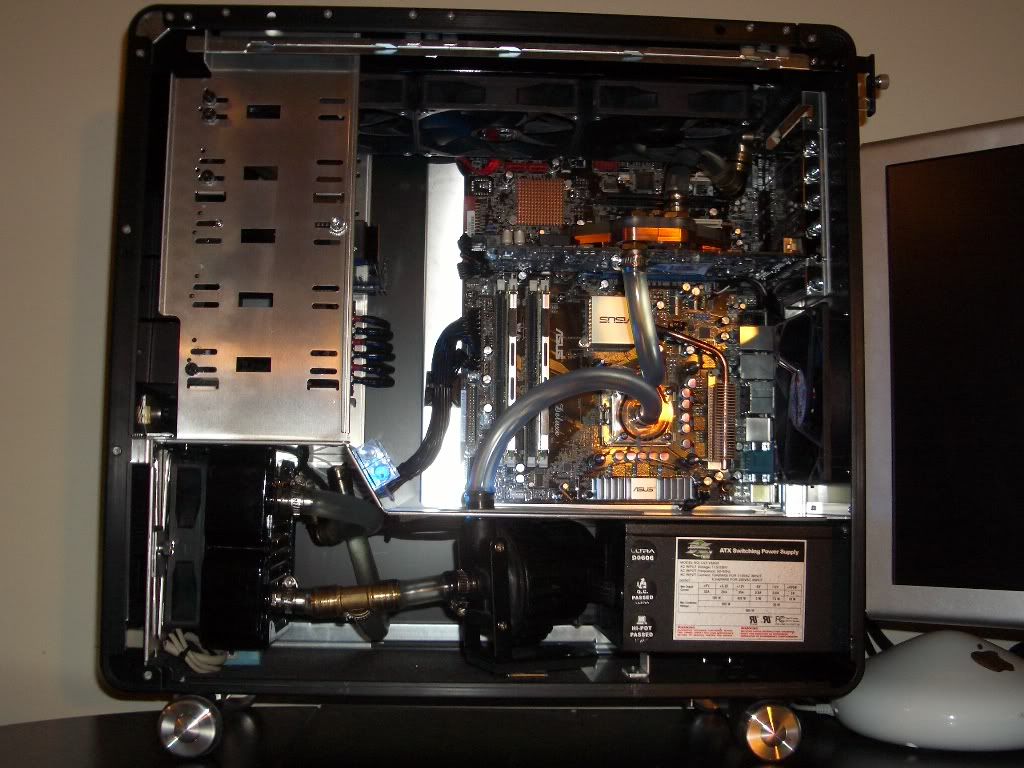
 
Alright! So, I'm well on my way to upgrading this little guy, but I must ask you to forgive me. You see, my real camera suddenly decided to take up synchronized swimming, and is no longer with us. One day, I'll clean the lens aperture and get it back, but it's so water-spotted right now, it's practically worthless. So, I'll be using my cellphone camera to snap the rest of the pics... It's a W80i, so the pics won't be that bad!

So, one of the main reasons I decided to do all this work was the gradual state of neglect I let my computer recede into. Let's take a quick look into what a year of uncleaned operation in a downtown city does to your computer.

Let me introduce to you, the three eyed mammoth dust bunny:
Dustbunnies.jpg

Yeah, no shit my temperatures had risen 10 degrees Celsius since when I first installed the loop. That's disgusting!

Let's take a look at my waterblock. Hmm, what's this?
Corrosion1.jpg

A thick black coating, impervious to water, a toothbrush, and vinegar? Can't be Copper Oxide... So, what is it? Well, looks like corrosion to me. Infact, the only way to cut through the grime was to submerse the copper block in a 50% concentration of Sodium Hydroxide (Moral #1: Sodium hydroxide hurts like hell. It burns through vinyl in under 4 seconds, as I unfortunately found out. Thank god I had some vinegar on hand to neutralize the burn, or else I could have been in great danger).

Taking a look at the next picture, we have, once again, more corrosion (and a lot of commas in that sentence).
Corrosion2.jpg


That grimey coppery black precipitate is often found on the cathode in a galvanic reaction, and a white hard coating is found on the anode... I later found a white coating in all my brass fittings. Strange... Considering I was using a 10% Pentosin Fluid.

Well, enough of that. Let's remove the system, and start cleaning everything up. We now have:
Interiorgutted.jpg


I know, exciting isn't it? More updates to come in a half hour or so, as my paint needs to be baked!
 
Now, Lian Li likes to use pop rivets to hold some stuff in place. Arcy doesn't like when Lian Li decides to use pop rivets, so... I popped them out. All 44 of them. Worst 35 minutes of my life.

Oh, then on top of that, I had to tap all the holes to 6-32 so I could re-assemble the case. I'll be using the following sexy hex buttonhead screws:
RivotDrilling.jpg


So, what does a Lian Li look like totally naked? Well, for one thing, it only weighs about a pound... Maybe a pound in a half. That in its self is incredible to me.
bareShell.jpg


Just look at that disgusting sticky noise blocking film. I had a major airflow/dust problems, as I was losing all my pressure out the bottom vents, so I covered them. Moral of the worklog #2: Sound dampening mat adhesive is one tough son of a bitch. There isn't a solvent in this world powerful enough to remove that sticky crap. I tried acetone, lighter fluid, gasoline, rubbing alcohol, muriatic acid, and NOTHING would remove it. The foam came off, but the layer of sticky stayed. Finally, I decided to, for fun, use a Mister Clean Magic Eraser on it, and it totally worked. Damn! Those things are magic.

So, what am I going to do with all those panels I removed? Paint them of course. Matte black! But, of course, I ran out of paint, as described earlier. So, it's off to Canadian tire. The best store on the planet... The only store where you can run around blindfolded, dropping random shit into your basket, and still be sure that what you grabbed will be totally badass. Oh, and it's probably on sale too. Sweet.

Here's one third of the paint aisles. Sorry for the blurry picture, the store has security guards, and they don't let you take pictures in the store. I got in trouble during my last worklog for that :3.
CanadianTireFTW.jpg


More to come in a few.
 
Wow reminds me that I need to do some spring cleaning on my water rig.

Really glad you had vinegar on hand.
 
Mild or Fire sauce from taco bell cleans copper in a matter of minutes ..No scrubbing

I'm still amazed people use it on there T Bell
 
(Moral #1: Sodium hydroxide hurts like hell. It burns through vinyl in under 4 seconds, as I unfortunately found out. Thank god I had some vinegar on hand to neutralize the burn, or else I could have been in great danger).

pics or shens :p


on a more serious note, this looks good!

/subbed :p
 
Mild or Fire sauce from taco bell cleans copper in a matter of minutes ..No scrubbing

I'm still amazed people use it on there T Bell

soft tacos with 3 fire sauce packets....omg so good. But ur asshole is crying when it comes out.
 
hmmm....in the first pic as of 4:30 am your CPU block looks like a DD with clear top ... in the pics where u ripped it apart your block looks like a fuzion with black top ... block mutation ??? :confused::eek:

anyways ...subscribed ;)
 
hmmm....in the first pic as of 4:30 am your CPU block looks like a DD with clear top ... in the pics where u ripped it apart your block looks like a fuzion with black top ... block mutation ??? :confused::eek:

anyways ...subscribed ;)

Yeah, My TDX shattered about 4 months ago. Luckily it shattered in a way that I could replace it with a Fuzion without needing to drain the loop (yeah, I'm that awesome haha). It dropped my temps by 6c though :D.

That pic from 4am was actually from a year ago, but my comp at 4am looks SIMILAR to that pic :D. Bastard

im gonna hold you to that ;)

It's on ;)
 
Update!

Radeww.jpg

Yeah... So, that's what came out of my radiator... It's "vinegar". The radiator that I originally cleaned with vinegar, 30% HCL and boiling pressurized water. What the hell, *shudders*.

Anyways, this crappy picture shows me drilling holes for the new case feet... That I don't have yet :rolleyes:
Feetrivots.jpg

I have some sexy audio-equipment like feet coming :).

And here we have some of the screws I'm thinking about using. I'm not sure whether I want a BIT of nickel plated screws, or all black oxide screws visible on the outside. Inside will be all black (;)) but I really like the robustness/badassness of it :)
TestScrew2.jpg


Here we have some of the paint. It was baked for 24 hours, and survives the key scratch test! No primer or anything! Tremclad rustpaint is the *best* paint for metal!
Testcolour.jpg


Here are the drive cage sides... Don't mind that disgusting blob. It's some adhesive I use to keep my stupid fan controller from rattling around :mad:
Sides.jpg


And, That's about it for now. I need to tackle the re-wiring of everything, and wait for the nice lads over at Performance-Pcs.com to ship me my crap :)

I'll be borrowing my friend's rebel to show you some high quality shots of the paint quality/overall build, so don't worry :)
 
Update!

Not much to show you, but I got a lot done :D. This is about as far as I'll get for awhile, until my PPCs order comes in... Sadly... But I'll show you what I got so far.

First, I wanted to see how it all looked put together, to make sure the paint matched everywhere. This is what I got so far. Pretty fantastic (I used that word for you, you know who you are) if you ask me :)
Testfit.jpg


So, to tackle next was the behemoth known as water cooling. Before, I used the principles of the red green show to hold my pump in. Y'know, "pressure fit, and some duct tape". Yeah, I'm serious, I covered the pump in acoustic foam, and wedged it in, with some tape on the bottom to hold it all together. I'm so seriously awesome.

To change this, I drilled some holes on the bottom. Well, I WOULD have, but the nice people over at Lian-Li decided to use all 7/64" holes in their cases for the venting... Which is the perfect drill bit for my 6-32 tap. I was giddy with the prospect of putting my pump in, without having to remove all the panels I mocked up.
pumpMount.jpg

(It's on a slant to prevent the side of the pump from bumping against the window, I swear!)

So, then I had to retrofit my pump to the nice modular connector that Corsair chose to use instead on their PSU's. Really, using molex connectors would be too logical and easy for me, so they used these little fuckers. So, that means I need to re-do all my wiring, even if I didn't want to. Sweet. I can't wait to spend four hours on this :)
kunttakethatwordfilter.jpg

(Yeah, that's right, I saved it on the lowest quality jpg setting, because it wasn't worth the 50kb that a regular image takes up).
(Edit: haha, the original file name was wordfiltered by the forum. Guess which lovely, colourful, word I chose to name this image! Winner gets some free LED's and LED holders.)

Ahem, anyways, I ended up with this...
TestPump2.jpg

Now it's time to paint the pump bracket, since it's seen better days. I didn't take a picture of this, because, really, who cares? It's black. Blacker than it was before. Fucking A. Oh, Also, I scratched it in the EXACT same place that it was scratched before, which prompted me to paint it originally. Wicked :).

And now, I've got it all put together. It really does look good. The paint is durable as hell (well, until I've written this at least. I expect to wake up tomorrow and find it's all flaked off, or turned purple, or something).
sideout.jpg


Test-fit with the mobo.
sorryblur.jpg

Three words came to mind when I saw this, "unf, unf, unf" (or "fap, fap, fap" your choice).

Couldn't be happier.

So, that's it for now. Next week we have the actual MODS starting, not all this lame painting :).

Any ideas for stuff I should include? My main goal is silence, and stealthyness... But I want flare to be available with a flick of a switch or something. I'm open to All ideas, and would seriously like to hear some.
 
Nice Arcy, looking good so far ;) I don't have any creative ideas for your modding sadly, just thought i might show some support. I'll be checking back for updates :D
 
Nice Arcy, looking good so far ;) I don't have any creative ideas for your modding sadly, just thought i might show some support. I'll be checking back for updates :D

Hehe, thanks, words of encouragement are worth their weight anyways.

I've got a few ideas, but I'm looking for inspiration to make this truly unique. I've got an idea or two... but most of the HUGE projects I'd want to do, require a new case, and about 400$ in materials, which I can't afford right now.
 
really a nice job.

when you 1st said flare, 1st thing I thought of was, why do you want an emergency roadside flare? but hey it would look cool, make a mess of things though.

But seriously not spending much money and doing something cool I haven't figured that one out. I am always checking back to see how thing are going
 
Update Time!

So, I need to drill lots of holes in my nice newly painted case floor :rolleyes:. Wicked. Thank GOD for masking tape, 15 layers of it!
drillingholes.jpg


First few holes... Now for the rest of em.
holesdone.jpg

You'll see what they're for later, when I get my order in :).

Uhhhgh. I need more 6-32 screws, and I need to walk down to Canadian Tire again... But take a look outside :D
outsideawesome.jpg

Oh well, it's only snow... right?

Look what I got, another pack of beautiful buttonhead hex's... 5$ for 20, but so worth it! You can see them attaching the rad to my radgrill/top of the case...
radneedrepaint.jpg

Wow, I really need to repaint that radgrill! I'll be doing that next I guess.

Finally (for today)... I needed to make a new cable for my MDVA. It picked up interference from... well, everything! Hahaha. I used 2 strands of CAT5e twisted cable, twisted those together again, connected the "White" wires to use as common, and the coloured ones as the R and L channels.
newCable.jpg

And there's the final product. Yeah, I ran out of black sleeving. Fucking great. :eek:

That's it for now.

BUT, I got my camera working again! So, from now on, I'll be giving GOOD pictures ;)
 
I know I know...did the original name have to do something with a derogatory name for the female genitalia, rhyming with punt or bunt or runt? Also, I love those screws they look very nice. Me personally I would have gone with the black on black but the silver is nice too.
Excelent friggin job.

Lets see if it allows me to say the word I am alluding to...♥♥♥♥....HAHA NOPE

Hit the nail on the head there... Or should I say, "punt" ed it. ;)

And I did decide to go black on black in the end... You know what they say :D.
 
Updates!

Updates are slow for now, I'm waiting on my major packages to come in... But I did get one of 4, so at least I could do all the wiring... All I'm waiting on is the lighting and some watercooling.

So, here's the entire case put back together, and the picture taken with my freshly re-assembled camera... The lens is a little bit curved... Damn, I need to take it apart again :mad:
casefullypainted.jpg


Here's the board ready to go in...
boardout.jpg


Installed:
boardInstalled.jpg


Installed with the GPU. Geez, exciting isn't it? This worklog is feeling like an episode of Dragon Ball Z (Hey, I was a 14 year old boy once).
GPUinstalled.jpg


Here's a problem I encountered along the way... The Radiator is roughly 3mm away from the slots on the motherboard!
closeCall.jpg


Got my first order in! Zalman Fan Controller, some nice case feet, some (USELESS!) rubber U channeling, and some 3 pin extensions to cut up.
newOrder-1.jpg


First off, the most USEFULL THINGS EVER! Jumpers with PULL TABS!
pullTab.jpg


Here's the fan controller. MAN this thing is smexy! The front is 4mm billet aluminum!
newFC.jpg


Here's a picture of the Case feet... Couldn't resist taking this shot :D
casefeet.jpg


Here they are installed. Man, they look INCREDIBLE. Way better looking than the stock wheels, and they cut off an inch of the case height.
feetInstalled.jpg


Since I mounted the radiator, and it's a Black Ice Pro Xflow, I need some way of routing the water. Since I hate seeing tonnes water tubes going around, I do it this way. This fits right behind my MDVA.
frontConnection.jpg


More coming later tonight, gotta get back to homework :eek:
 
I used to run with 90-bends. Have you noticed any degraded performance? I ripped my old beast apart and ran straight with some zipties to kill kinks and my temps dropped ~5C. I'm not saying it's because I took the 90-bends out, but it happened.

Really nice work.

I'm coming up on six months with a similar setup and I hope not to see any crap in there. I'll find out come the end of the month, I'm swapping out video cards and EK FC blocks.
 
OH Hell, you got me watching another thread of your ffs!!!!

btw, can I have the LEDs cuz I seen what you did right there(and if I posted it, I would think that the words "bannable offense" would come to mind lol) & was very surprised there were no other posts? :p

Keep up the great work & remember to keep those bunnies apart, they breed like a mofo!

kunttakethatwordfilter.jpg FTW!!!!
 
I used to run with 90-bends. Have you noticed any degraded performance? I ripped my old beast apart and ran straight with some zipties to kill kinks and my temps dropped ~5C. I'm not saying it's because I took the 90-bends out, but it happened.

I'm coming up on six months with a similar setup and I hope not to see any crap in there. I'll find out come the end of the month, I'm swapping out video cards and EK FC blocks.

I love the EK blocks.

Uhm, no, I noticed no performance degradation... The 90's are 3/4" OD, and 9/16" ID, not like the 3/8" ID elbows you find elsewhere.

where you got those jumpers with pull tabs from ????

Performance-Pcs.com 30c each :)

OH Hell, you got me watching another thread of your ffs!!!!

btw, can I have the LEDs cuz I seen what you did right there(and if I posted it, I would think that the words "bannable offense" would come to mind lol) & was very surprised there were no other posts? :p

Keep up the great work & remember to keep those bunnies apart, they breed like a mofo!

kunttakethatwordfilter.jpg FTW!!!!

Hahaha, I was just trying to get someone to say the word and get lethal to tban them :D.

If I have any LED's left, I'm sorry, they gotta go to Pedro, he got it first :)

Yeah, I have a dust problem :(
 
Hahaha, I was just trying to get someone to say the word and get lethal to tban them :D.

If I have any LED's left, I'm sorry, they gotta go to Pedro, he got it first :)

Yeah, I have a dust problem :(

Damn, I didn't see his reference... sorry Pedro!

I think that particular RAD attracts dust to be honest.. I had the same problem with mine.. thank god for commercial air compressors at work :D

By the way, I thought you mentioned something about painting the fins. From what I understand, it will impede the performance unless you stripped the original paint right? (whoops, I've got a swiftech MR320)
 
By the way, I thought you mentioned something about painting the fins. From what I understand, it will impede the performance unless you stripped the original paint right? (whoops, I've got a swiftech MR320)

Hmmm, Nope, I never painted the fins. I've painted the OUTSIDE of a radiator a few times... but never the fins. :)
 
ever thought about painting the fans ??? the cheap plastic look doesnt quite match the elegant look of the rest of the case imo :)
 
Update!

Alright, a tiny update today, although I got a ton of hard work done... I also got another package in, so as soon as I get my last package in, I can actually start doing some of the real mods I was planning :eek:.

Up first, the power switch, sleeved and blurry!
pigtailpowerswitch.jpg


Here we have it installed... I really need to bust out the tack cloth and clean up all the dust that's settled on my nice paint job :eek:.
powerinstalled.jpg


Heres the front of the case, all fingerprinty, with the new controller installed. The thing is gorgeous IRL, I honestly love it. The knobs are a bit flimsy, but hell, I don't care.
caseFront.jpg


And here we have the backside of the controller.
fancontroller1.jpg


The controller needs power (duh) so I've spliced some power from the Hard Drive supply line.
fancontrollerpower.jpg


This is what I eat when I'm modding :p. Pepperettes, and diet orange crush soda... in a 1L beaker (yeah, that's how I roll, I drink out of beakers and jars because I can't afford to buy new glasses... Woo College!)
moddingfood.jpg


I didn't show you pictures from wiring everything up, but this is the final result. This is all the wires in my entire PC, and I've managed to keep them in a SINGLE line... this is a HUGE improvement over my old setup... And partially the reason why I modded this in the first place, I'm not scared that something's going to go poof now!
backwiring.jpg


Here's a picture of the OLD wiring :p
oldwiring.jpg


The bigass 24pin PSU supply line... That's impossible to stealth.
PSUwiring-1.jpg


I had to install a harddrive, yet I wanted to make sure it was in "backwards"... This is how close it is to the front panel. Literally, the big black shadow at the bottom of the picture is the front drive cover. This thing is *wedged* in there... I had to whack it a couple of times just to get it to fit :eek:
HDinstalled.jpg


And finally, the end result for today.
entireCase.jpg


So, what's left to do at this point?

- That gray ring needs to be painted black.
- Those holes need to be filled.
- I need to add my LED lighting...
- I need to set up the watercooling again, with a fillport location this time...
- I have to make a new acrylic front for my MDVA, since the old one just isn't cutting it anymore... sadly...
- Perhaps some other surprises, if my wallet holds true... After this week's groceries, though, I've got less than 200$ to my name. Thank god I have no debt, but I'm really redlining it!

And, well, any other ideas? :)
 
Back
Top