FERMI 2 - CUSTOM water cooled case/system - Dual Stacker 832's - Work Log :)

UPDATE!!!!!!!!!!!!!!!!!!!!!!!!!!!!!!!

Finally I have gotten a chance after a long long while to get some new pics!!!!!!

Here are some new pics regarding:

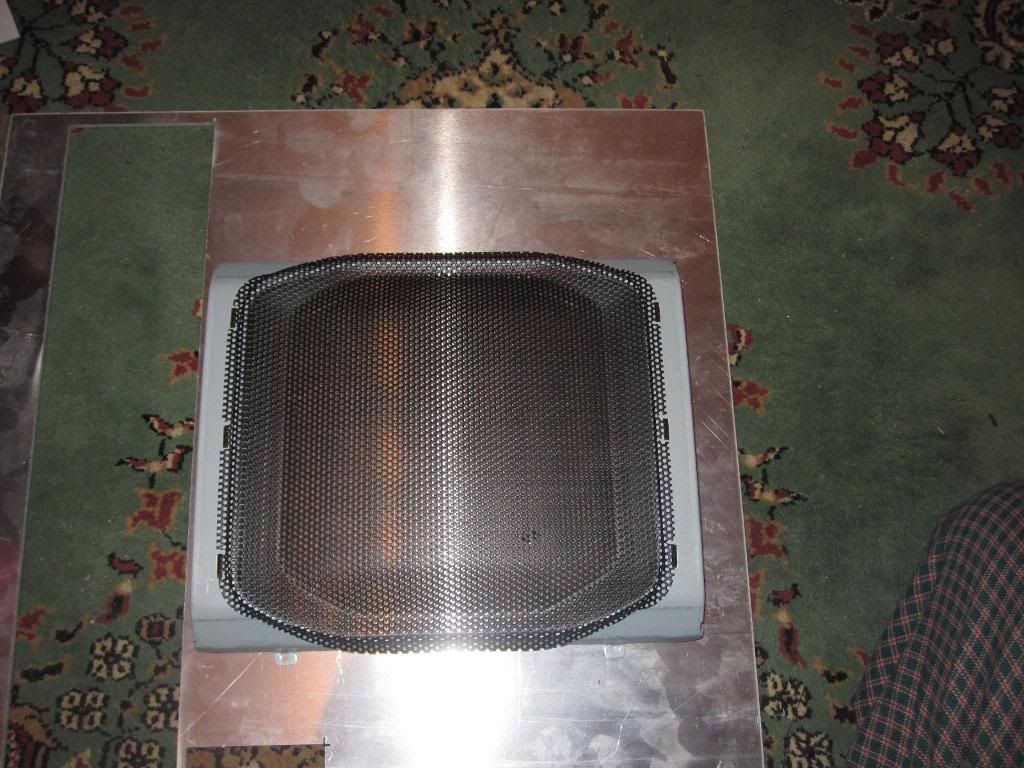
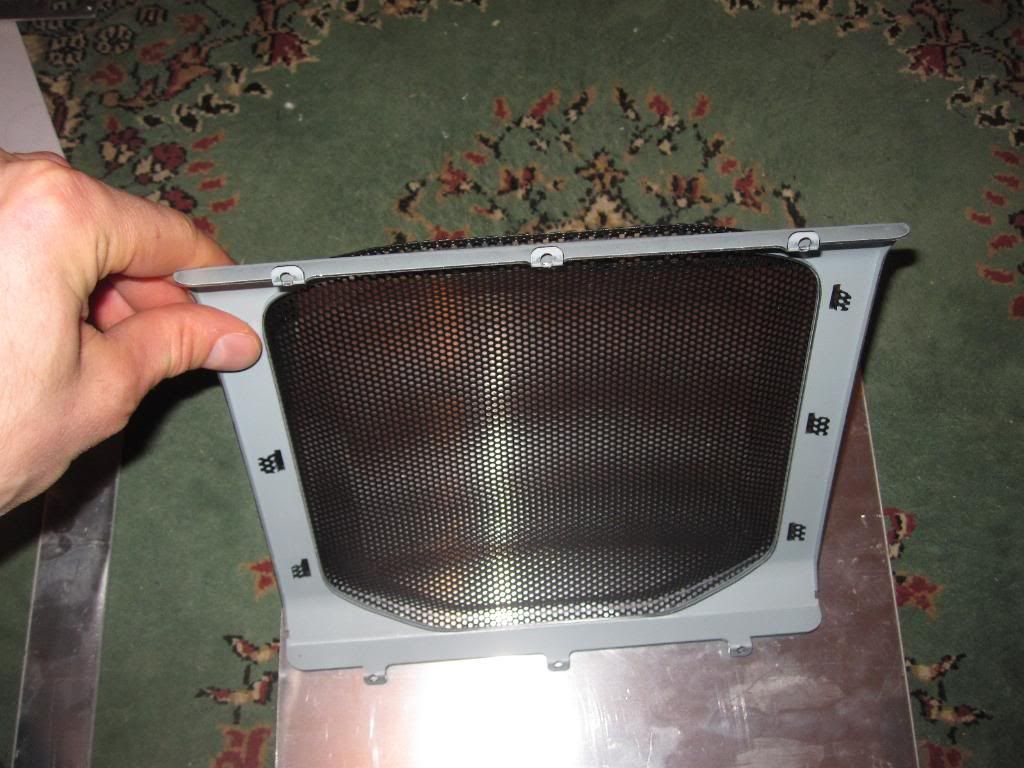
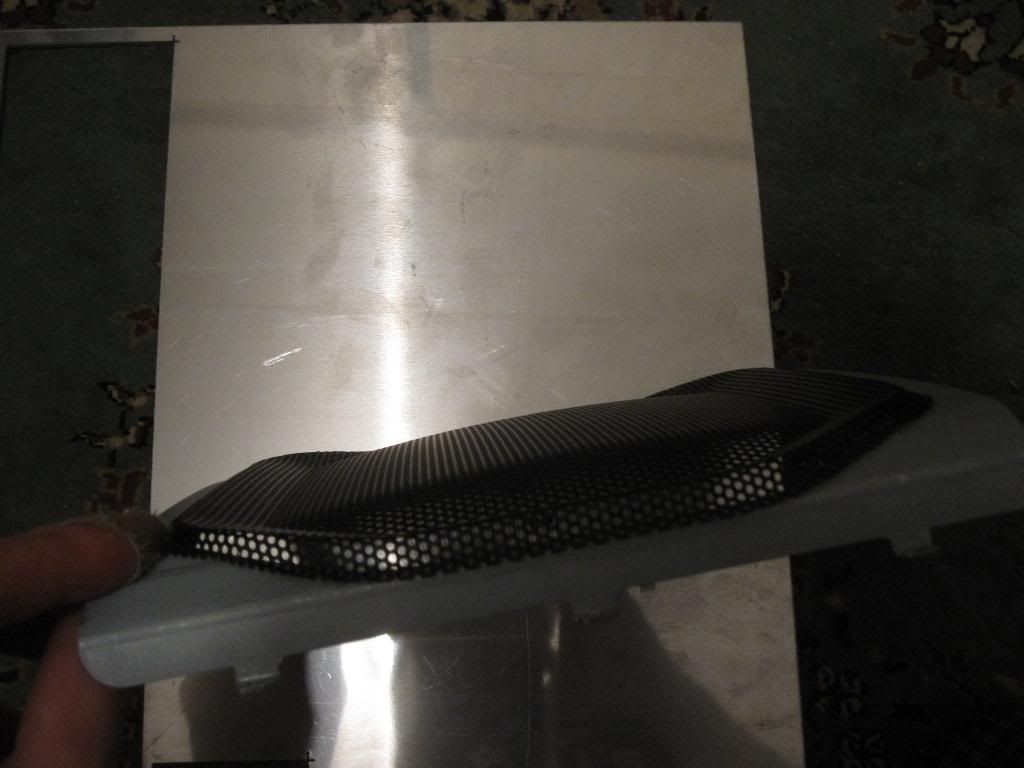
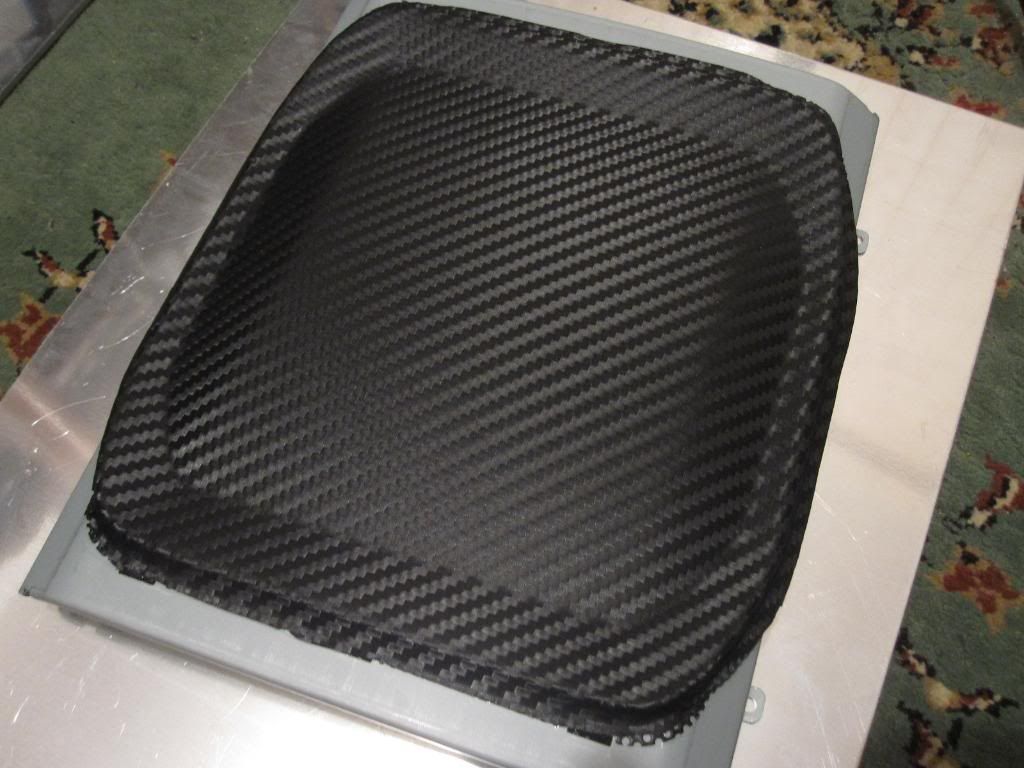
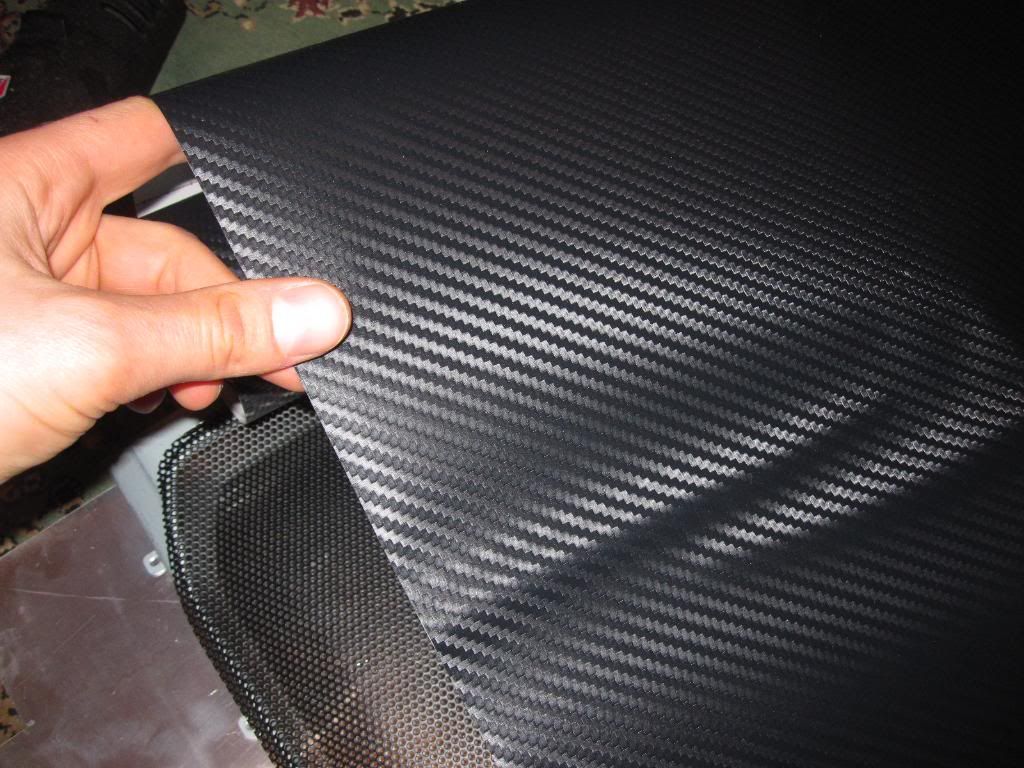
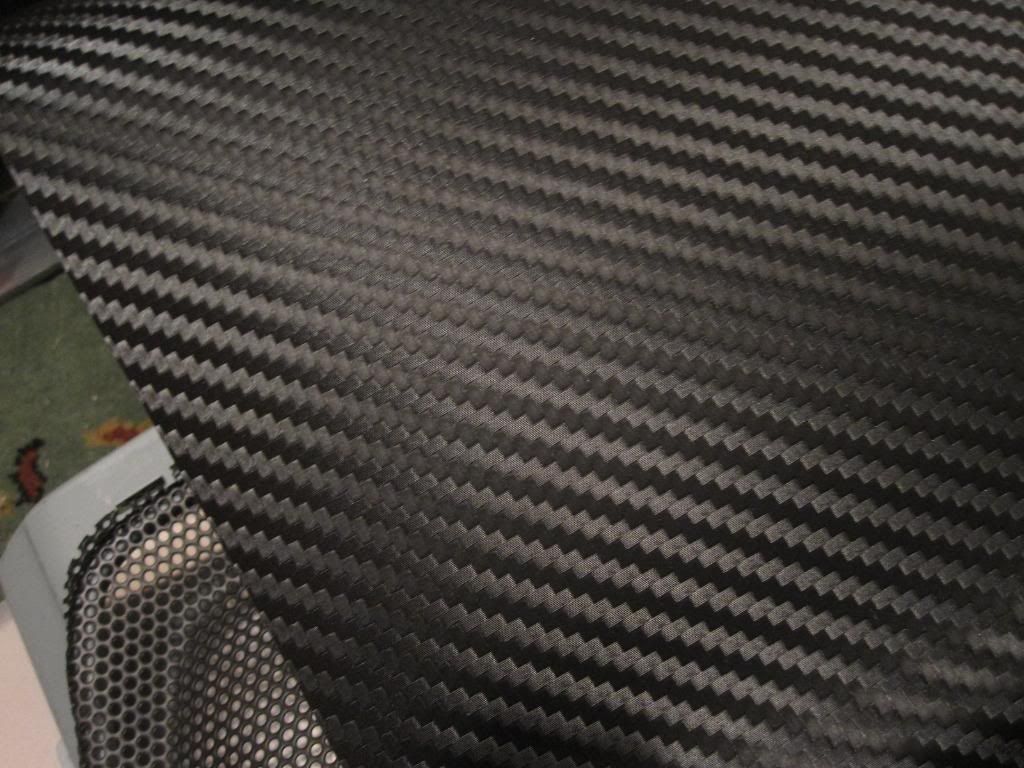
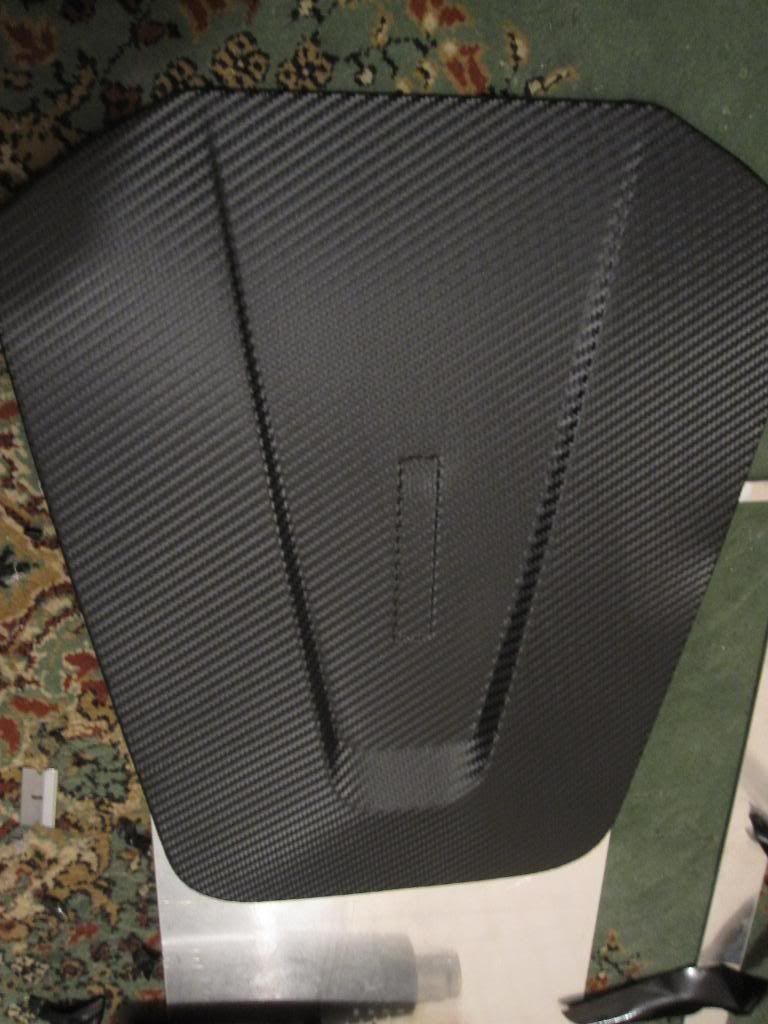
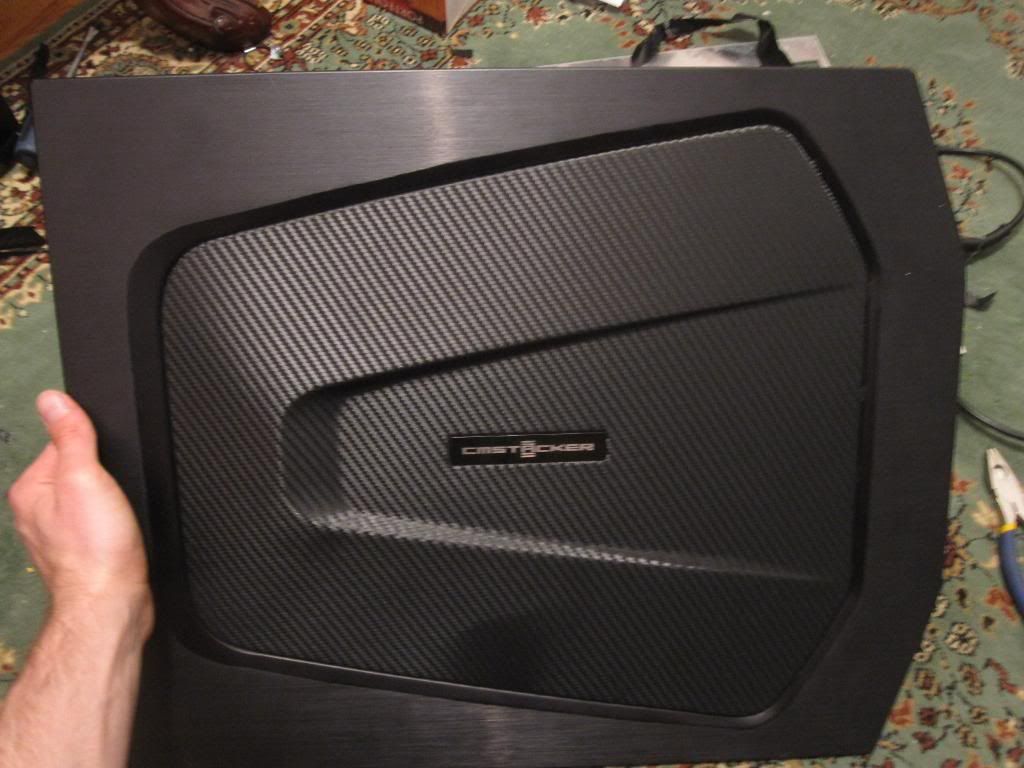
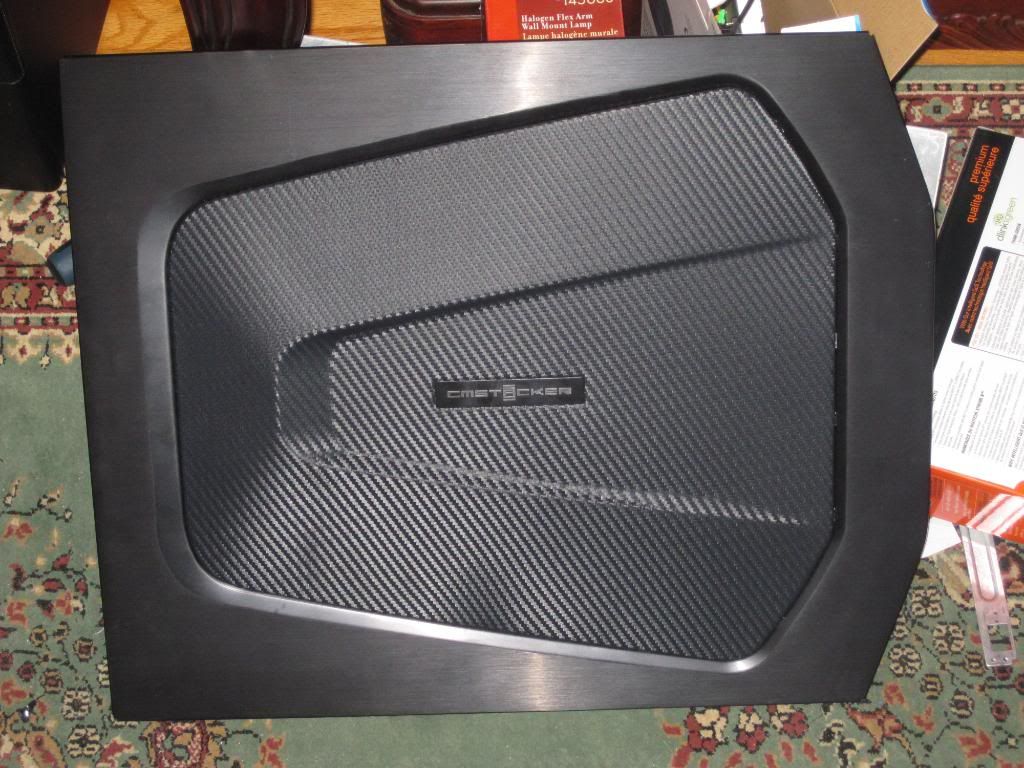
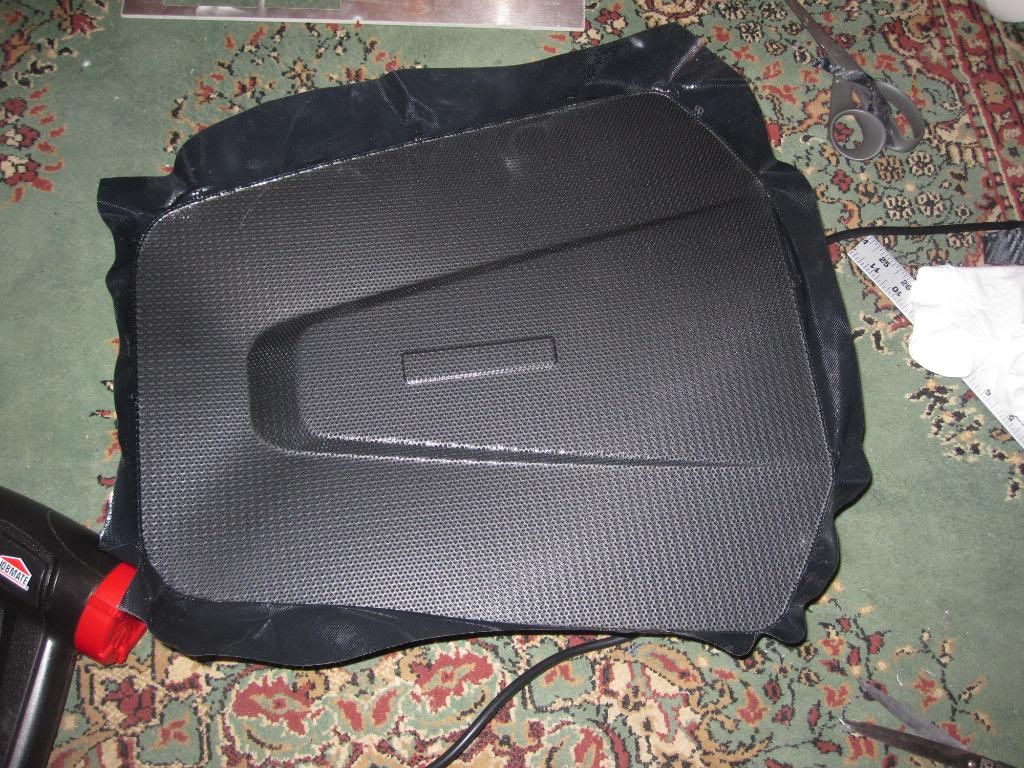
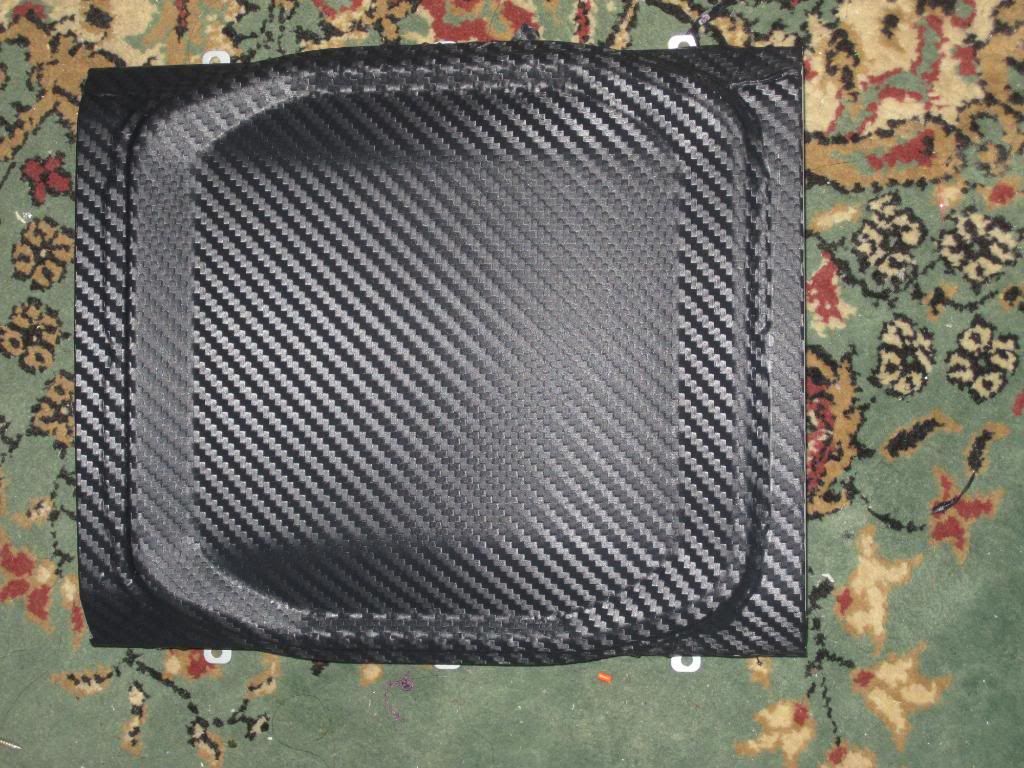
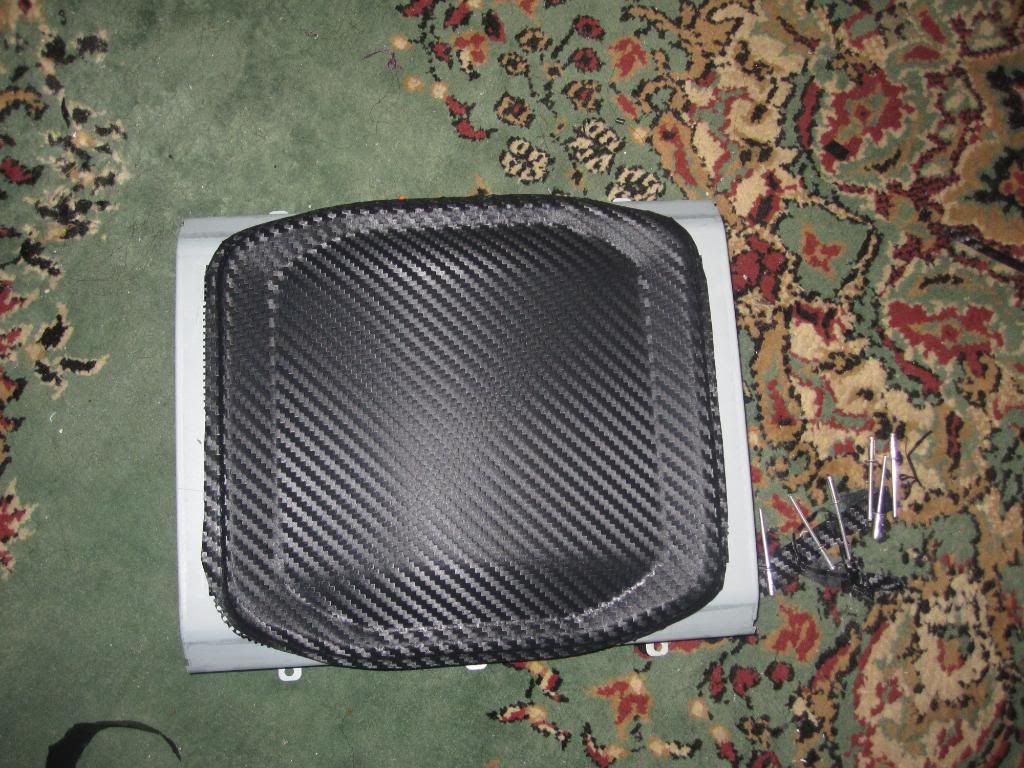
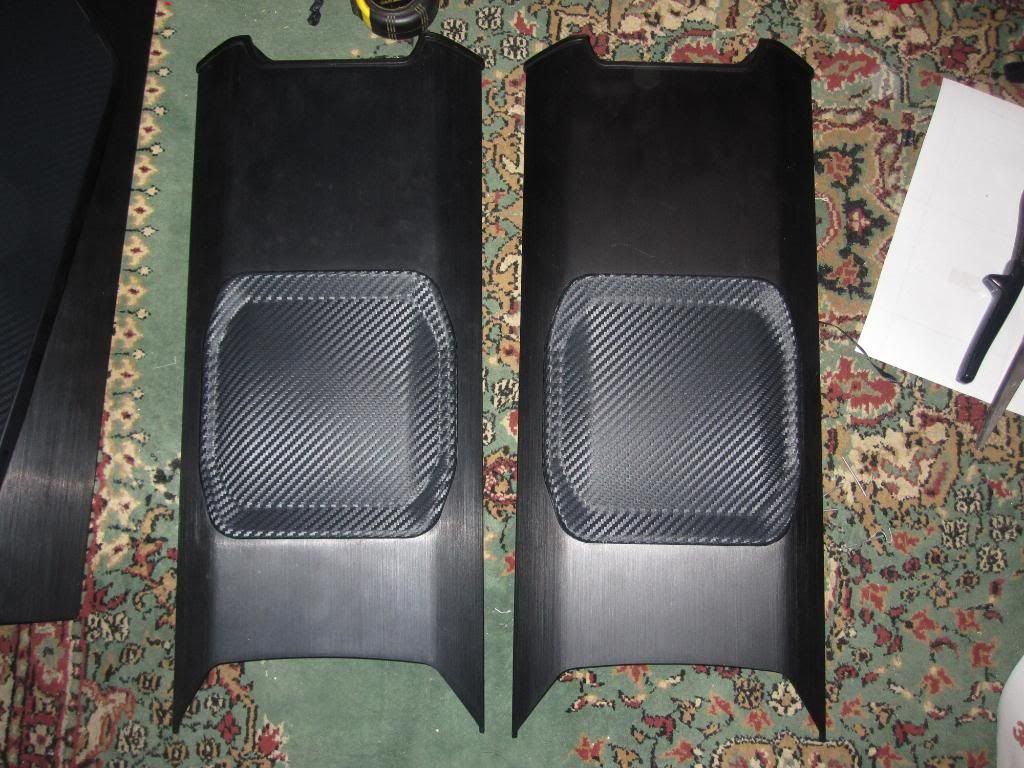
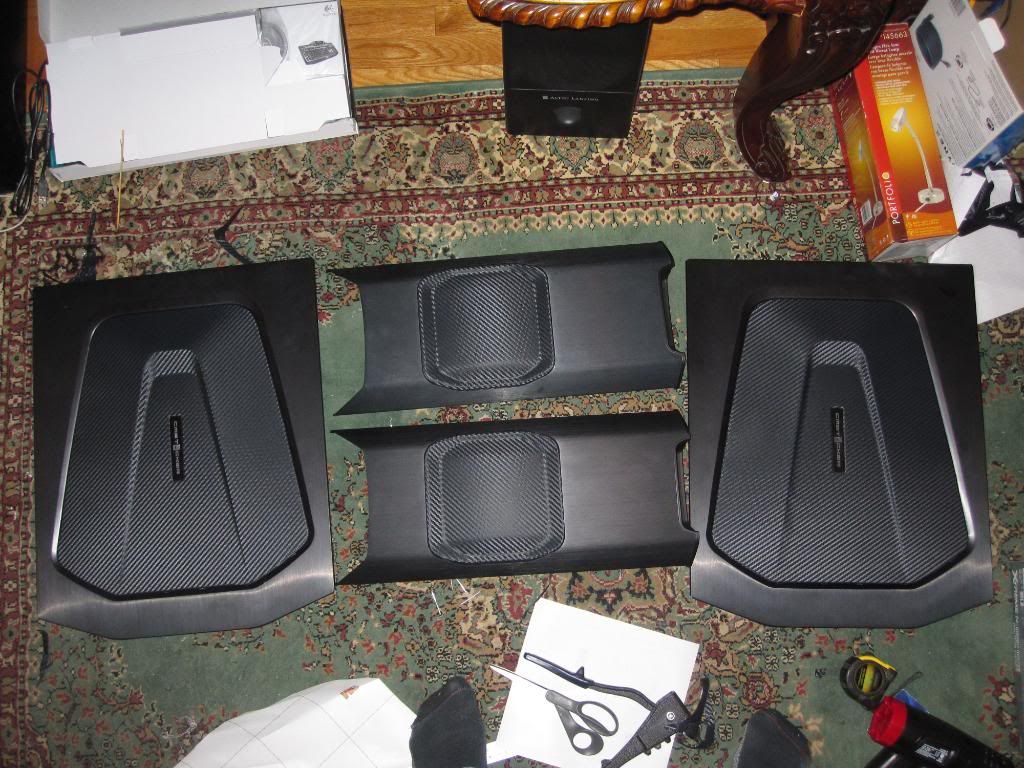
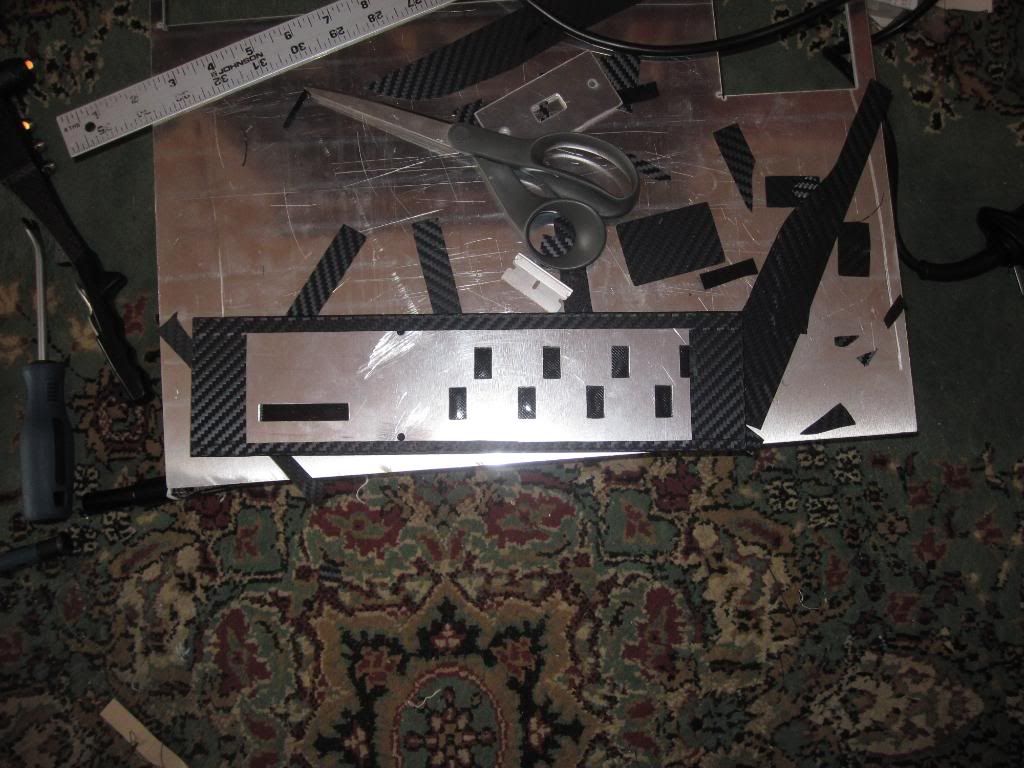
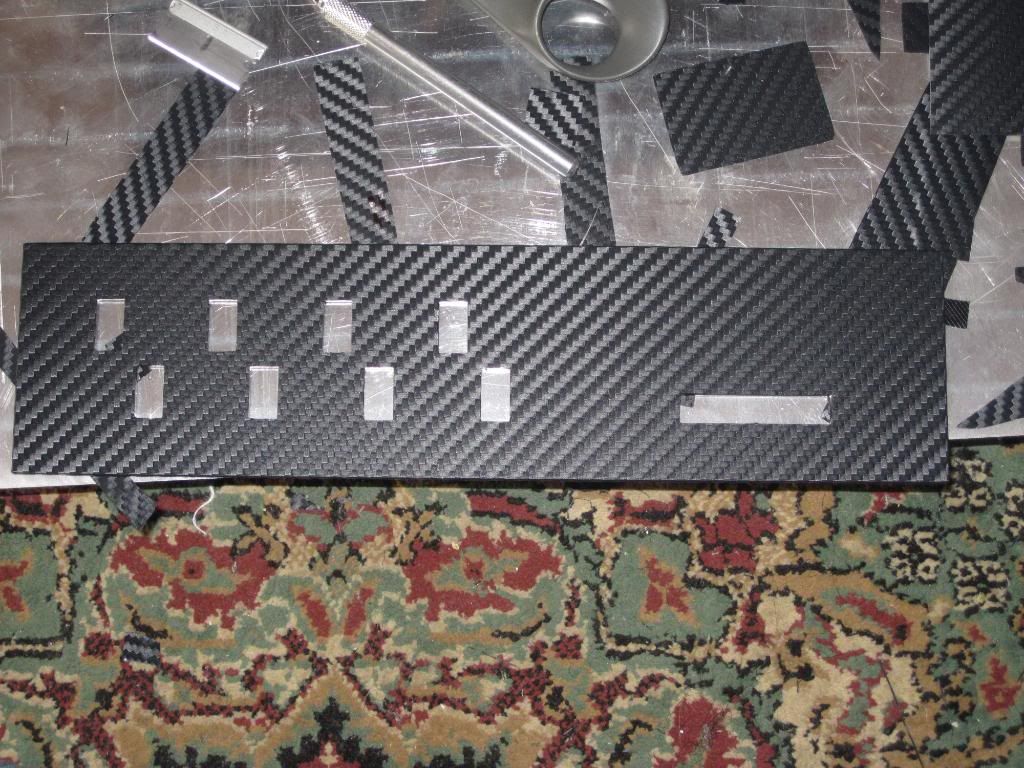
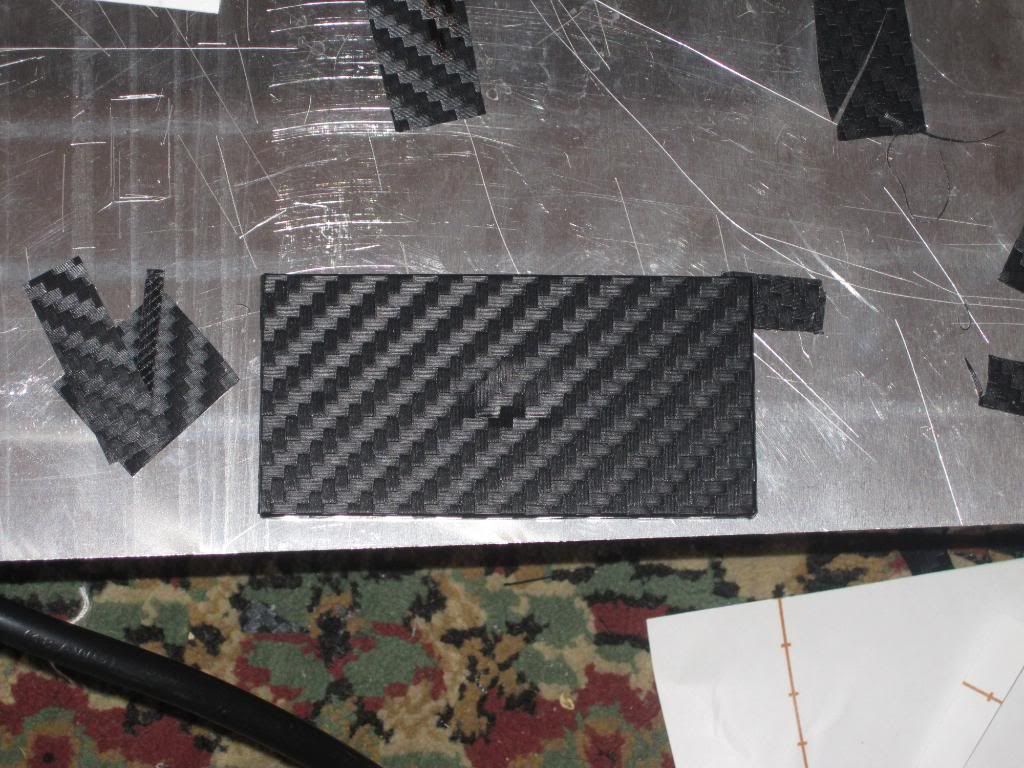
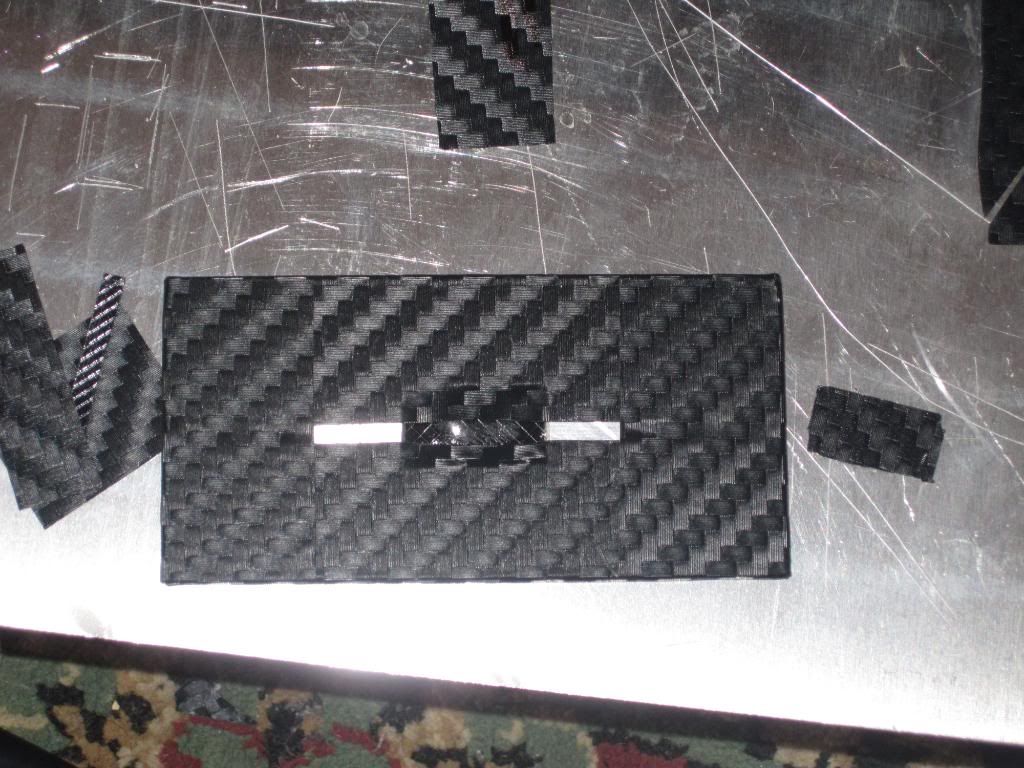
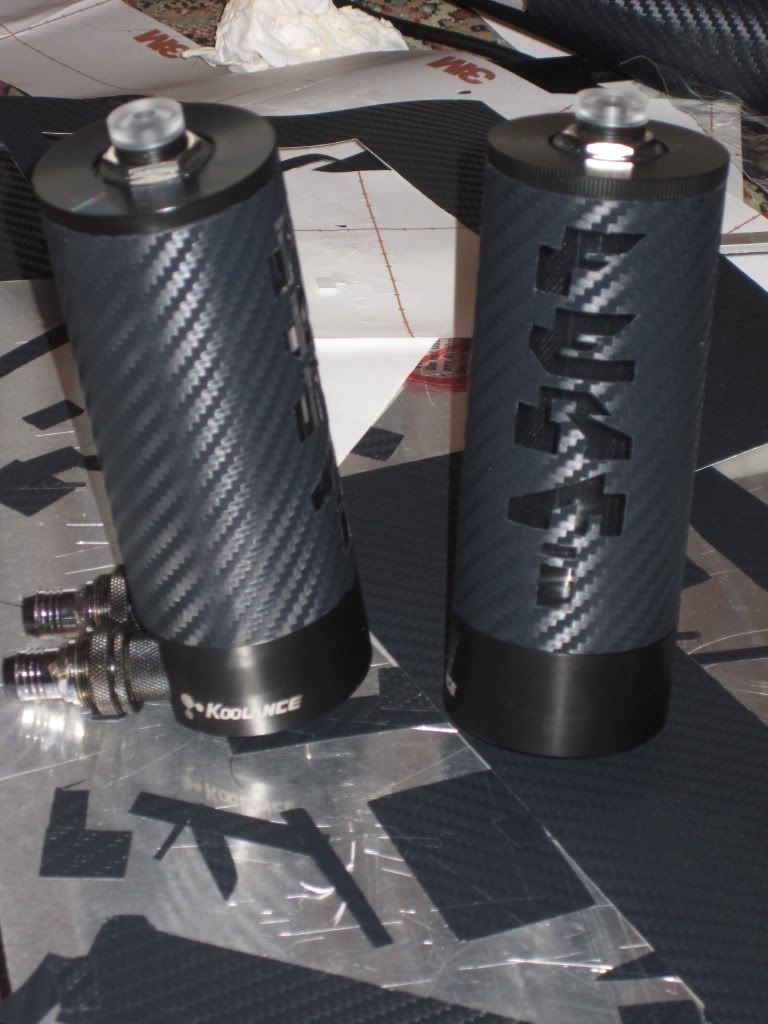
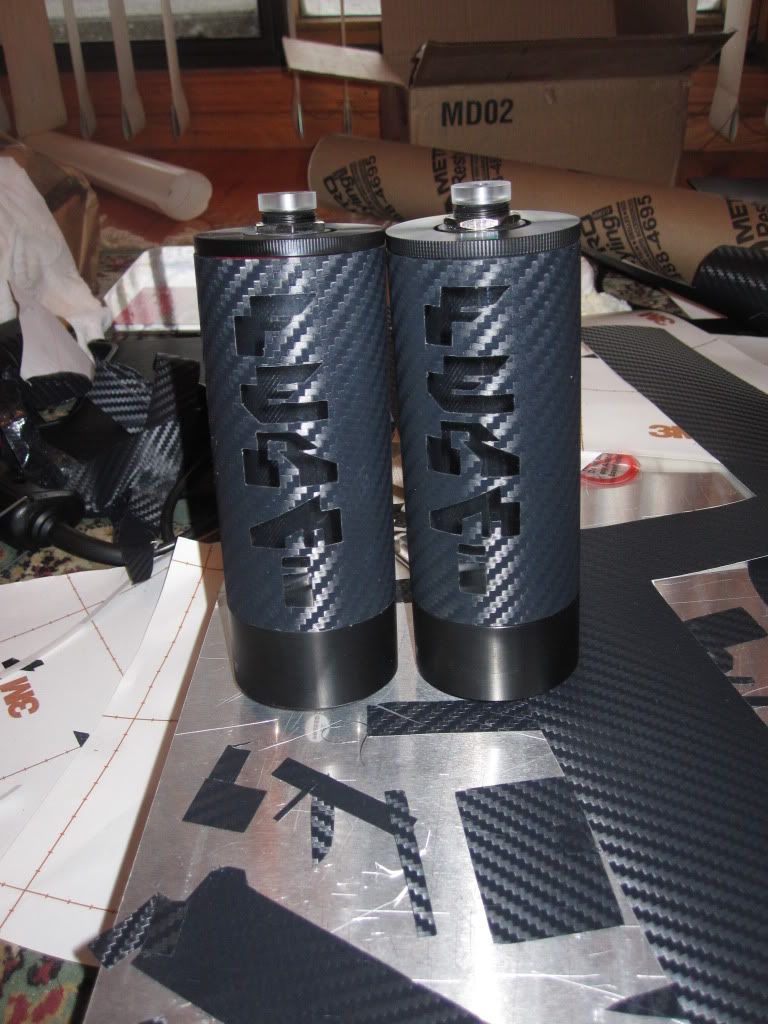
1. Carbon fiber vinyl
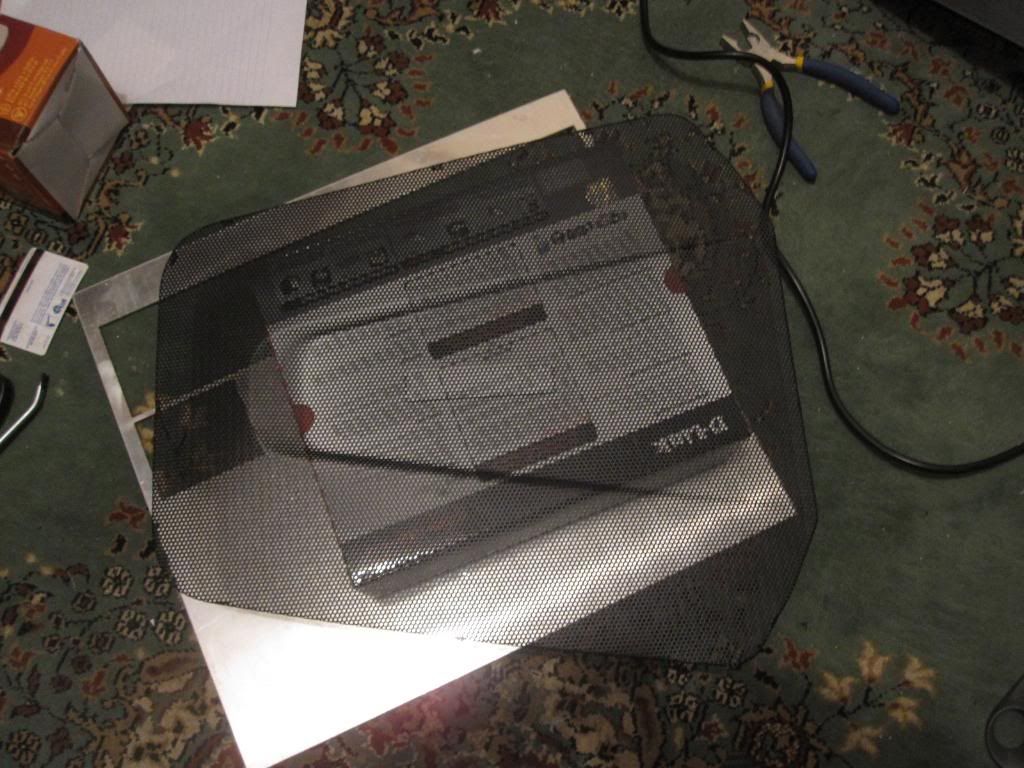
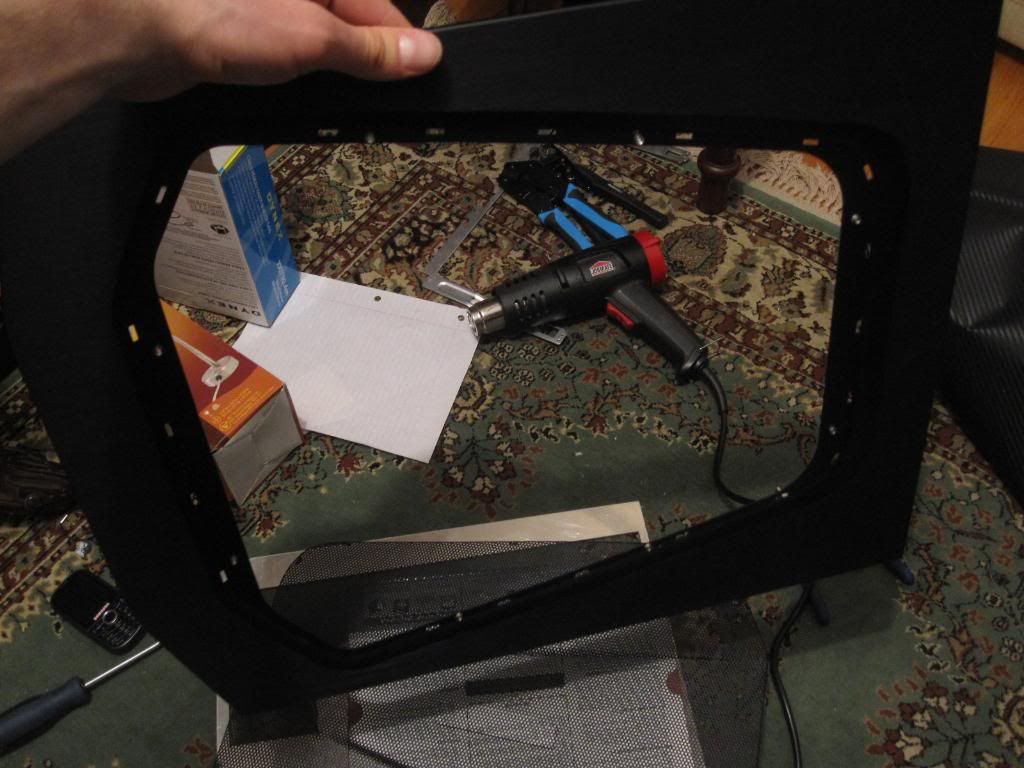
2. Installing the carbon fiber vinyl on many components of the case
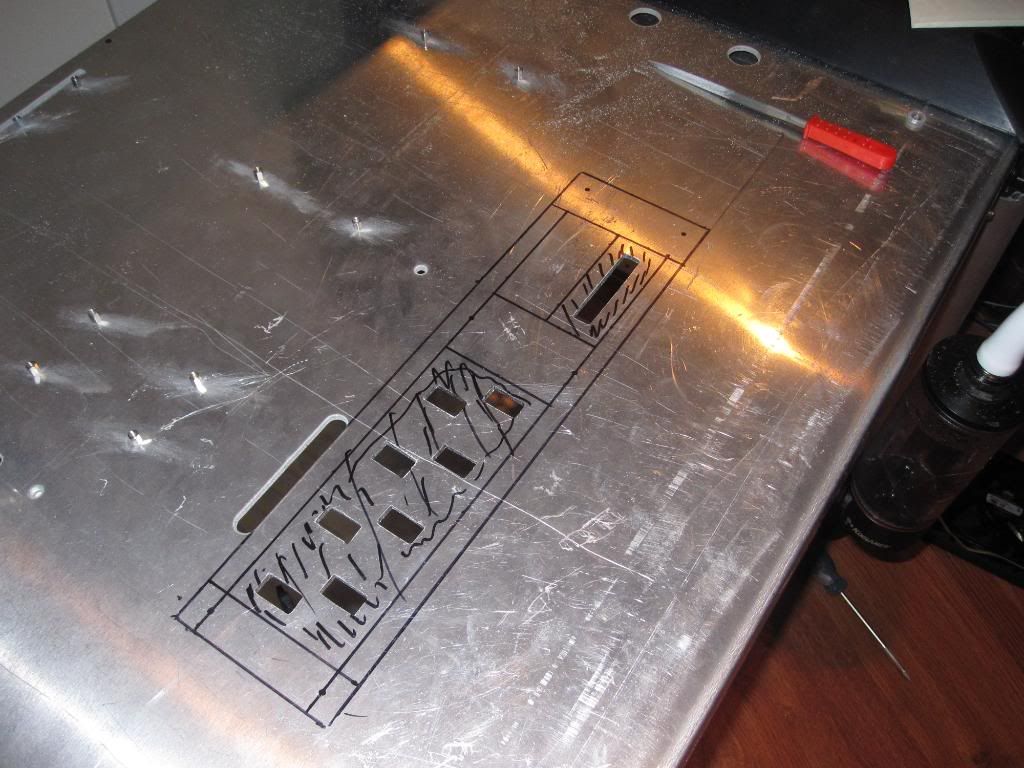
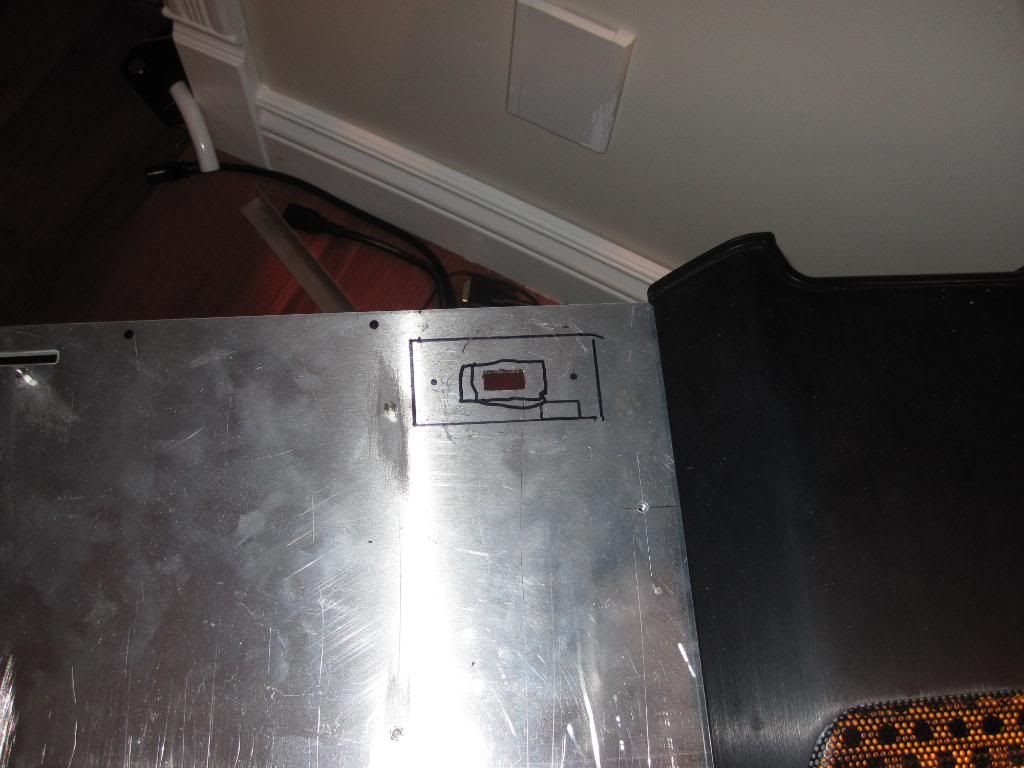
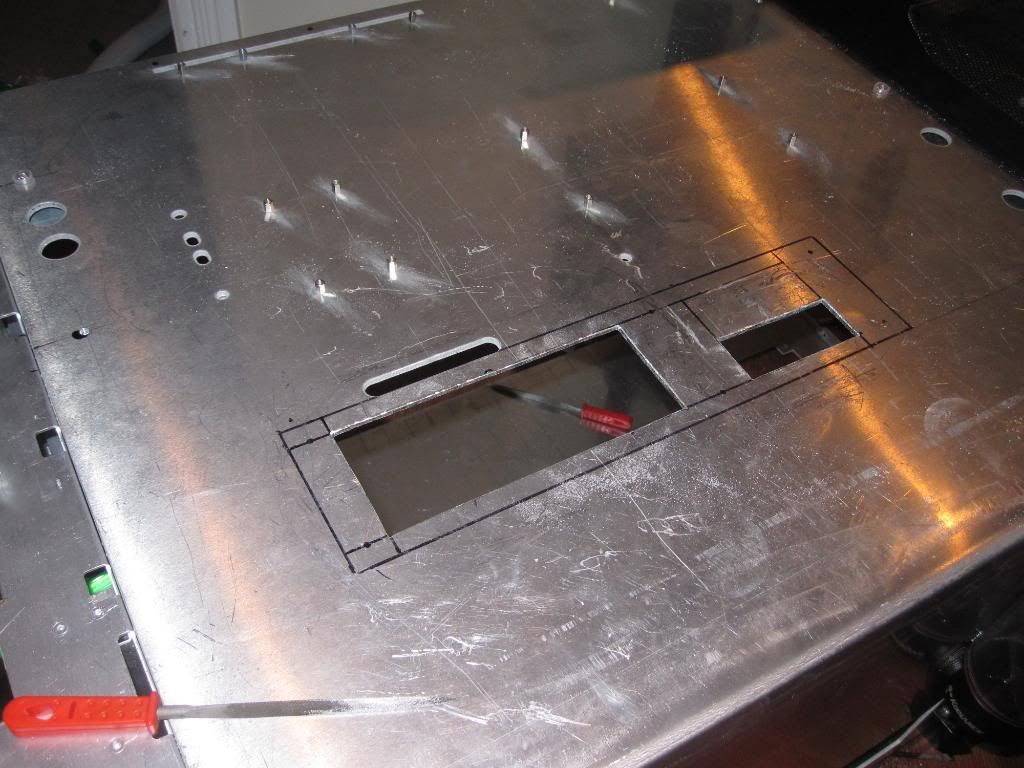
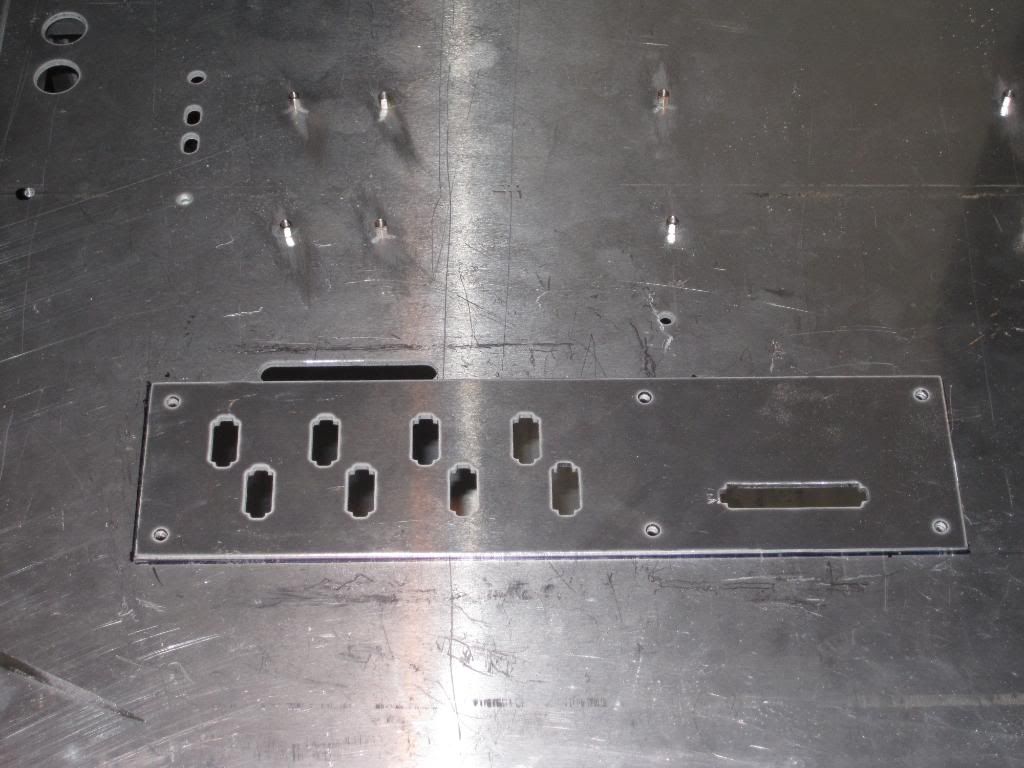
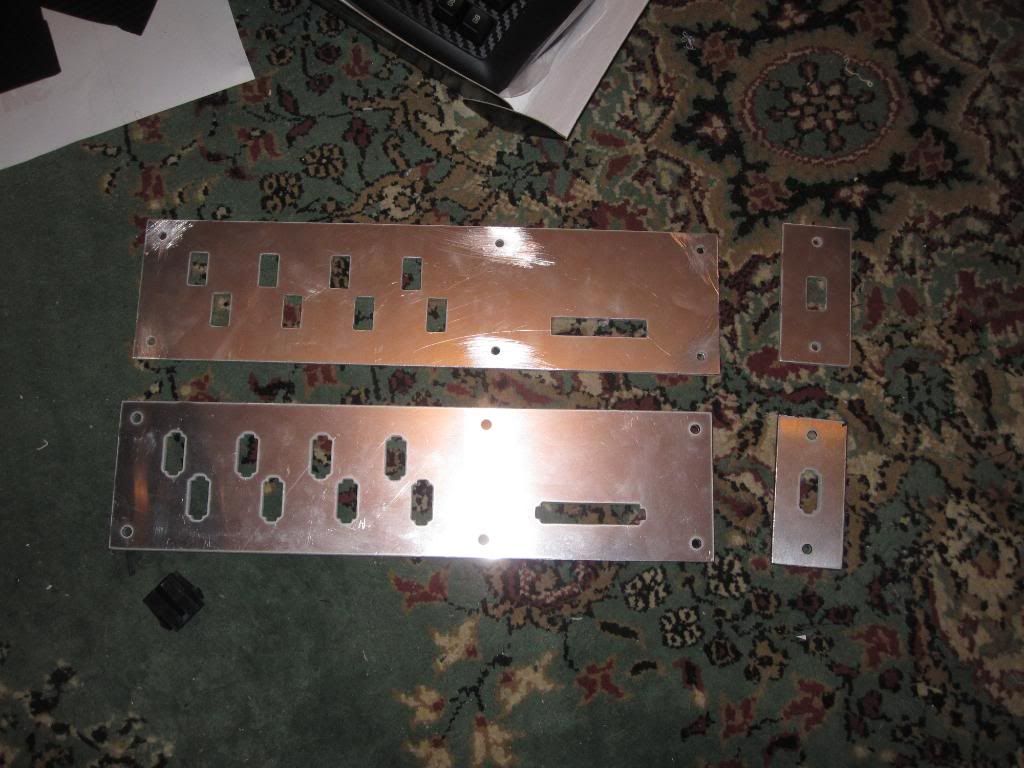
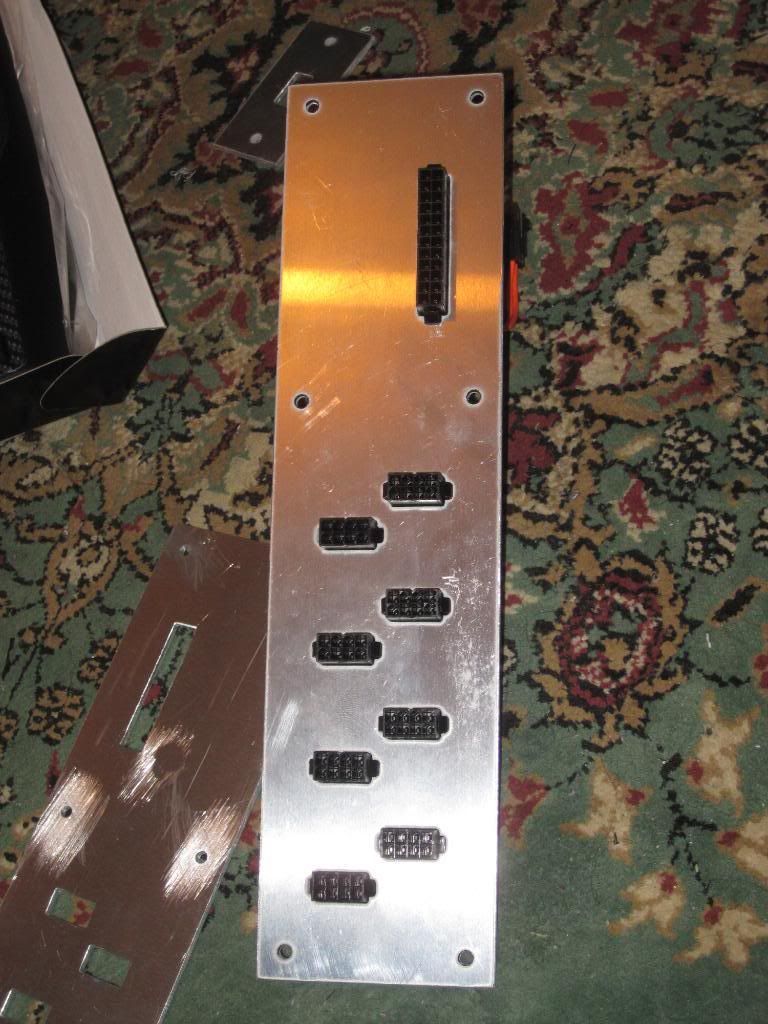
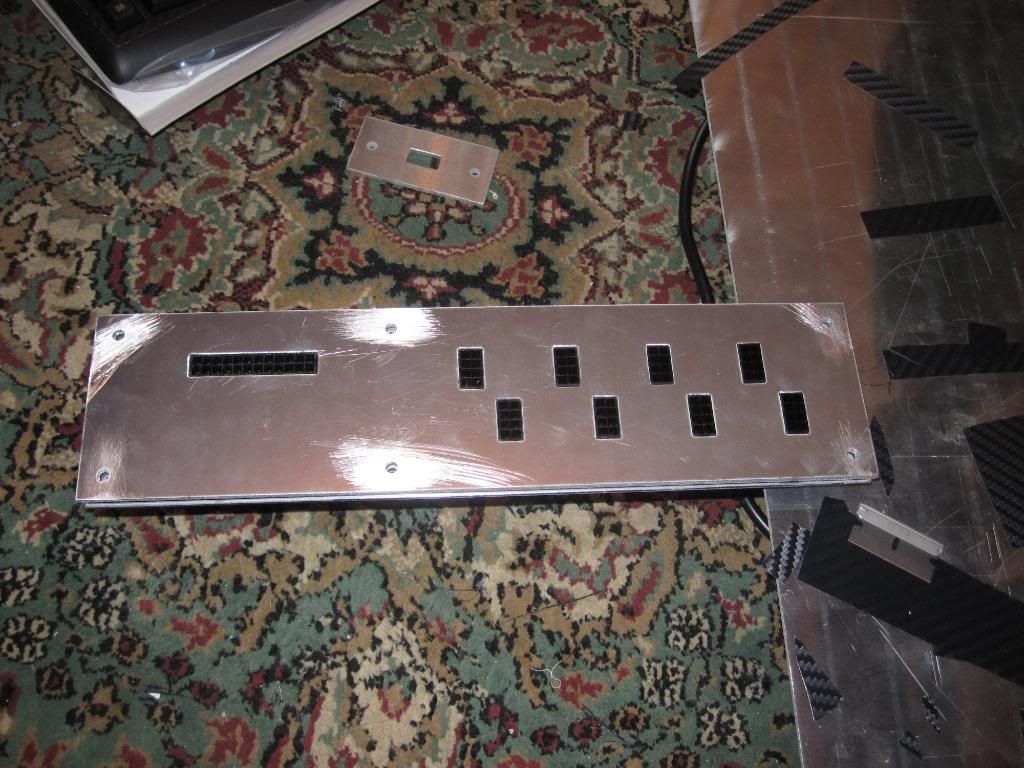
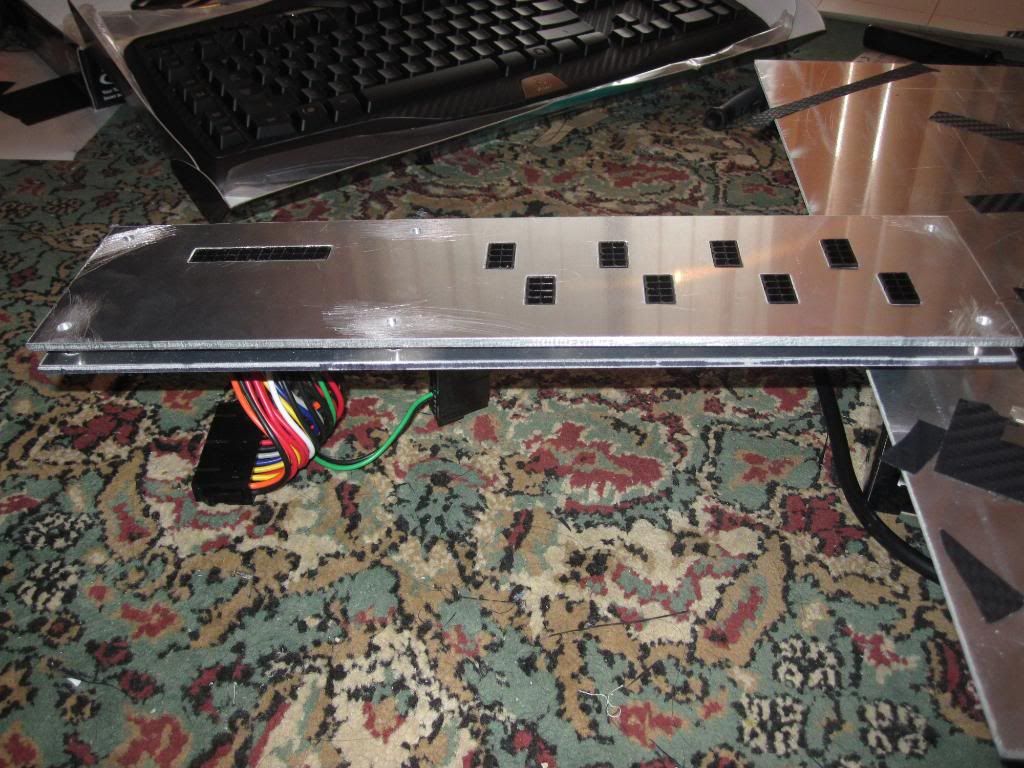
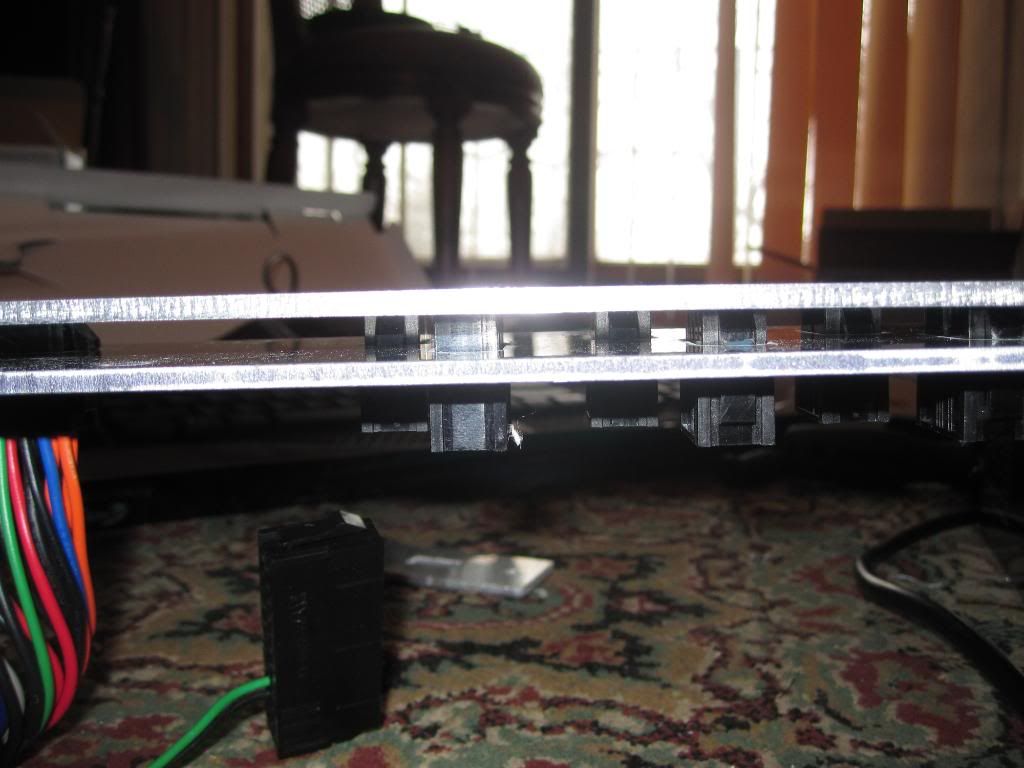
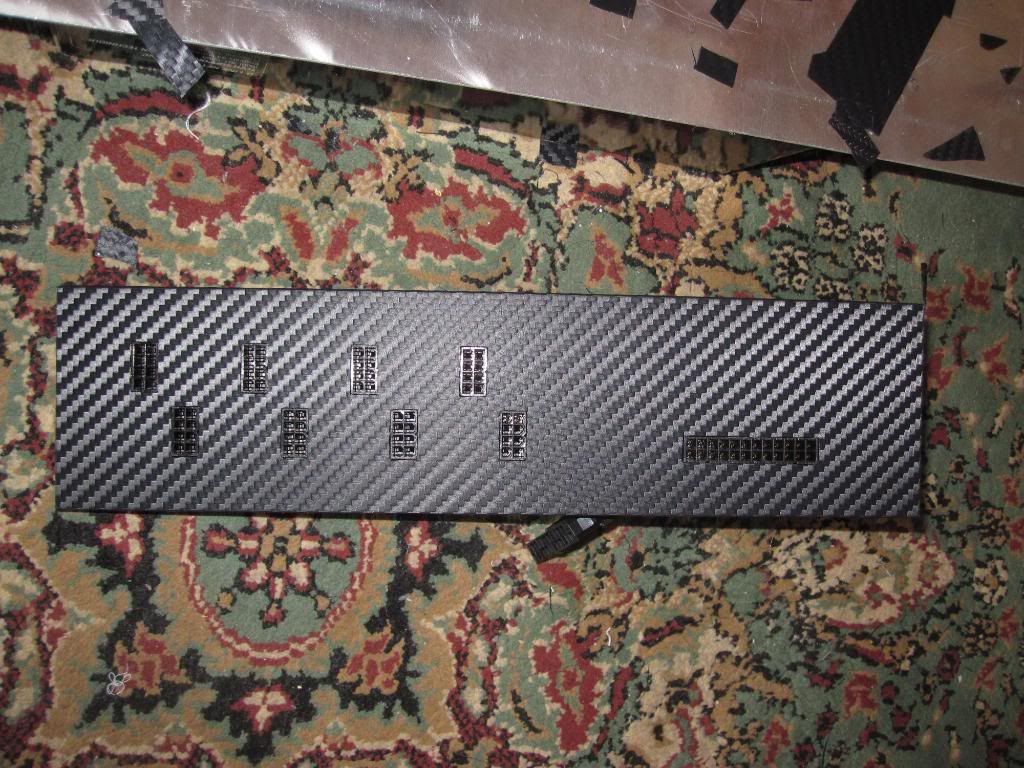
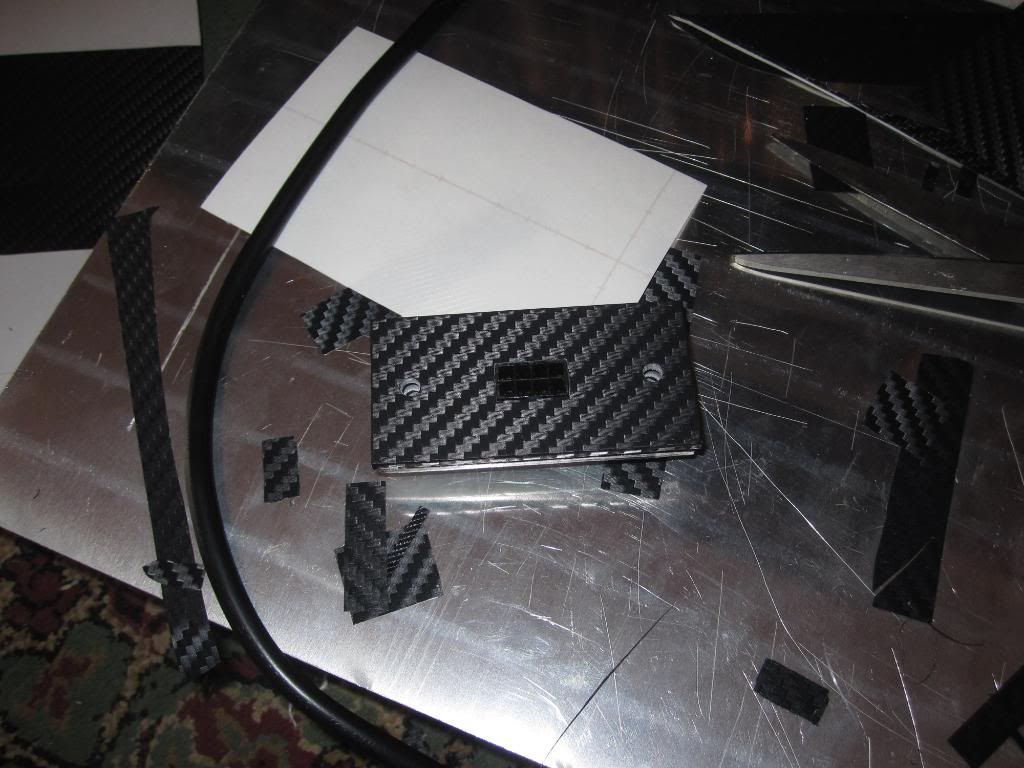
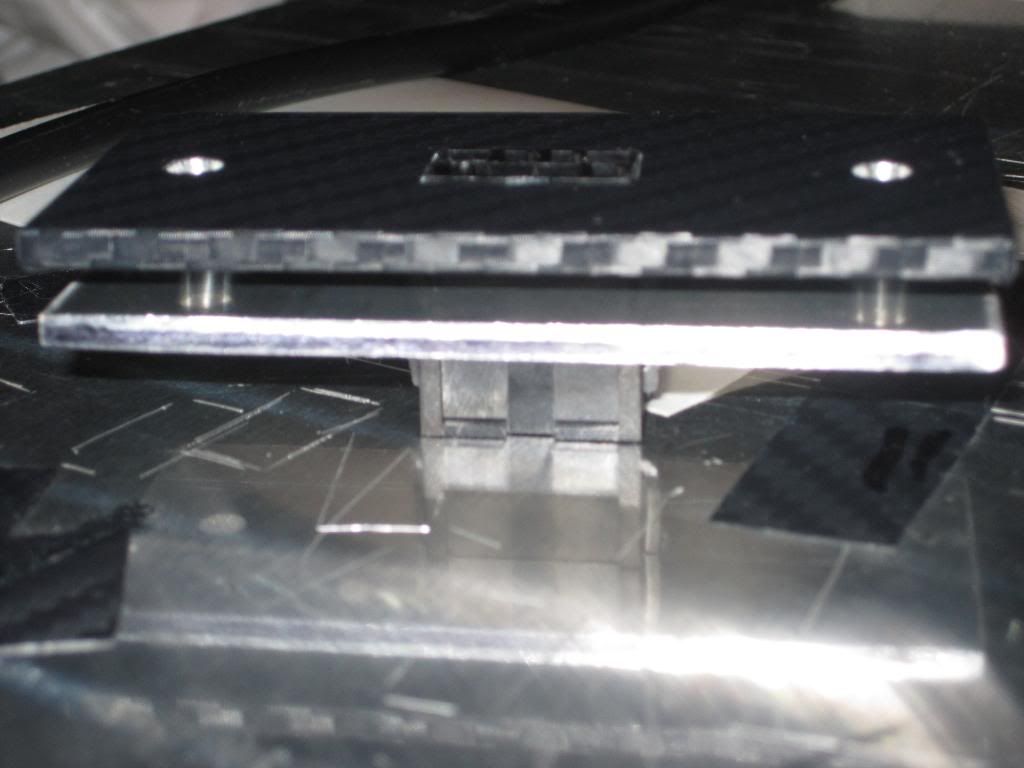
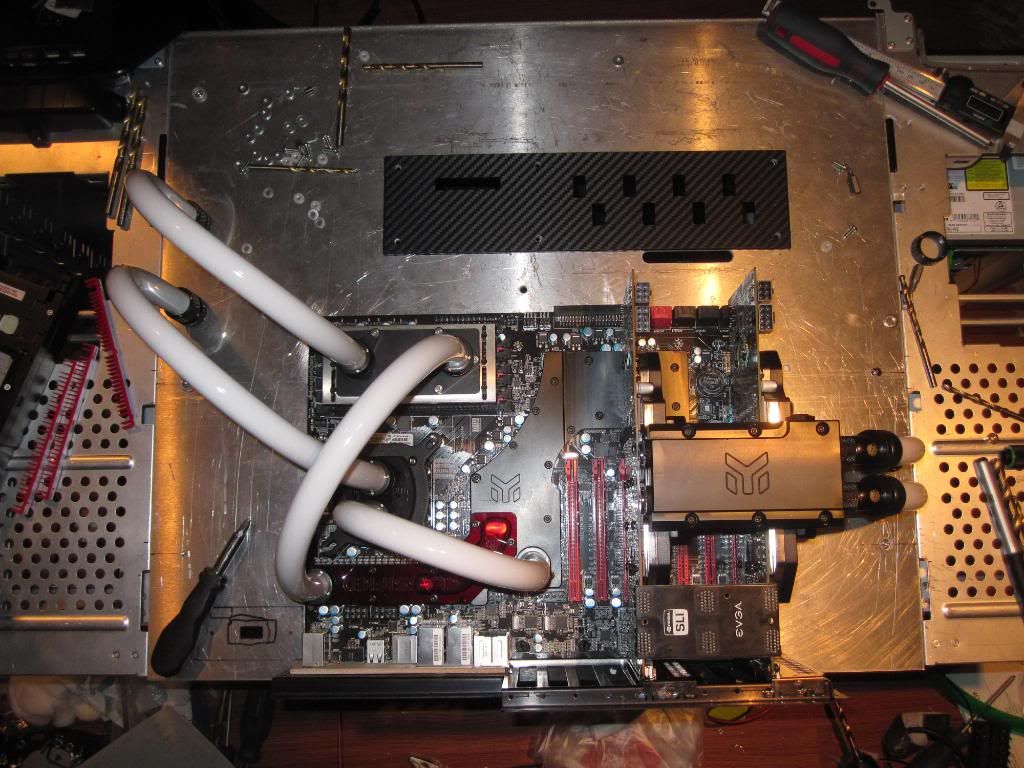
3. Wiring plate (tell me what you think of it)
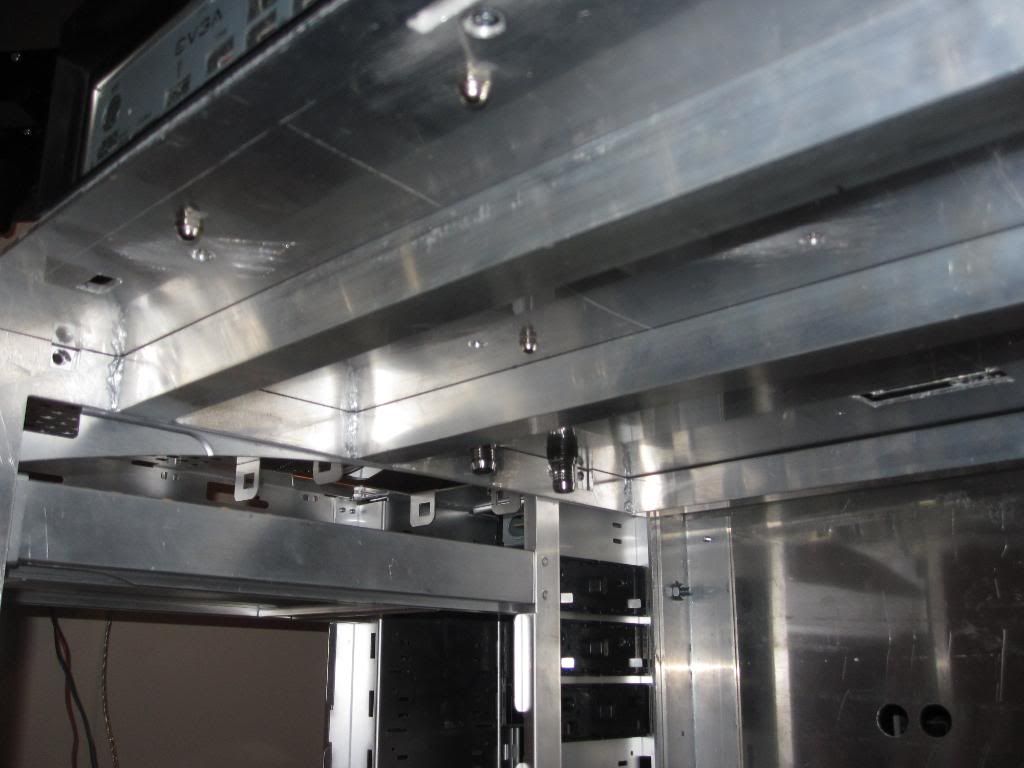
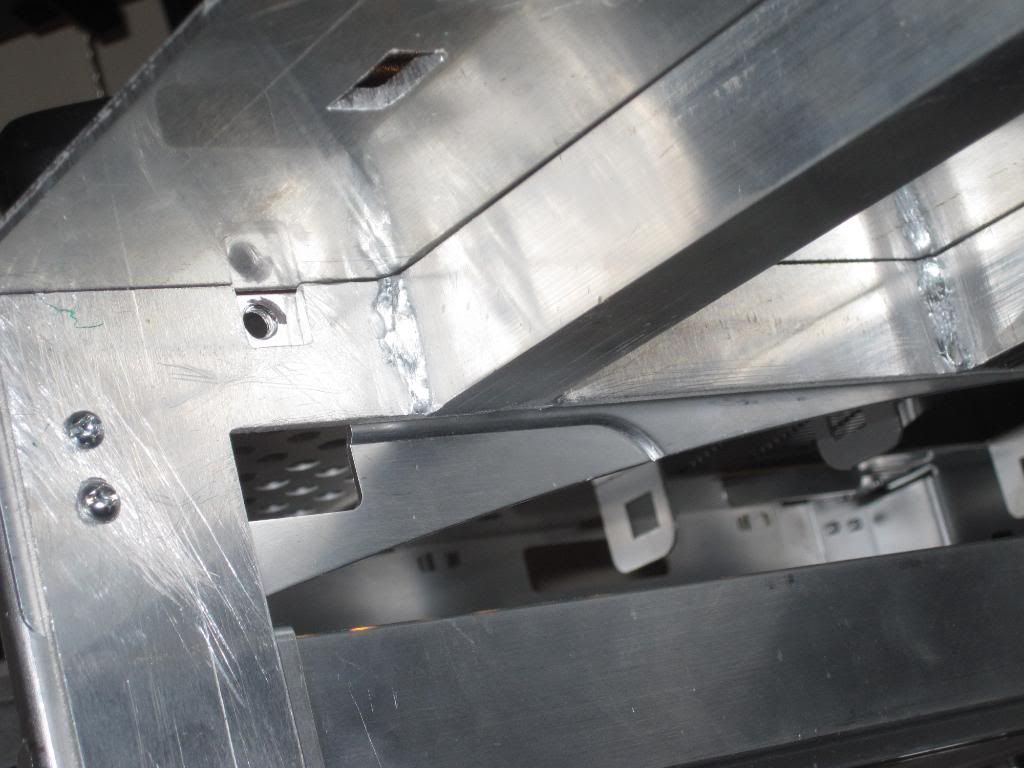
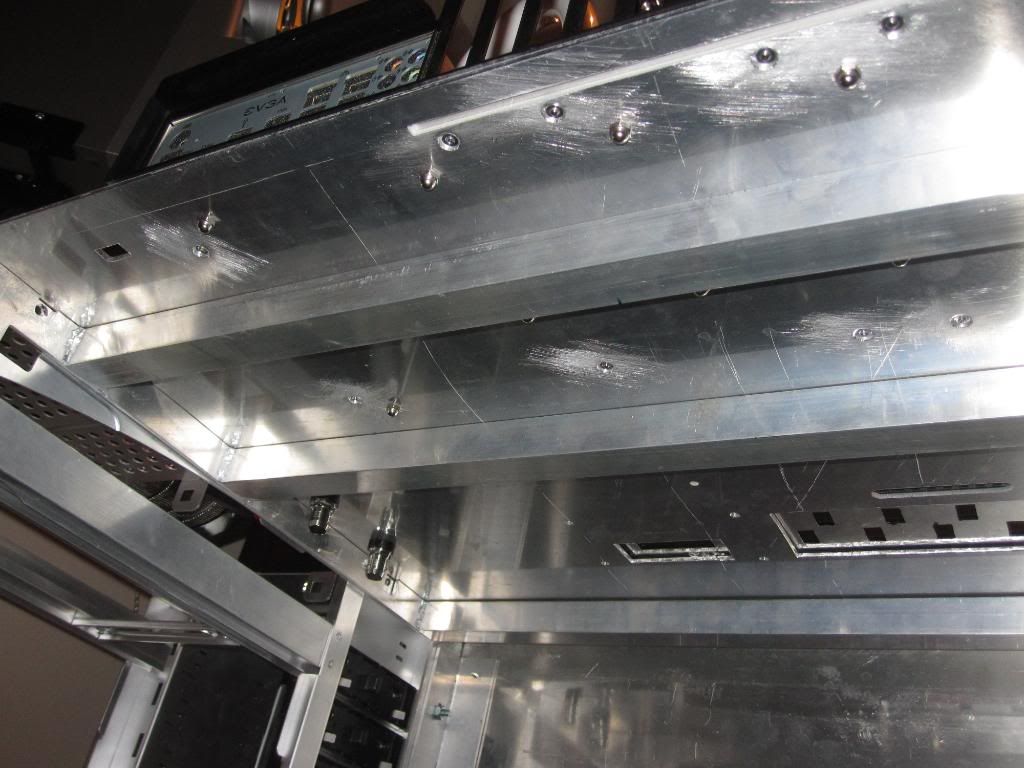
4. New Brace system using 1" x 1" aluminum tubing welded
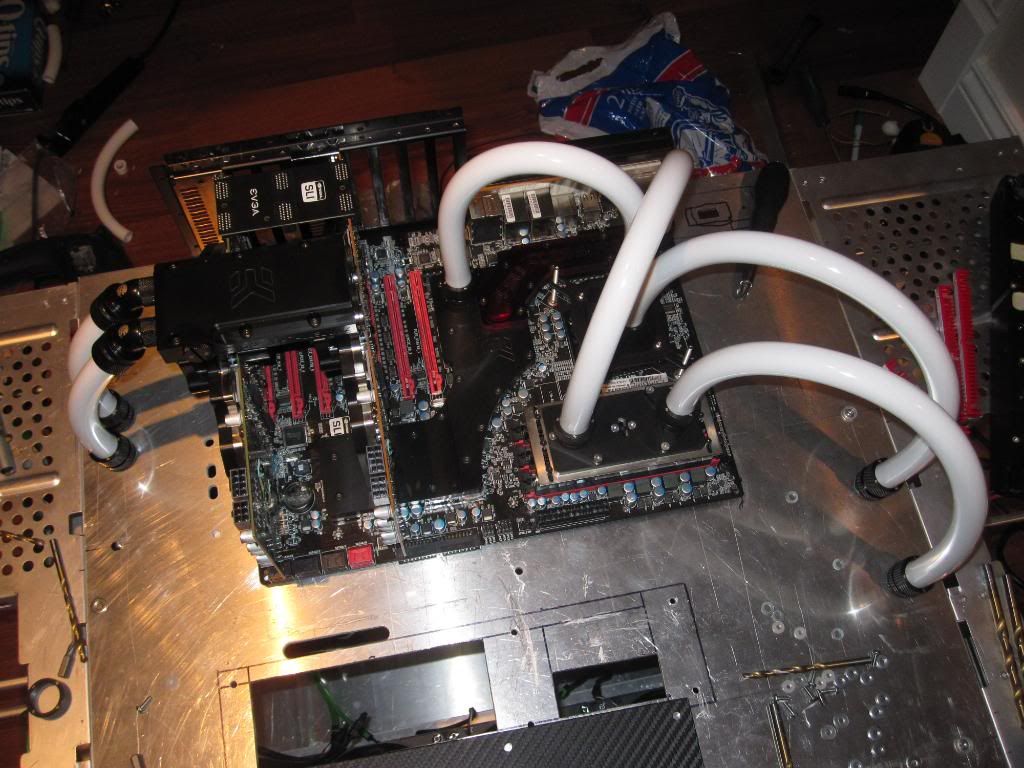
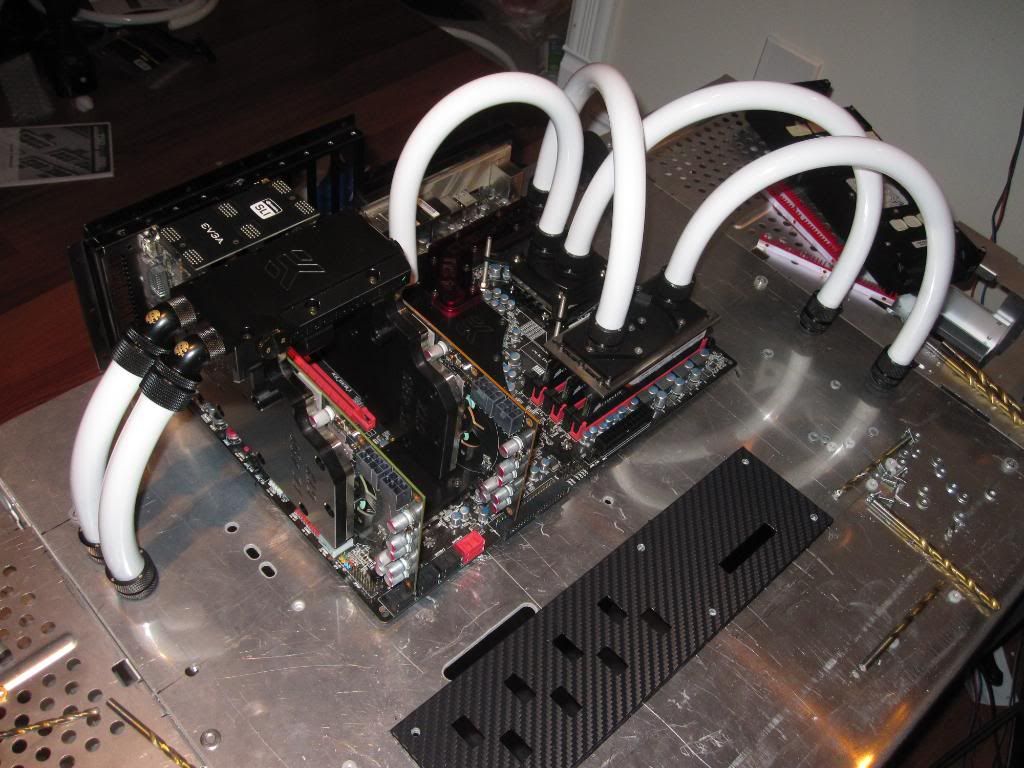
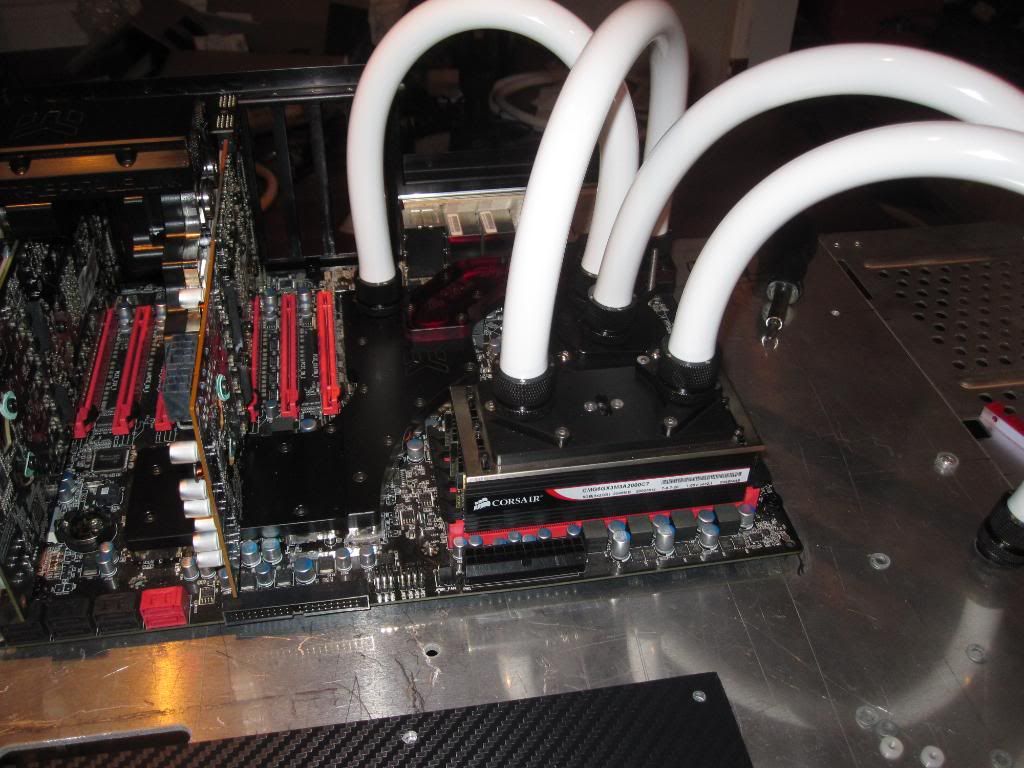
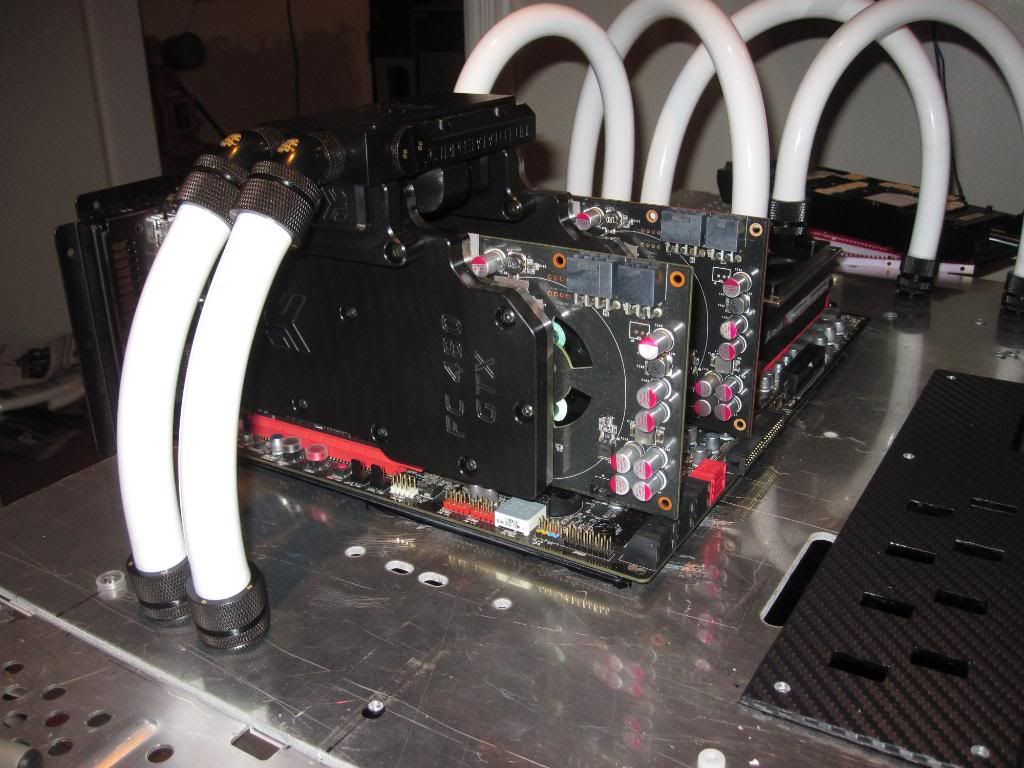
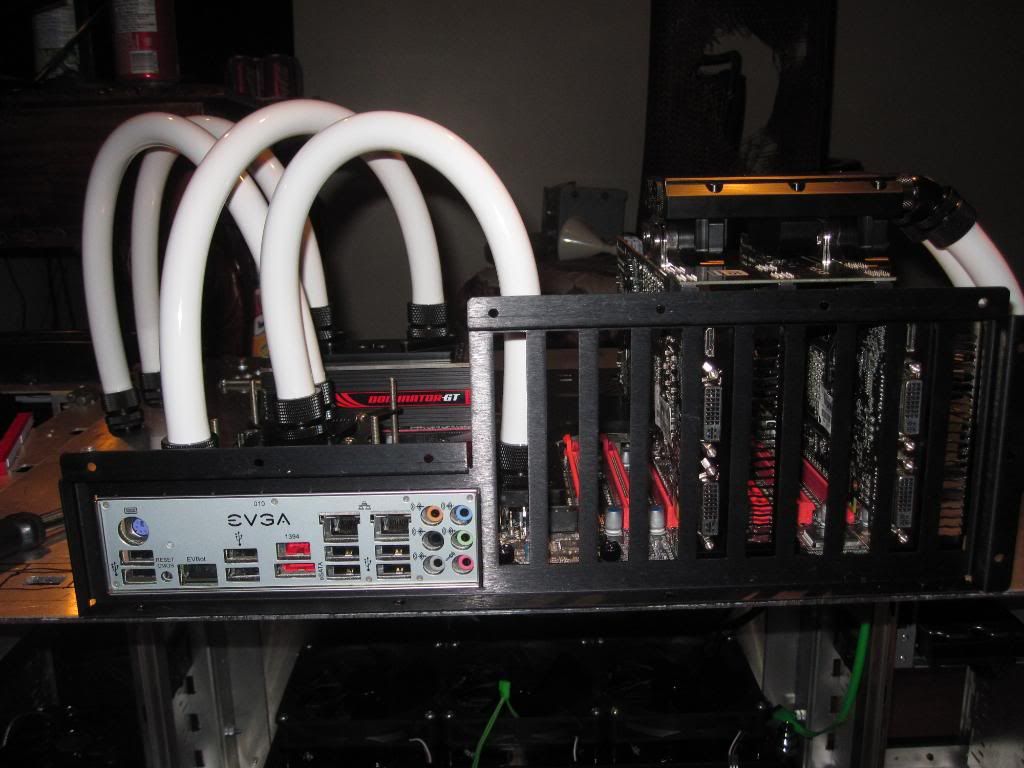
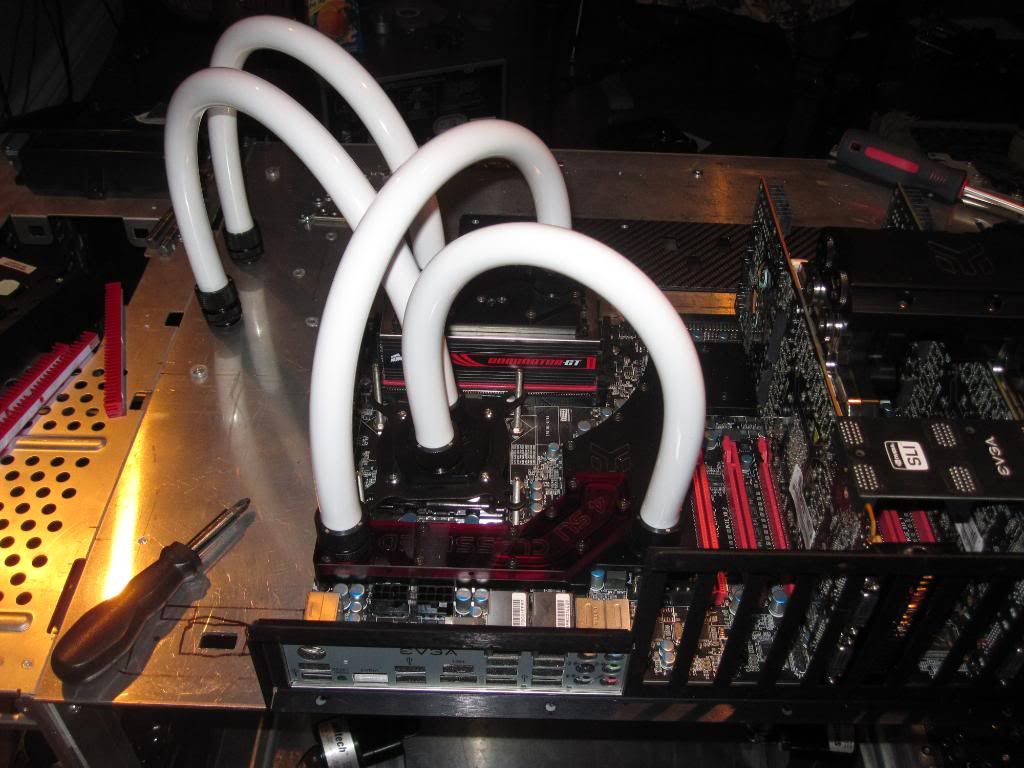
5. All water blocks installed and final tubing assembly done!
6. G15 Keyboard wrapped in carbon fiber vinyl

Ok here we go, there are 51 pictures :)
Enjoy


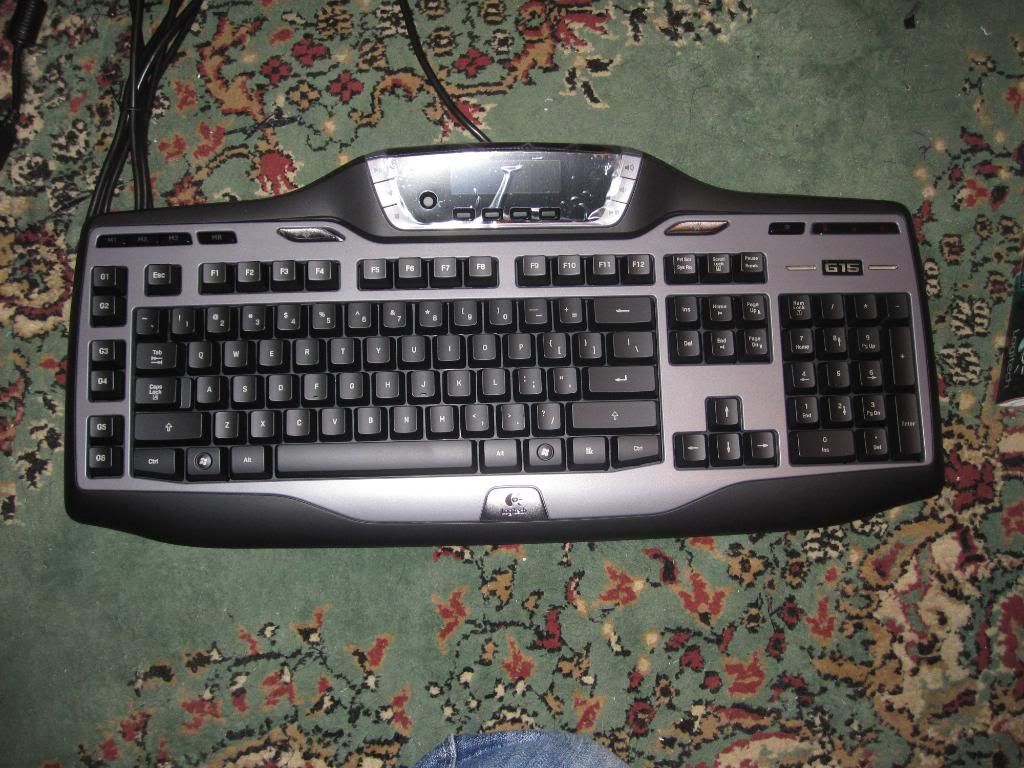
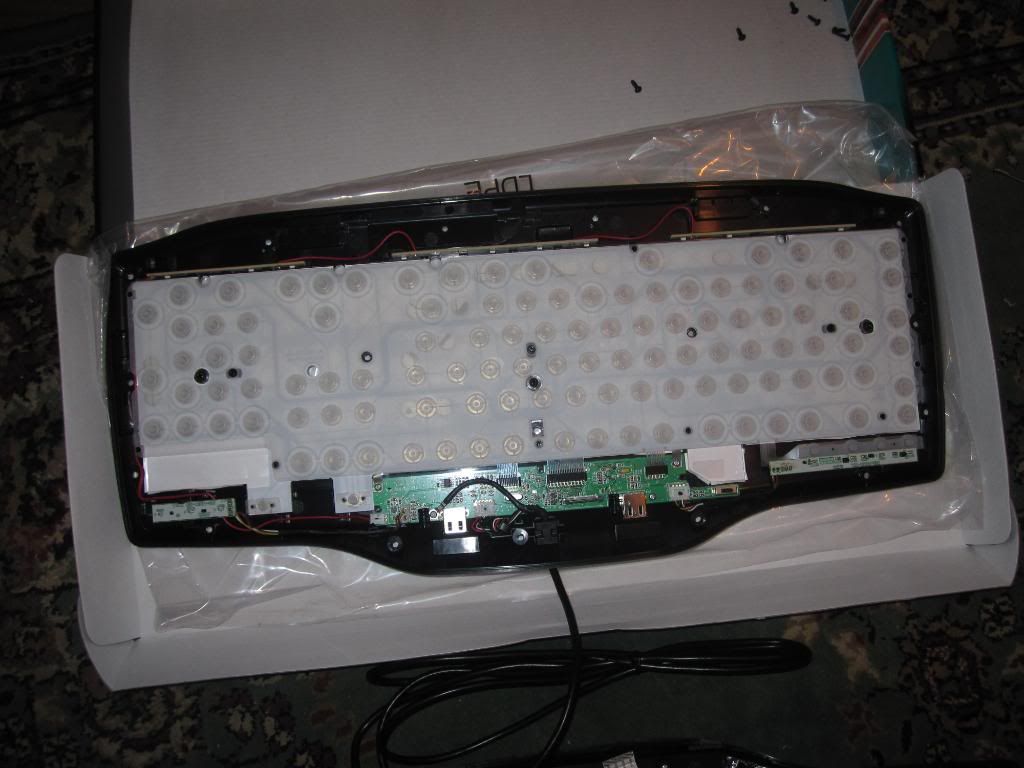
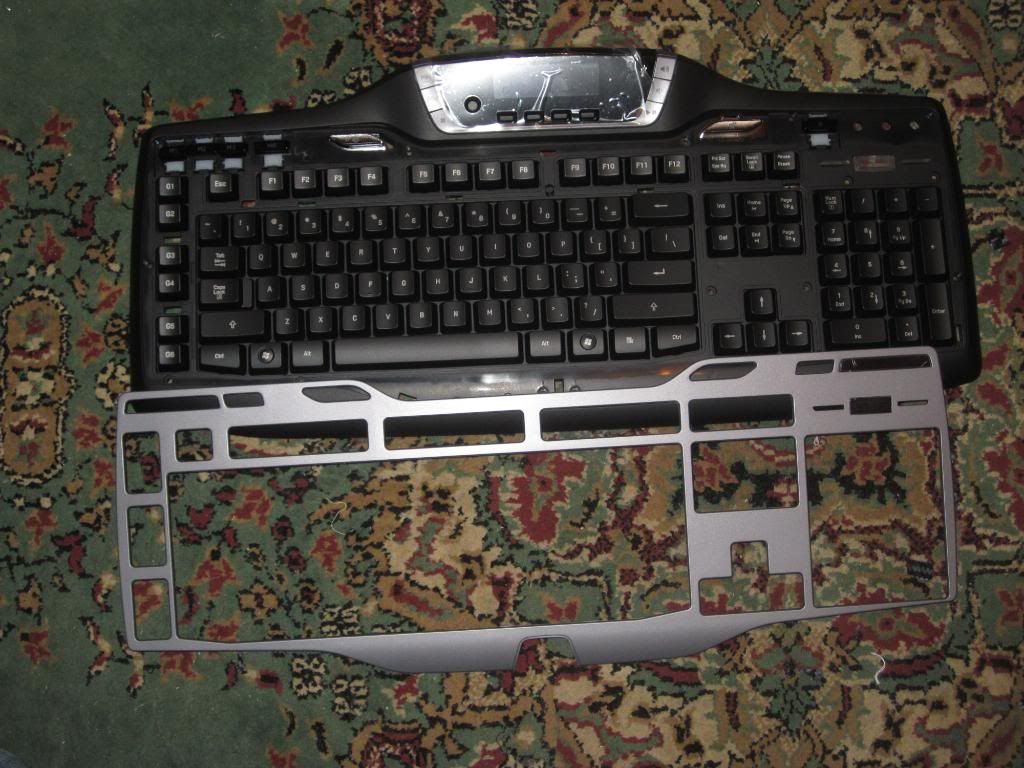
OK finally my G15 keyboard wrapped in carbon fiber vinyl.

You will notice that i didnt have the G15 name on the right side cut out yet, i had to get a new blade for my xacto knife to cut it out.
let me know what you think!!

If anyone wants to get this mod done, let me know, we can set something up!


IMG_0361.jpg


IMG_0362.jpg


IMG_0363.jpg


IMG_0367.jpg


IMG_0371.jpg
 
Ok, so here is the wiring hub/plate.

The wiring will pass through from inside the case to the top through this hub.
All the connectors will simple sit flush with it and i just plug any wire i need to the graphics cards.
I basically measured the connectors, and made up a drawing in CAD, than had them waterjetted!
the results are awesome :)

FIRST
I had to cut the hole through the middle part of the case (see pics)
than wrap the hubs :)


IMG_0341.jpg


IMG_0344.jpg


IMG_0346.jpg


IMG_0350.jpg


IMG_0372.jpg


IMG_0375.jpg


IMG_0379.jpg


IMG_0380.jpg


IMG_0381.jpg
 
Pictures of all the blocks installed onto the board, and the final tubing layout

IMG_0433.jpg


IMG_0412.jpg


IMG_0414.jpg


IMG_0415.jpg


IMG_0416.jpg


IMG_0417.jpg


IMG_0428.jpg


IMG_0430.jpg
 
OK, so a while back i posted a drawing of a new brace system for the middle part so that its more rigid and stable
I used 1"x1"x1/16" aluminum square tubing, and welded them to the middle section.
I than used whats called INSERT-A-NUT (insert nuts) into them so i can screw down the top peice.
Basically threaded inserts, but they are not put in with a rivet tool, instead they use a nut, socket head bolt and alen wrench.

The welds were done with this stuff called ALLADIN aluminum brazing rods, basically you heat up the metal until its hot enough (700deg) and than scrape the brazing rod on and it forms a weld, pretty sweet stuff. Had to use a MAP GAS torche so that it would get hot enough.


here are the pics from the underside.


IMG_0419.jpg


IMG_0421.jpg


IMG_0426.jpg
 
I'm really liking the carbon fiber over the mesh. That looks very slick.

Maybe I missed it, but what is the purpose of it being so big? It seems like you could fit all the components minus the radiators easily into one of the stackers, then build a small radbox or something. You've got this behemoth case, and the motherboard and other components aren't even mounted inside of it. Do you have something planned to fill it? I presume that you'll throw a hard drive or two and the power supplies and the radiators in it, but they won't even come close to filling two Stackers and the gigantic box between them. I could maybe see if it was just the two stackers with the mobo and components in one and the rads in the other, but I just don't see any reason for it to be as big as it is.
 
AIRFLOW!!


the middle section had to be that big because of the width of the board.

The stacker is big enough to fit the board, but would need intensive modification (new mobo tray, rear panel) and the way the case is contructed makes it hard to make something good looking :)

thanks for comments
 
I'm with several others here -- too big for no reason.

Impressive craftsmanship so far, and I like the carbon vinyl, surprisingly tasteful, but eh. Too big, no reason. It's going to be huge an empty, or just turn in to an excuse to get lazy with placement / tube and wire routing.
 
Here are some more pics!!

I got a budy of mine to cut some lettering out of the vinyl, the stuff is really thick, so i had to go back and fully cut it with an xacto knife.

end result is what you see :)

ill be using 2 - RED ultra bright leds for each reservoir (1 bottom, 1 top) to light it up showing the name FERMI.

The font i used is called RADIKAL (yes with K)

IMG_0439.jpg


IMG_0434.jpg
 
Ok update.

with a little practice, patience and correct measuring, I finished 1 cable (8pin Cpu)
I used sleeving and heatshrink from MDPC-X

I used Black, Red and white.

Wiring was done with 18ga automotive wiring.
I used 3 colours of wiring(black, red, white) to match the sleeving
Let me know what you think!

IMG_0542.jpg


IMG_0541.jpg


IMG_0540.jpg


IMG_0539.jpg
 
Where did you get your carbon fiber vinyl from. I really want to do that to my g15. Looks really good by the way. How hard is that stuff to work with? Thanks
 
I got the vinyl from www.metrorestyling.com.

They have tons of diff vinyls.

the stuff i used is 3M di-noc.

The stuff is easy to work with, very flexible without heat. If you need to do complex shapes and contours than lightly use a heatgun. Be careful cuz you only need a little bit of heat as the stuff become very stretchy and soft quick (see the mesh doors on my stacker 830).

You dont need to use any heat for the keyboard, just take it apart, and take the grey plastic piece off and wrap it, put it on, than cut the most outter edges with an x-acto knife. The inner cuttings around the keys should be done b4 reinstalling into the keyboard.

Good luck

As a professional in the sign/graphic industry I work with vinyl a lot. USE HEAT SPARINGLY. And use it like you would a can of spray paint. Meaning, use it from at least 12 inches away. It'll get stretchy for a minute and then it'll shrink. And shrink FAST. If you're attempting to wrap around a contour edge and underside this is where you'd apply that excessive heat method. just an FYI
 
Good point xjmtx.

He is very right, it starts to get soft and stretch very fast. In most cases you dont need heat at all!!
 
Whatever my thoughts on the size of it, I'm blown away with your level of detail. That might be the only time in history someone has used faux carbon-fiber and it looks great. When I saw the fake carbon fiber roll out, I had lost all hope. But it looks fantastic. The keyboard looks fantastic. Good job.

I have been considering sleeving all of my cables for my Seasonic X series. You would have had to make new connectors for the PEG cables anyway. Doing an entire 100% modular PSU would be a bitch to sleeve.

Anyway, I look forward to your next posts.
 
also, applying the vinyl is much like applying a bandaid. you're going to ruin your piece if you peel the whole damn thing and try to stick it. NOT to mention the air bubbles. you need to invest in a "squeegee". It is sorta like a large credit card but made of much softer plastic, this'll help you avoid damaging the vinyl while at the same time smoothing the air bubbles out. take your time. popped air bubbles look like shit. also, one trick if you are horrible at lining things up, is a bit of soap/water mix. i know that it would seem that this should make the vinyl not stick, but it's more like a vapor barrier that when dry, glues just fine.

this video explains a bit better what i mean by using the soapy water. however, as you are new to this whole world, try a small piece on something else, then move on the the big bit.
 
Whatever my thoughts on the size of it, I'm blown away with your level of detail. That might be the only time in history someone has used faux carbon-fiber and it looks great. When I saw the fake carbon fiber roll out, I had lost all hope. But it looks fantastic. The keyboard looks fantastic. Good job.

I have been considering sleeving all of my cables for my Seasonic X series. You would have had to make new connectors for the PEG cables anyway. Doing an entire 100% modular PSU would be a bitch to sleeve.

Anyway, I look forward to your next posts.


Thanks for the kind words!

Sleeving modular cables is better than hardwired psu cables.
plus if you had a modular psu, i would just build the wires from scratch, cuz taking out some of the pins is a pain!!

Im gonna post some more pics of the 24pin atx cable (only 12 wires are done)
 
Here is the 24 ATX cable.

Only did the first 12 wires, ill do the others tomorrow.

sorry for the crappy pics, took them sorta fast, cant wait to use a dslr

Let me know what you think

IMG_0546.jpg


IMG_0545.jpg


IMG_0544.jpg


IMG_0543.jpg
 
See, I wanted to do a sleeved custom length set for my Seasonic X series to go with my Lian Li A05NB case. The cables need to be much shorter, but if I do that, then I have to do a new set if I ever change the case again.
 
That's fantastic.
Where do you get the connectors and pins from?

I got the connectors and atx pin from performance-pcs.com

the sleeving from mdpc-x.com ofcourse :)


ckryan:

if you do it in a standard colour, you wont have to redo the colours again. So say all black. Second if you add accent colours, and they dont match your new colour scheme for your new case, than just change the accent coloured wires.


Ill be posting a new thread on how I sleeve the cables as it was requested by forum member of another forum.

Am I allowed to link to another forum?

THanks
 
See, I wanted to do a sleeved custom length set for my Seasonic X series to go with my Lian Li A05NB case. The cables need to be much shorter, but if I do that, then I have to do a new set if I ever change the case again.


If you wanted, I could create new cables and sleeve them with the colours u wanted...
 
also, applying the vinyl is much like applying a bandaid. you're going to ruin your piece if you peel the whole damn thing and try to stick it. NOT to mention the air bubbles. you need to invest in a "squeegee". It is sorta like a large credit card but made of much softer plastic, this'll help you avoid damaging the vinyl while at the same time smoothing the air bubbles out. take your time. popped air bubbles look like shit. also, one trick if you are horrible at lining things up, is a bit of soap/water mix. i know that it would seem that this should make the vinyl not stick, but it's more like a vapor barrier that when dry, glues just fine.

this video explains a bit better what i mean by using the soapy water. however, as you are new to this whole world, try a small piece on something else, then move on the the big bit.


Nice tips :)

The one thing i love about 3m di-noc is that it has air releasing chambers which makes for removing bubbles sooooo easy :)

Its great stuff to work with which i why i chose it, its more money but well worth it.
 
There are a ton of automotive type vinyls that are designed with the tiniest of perforation to allow air to escape and make the application to a vehicle easier. This obviously translates over to just about everything else you have at your disposal. GOOD LUCK!
 
Again, I feel compelled to tell you, good job Kamaster.

I look forward to seeing your build evolve.

Was this your first project like this?
 
Again, I feel compelled to tell you, good job Kamaster.

I look forward to seeing your build evolve.

Was this your first project like this?

Thanks :) I hope to finish it in 3 weeks :)

This is my first big project.

Ive never done anything like this before (watercooling, modding, sleeving etc)

I feel like ive learned alot, and the next will is going to be crazier i can promise you that :)
 
Thanks :) I hope to finish it in 3 weeks :)

This is my first big project.

Ive never done anything like this before (watercooling, modding, sleeving etc)
an
I feel like ive learned alot, and the next will is going to be crazier i can promise you that :)

My hesitation to adopt watercooling is due in large part to noise -- watercooling can be advantageous if you have some really hot gear, but most of the time it seems like it would be much louder with pumps and radiator fans. I've been contemplating moving into watercooling, but I don't know how to do it quietly.

How loud is your setup? I understand you have three loops, so yours is more extreme than most setups. If you were running a more modest system, could you cool it effectively and quietly?


Watercooling is a lot more queit than having fans, especially graphics card fans!

My setup is 2 loops :) initially it was planned for 3 but i scraped that as it was overkill.

What i did, is i used some high rpm fans, and with a fan controller, you can run them very low and are very queit. And if extra coolign is needed during benching and stuff, than i can turn up the fans.

Watercooling pumps are extremely queit, i was surprised, even on speeding setting 5 on the mcp-655 (laing d5) you cant even hear it.

Depending on what you are cooling, you should be fine, a single dual pass triple radiator should be good for cpu + board + 1 card.
 
Back
Top