Stevennoland
Limp Gawd
- Joined
- Jan 5, 2006
- Messages
- 418
Hey all. I hope you have enjoyed reading (or just viewing) my 'Beast' work log builds. I know I enjoyed making them.
If you were waiting for a finish on the 'Heavy Beast' worklog, forget it. I became disenchanted with that case as soon as I finished reading The1stCAV's "Frank n Stein PC" thread. Awesome work there. Give it a read (or at least a glance).
This build is a take on his build. Think of it as bastard off-spring of "Frank". The black sheep of Franks family.
On a side note, I am in the last stage of renal cell carcinoma. AKA kidney cancer. I'm not looking for sympathy. Just stating that since I can no longer work, I will now have more time to devote to this build. Let's just hope I can hang on long enough to get-er-done.
This build will just be titled 'The Beast'. This will be the largest and most over the top build I have ever attempted.
One final build before I leave this place.
On with the post.
As usual, the case always comes first. Since this is a work in progress, I don't have the case in hand just yet, but I do know what I will be using.
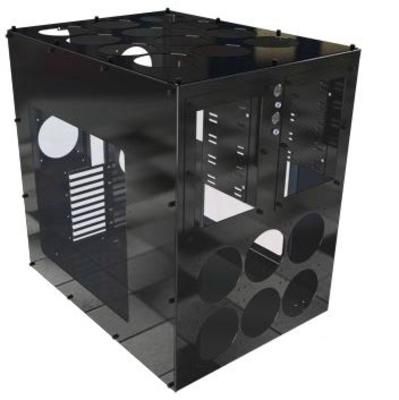
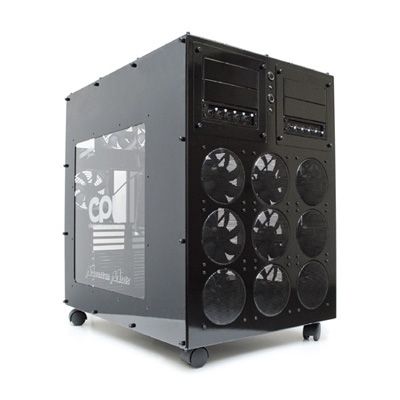
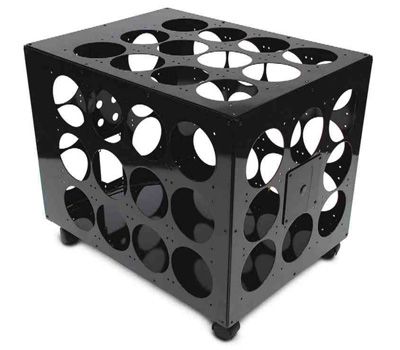
Mountain Mods has a case called the 'Extended Ascension - CYO'. I will also be using the 'Water Barrel 24' as a base for the Ascension. Without the casters, this thing (combined) will be 42" tall by 24" deep by 18" wide. Over the top right? The Extended Ascension's dimensions are 24" tall and deep, and 18" wide. The Water Barrel is 18" tall and wide, and 24" deep.
Here are some shots I got off the web. I apologize if I am violating anyone's copyright.
Mountain Mod's Extended Ascension
And one of the Water Barrel 24
As of this writing, I'm still unsure of the finish of the case. I'm leaning toward mirror powder-coat at the moment. If you want to see what that looks like, check out The1stCAV 's "Frank n Stein PC" thread over in the case mod gallery. So you can get a glimpse inside 'The Beast' I might use plexi on some of the panels.
This build will be watercooled of course.
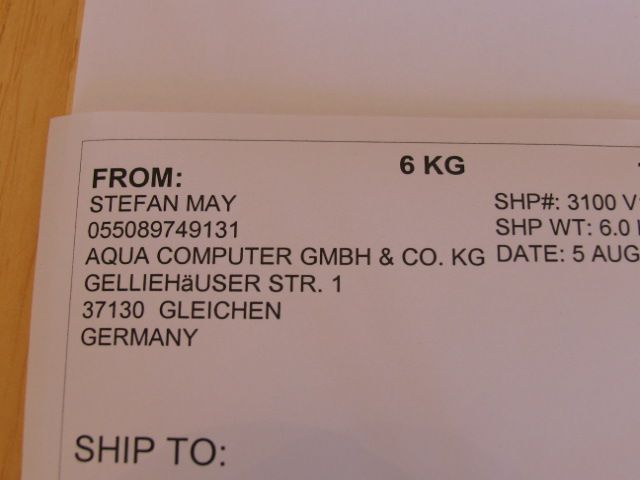
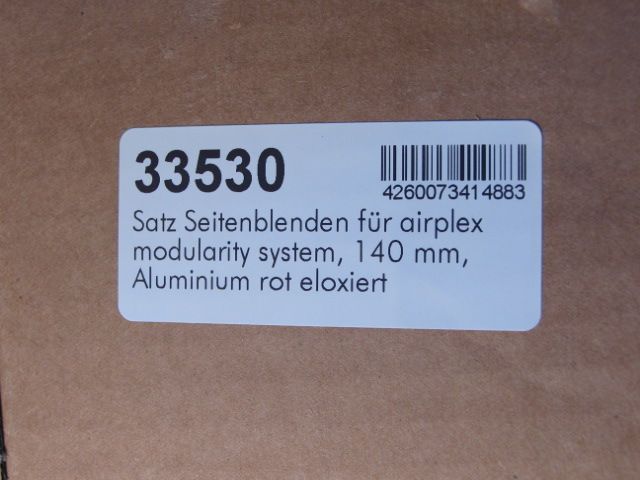
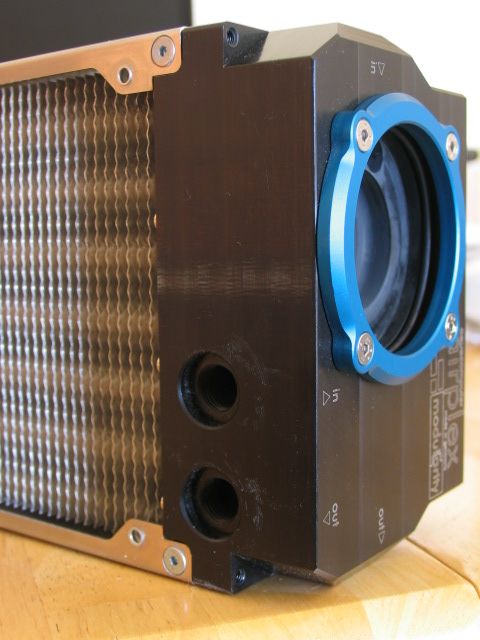
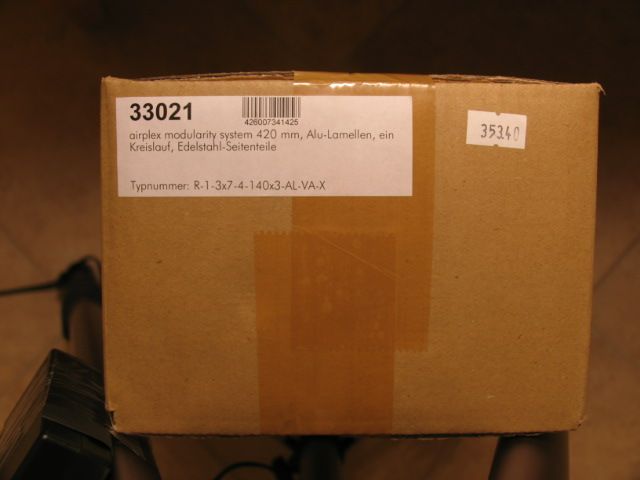
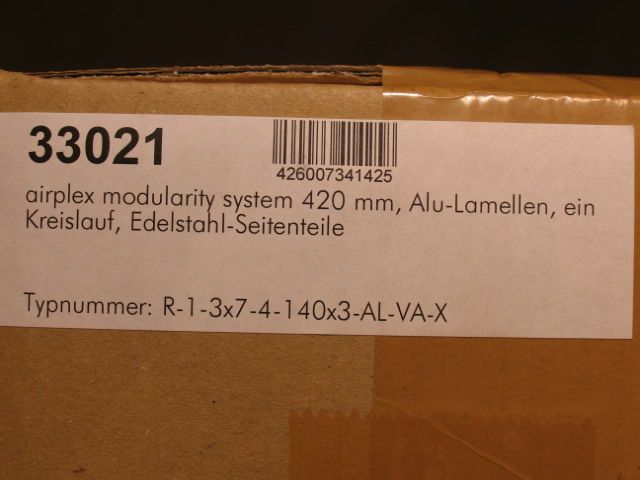
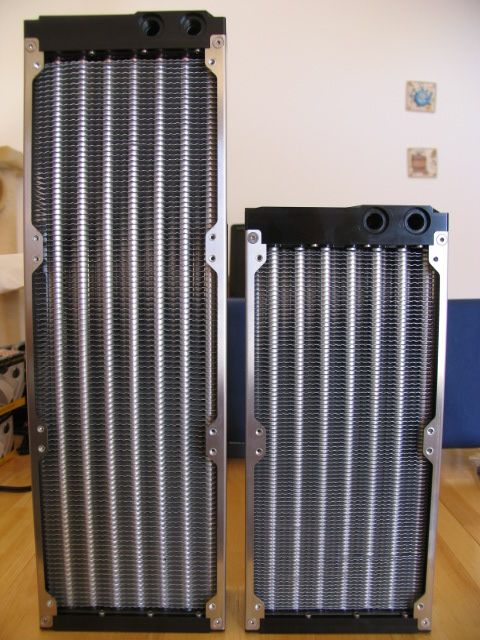
I am a big fan of Aquacomputer's products and their Airplex Modularity radiators are super cool.
I wanted to use 140mm radiators where possible. I believe you get better thermal results and as a rule, 140mm fans are quieter (as opposed to 120mm). Where space permitted, I went with 420mm rads, and then used 280mm rads where I couldn't fit a 420.
All of the panels in the Mountain Mods (from here on out will be shortened to MM) Extended Ascension case will be using 140mm radiator holes.
I will be using 2 420mm rads side by side on the left and right side panels. And one 420mm on the back panel (hopefully). For the top and front I will be using 280mm rads. two for each panel. If you have done your math properly, that should add up to 9 radiators.
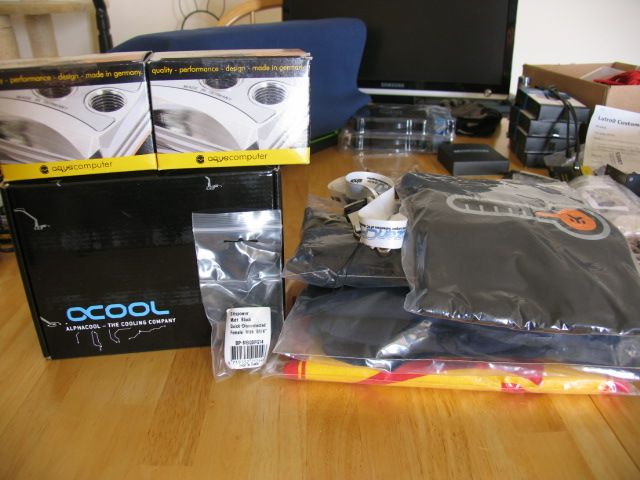
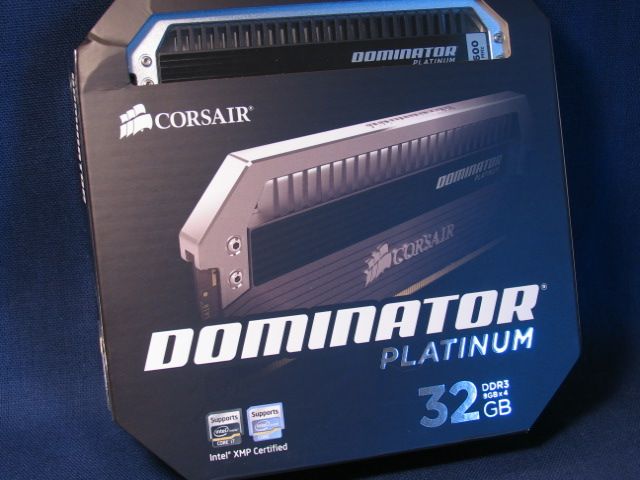
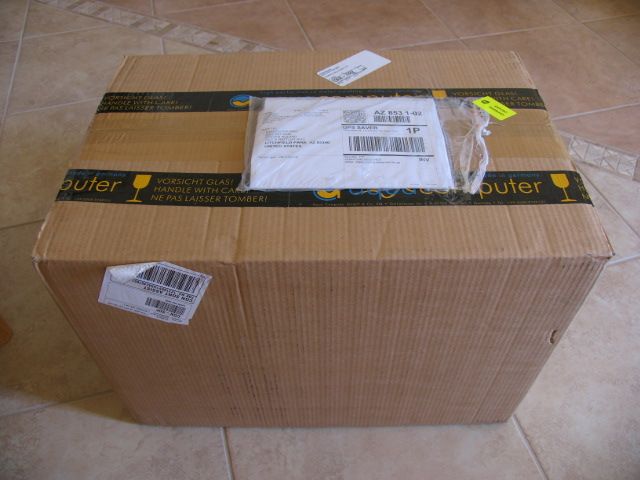
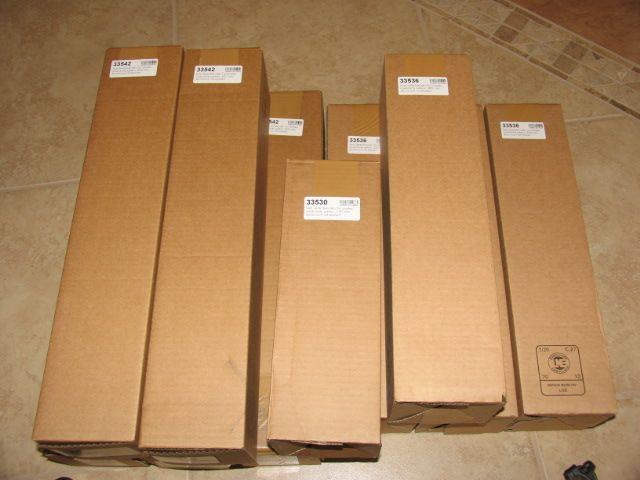
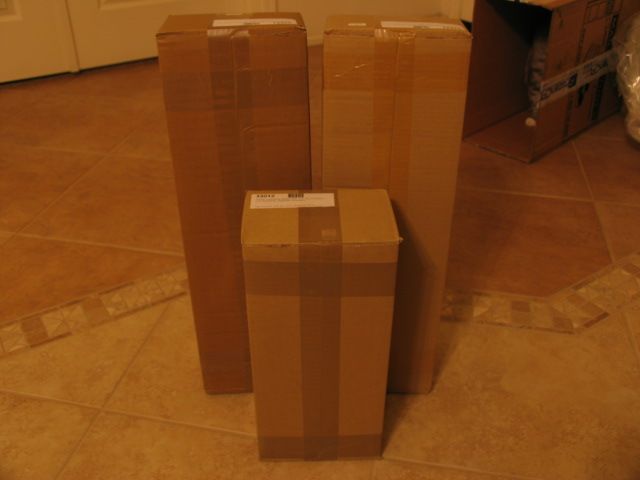
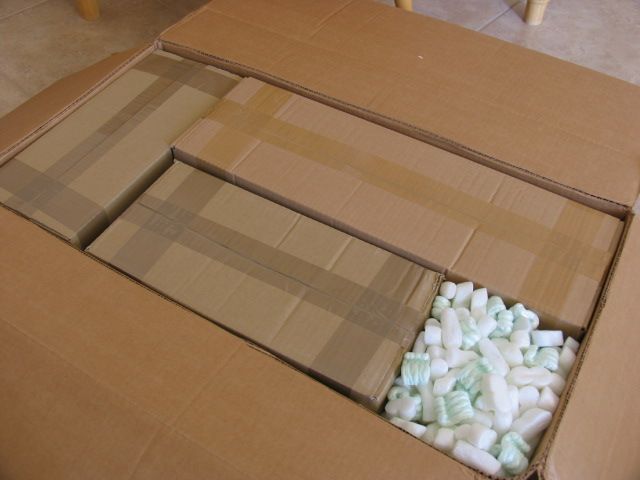
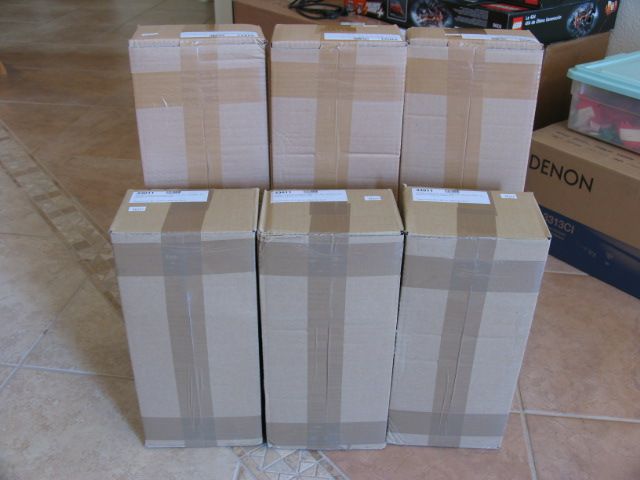
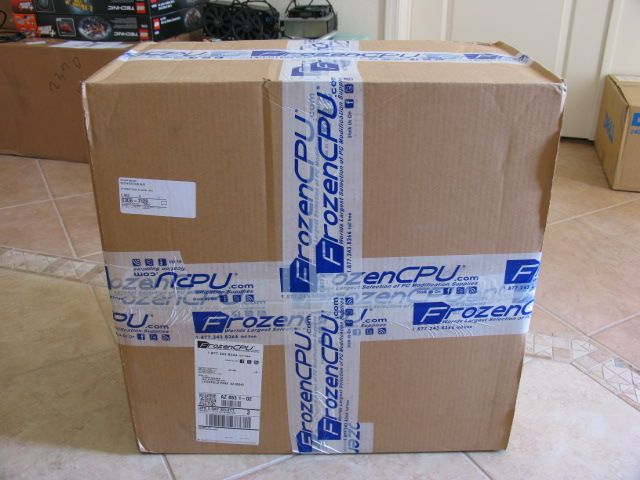
Here are the RADS (thanks and kudos go out to FrozenCPU.com and Perfromance-pcs.com for having exactly what I needed in stock)
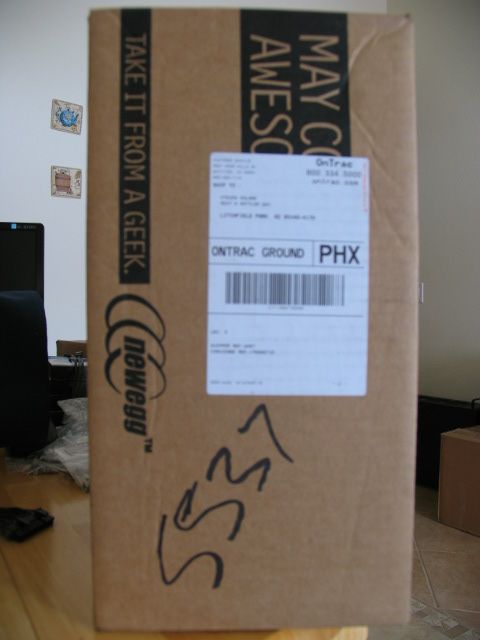
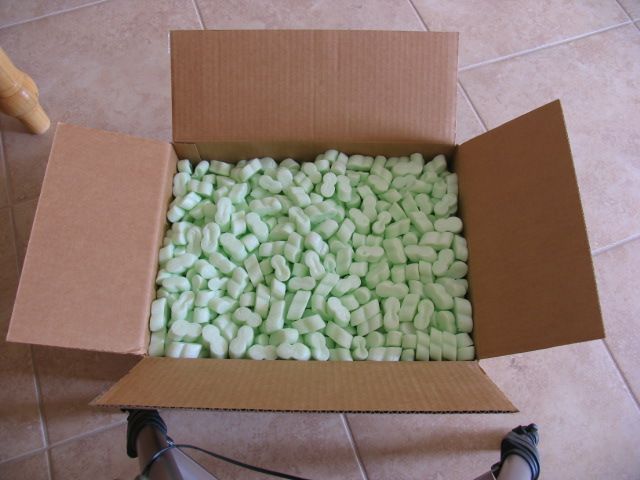
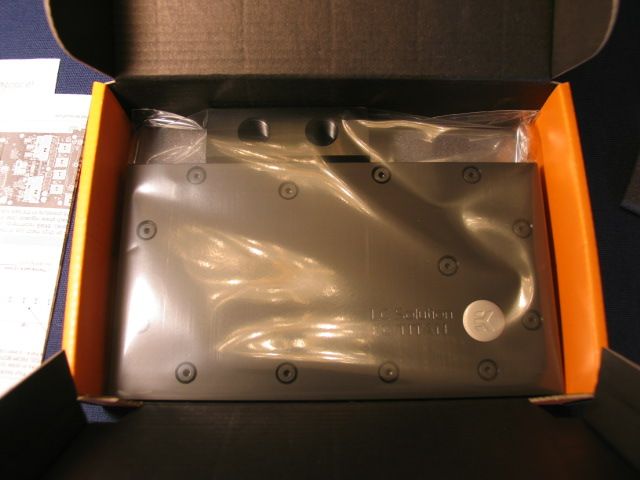
Shipping containers (I don't know why people post pics of their boxes when they get them. Why should I buck the trend)

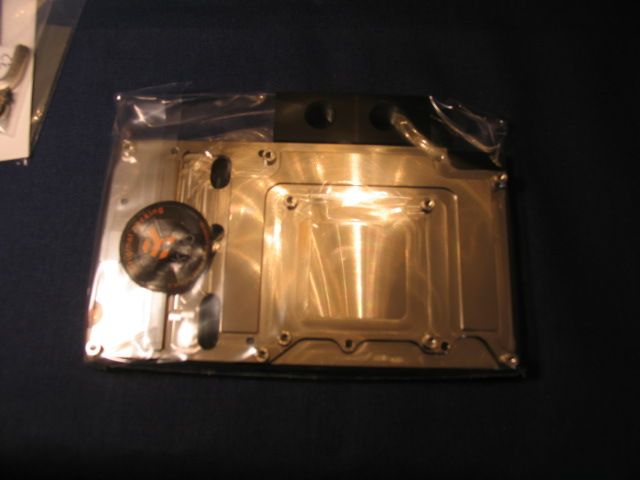
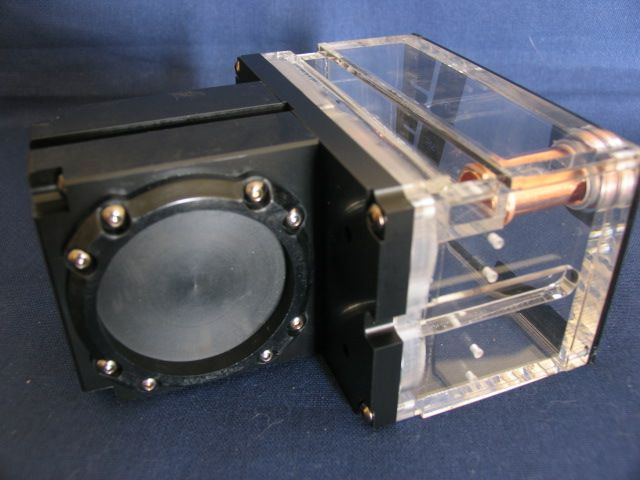
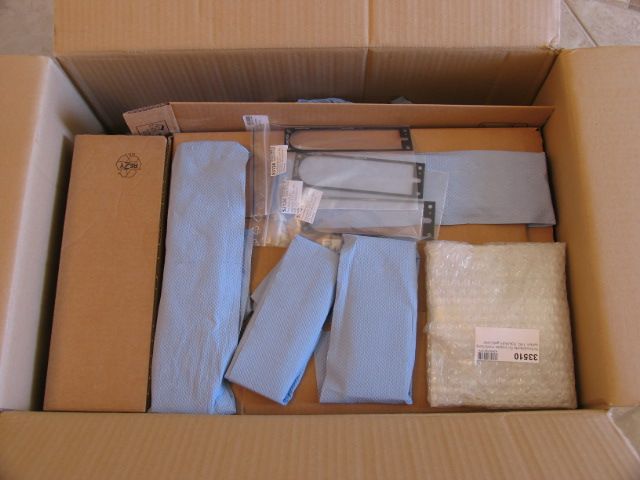
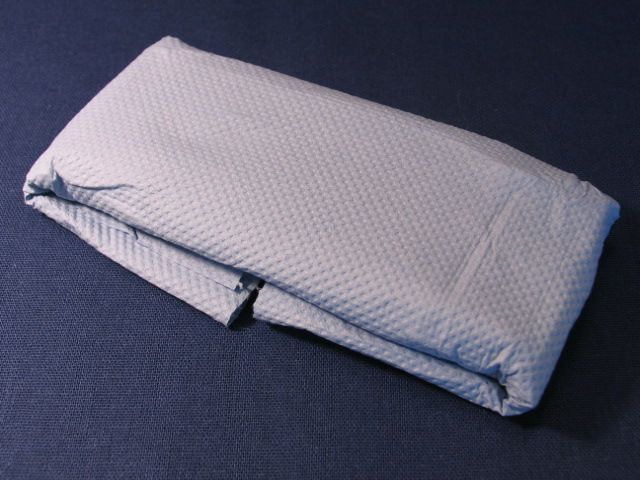
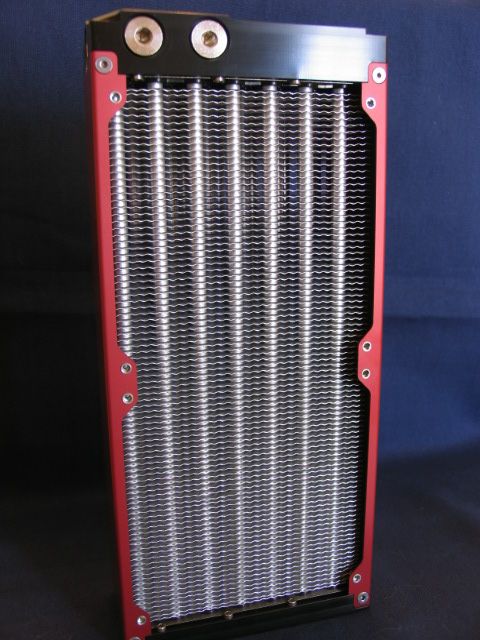
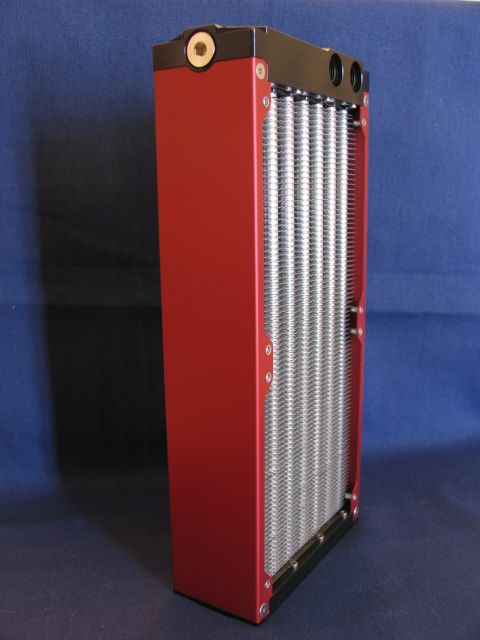
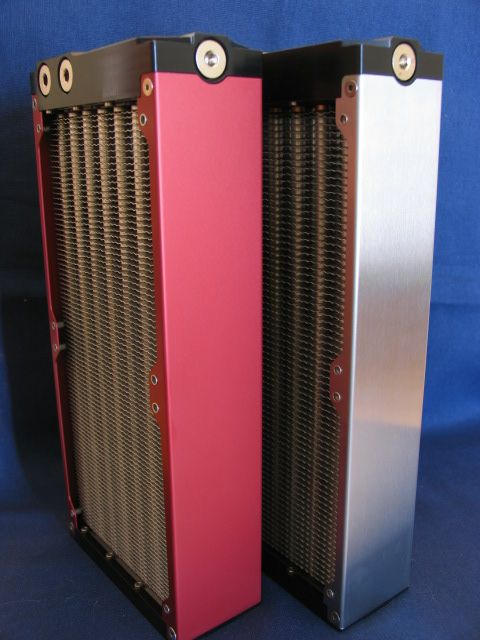
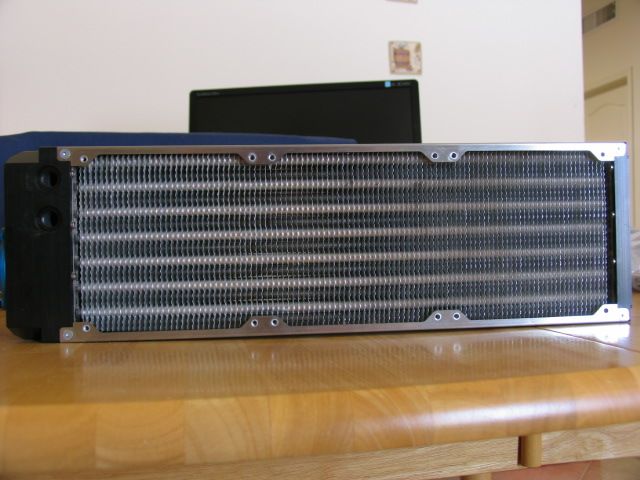
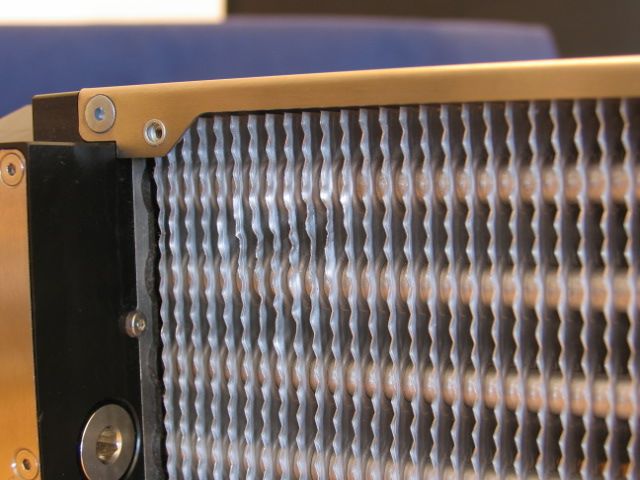
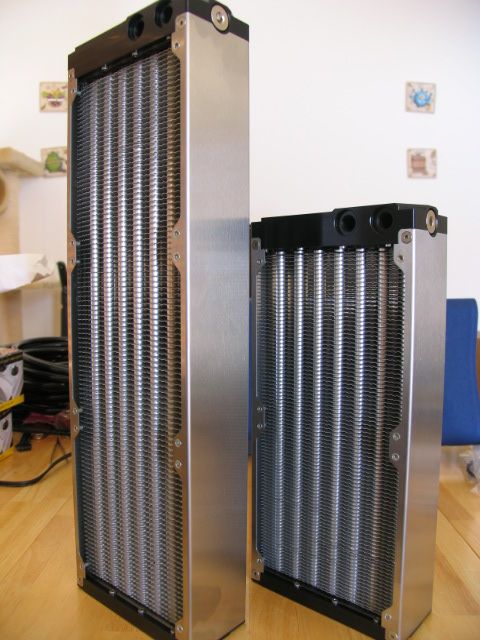
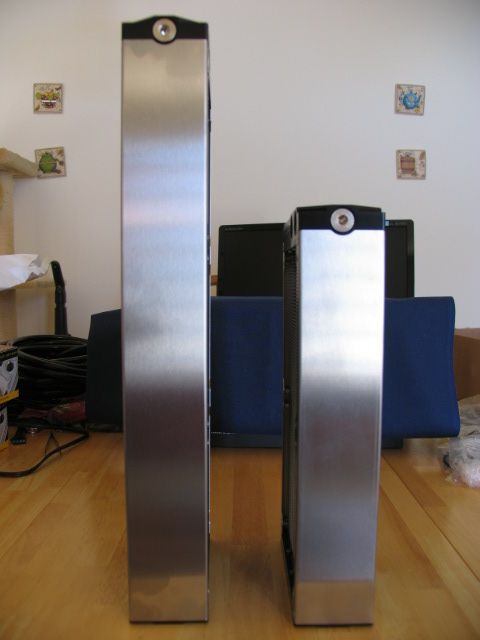
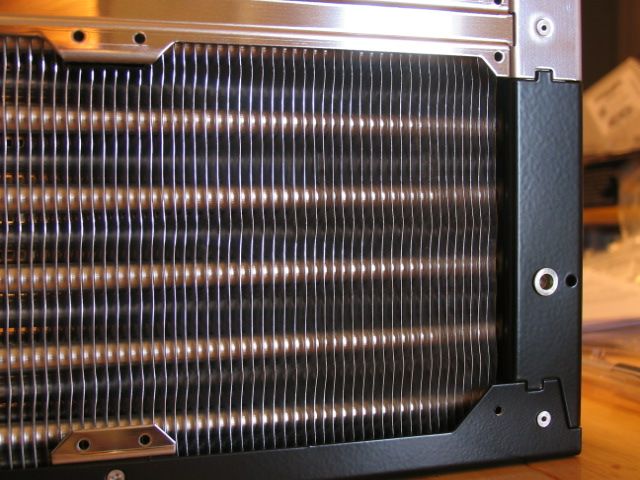
A few shots of the rads
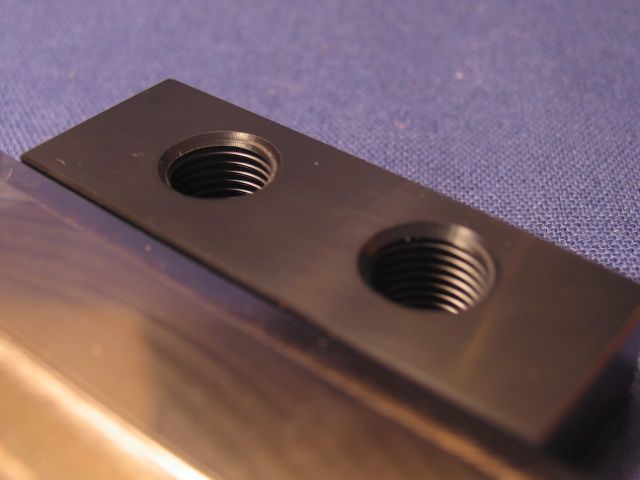
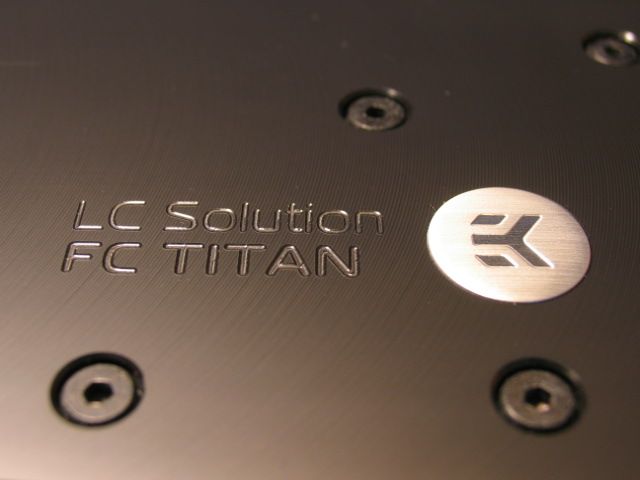
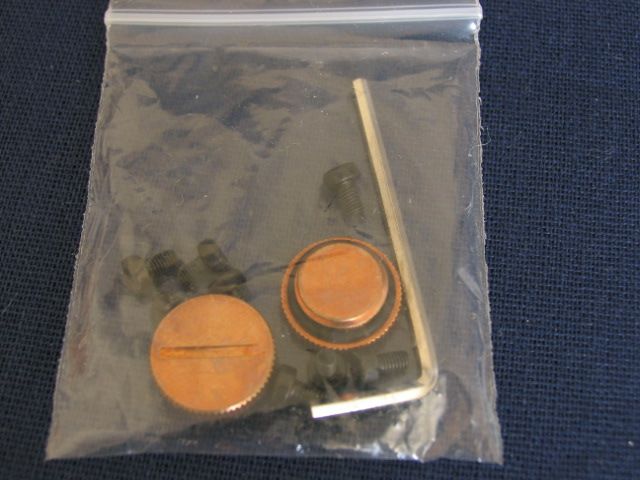
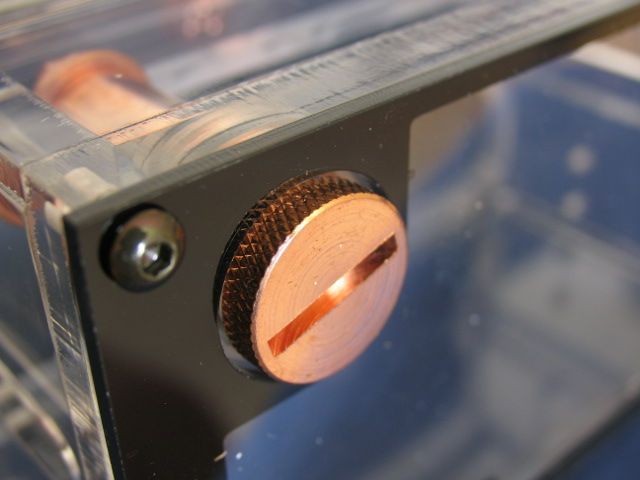
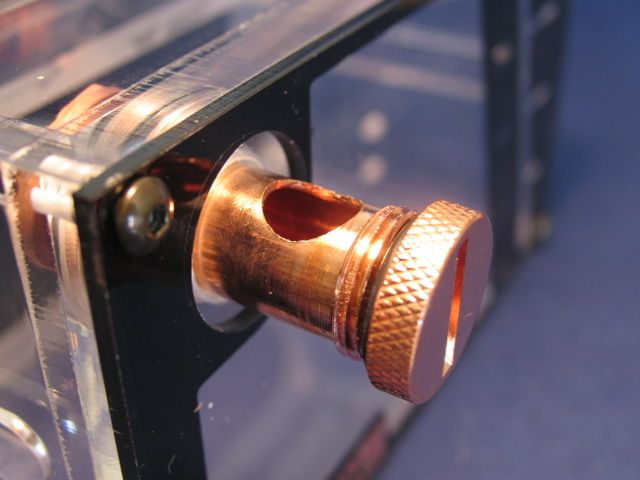
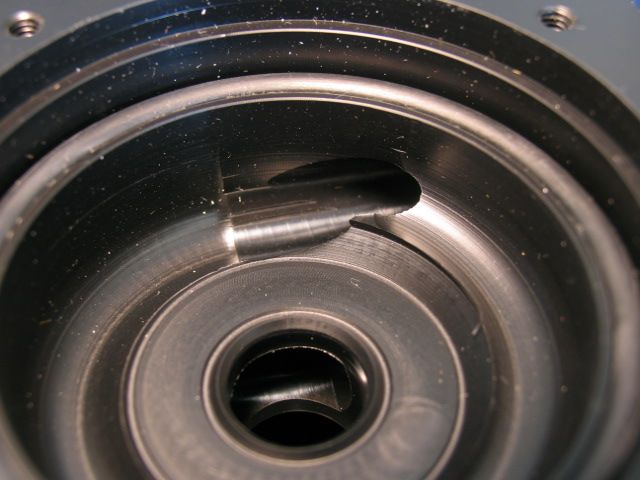
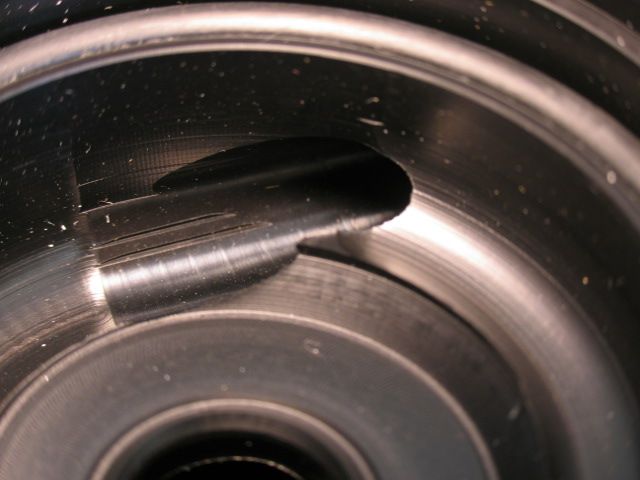
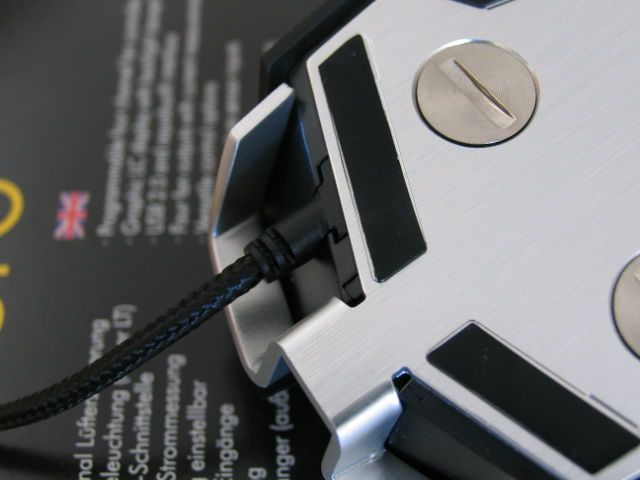
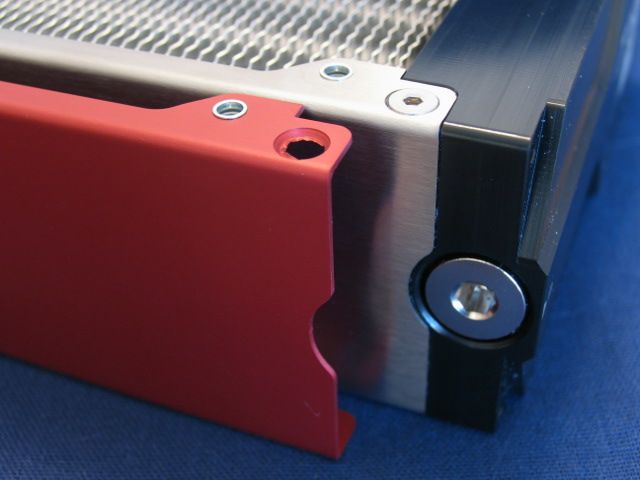
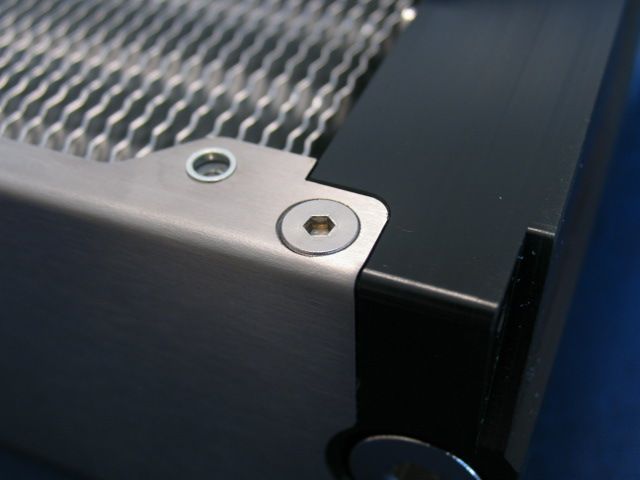
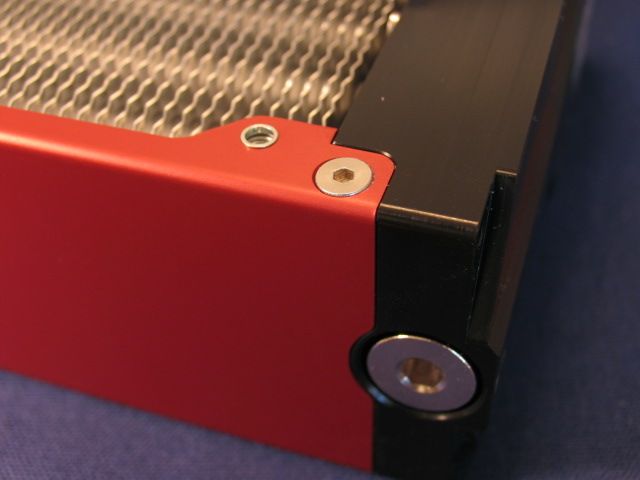
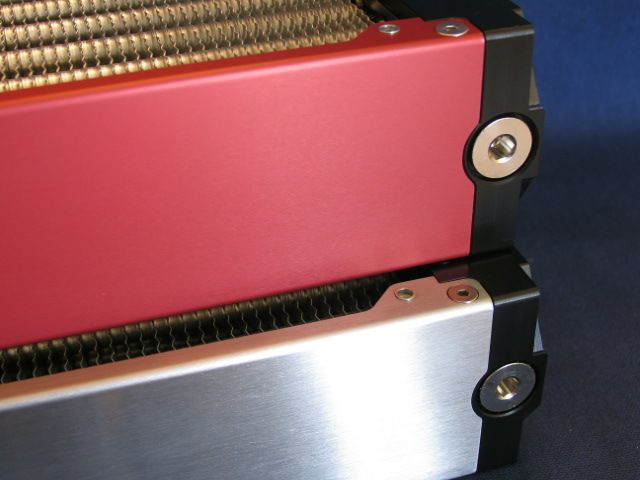
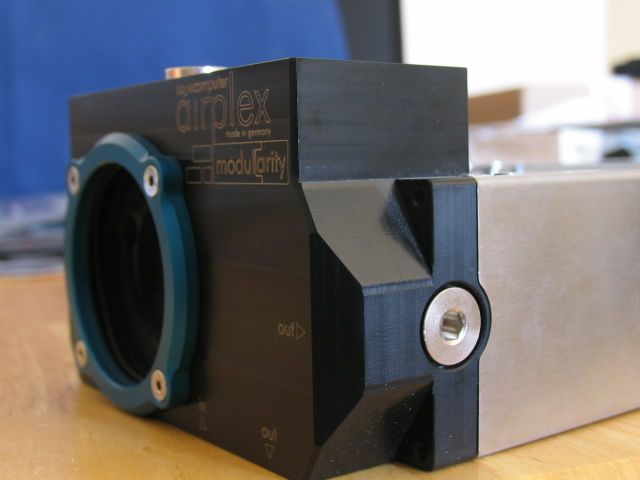
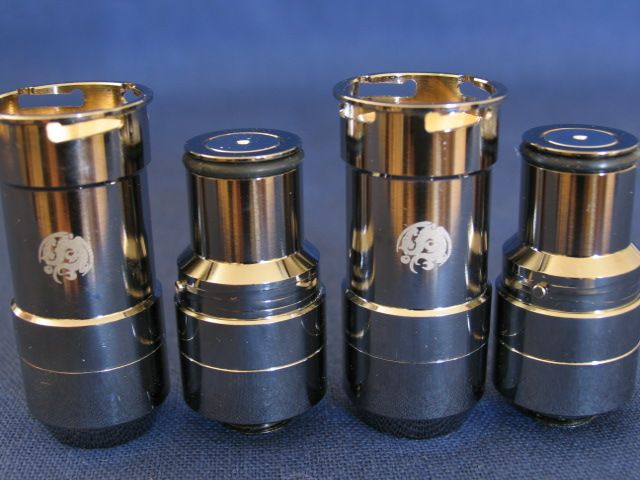
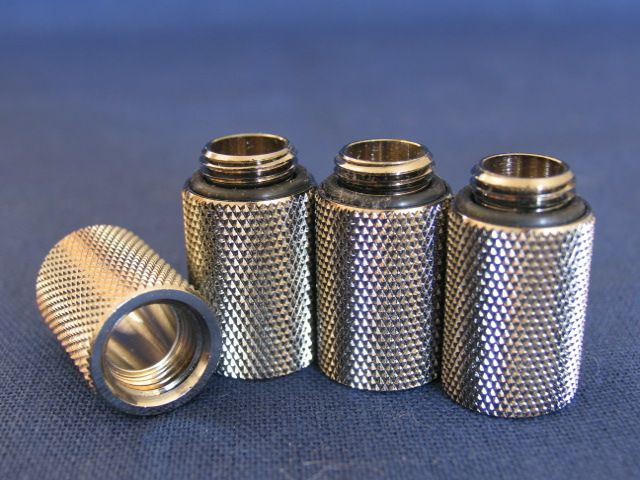
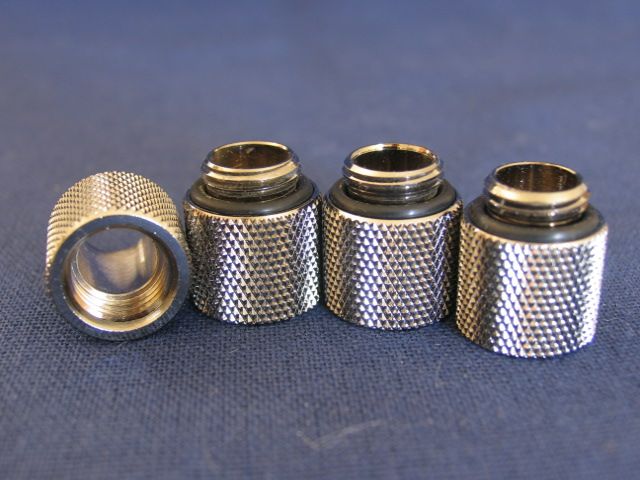
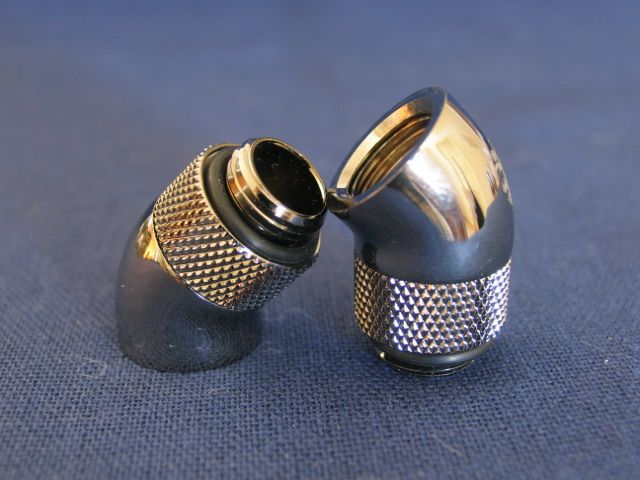
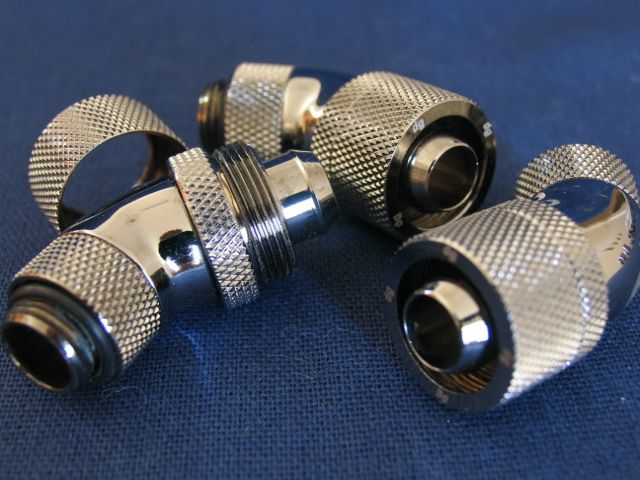
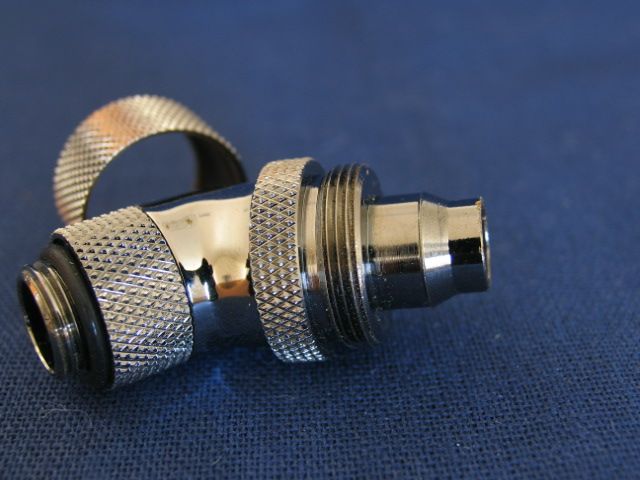
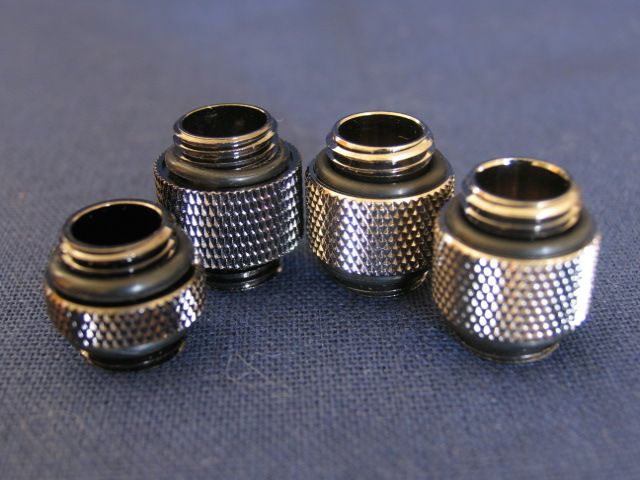
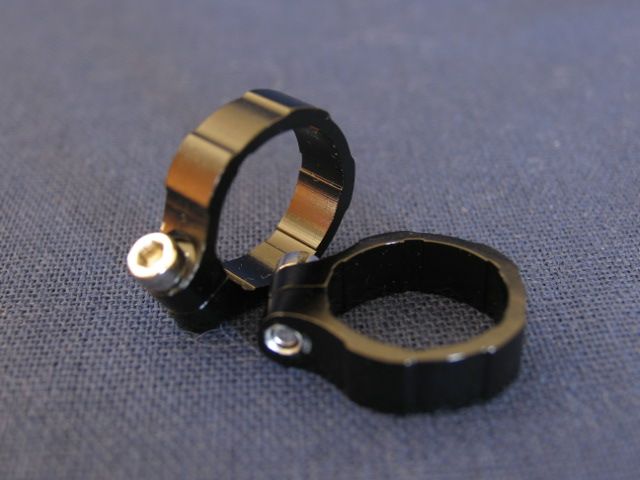
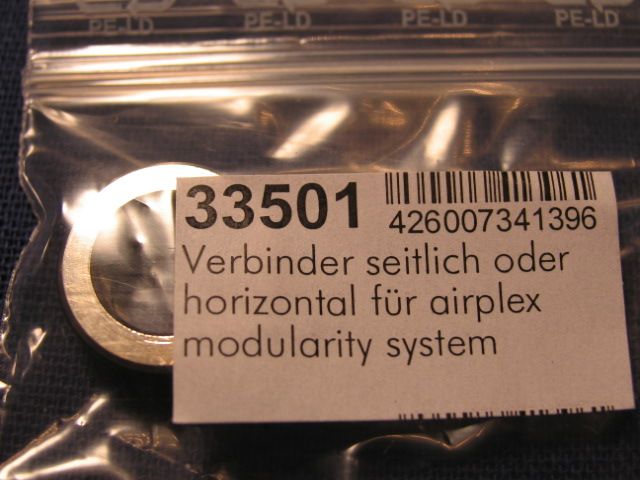
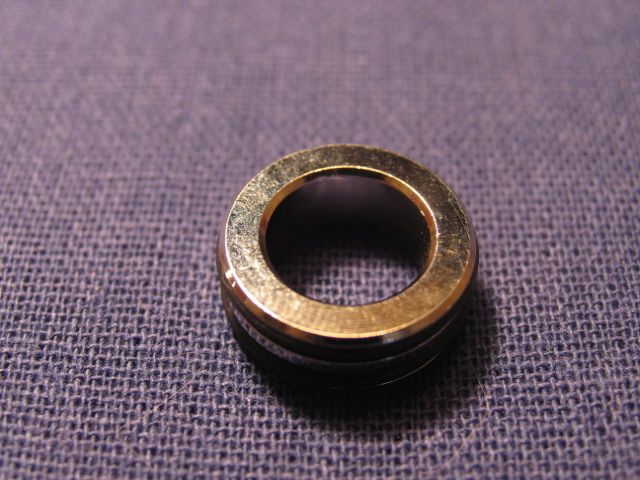
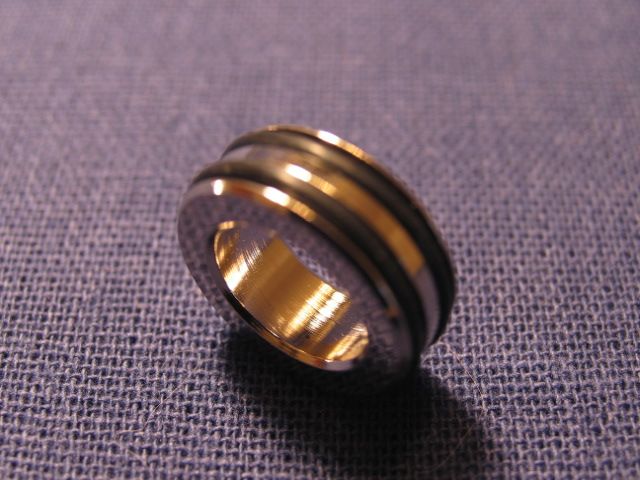
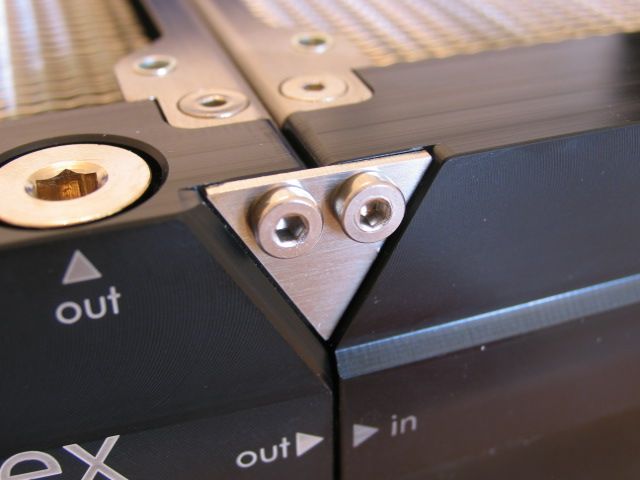
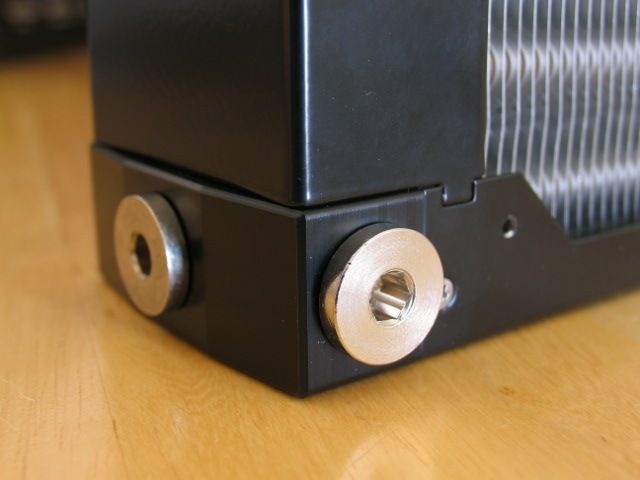
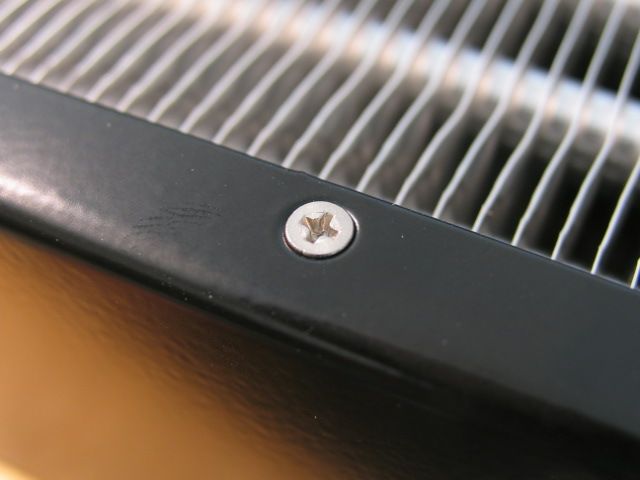
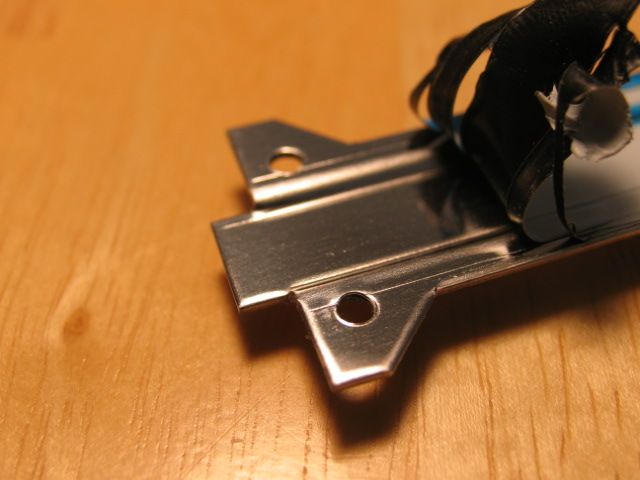
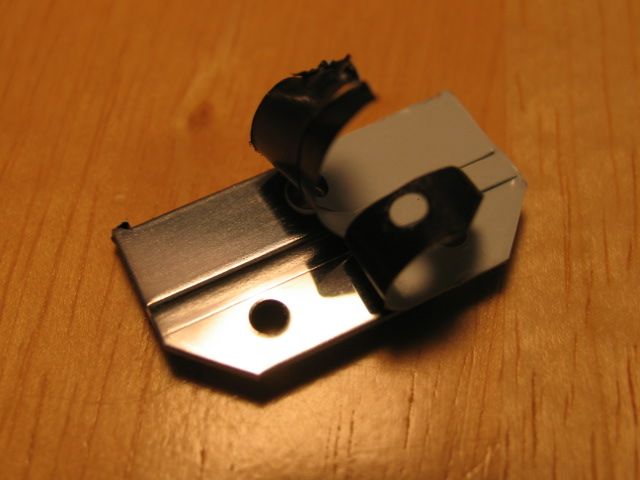
Here is the coupler that will allow me to join two rads side by side
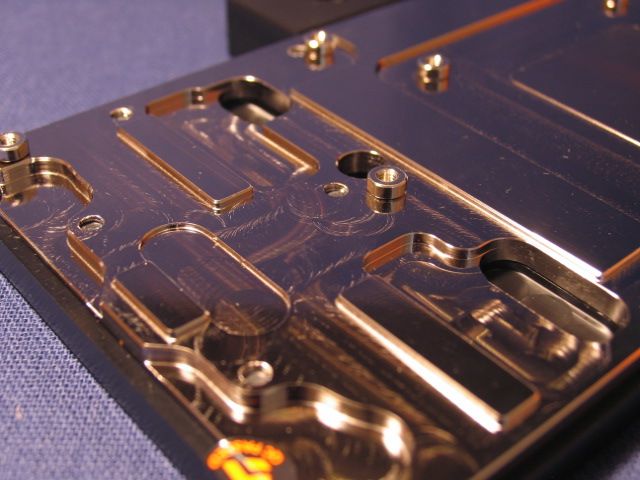
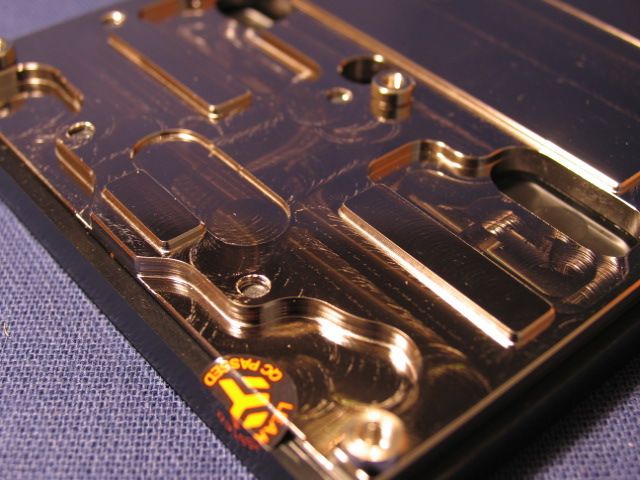
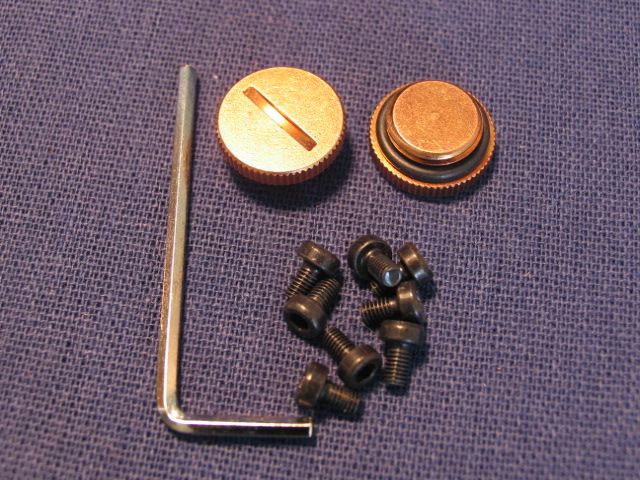
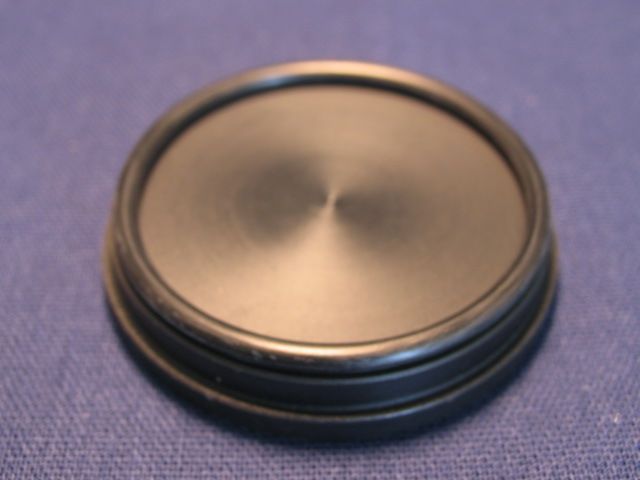
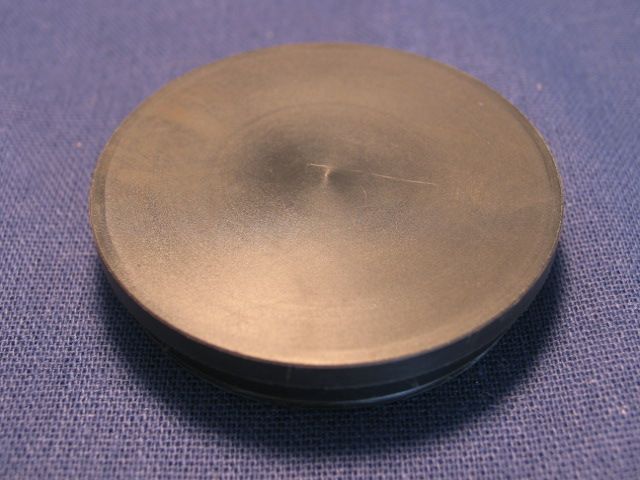
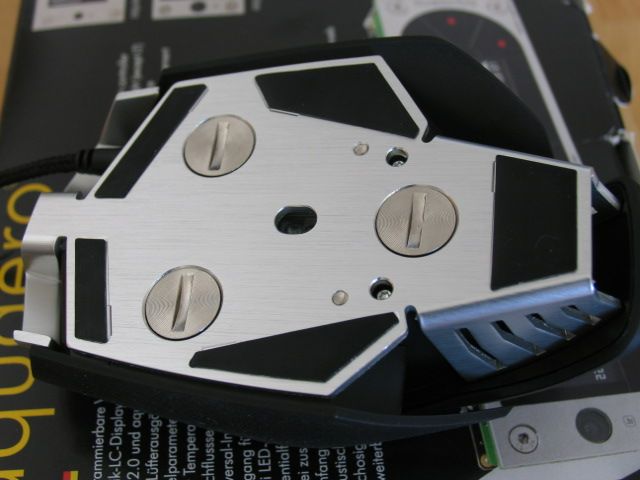
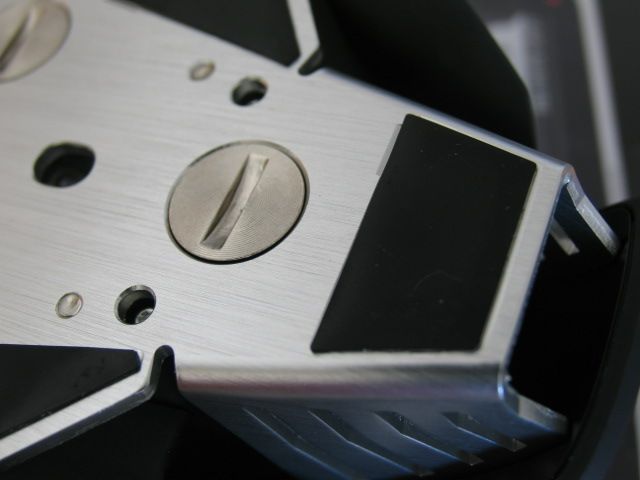
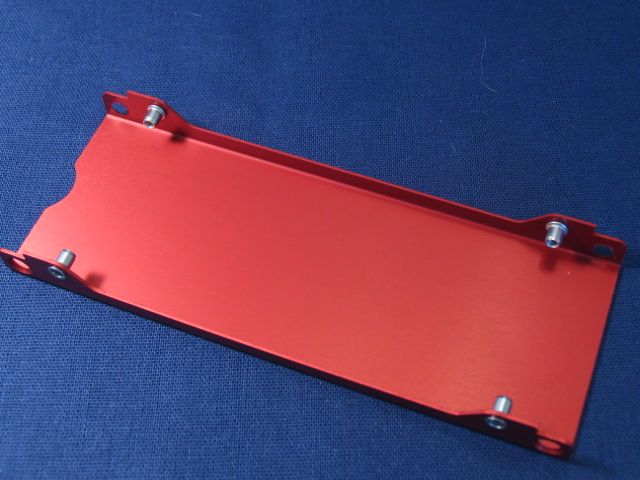
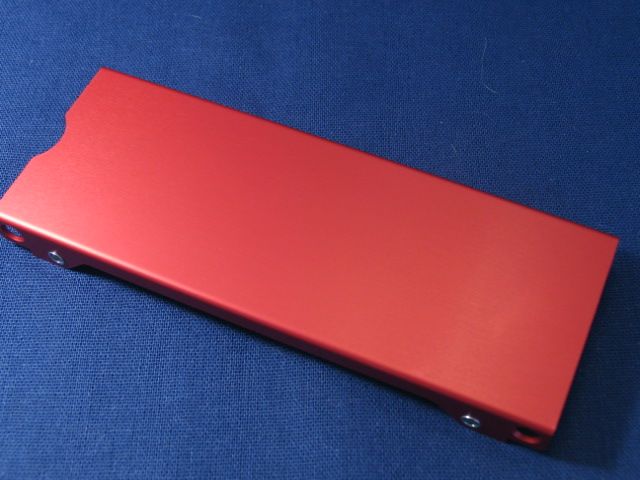
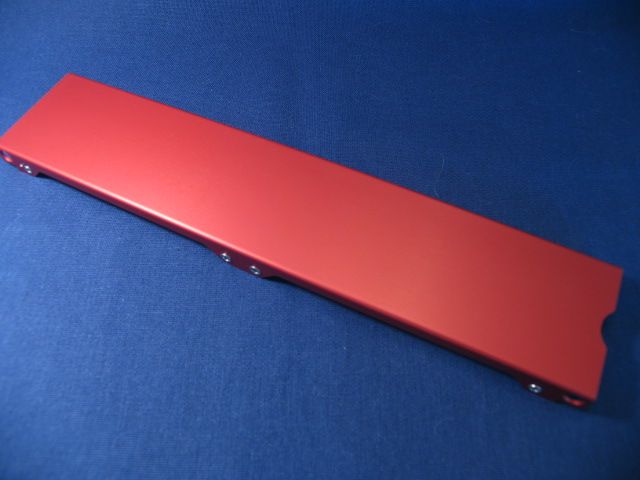
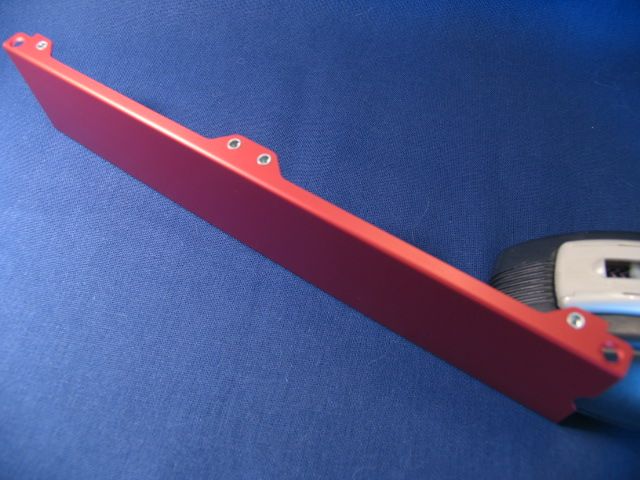
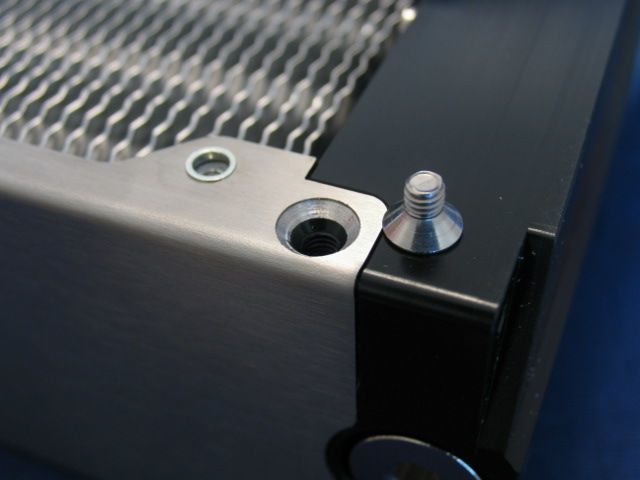
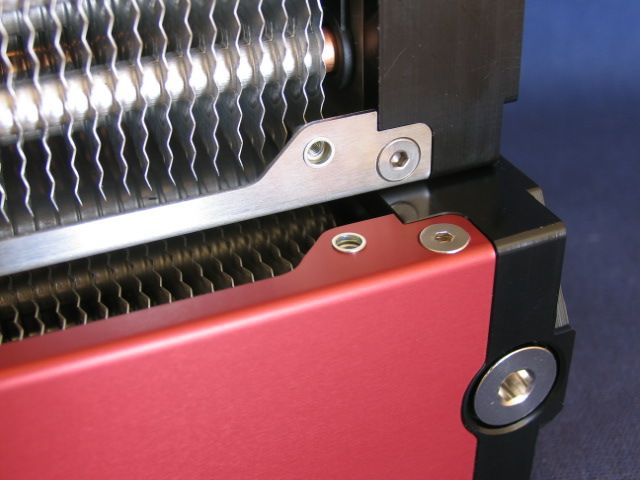
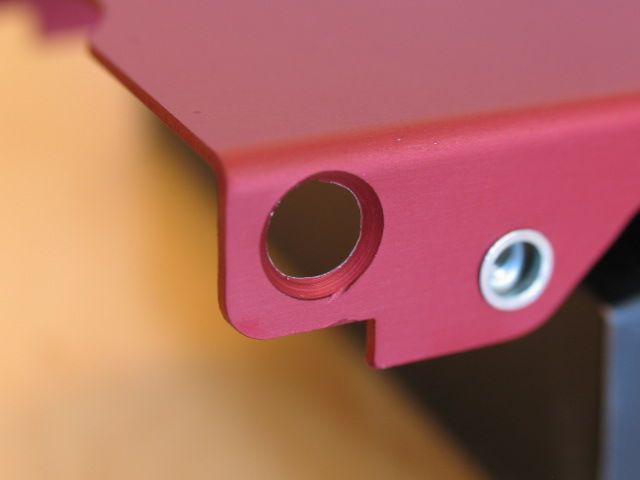
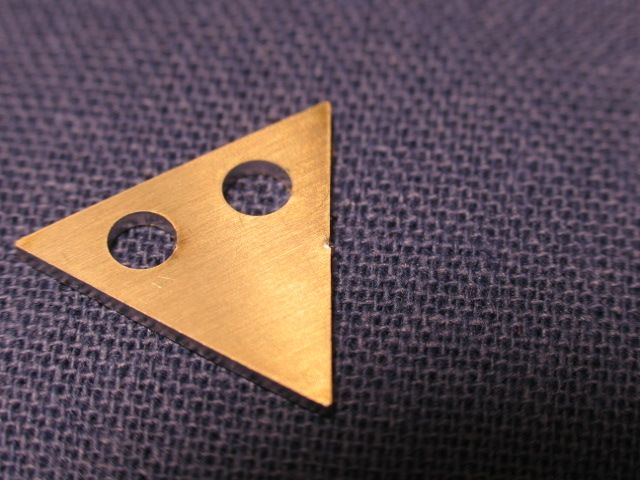
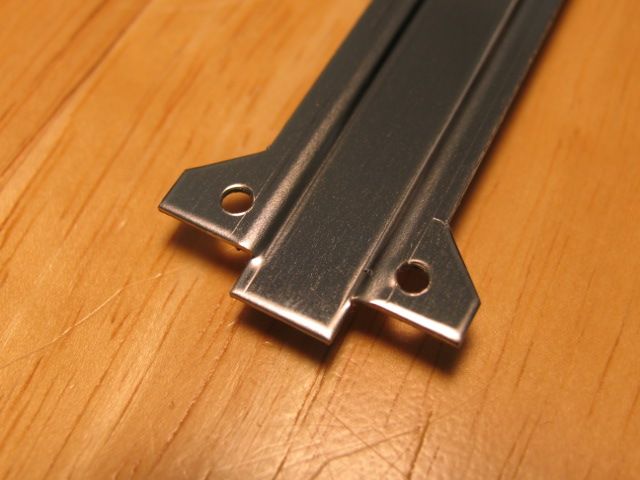
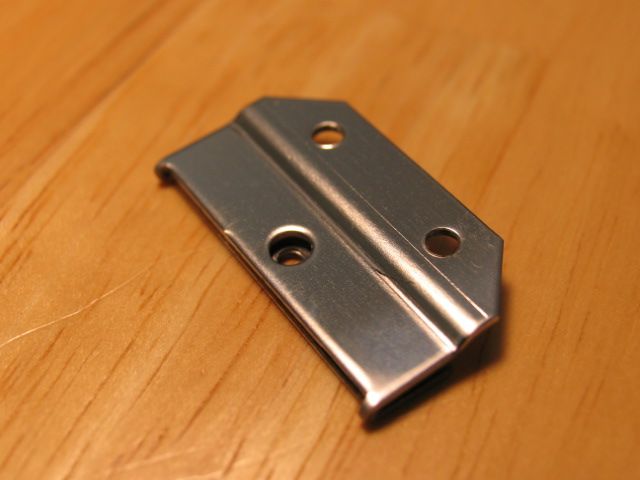
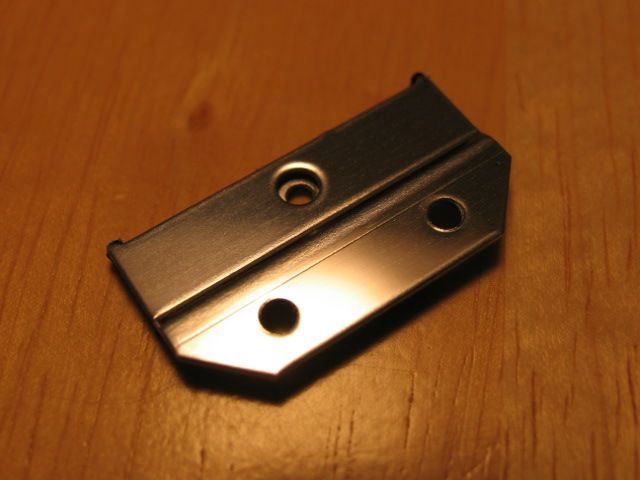
Here are the plates that join the rads together
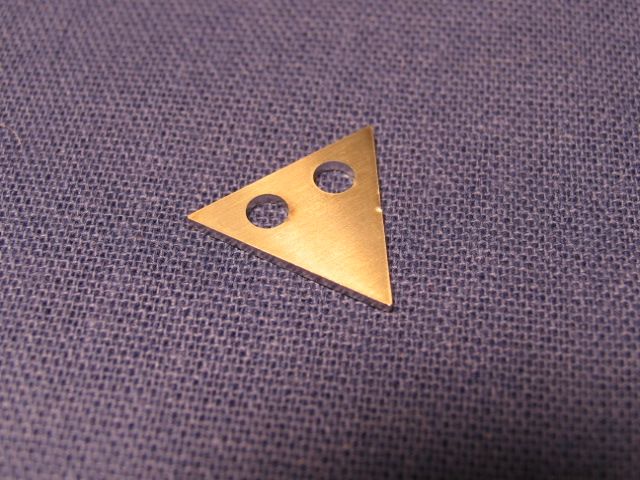
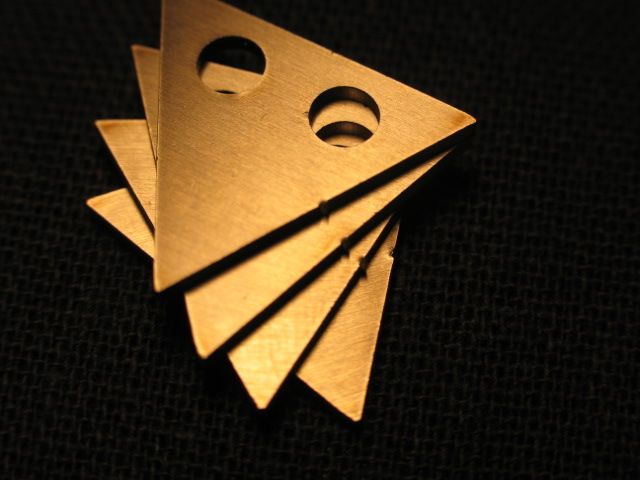
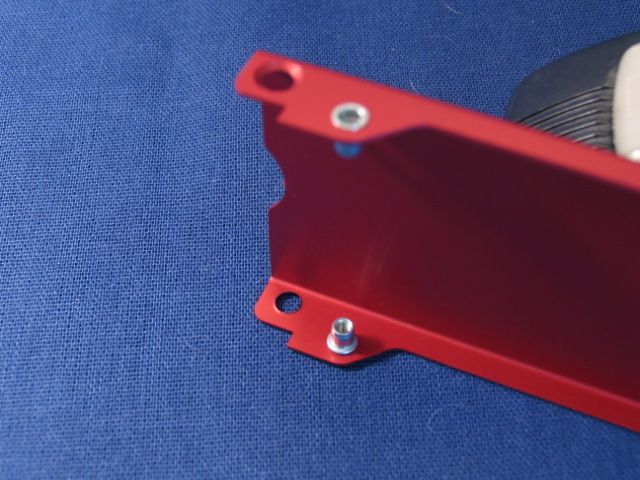
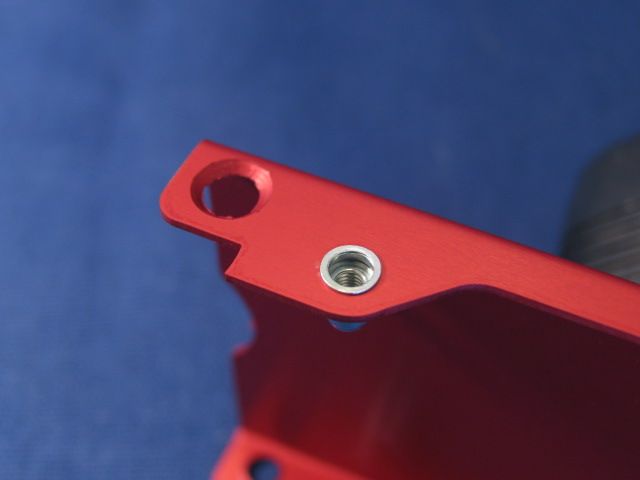
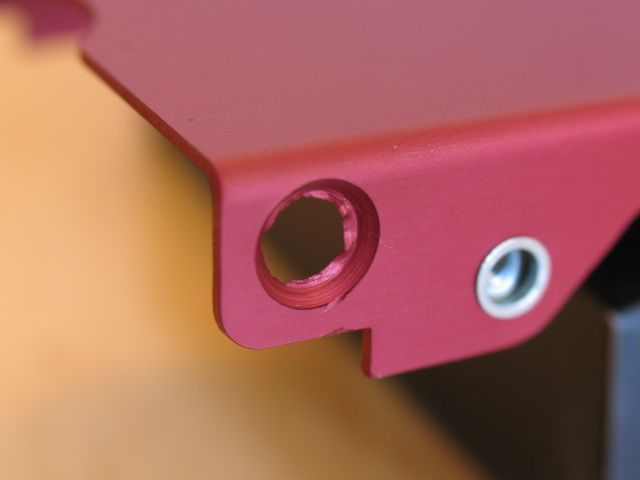
Can you see that little bump on the right edge? It's actually a burr leftover from the manufacturing process. If I'm not mistaken, these are probably cut from a large plate using a water jet machine, and the bump is a result of the part falling off before the cutting process is finished. The bump is evident on all 16 pieces I purchased. Nothing a little sandpaper can't handle. Just one more step in a process of thousands.
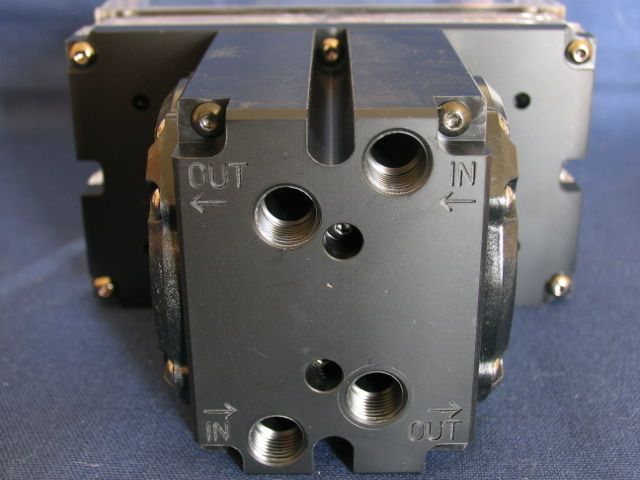
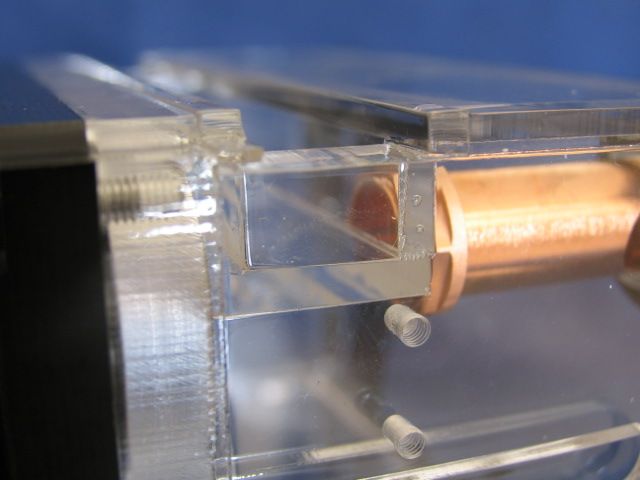
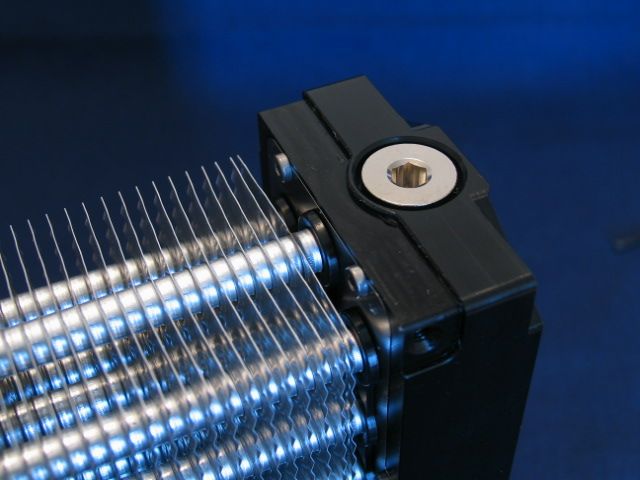
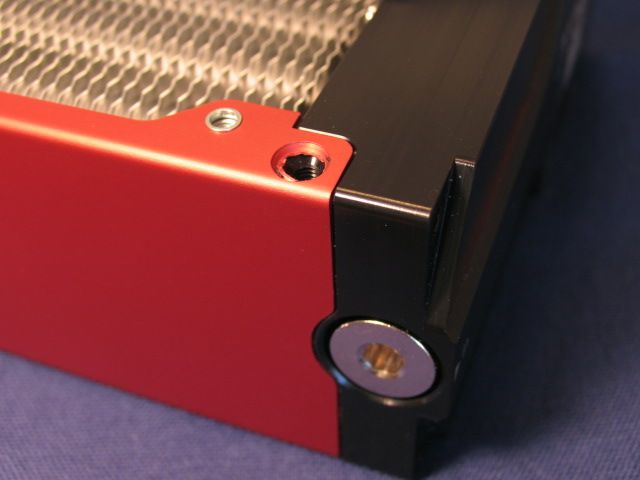
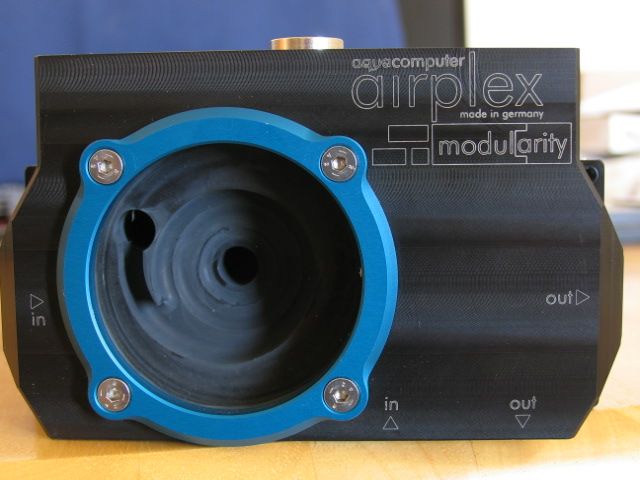
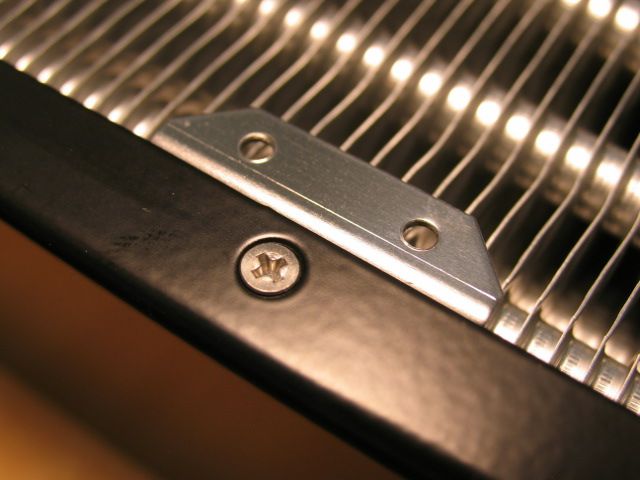
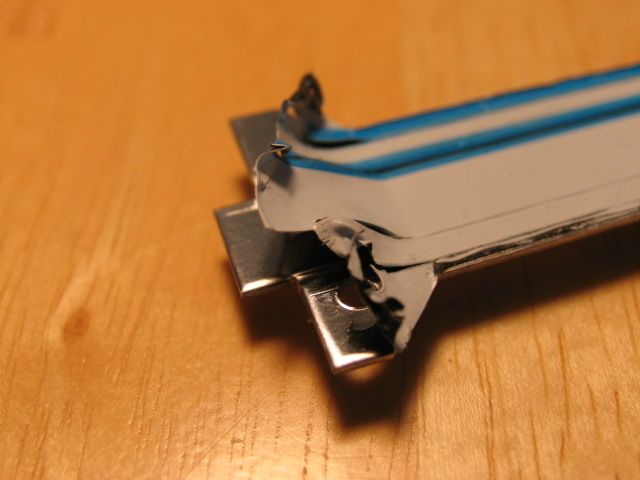
Rads adjoined.
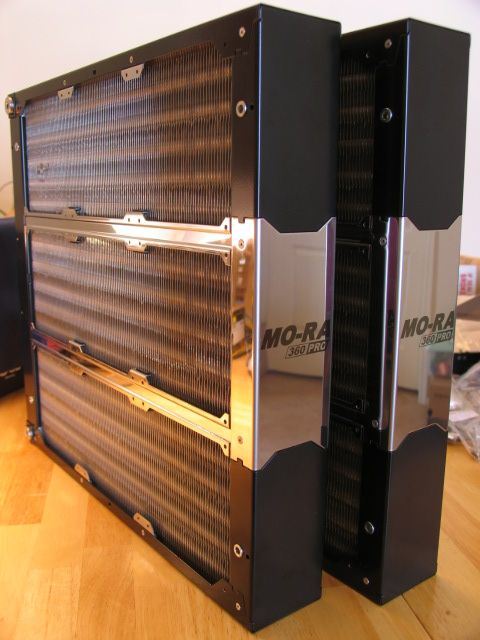
The radiators going into the Water Barrel 24 are 120mm x 9 units from Watercool. I really wanted to use 140mm, but it was just to close a fit. I was worried I wouldn't be able to get them to fit.
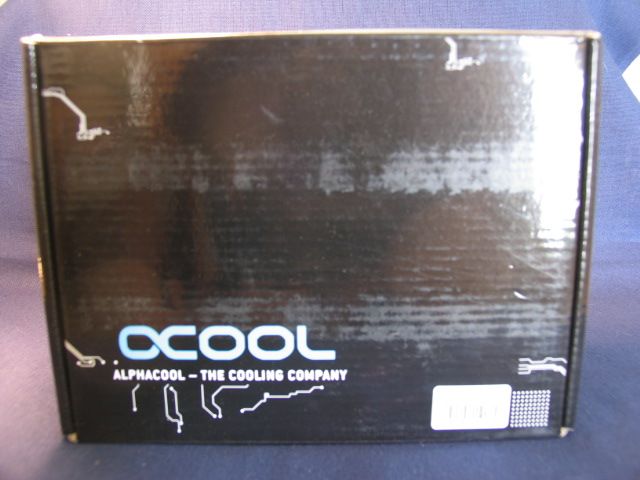
Onto pics of the rads. Shipping boxes (it's like effing christmas)
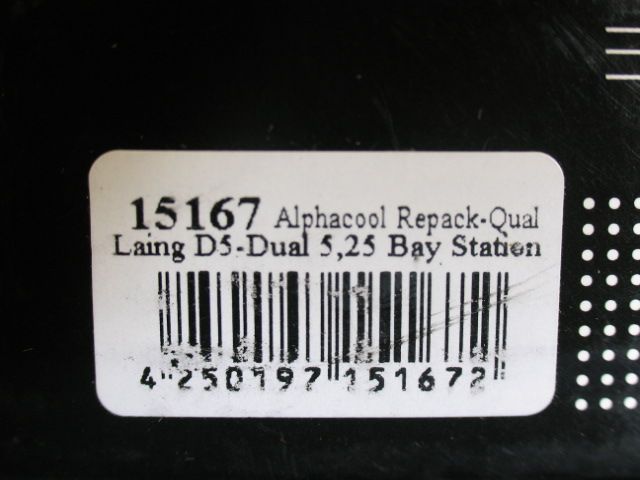
The rad boxes are like extra large pizza boxes. These radiators measure 16.358" x 15.078" x 2.56" thick. and these are the 120mm variety. Imagine the 140mm?
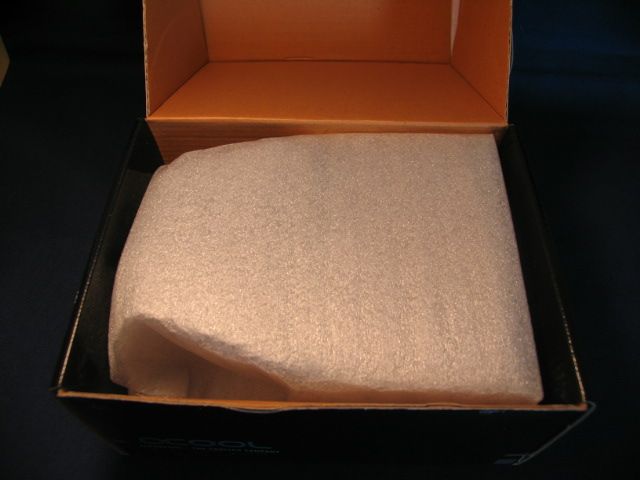
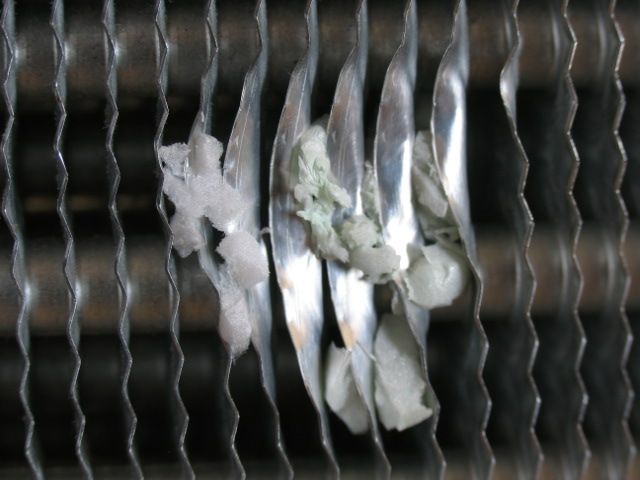
When you can hear things rattling inside the box, it's not good.
Check it!
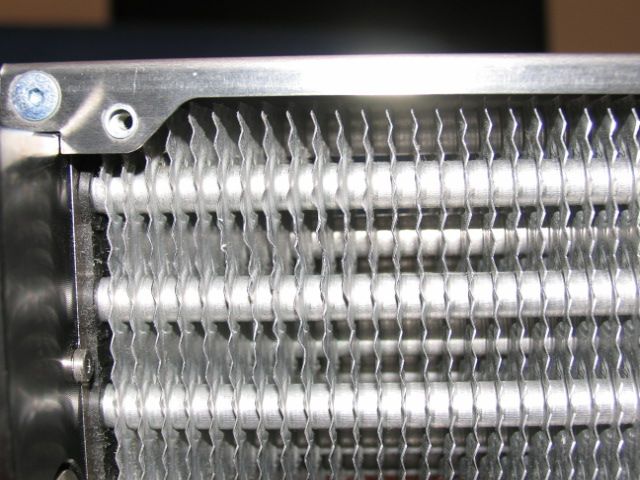
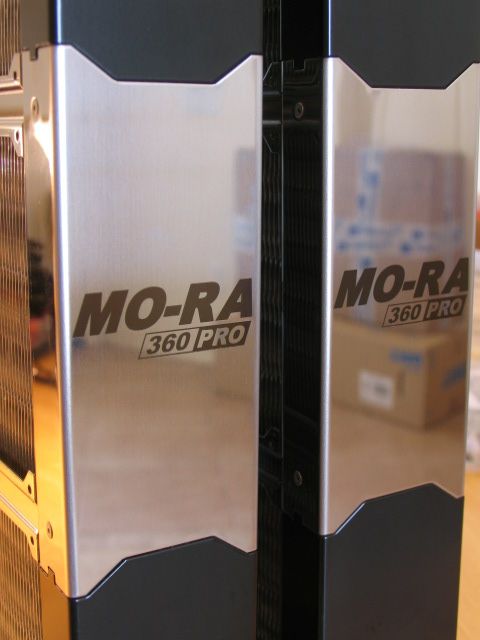
Shiny
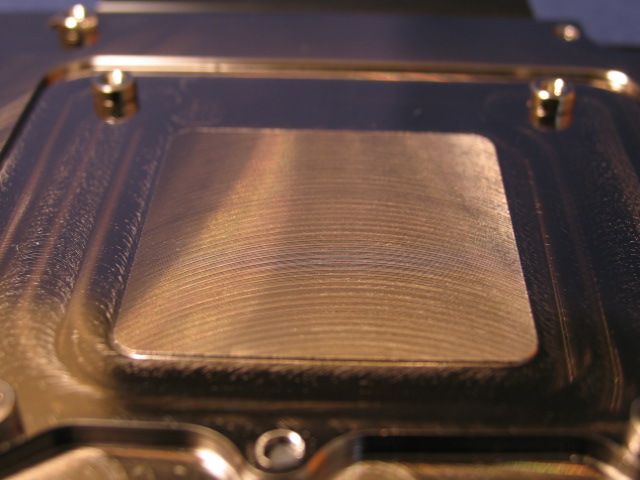
These rads are very similar to the Aquacomputer Airplex Modularity radiators. 8.5 fins per inch.
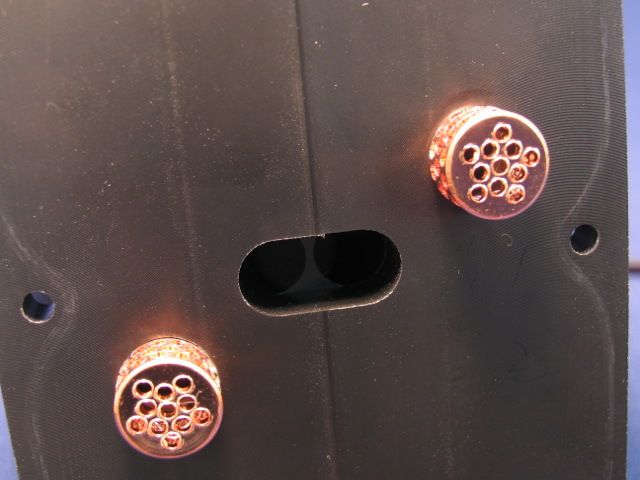
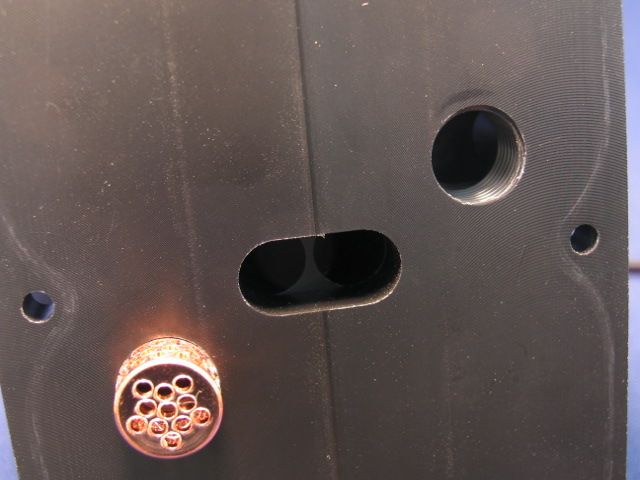
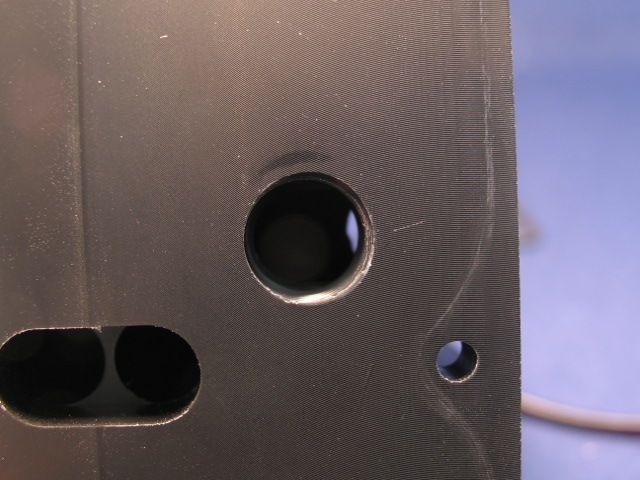
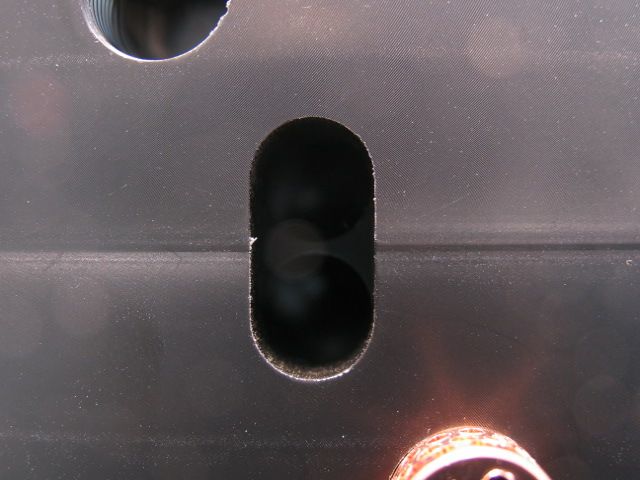
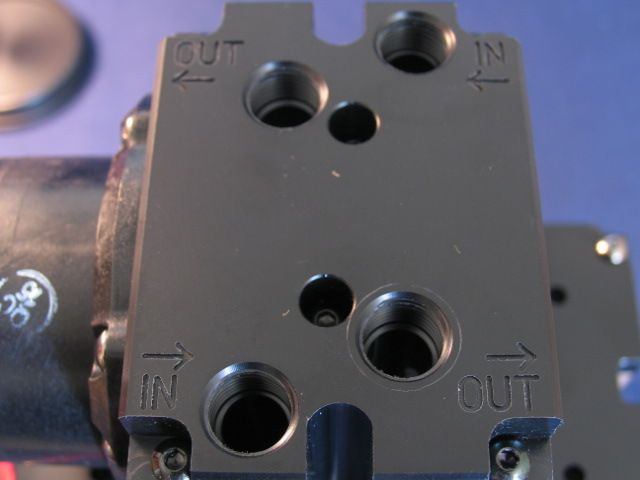
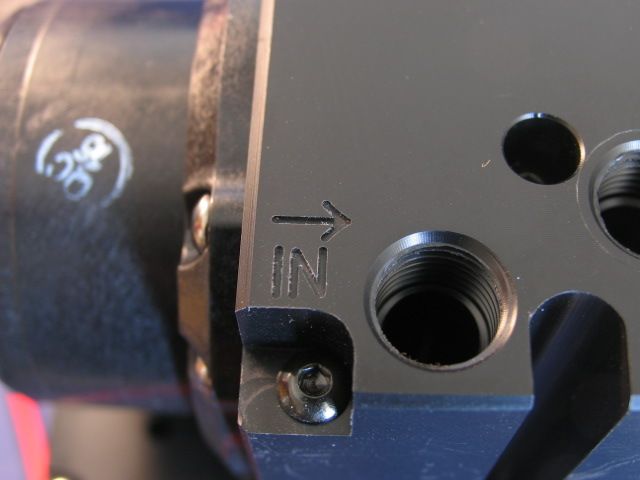
The ports are not counter bored like the Airplex rads.
Here are pics of the hardware to mount the 120mm fans to the rad. First, the inner rails.
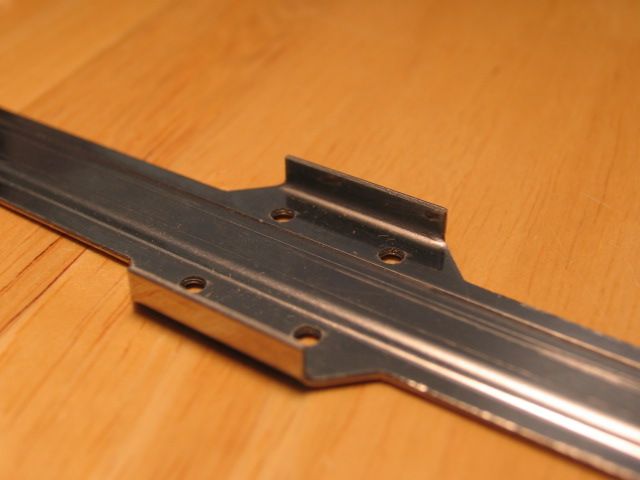
Sharp edges
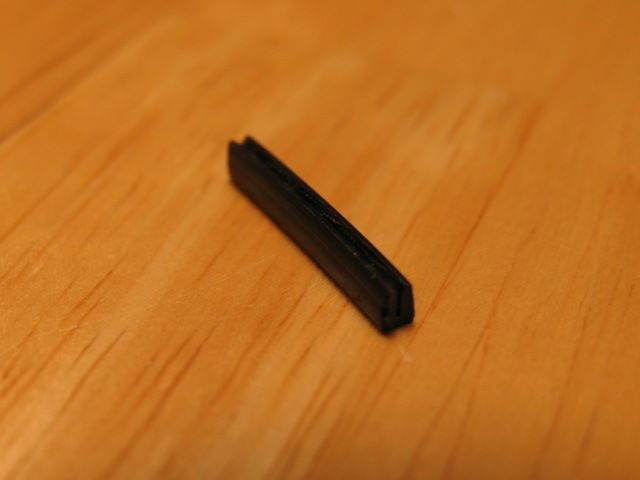
Here is a little plastic protector to help with rubbing on the fins.
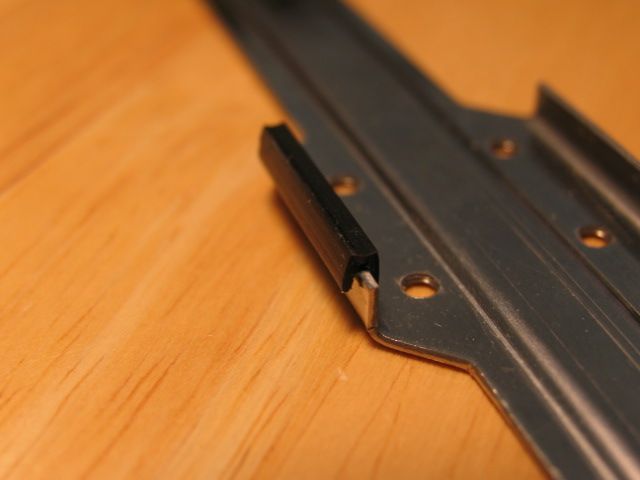
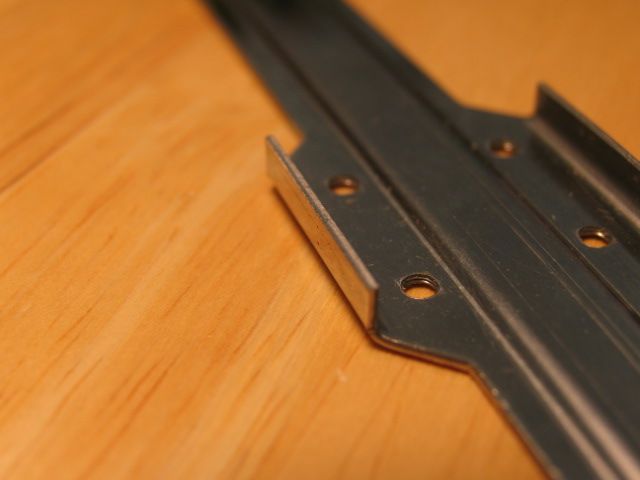
Here is where the end of the rail inserts.
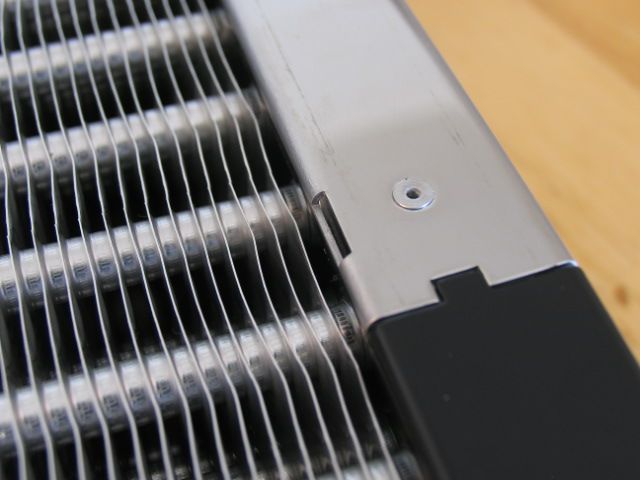
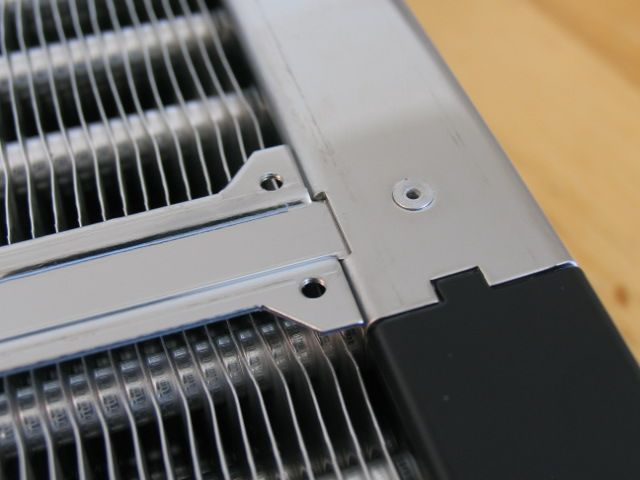
This is the connector mount for the outer edges for the 120mm rads.
Here is where it goes.

They had this protective goo on the mounting hardware. Pain to get off, but it worked.
All done!

Close-up.
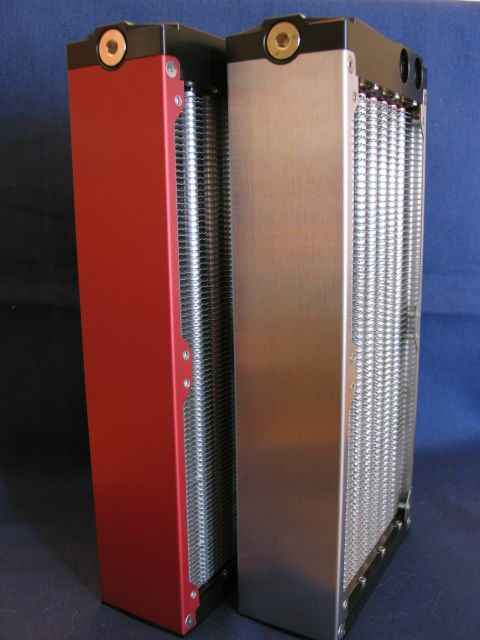
If one is good, two must be better. Inside the Water Barrel 24, one rad will be affixed to the inside of the left panel and one to the right.
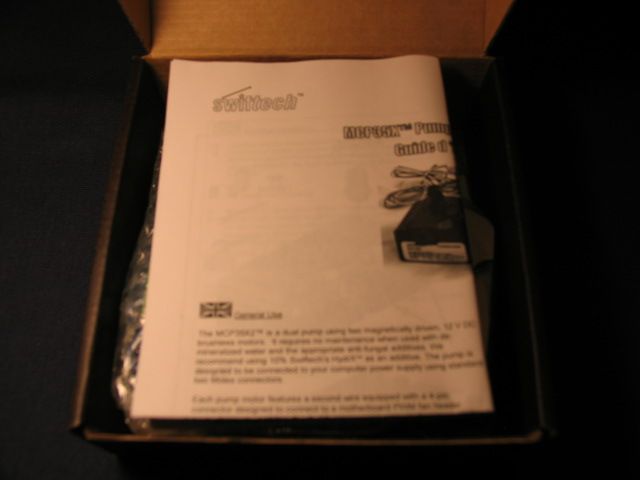
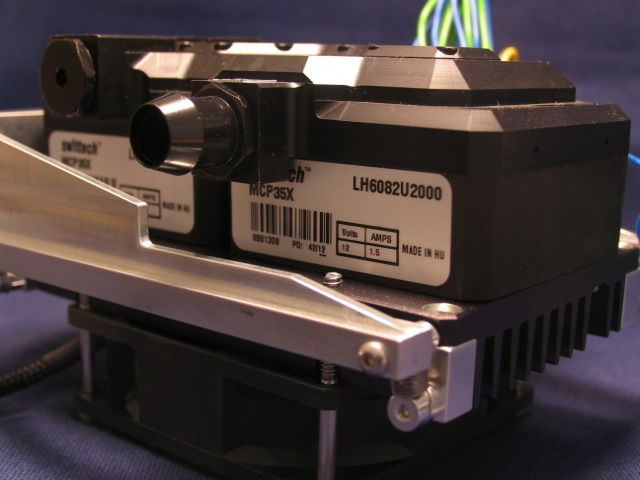
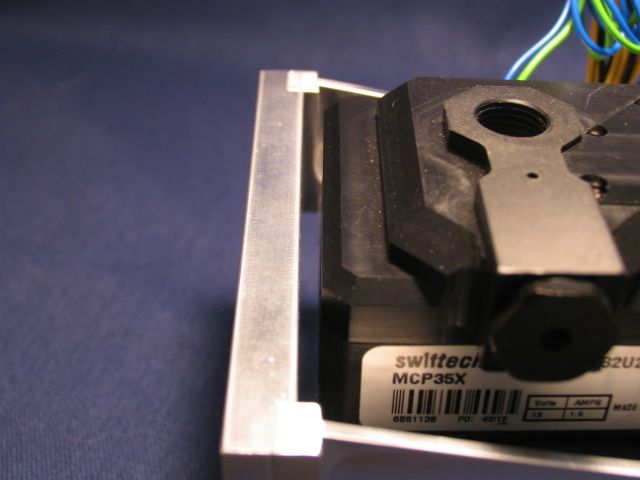
After a bit a research, I ended up getting the Swiftech MCP35X2 pumps.
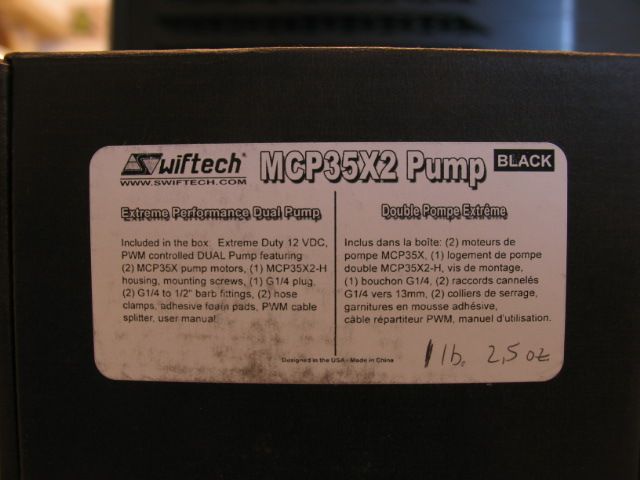
Three to be exact! I know. One pump would probably be enough for the whole system. But, one pump is boring. So....
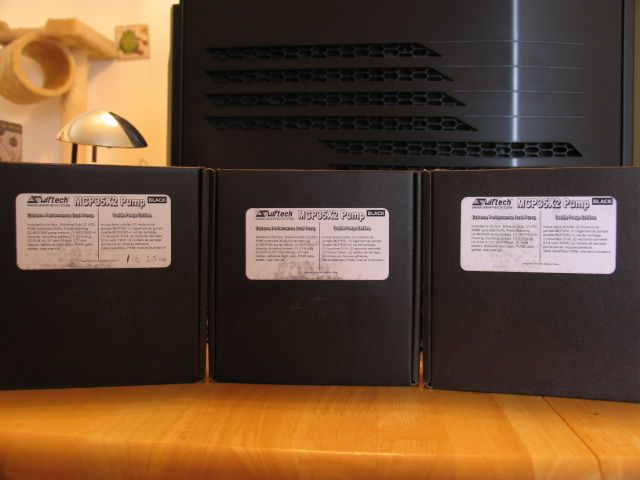
Inside the box. Sorry for the first pic being a little blurry.
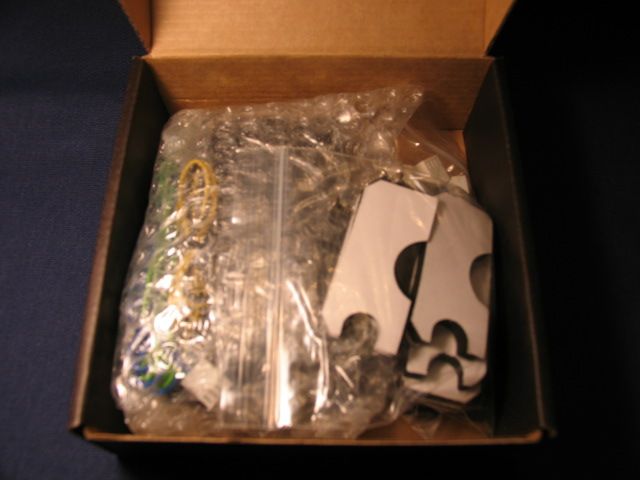
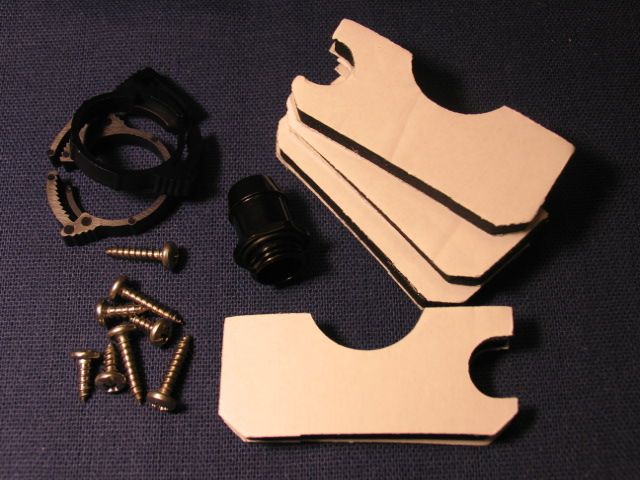
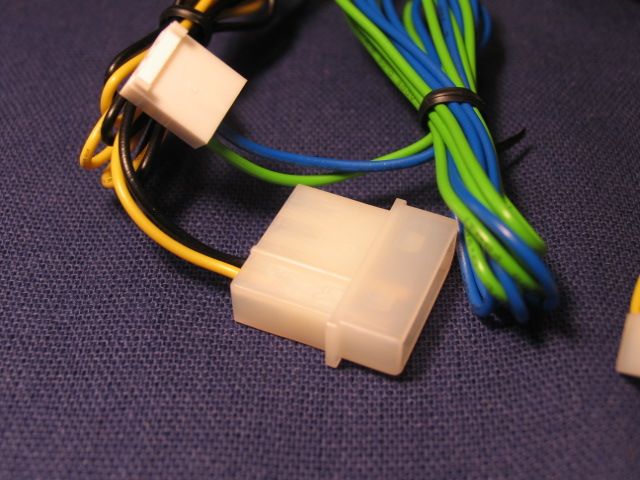
Hardware
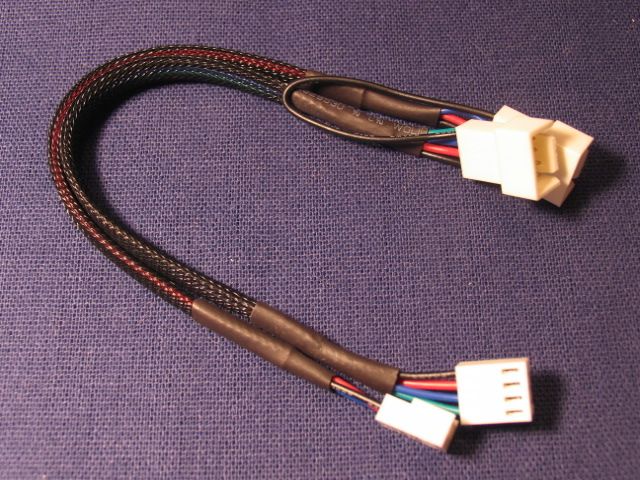
PWM joining cable. This allows for both pumps to be controlled via PWM.
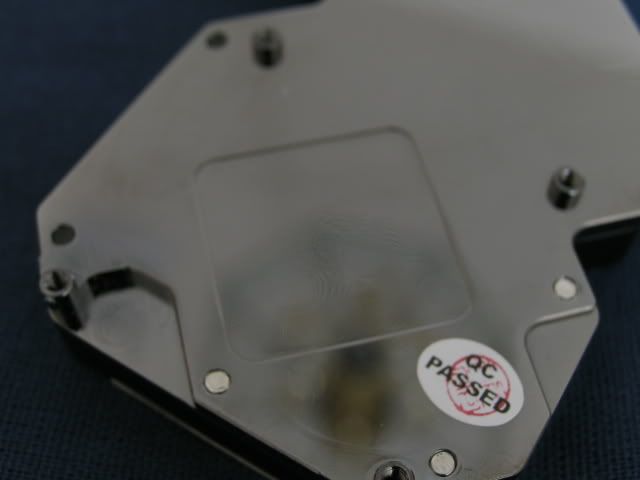
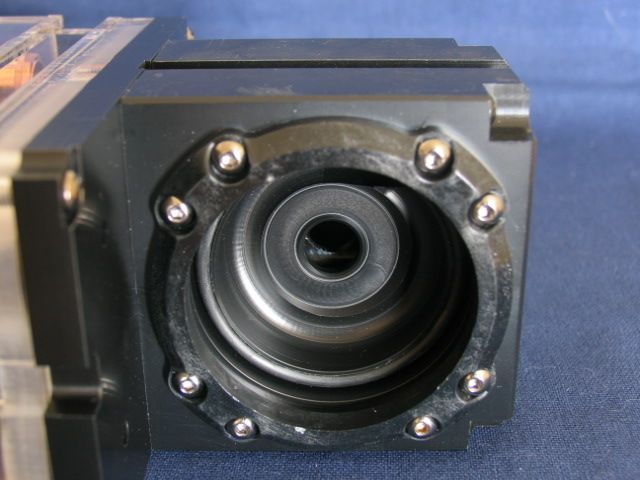
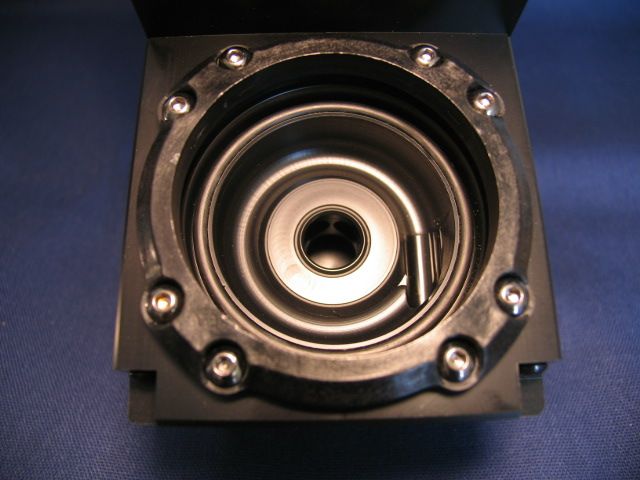
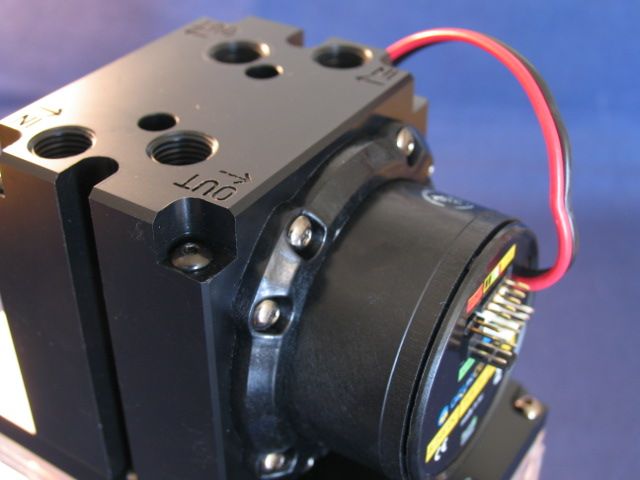
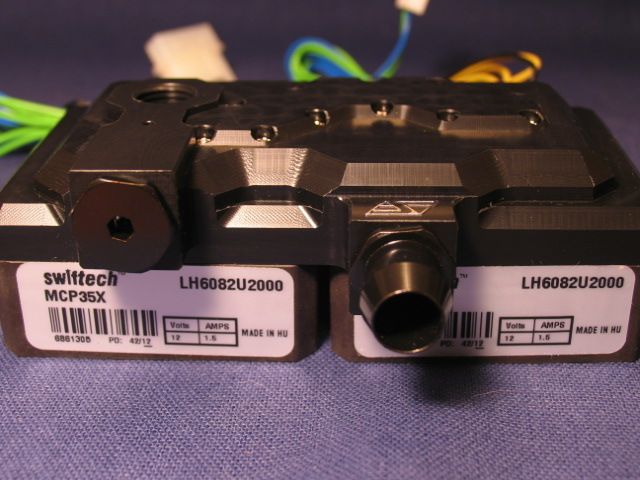
Pump
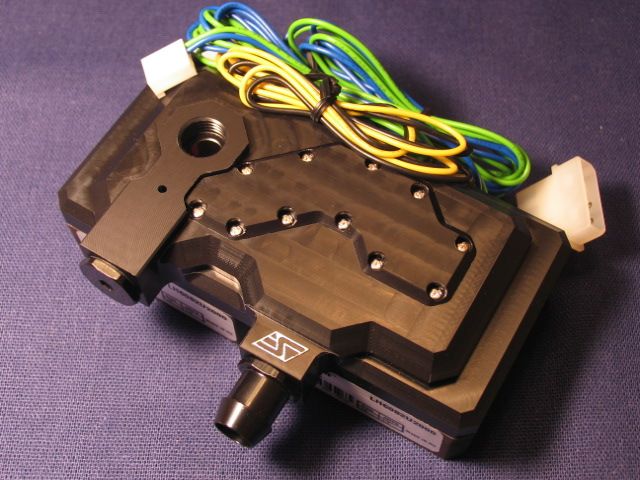
Rats nest. It's actually not bad. I'd rather have more than not enough cable.
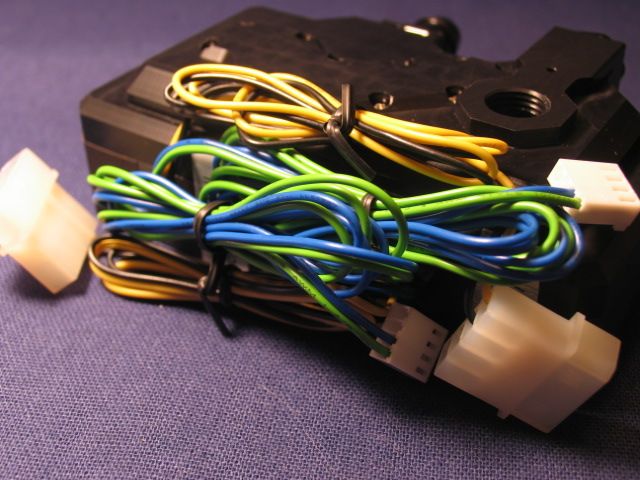
Each pump has its own power and sense and PWM control.
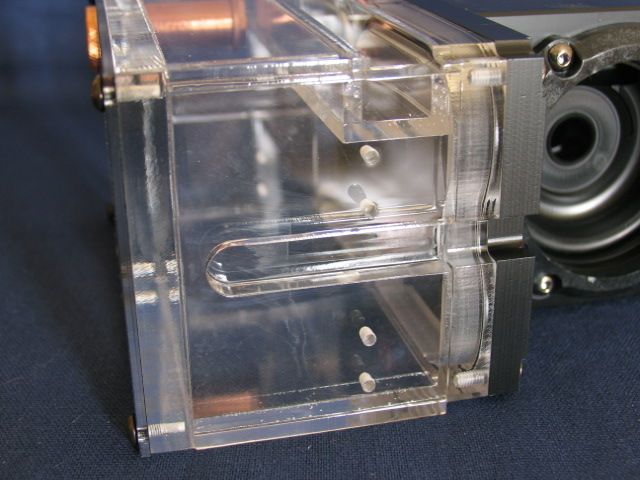
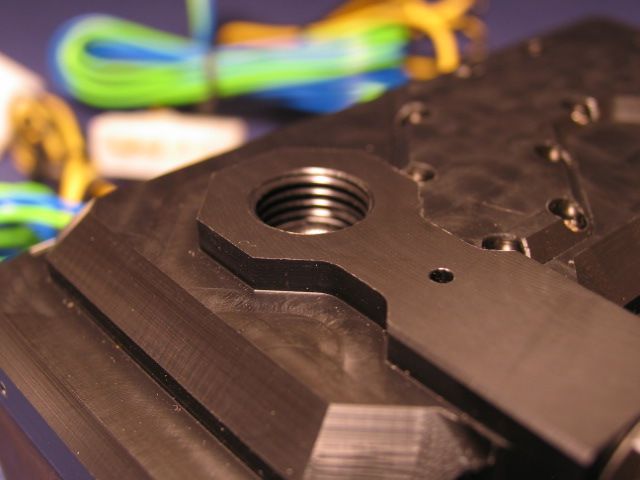
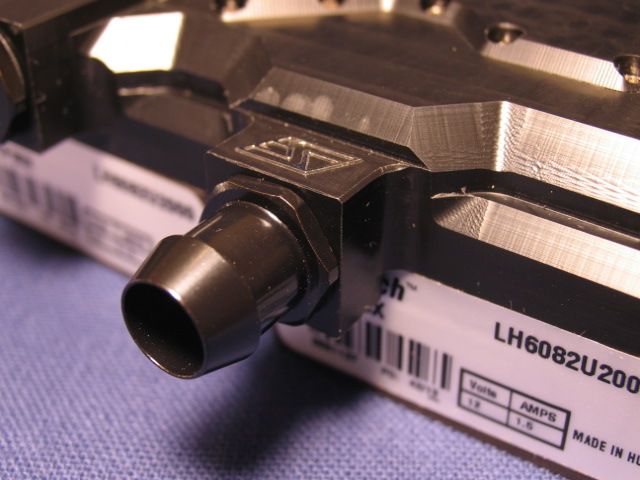
Additional shots. The workmanship is wonderful. Very good attention to detail.
I'm not going inside. If you want to see inside, look up Martin's review of the pumps over @ www.martinsliquidlab.org . His review was part of the reason for me getting the pumps. Good review and reviewer.
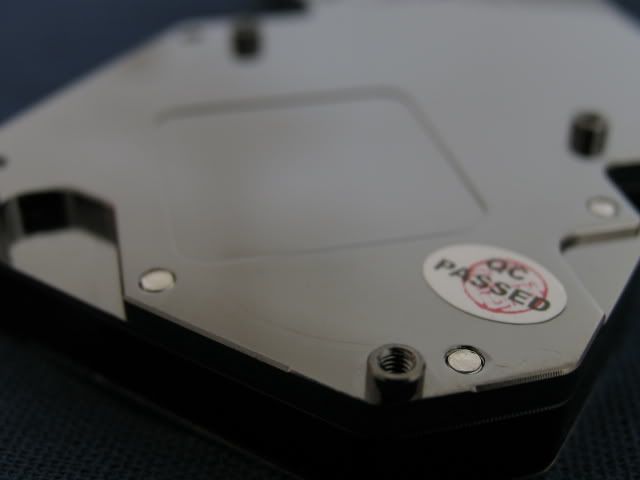
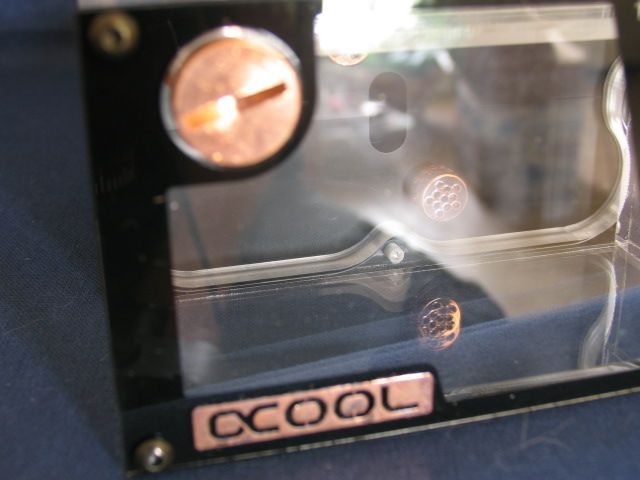
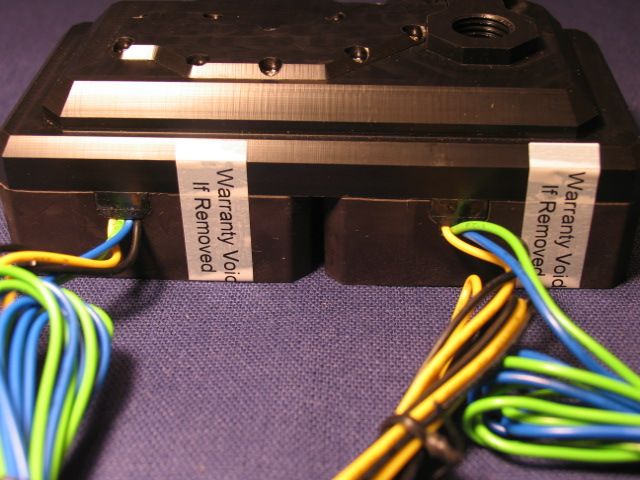
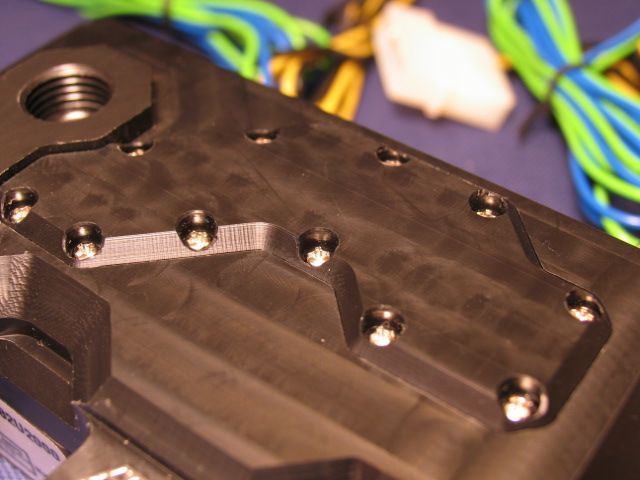
Bottom
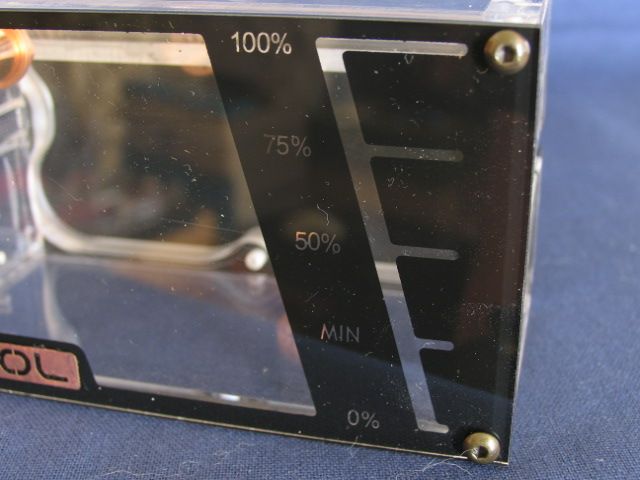
More views.


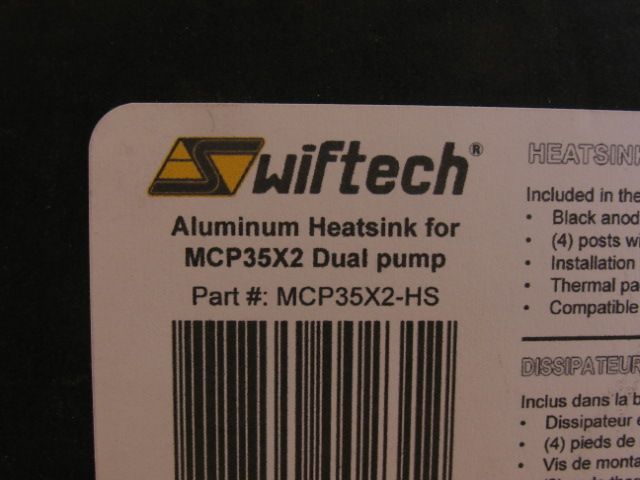
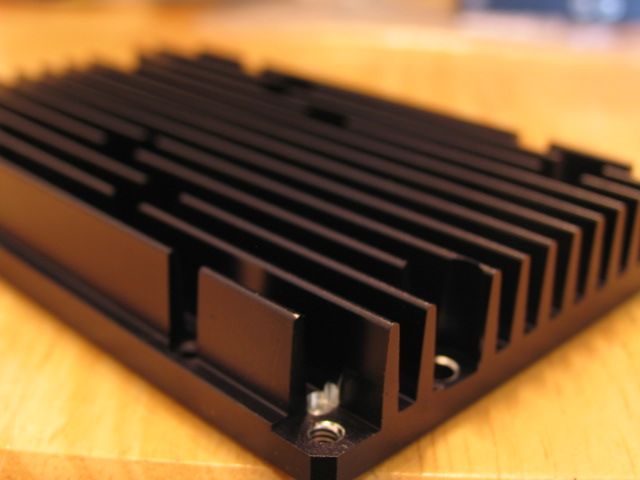
Swiftech has a finned cooling plate that goes on the bottom of these pumps.
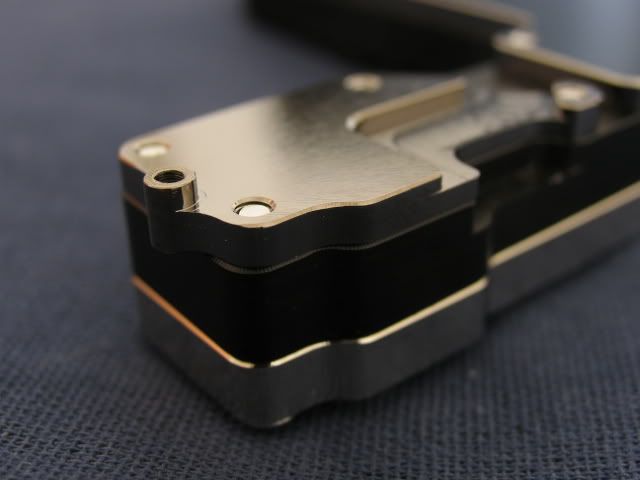
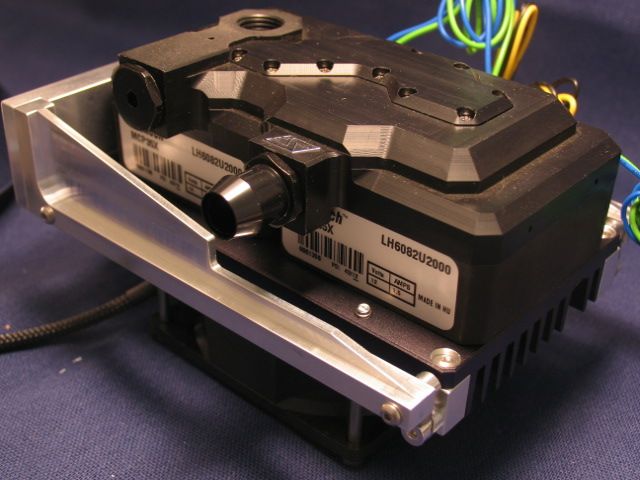
These shots show modifications by me for reasons to be explained further.
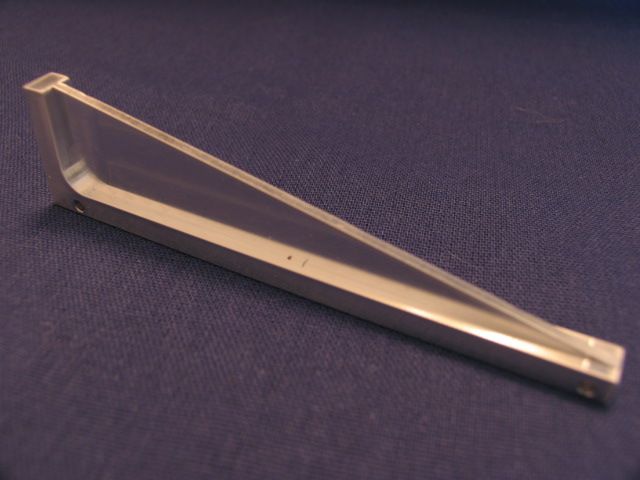
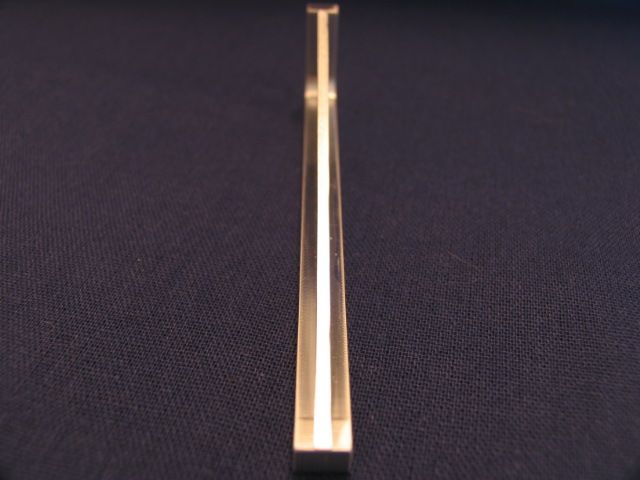
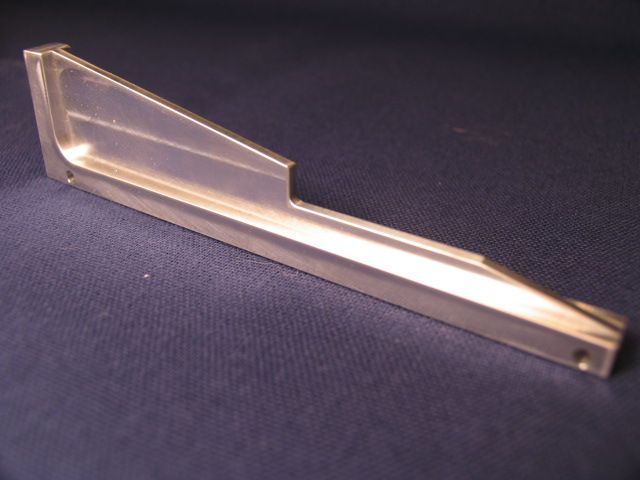
The cooling plate has a way to affix 80mm fans for additional cooling. I wanted to add these but needed a way to mount the fan so I could get good airflow to the plate. And, I also wanted a way to isolate these pumps from the case. So I came up with this. I dreamed up some arms to suspend the pumps by springs. First the arms.

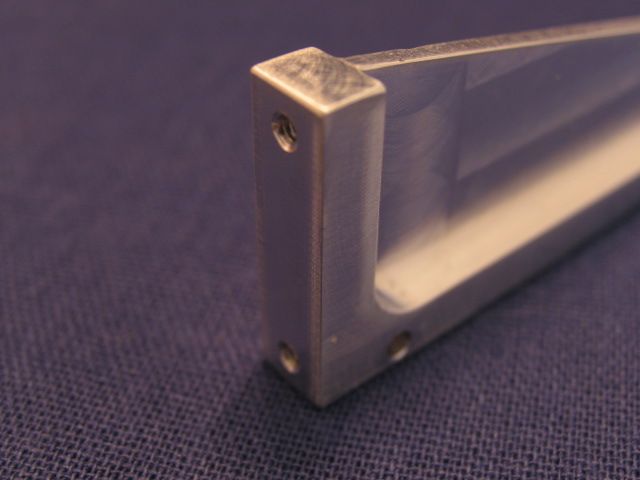
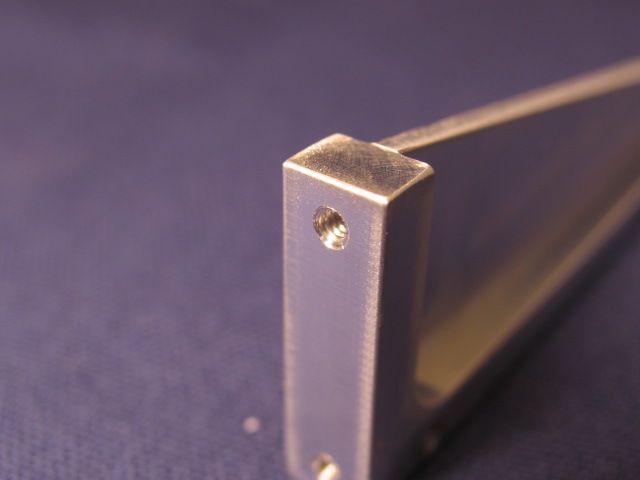
4-40 tapped holes to affix the arms to the support plate.
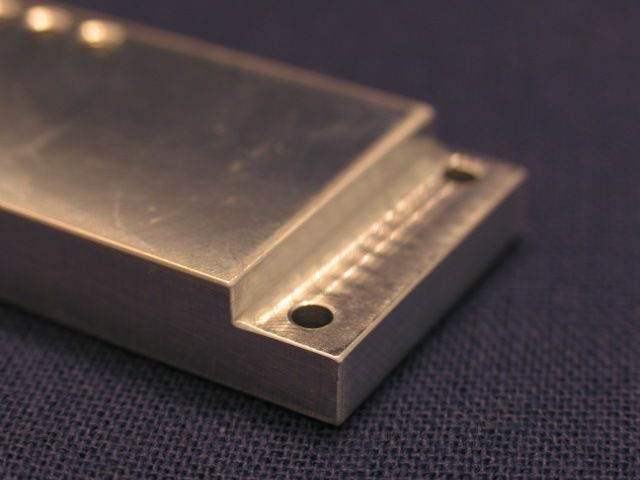
Support plate. All the tapped holes in the center of the plate are so I could move the assembly left or right as needed after I drilled the affixing holes.

Notches for the arms.
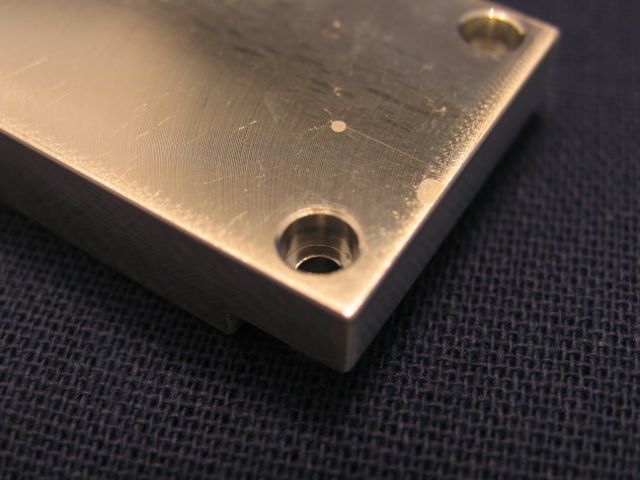
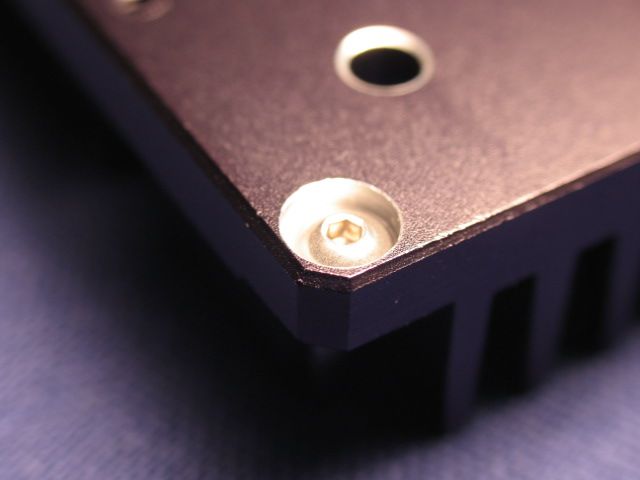
4-40 counter bores
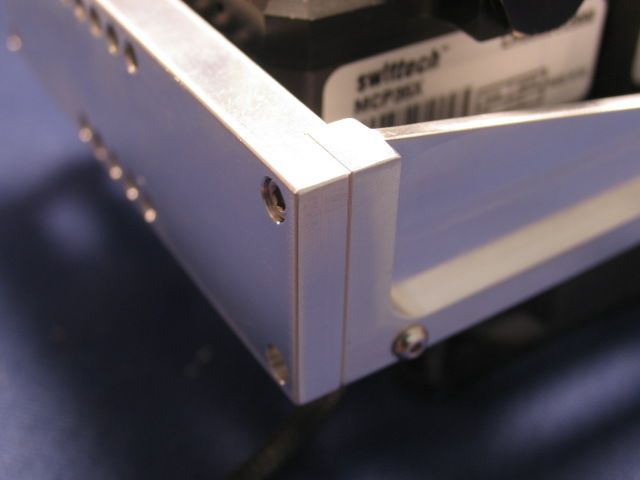
Arms affixed to mounting plate.
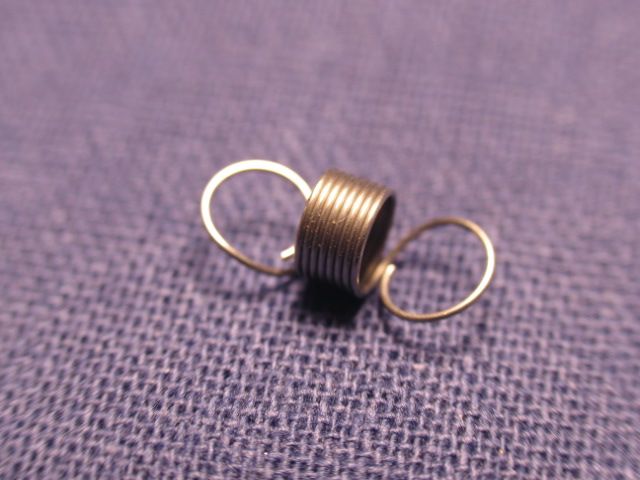
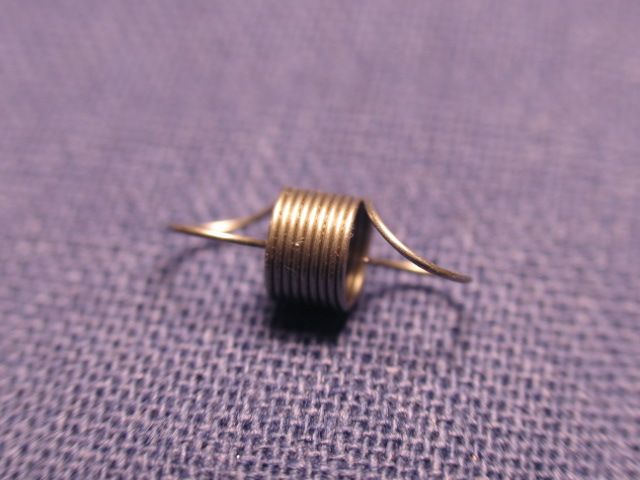
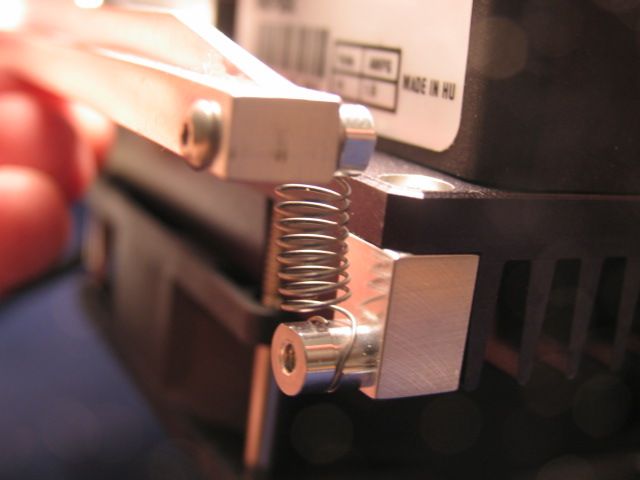
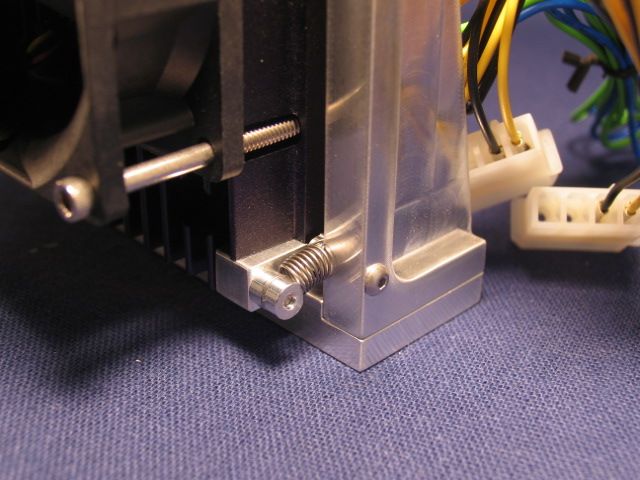
Here are the springs that are going to suspend the pump. These are precision made springs. About $3.00 for each spring.
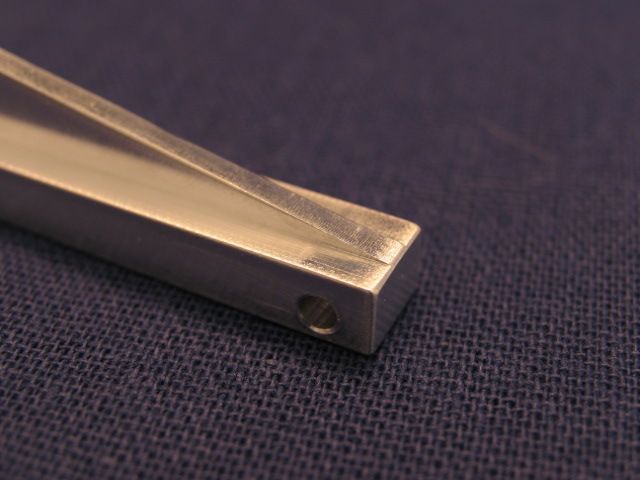
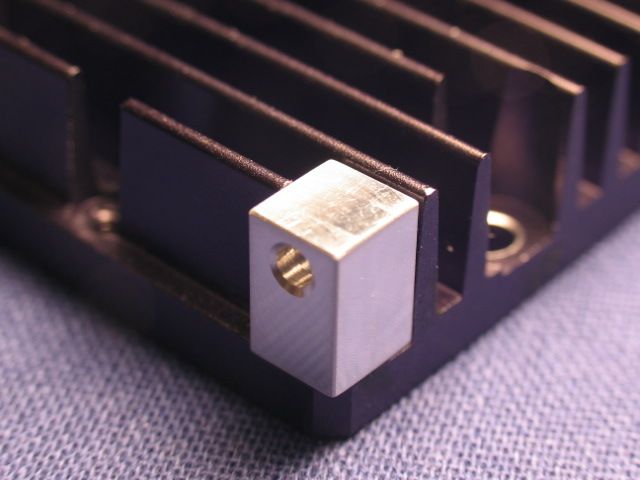
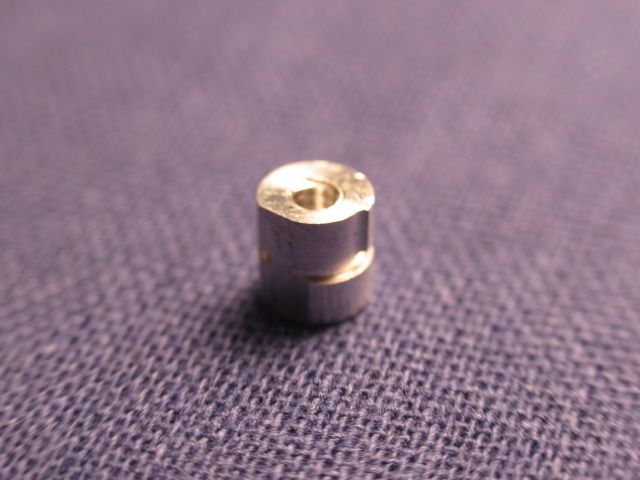
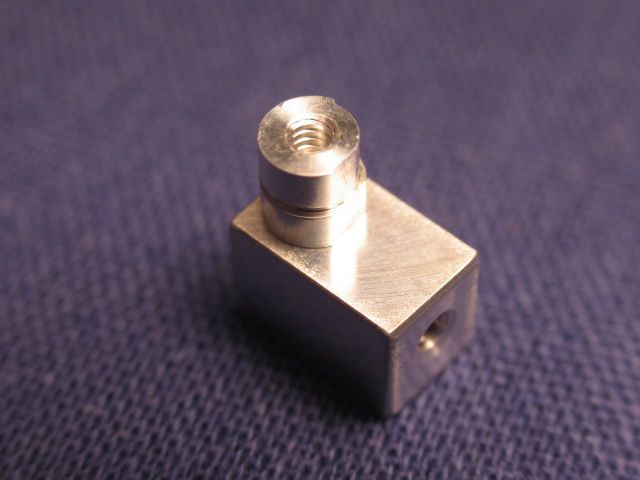
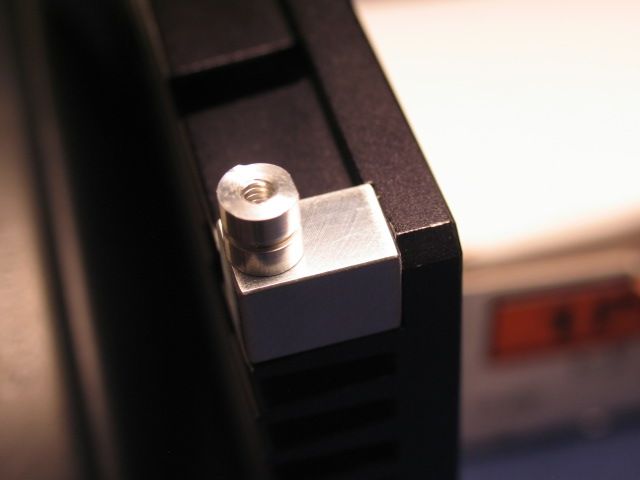
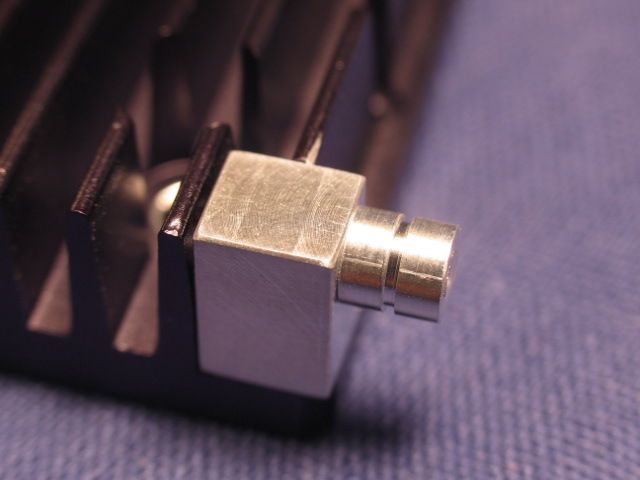
I needed a way to mount the springs. So I came up with these studs.
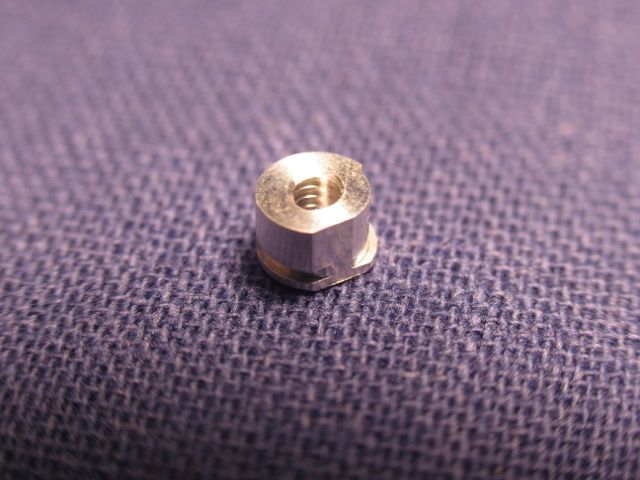
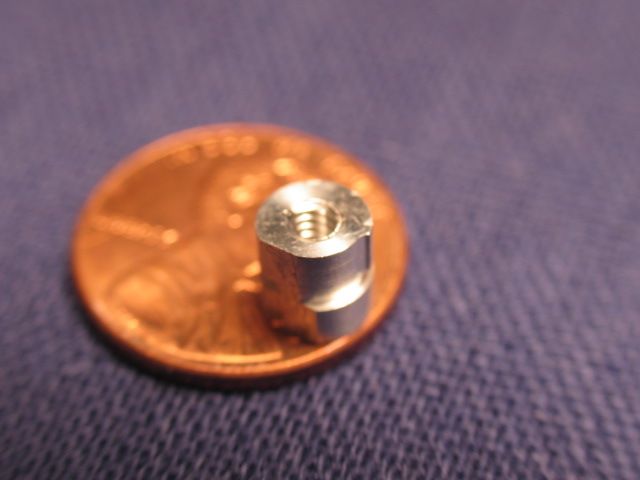
Tiny eh? The groove is for the spring. There is a section cut away for the curvature of the spring.
I'm going to just show the pics that shows the progression. If you have any questions about a specific component, please ask.

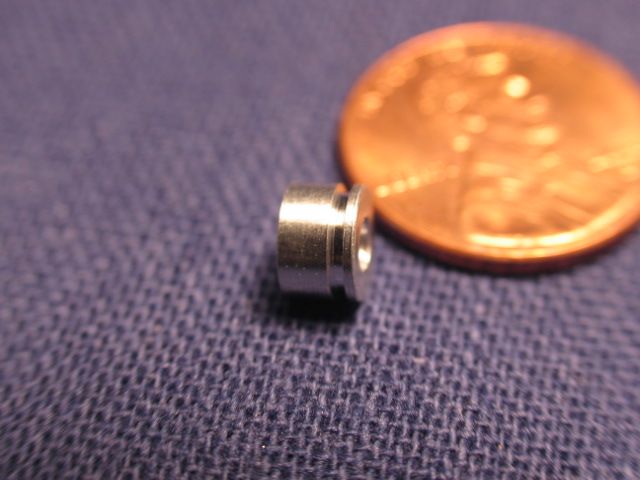
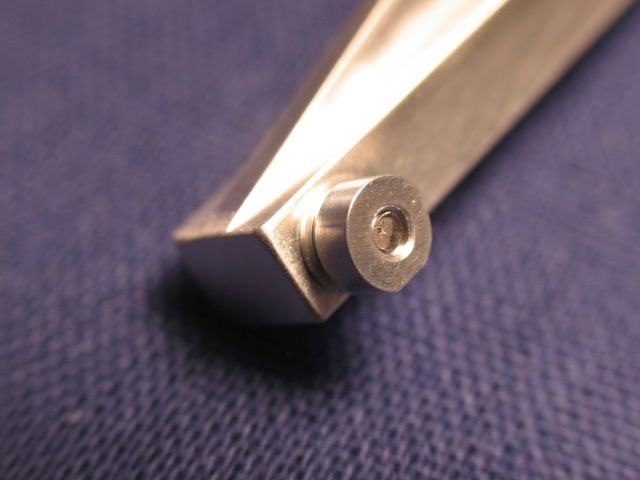
Second spud. Little longer.

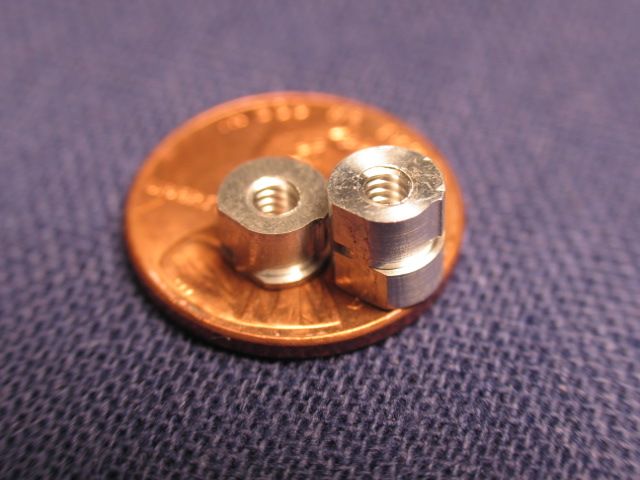
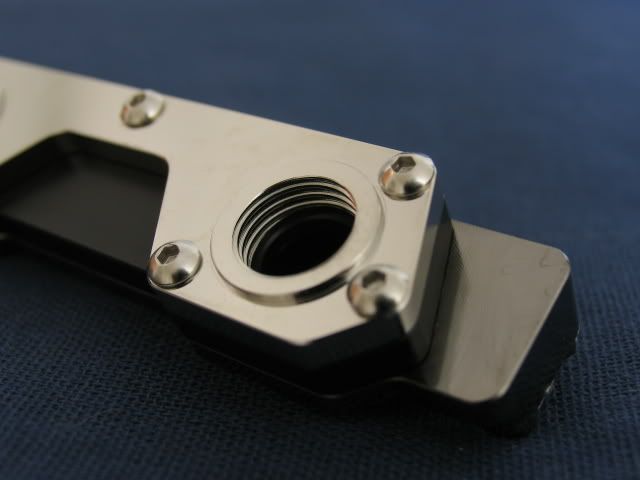
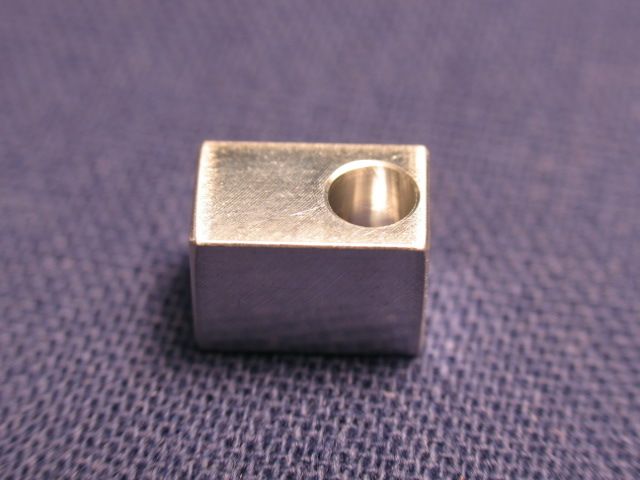
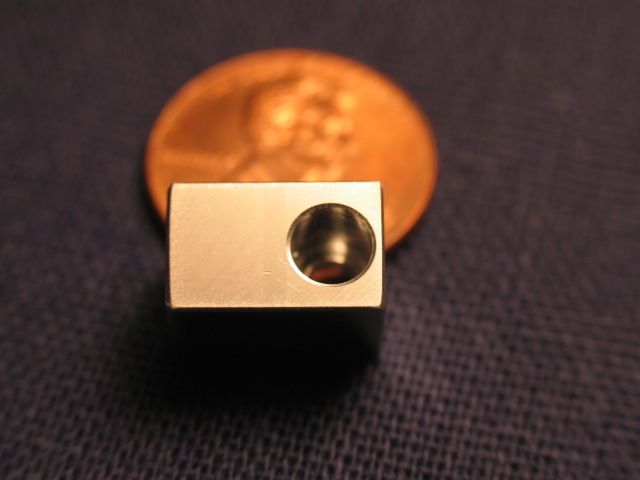
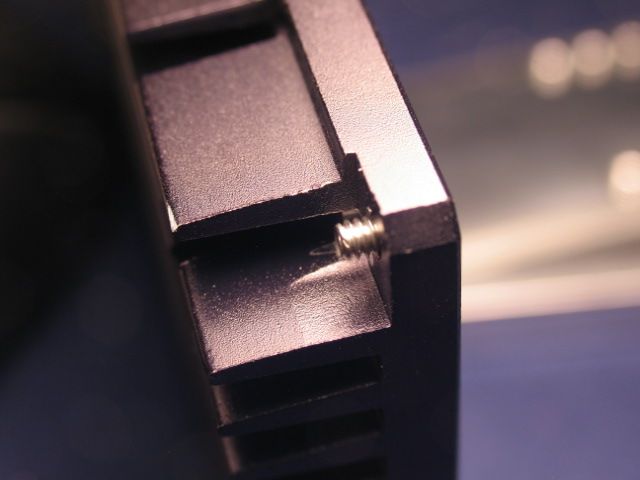
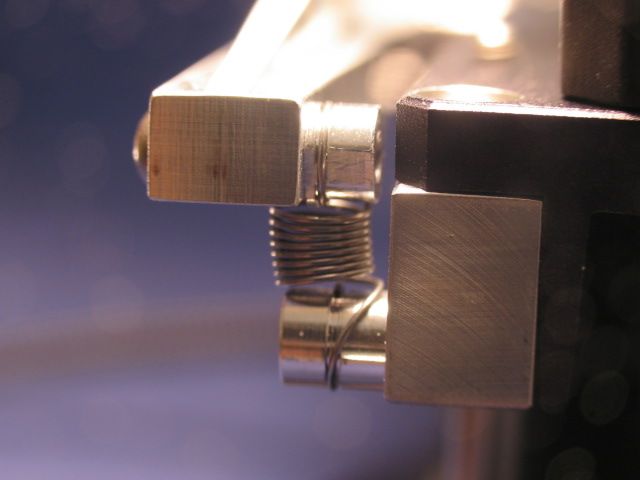
Long spud goes on the block.
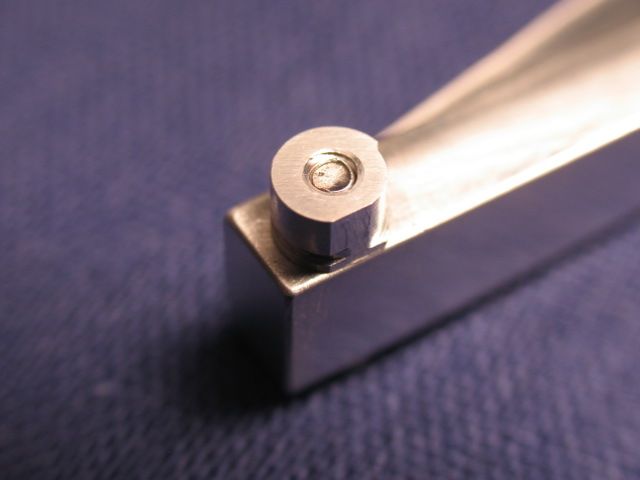
Short spud goes on the end of the arm.
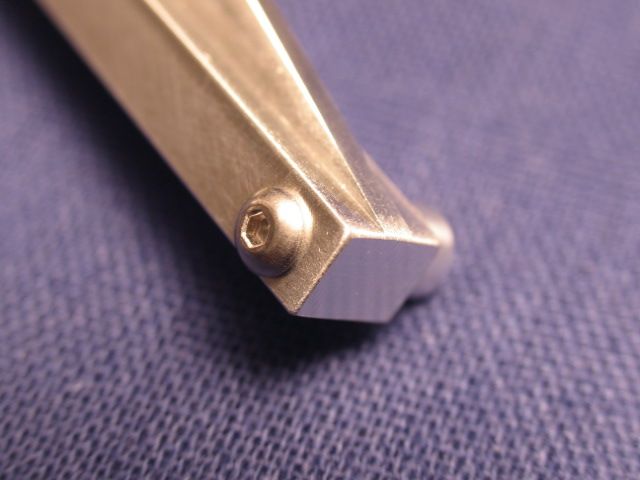
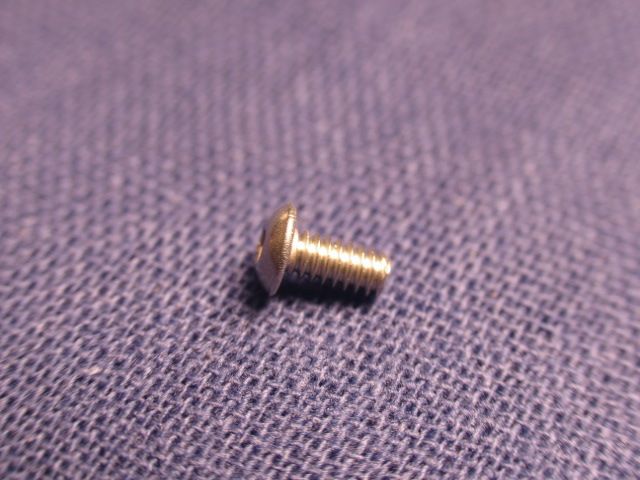
4-40 button head hex screw. This is used to affix the block to the finned cooling plate.
Assembled.
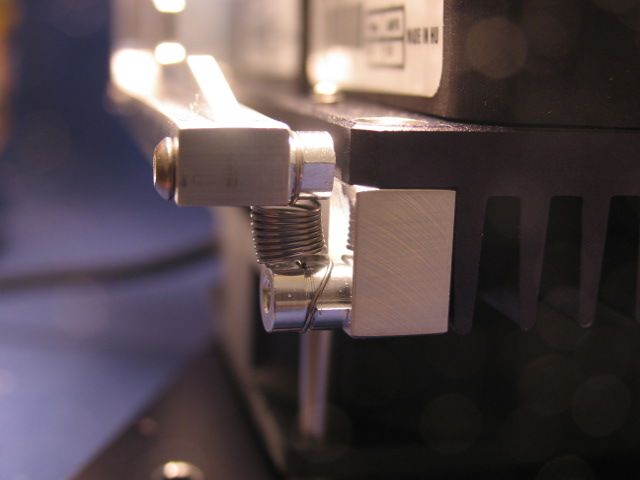
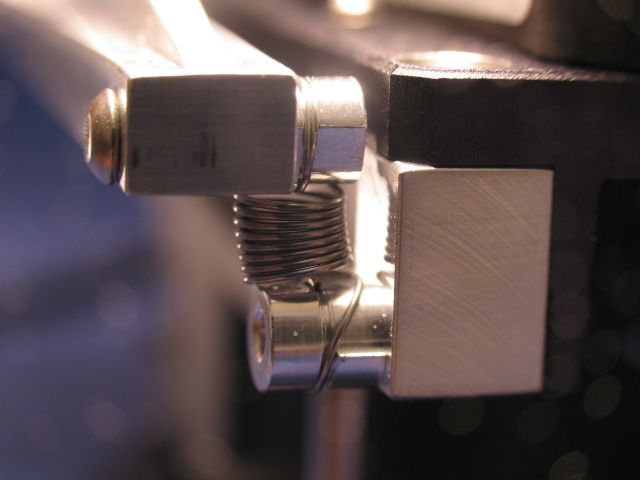
I had to remove some of the arm support to clear the fitting.
Close fit.
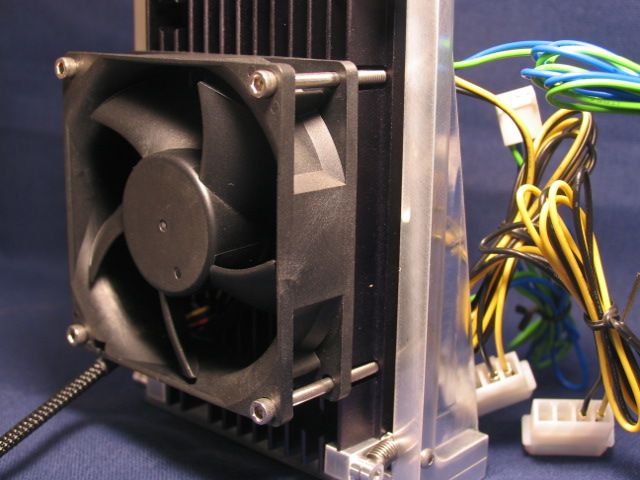
80mm fan affixed.
I don't have any shots of the pump assembly affixed to anything yet. They were planned for 'Heavy Beast'.
Stay tuned. Lots more to come.
If you were waiting for a finish on the 'Heavy Beast' worklog, forget it. I became disenchanted with that case as soon as I finished reading The1stCAV's "Frank n Stein PC" thread. Awesome work there. Give it a read (or at least a glance).
This build is a take on his build. Think of it as bastard off-spring of "Frank". The black sheep of Franks family.
On a side note, I am in the last stage of renal cell carcinoma. AKA kidney cancer. I'm not looking for sympathy. Just stating that since I can no longer work, I will now have more time to devote to this build. Let's just hope I can hang on long enough to get-er-done.
This build will just be titled 'The Beast'. This will be the largest and most over the top build I have ever attempted.
One final build before I leave this place.
On with the post.
As usual, the case always comes first. Since this is a work in progress, I don't have the case in hand just yet, but I do know what I will be using.
Mountain Mods has a case called the 'Extended Ascension - CYO'. I will also be using the 'Water Barrel 24' as a base for the Ascension. Without the casters, this thing (combined) will be 42" tall by 24" deep by 18" wide. Over the top right? The Extended Ascension's dimensions are 24" tall and deep, and 18" wide. The Water Barrel is 18" tall and wide, and 24" deep.
Here are some shots I got off the web. I apologize if I am violating anyone's copyright.
Mountain Mod's Extended Ascension
And one of the Water Barrel 24
As of this writing, I'm still unsure of the finish of the case. I'm leaning toward mirror powder-coat at the moment. If you want to see what that looks like, check out The1stCAV 's "Frank n Stein PC" thread over in the case mod gallery. So you can get a glimpse inside 'The Beast' I might use plexi on some of the panels.
This build will be watercooled of course.
I am a big fan of Aquacomputer's products and their Airplex Modularity radiators are super cool.
I wanted to use 140mm radiators where possible. I believe you get better thermal results and as a rule, 140mm fans are quieter (as opposed to 120mm). Where space permitted, I went with 420mm rads, and then used 280mm rads where I couldn't fit a 420.
All of the panels in the Mountain Mods (from here on out will be shortened to MM) Extended Ascension case will be using 140mm radiator holes.
I will be using 2 420mm rads side by side on the left and right side panels. And one 420mm on the back panel (hopefully). For the top and front I will be using 280mm rads. two for each panel. If you have done your math properly, that should add up to 9 radiators.
Here are the RADS (thanks and kudos go out to FrozenCPU.com and Perfromance-pcs.com for having exactly what I needed in stock)
Shipping containers (I don't know why people post pics of their boxes when they get them. Why should I buck the trend)
A few shots of the rads
Here is the coupler that will allow me to join two rads side by side
Here are the plates that join the rads together
Can you see that little bump on the right edge? It's actually a burr leftover from the manufacturing process. If I'm not mistaken, these are probably cut from a large plate using a water jet machine, and the bump is a result of the part falling off before the cutting process is finished. The bump is evident on all 16 pieces I purchased. Nothing a little sandpaper can't handle. Just one more step in a process of thousands.
Rads adjoined.
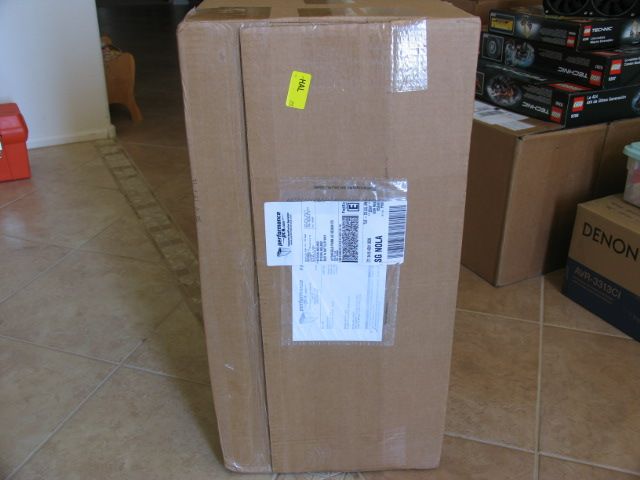
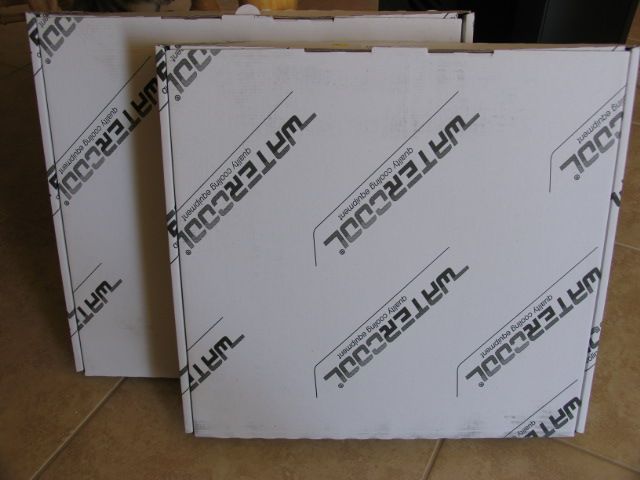
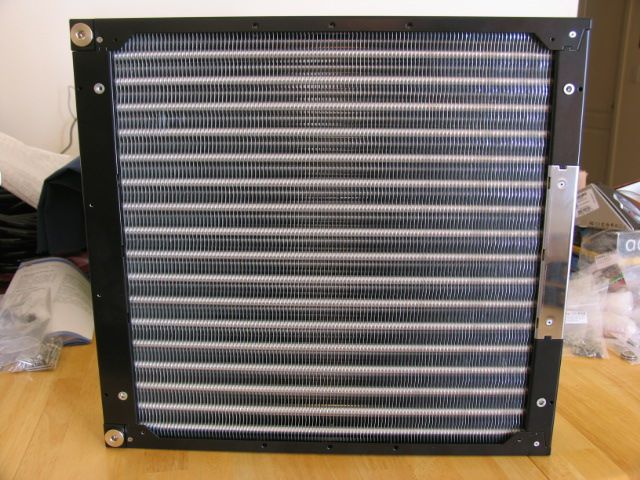
The radiators going into the Water Barrel 24 are 120mm x 9 units from Watercool. I really wanted to use 140mm, but it was just to close a fit. I was worried I wouldn't be able to get them to fit.
Onto pics of the rads. Shipping boxes (it's like effing christmas)
The rad boxes are like extra large pizza boxes. These radiators measure 16.358" x 15.078" x 2.56" thick. and these are the 120mm variety. Imagine the 140mm?
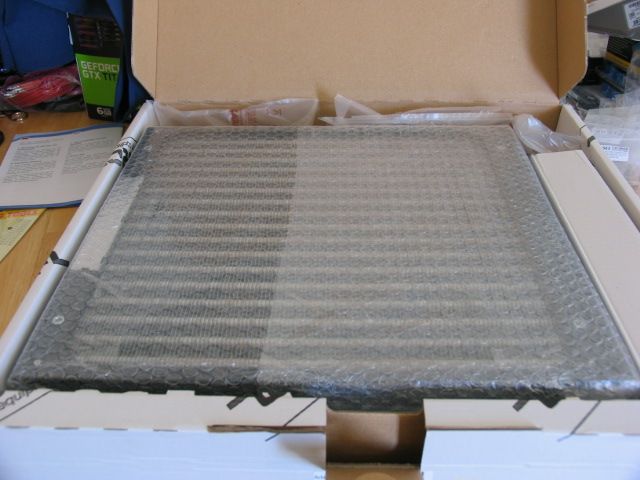
When you can hear things rattling inside the box, it's not good.
Check it!
Shiny
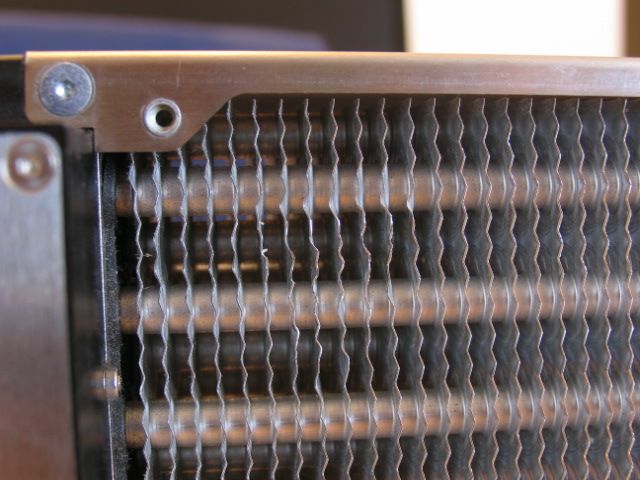
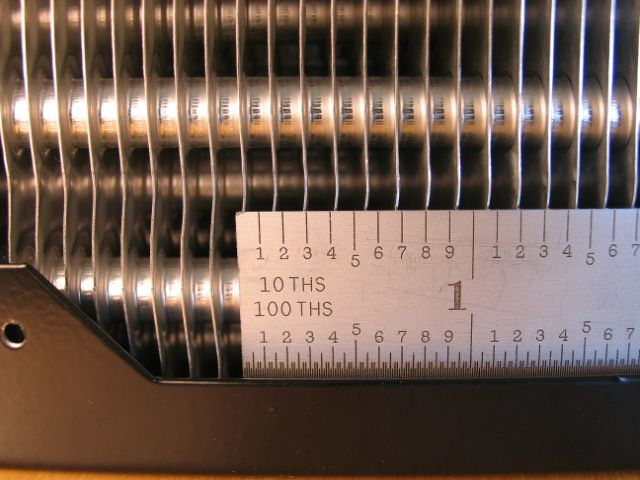
These rads are very similar to the Aquacomputer Airplex Modularity radiators. 8.5 fins per inch.
The ports are not counter bored like the Airplex rads.
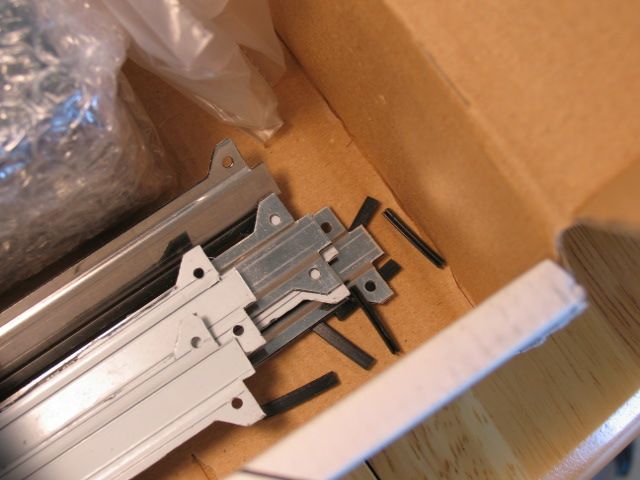
Here are pics of the hardware to mount the 120mm fans to the rad. First, the inner rails.
Sharp edges
Here is a little plastic protector to help with rubbing on the fins.
Here is where the end of the rail inserts.
This is the connector mount for the outer edges for the 120mm rads.
Here is where it goes.
They had this protective goo on the mounting hardware. Pain to get off, but it worked.
All done!
Close-up.
If one is good, two must be better. Inside the Water Barrel 24, one rad will be affixed to the inside of the left panel and one to the right.
After a bit a research, I ended up getting the Swiftech MCP35X2 pumps.
Three to be exact! I know. One pump would probably be enough for the whole system. But, one pump is boring. So....
Inside the box. Sorry for the first pic being a little blurry.
Hardware
PWM joining cable. This allows for both pumps to be controlled via PWM.
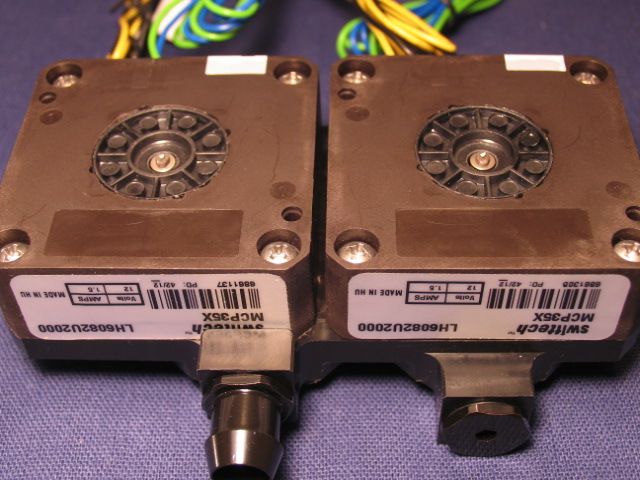
Pump
Rats nest. It's actually not bad. I'd rather have more than not enough cable.
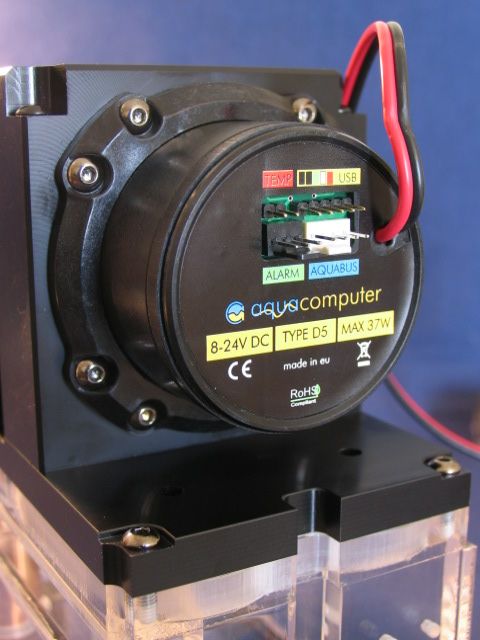
Each pump has its own power and sense and PWM control.
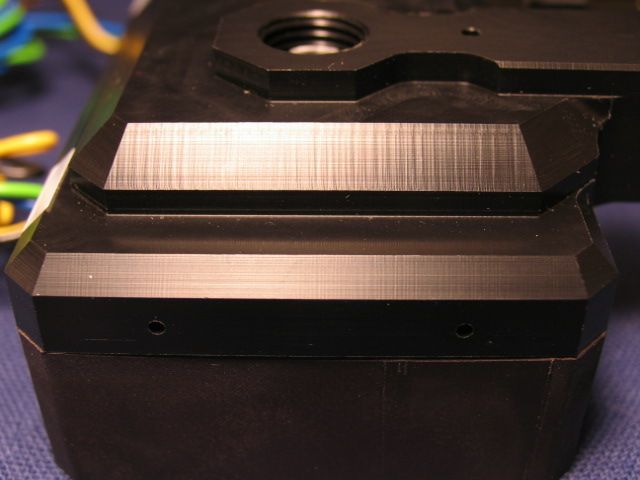
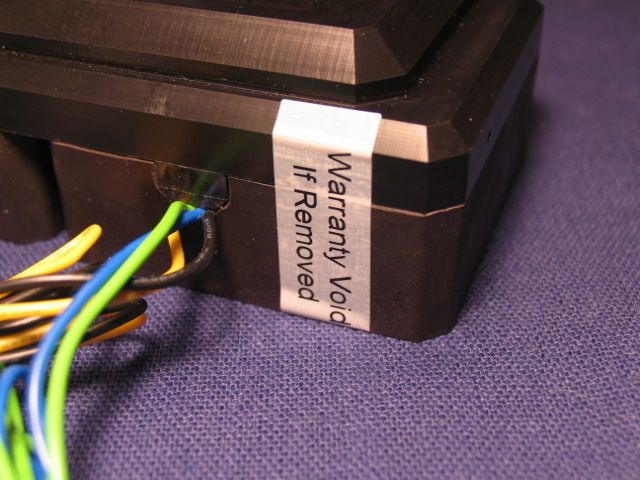
Additional shots. The workmanship is wonderful. Very good attention to detail.
I'm not going inside. If you want to see inside, look up Martin's review of the pumps over @ www.martinsliquidlab.org . His review was part of the reason for me getting the pumps. Good review and reviewer.
Bottom
More views.
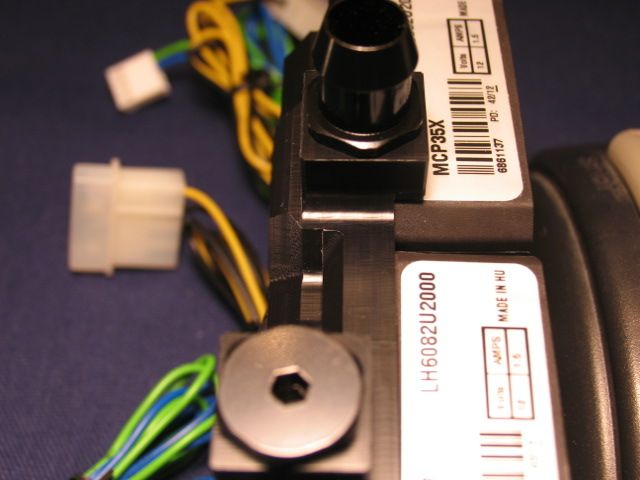
Swiftech has a finned cooling plate that goes on the bottom of these pumps.
These shots show modifications by me for reasons to be explained further.
The cooling plate has a way to affix 80mm fans for additional cooling. I wanted to add these but needed a way to mount the fan so I could get good airflow to the plate. And, I also wanted a way to isolate these pumps from the case. So I came up with this. I dreamed up some arms to suspend the pumps by springs. First the arms.
4-40 tapped holes to affix the arms to the support plate.
Support plate. All the tapped holes in the center of the plate are so I could move the assembly left or right as needed after I drilled the affixing holes.
Notches for the arms.
4-40 counter bores
Arms affixed to mounting plate.
Here are the springs that are going to suspend the pump. These are precision made springs. About $3.00 for each spring.
I needed a way to mount the springs. So I came up with these studs.
Tiny eh? The groove is for the spring. There is a section cut away for the curvature of the spring.
I'm going to just show the pics that shows the progression. If you have any questions about a specific component, please ask.
Second spud. Little longer.
Long spud goes on the block.
Short spud goes on the end of the arm.
4-40 button head hex screw. This is used to affix the block to the finned cooling plate.
Assembled.
I had to remove some of the arm support to clear the fitting.
Close fit.
80mm fan affixed.
I don't have any shots of the pump assembly affixed to anything yet. They were planned for 'Heavy Beast'.
Stay tuned. Lots more to come.
Last edited: