First, sorry for my english, I'm french and make some mistakes.")
Hello everyone, I'm babouk.
I live in Reunion Island, a small French island in the Indian Ocean.
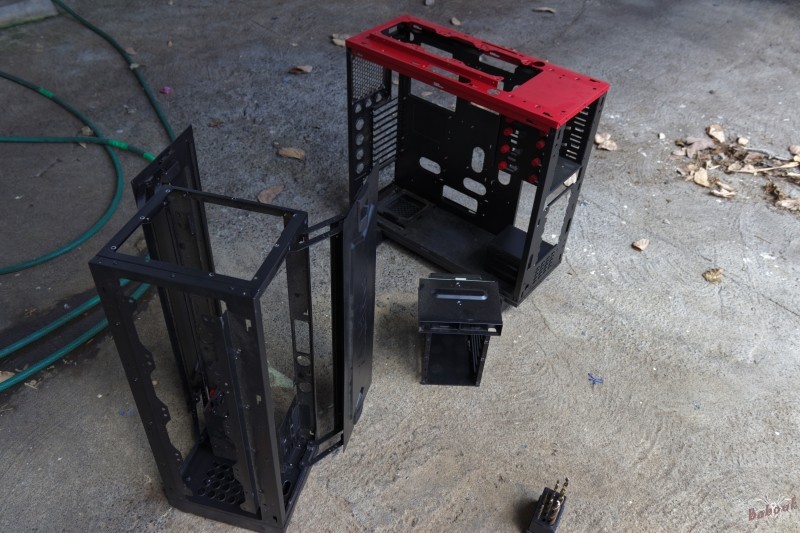
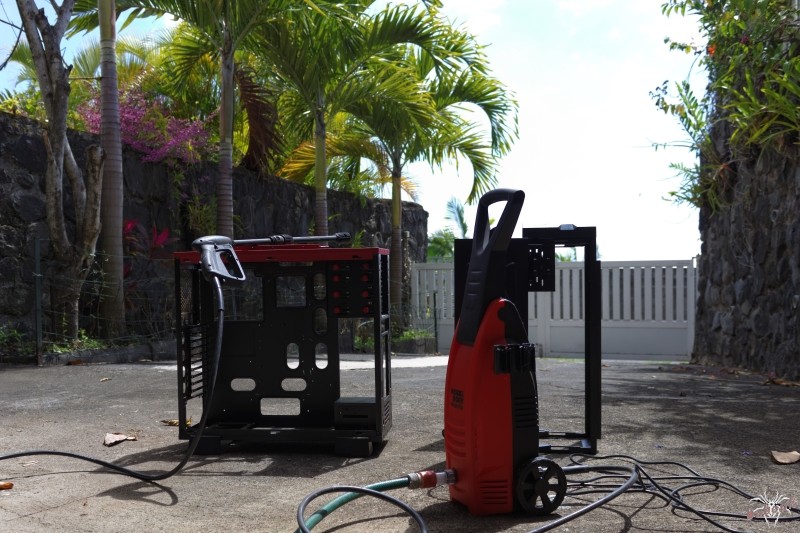
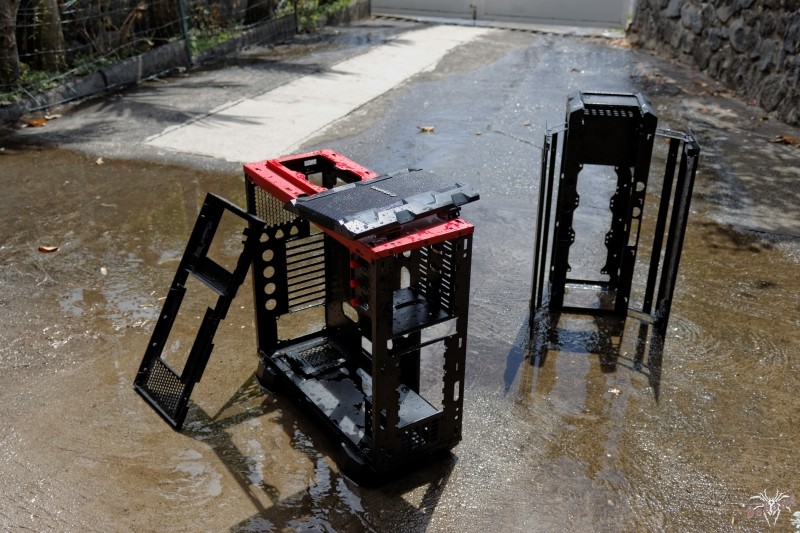
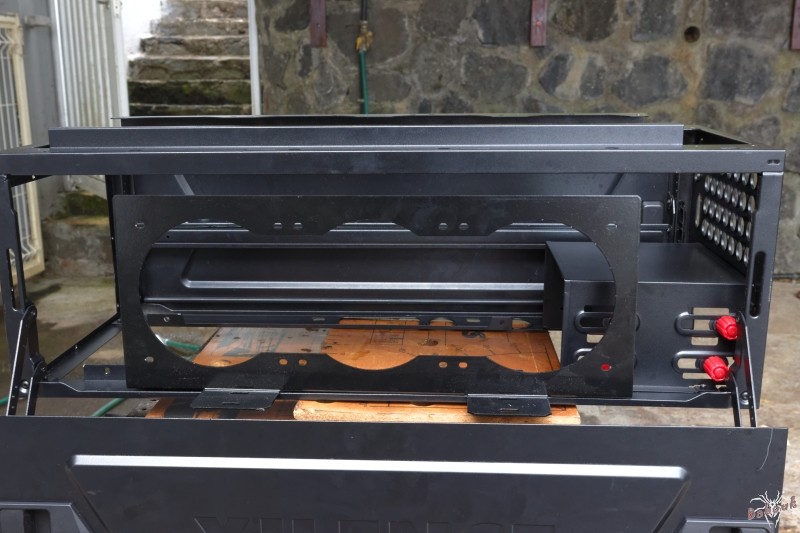
This is my first real case project (I already assembled some configurations) but this time it will be a big work
Hello everyone, I'm babouk.
I live in Reunion Island, a small French island in the Indian Ocean.
This is my first real case project (I already assembled some configurations) but this time it will be a big work
***********************************************
Before presenting the mod, a small reminder of the evolution of the configuration ...
*************************************************
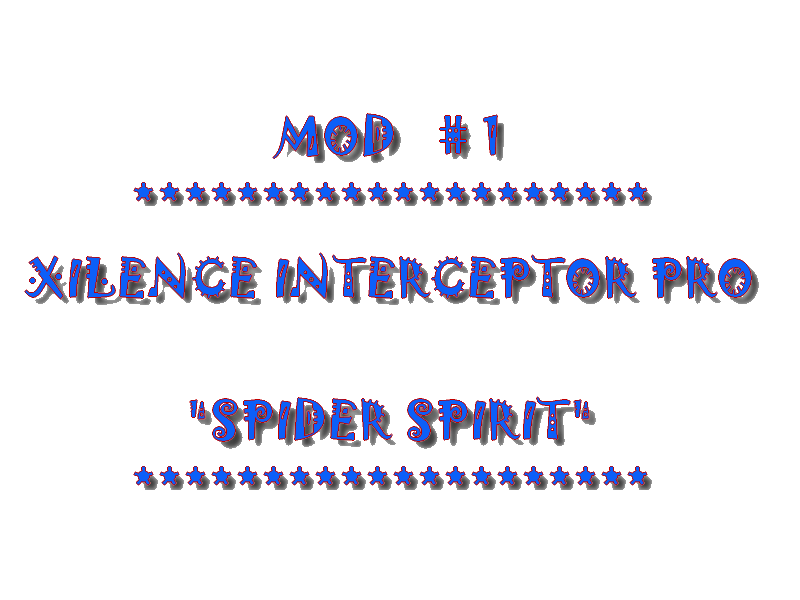


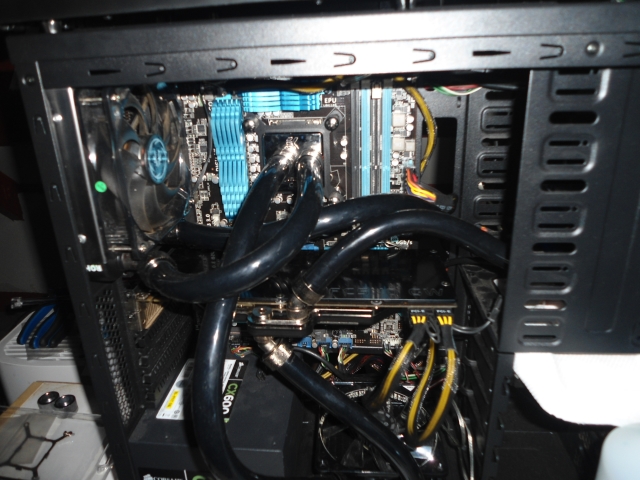
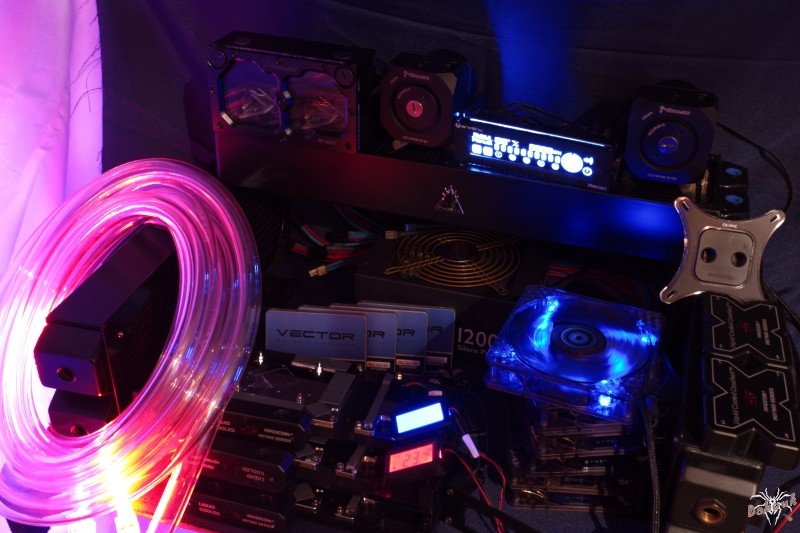
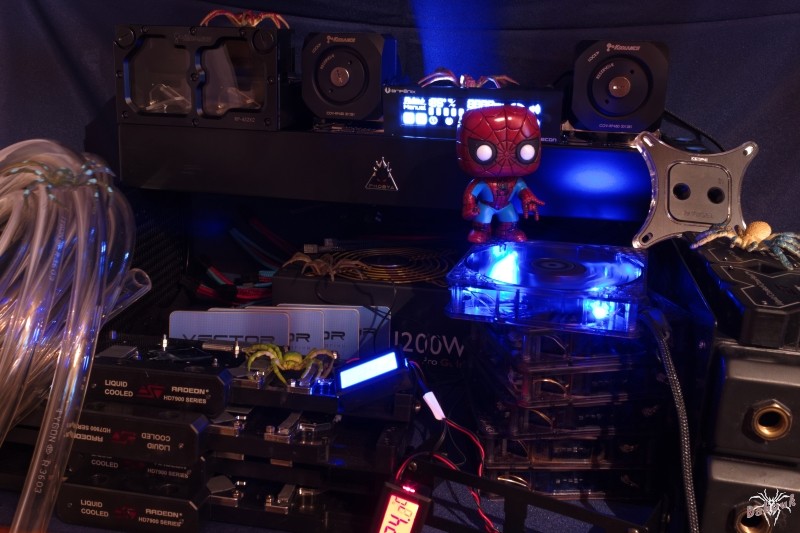
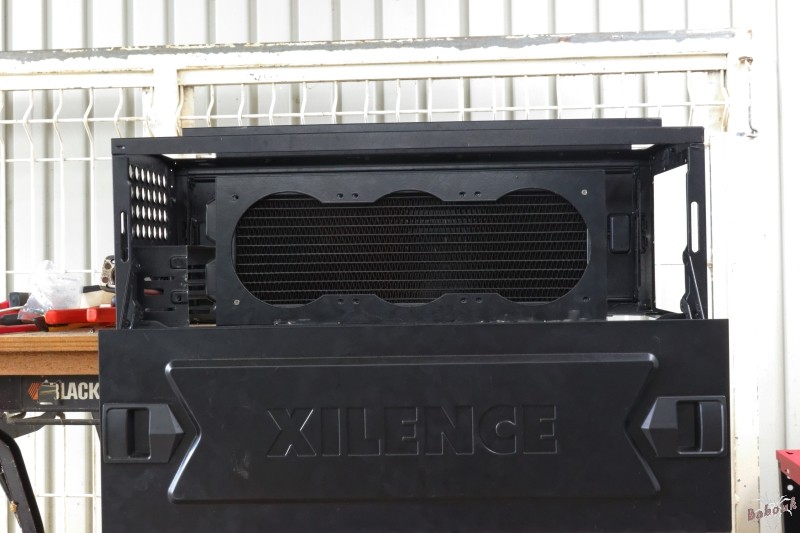
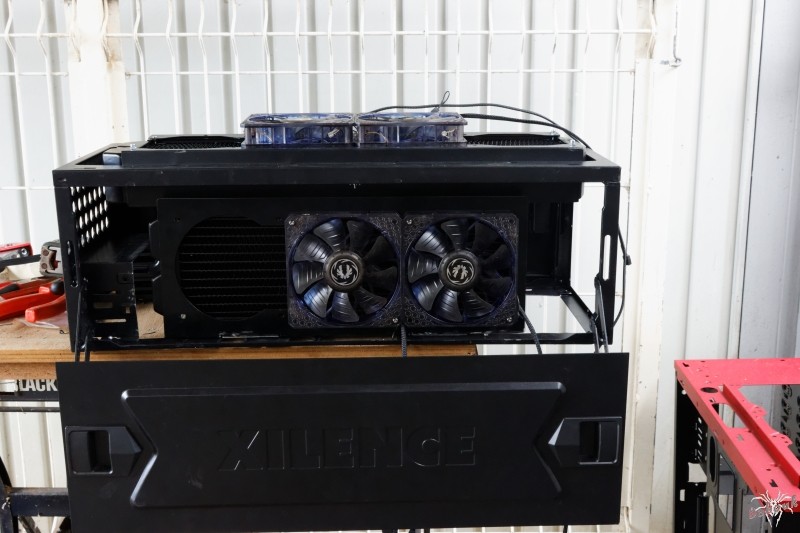
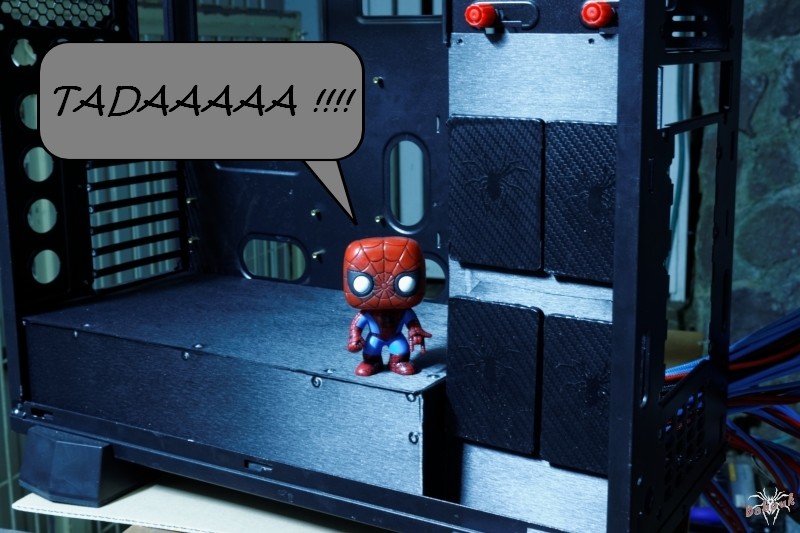
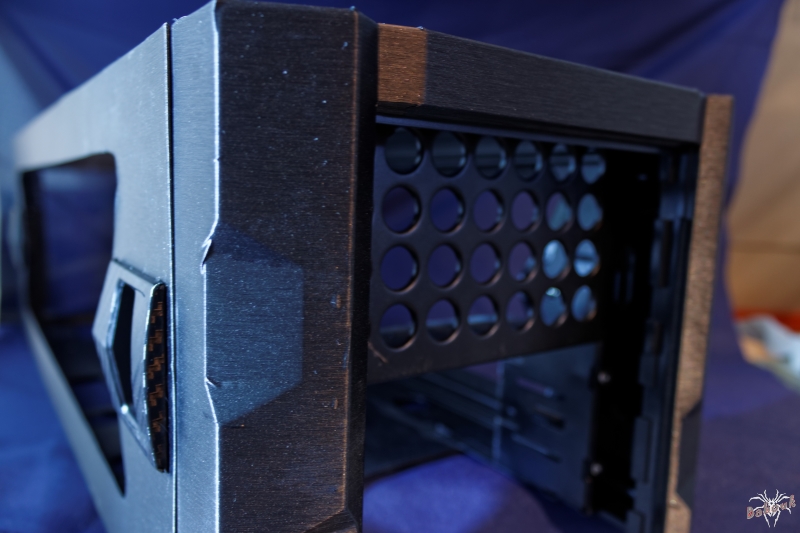
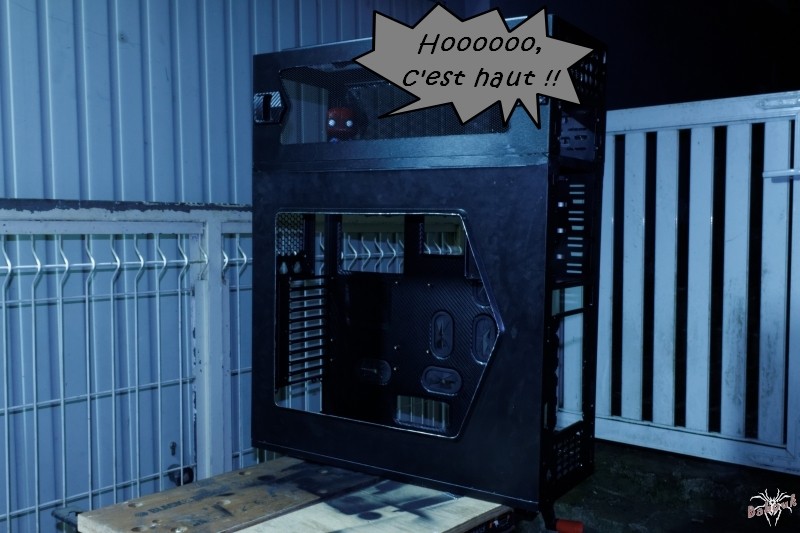
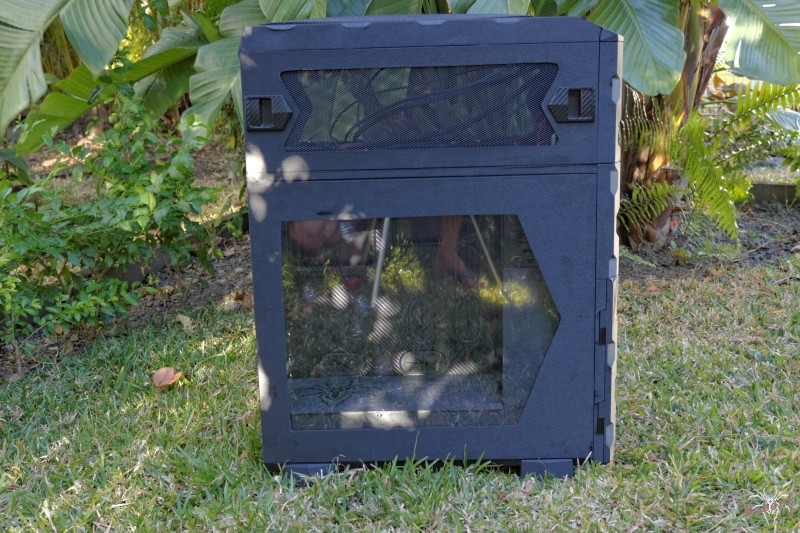
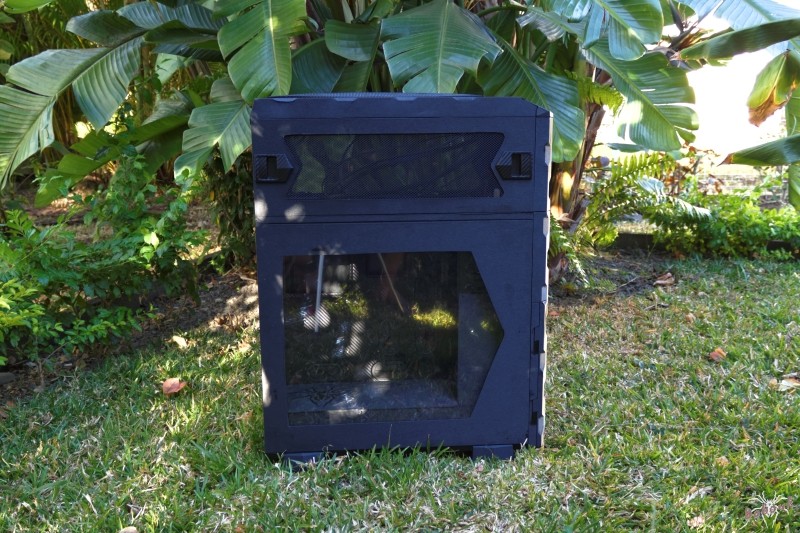
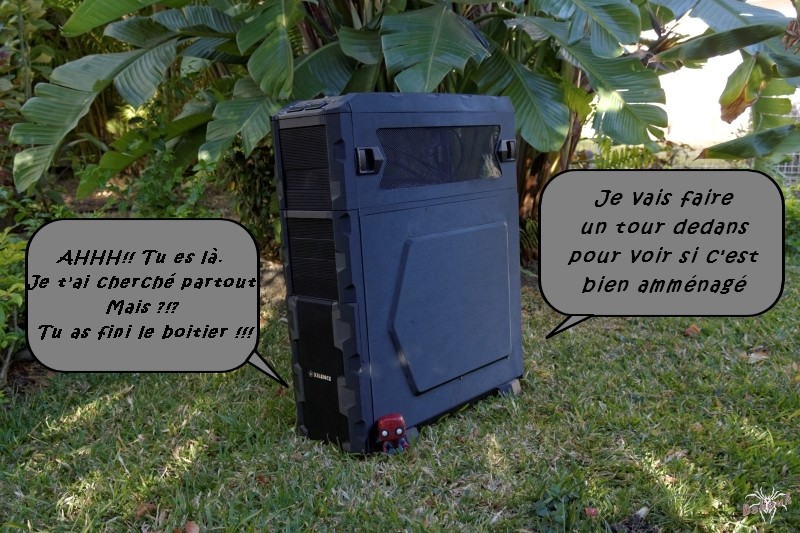
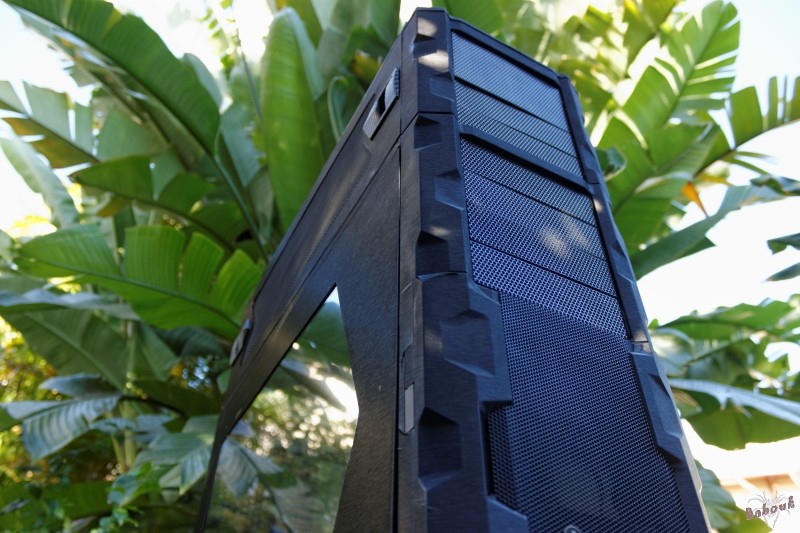
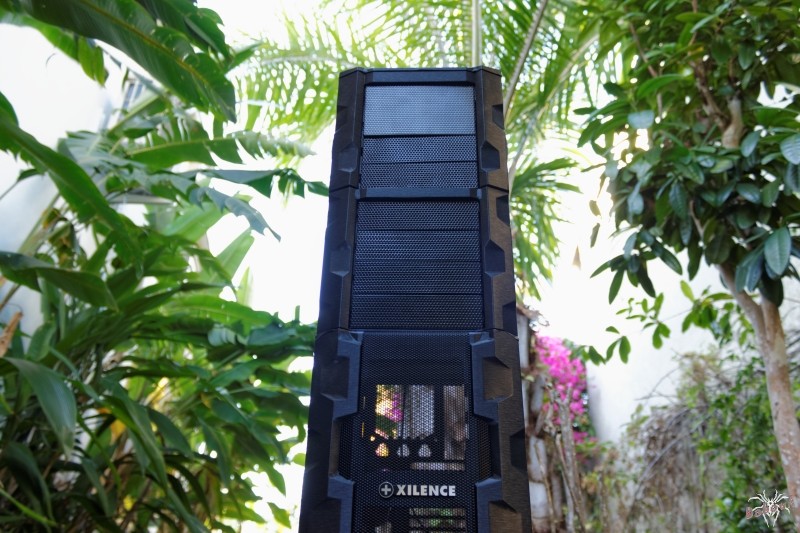
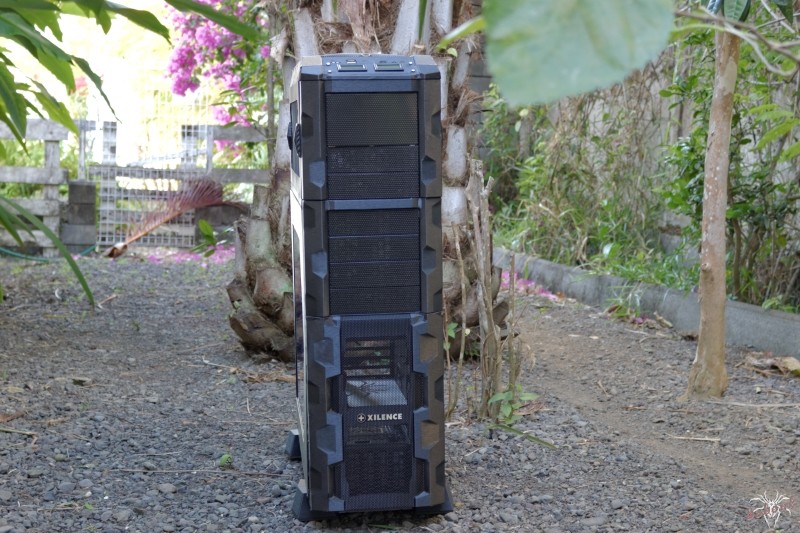
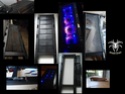
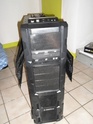
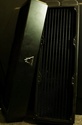
Case
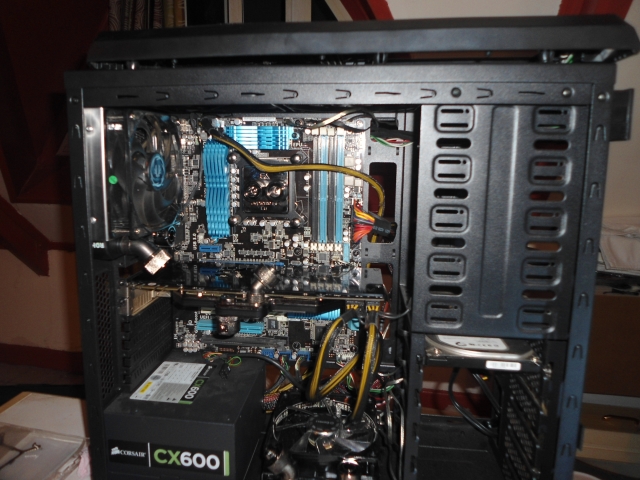
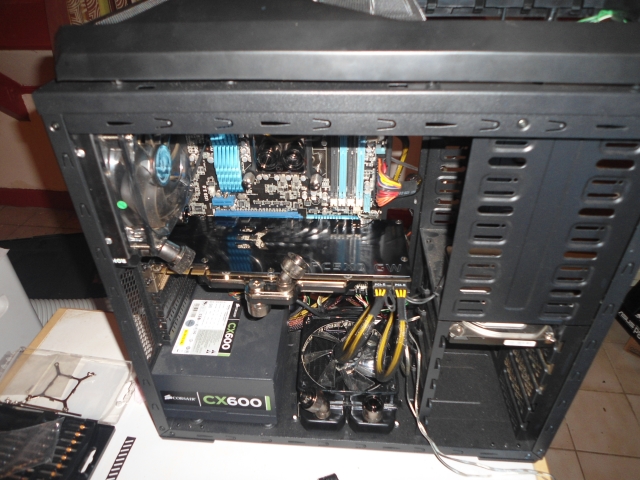
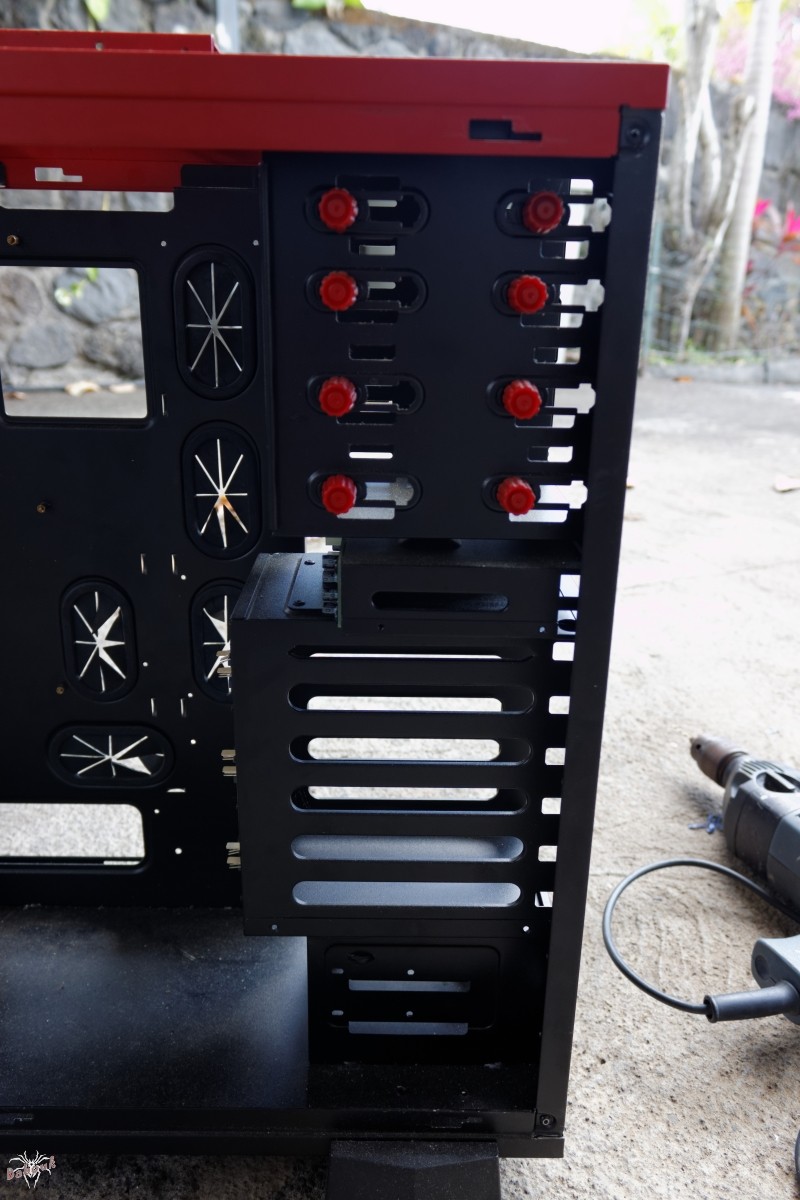
XILENCE Interceptor Pro
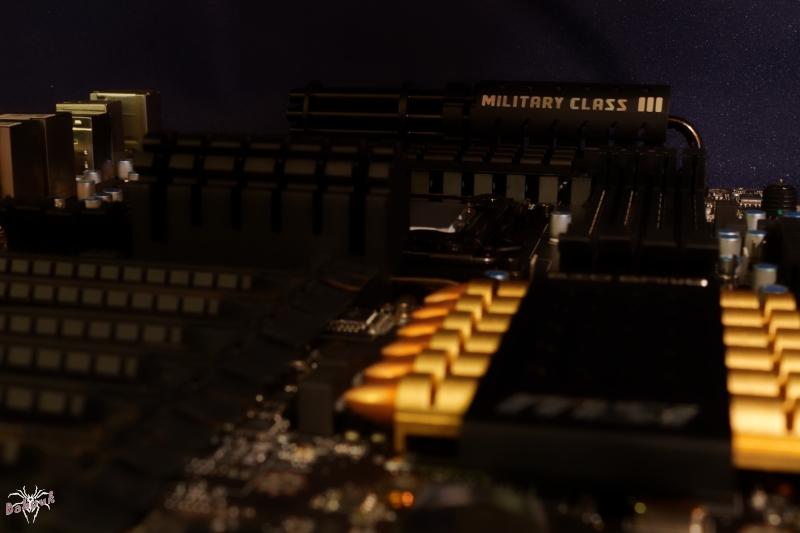
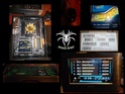
MB
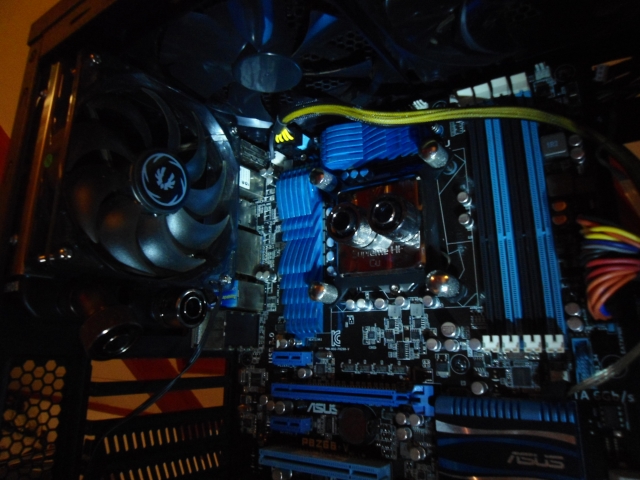
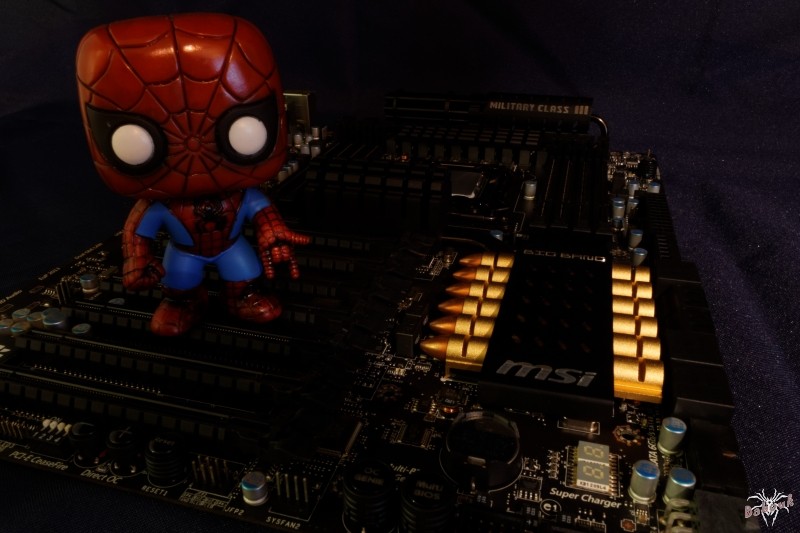
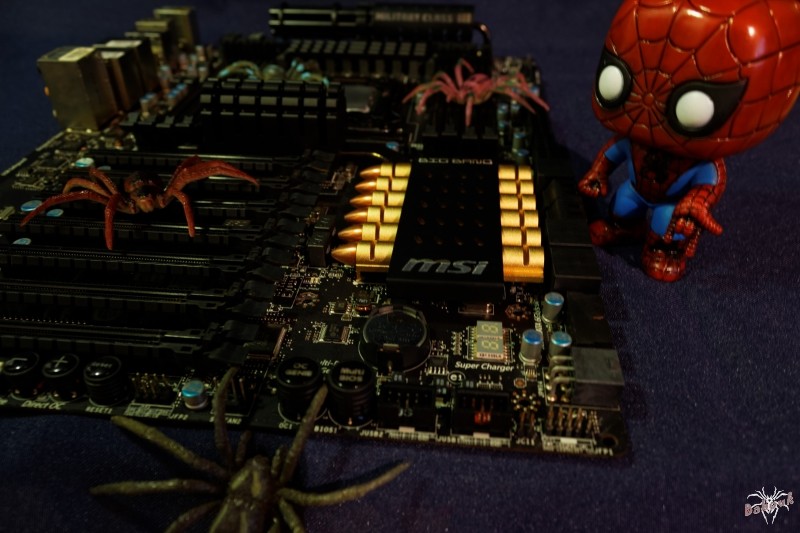
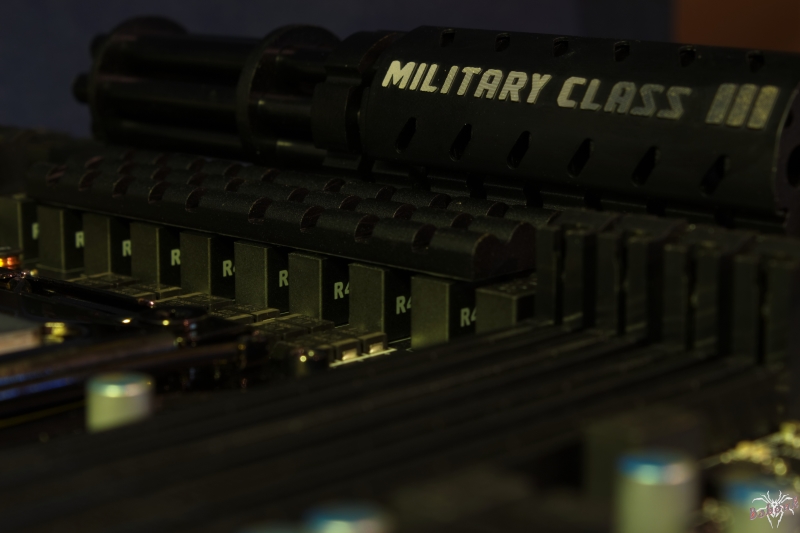
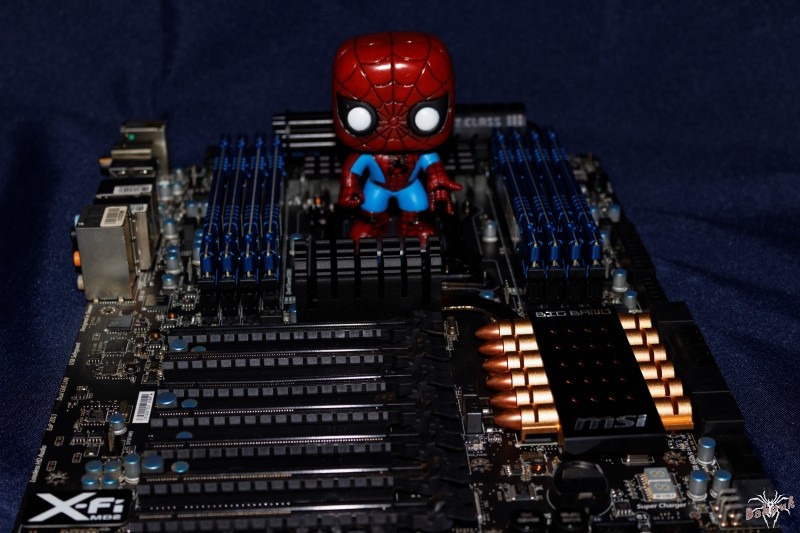
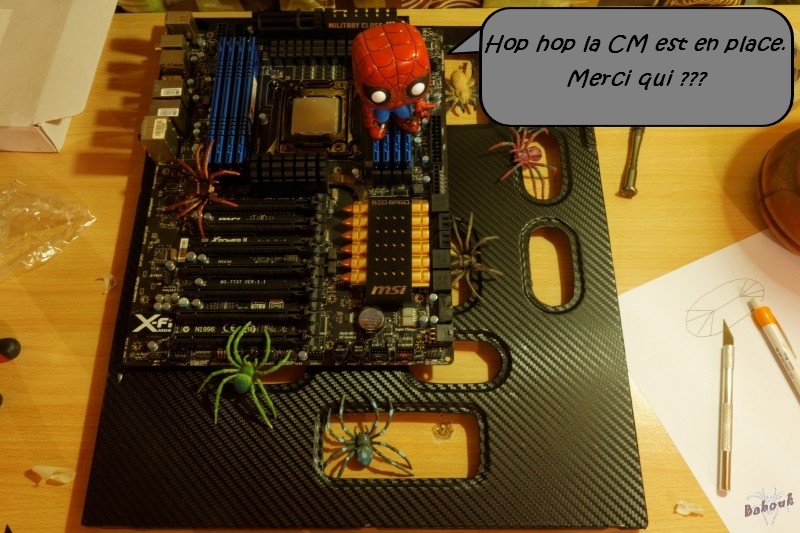
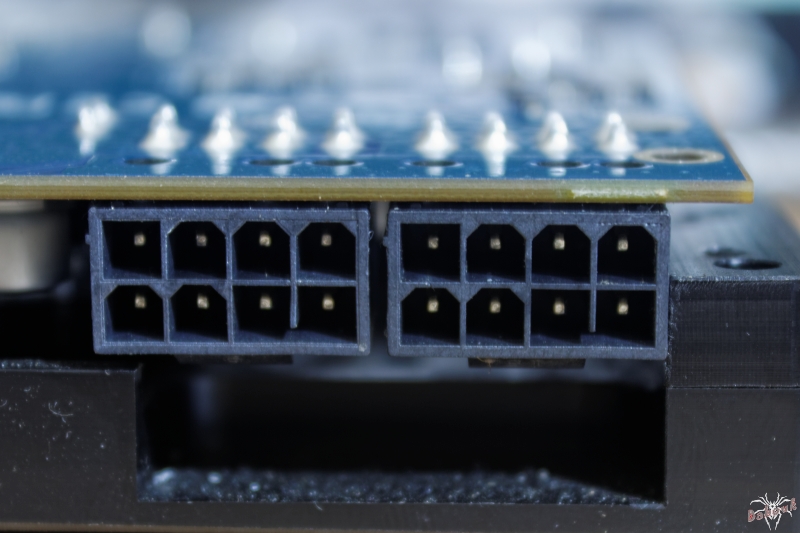
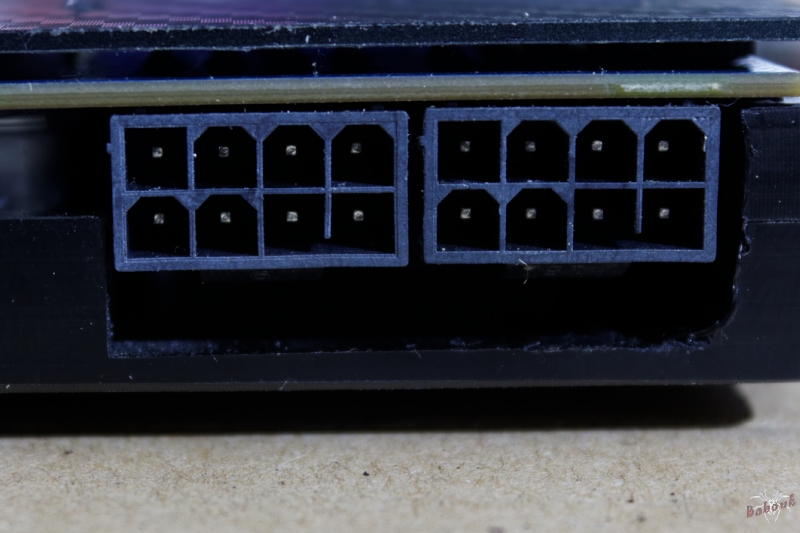
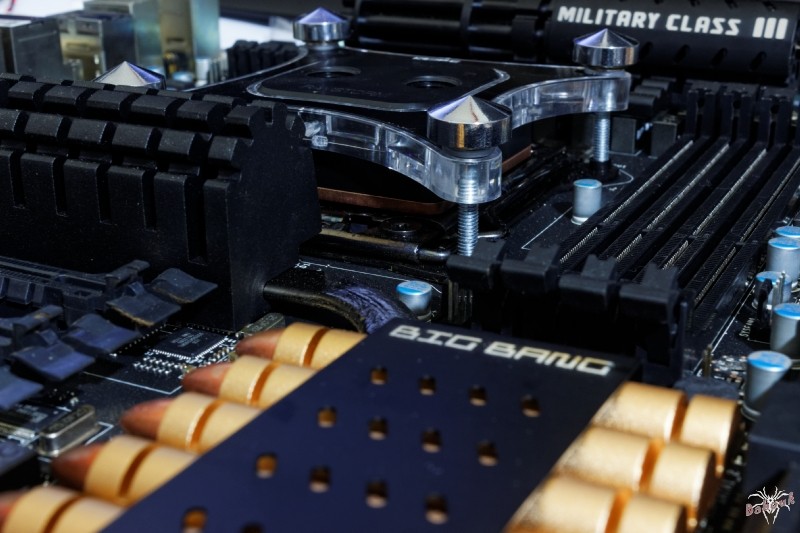
MSI Big Bang XPower II
CPU
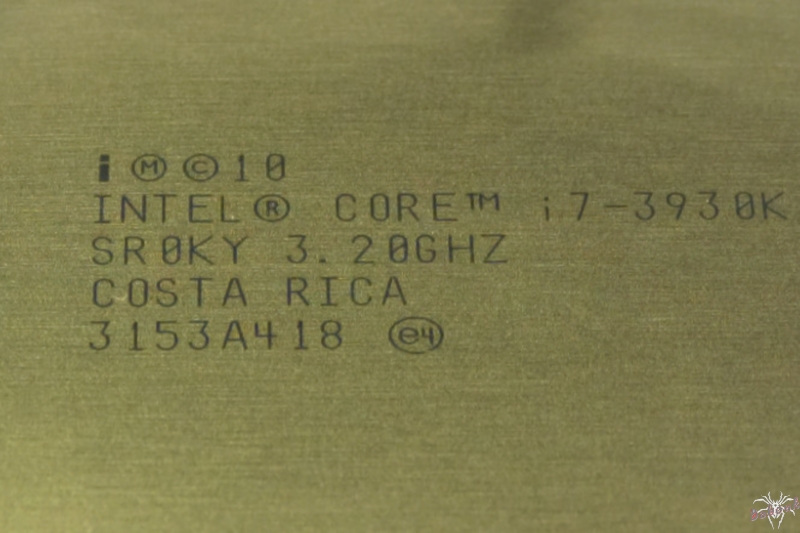
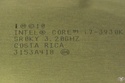
INTEL i7-3930k
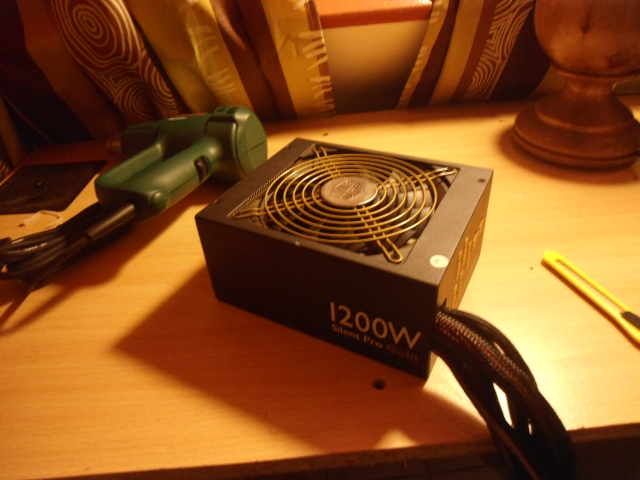
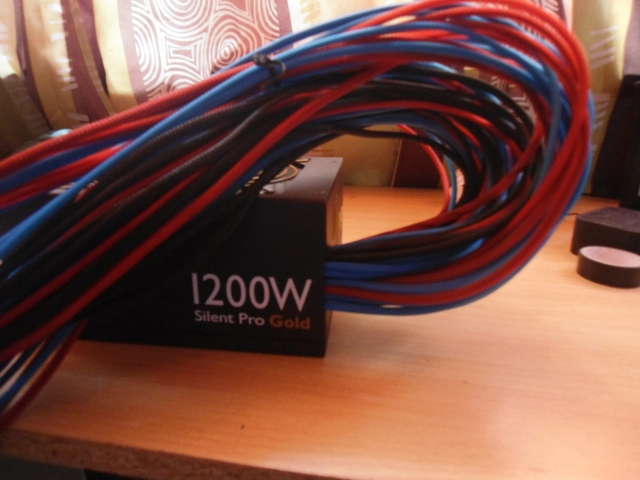
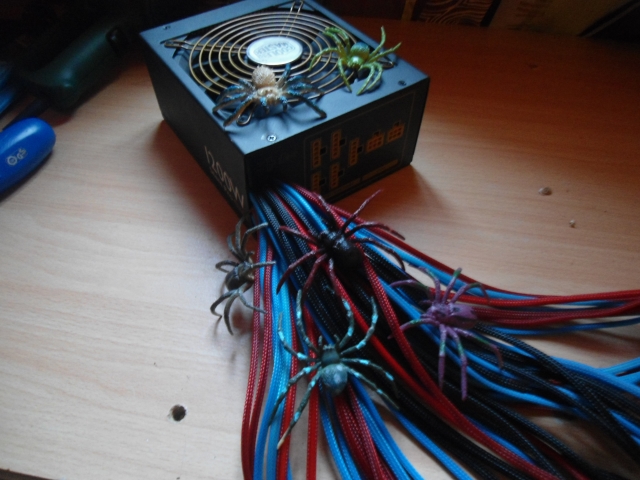
PSU
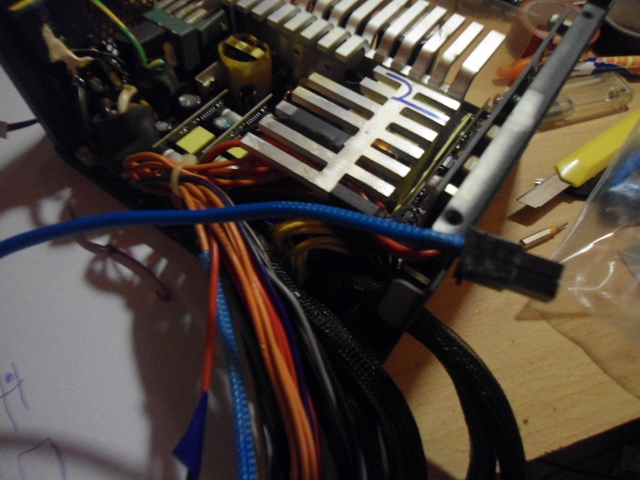
COOLER MASTER Silent Pro Gold 1200W
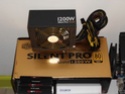
COOLER MASTER Silent Pro Gold 800W
à venir
RAM
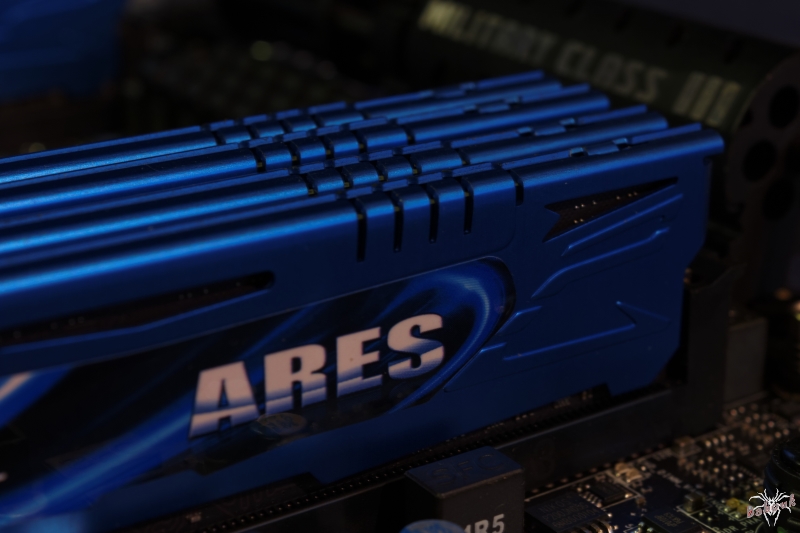
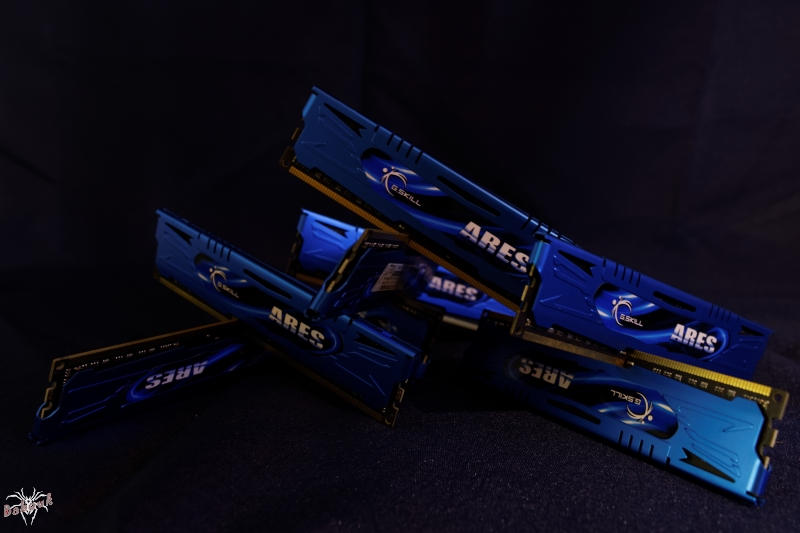
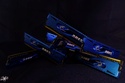
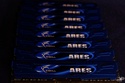
G.SKILL Ares 2133MHz (8x4Go)
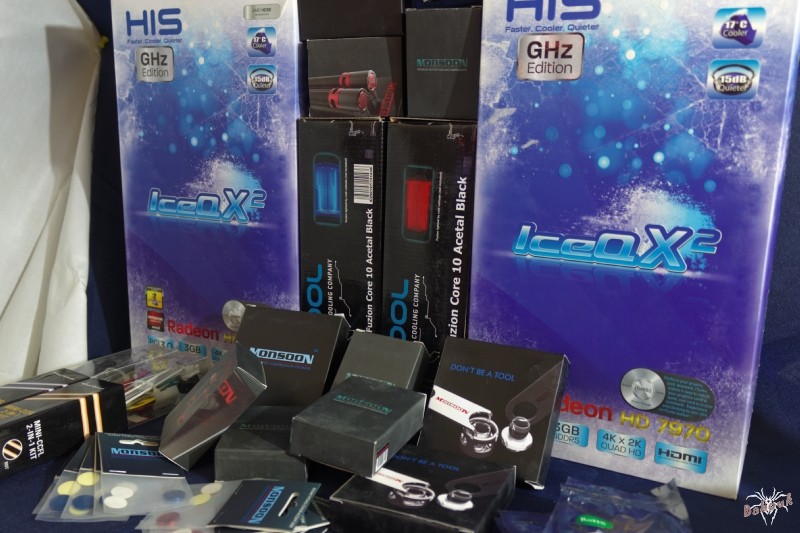
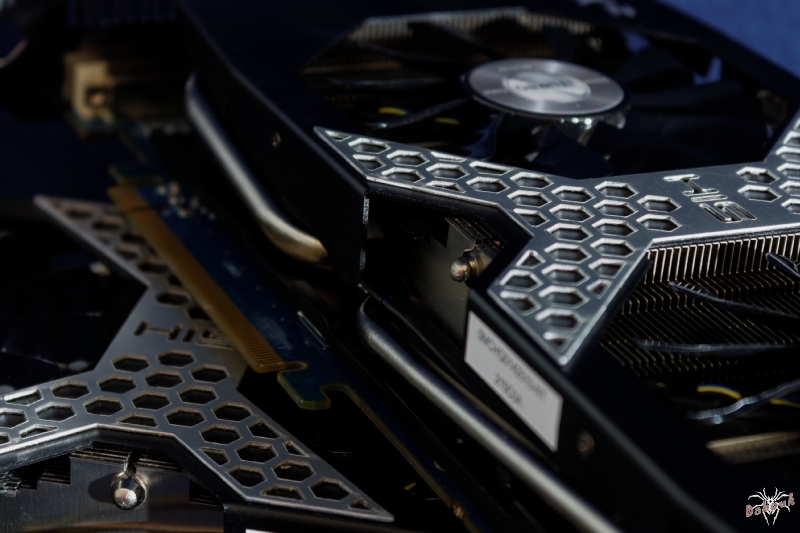
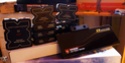
Graphic cards
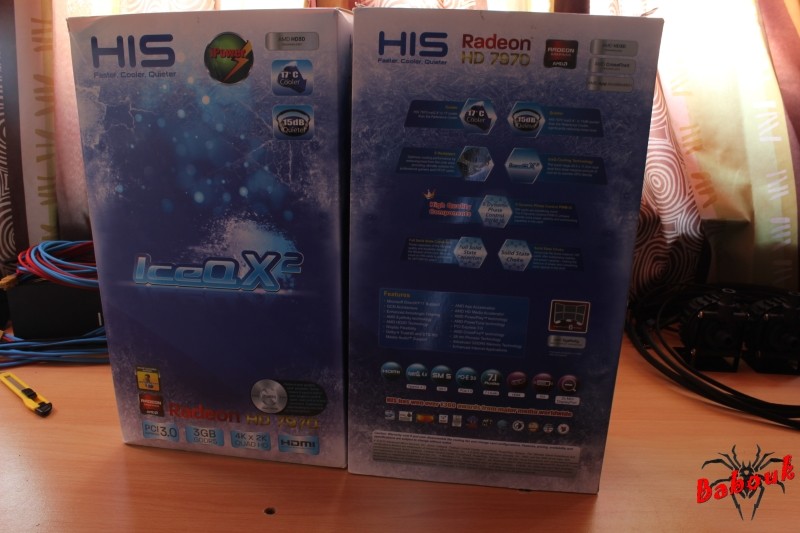
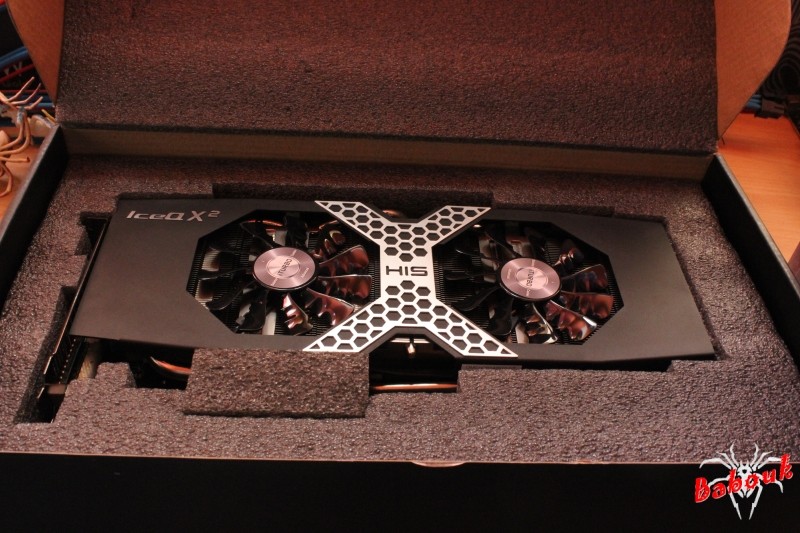
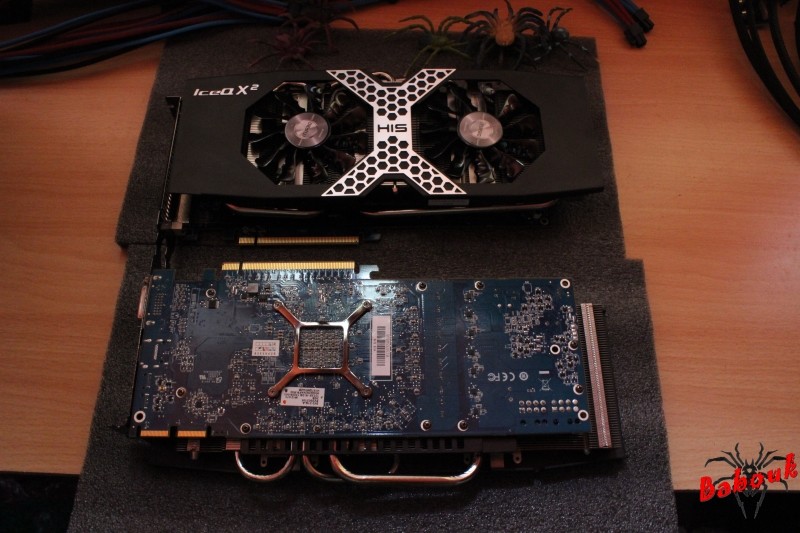
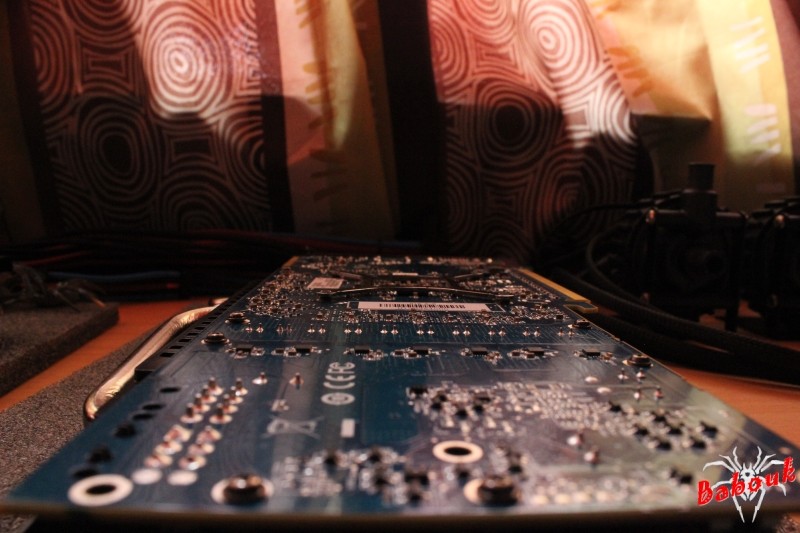
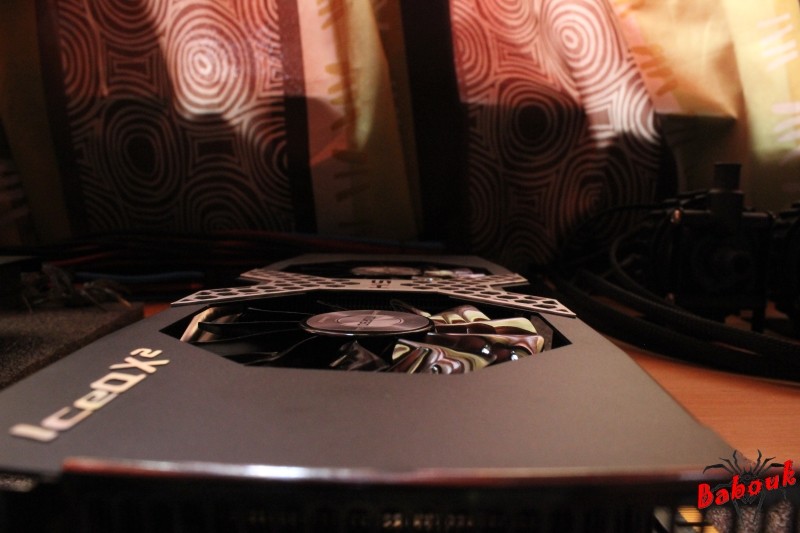
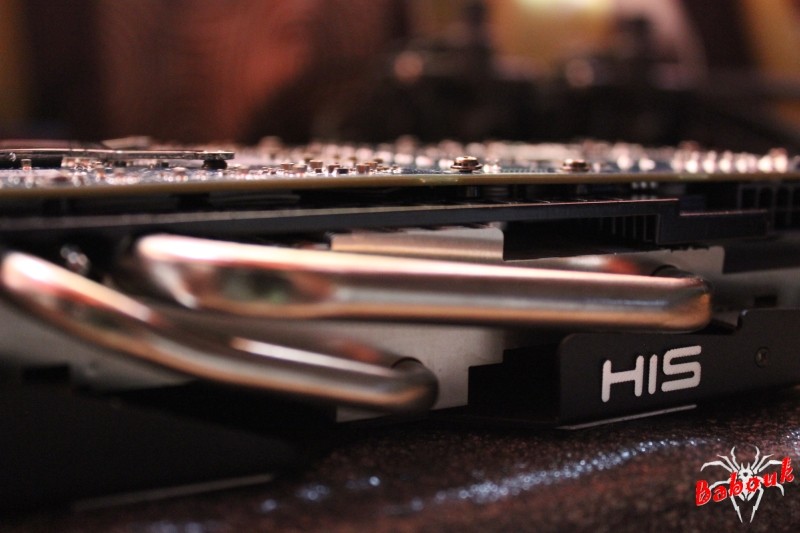
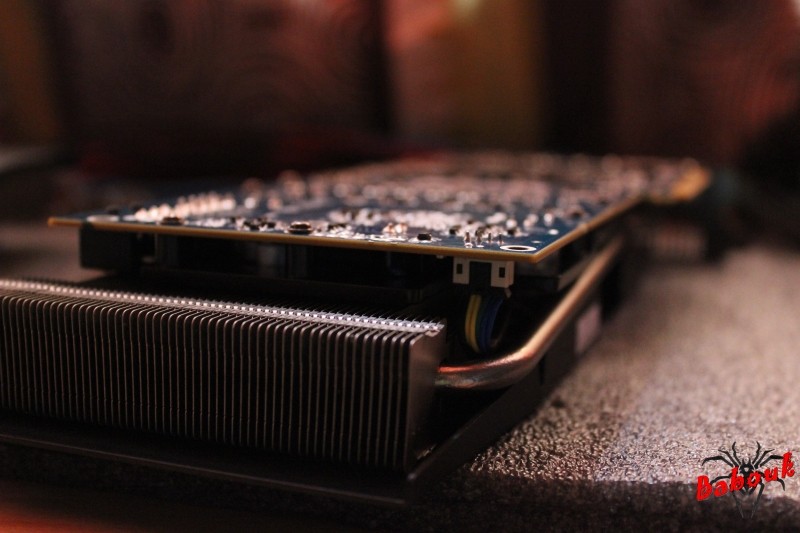
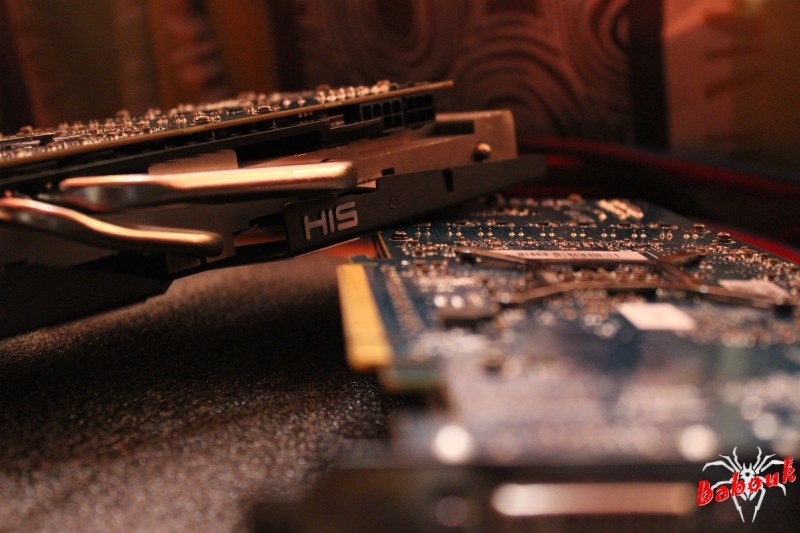
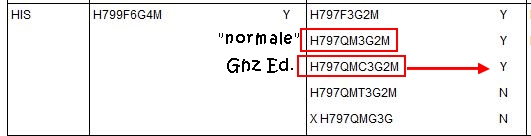
HIS HD7970 IceQ-X² GHz Ed (x2)
coming
HIS HD7970 IceQ-X² (x2)


SSD
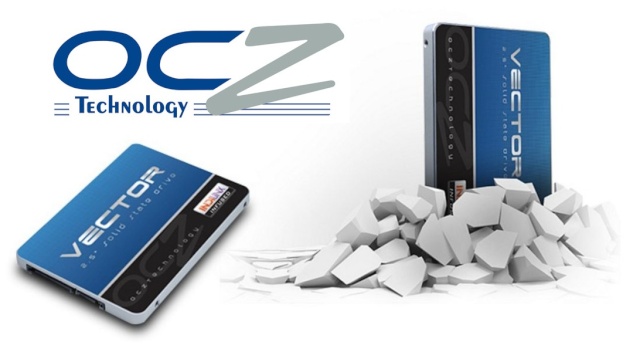
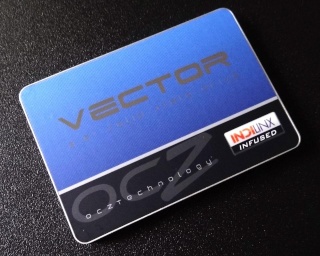
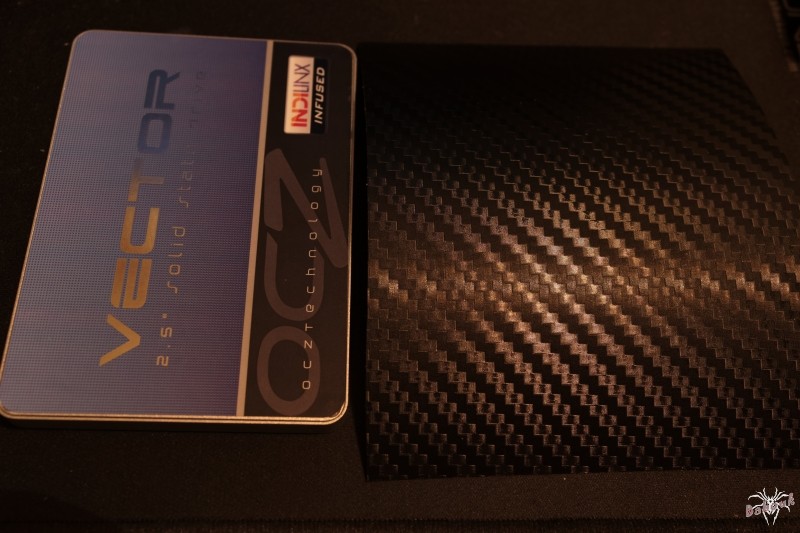
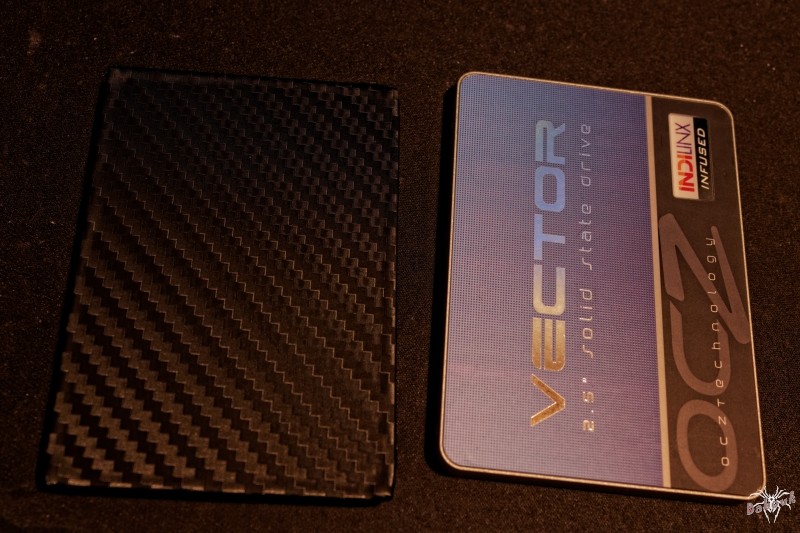
OCZ Vector 256 Go (x4)

HDD
SEAGATE Barracuda 2To


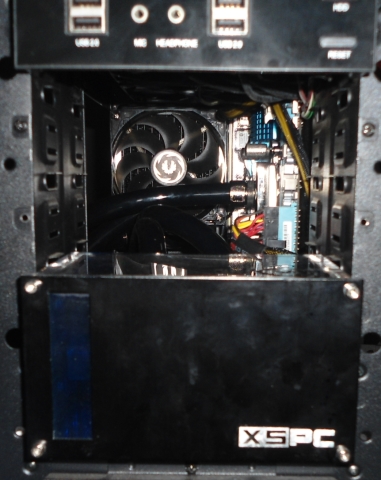
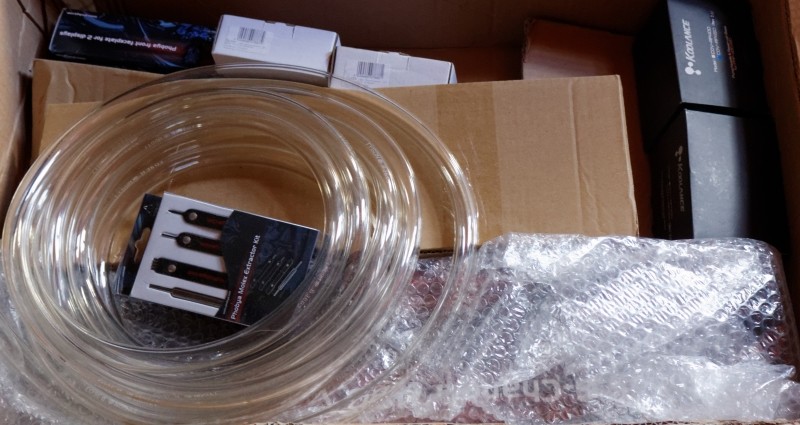
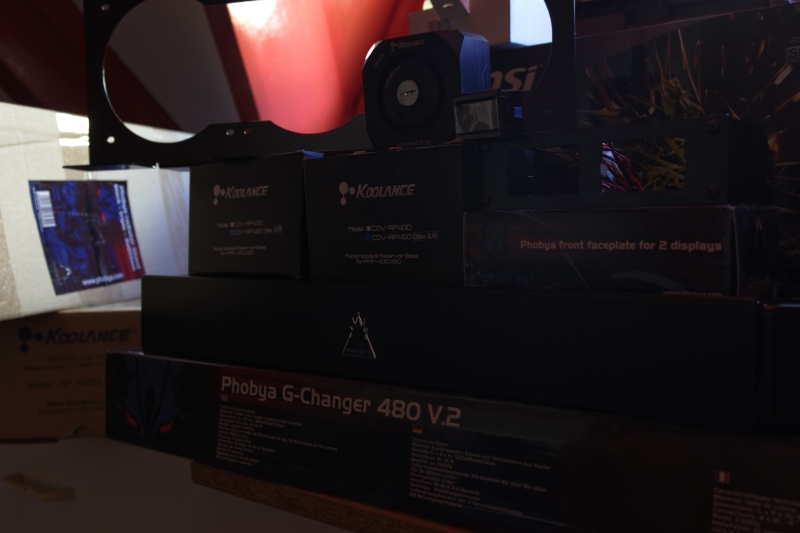
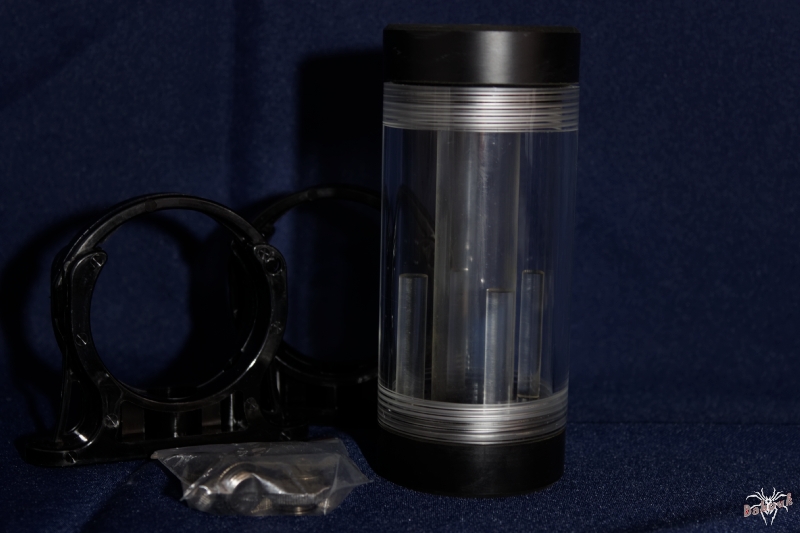
Réservoirs
KOOLANCE RP-452X2
2X ALPHACOOL Cape Fuzion Core 10
coming
Pumps + tops
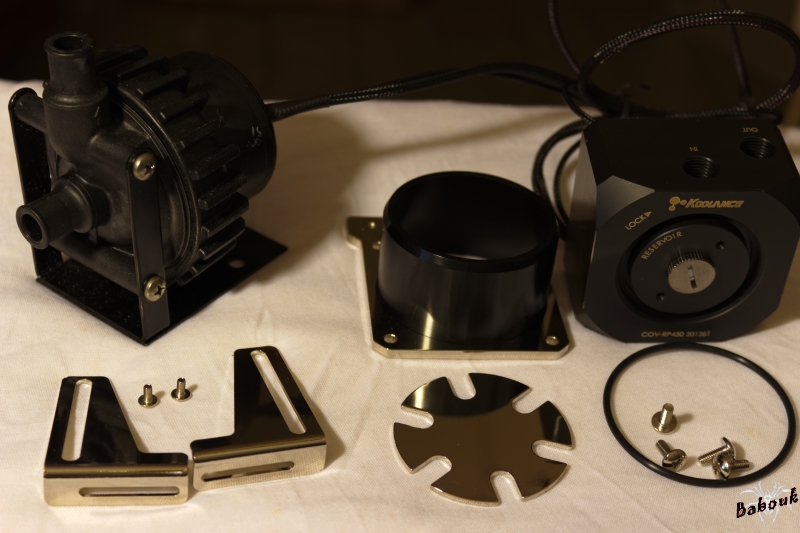
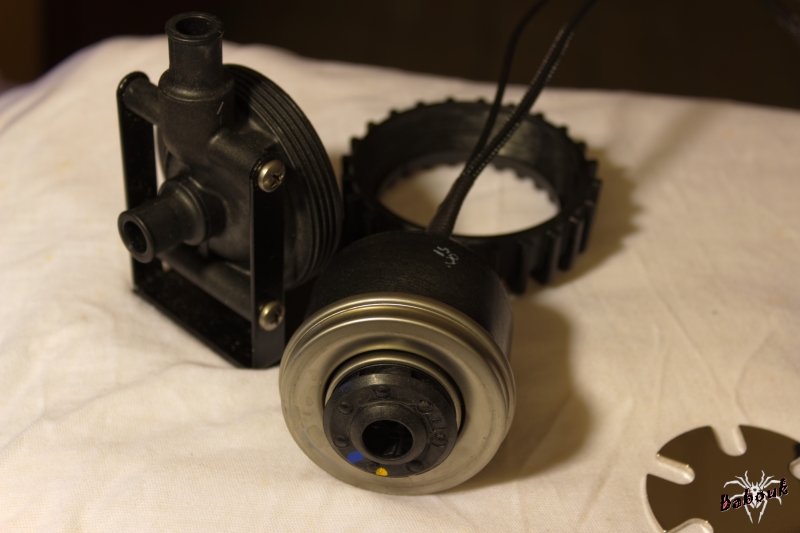
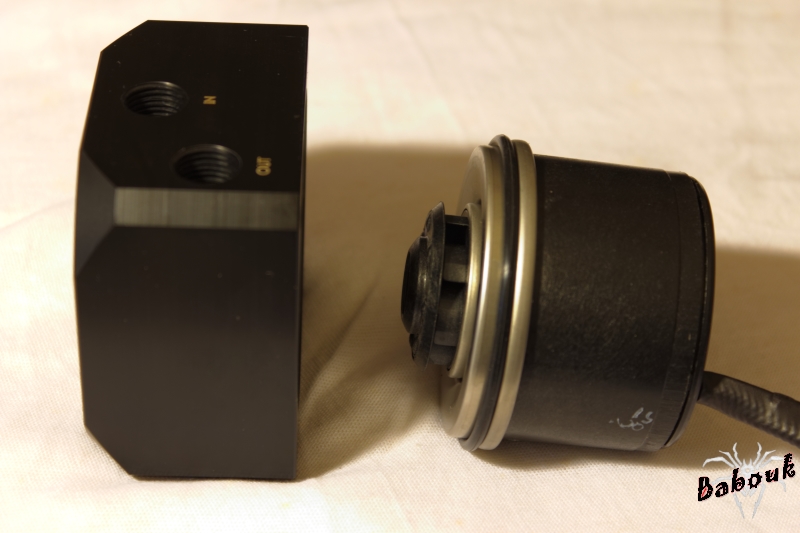
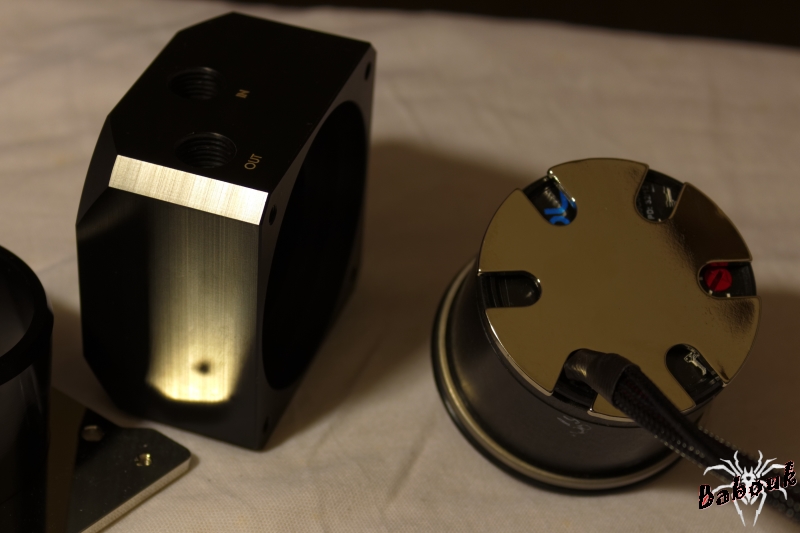
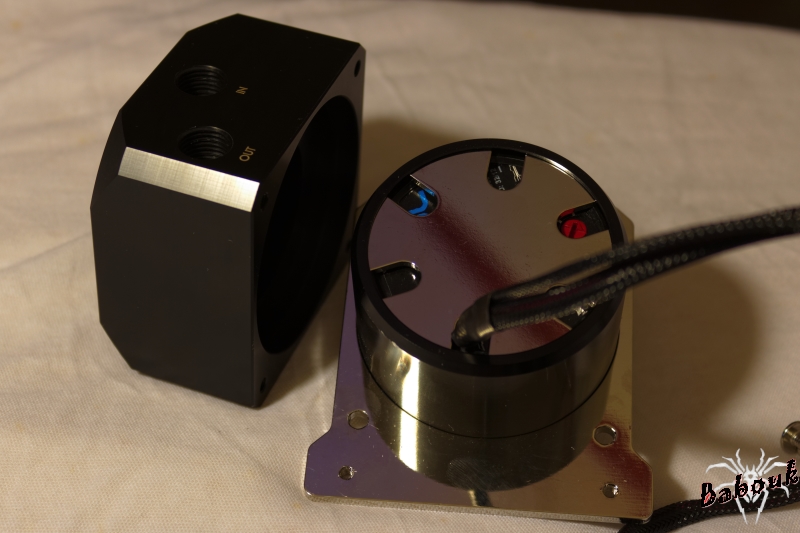
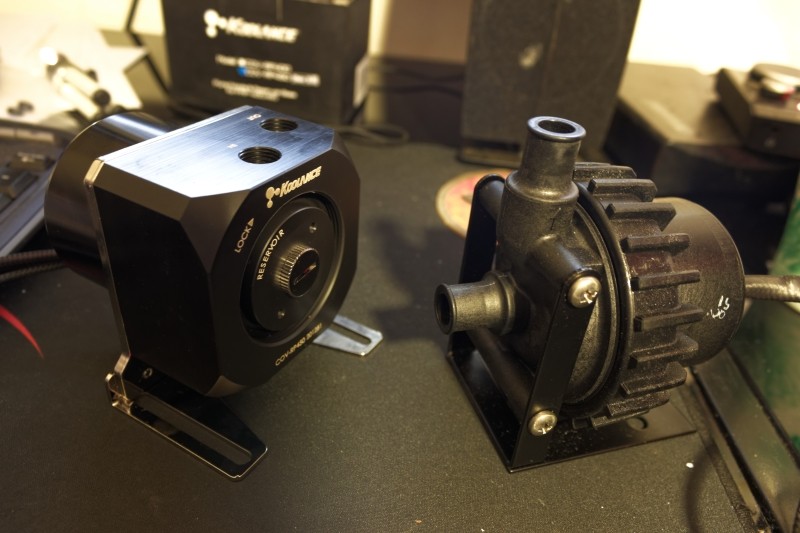
ALPHACOOL VPP655-T12
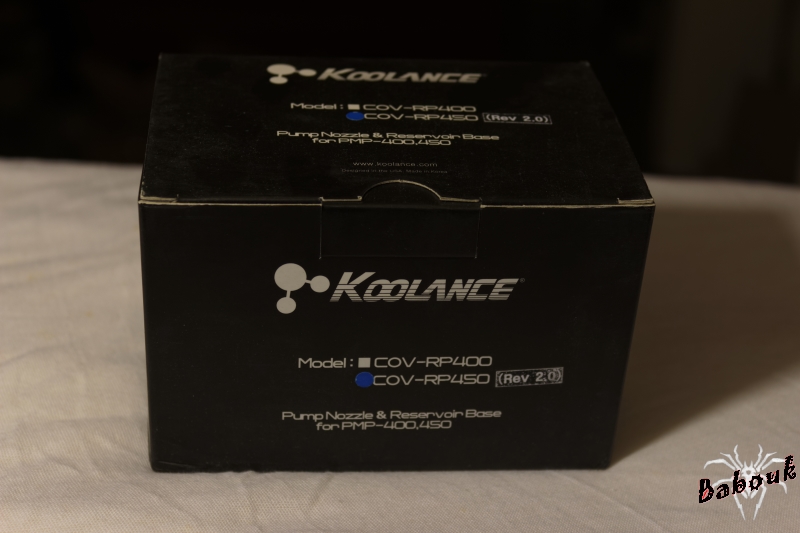
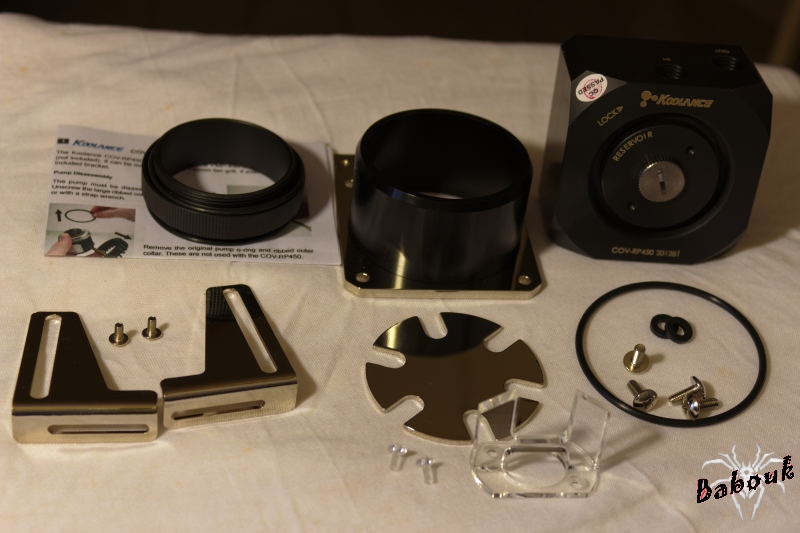
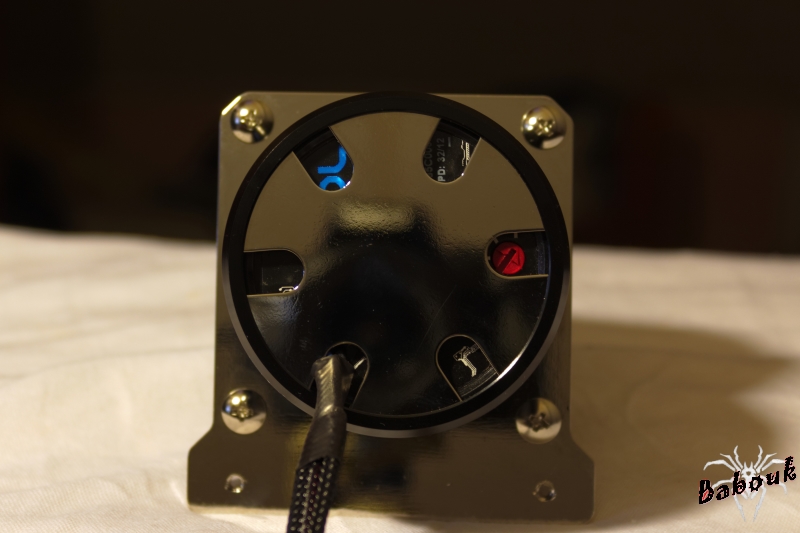
KOOLANCE COV-RP450 (Rev 2.0)

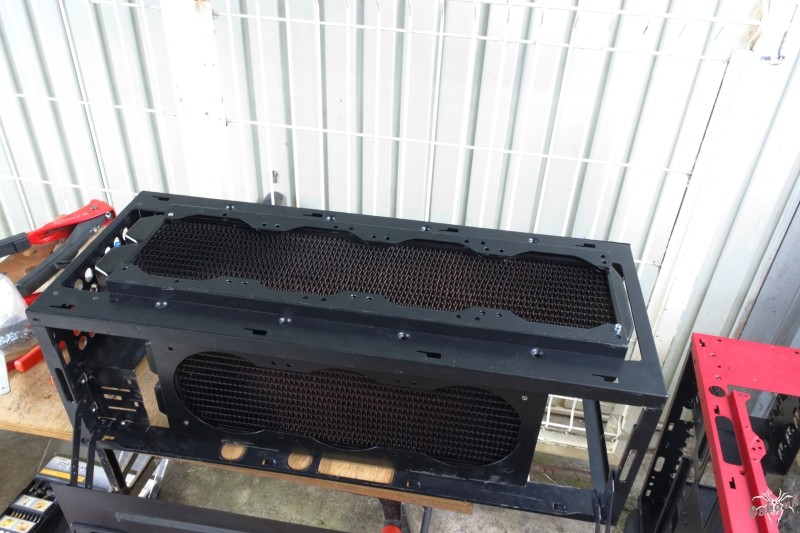
Radiators
1X PHOBYA 480 G-Changer

2X PHOBYA 360 G-Changer
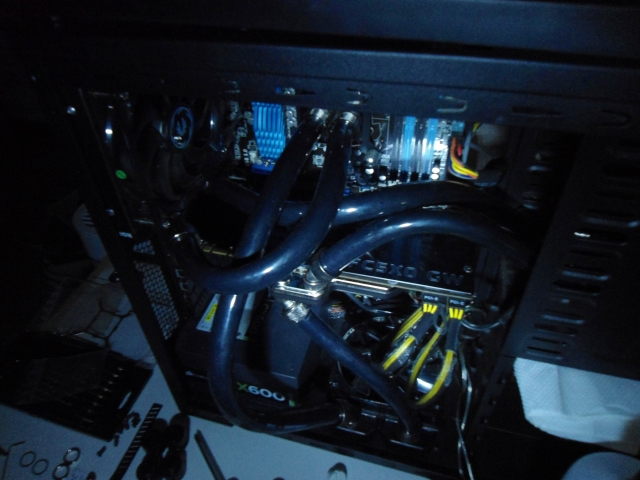
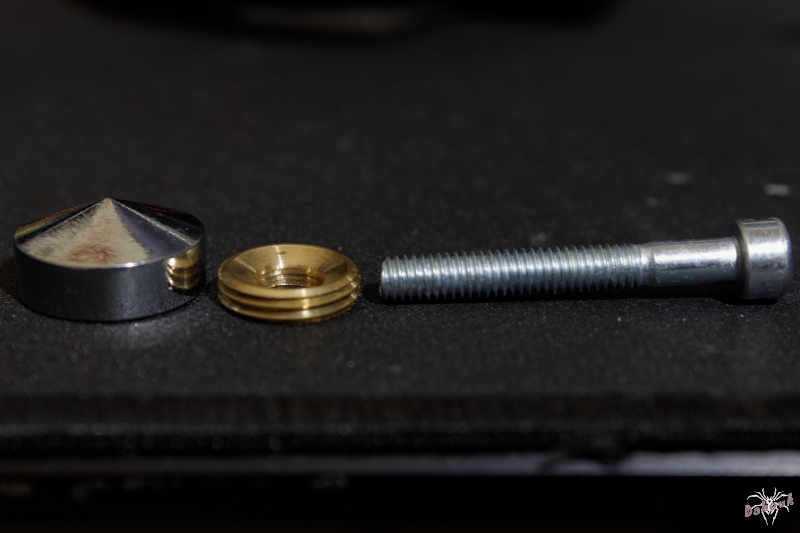
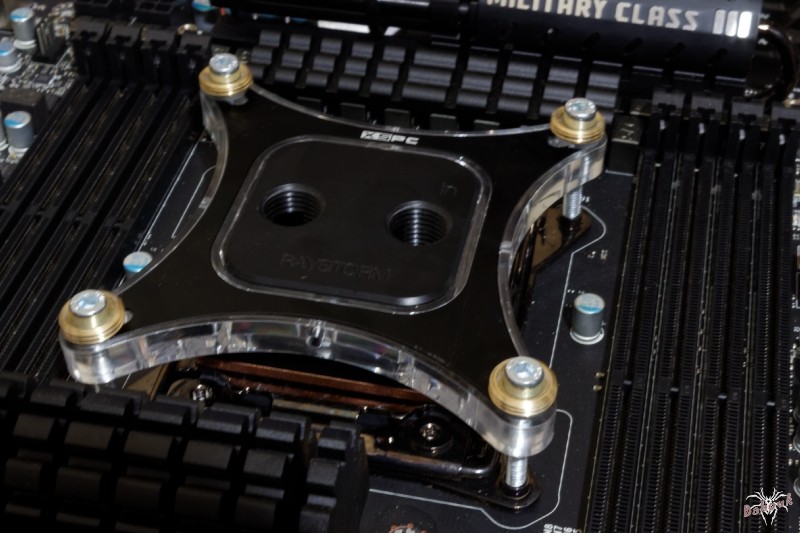
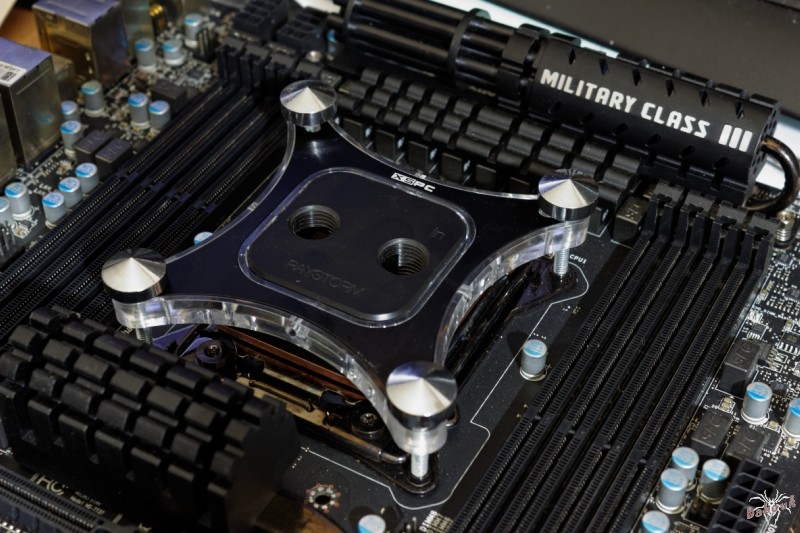
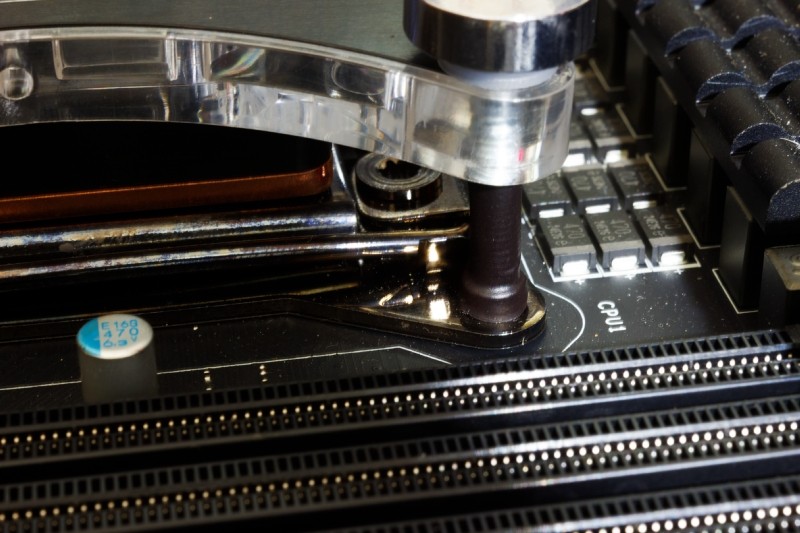
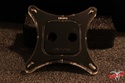
Waterblock CPU
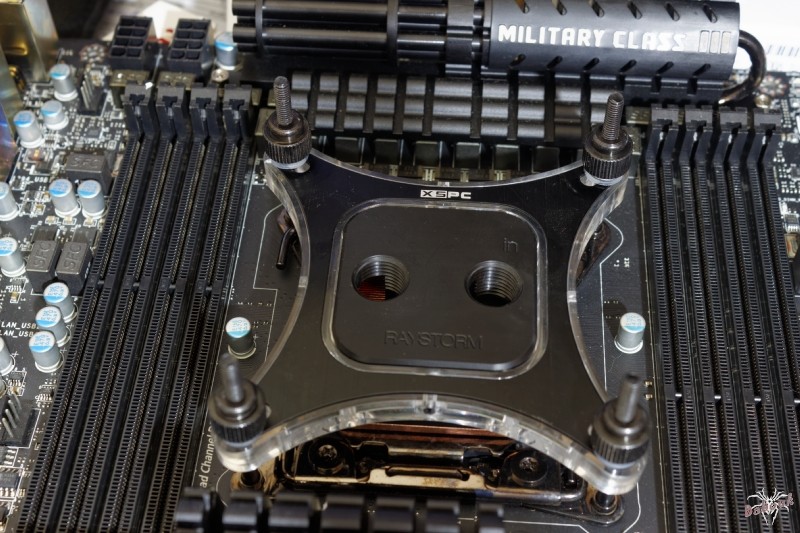
XSPC Raystorm
Waterblocks GPU
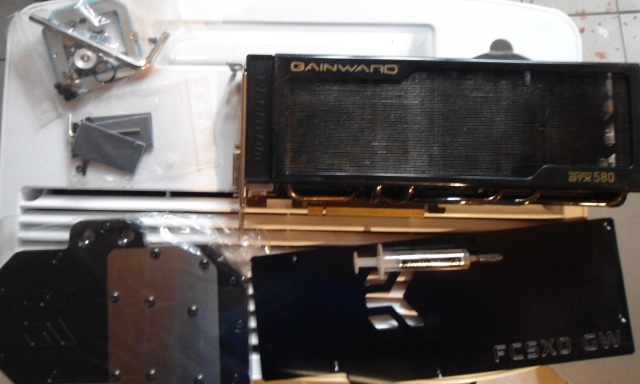
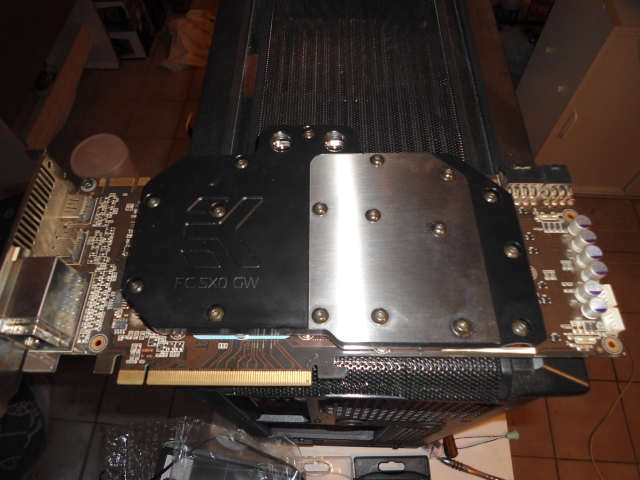
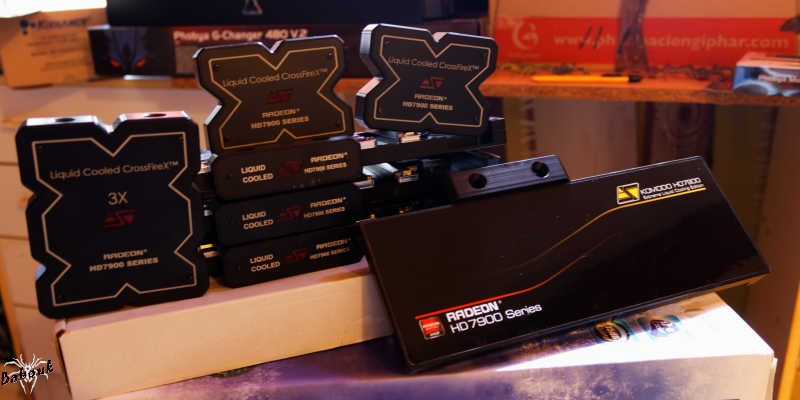
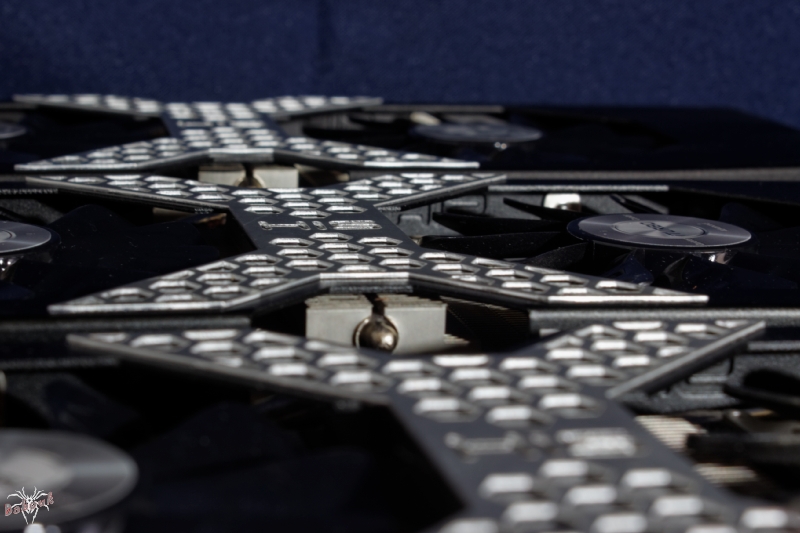
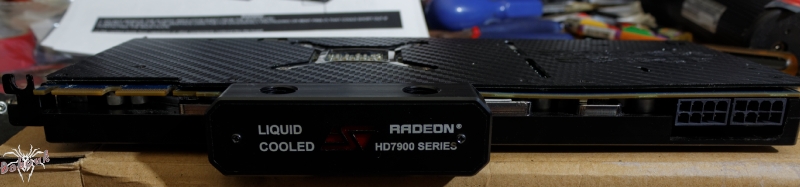
4X SWIFTECH Komodo HD7900 & 2X CrossfireX Bridges
Fittings
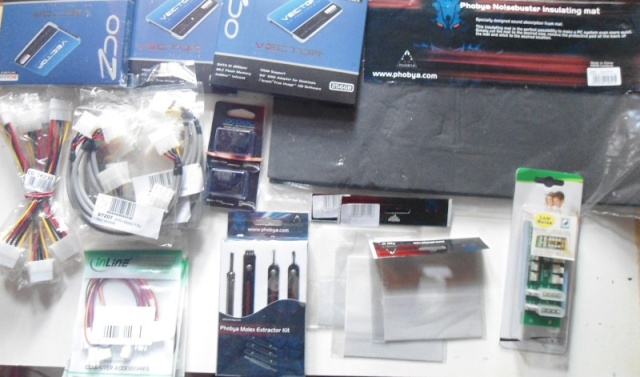
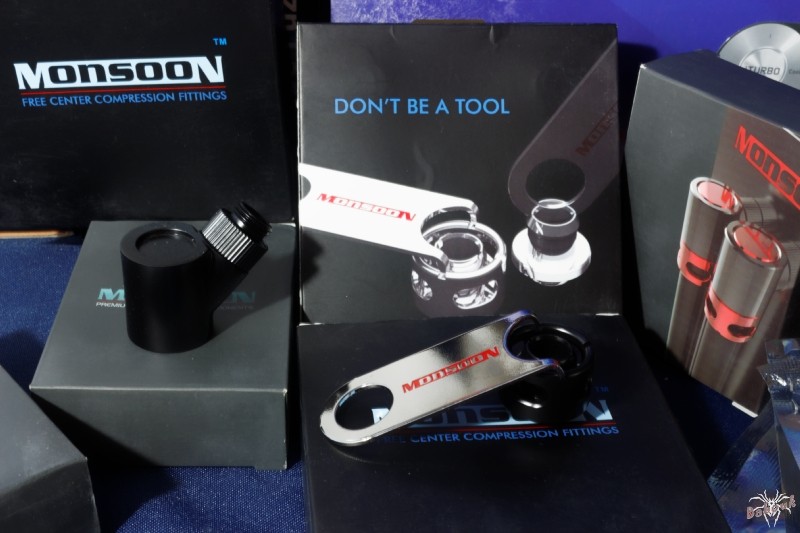
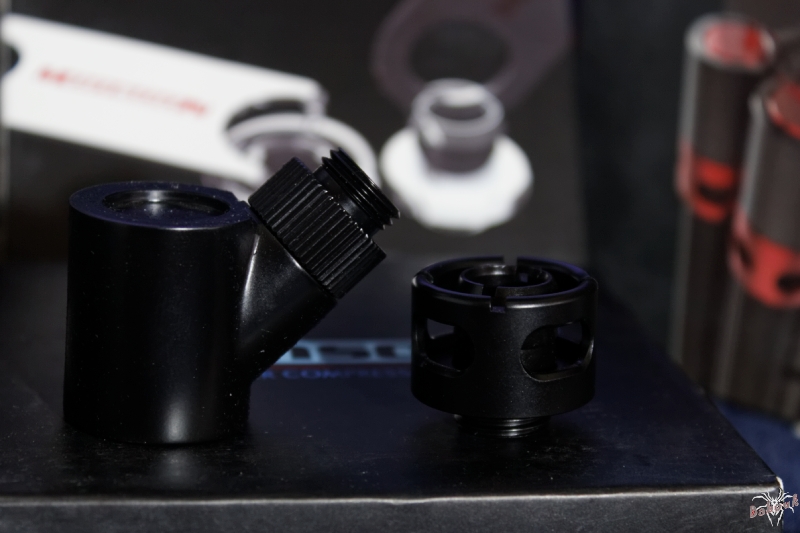
MONSOON
coming
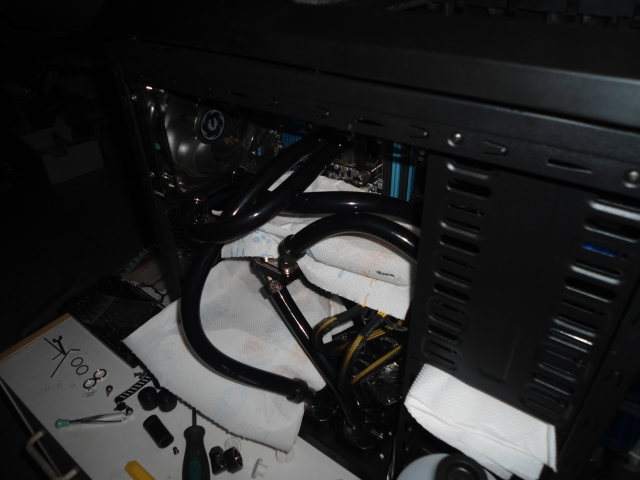
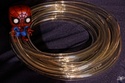
Pipe
TYGON R3603 13/19
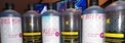
Coolant
EK Water Blocks EK-EKOOLANT UV Blue & EK Water Blocks EK-EKOOLANT Blood Red
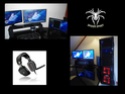
Rhéobus
NZXT Sentry LXE
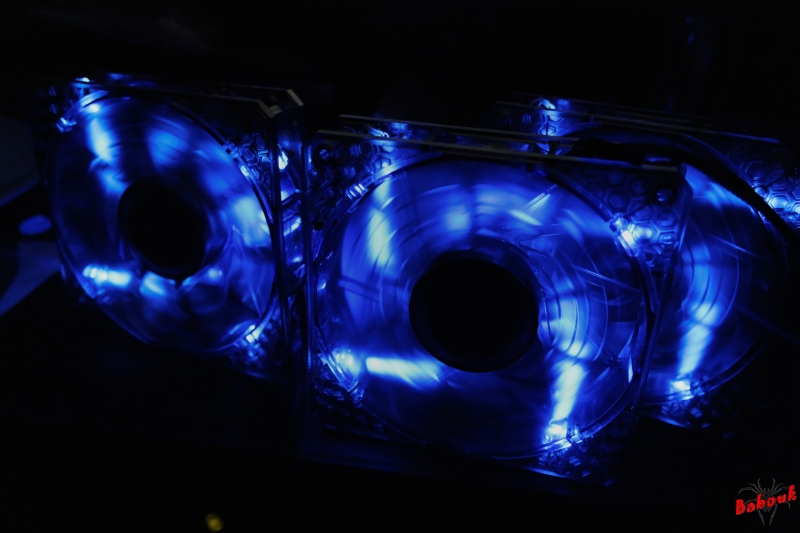
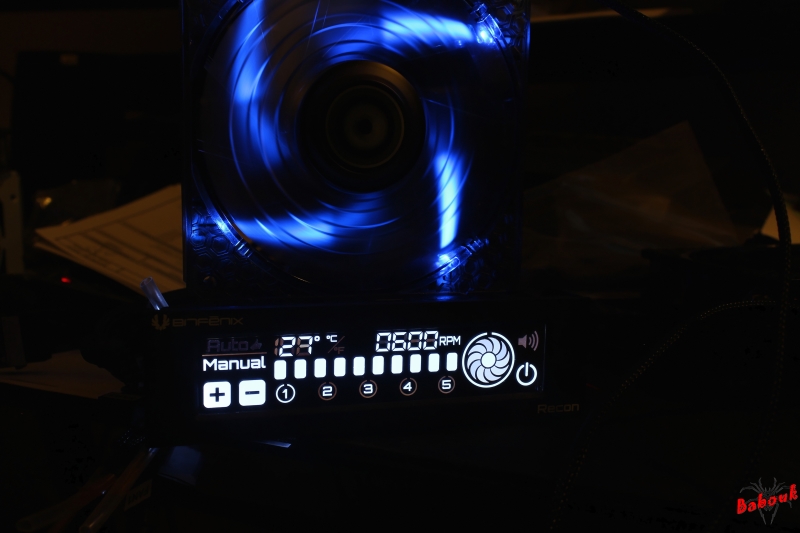
BITFENIX Recon
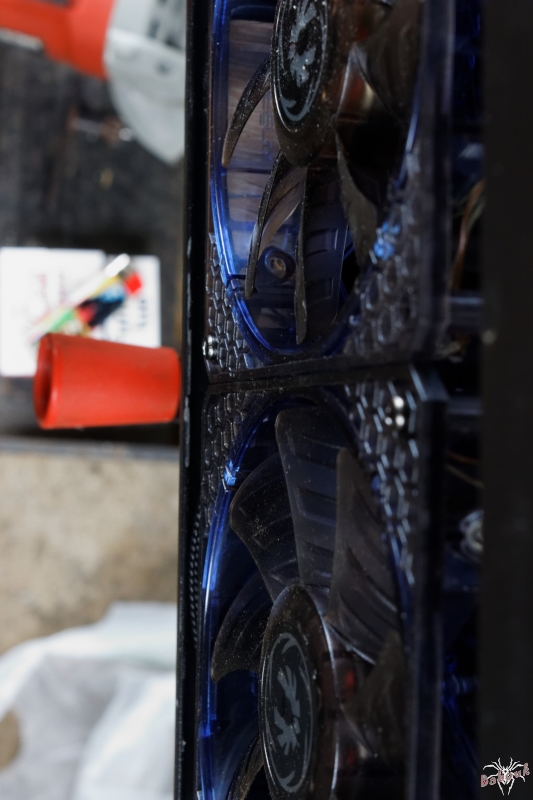
Fans
BITFENIX Spectre Pro PWM black
coming


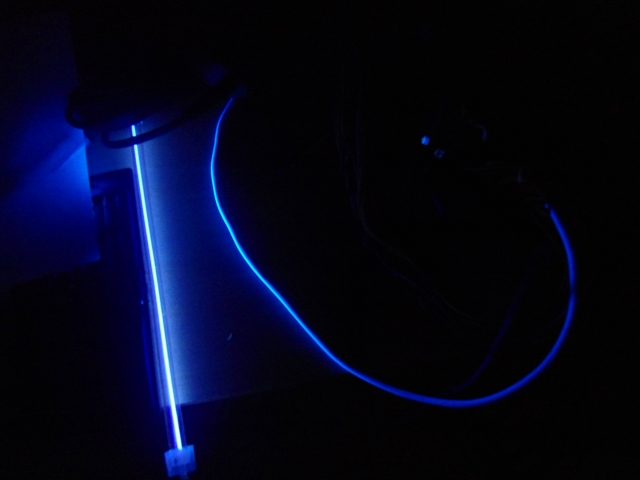
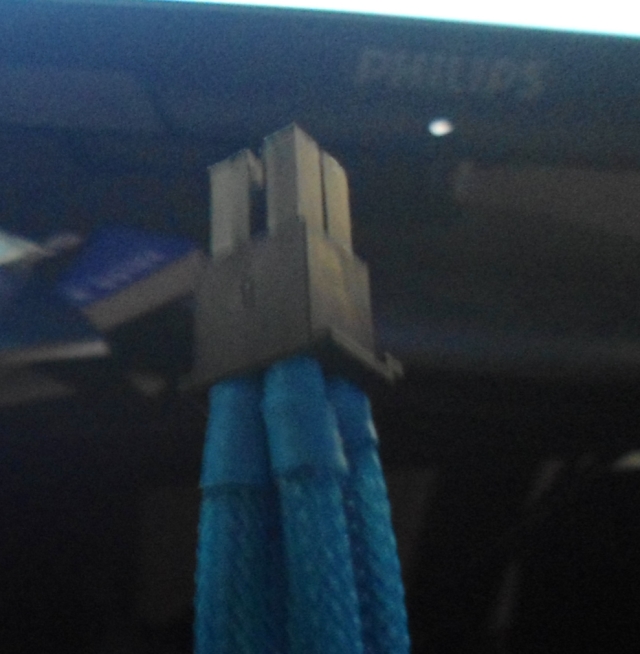
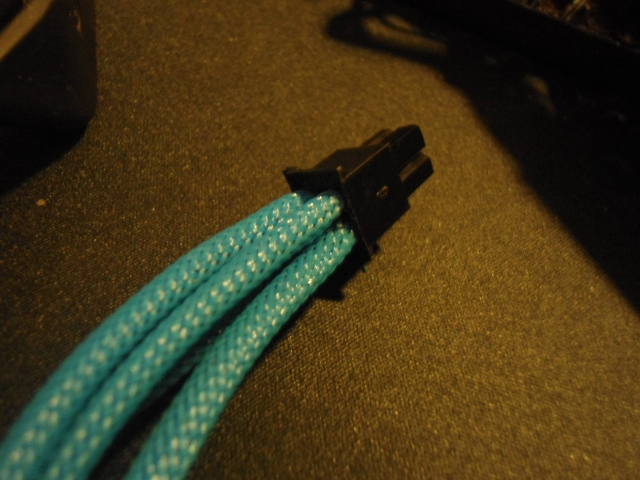
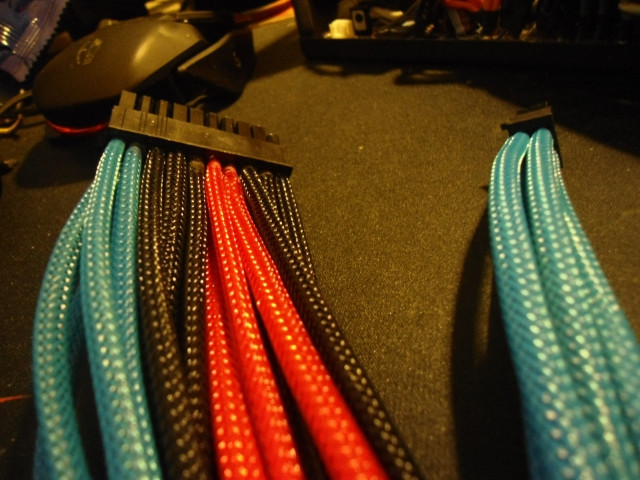
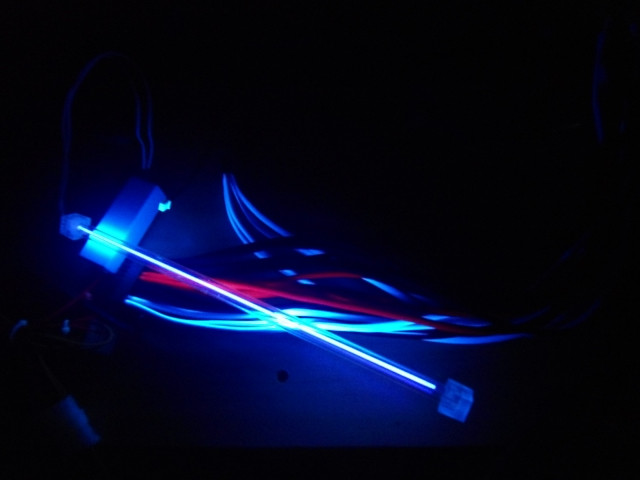
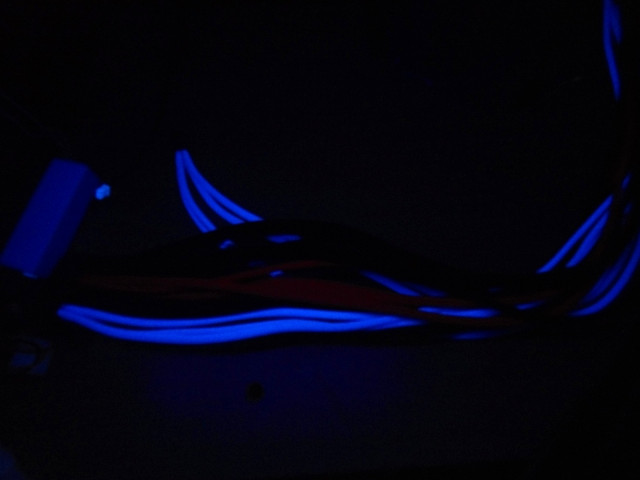
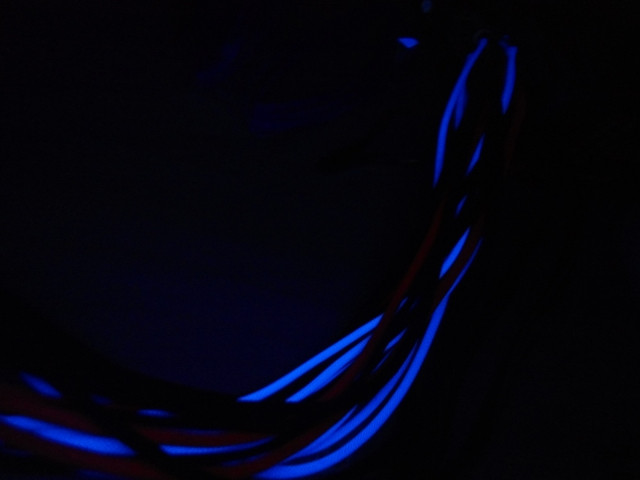
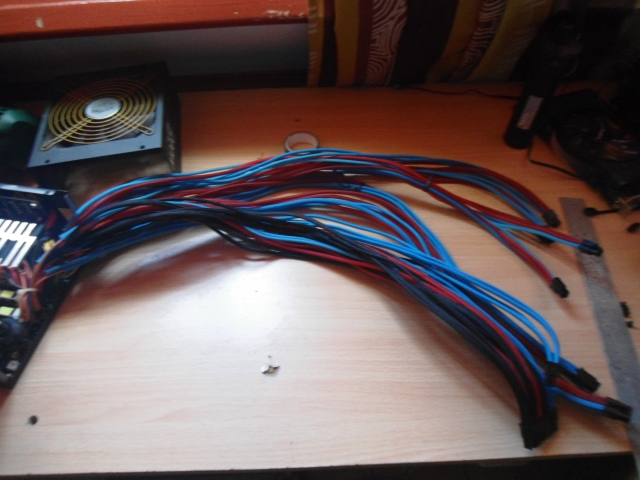
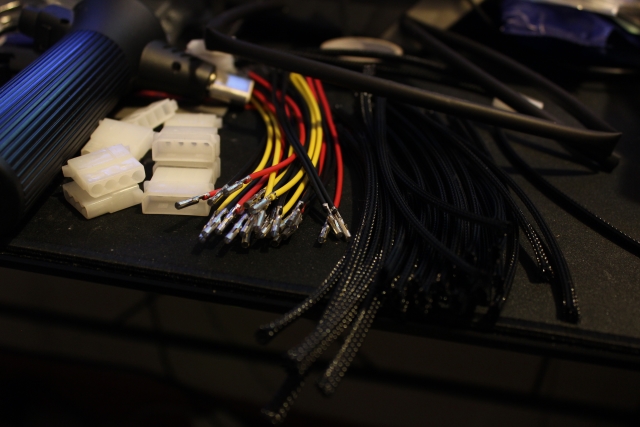
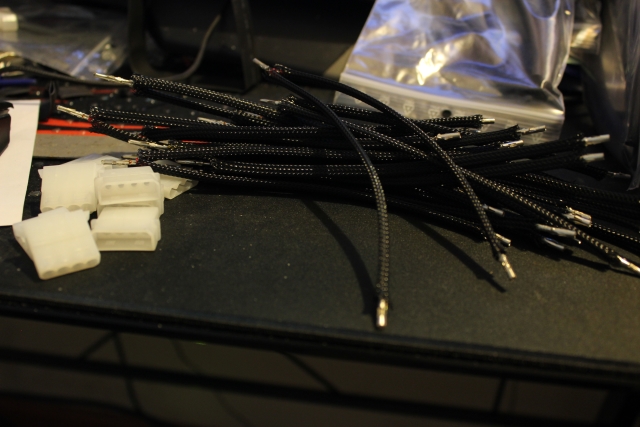
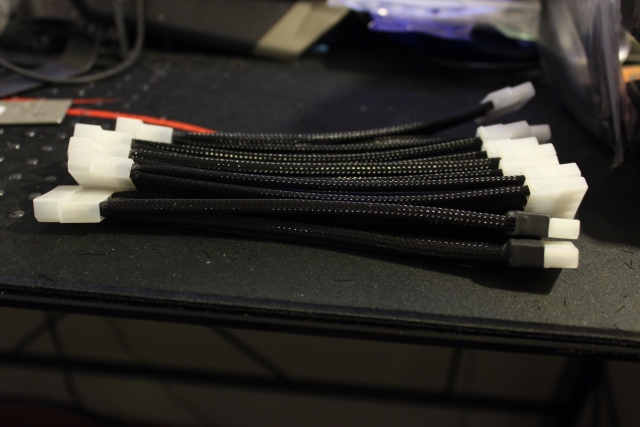
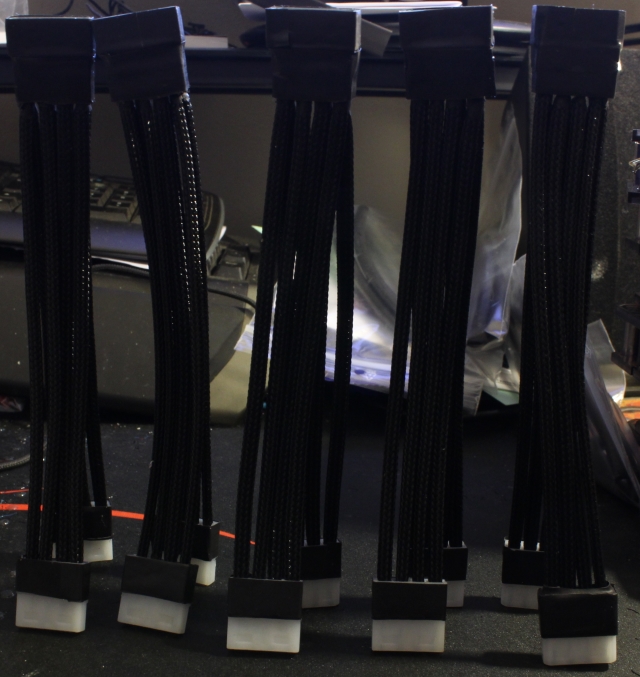
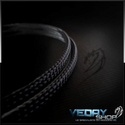
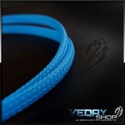
Sleeving
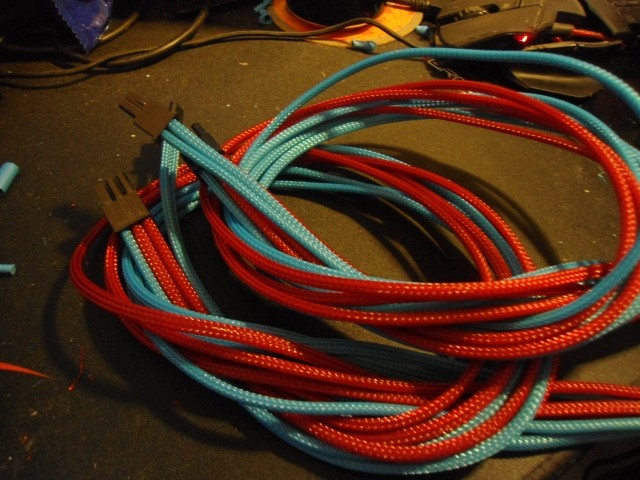
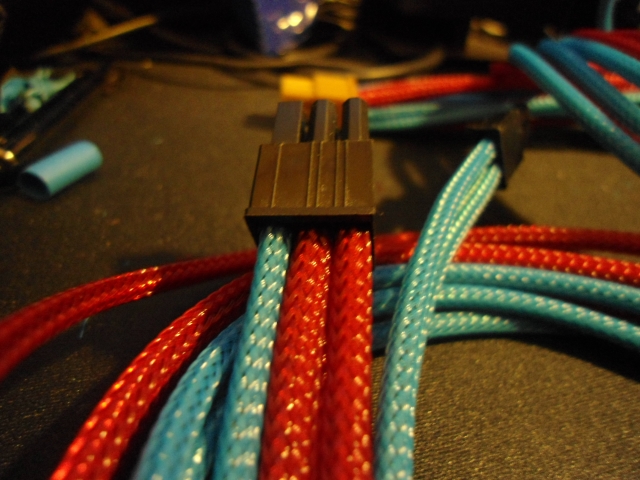
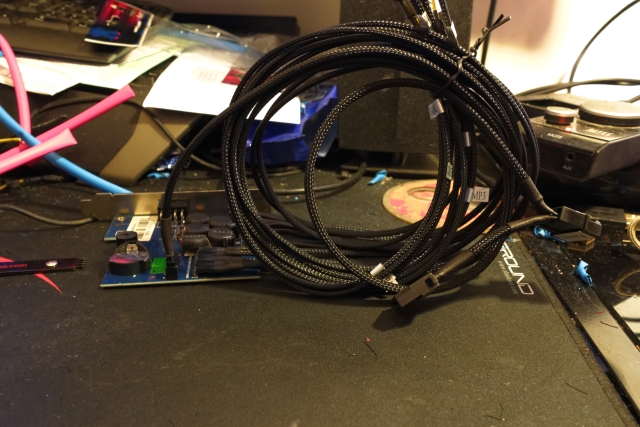
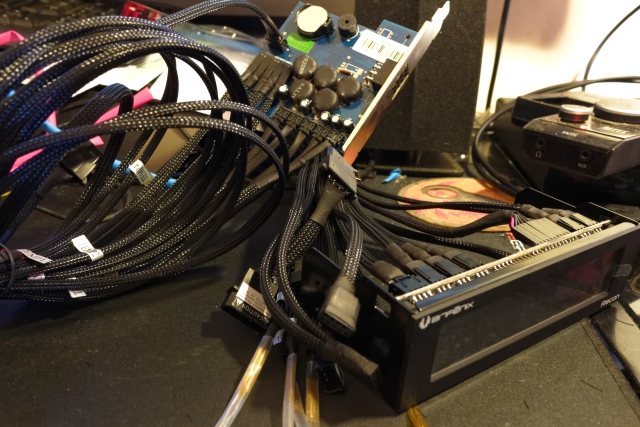
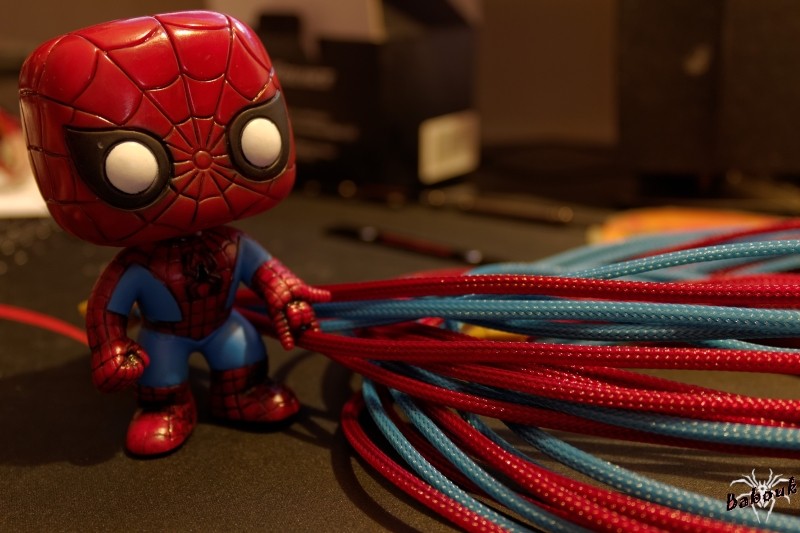
Gaines VEDAYSHOP

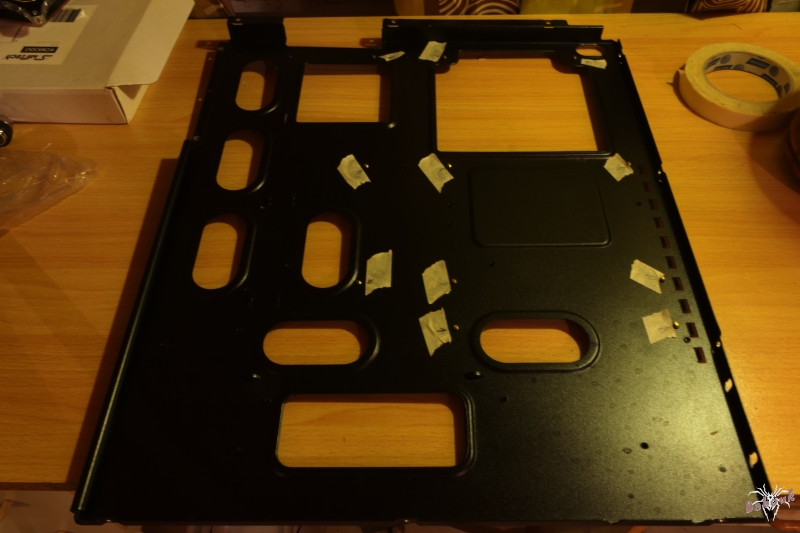
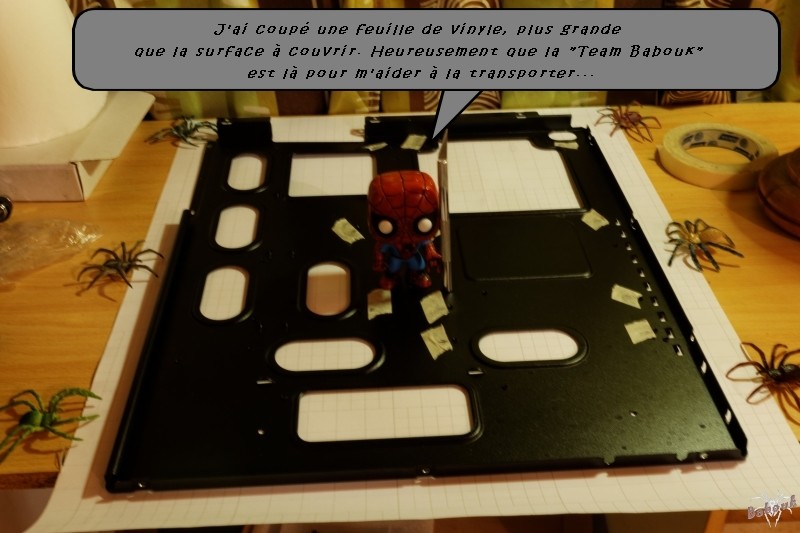
Vinyl
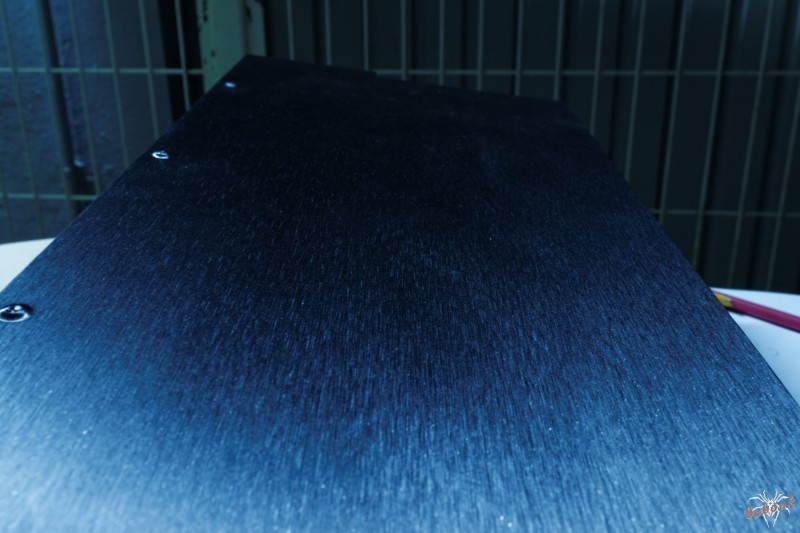
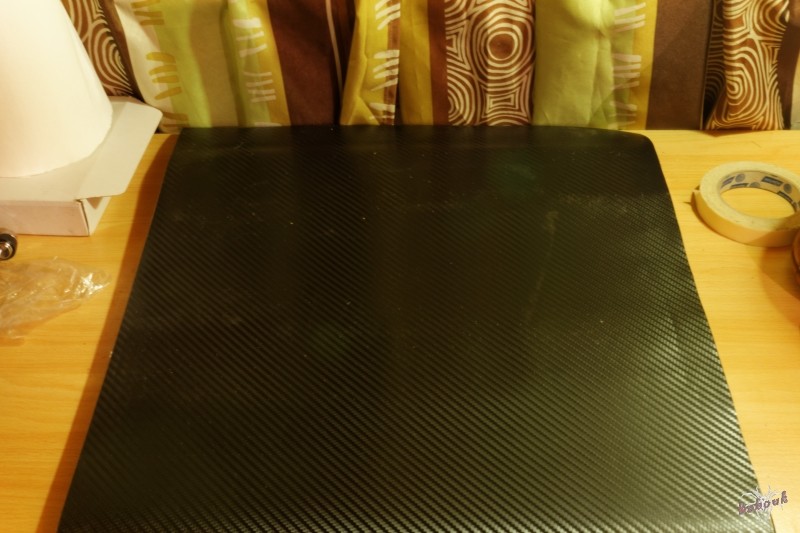
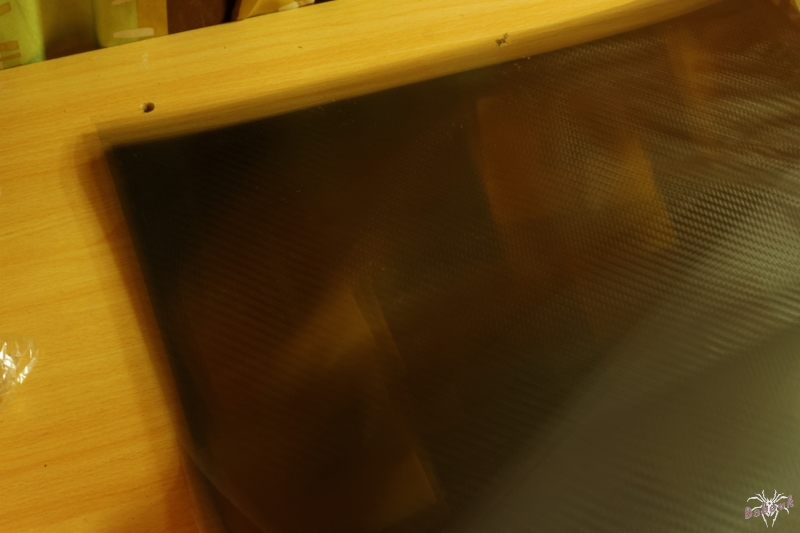
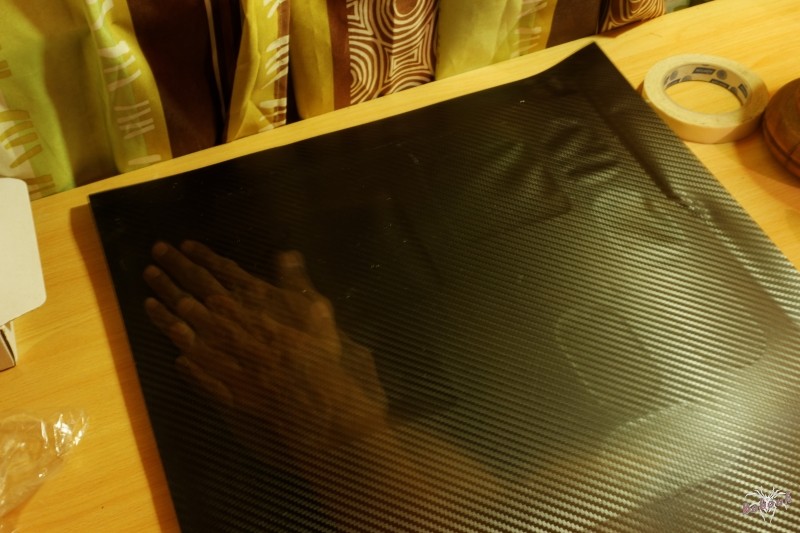
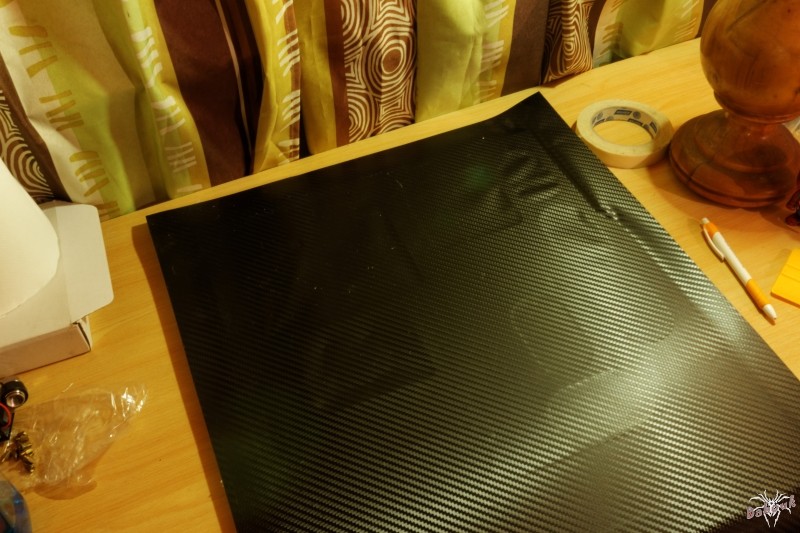
ROYAL COVERING Films Titane noir brossé & Carbone 3D noir maille large

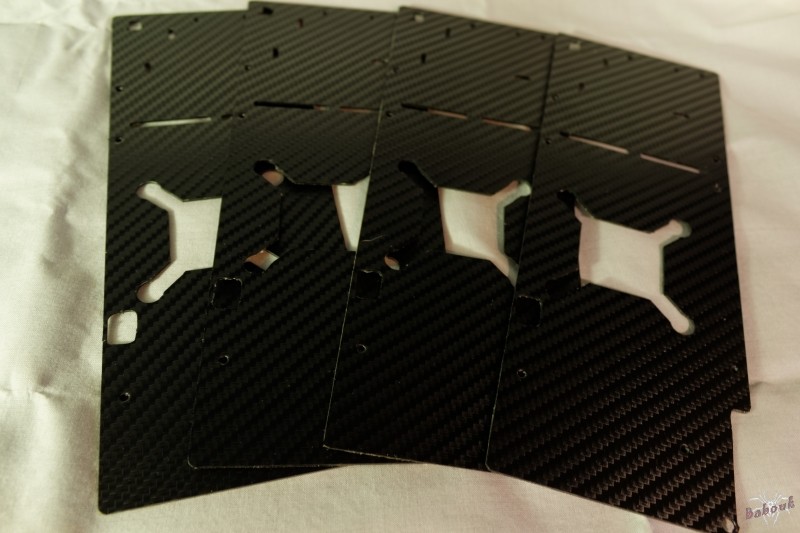
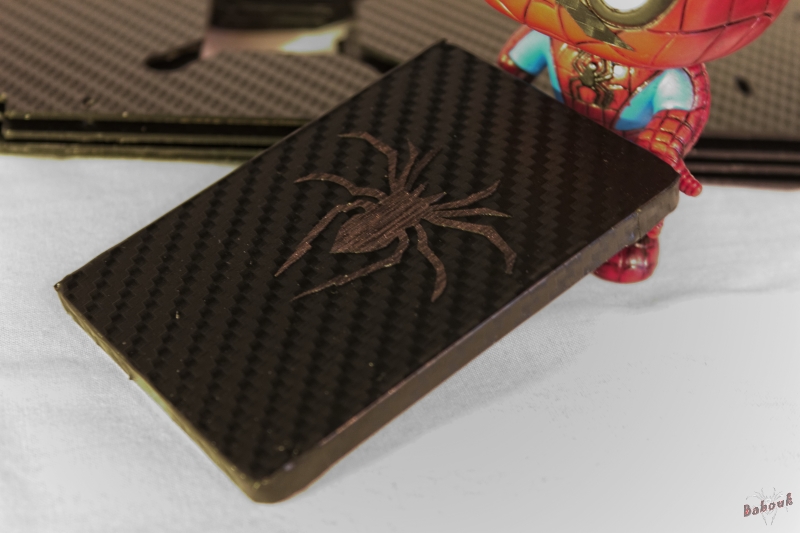
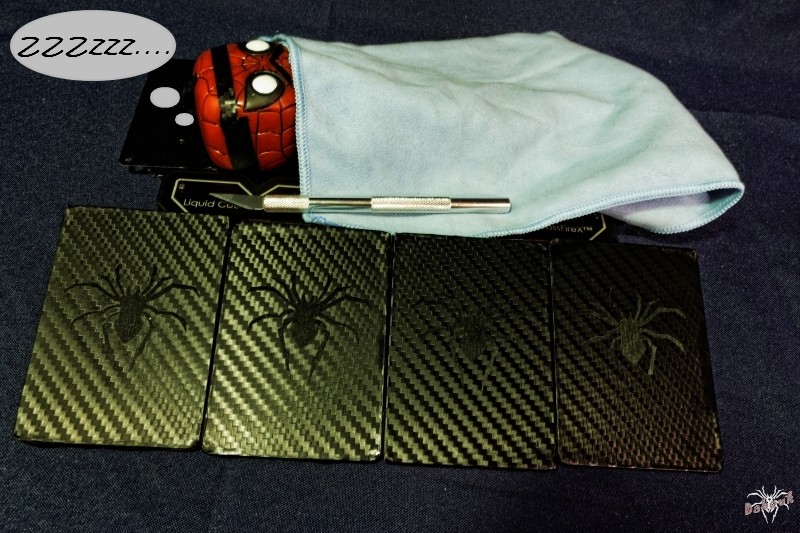
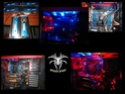
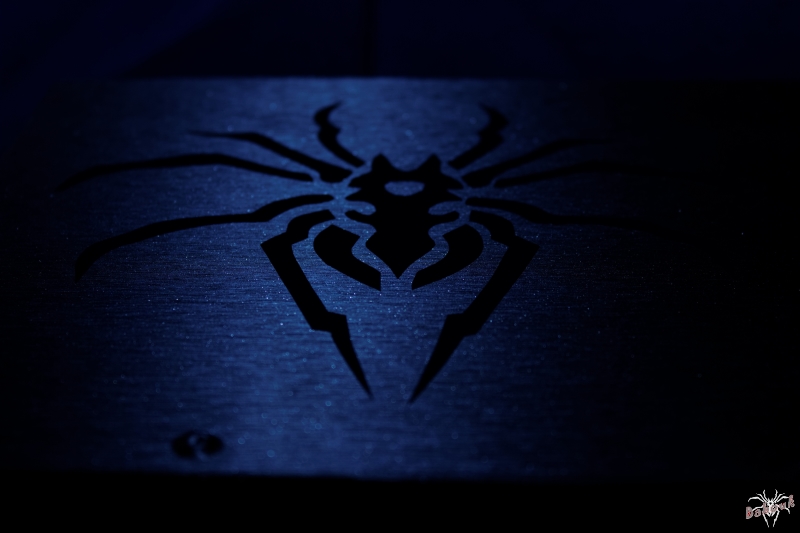
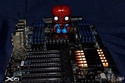
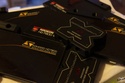
Backplates CG
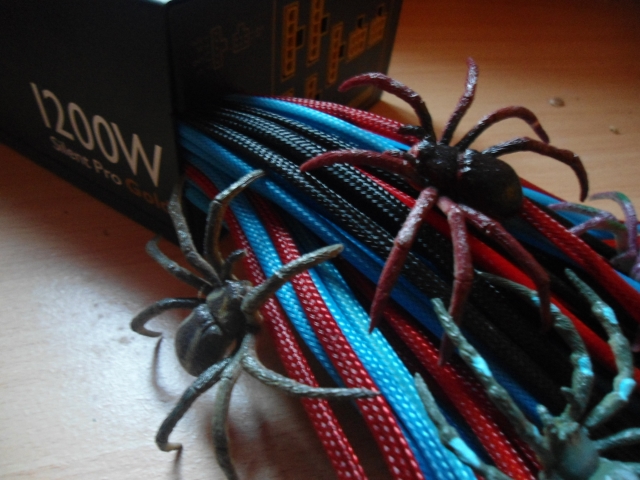
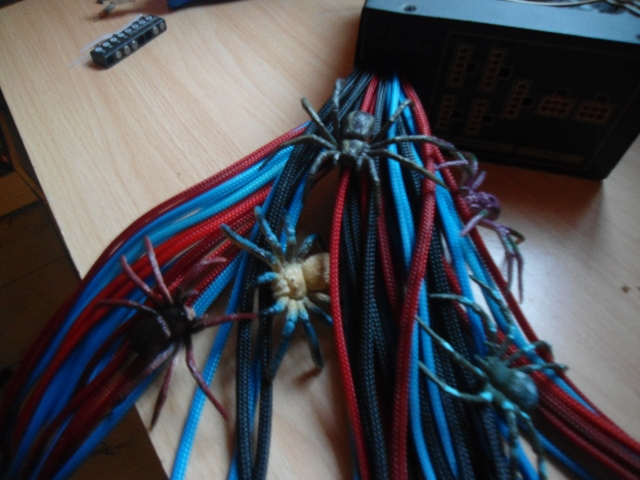
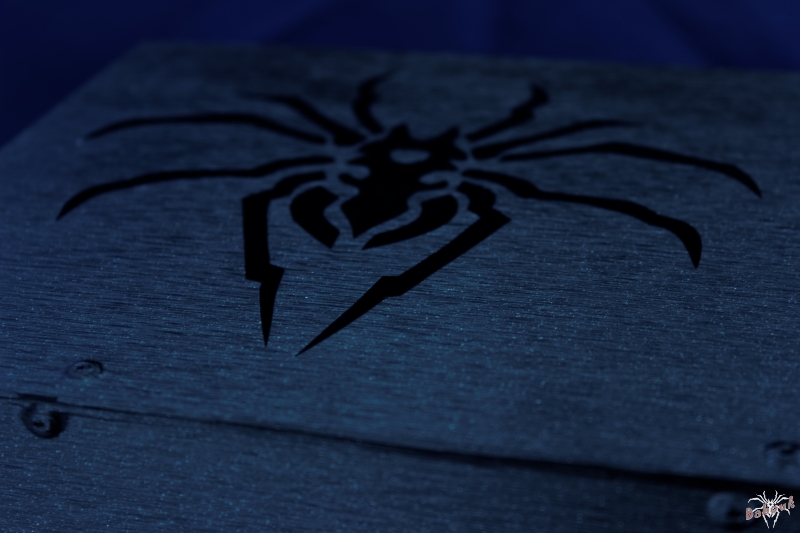
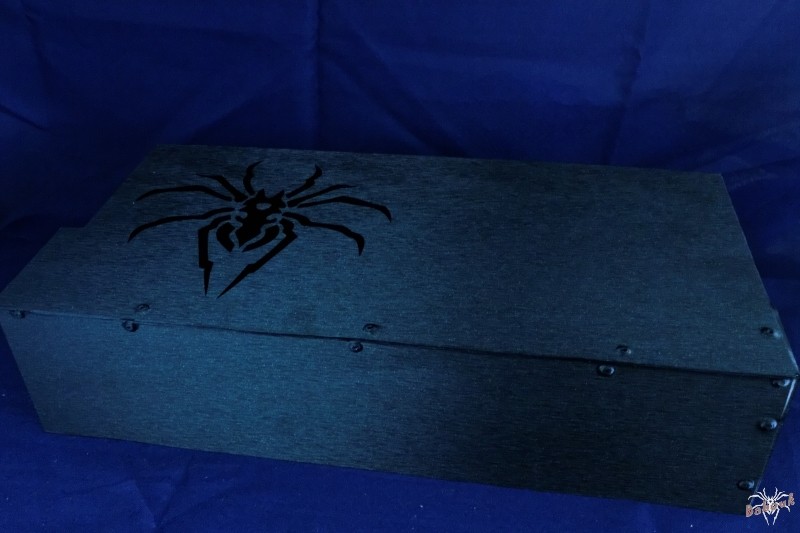
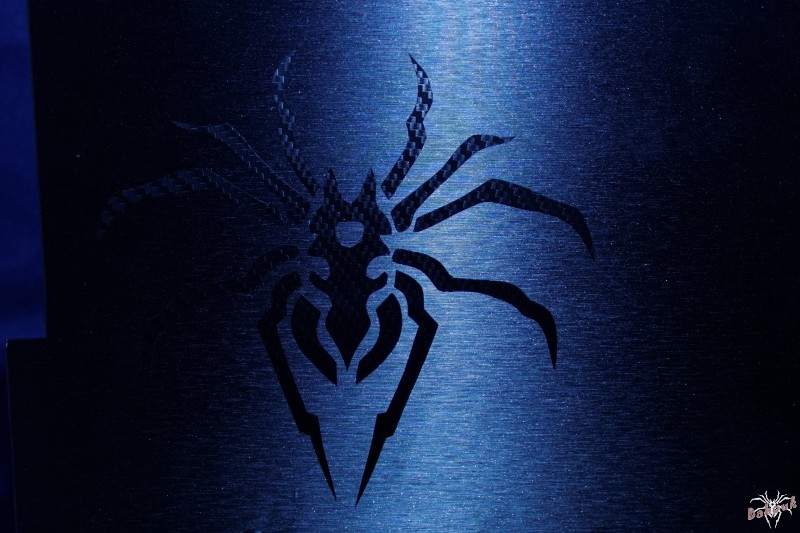
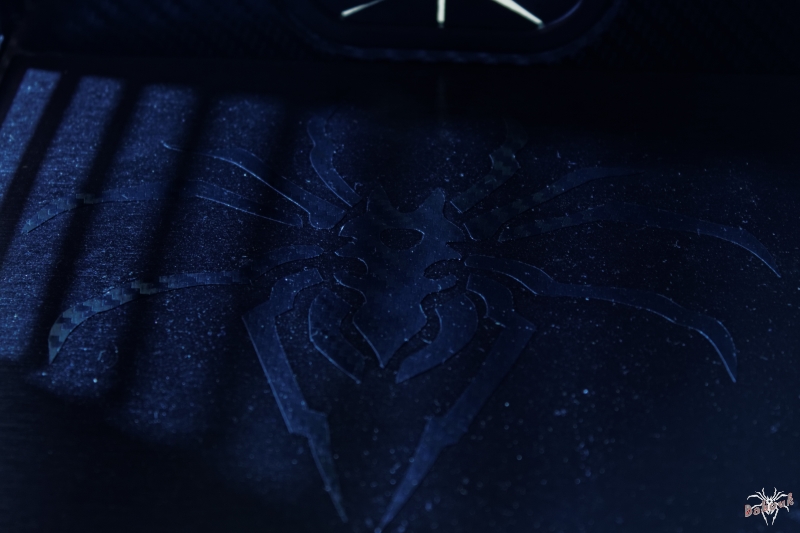
Backplates in plexi with and vinyl logo "Spider Spirit"
(Made by PoLoMoD)
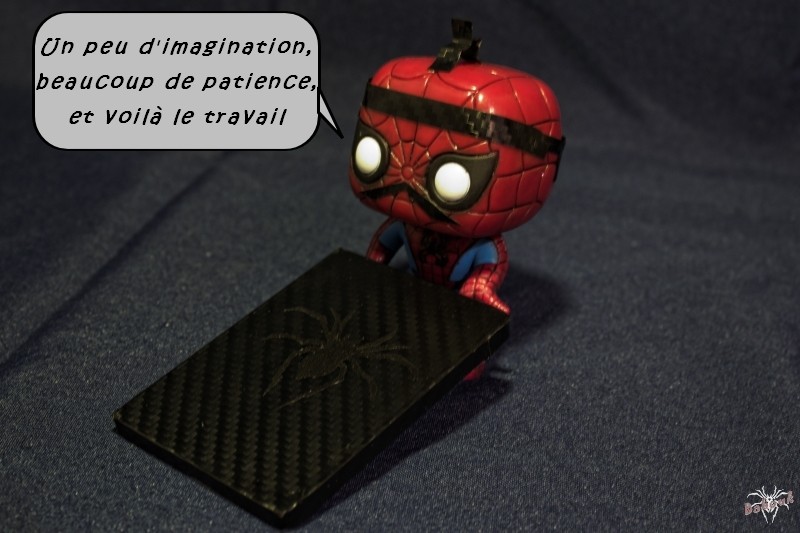
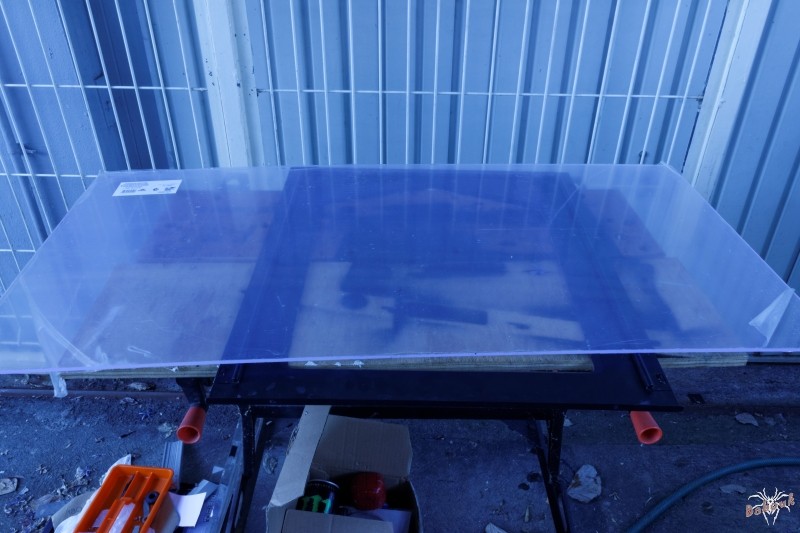
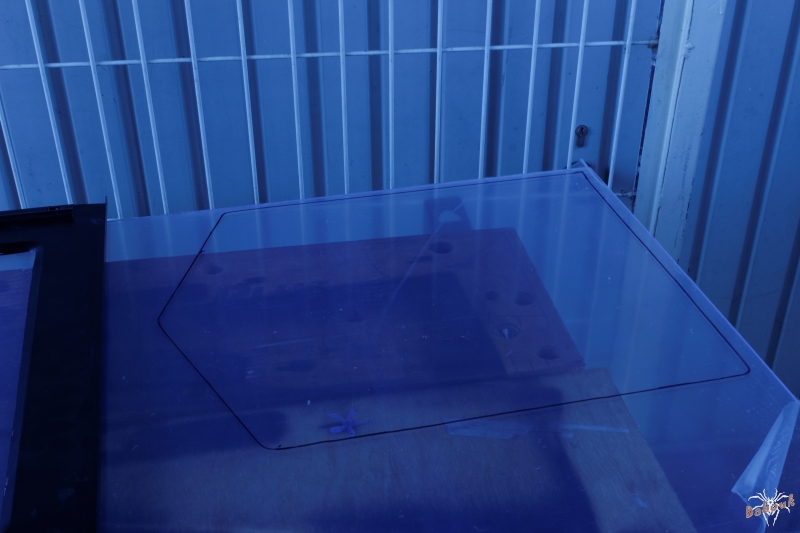
Plexi
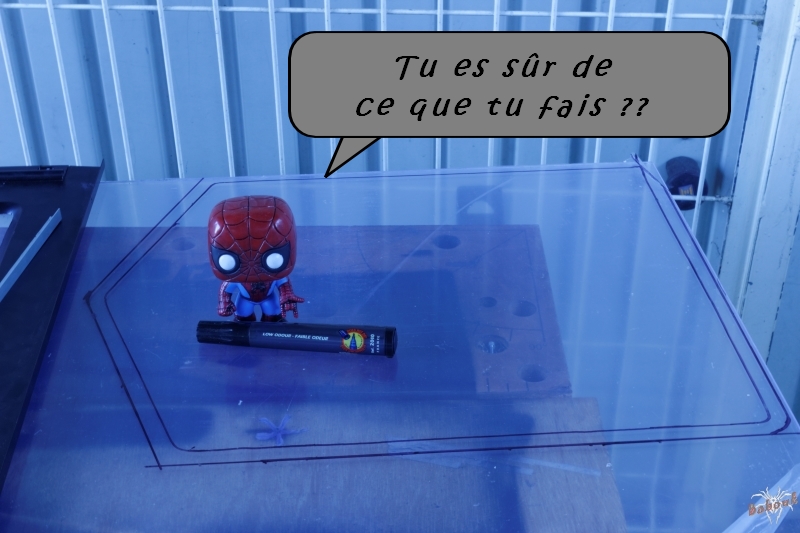
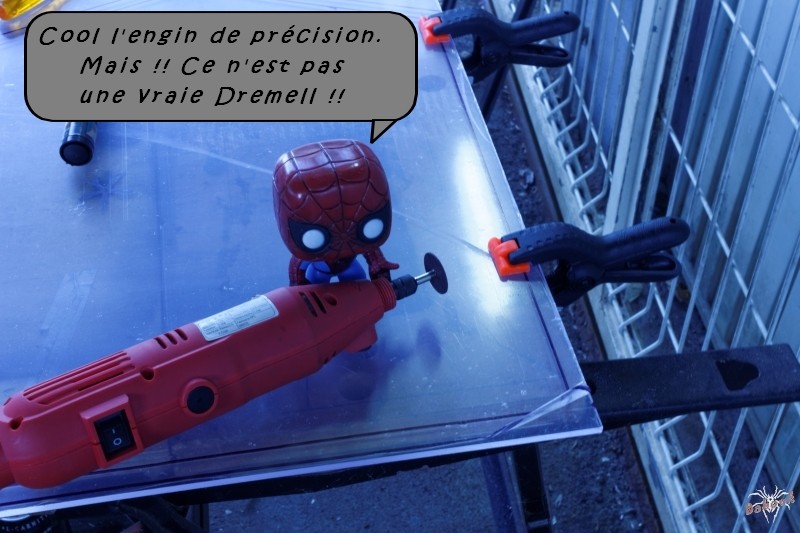
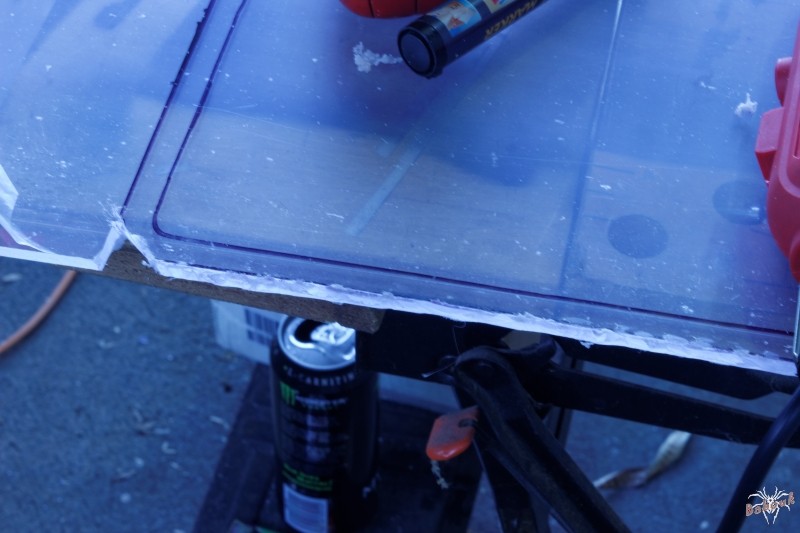
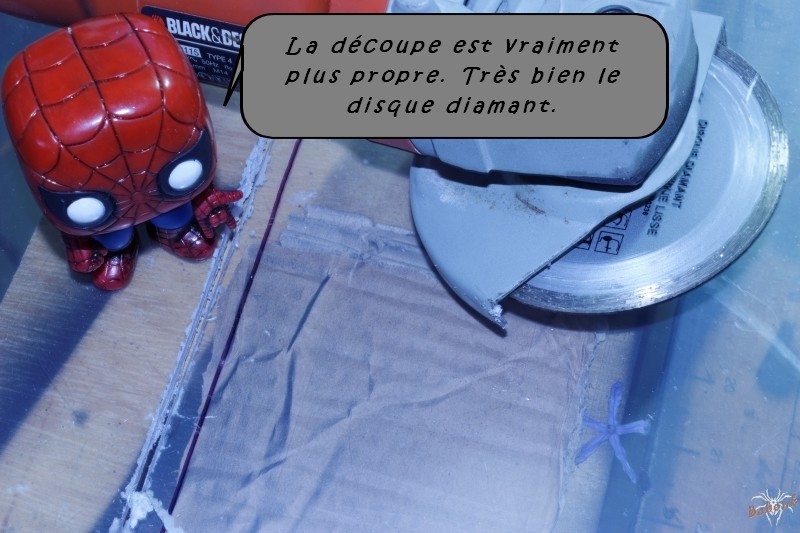
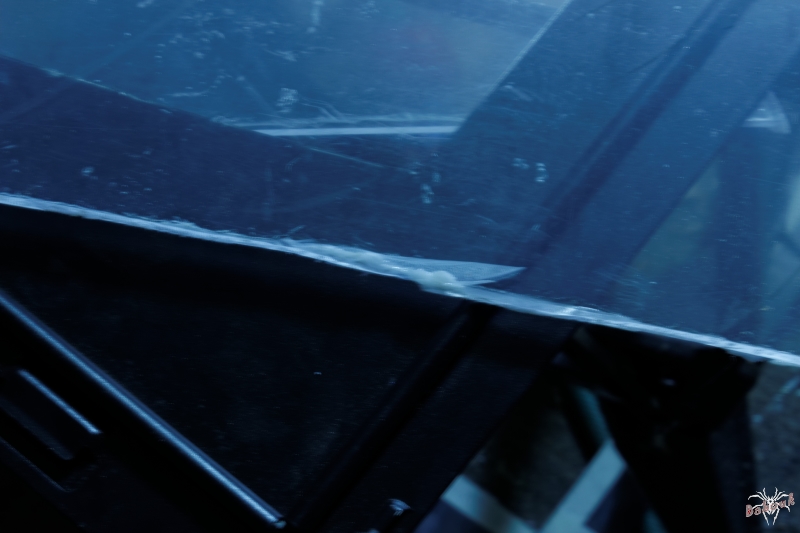
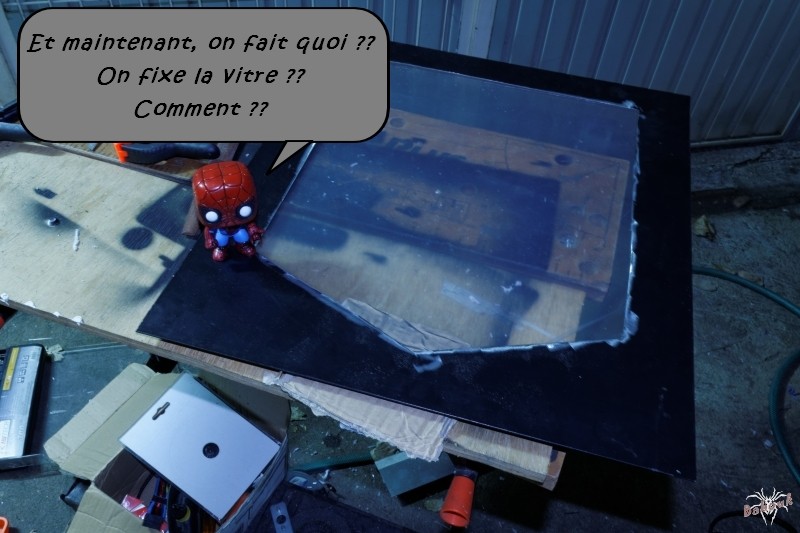
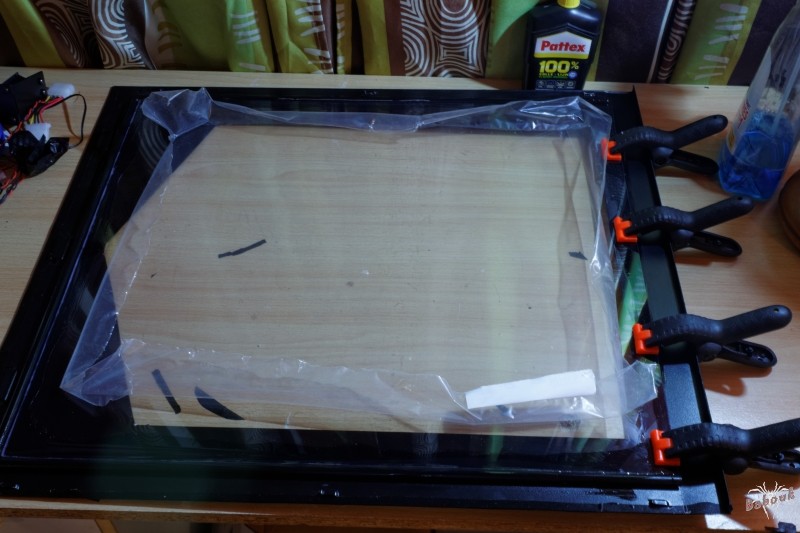
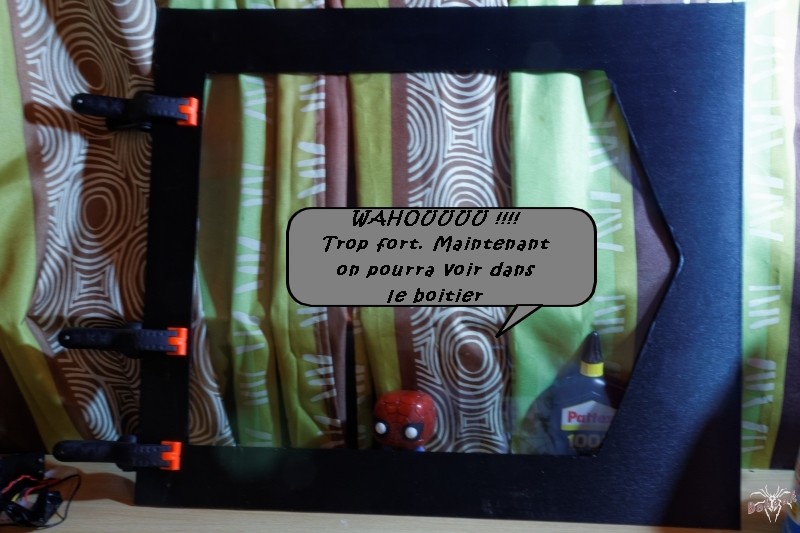
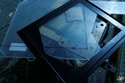
Setting up a plexi glass on the side door
Before presenting the mod, a small reminder of the evolution of the configuration ...
*************************************************
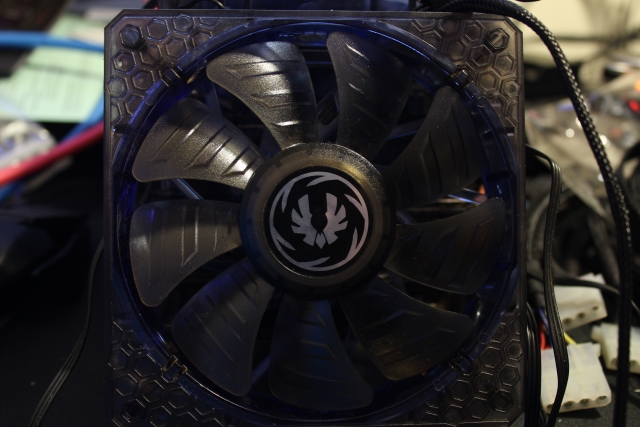
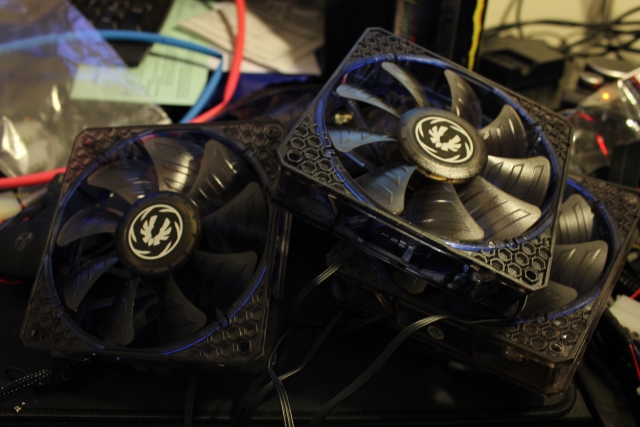
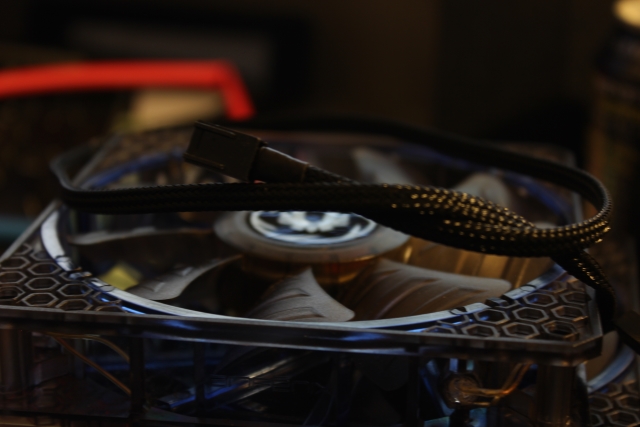
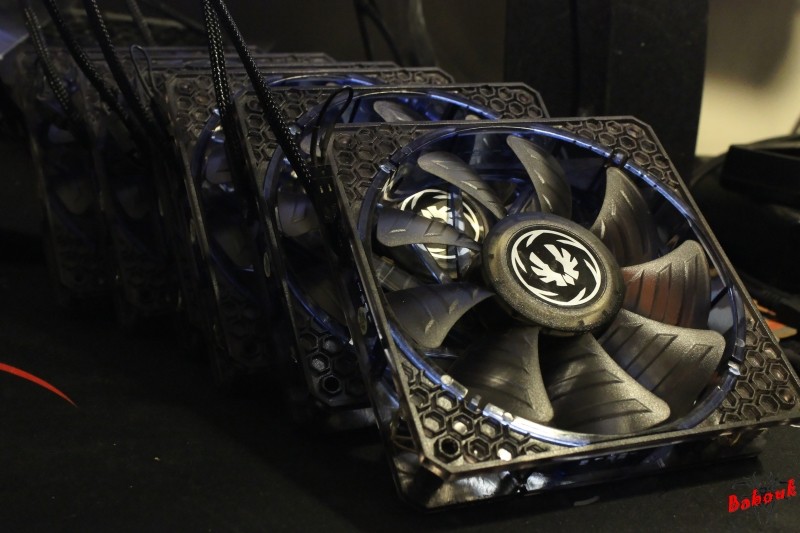
I want to thank BitFenix ​​France who kindly give me a hand by providing me the fans BitFenix ​​Spectre Pro PWM Black
Find them on their page Facebook
(Photos and presentation of fans upon receipt)
Case
XILENCE Interceptor Pro
MB
MSI Big Bang XPower II
CPU
INTEL i7-3930k
PSU
COOLER MASTER Silent Pro Gold 1200W
COOLER MASTER Silent Pro Gold 800W
à venir
RAM
G.SKILL Ares 2133MHz (8x4Go)
Graphic cards
HIS HD7970 IceQ-X² GHz Ed (x2)
coming
HIS HD7970 IceQ-X² (x2)
SSD
OCZ Vector 256 Go (x4)
HDD
SEAGATE Barracuda 2To
Réservoirs
KOOLANCE RP-452X2
2X ALPHACOOL Cape Fuzion Core 10
coming
Pumps + tops
ALPHACOOL VPP655-T12
KOOLANCE COV-RP450 (Rev 2.0)
Radiators
1X PHOBYA 480 G-Changer
2X PHOBYA 360 G-Changer
Waterblock CPU
XSPC Raystorm
Waterblocks GPU
4X SWIFTECH Komodo HD7900 & 2X CrossfireX Bridges
Fittings
MONSOON
coming
Pipe
TYGON R3603 13/19
Coolant
EK Water Blocks EK-EKOOLANT UV Blue & EK Water Blocks EK-EKOOLANT Blood Red
Rhéobus
NZXT Sentry LXE
BITFENIX Recon
Fans
BITFENIX Spectre Pro PWM black
coming
Sleeving
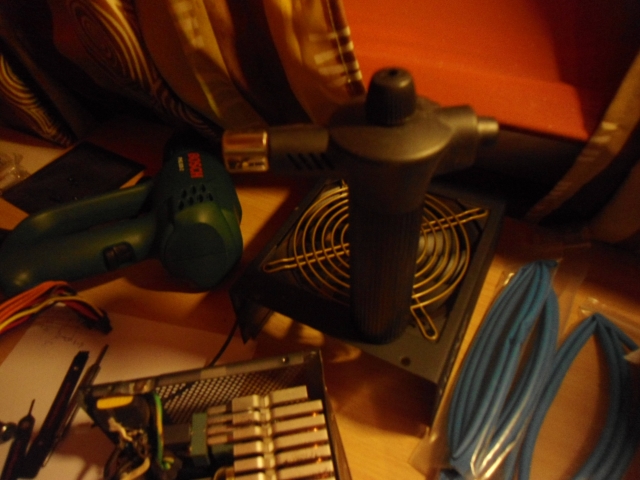
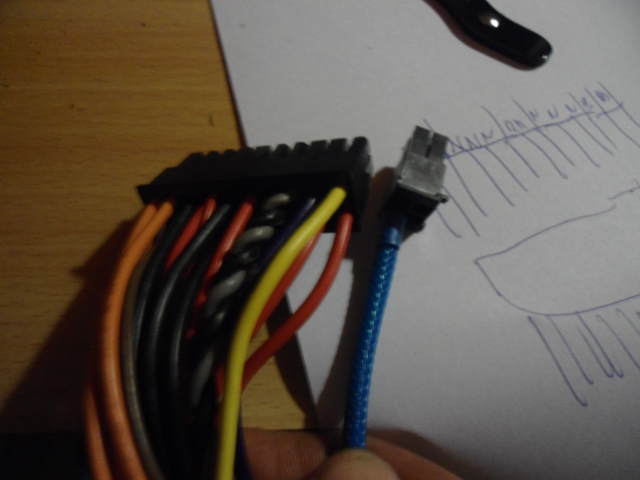
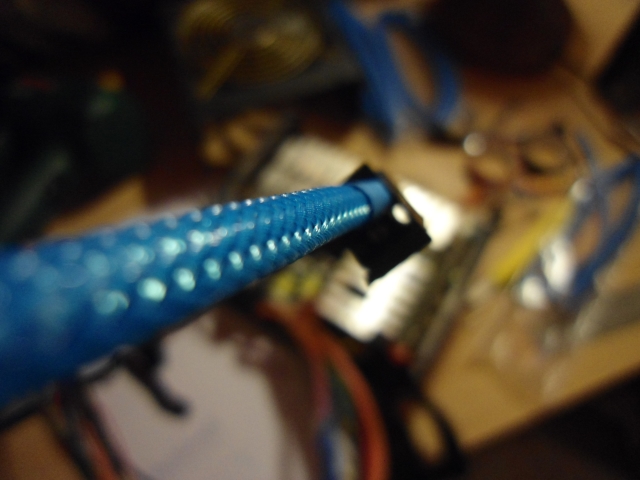
Gaines VEDAYSHOP
Vinyl
ROYAL COVERING Films Titane noir brossé & Carbone 3D noir maille large
Backplates CG
Backplates in plexi with and vinyl logo "Spider Spirit"
(Made by PoLoMoD)
Plexi
Setting up a plexi glass on the side door
Last edited: