Smoked Brisket
Gawd
- Joined
- Feb 6, 2013
- Messages
- 786
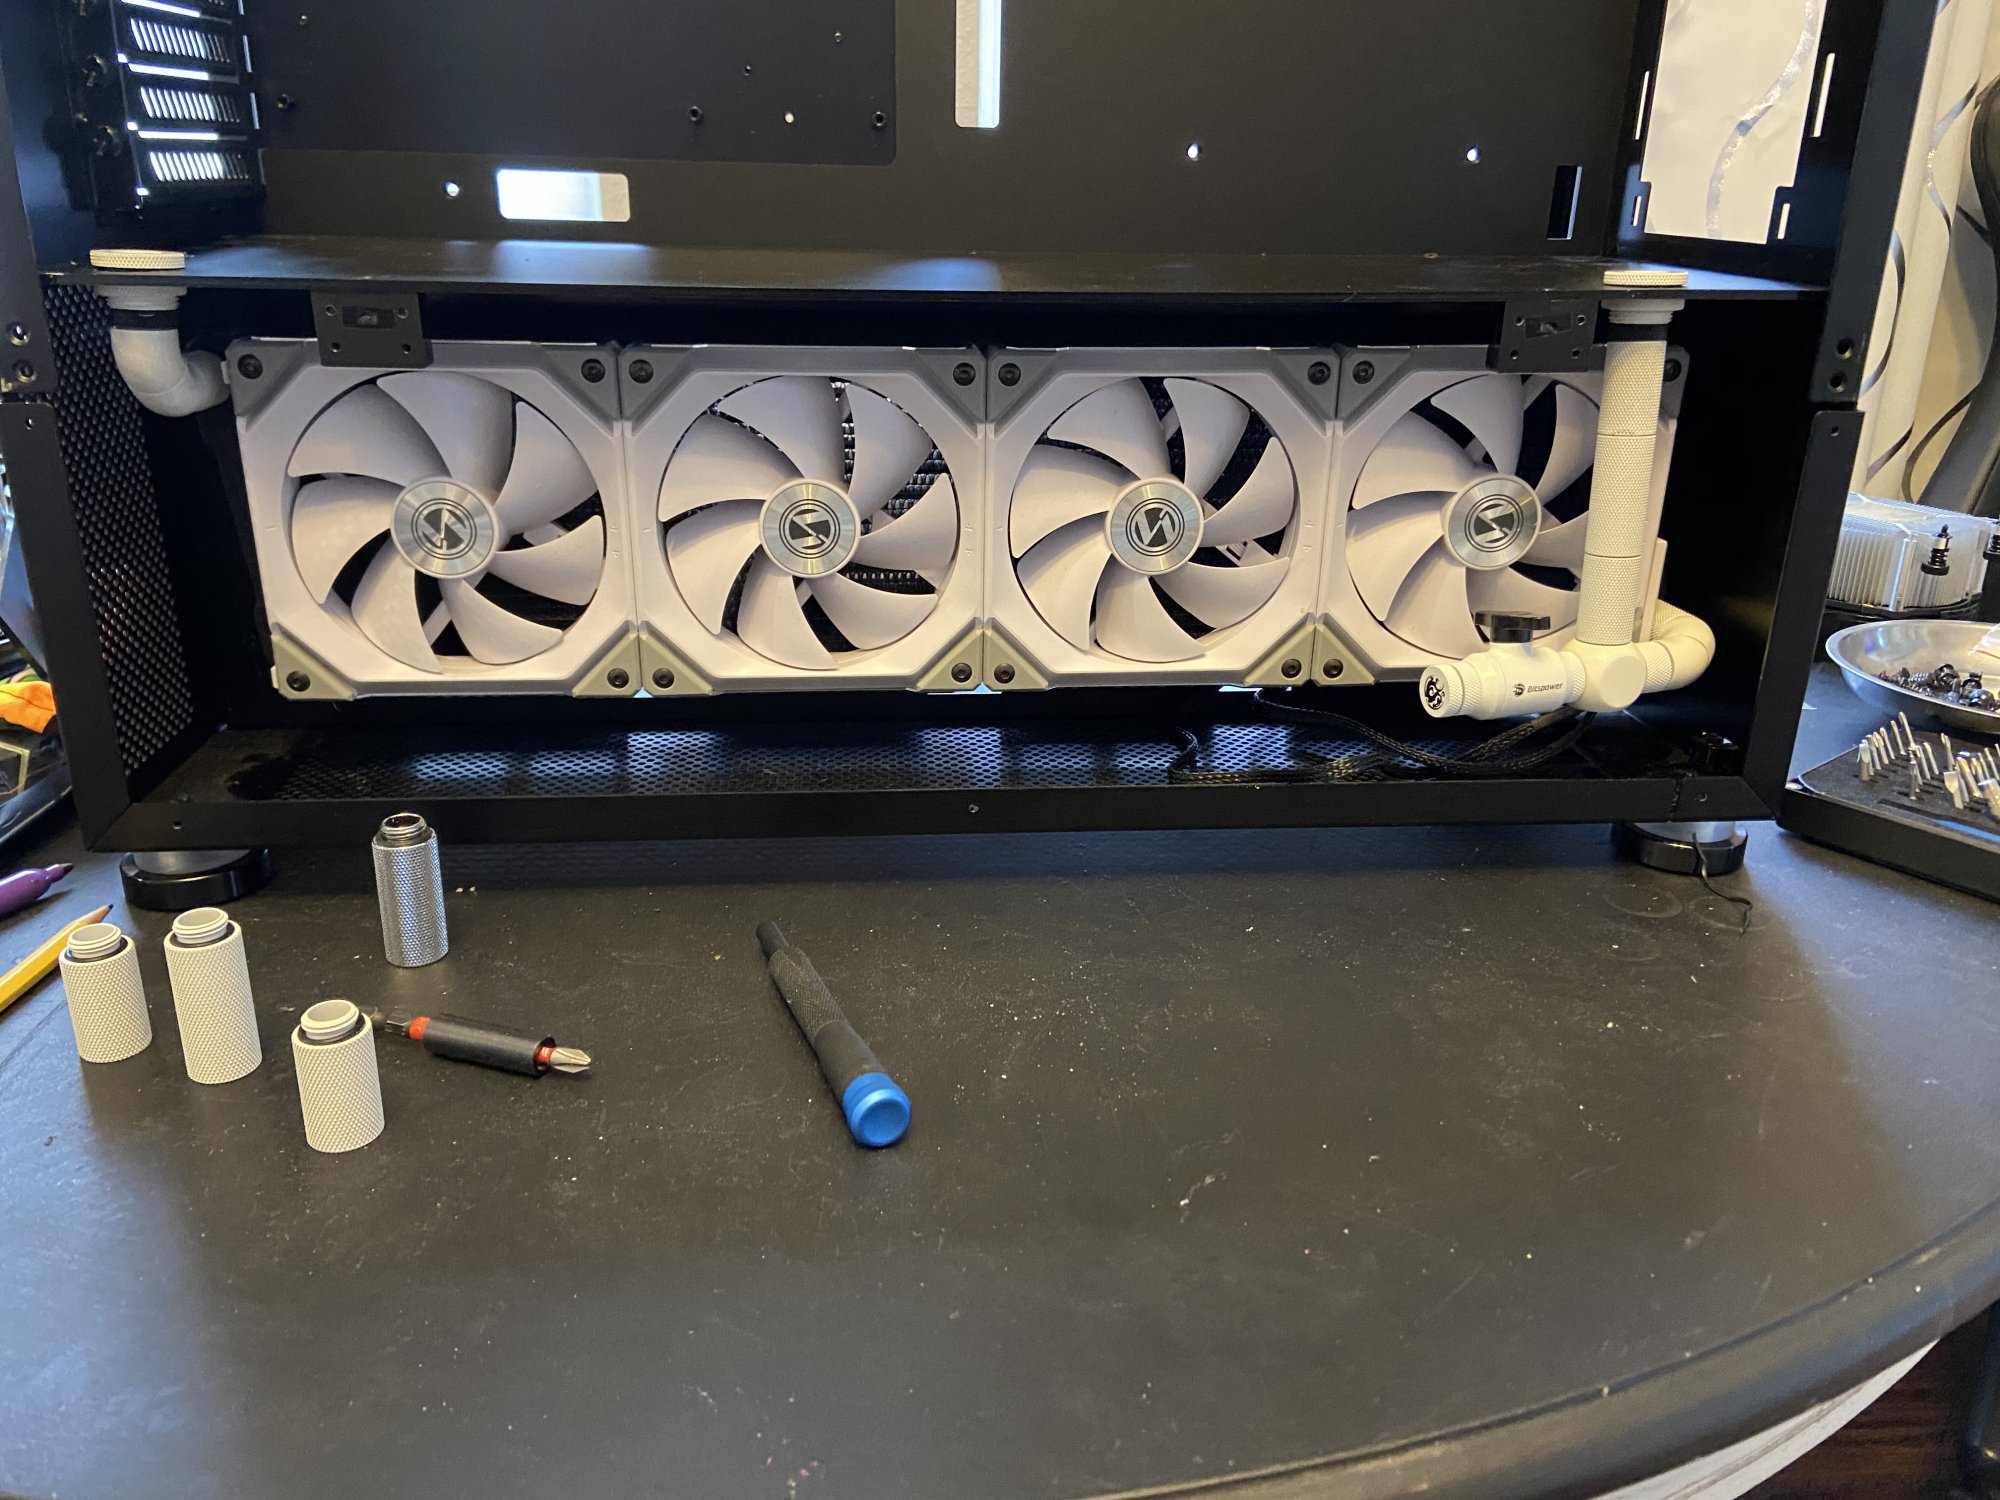
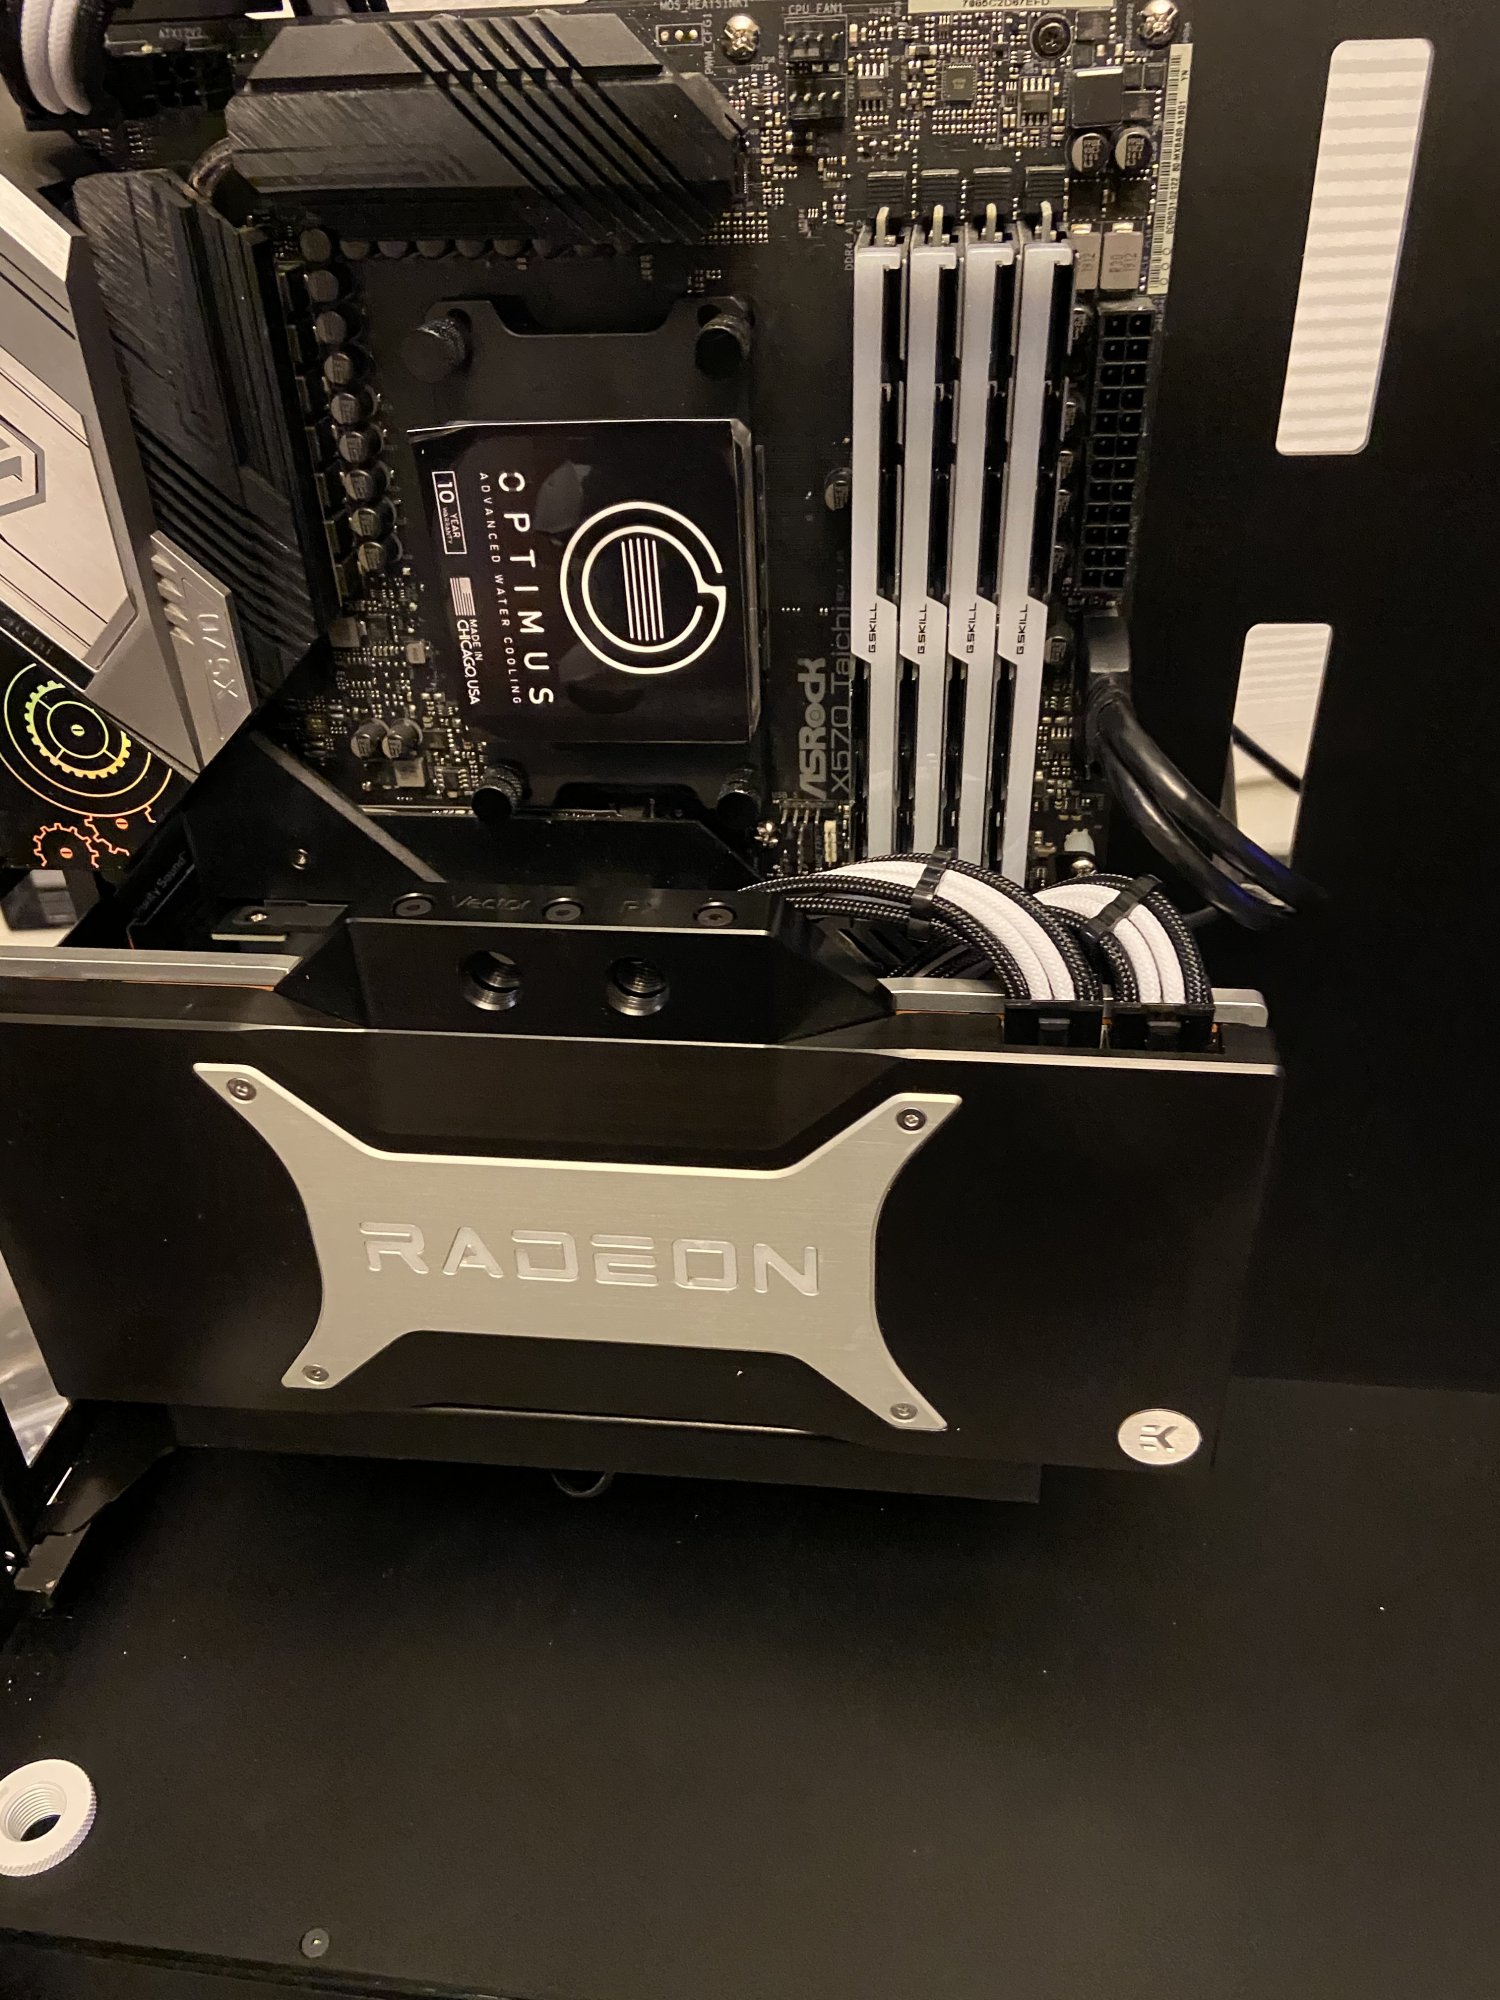
Here it is with some pictures. Please forgive me for indulging myself. I thought that [H]ard should have some kind of record of this card with this block.
.JPG")
.JPG")

.JPG")
.JPG")
.JPG")
.JPG")
.JPG")
.JPG")
.JPG")
.JPG")
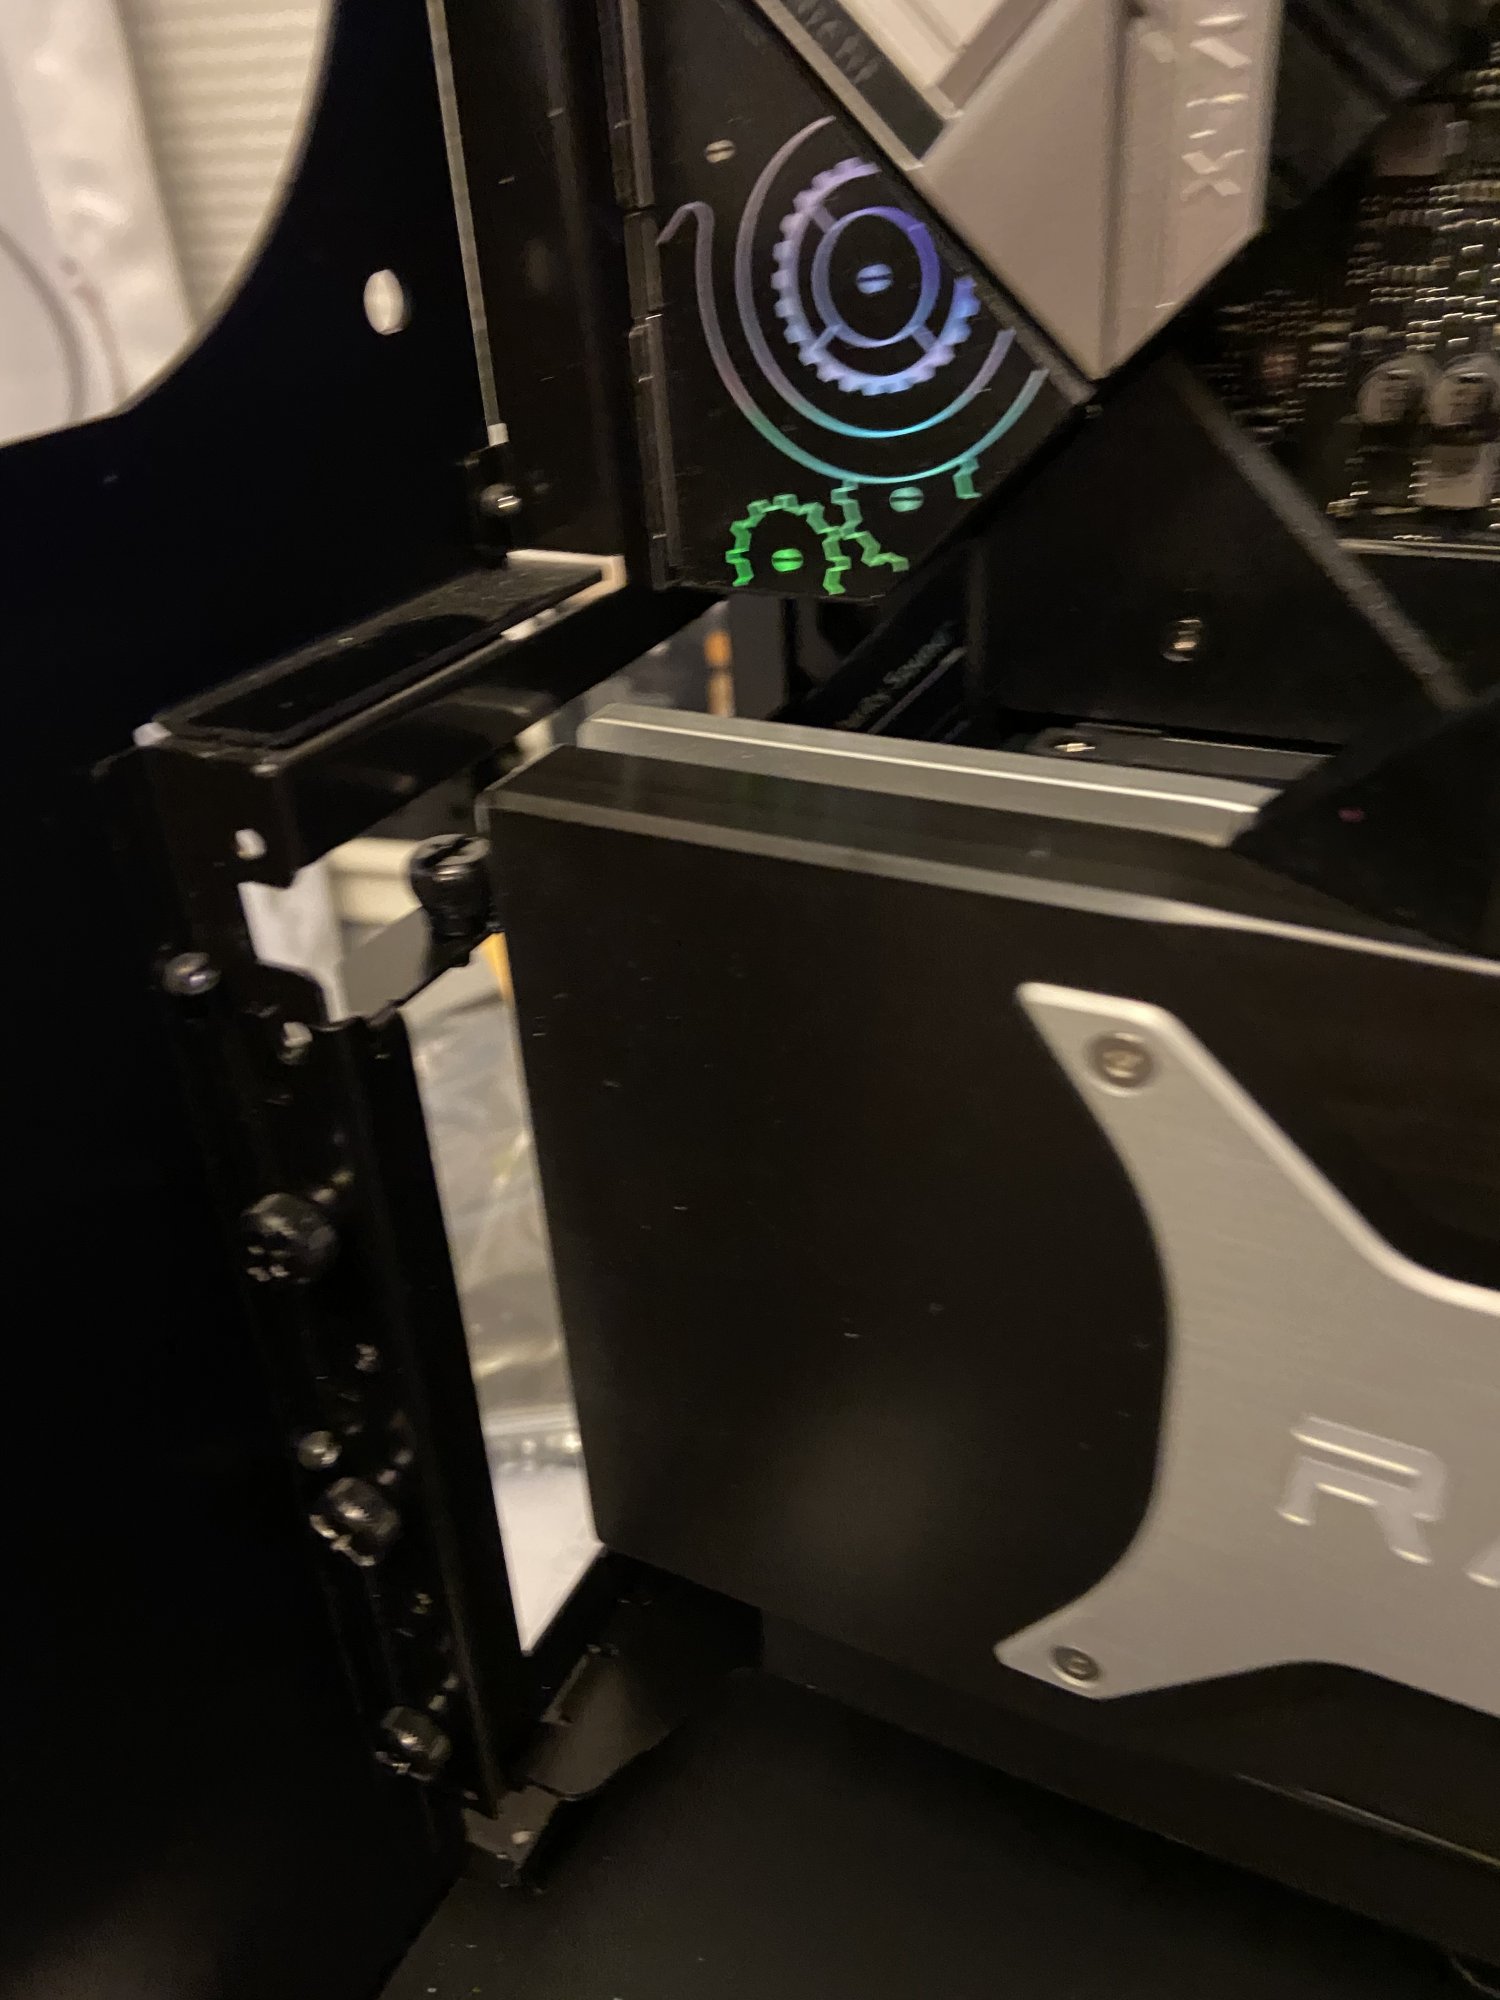
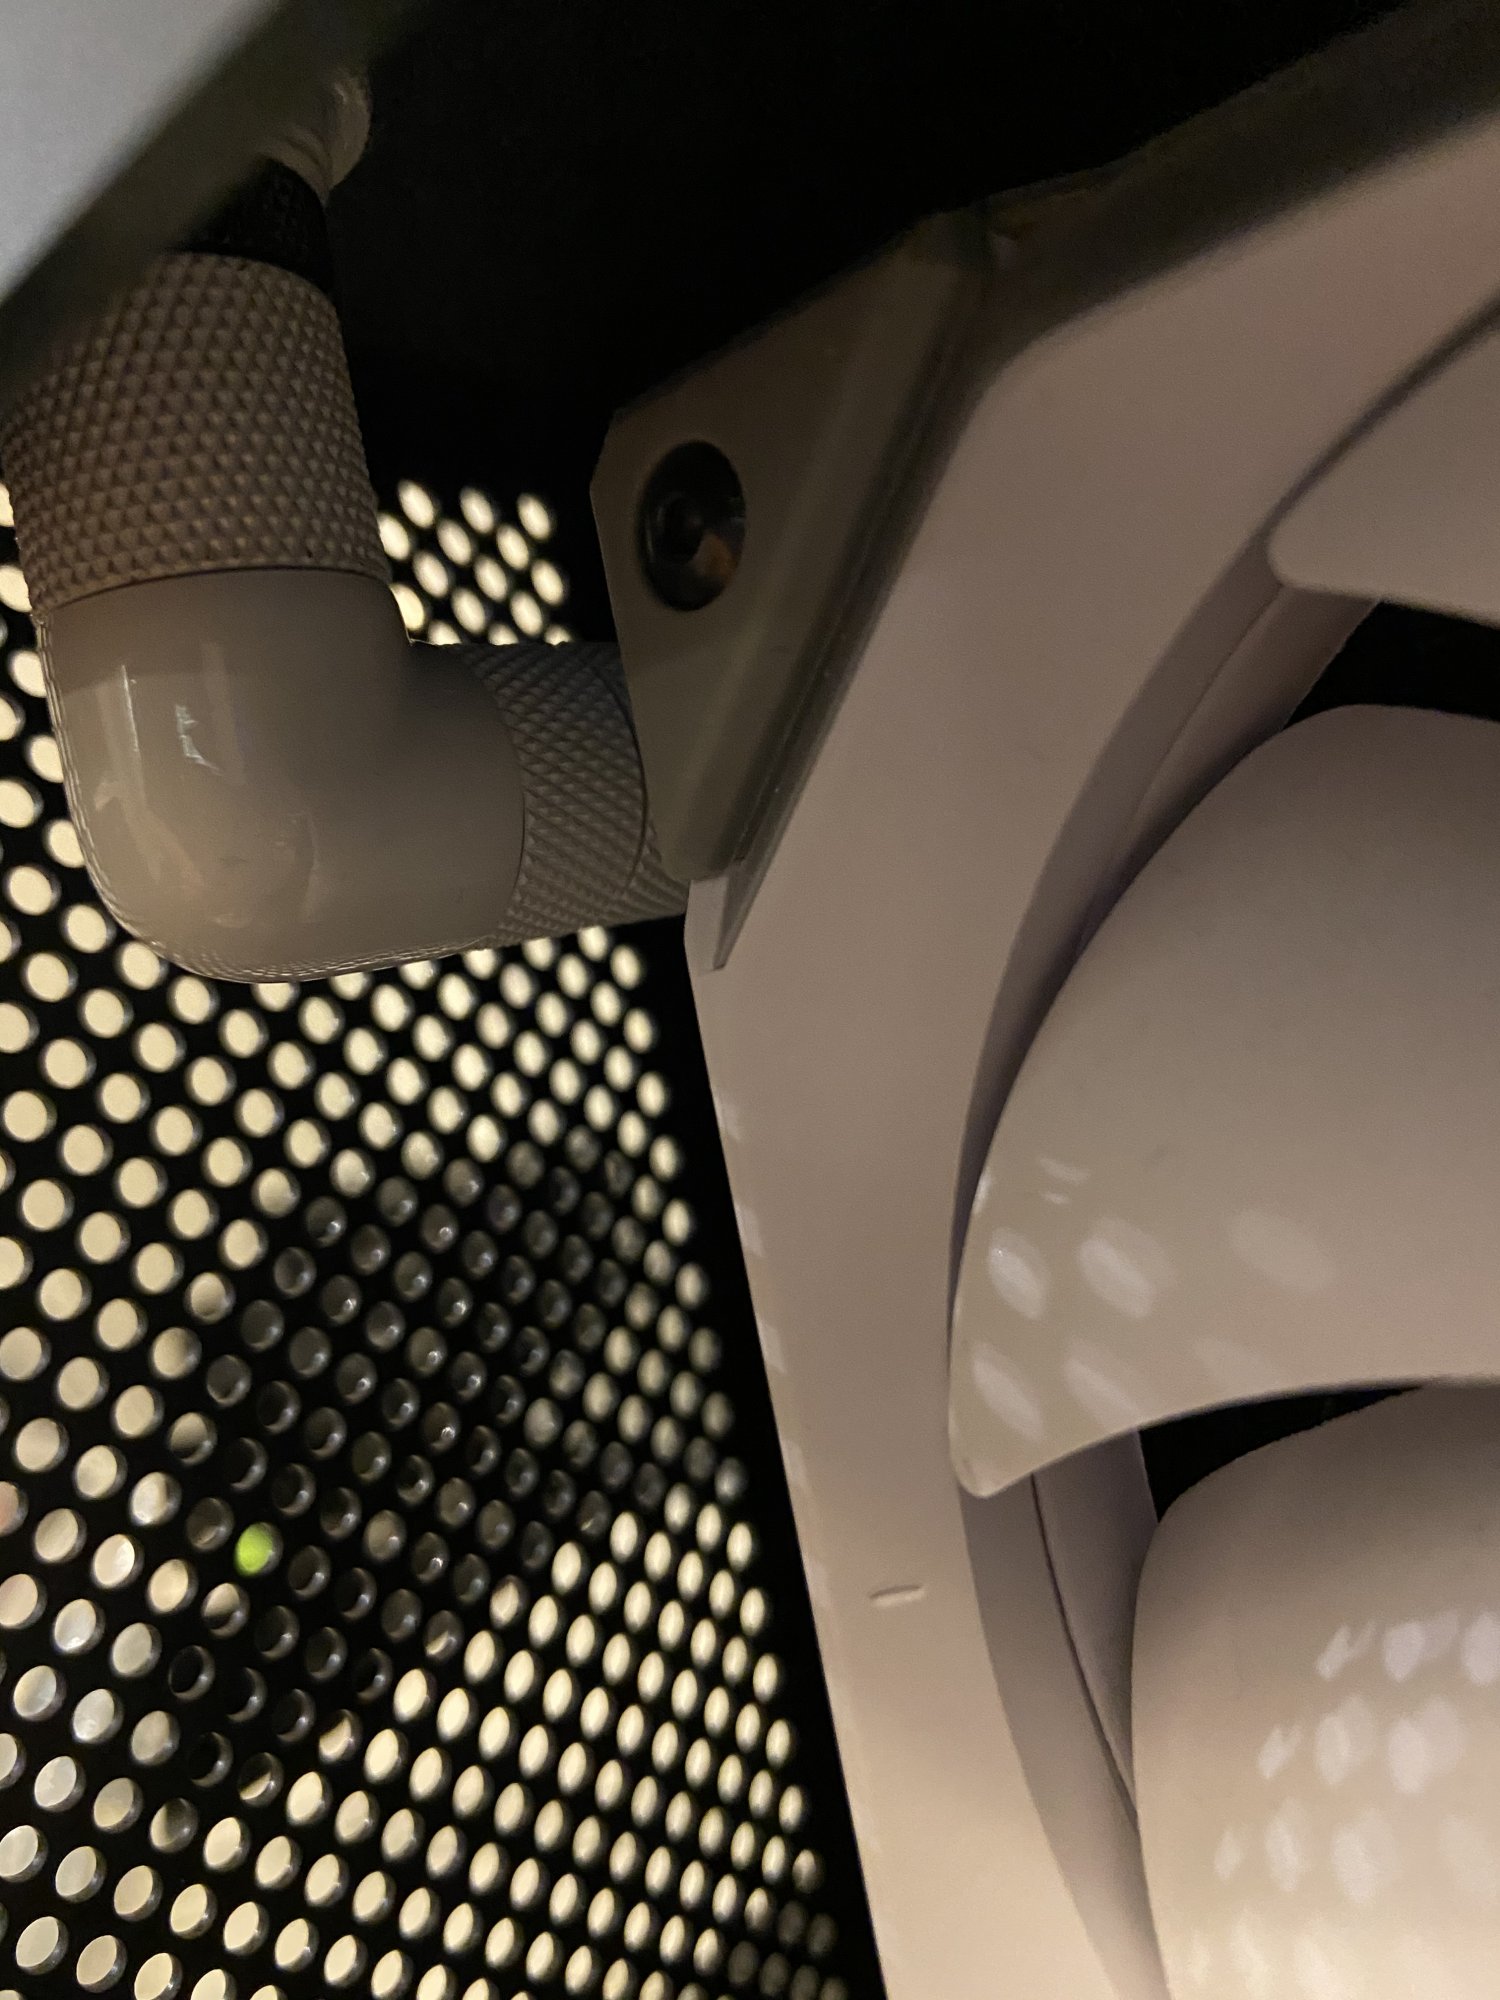
So I am not very good at editing [h]ard posts but I got the block today and installed it. The block is the heaviest I have ever dealt with including two hydrocoppers and a 5700xt liquid devil. One thing I like about the block is that it feels custom. That may be sunk cost falacy, however the block is really solid and I feel like it has to offer better cooling than the vanilla vector offering. This is just an assumption based on weight and feel. The aesthetics are growing on me, but I cannot help feel that this block was an afterthought based on what EK is offering Nvidia founders edition blocks. I will say this; I really thought that NVIDIA made a great looking and original cooler for the FE cards. I did not think that AMD matched them until I received this card. I have to say the 6000 series reference card looks better and feels better than any reference card I have ever had my hands on. I would rather have this card(if I was air cooling) than a Red Devil, for example. This card feels unoriginal and at the same time over engineered like a 500 dollar custom mechanical keyboard. I did not think that I would dread taking off the cooler, but I did. Tommorrow I retire a system that I thought looked really good, but has performed badly, to try and make something that does both. Wish me luck.
.JPG")
.JPG")

.JPG")
.JPG")
.JPG")
.JPG")
.JPG")
.JPG")
.JPG")
.JPG")
So I am not very good at editing [h]ard posts but I got the block today and installed it. The block is the heaviest I have ever dealt with including two hydrocoppers and a 5700xt liquid devil. One thing I like about the block is that it feels custom. That may be sunk cost falacy, however the block is really solid and I feel like it has to offer better cooling than the vanilla vector offering. This is just an assumption based on weight and feel. The aesthetics are growing on me, but I cannot help feel that this block was an afterthought based on what EK is offering Nvidia founders edition blocks. I will say this; I really thought that NVIDIA made a great looking and original cooler for the FE cards. I did not think that AMD matched them until I received this card. I have to say the 6000 series reference card looks better and feels better than any reference card I have ever had my hands on. I would rather have this card(if I was air cooling) than a Red Devil, for example. This card feels unoriginal and at the same time over engineered like a 500 dollar custom mechanical keyboard. I did not think that I would dread taking off the cooler, but I did. Tommorrow I retire a system that I thought looked really good, but has performed badly, to try and make something that does both. Wish me luck.
Last edited: