When you use any GPU overclocking utility on an SLi set up (2 cards running in SLi) it only overclocks one card. There is no software that will enable overclocking of both cards. There for you get one card running faster than the other and not near the performance gain you "Should" have from overclocking.
One of our Team NexGen members did an investigation into the truths about overclocking an SLI Setup!
Check out the "How To" for Overclocking both cards in SLI.
Originally from here:
http://gaming.nexgenis.com/forum/hardware-discussion/217-faq-how-overclock-your-sli-setup.html
One of our Team NexGen members did an investigation into the truths about overclocking an SLI Setup!
Check out the "How To" for Overclocking both cards in SLI.
Thanks to Backburn's Coolbits 1A tip, I decided to dive into getting my cards overclocked in SLI.
Wll you have just picked yourself up another nVidia card and you want to SLI & overclock both of them. So you open your your favorite nVidia compatible overclock tool, set the sliders and you think you are done right?
Well the answer to that is a little more complex than you would think!
First off we need to verify your clock speeds, and then we need to make sure they are both getting the overclock that they both need.
Personally i like PC Wizard 2006 v1.713 from CPUid.com But you can use what ever tool you are most comfortable with, as long as it shows
you both cards clock speeds( and preferably temps too!). However ill be using PC Wizard for this FAQ.
First off go to CPUID.com and select PC Wizard on the left.
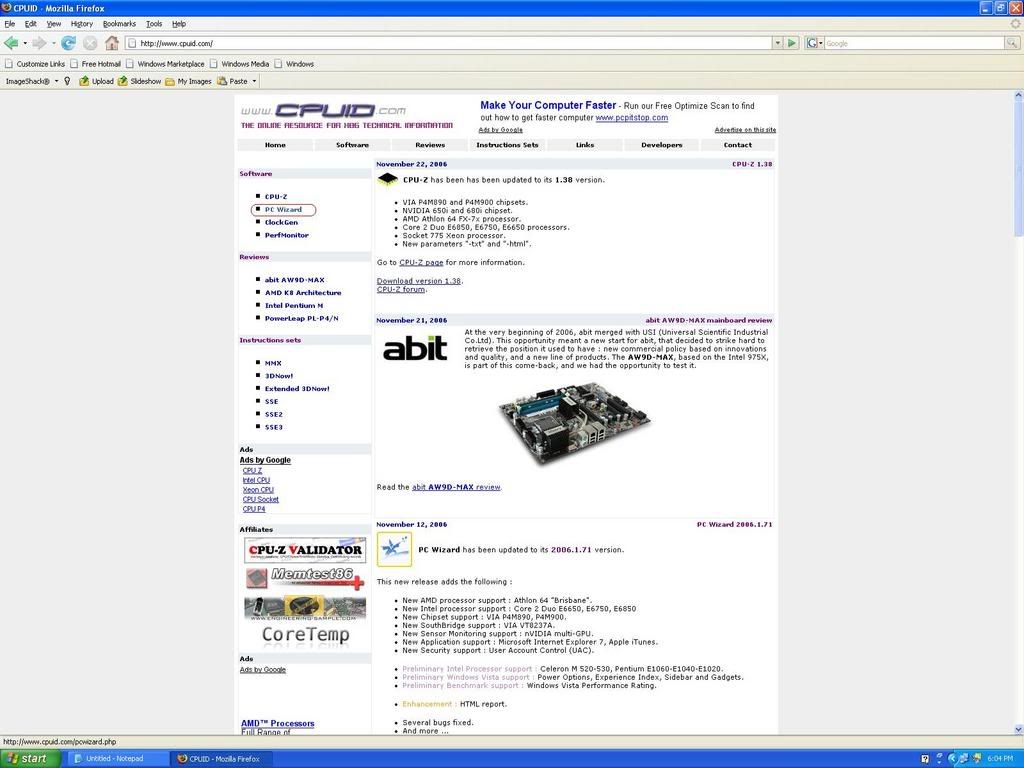
Then click PC Wizard 2006 1.713 under the "latest version" heading near the top.
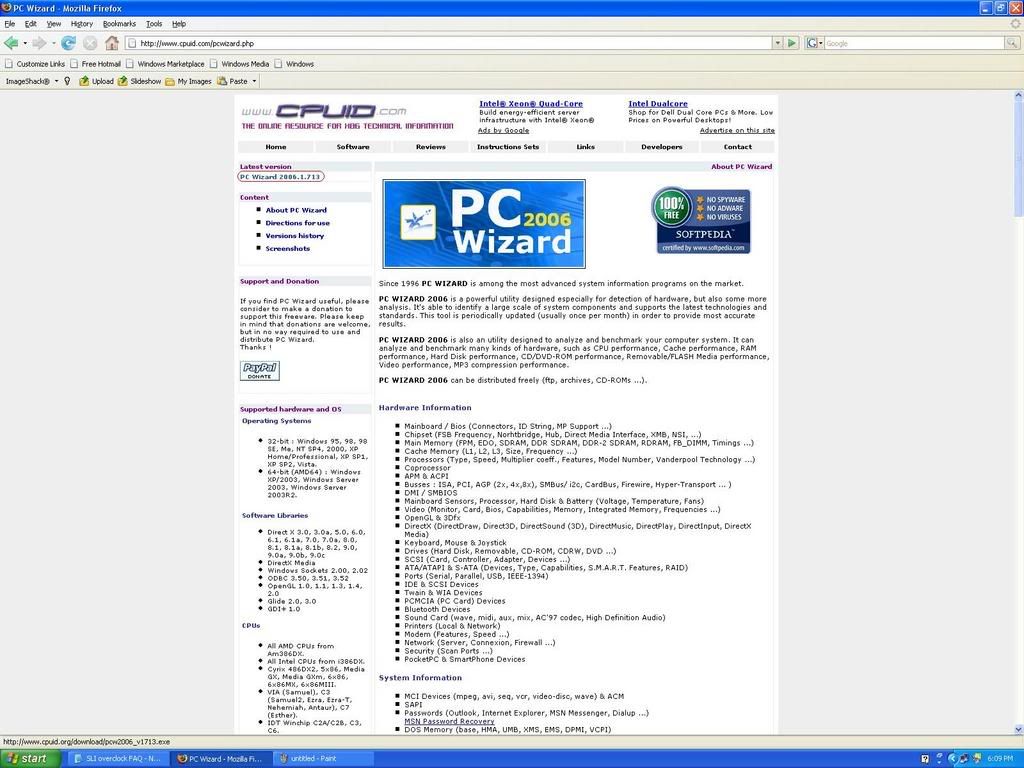
Save or run the file, and then install it to where ever you choose to.
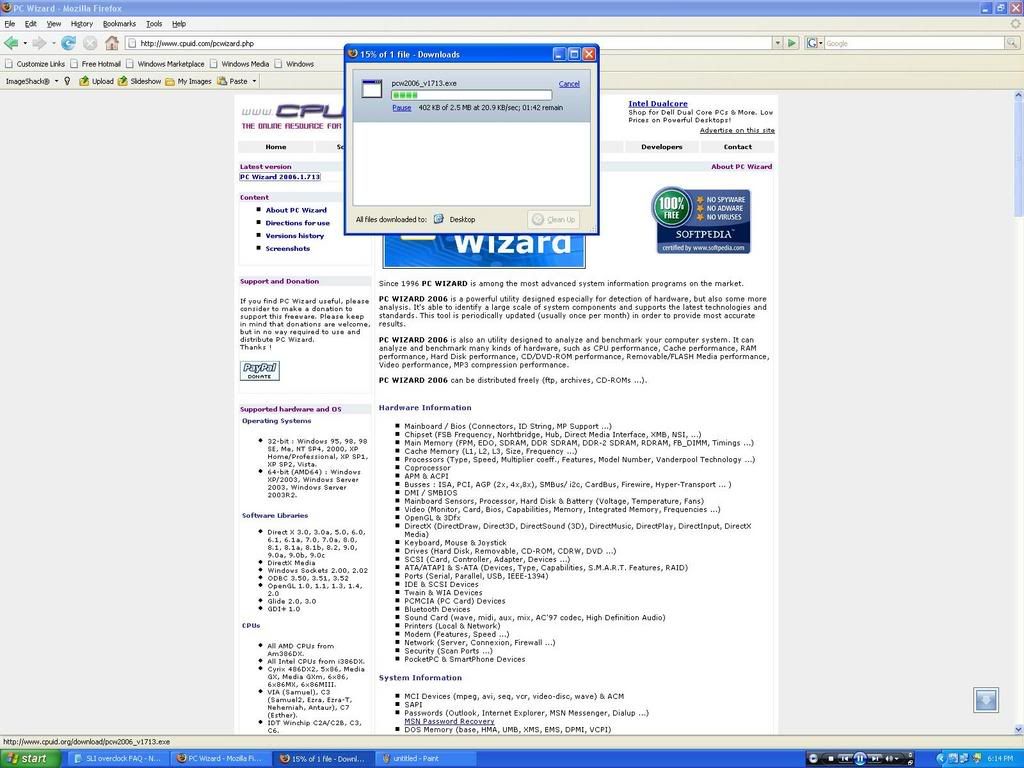
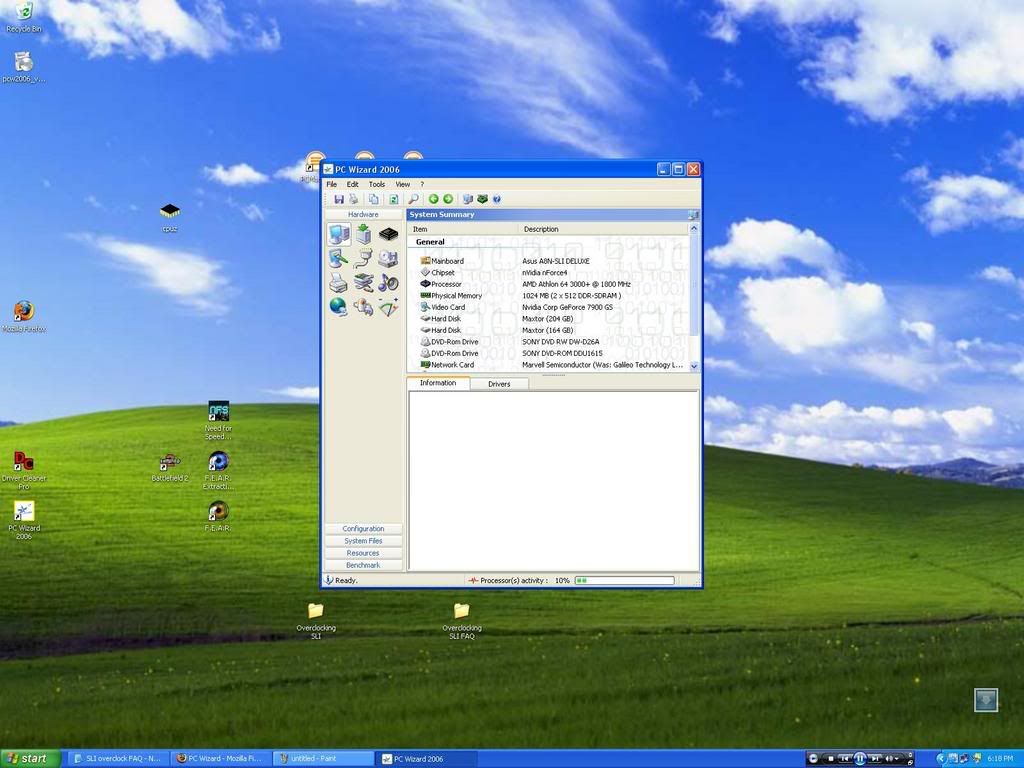
Next go ahead and open PC Wizard.
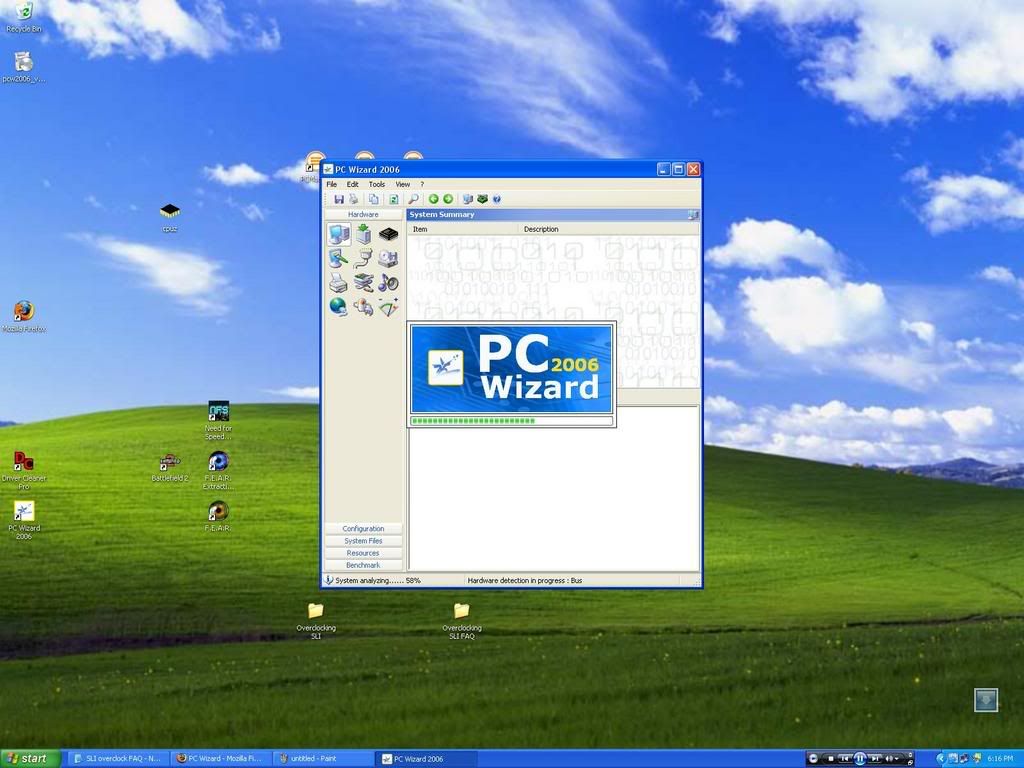
Once open, PC Wizard will look like this
If you click on "video card" in the main menu it will tell you to click on the video icon which is on the left.
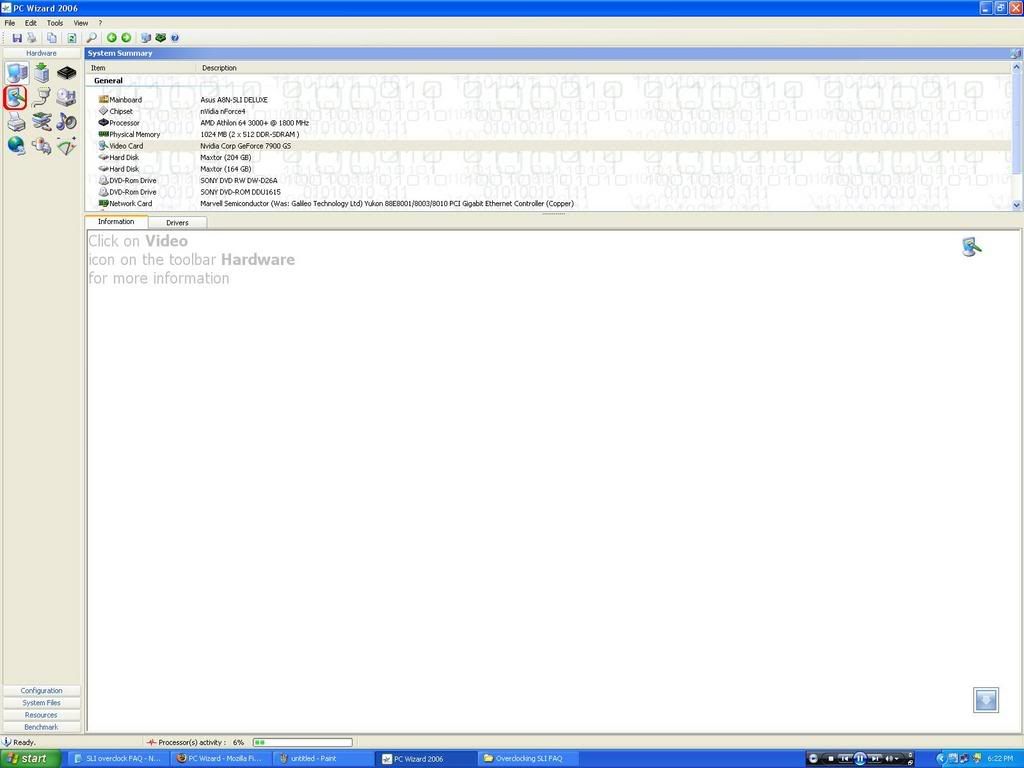
In this menu you will be offered with the "Number of Video Cards" heading, click on it and you will
see both of your video cards memory frequency's and core speed( both are very, very, accurate)
*Note they may show in this menu as a little higher then they actually are, however i personally believe that the speed shown in this tab are accurate.

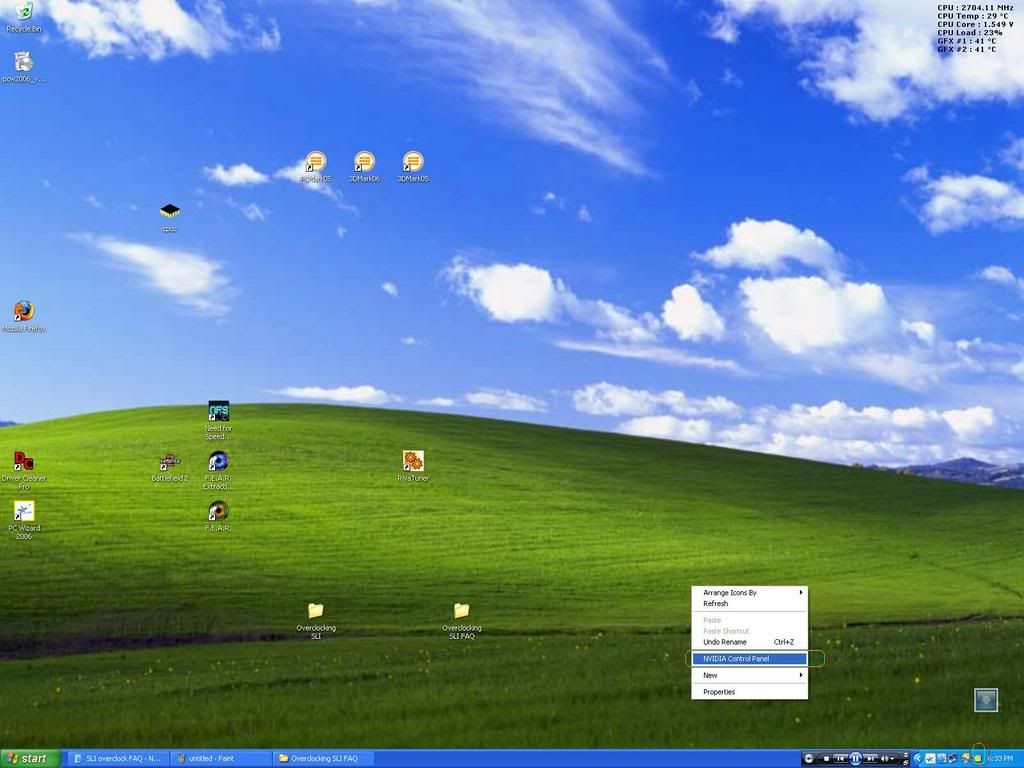
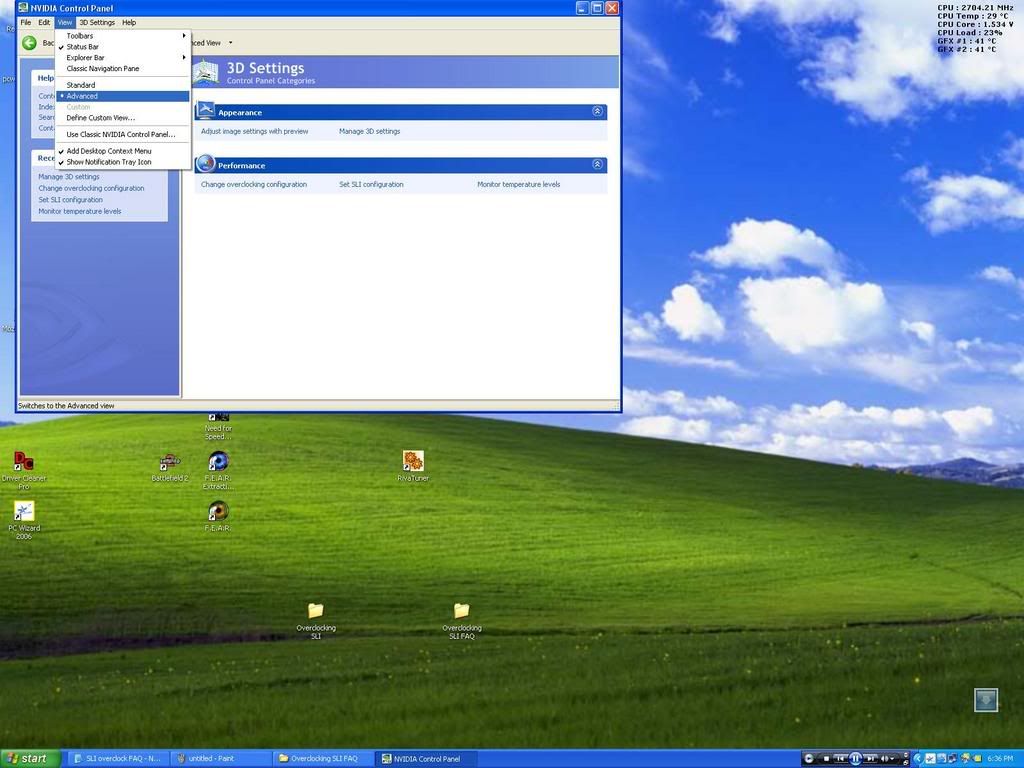
Now lets go into your nvidia control panel. Either right click on your desktop or the icon on the bottom
right of your monitor.
Click 3d settings
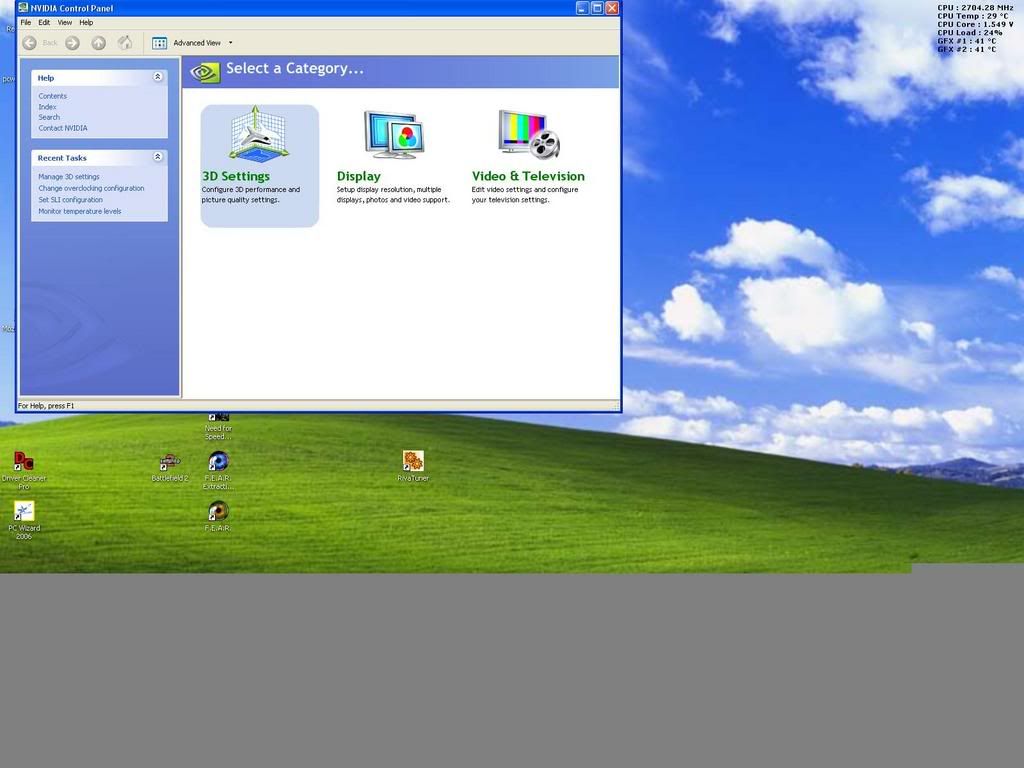
*Note: You may have to enable the advanced view in the "View" toolbar menu.
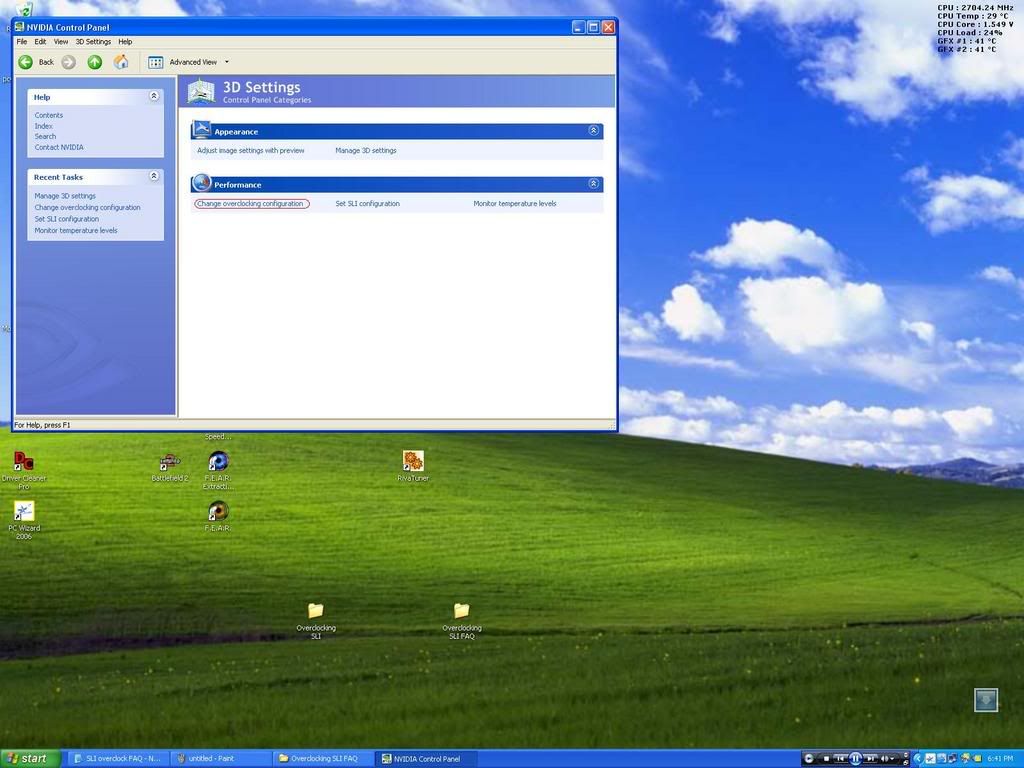
If you have coolbits installed you will see the "Change overclocking configuration" heading
under the Performance menu, if not that is ok because either way we have to edit your nVidia registry
and enable the 1A Coolbits.
Now we need to open regedit and enter(or modify if you already have it) coolbits.
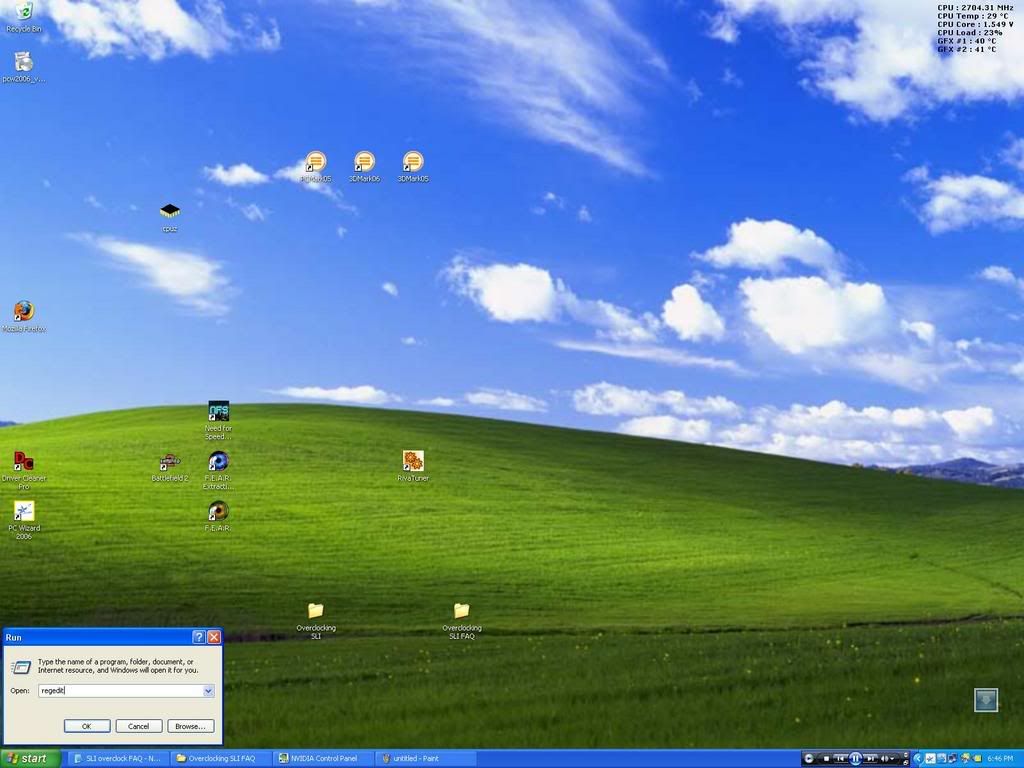
First go to start run and click it.
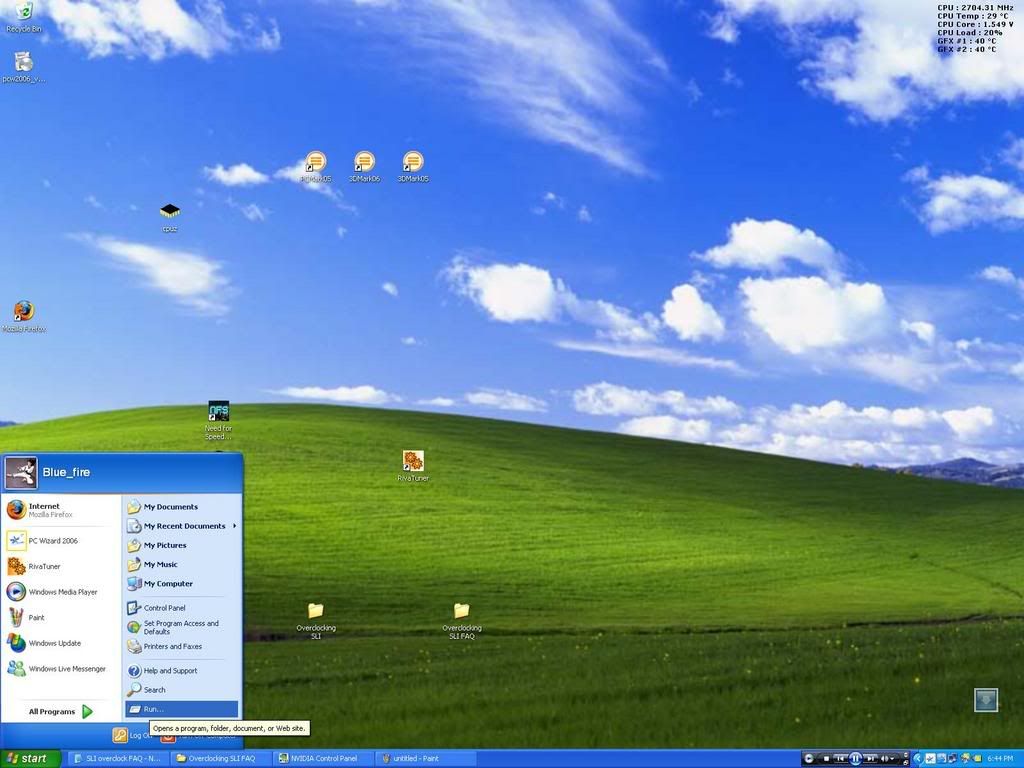
In the run box type "regedit" without the quotes.
On the left navigate to "HKEY_LOCAL_MACHINE/SOFTWARE/NVIDIA corporation/Global/NVTweak"
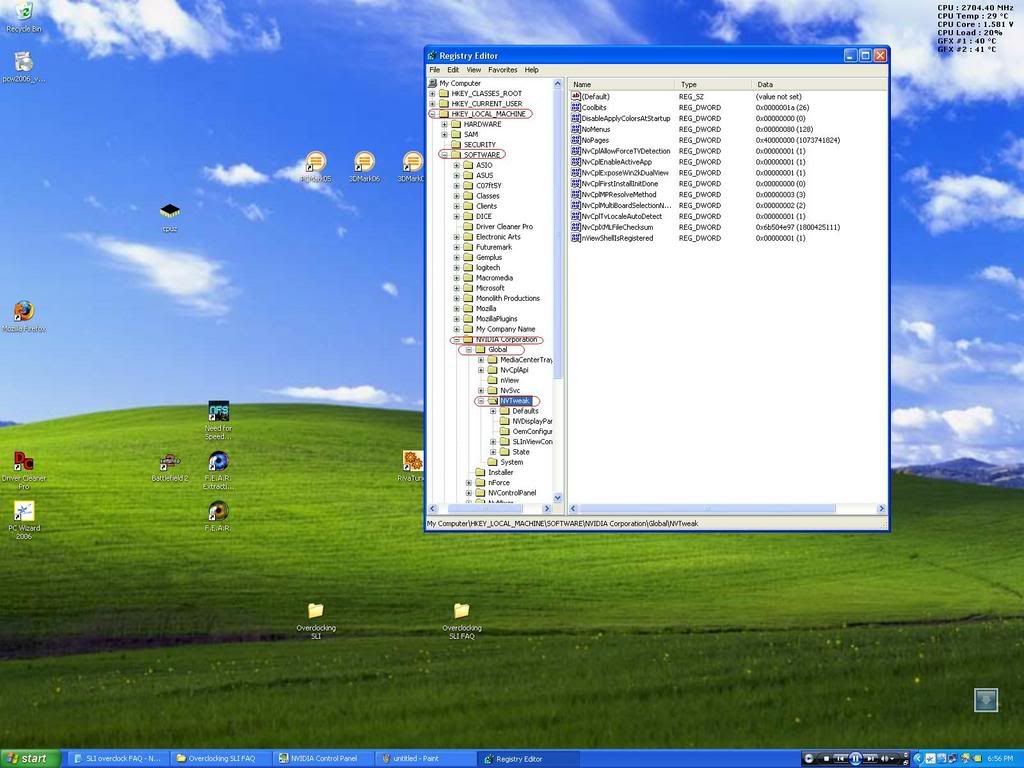
If you have the Coolbits entry hold on, if you don't follow these steps
Right click on a blank space in the NVTweak folder and New DWORD Value
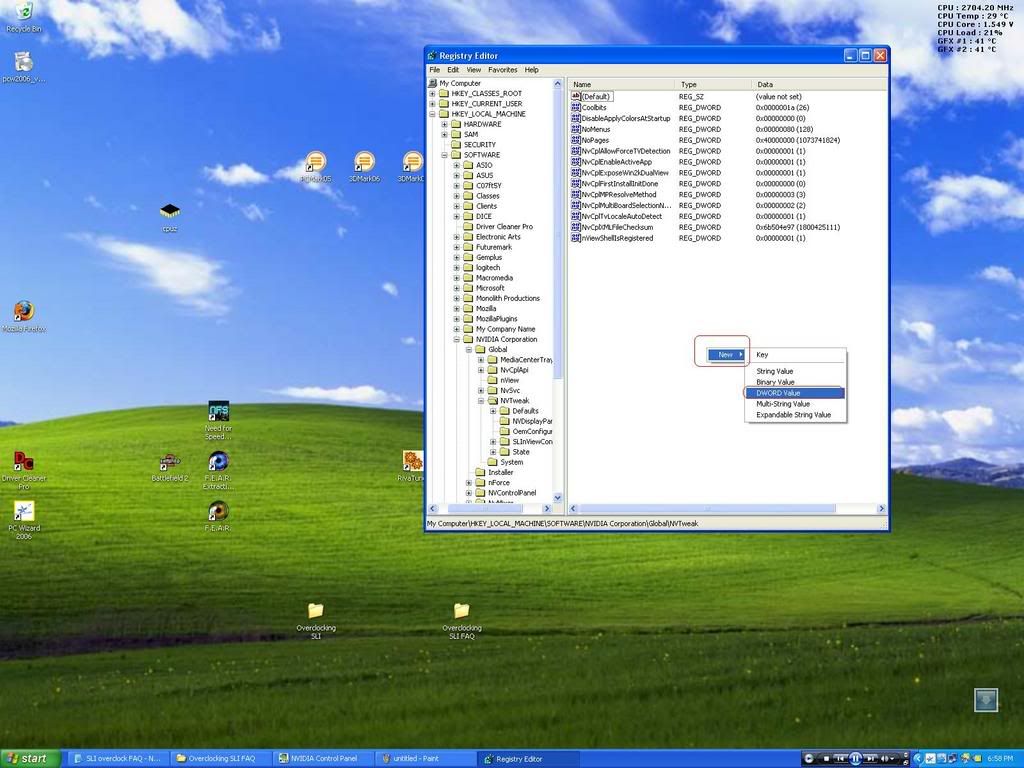
Name that value "Coolbits" without the quotes of coarse.

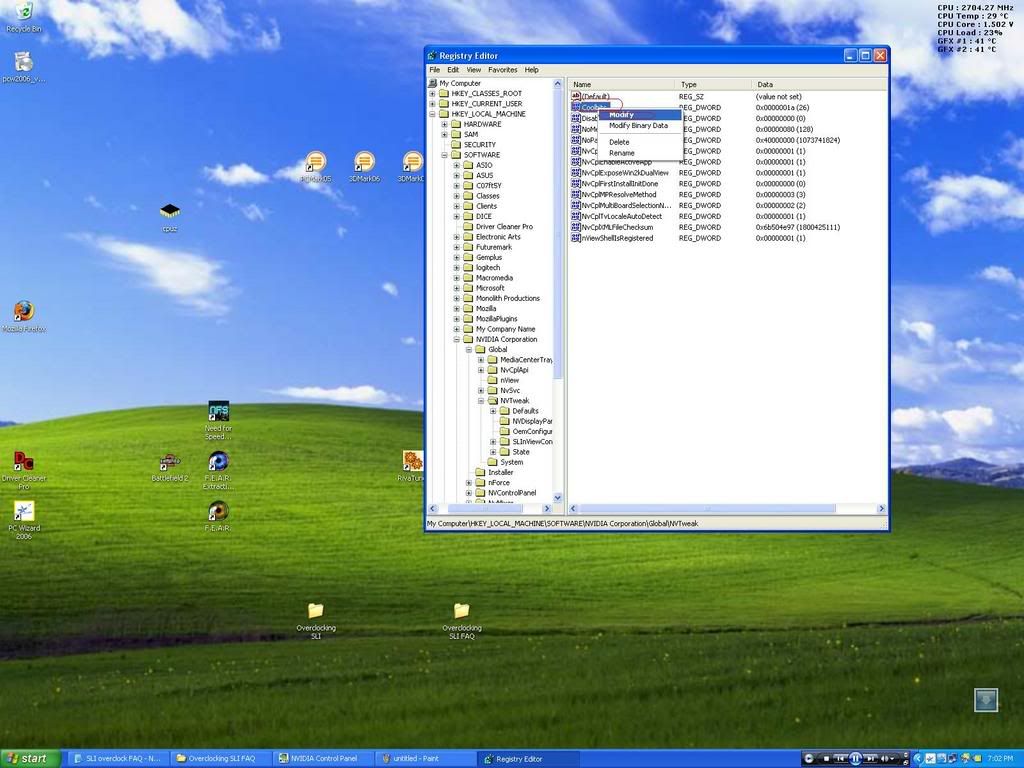
Ok so now everyone has the Coolbits entry in the registry.
Next we have to enter the 1A value within Coolbits so right click
the coolbits entry and click modify.
In the blank box under Value data, enter 1A and make sure Hexadecimal is clicked.
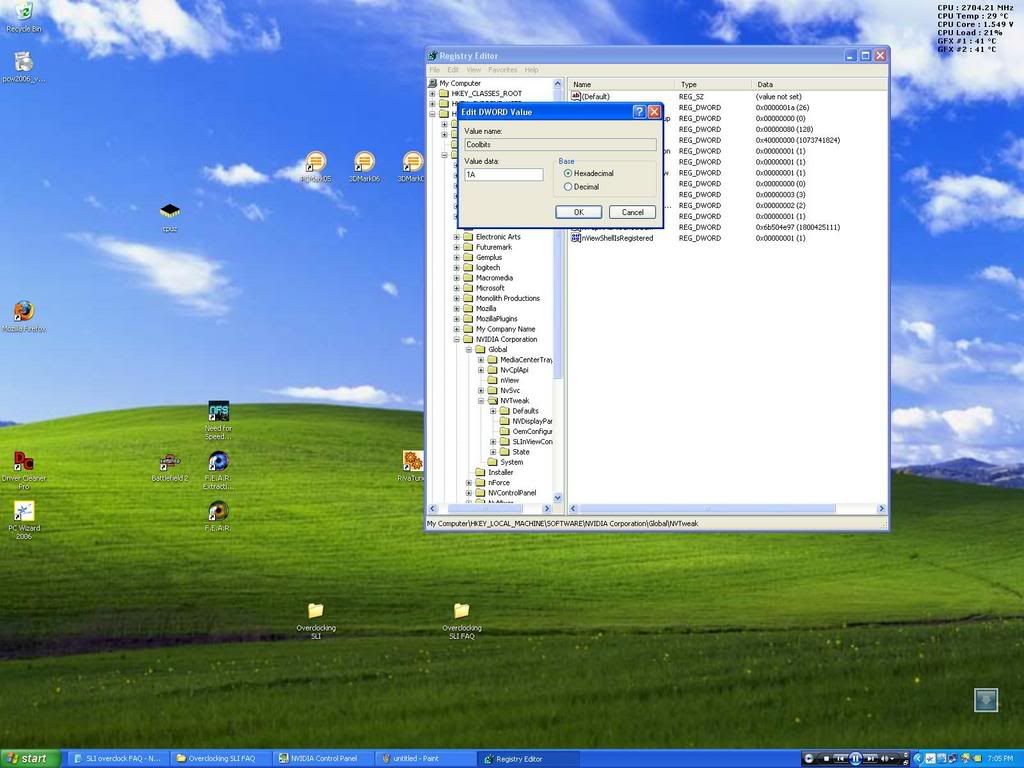
Go ahead and close the Registry Editor and restart your pc.
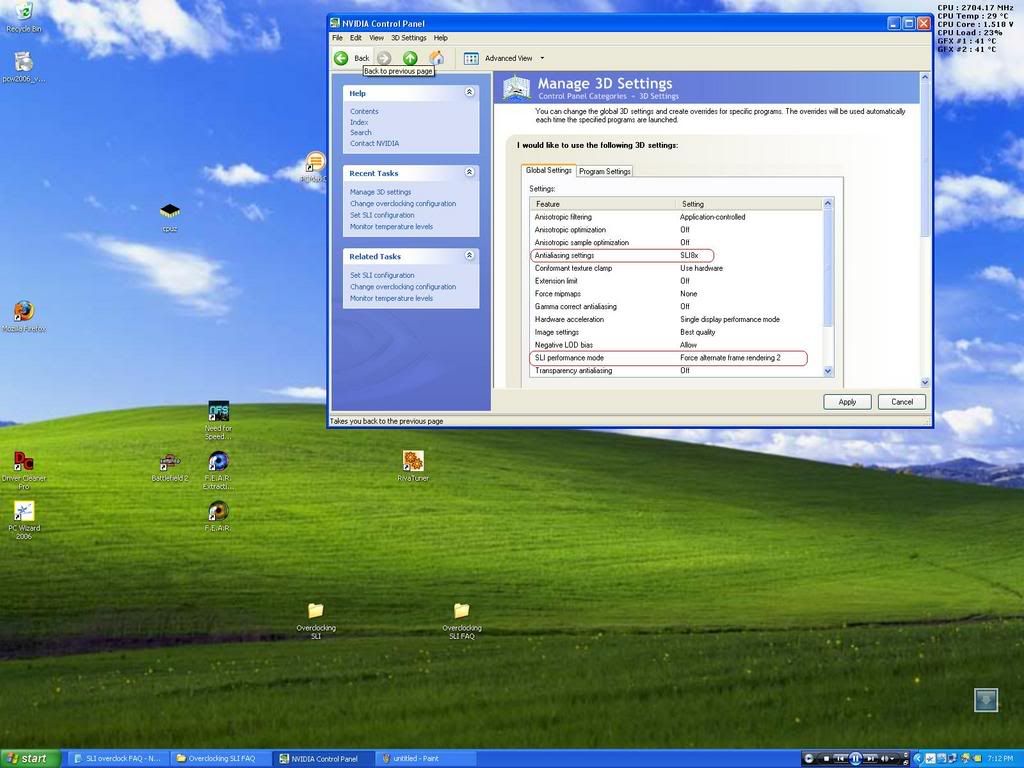
Upon reboot go back into your nVidia control panel and go back to 3D settings.
Make sure you have advanced view on and that you have the Change overclocking configuration
button available to you.
*Note if you go into Manage 3D settings you now can enable SLI8x and 16x AA. But nVidia recommends forcing Alternate Frame Rendering 2(AFR2) as it holds best performance. I personally prefer SFR(Split Frame Rendering).
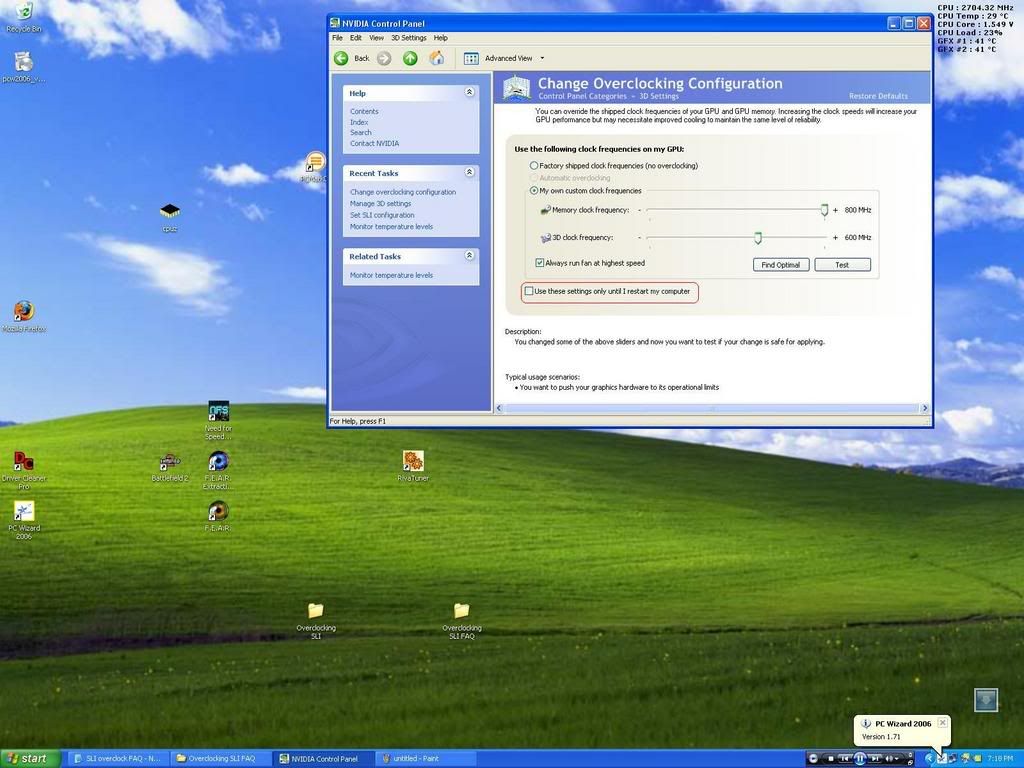
Click the Change Overclocking configuration button and select My own custom clock frequencies.
drag the sliders as high as you want, or click find optimal(which is a good place to start).
Test them and click apply. *Note to keep these settings make sure the "Use these settings only until i restart my computer" box
is not checked.
Now verify your overclocks by going back into PC Wizard and going to the video tab.
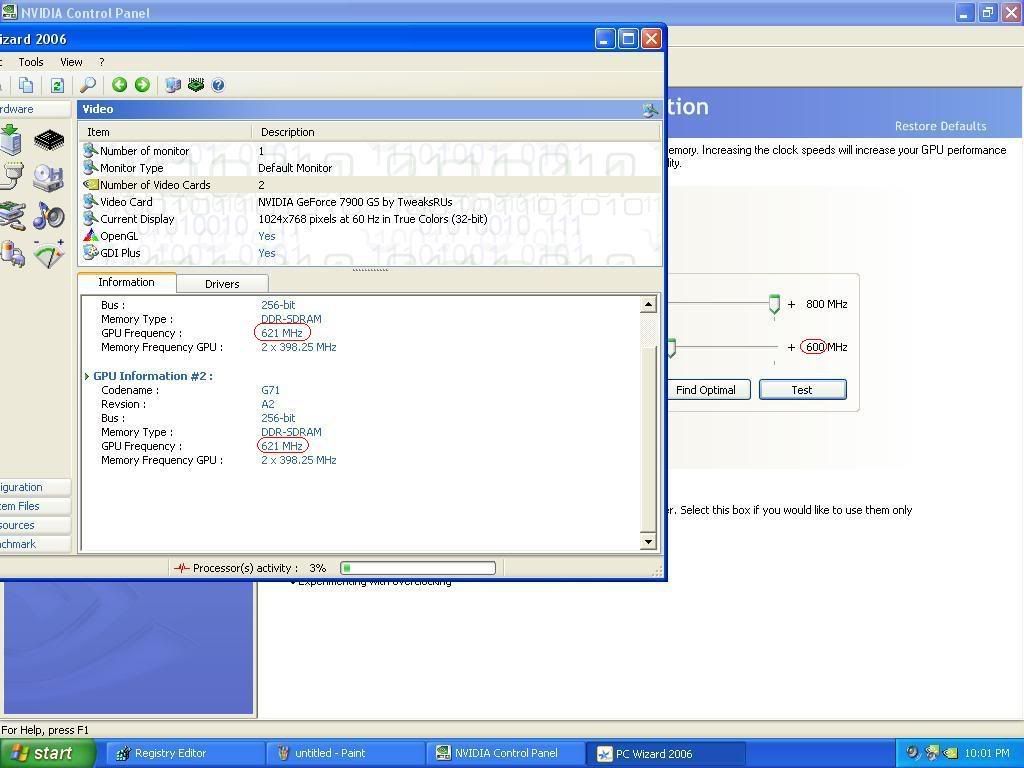
Notice how PCWizard says my core is 621, although nVida control panel says its 600? I'm not totally sure why this happens, but I'm pretty sure it happens somewhere in the translation from software to hardware and visa versa.
Now this option worked a few times for me, but i noticed that it would overclock but then revert back a few seconds or minutes later. As I'm not sure why this happens, i have found out a way to fix this using riva tuner.
This begins the second part of my FAQ. For those of you using riva tuner already, please do the regedit and enter the coolbits 1A value(its my suspicion that rivatuner uses the Coolbits 18 value, but ill explain this later).
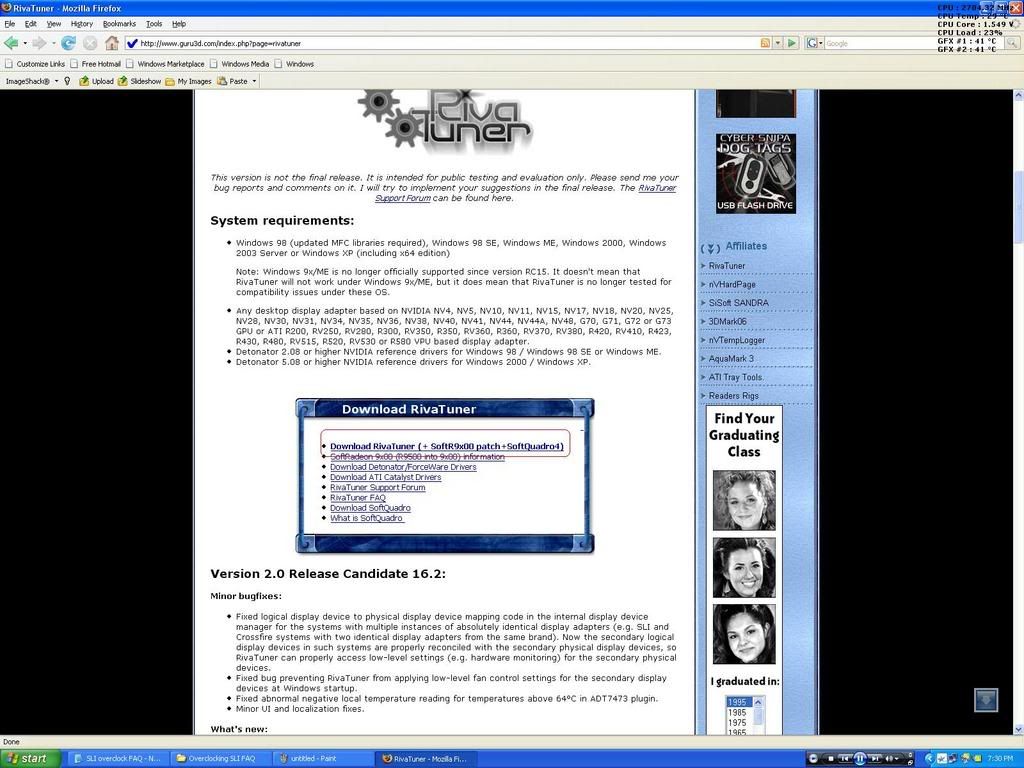
For those of you who don't have rivatuner you need to get it.
Here is a link.
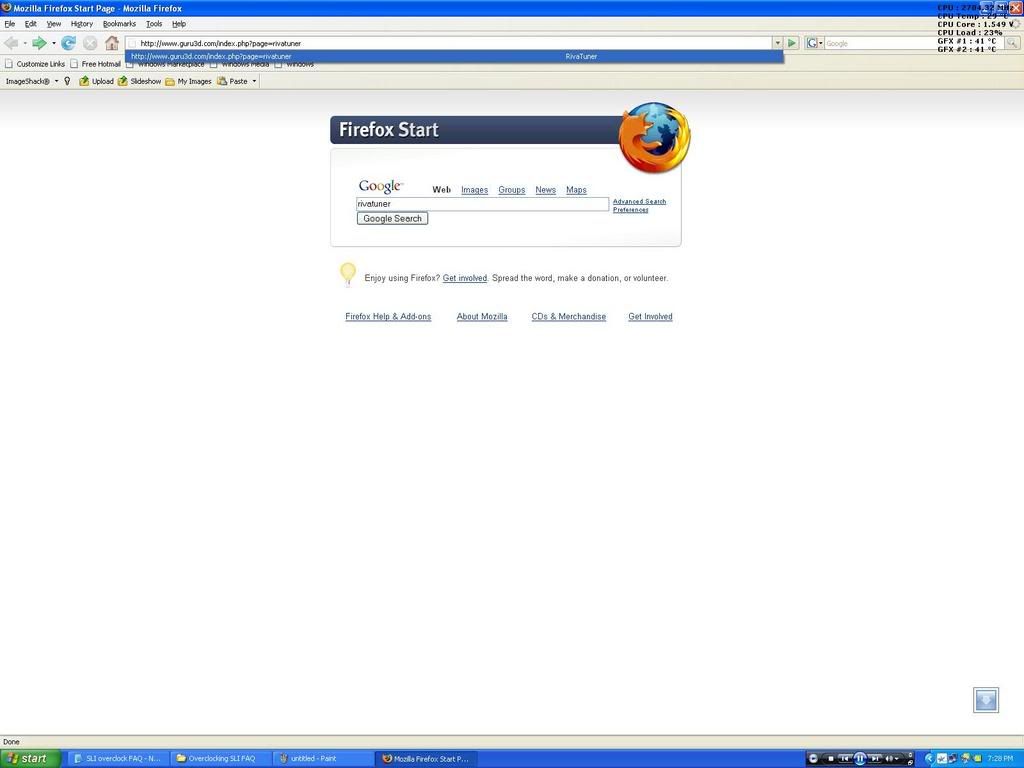
Scroll down to where it says Download RivaTuner and click the first link(its usually in bold).
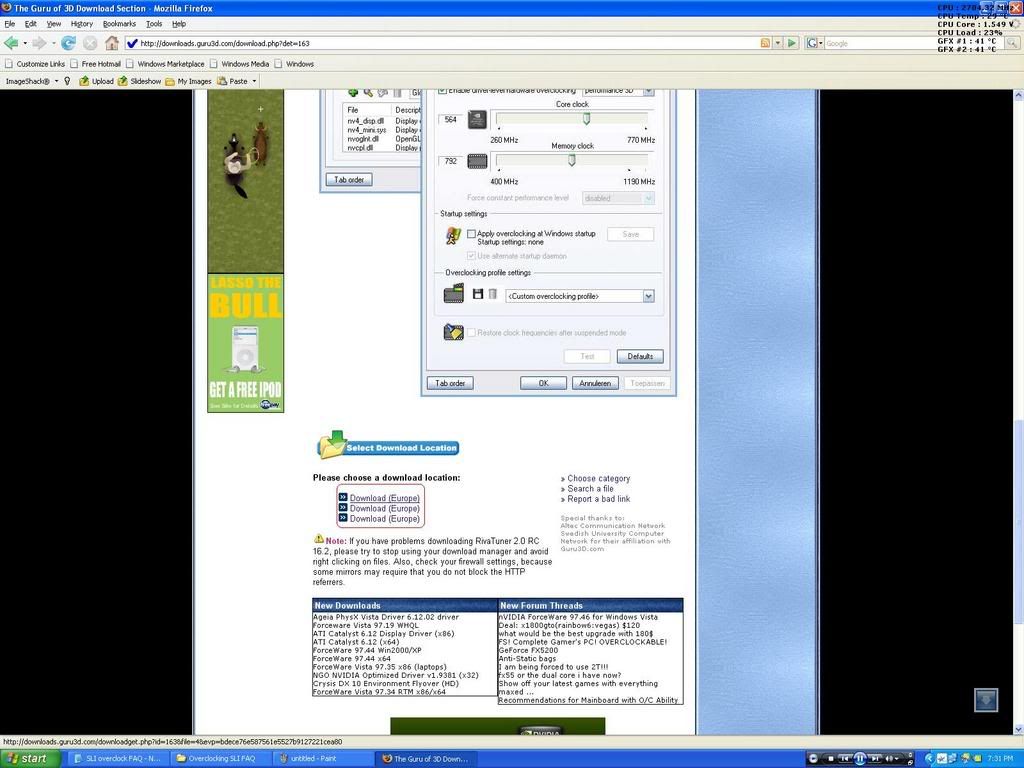
Scroll down and choose a download location
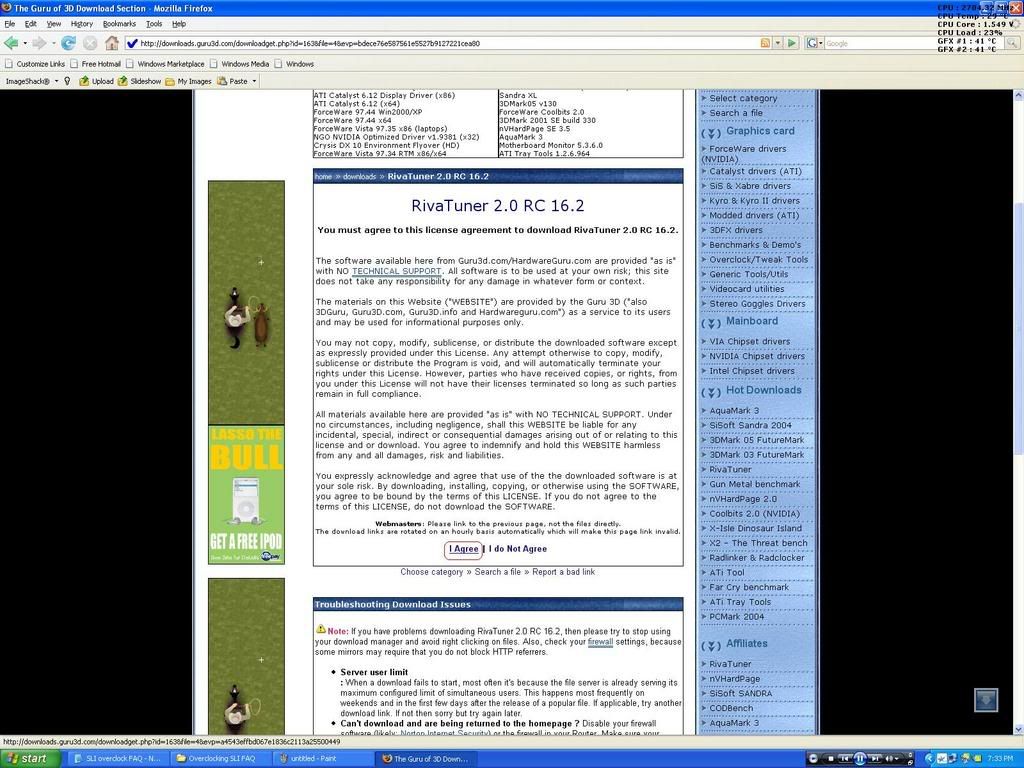
Yet again scroll down and agree to the license agreement
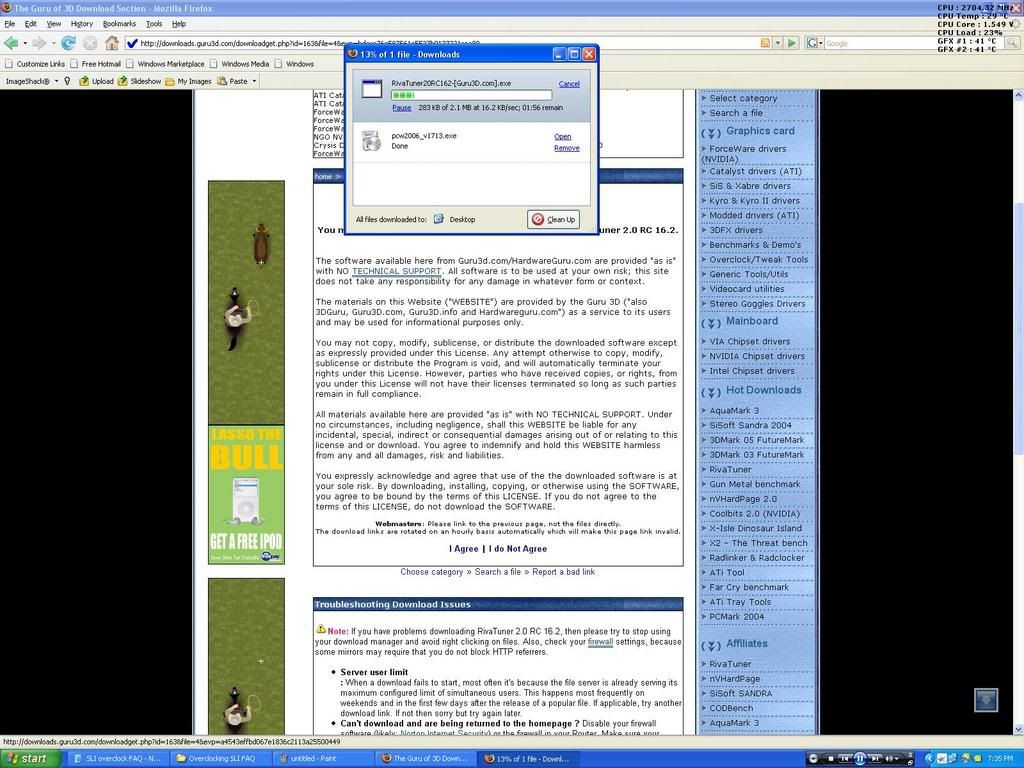
Let the download finish, and the install it to where ever you choose. *Note it downloads in a zipped folder that you have to open and extract before you can get into the installation. I was pretty sure no one needed screenshots for this process so i didn't take any.
Open RivaTuner
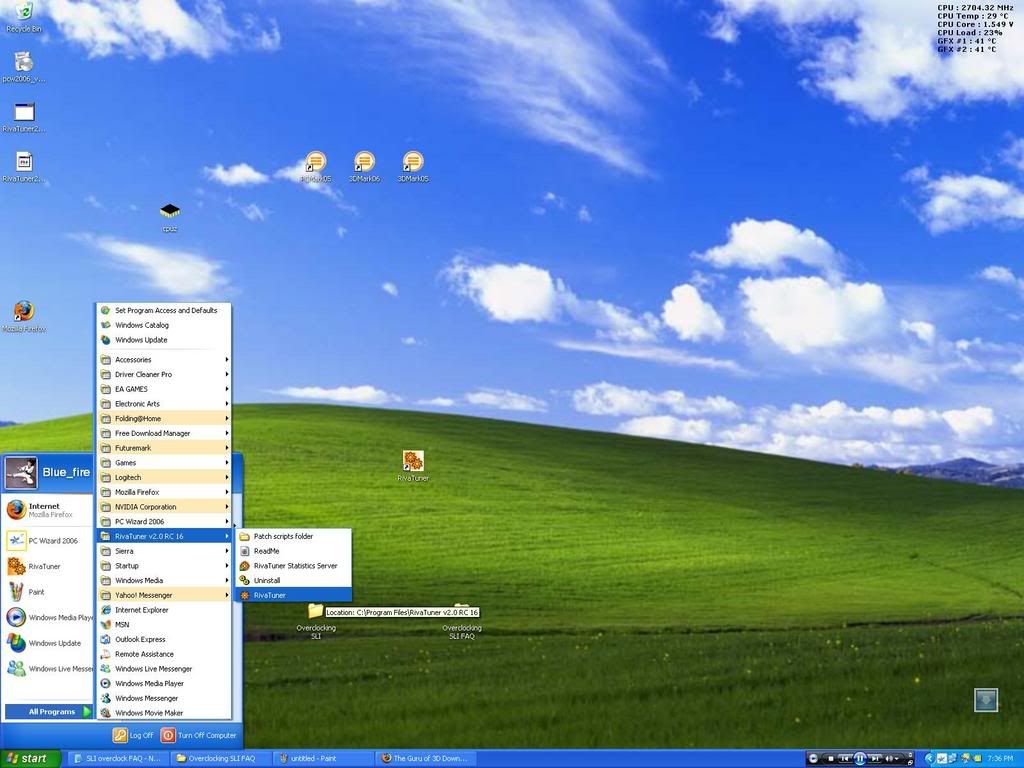
RivaTuner has a very robust hardware monitor built into it shown here
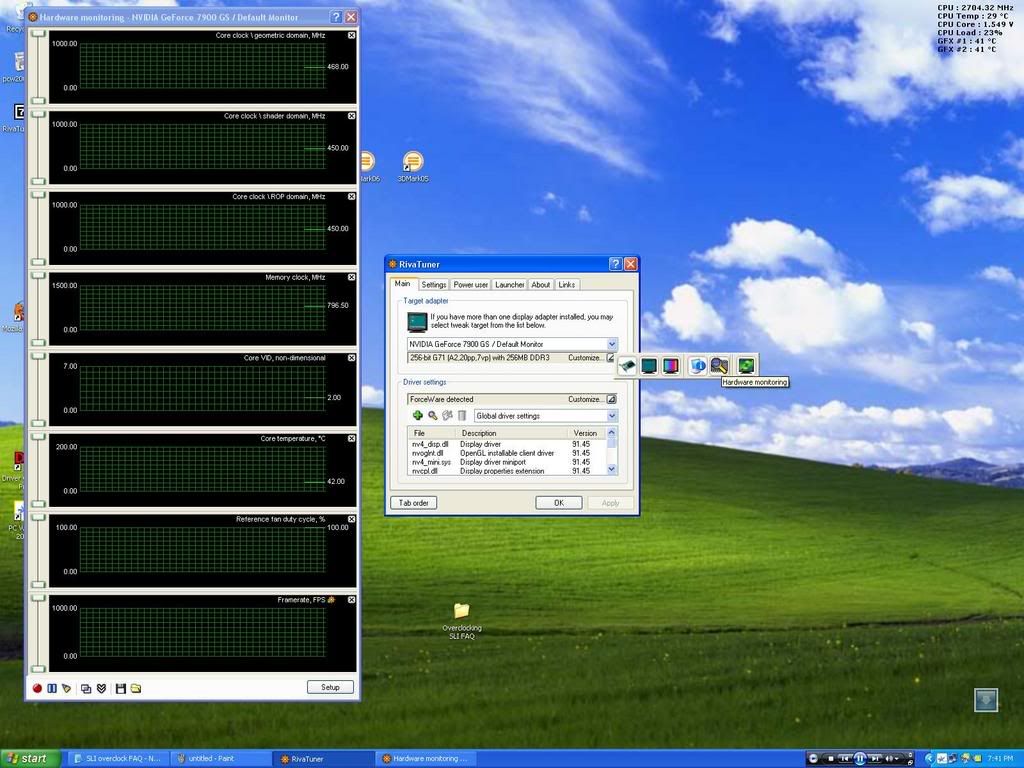
Notice that although i had set my clocks in the nVidia control panel, the only clock that changed was my memory and not my core(s).
This i believe happens due to a combination of 2d clocks and 3d clocks.
The SLI8x, SLI16x, and the alternate frame rendering 2 settings did apply however.
Now we need to go back into our regedit as described above and get to the NVTeak folder and make sure Coolbits is still set to 1A. Mine just happend to be set as 18 after the install of RivaTuner, which is what leads me to believe RivaTuner is using Coolbits!
After that is all taken care of, we can get to the meat of all this: The Overclocking!
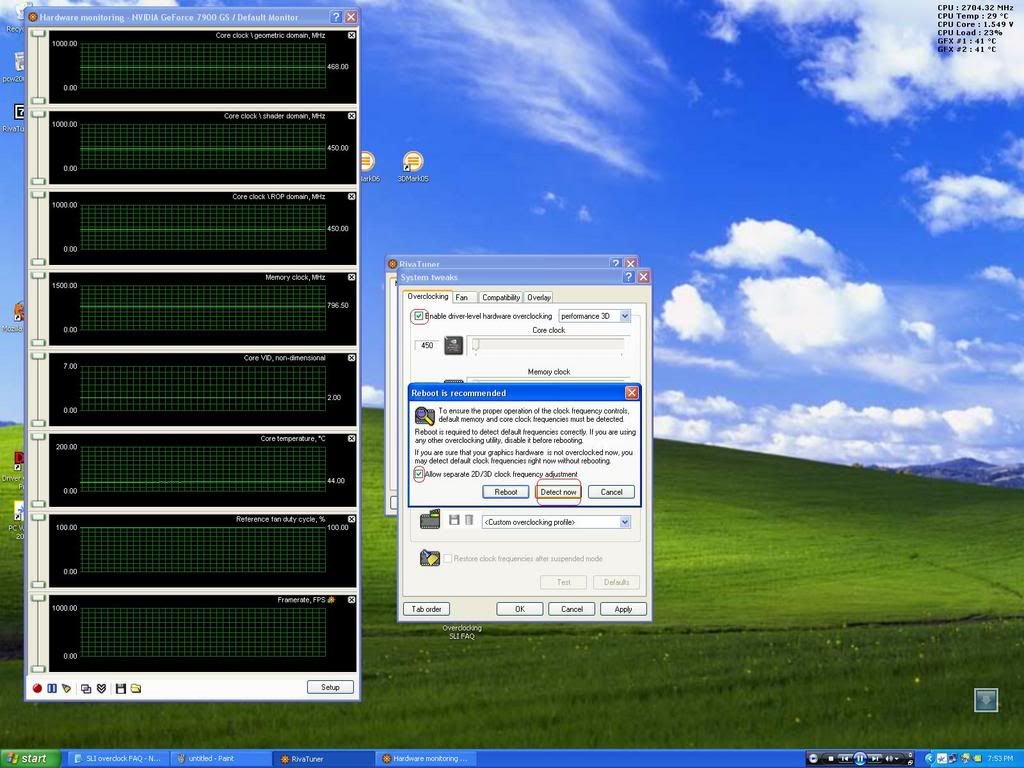
Under driver settings click the drop arrow and select system settings.
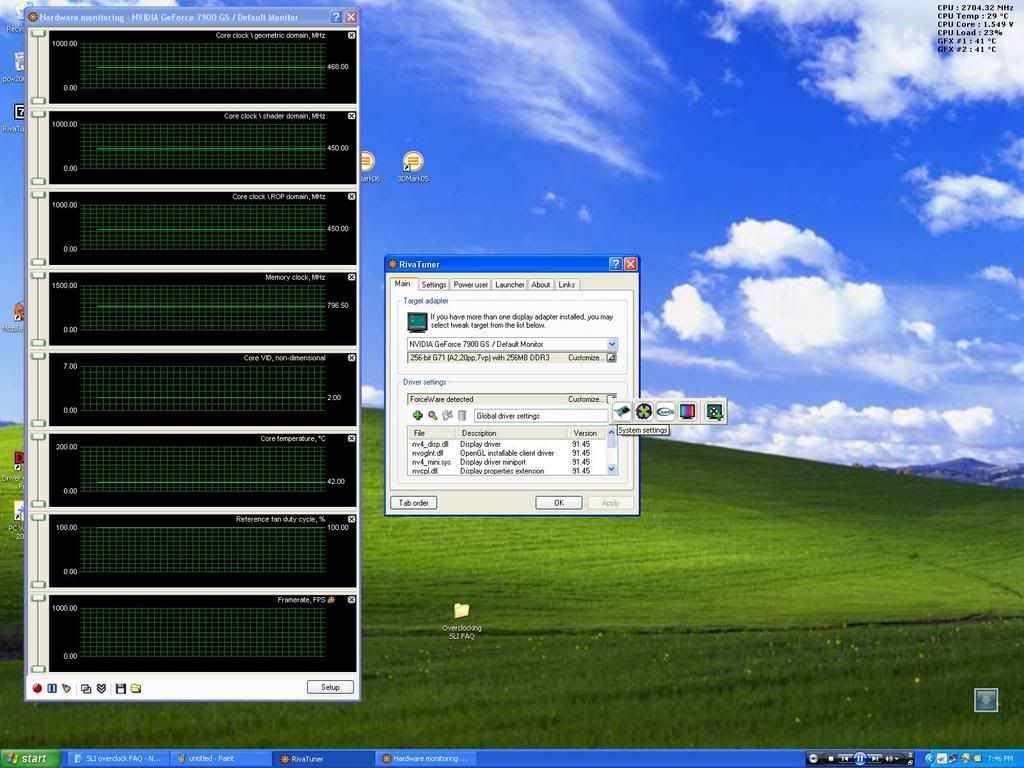
If you get a warning, don't panic just simply click yes(from what i have noticed it overrules your nVida control panel overclocking, which is good right?)
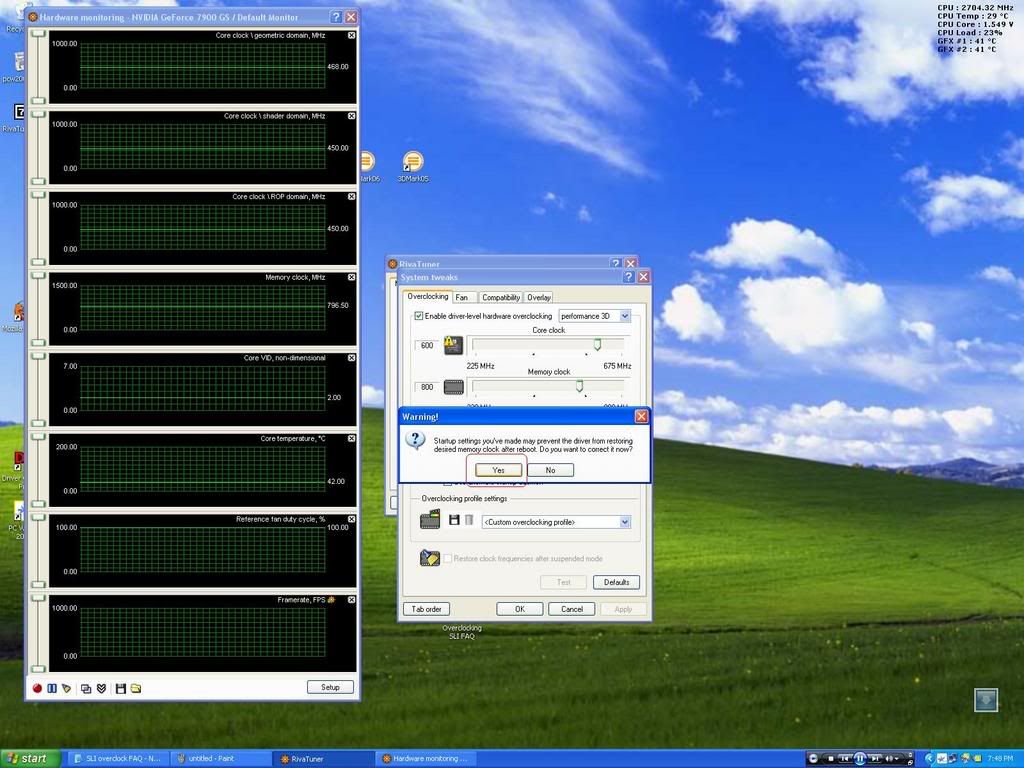
Check the Enable driver level overclocking, and the reboot is recommended box pops up just click detect now.
make sure the "Allow separate 2D/3D clock Frequency adjustment" box IS checked.
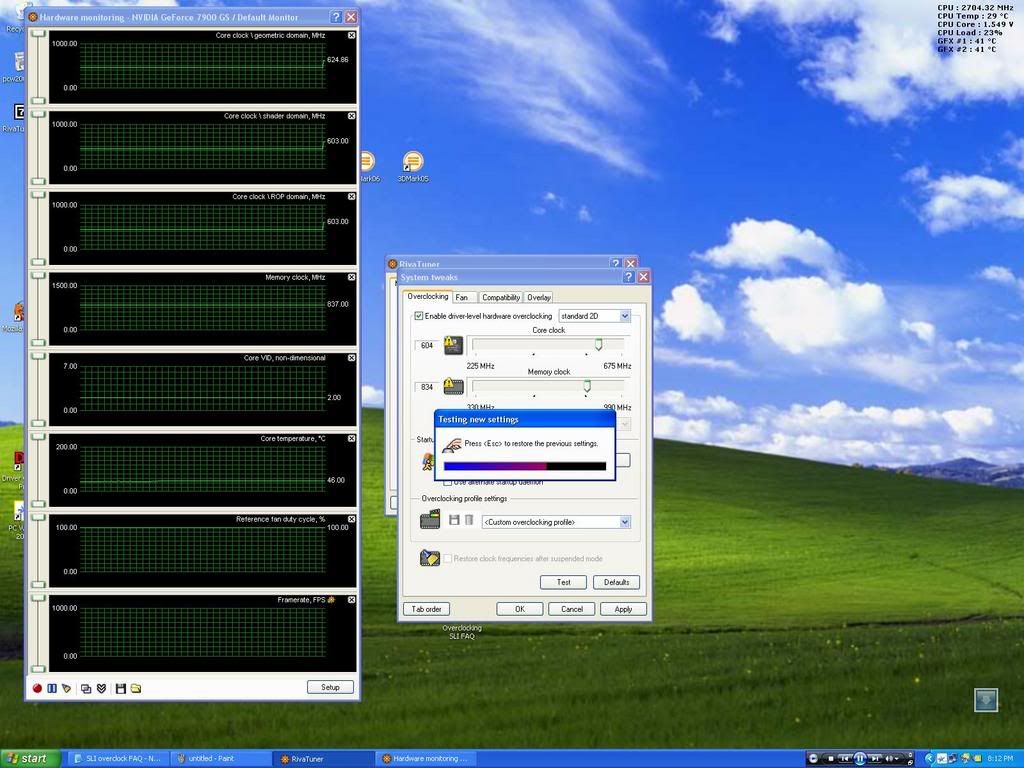
Drag the sliders to your selected frequency's and click test. *note see how my clocks changed almost instantly?
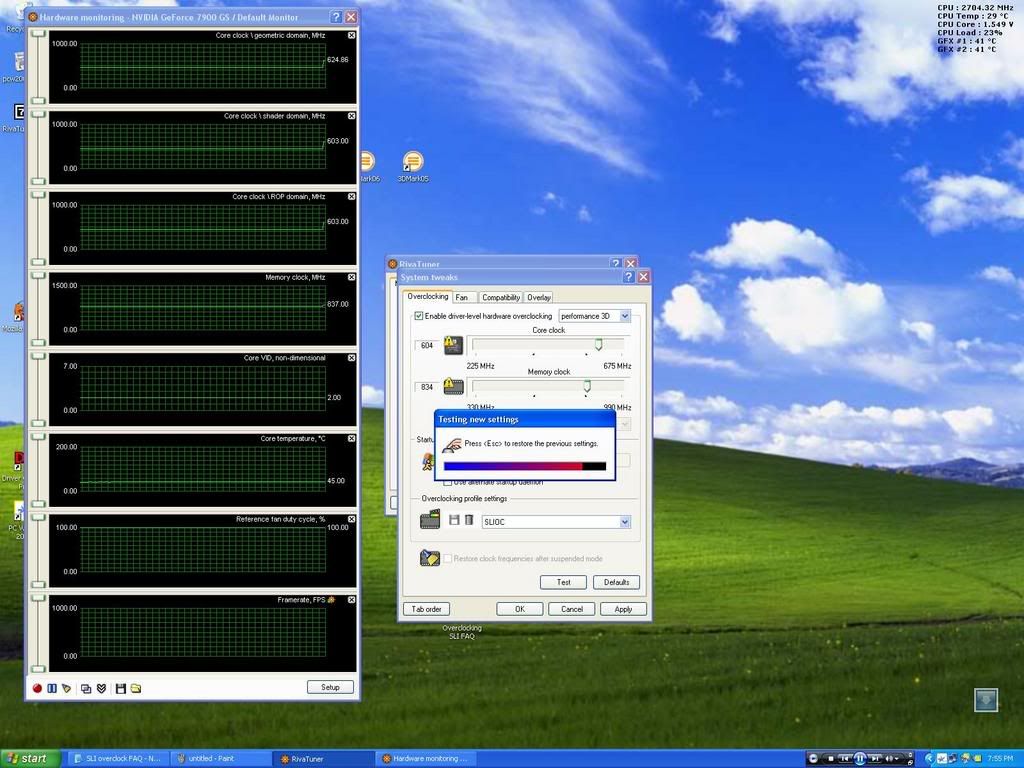
But wait, didn't my i just set my clocks, why did they change and change back???
As you can see my core clocks and mem clocks did change but changed back,
this i believe is cause by your 2D clock adjustment. Remember that last little box i told you to make sure was checked? well if you unchecked it you have to restart your pc and then rerun rivatuner. Well upon doing that, you loose the fan tab up at the top AND clocks only apply to one card.
I'm pretty sure some registry play is going on here but I'm not totally sure where. If your clocks didn't change back instantly, give a few they will.
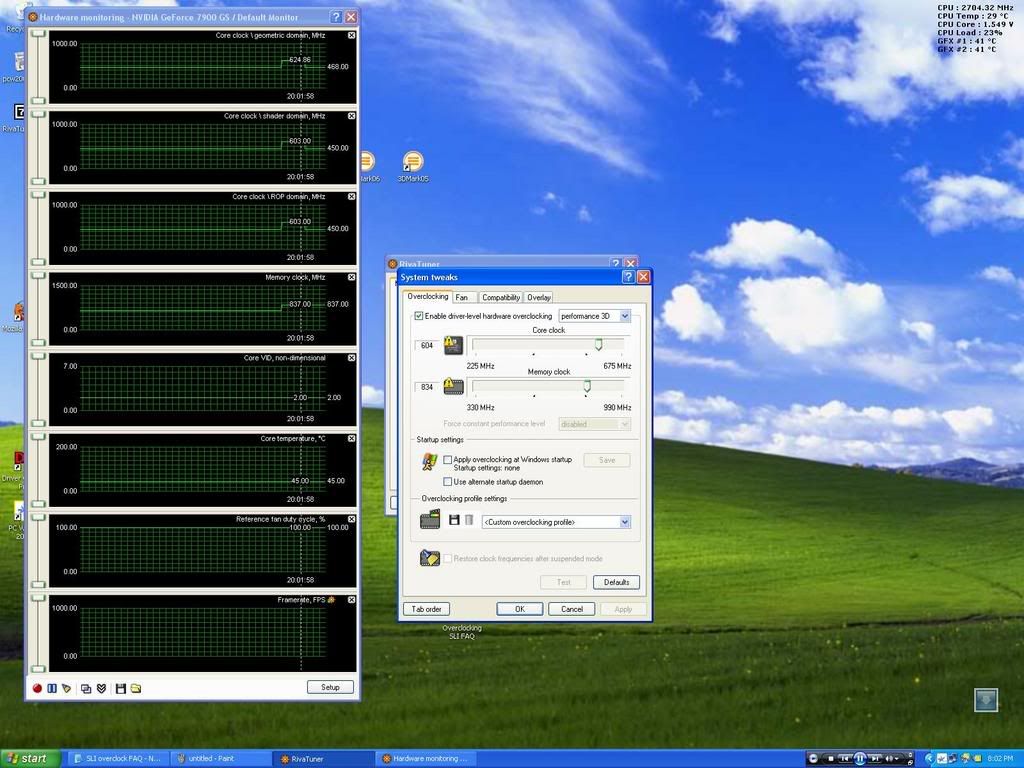
Click the apply overclocking at windows startup box and then go to the top and click the drop down box & select standard 2d.
Also you need to click apply, if that warning box comes up again, just click yes.
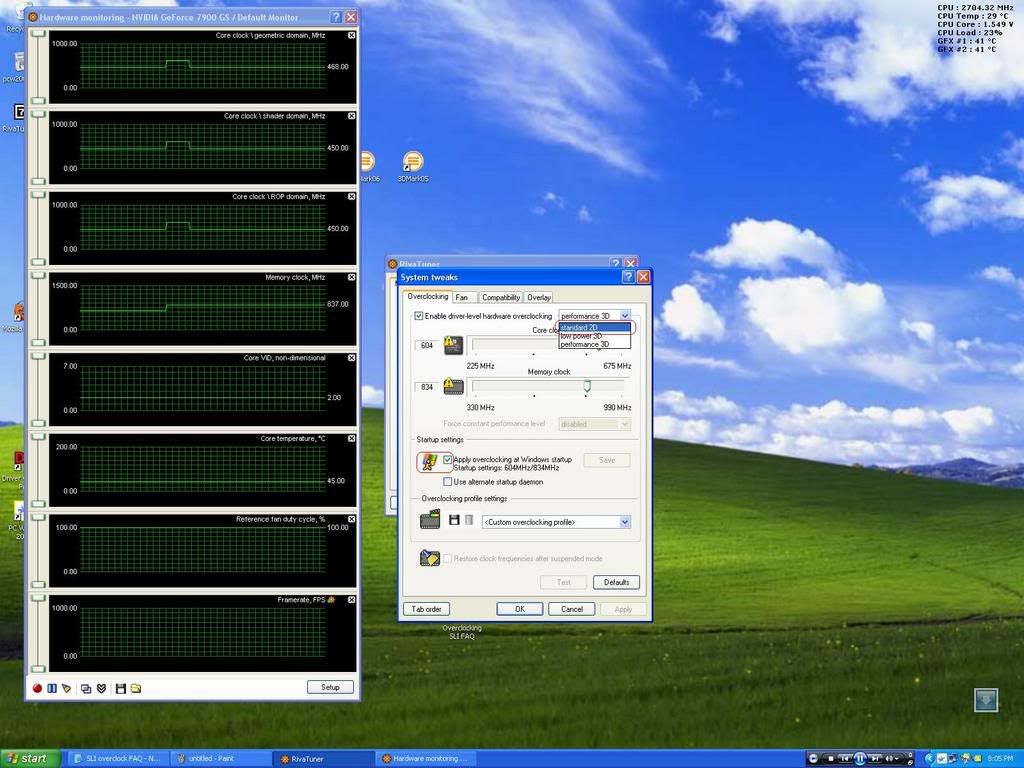
In 2D my memory clock as set the same as 3D. But whats this? My core isn't!

You will have to retest and reapply, so make sure the apply on start up box is still checked.
You will also need to click the "save" button right next that box.

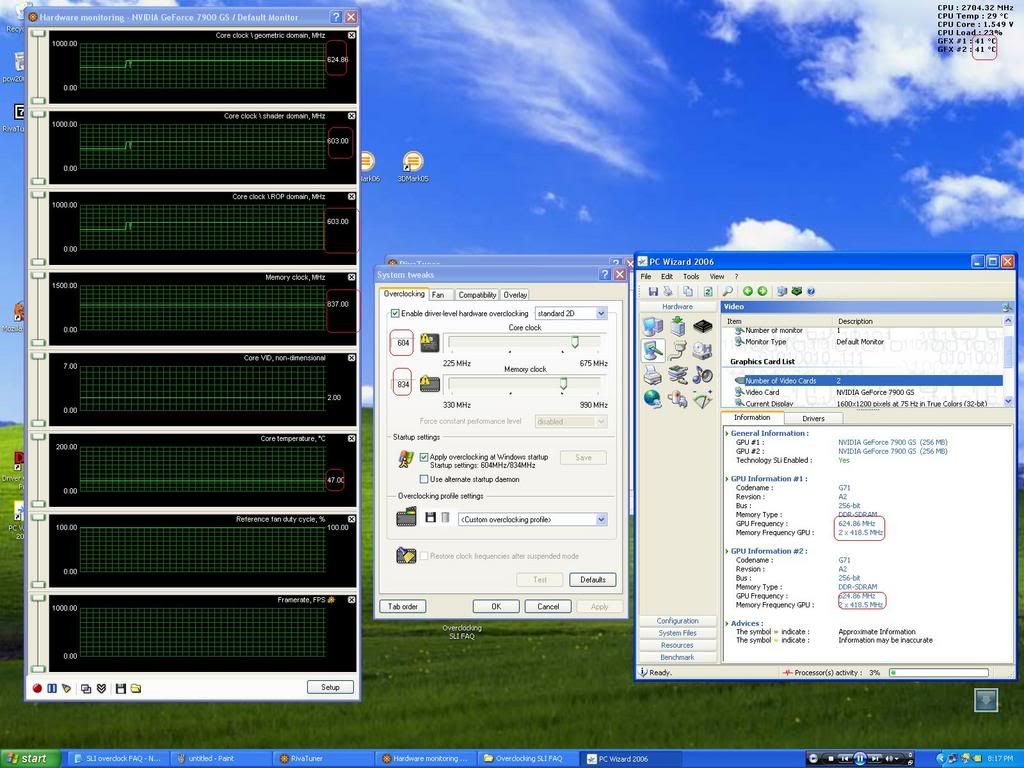
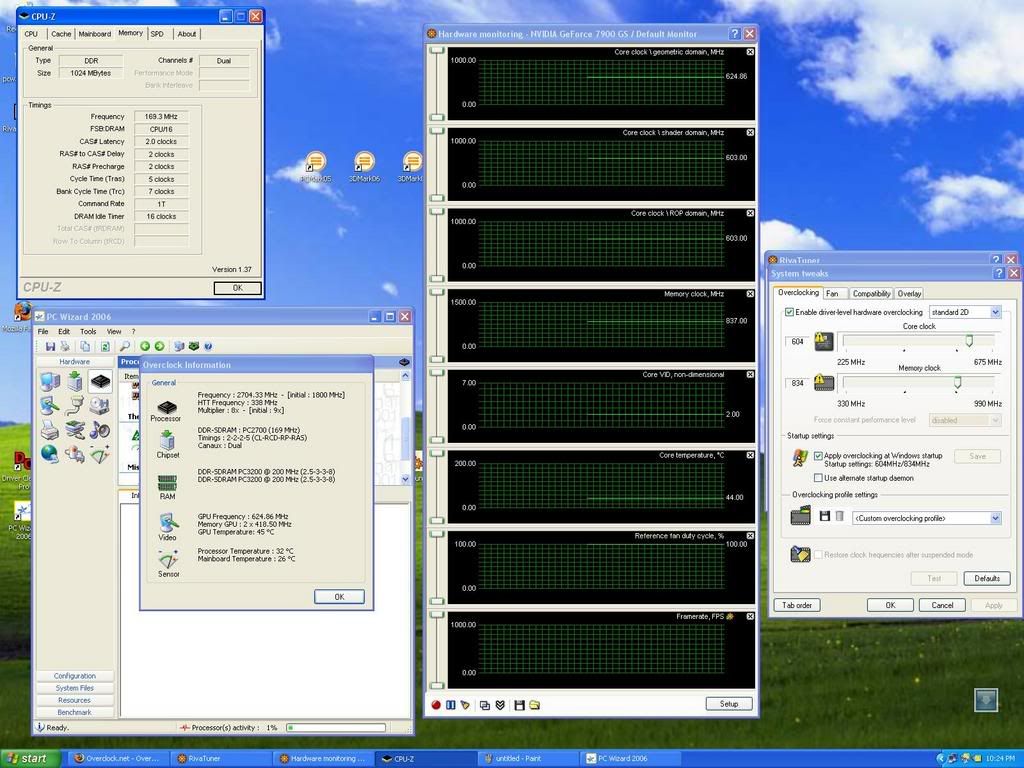
Now lets go back and veriy with PC Wizard, lets also keep RivaTuner open
so that we can view the hardware mon.
After you have opened PC Wizard up and gone to video icon, click Number of Video Cards and behold a true DUAL OVERCLOCK!!!
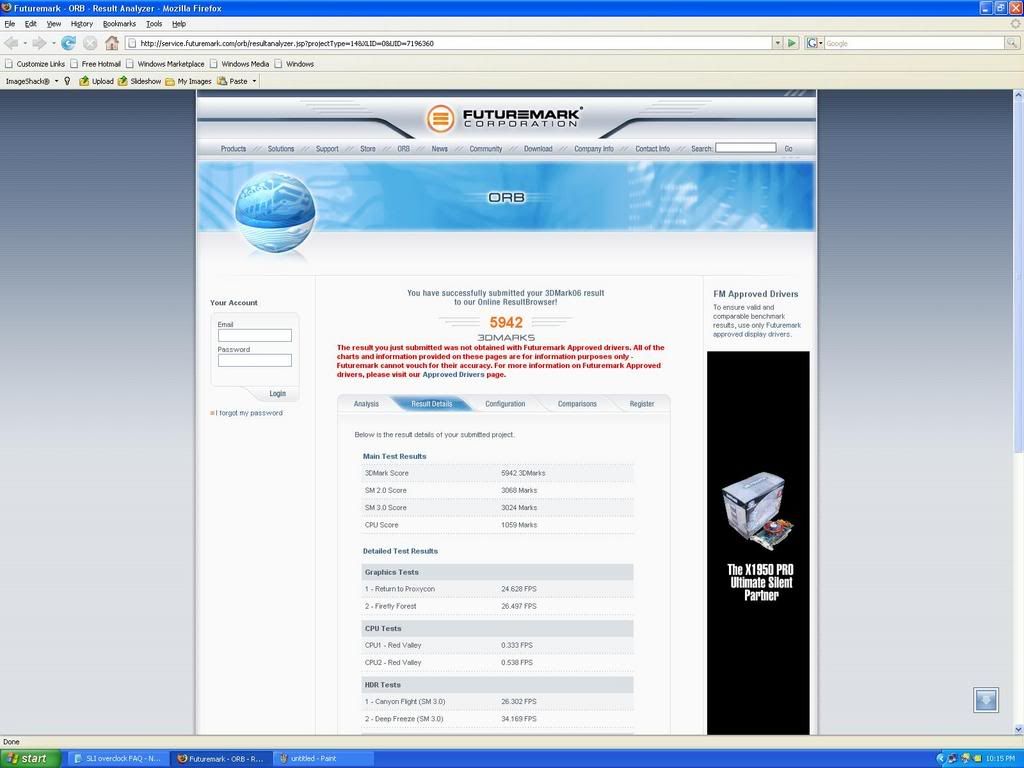
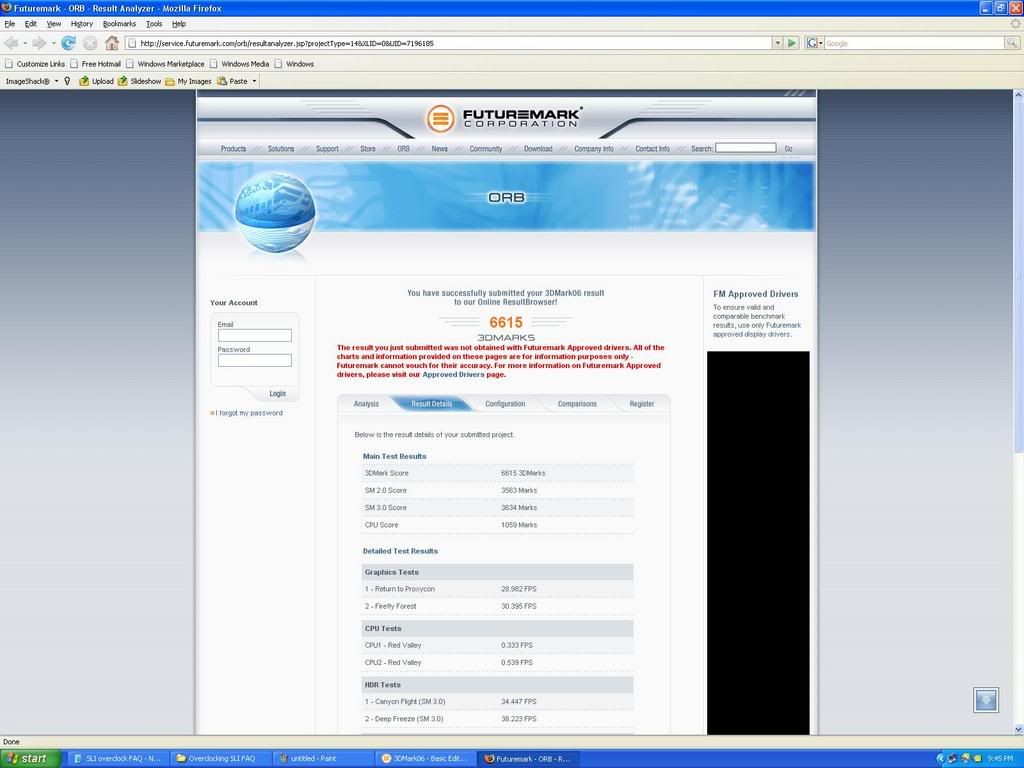
Now to test how well the dual overclocks work.I ran 3DMark 05 and 06 both 2 times, one to show a stock basline and then one to show a performance overclock. I did have to go back into nVidia control panel and turn off SLI8x AA and switch AFR2 to SFR(Split Frame Rendering) as i have always had best performance with SFR.

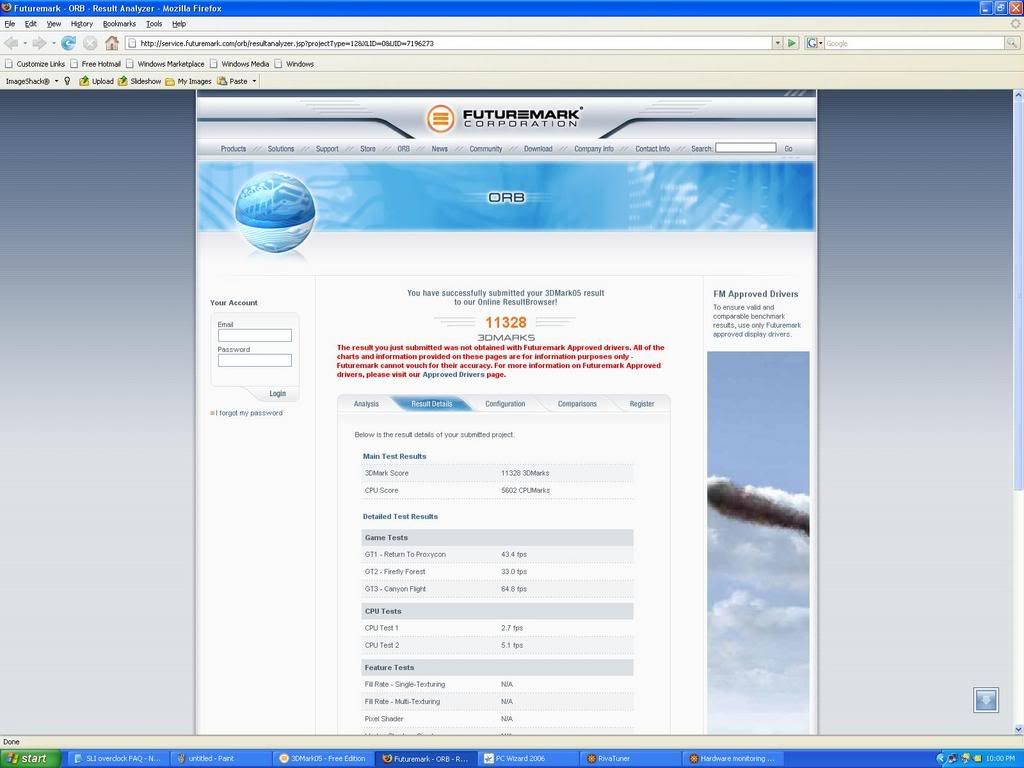

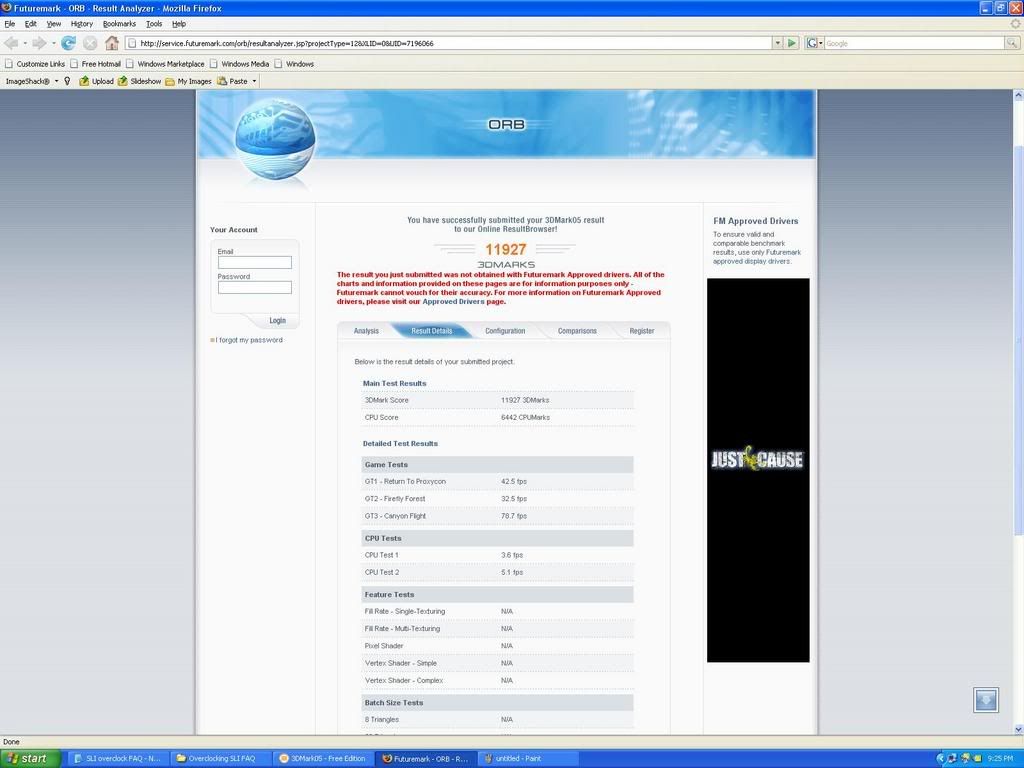
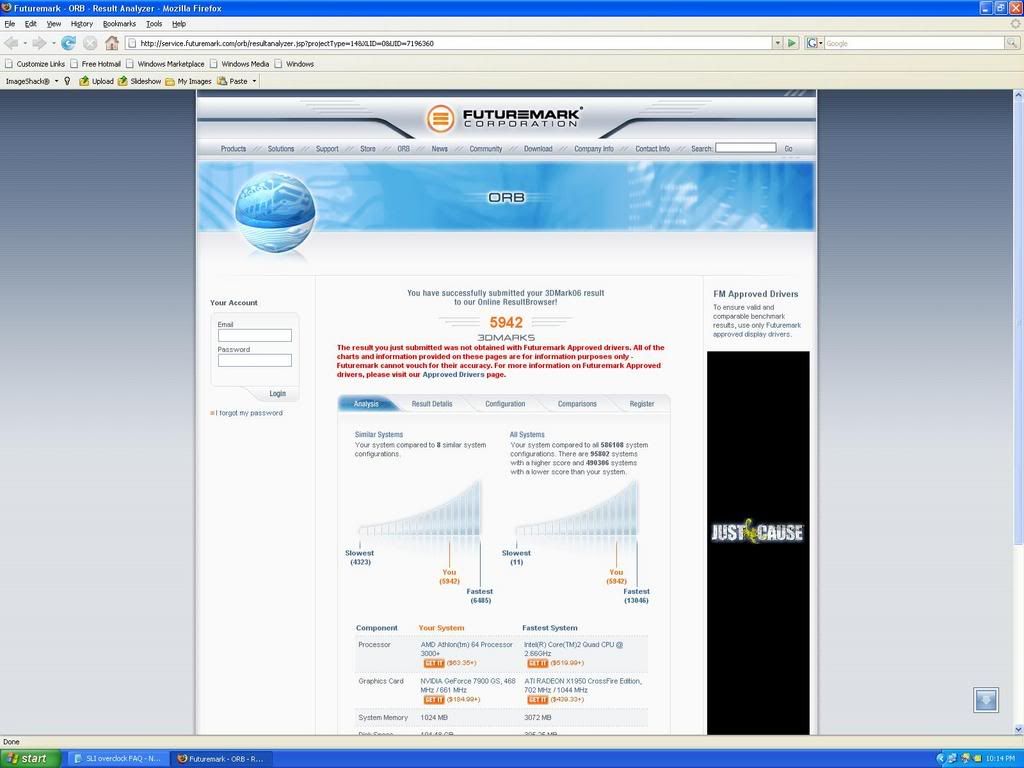

This is the setup i had running during these test. The 7900gs's run stock at 468core over 660memory(1320effective).
.
Originally from here:
http://gaming.nexgenis.com/forum/hardware-discussion/217-faq-how-overclock-your-sli-setup.html
")