Navigation
Install the app
How to install the app on iOS
Follow along with the video below to see how to install our site as a web app on your home screen.
Note: This feature may not be available in some browsers.
More options
You are using an out of date browser. It may not display this or other websites correctly.
You should upgrade or use an alternative browser.
You should upgrade or use an alternative browser.
The Post Pics Of Your Rig Thread! - ABSOLUTELY NO COMMENTS
- Thread starter FLECOM
- Start date
- Status
- Not open for further replies.
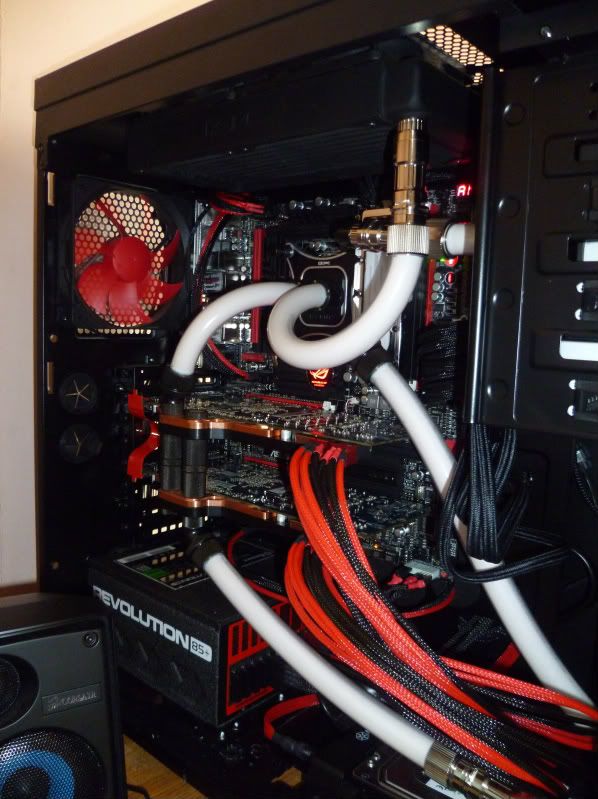
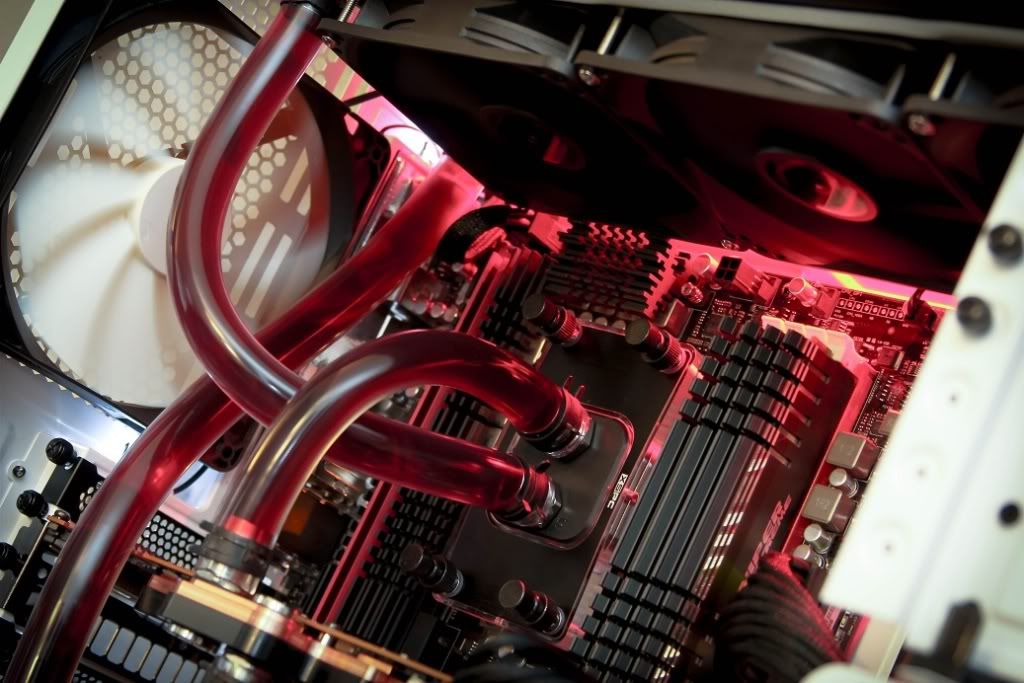
After the 73rd revision I've made to my rig (or something like that ") ) I finally decided to call it "finished". Received my EK full cover 680 waterblock wednesday and the new Zotac 680,
) I finally decided to call it "finished". Received my EK full cover 680 waterblock wednesday and the new Zotac 680,
that I switched out for the 5 day old Asus 680 I bought on release, on thursday. The Zotac seems to clock a bit better, but I'm still trying to find out how these new cards work.
Had the time to redo my loop today to include the new GPU block.
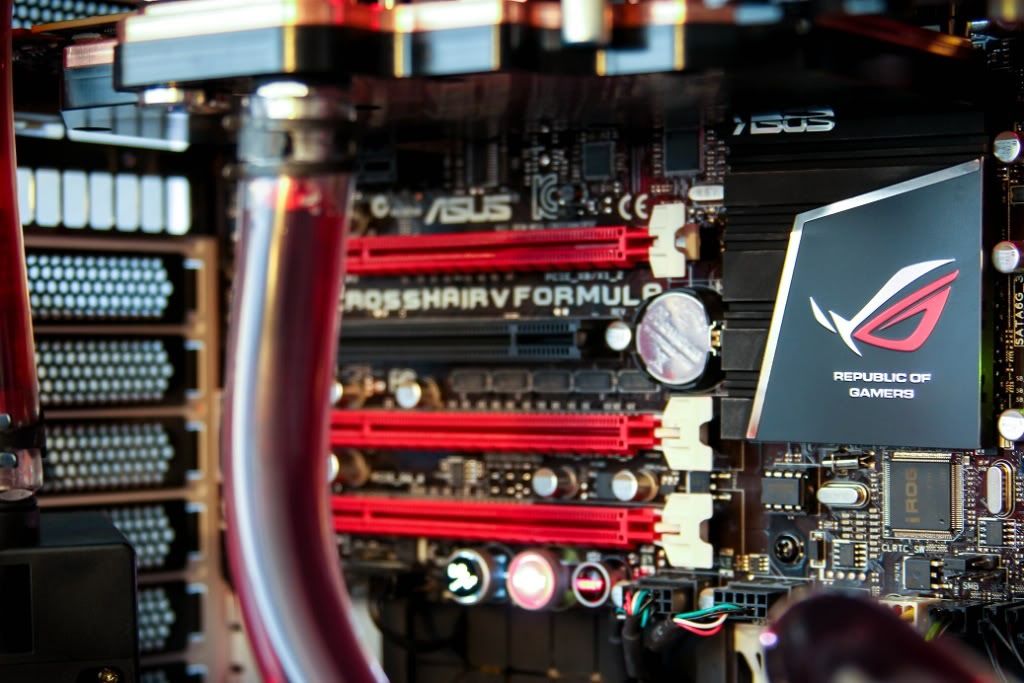
Gtx 680 with the waterblock mounted:

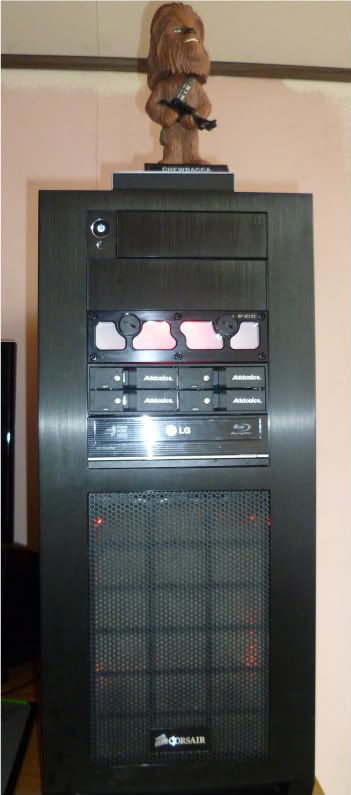
There's much that can be improved upon in regards to cable management and general finish, but I'm now more or less content with what I've put together and will keep it like this for a while:

Both pictures taken with an iPhone 4, so I apologize for the lack of quality.
) I finally decided to call it "finished". Received my EK full cover 680 waterblock wednesday and the new Zotac 680, that I switched out for the 5 day old Asus 680 I bought on release, on thursday. The Zotac seems to clock a bit better, but I'm still trying to find out how these new cards work.
Had the time to redo my loop today to include the new GPU block.
Gtx 680 with the waterblock mounted:
There's much that can be improved upon in regards to cable management and general finish, but I'm now more or less content with what I've put together and will keep it like this for a while:
Both pictures taken with an iPhone 4, so I apologize for the lack of quality.
D
Deleted member 82943
Guest
thats very clean those ap181s are awesome no?
thats very clean those ap181s are awesome no?
Thanks. They're great. Even though I ended up buying 4 extra in addition to the ones that came with the case, in order to get a set of three with a motor noise I found satisfactory
.
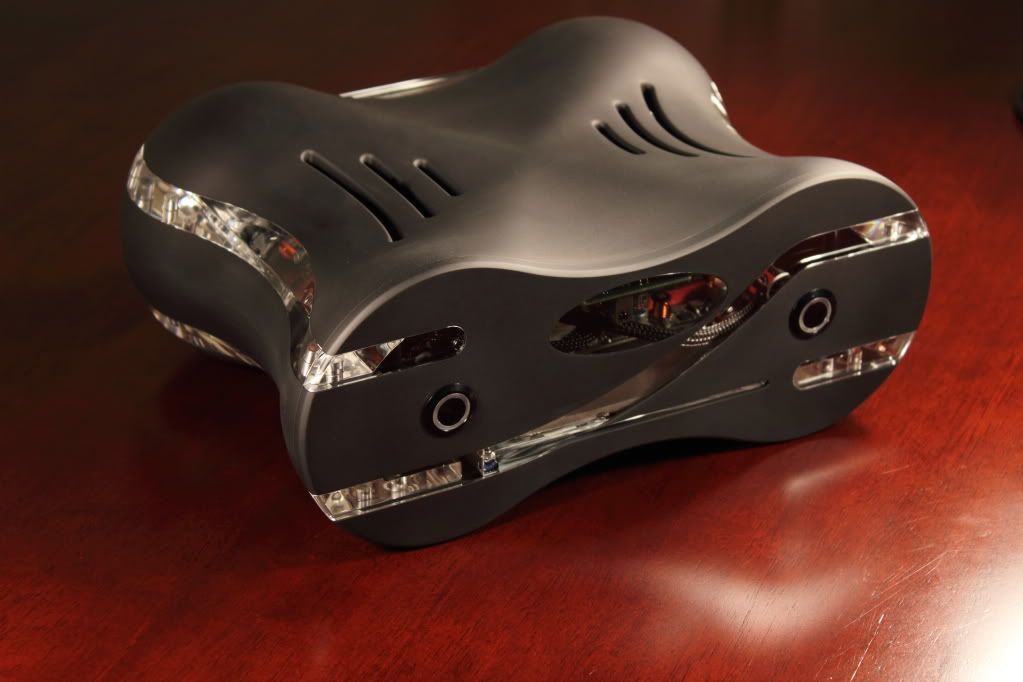
Shipping isn't actually all that much surprisingly*. I'm waiting for the black F1C to be back in stock then I'll go.Indeed. Wish they sold Streacoms in the US! I'd love to get my hands on one.
*
Case ~$93
Slim DVD ~$73
40mm fan (because newegg has a horrible selection) $5
Shipping ~20 (5-21 days)
Less than $200 total isn't so bad for it shipped.
After the 73rd revision I've made to my rig (or something like that
that I switched out for the 5 day old Asus 680 I bought on release, on thursday. The Zotac seems to clock a bit better, but I'm still trying to find out how these new cards work.
Had the time to redo my loop today to include the new GPU block.
Gtx 680 with the waterblock mounted:
There's much that can be improved upon in regards to cable management and general finish, but I'm now more or less content with what I've put together and will keep it like this for a while:
Both pictures taken with an iPhone 4, so I apologize for the lack of quality.
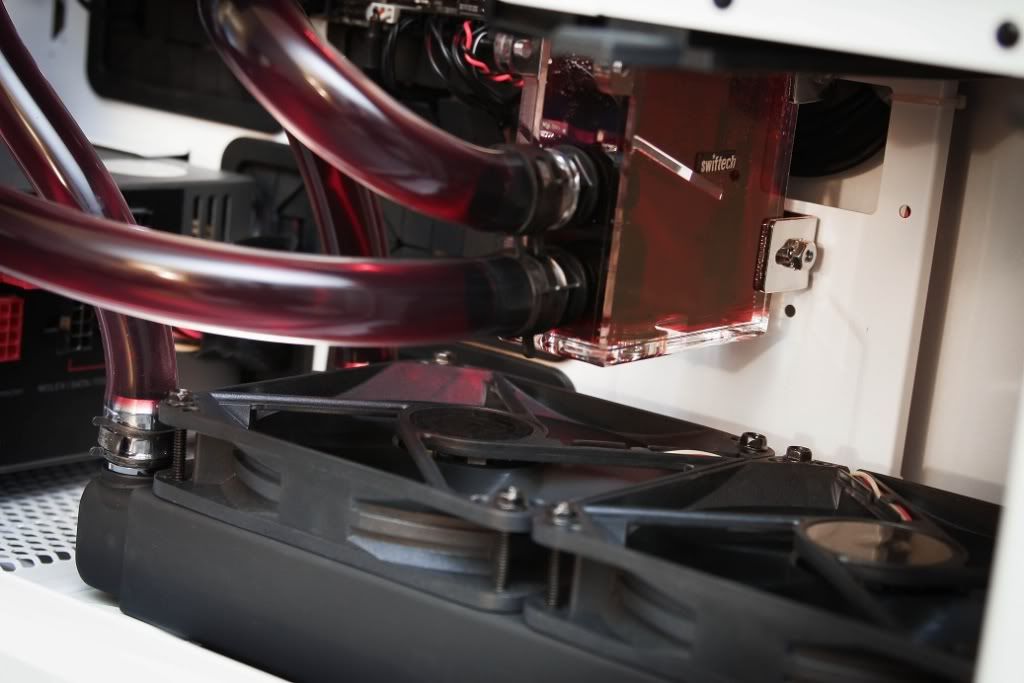
Does the radiator pull air in from the bottom, or push air out? Im trying to figure out how the balance of air is... Im assuming there are no issues with positive or negative pressure with other vents in the case?
Does the radiator pull air in from the bottom, or push air out? Im trying to figure out how the balance of air is... Im assuming there are no issues with positive or negative pressure with other vents in the case?
The way I've set it up in my case, the fans pull air from the bottom and pushes it out the top. This is exactly how the case is configured out of the box in terms of flow. The only difference is that in my case the fans has to pull the air through a radiator and a custom Demciflex filter.


sherbanater
Limp Gawd
- Joined
- Oct 2, 2005
- Messages
- 234
Well done B!nd...
wra18th
[H]F Junkie
- Joined
- Nov 11, 2009
- Messages
- 8,492
It took me a couple of views to realize it was the same case. At first I thought you just transferred to a new case but the I realized that it was a beautifully executed mod. Bravo.
Ahh I can finally post my own...
Finally up and running after 20+ hours of work.
Sorry for the poor photo quality.
Out of curiosity, what took 20 hours? It looks like a very straight forward build.
It was very straight forward.
It was also my first time having the ability to take advantage of all the cable mangement features the 650D has to offer.
The things that took me a while were:
1. Routing the 2 pin cables for the temp reader on the fan controller. I wanted to conceal those as much as possible without going through the backside of the case.
2. Setting up the cold cathode lights. I bought a pack of the Logisys? brand which I was very disappointed with. I didn't realize how short the wire from the light to the "blue box" would be. On top of that I had no way to conceal the box (it wouldn't fit behind the back panel). So tried to splice the wires from the lights directly to the power supply and to no avail. It didn't work and it actually prevented my computer from turning on the first time, so after checking to make sure all the power cables were connected properly I ruled out the ghetto modded CCL. I scrapped that and was out $8, oh well..
3. Spray painting the CPU cooler. Not the HSF itself but these red bars that come as part of the design. I was going for a blue theme and I liked the cooler but not the color. 2 coats plus a few hours of drying time while I was working inbetween.
4. SSD and HDD. I only connected my SDD when I installed Win7. The difficulty came when I tried to install my other 2 HDDs. I moved the hard drive bay in the space to the right of the power supply, leaving little room for cable management in the rear. It took me a little while to configure the power/data SATA cables that were at a right angle btw so that all drives can be fit comfortablely.
5. Lastly was the back panel cable managing. I had it all zip-tied and nice looking but when I put the panel back on I had a nasty buldge. I had to re-organize some wires without unplugging anything.
I think this post was a little excessive lol but it covered the most annoying parts in my build. Actually getting the hardware together with cake and I did a bomb job at spreading that thermal paste
Nemesis429
Weaksauce
- Joined
- Feb 27, 2012
- Messages
- 97
What monitor is that mate?
Edit: Nvm it's CrossOver 27"
Edit: Nvm it's CrossOver 27"
Last edited:

D
Deleted member 82943
Guest
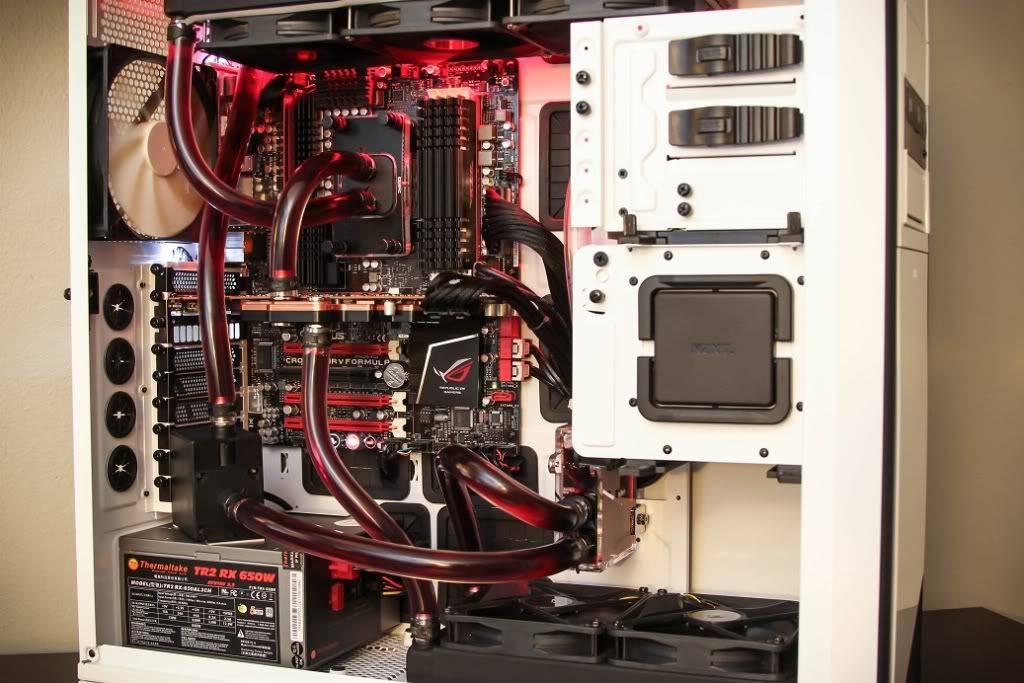
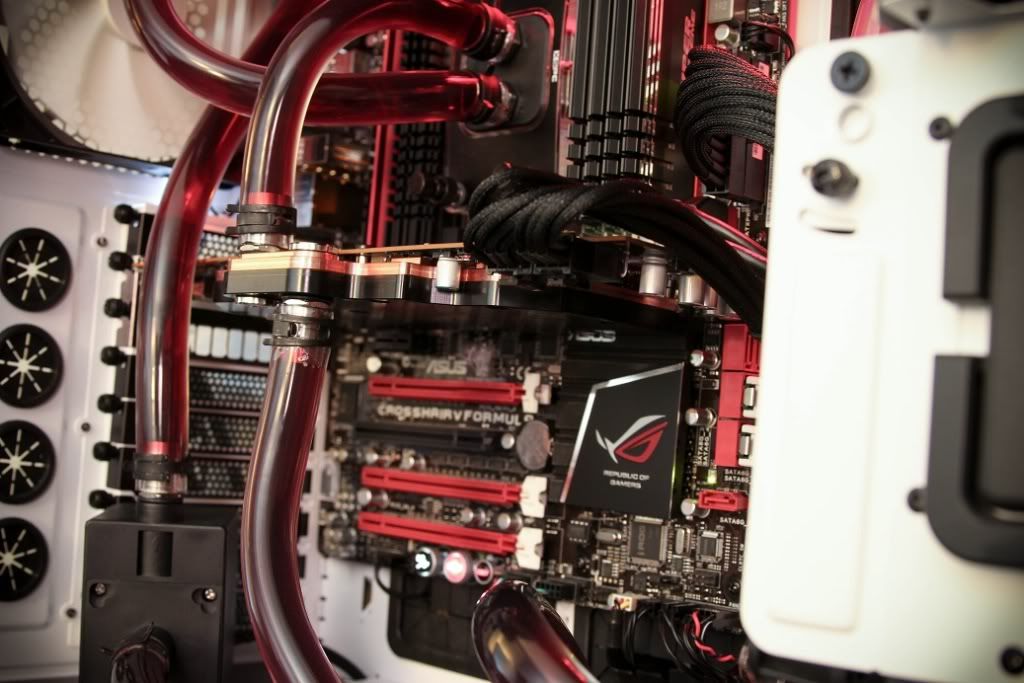
nice build, very clean W/C setup
and that two loop setup wow
and that two loop setup wow
Its actually a single loop with a dual rad setup.
Great setup man.
I have seen a few red WC setups in a white case and it always reminds me of a hospital and blood lol.
Very bad ass.
Halloween
Limp Gawd
- Joined
- Jun 12, 2007
- Messages
- 150
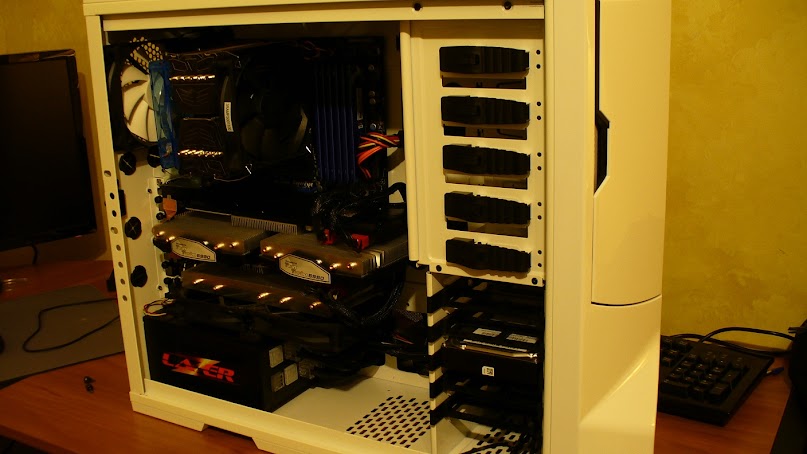
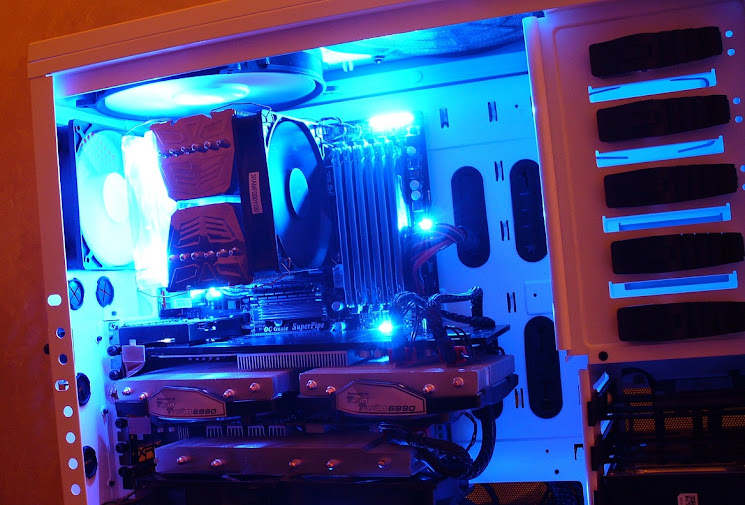
Recent upgrade - CPU is now included in watercooling loop along with the GPU. Blue LED strip installed, just need to get a side panel window now to show it all off.
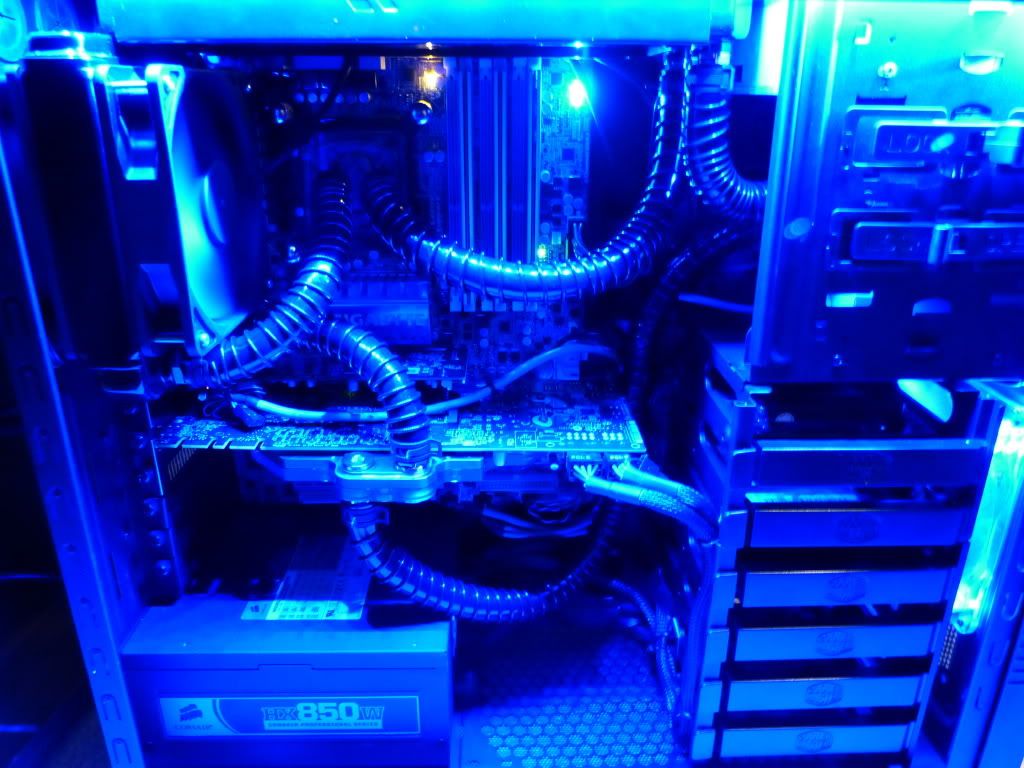
to show it all off.

Halloween
Limp Gawd
- Joined
- Jun 12, 2007
- Messages
- 150
My buddy's latest build.
Snip
That is just unreal! Beautiful.
Matthew Kane
Supreme [H]ardness
- Joined
- Dec 1, 2007
- Messages
- 4,233
Would've been more impressive if there were some fishes swimming around in there.
CallMeCooper
Weaksauce
- Joined
- Jul 30, 2007
- Messages
- 102
Finally upgraded my rig. From an AMD Phenom II x4 925 to an Intel 2700K, ASRock Z68 Extreme3 Gen3 mobo, and Corsair Vengeance 8GB @1600. And no, I did NOT WANT the 2700K, but Microcenter was out of the 2600k's @$199. I was soo sad. I got $50 off the mobo though, so I got it for $75. Spent $430 +tax.


Hopefully in the next few months I can throw a 680 in here, and wrap it in a Cosmos II.
Hopefully in the next few months I can throw a 680 in here, and wrap it in a Cosmos II.
my-name-here
Limp Gawd
- Joined
- Mar 23, 2012
- Messages
- 281
well, finally done (for now) and here is my first build ever. i might write up a work log, i know it's nothing special but it's my first build and i'm rather proud of it. it went through a lot of changes. only things i might do in the future (other than upgrades) is getting a side mesh panel with another bitfinix spectre pro 200mm but only if my sli temps get too high (right now they are pretty good actually. the top gpu got to a max of 88c in 3dmark) and possibly a water cooling set up... i think it would be a lot of fun to do that. anyway here are the pics:


hammerforged
[H]ard|Gawd
- Joined
- Jan 23, 2012
- Messages
- 1,092
Very clean and well done. Awesome job. Great color scheme and well thought.
sherbanater
Limp Gawd
- Joined
- Oct 2, 2005
- Messages
- 234
super clean nice work...

sherbanater
Limp Gawd
- Joined
- Oct 2, 2005
- Messages
- 234
sweet
wra18th
[H]F Junkie
- Joined
- Nov 11, 2009
- Messages
- 8,492
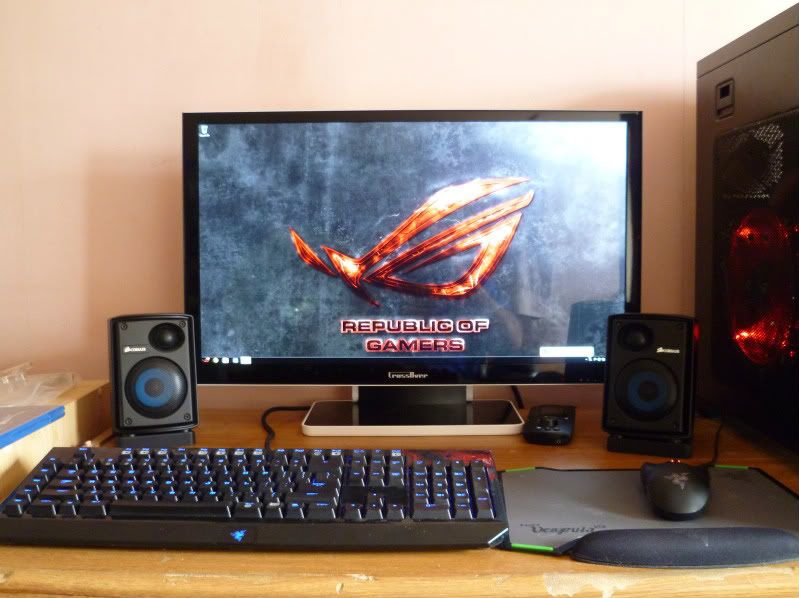
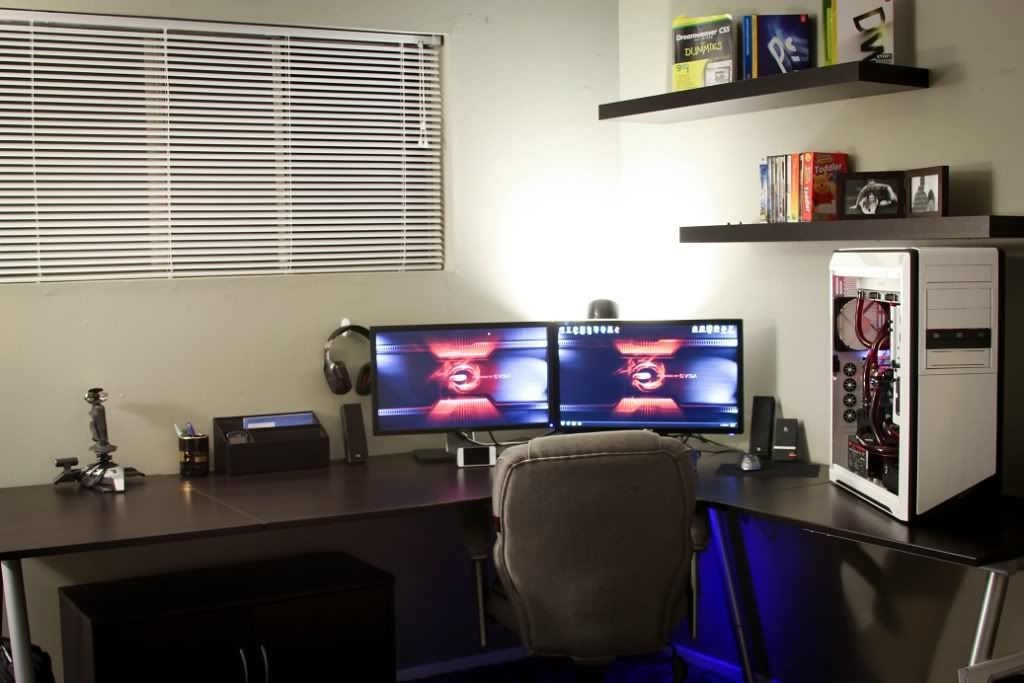
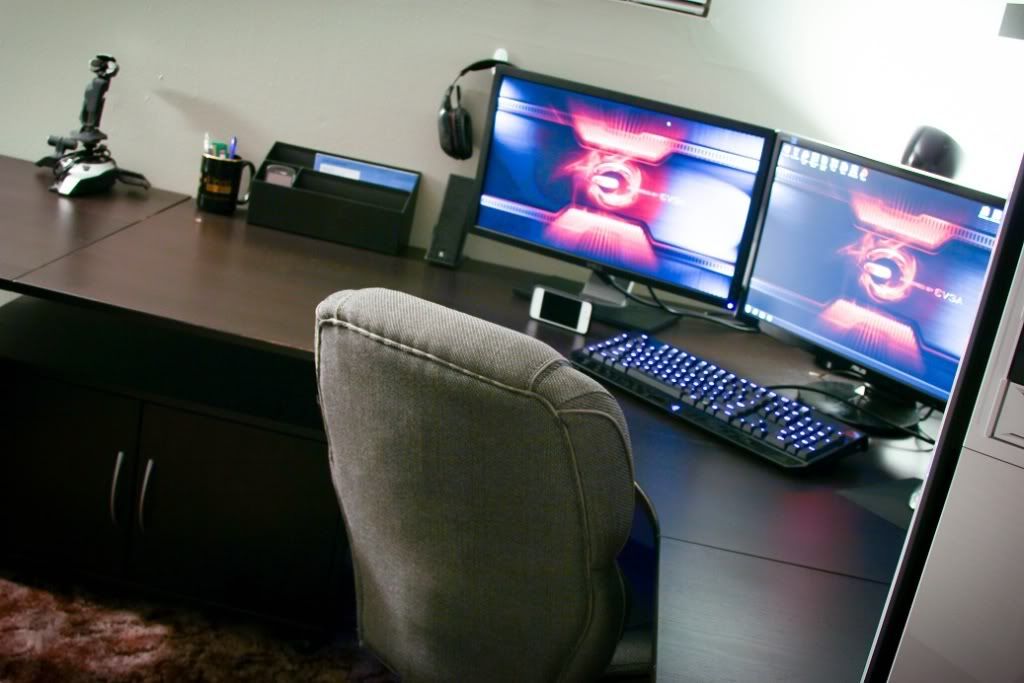
@mekkanic - nice setup. that wallpaper is perfect for eyefinity! link?
@mekkanic - nice setup. that wallpaper is perfect for eyefinity! link?
I got it from here:
http://gamers-underground.com/hardw...round-amd-eyefinity-5760x1080-wallpapers.html
You'll have to register to get the wallpaper though :X
- Status
- Not open for further replies.