The cheapskate watercooling Vega thread of chaos...

neural0

Limp Gawd
Joined
May 22, 2011
Messages
483
I love deals. Every one of my tech purchases is waiting for a particular piece of hardware to go on sale and I'm frequently buying last gen's hardware when the new stuff gets released because it's price dropped or stock floods eBay.

Sometimes this doesn't work out. I get into a deal but then realize I have to nickel and dime myself into a price point that makes the original purchase stupid.

Case in point: the Sapphire Vega 64 $299 Christmas deal from Newegg on eBay.

Nothing else came close to the price/performance ratio in Battlefield V so I jumped on it, saying goodbye to all the $500+ used crypto-ebay 1080ti listings I had been watching.

I was happy with the performance increase I saw over the RX580 on my i5-8400 setup, but I knew I could get better from the vacuum cleaner Vega 64 sounds coming from my case. An extensive Google search for "Arctic Cooler Xtreme IV + Vega 64" was not promising.

But I kept seeing the benches of the liquid cooled 64 and an old itch of mine started to come back. I started (extensive and stupidly overkill) research into getting my Vega underwater, while working against my nickel and dime goal of keeping this cost well below the $650+ that the retail liquid cooled Vega 64 cards go for.

TLDR:
I ended up snagging an Alphacool Eiswolf Vega setup from ebay for $70 but the pump seems to be faulty. I don't know what the warranty situation is, but I've been told they're not helpful. So basically I have a Vega water block, a 120 radiator/fans, the quick connect tubing it came with, and a pump combo that's faulty.

I can connect an Alphacool Eisbaer triple rad to the Eiswolf loop but I'm not sure if the pump from that setup would be able to push coolant through the whole loop knowing there is a broken pump attached to the gpu block. Thoughts?

Is there a way I can get a pump strong enough to push through this loop for <$100 with everything to hook up to this gpu block?

Should I just ebay the Vega and everything because I'm going to screw myself?


***UPDATE 02-14-2019: JUMP DOWN TO THE RESULTS OF THIS ENDEAVOR, THANKS FOR ALL THE FEEDBACK GUYS!***
 
Last edited:
I am a huge fan of custom water cooling. I'd at least * try * to RMA the defective cooler - you never know. Also, consider generic blocks. The beutiful thing about Vega is that the memory modules are right there next to the core. You could get a generic block to cover the core, using thermal paste for the core itself and a thermal pad for the HBM2 memory as they tend to be a bit shorter than the core. After that, you can use something like Koolance MVR-40 blocks (either with a Koolance plate or a custom plate you fabricate yourself) for the VRM module and chokes. I've done essentially the same thing to the Gigabyte RX480 I am using, and it works great.

The MVR-40s run about $20-25 each and are still available from Performance-PCs last I checked, along with most of their pre-made plates. EK and Koolance have both made generic blocks that are perfect for this sort of thing - I am personally using a Koolance GPU-220 on the 480, and I have an EK generic block on an R7 270X that is in my media center (notging on the chokes and VRM though - the original cooler didn't do anything for those either).

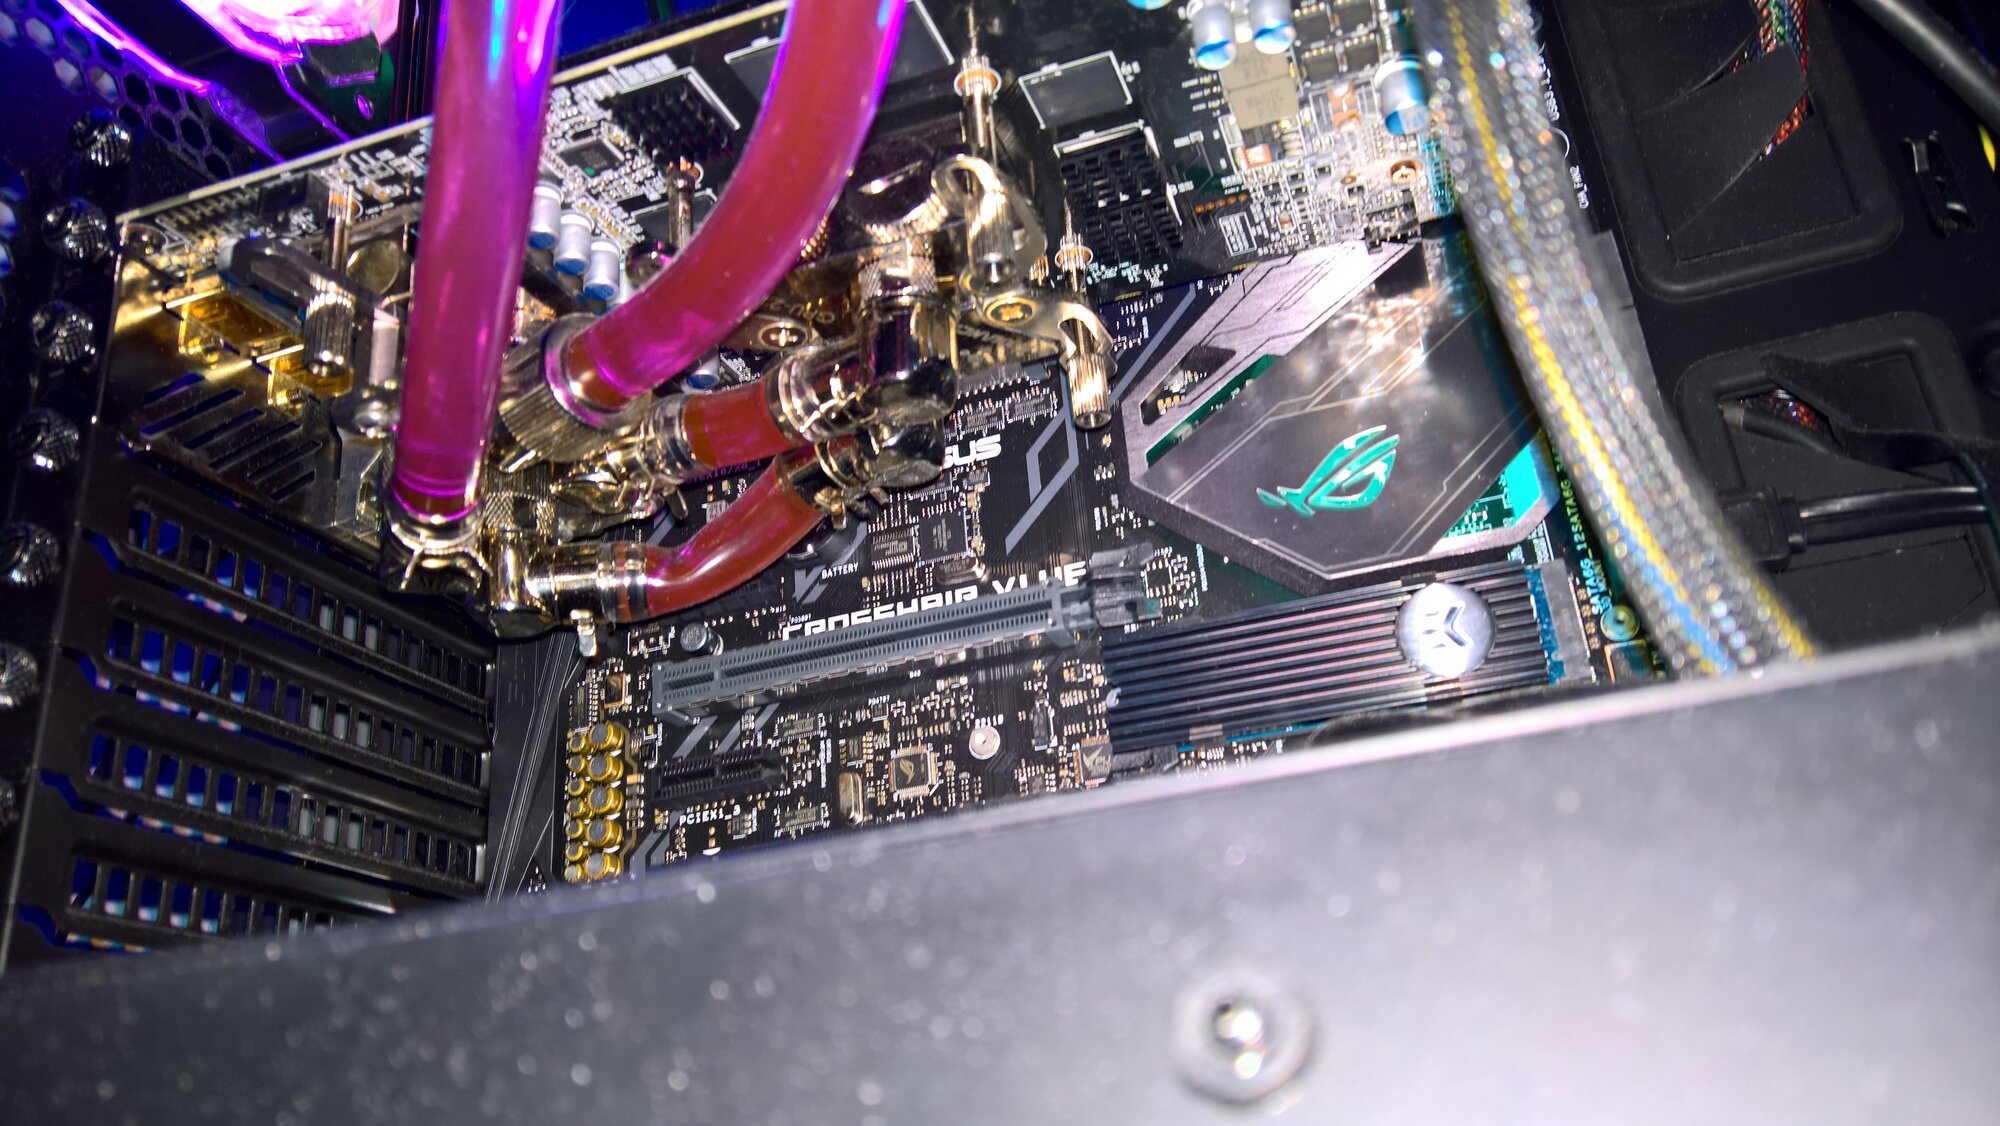
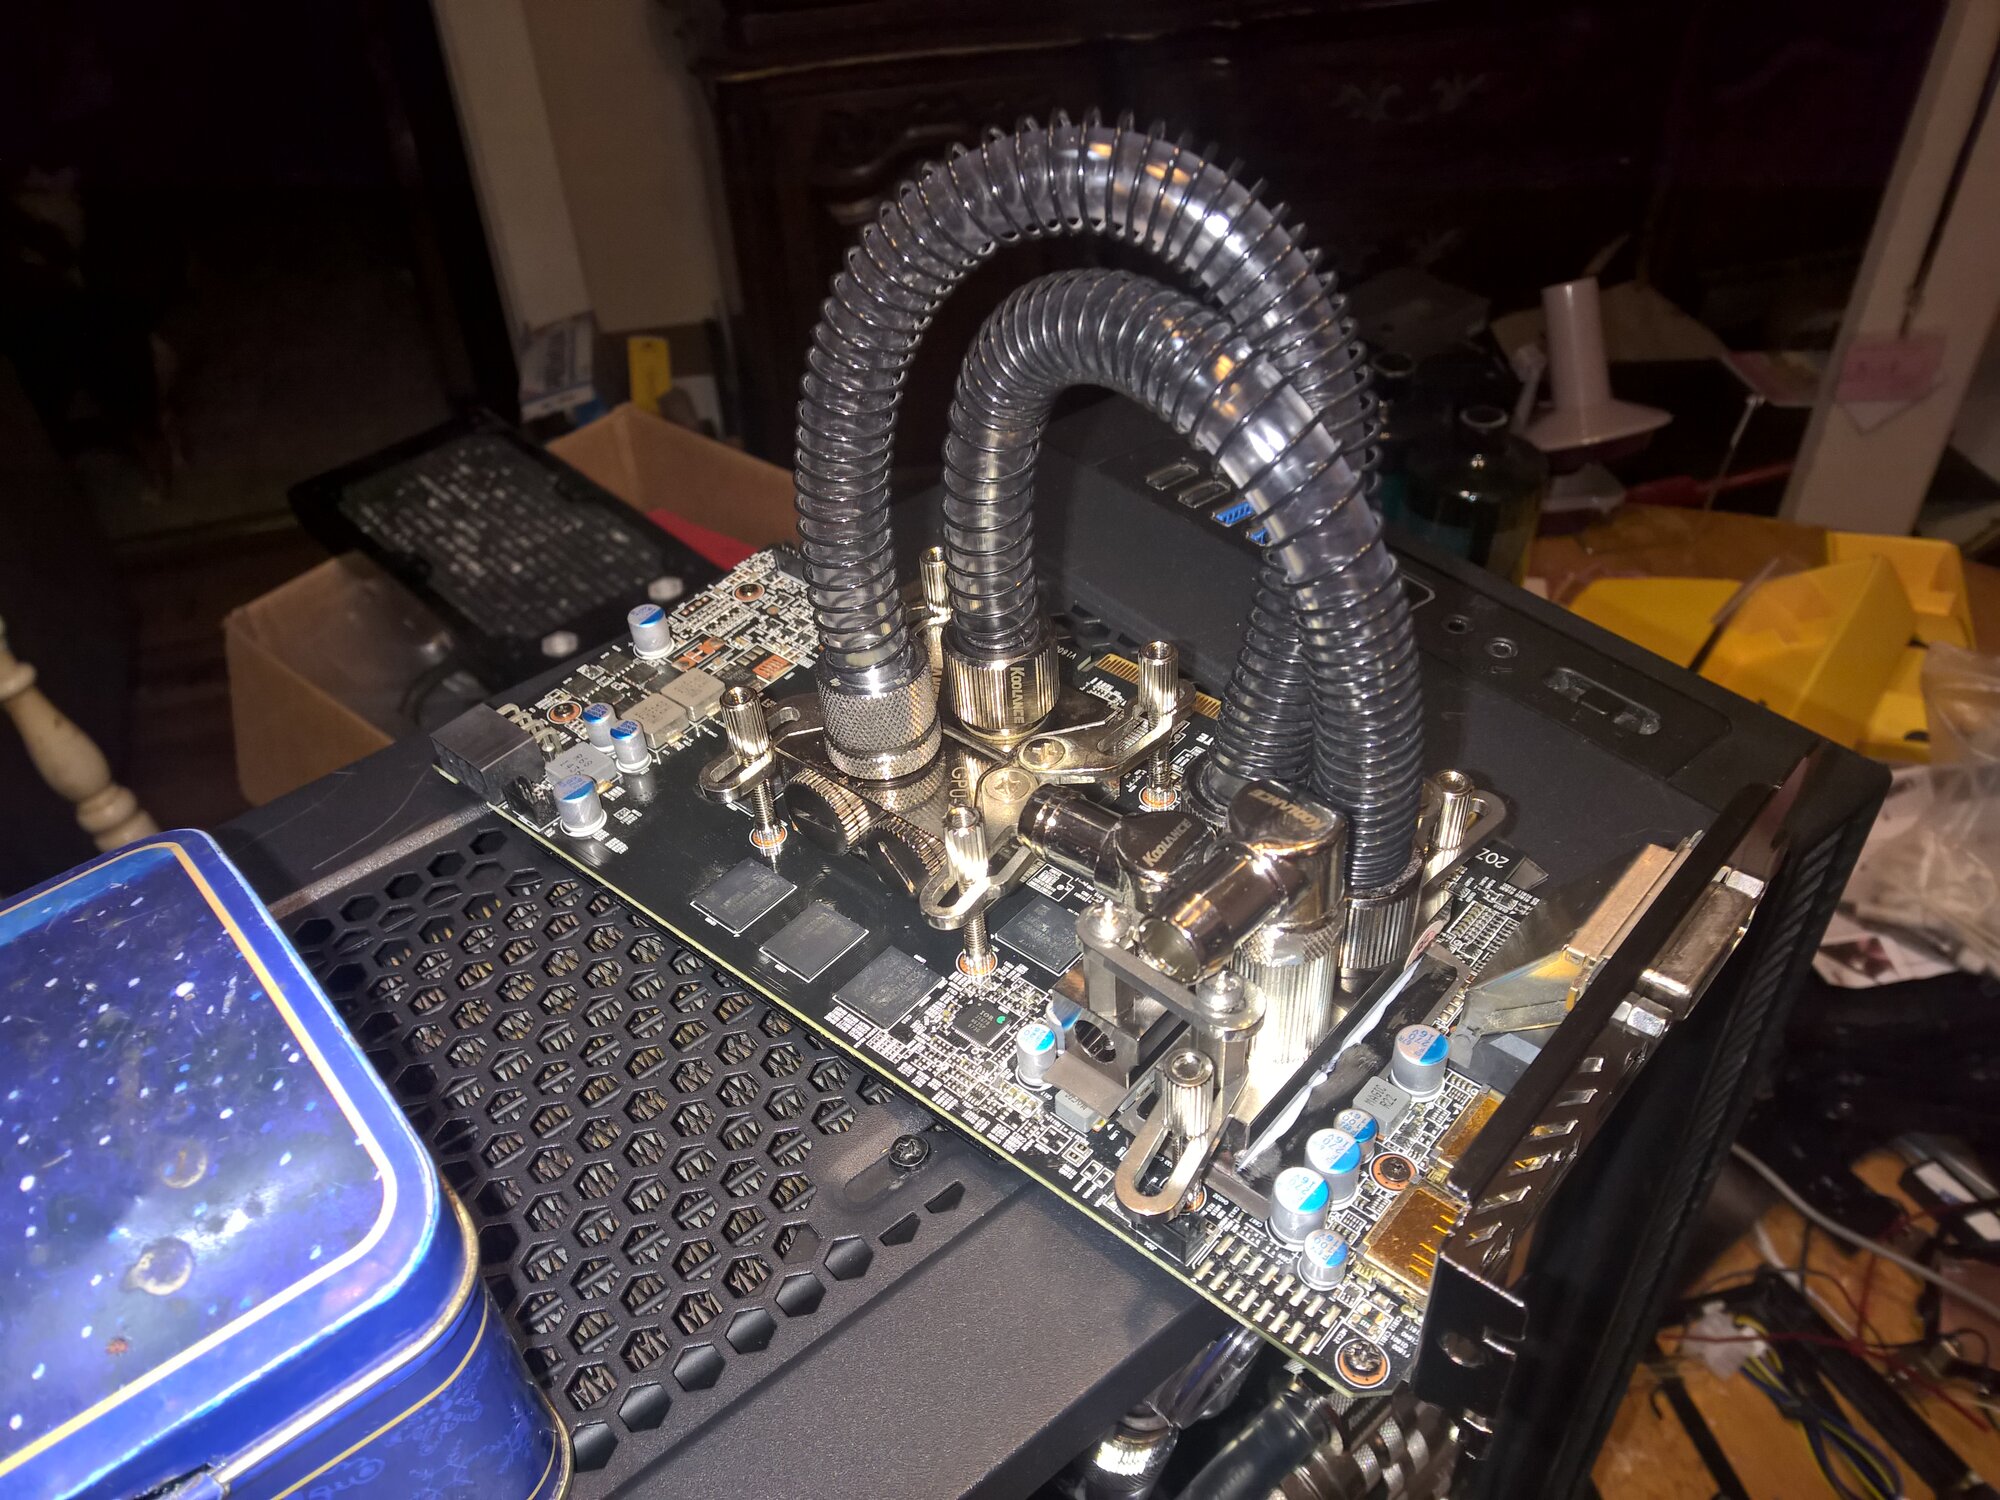
It's not as aesthetically pleasing as a full-cover block built for the card, but it definitely gets the job done. Top image is a picture of the RX480 final build in the PC (hence the awkward picture), and the bottom is a picture of me prototyping it (you can see the blocks more clearly in this one).

Temps on the card are ~31C at idle and ~55C under load
WP_20190203_12_48_57_Pro.jpg
WP_20180315_19_20_34_Pro.jpg
 
I didn't realized they made VRM & MOSFET water blocks separately. That might be an interesting way to go.

My hesitation with going all custom is in the connections. I've heard horror stories about not getting the connections properly set and having leaks right away or worse having those leaks occur several years after the rig was put together and ruining the components.

Should I look into a pump (and what one would you recommend) and buy the alphacool pre made quick connect hoses?

Anyone have any experience with alphacool RMA?
 

Attachments

  • 1549242907870453549972590301763.jpg
    1549242907870453549972590301763.jpg
    419.7 KB · Views: 0
I didn't realized they made VRM & MOSFET water blocks separately. That might be an interesting way to go.

My hesitation with going all custom is in the connections. I've heard horror stories about not getting the connections properly set and having leaks right away or worse having those leaks occur several years after the rig was put together and ruining the components.

Should I look into a pump (and what one would you recommend) and buy the alphacool pre made quick connect hoses?

Anyone have any experience with alphacool RMA?

I can't help you with the RMA bit - never had any Alphacool stuff...

As far as leaks are concerned, generally speaking modern standard soft tube fittings, to my experience, don't leak in and of themselves. Leaks can happen if the fittings aren't properly tightened to their blocks, though. A pair of pliers really helps with that. Also, it is a good idea to test your loop outside of the system before you install it to check for these kinds of problems in advance. I must admit that I had assumed that your CPU was on a custom loop when I suggested trying the VRM blocks coupled with a generic GPU block... My bad.

As far as getting a pump is concerned... getting a pump/reservoir unit can be expensive, and if you are doing that you might as well go all-in on it and do the CPU as well. The upside is that most of your liquid cooling bits are likely to be reusable going forward, so it is an investment that potentially can keep on giving for quite some time. If you have an available 5.25" drive bay available in your case, Koolance used to make pump/reservoir units that fit those. You can sometimes find them on eBay for reasonable prices. A cheap Koolance Exos is a good choice as well for simple loops (though Koolance used aluminum radiators in those... something to be aware of if you go that route). You can also get a standard pump/reservoir unit and a couple of fittings, but you're looking at $70-80 bucks for one. Any D5 pump is more than adequate for small-to-medium loops. Alphacool might also sell fittings that fit those quick disconnects, allowing you to resuse that radiator in a standard custom loop if they won't RMA the unit.

Remember, watercooling is fun, and that while even a simple custom loop is much more expensive than a good air cooler, you can potentially get a lot more useable life out of the loop parts. I have soft tube fittings from 2005 that I'm still using. That GPU-220 you see in that picture was bought at least 10 years ago... A simple loop isn't very hard to make, either - it only gets difficult when you get into those complex hard tube beauty beauty builds. :)
 
As far as leaks are concerned, generally speaking modern standard soft tube fittings, to my experience, don't leak in and of themselves. Leaks can happen if the fittings aren't properly tightened to their blocks, though. A pair of pliers really helps with that.

Yes! This is what worries me about the fittings
and really the only reason why I'm apprehensive about going down the custom loop route.

As far as getting a pump is concerned... getting a pump/reservoir unit can be expensive, and if you are doing that you might as well go all-in on it and do the CPU as well.

Yes, definitely going to do the CPU also which was why adding to the loop with more Alphacool attracted me. I have been using Corsair AIOs since the H50 for my CPUs even if it's just for the quiet factor.

If you have an available 5.25" drive bay available in your case, Koolance used to make pump/reservoir units that fit those. You can sometimes find them on eBay for reasonable prices... You can also get a standard pump/reservoir unit and a couple of fittings, but you're looking at $70-80 bucks for one. Any D5 pump is more than adequate for small-to-medium loops.

I think I've seen a couple of those Koolance units on ebay but wasn't sure if they were good, appreciate the advice. Are those strong enough to run anything I would put in this loop? When you say standard pump, are you referring to the D5?
 
Update : I snagged an Alphacool Eisbaer 280 cpu AIO cooler on fleabay for $50 including shipping, but the REAL update is the pump on the Vega cooler seems to be working fine now!

The 120mm radiator on the Vega sounds like it's not completely full and I'm wondering if there was air caught in the pump when the previous owner was using it, should I top it off with distilled water? How full should these AIOs be?

Congrats on the on the Vega pump, and yes, the Koolance pump/reservoir 5.25" bay units are good (I have 2 and the only problem I ever had was a defective reservoir on my early model one that was factory recalled). They are plenty powerful enough to support a small-to-medium loop. The weaker one is currently supporting a single custom loop consisting of 2 Chipset coolers, a CPU block and a GPU block and 2x 240mm high flow radiators in my Media Center PC. I also have an Exos 2.5 unit that works really well for the kid's PC (1 GPU full-coverage block and a CPU block) and two different custom loop systems built around the XSPC Photon v2 pump/reservoir combo (my personal PC is in my signature).

By "standard pump" I meant a pump with G1/4" threads for fittings and not necessarily the specific type of pump itself.

About refilling the Alphacool: This is a question I can't directly help you with. You'll need to check the Alphacool documentation (which you should be able to get from their website) to see how one goes about topping it off or refilling it. Since it has QDCs and is an expandable loop, it stands to reason that they have something to say about what one uses as a coolant with it... :)
 
Update : I snagged an Alphacool Eisbaer 280 cpu AIO cooler on fleabay for $50 including shipping, but the REAL update is the pump on the Vega cooler seems to be working fine now!

The 120mm radiator on the Vega sounds like it's not completely full and I'm wondering if there was air caught in the pump when the previous owner was using it, should I top it off with distilled water? How full should these AIOs be?
AIOs should be completely filled. Any air in the loop has the possibility of making it's way into the pump and stalling it, which is likely the problem you had before. The first thing to remember about centrifugal pumps (which is what all PC watercooling pumps are) is that they do not and cannot suck liquid into themselves. They must be fed. So, with a tiny pump and tiny tubing, a tiny air bubble trapped at the inlet is all it takes to make a pump spin ineffectually, humming along without actually moving any water.

As for topping it off, you should. How you go about doing that on an AIO like the Eiswolf is an exercise left to the reader. ;)

Relevant for you in the future maybe: all of Alphacool's "Eis"things use DC-LT pumps, which are purchasable from Alphacool as standalone units, if you are ever needing to actually replace one. They're relatively inexpensive, too.
 
I am a huge fan of custom water cooling. I'd at least * try * to RMA the defective cooler - you never know. Also, consider generic blocks. The beutiful thing about Vega is that the memory modules are right there next to the core. You could get a generic block to cover the core, using thermal paste for the core itself and a thermal pad for the HBM2 memory as they tend to be a bit shorter than the core. After that, you can use something like Koolance MVR-40 blocks (either with a Koolance plate or a custom plate you fabricate yourself) for the VRM module and chokes. I've done essentially the same thing to the Gigabyte RX480 I am using, and it works great.

The MVR-40s run about $20-25 each and are still available from Performance-PCs last I checked, along with most of their pre-made plates. EK and Koolance have both made generic blocks that are perfect for this sort of thing - I am personally using a Koolance GPU-220 on the 480, and I have an EK generic block on an R7 270X that is in my media center (notging on the chokes and VRM though - the original cooler didn't do anything for those either).

It's not as aesthetically pleasing as a full-cover block built for the card, but it definitely gets the job done. Top image is a picture of the RX480 final build in the PC (hence the awkward picture), and the bottom is a picture of me prototyping it (you can see the blocks more clearly in this one).

Temps on the card are ~31C at idle and ~55C under load
View attachment 139348 View attachment 139349

Wow. I thought I was fairly crazy when it came to WC'ing and "making it work" here at [H]ard...I was the first to direct die cool modern intel cpus after they went to that shit tim using a custom made mount with stainless steel washers to adjust the spacing but that setup takes the cake....That is a ton of work and money (if you did not already own the blocks) to WC a 480. Props on the plumbing though!.


OP, I want to help, but I feel like you are in way over your head, and do not want to be responsible for you hurting that insane deal you snagged. Pro tip, If you want the most from your card, you are going to need to flash the Bios to a LC 64 that has a much higher TDP which will unlease that card. My best clocking 56 will do 1800Mhz/1150mhz HBM with a 64LC bios and some custom Power Play Tables to give it the current it needs. Card can run 24/7 for a week and never break 55C.

I would contact Alphacool and ask them for some directions on refilling those AIOs, as I have never used them myself but there should be a fill port. If there is not, you will need to remove the tubing from a fitting and fill it that way.

Goodluck!
 
I know some AIOs are supposed to mounted in specific orientations I believe for the pump to operate properly. I would double check what Alphacool recommends if you continue to have issues.
 
Wow. I thought I was fairly crazy when it came to WC'ing and "making it work" here at [H]ard...I was the first to direct die cool modern intel cpus after they went to that shit tim using a custom made mount with stainless steel washers to adjust the spacing but that setup takes the cake....That is a ton of work and money (if you did not already own the blocks) to WC a 480. Props on the plumbing though!

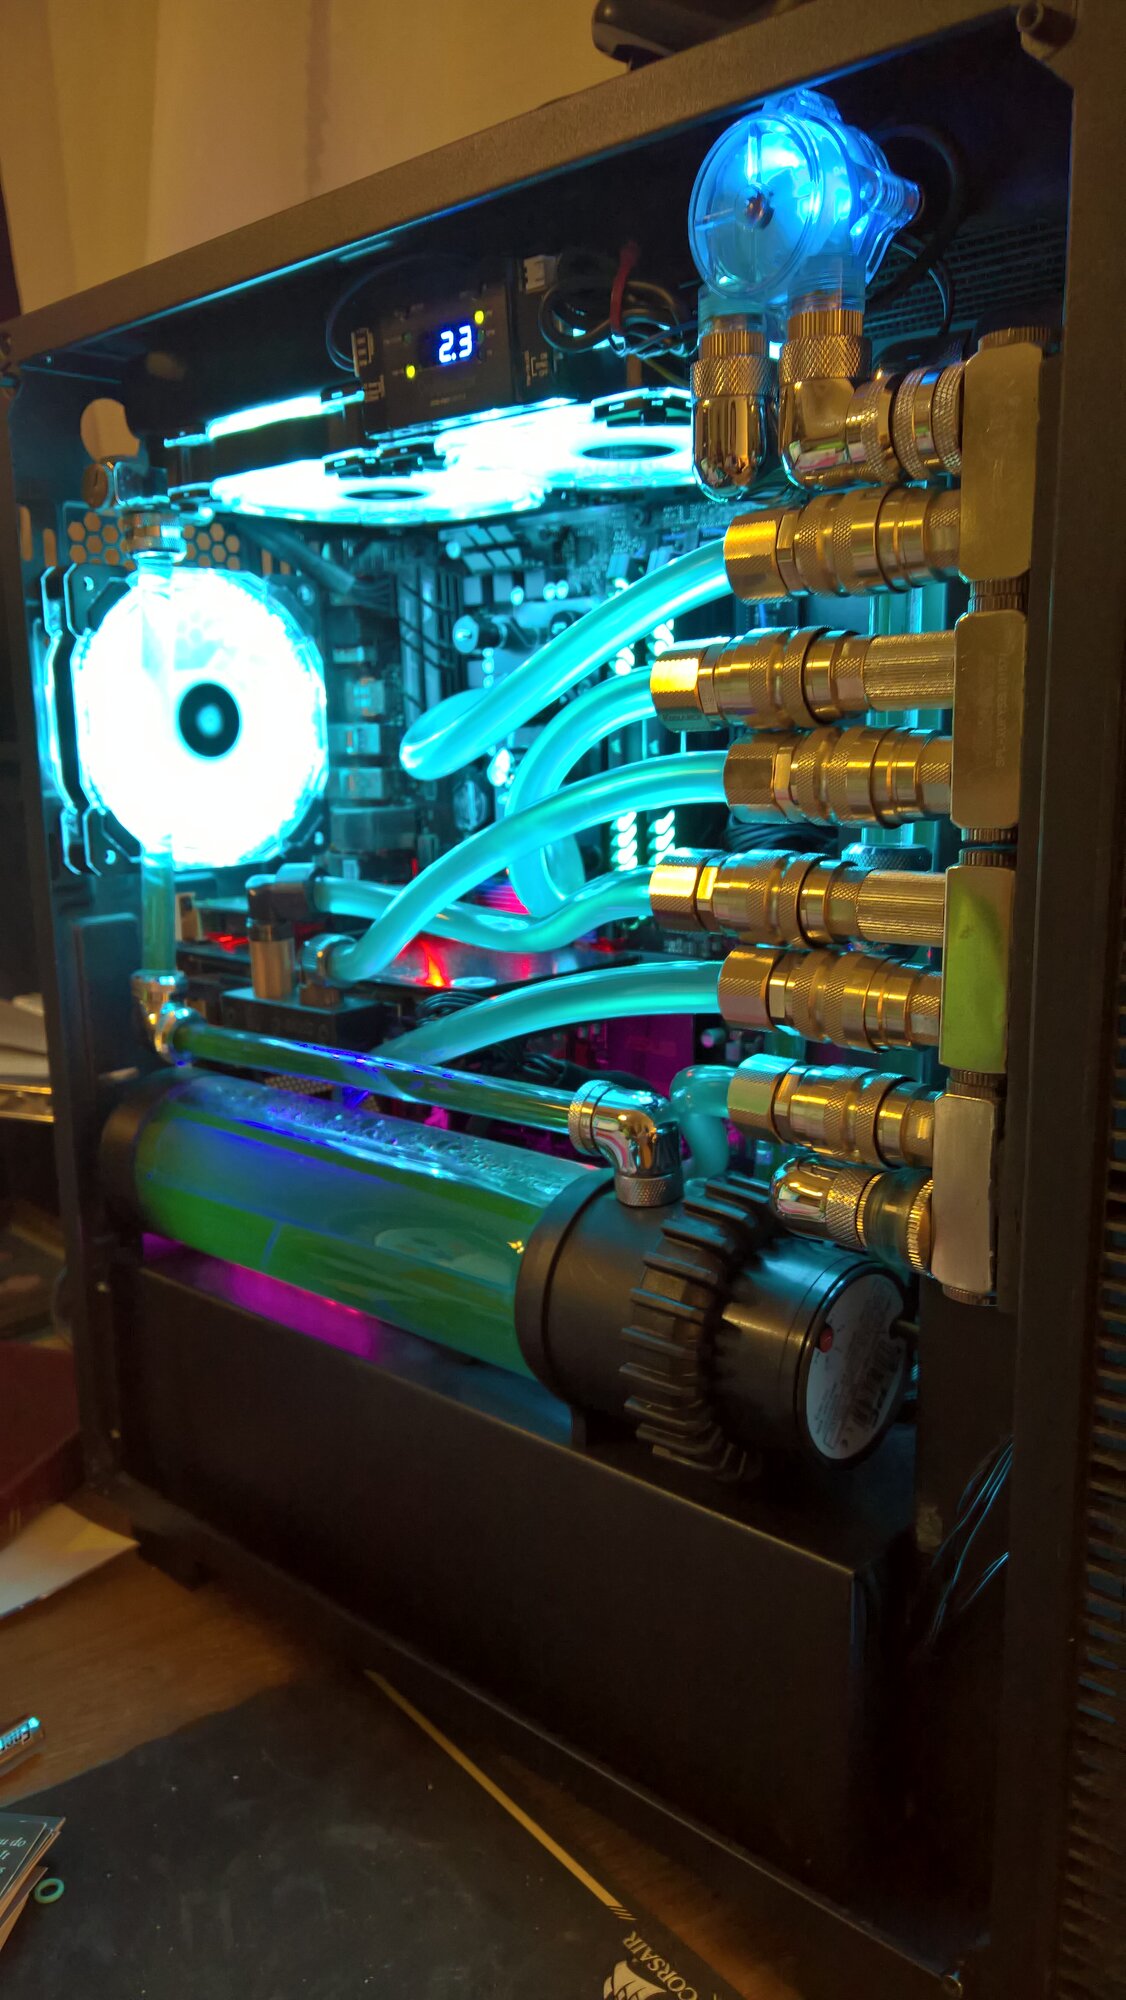
Thanks for the kind words. The GPU-220 was pulled from my box of previously-used bits (I don't toss old WC bits - you never know when something will prove to be useful), and the MVR-40's were originally purchased for the VRM's on my wife's mainboard, but I couldn't find a way to get it in there AND look nice. Hers was a looks-focused build using the Rosewill Cullinan case, and there really isn't a lot of room to work in there, especially with the 2x 360mm radiators, Photon D5 v2 270 pump/reservoir, and the custom manifold I built to use QDCs and soft tube to the CPU & GPU blocks (with a set currently unused that was meant for the VRMs). The pump/reservoir, radiators, and manifold are all connected by 13mm borosilicate glass tubing and it's all lit by by 6 Corsair RGB fans and a Commander Pro to control it all. It's all shoe horned in there and took 2 solid weeks and some Dremel and drill work to get it all together, but it looks pretty good. She likes it, anyway :) Upside: I built the same custom manifold set up into my CoolerMaster C700P, so trickle-down upgrades to her PC are a snap.

She's currently running my old Ryzen R7 1700 @ 3.8GHz with 2x8G RAM @ 3000 and a reference RX480 with an EK full cover block on an Asus Prime X370-A. The CPU is using a Koolance CPU-380 cooler with the AM4 bracket Koolance made for their for a CPU-390 block, but with the mount holes drilled out and countersunk to accommodate the 380 block (I told you, I don't toss older WC bits :)). I posted before and after pictures of the block and bracket on this site back when Kyle first had to rig his older Koolance CPU-370 for his initial Ryzen reviews.
 
I'd like to see that setup, did you do a build log? I confess I haven't been in there much the last year, but I used to love seeing the build logs that used to get posted here.
 
I'd like to see that setup, did you do a build log? I confess I haven't been in there much the last year, but I used to love seeing the build logs that used to get posted here.

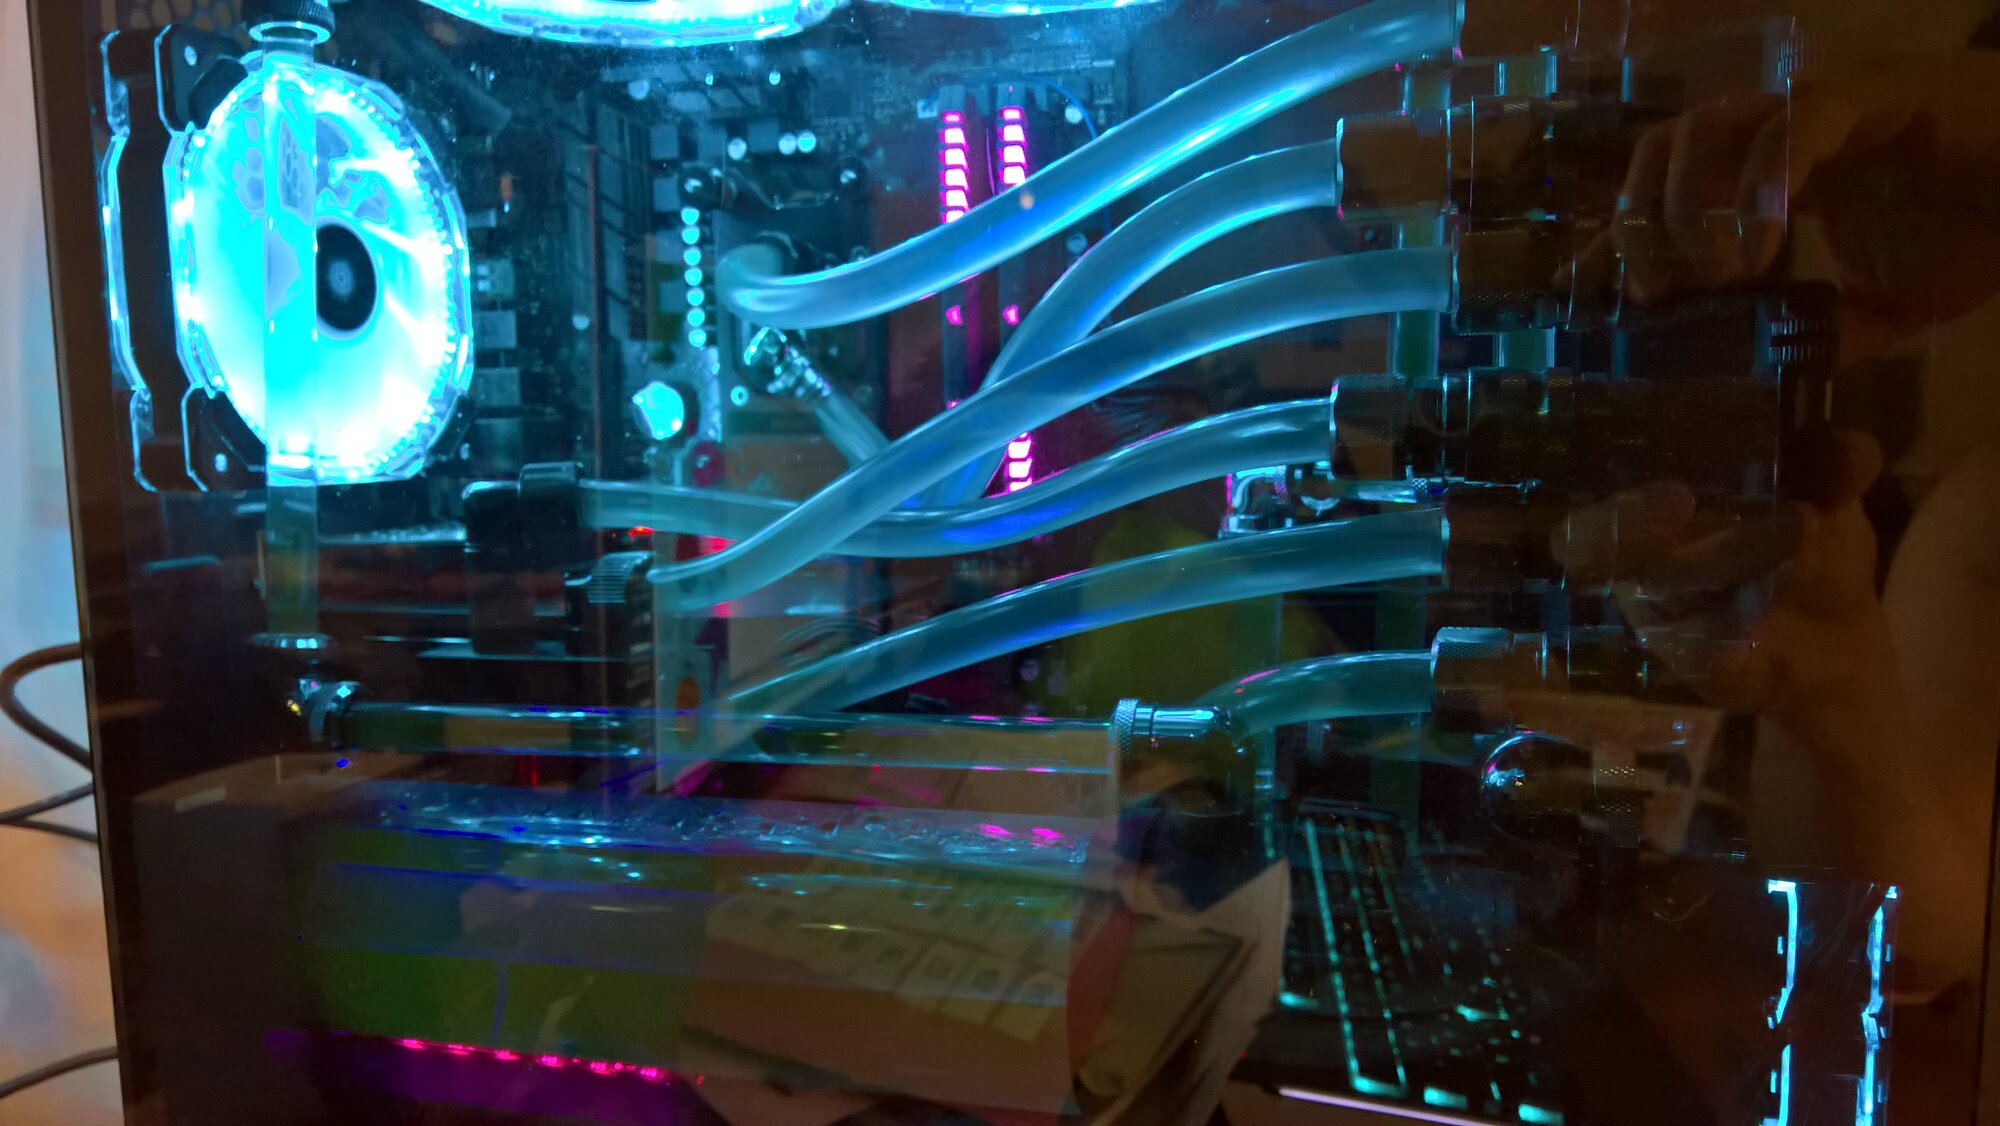
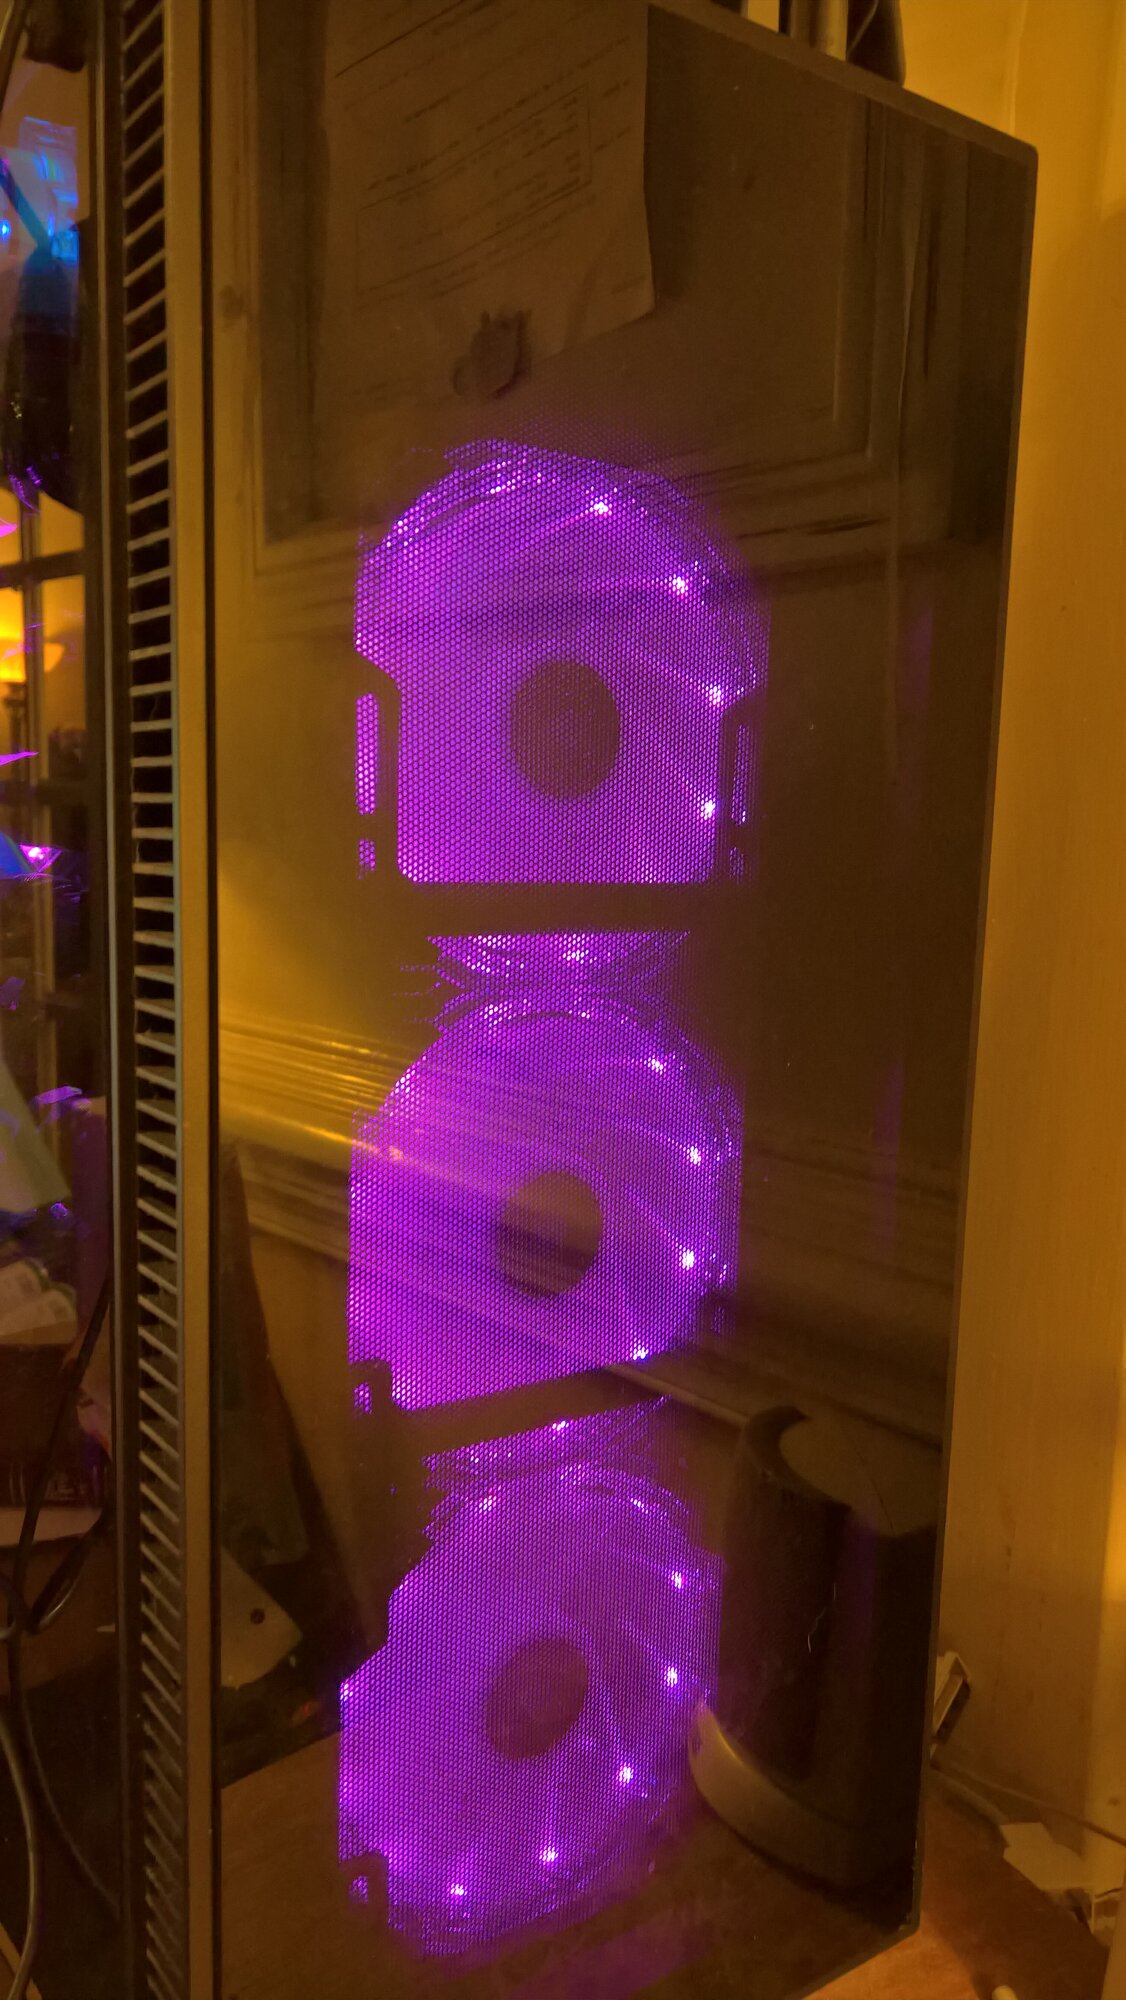
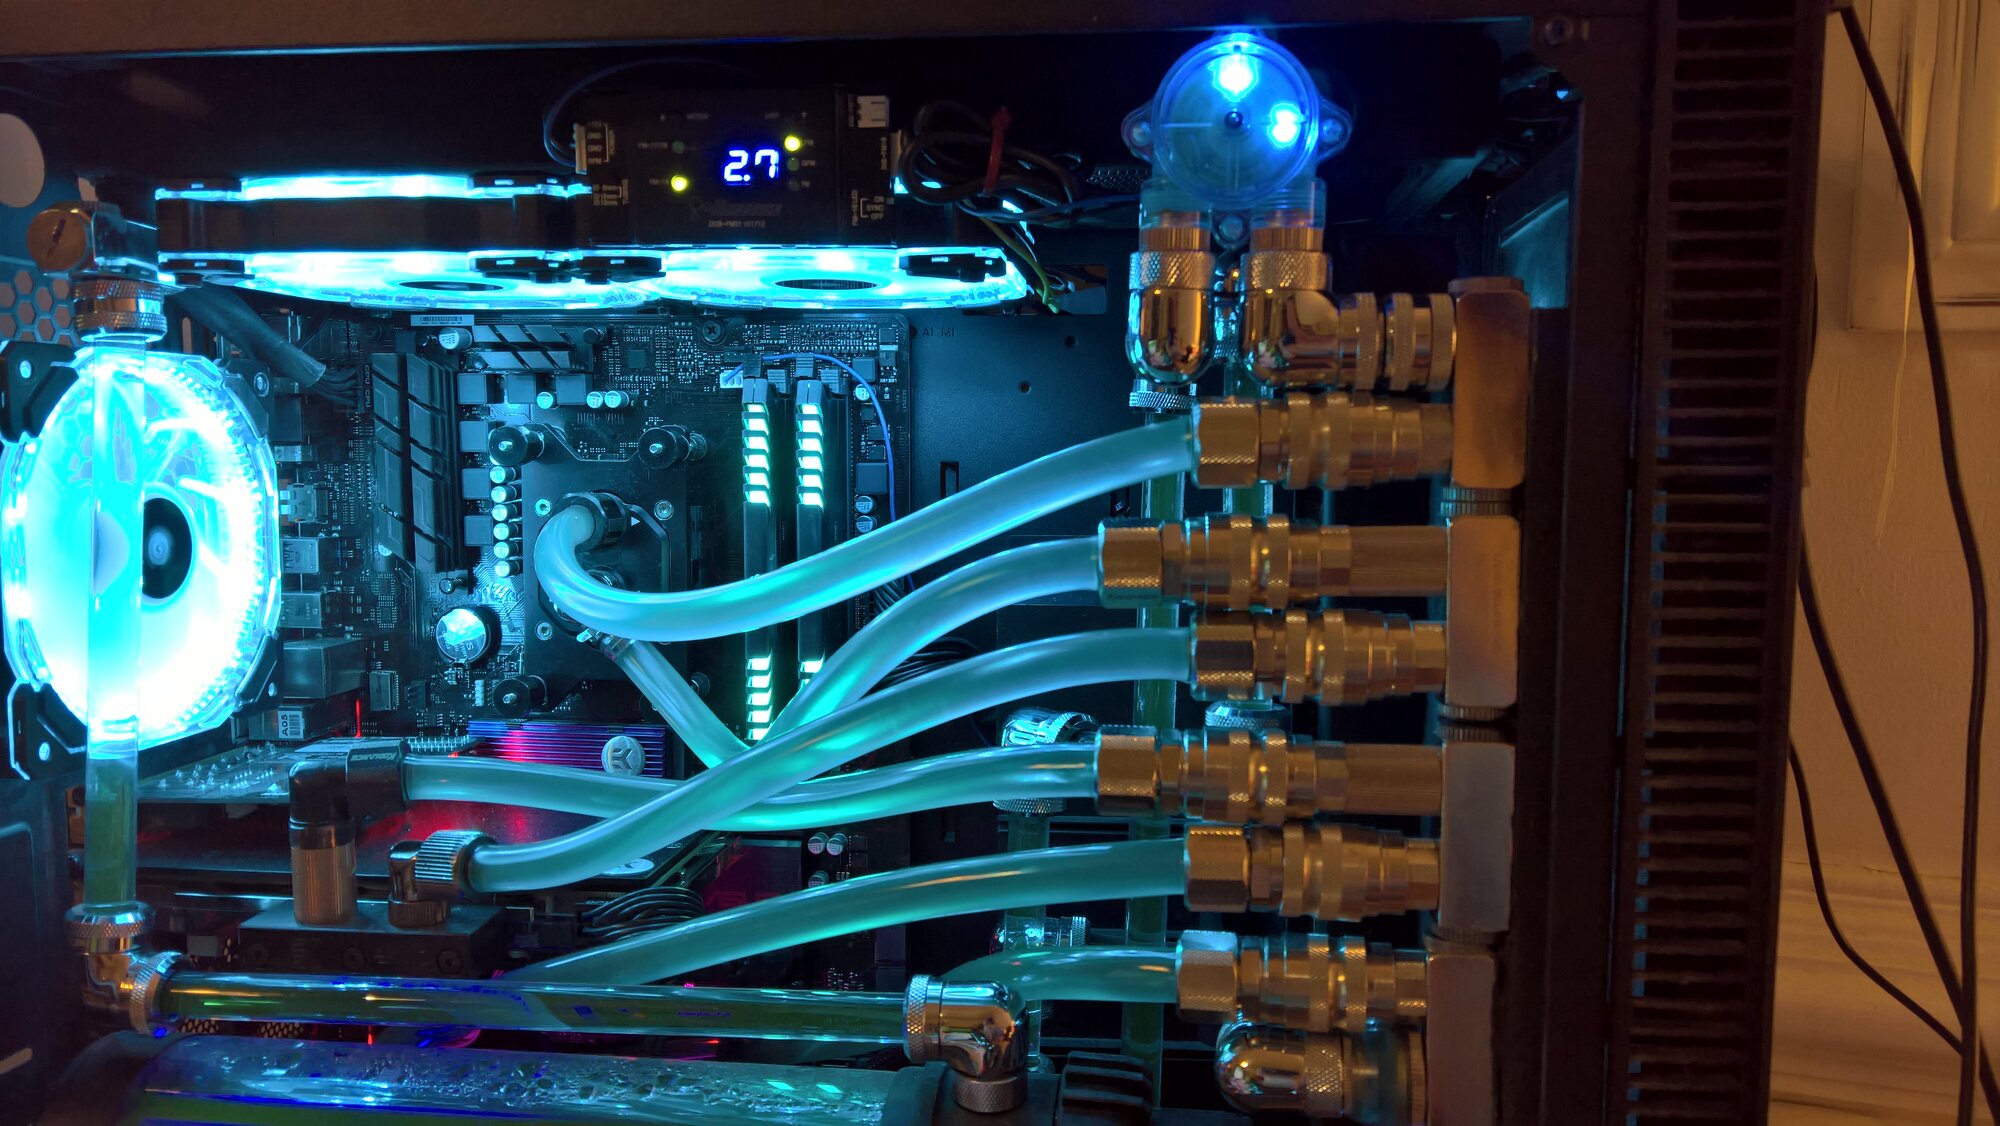
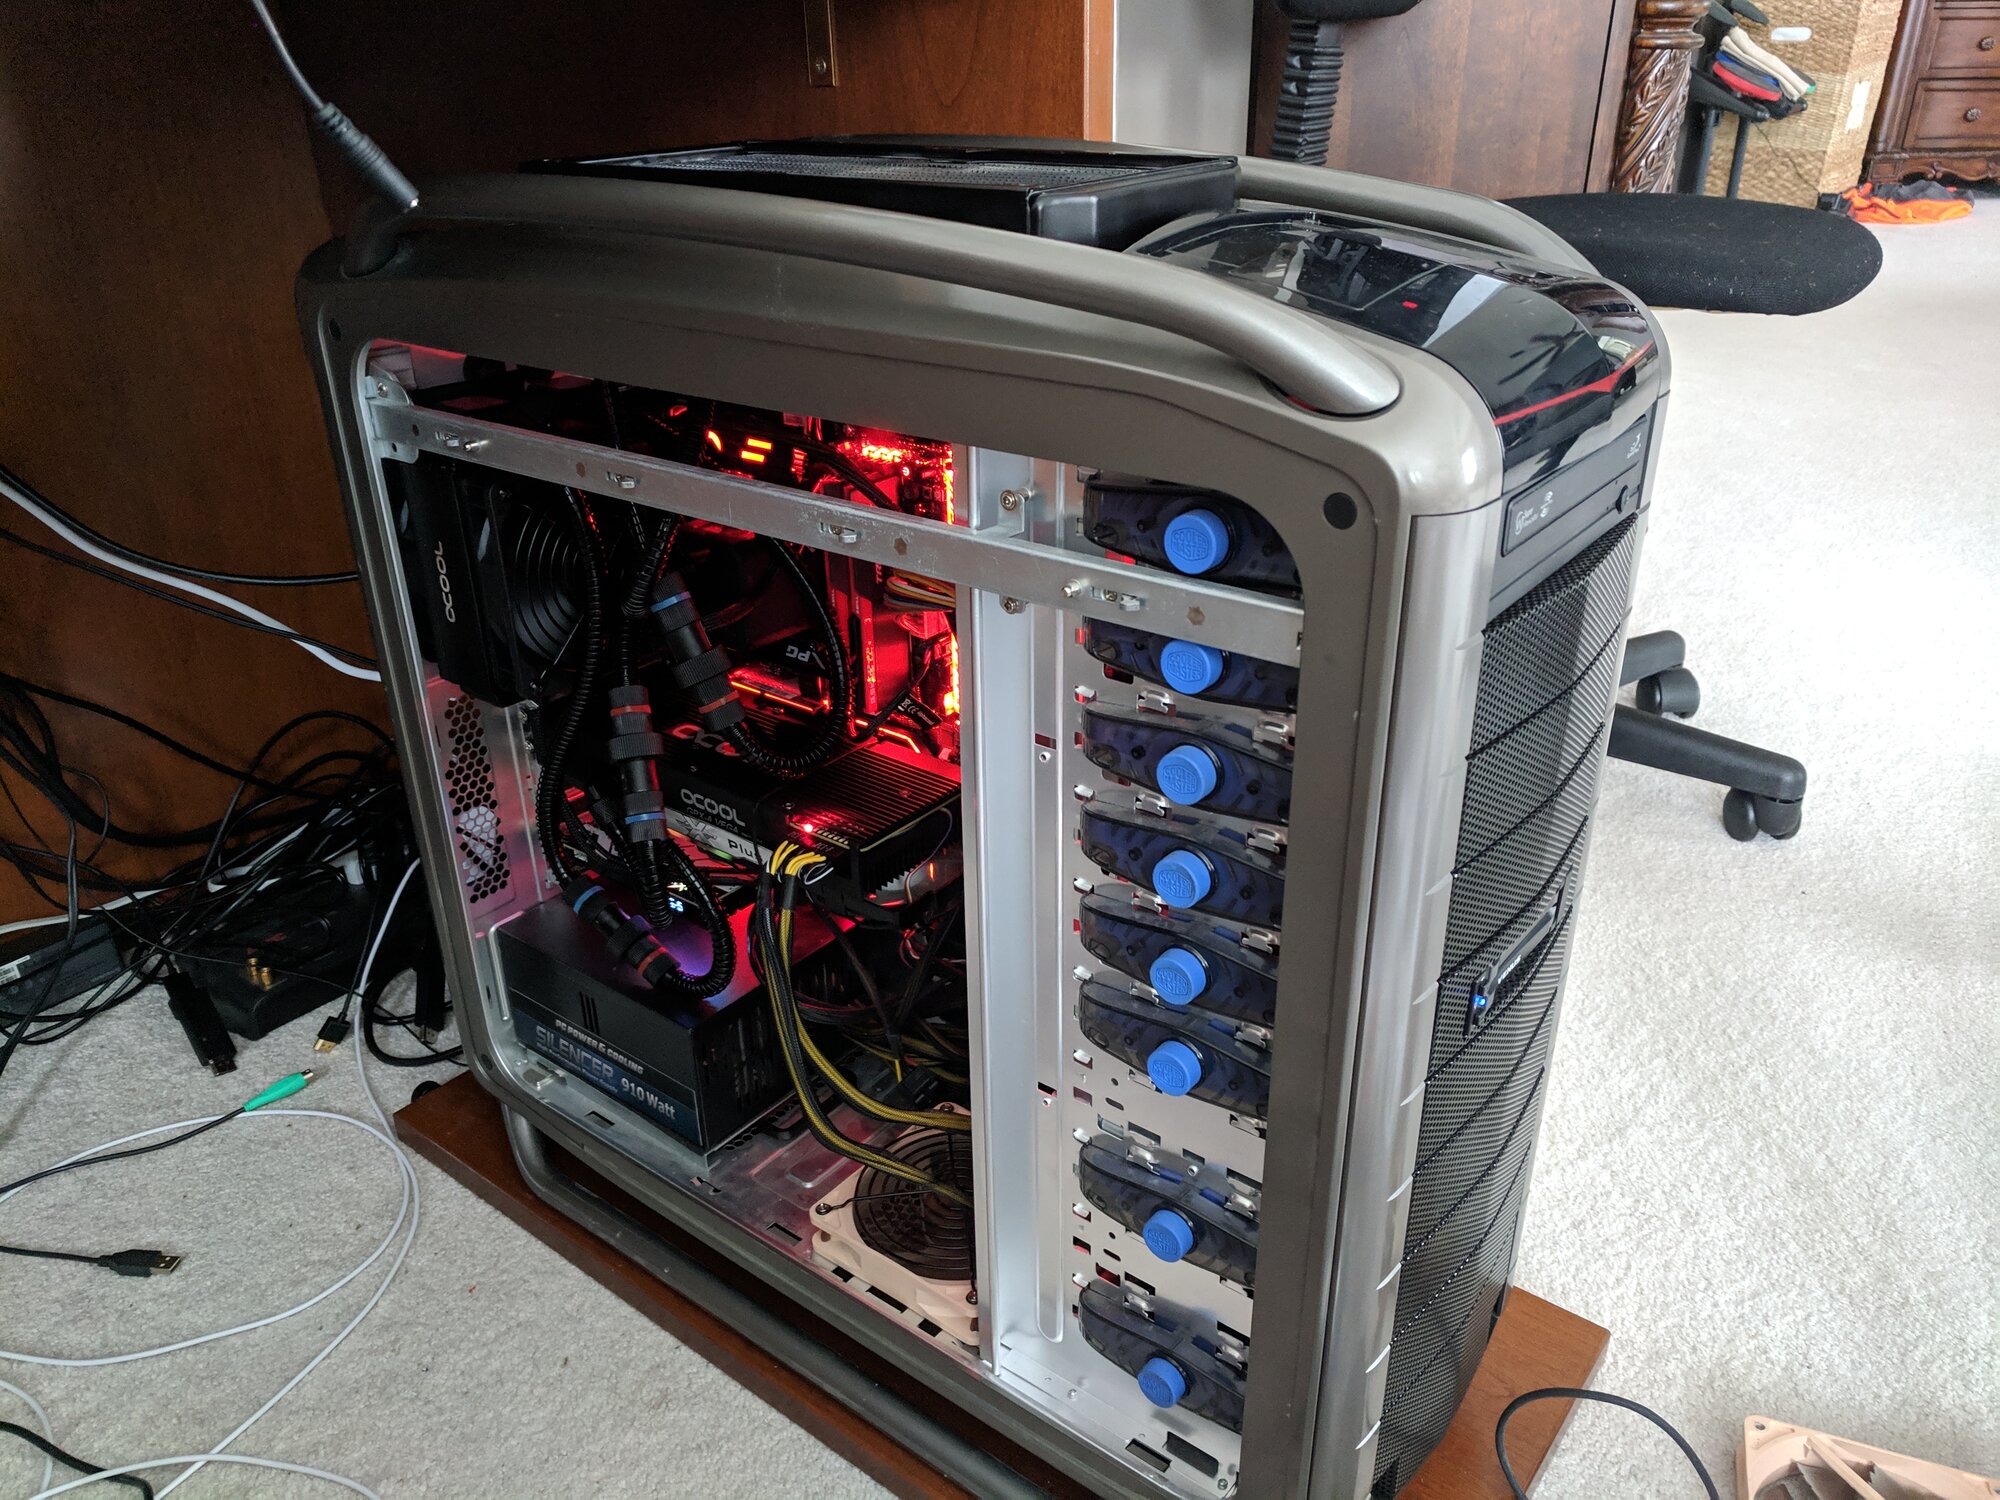
I never did a build log, no. Never even occured to me... But here are some picks of the machine running on my wife's desk. The RGB lights slowly fade from Cyan to Purple and back (along with her keyboard, mouse and headset). These are her favorite colors. Her desk is a disaster zone, so the pictures are somewhat zoomed in. As you can see, I wasn't kidding when I said it was shoehorned into that Rosewill Cullinan case :)

WP_20190207_18_30_05_Pro.jpg

Panel off, good look at the manifod with Quick Disconnects (I have a hose on the bottom set of QDCs - there is no actual device there. This is where I was originally going to connect the VRM loop I didn't install)

WP_20190207_18_32_54_Pro.jpg

With Glass panel on (it's darker than it looks)

WP_20190207_18_33_18_Pro.jpg

Front panel

WP_20190207_18_30_37_Pro.jpg

Straight-in view, again with the panel off. You can see more of the glass tubing in the background behind the soft tubing.
 
Guys I greatly appreciate all the info and advice!!! This might sound corny but this has helped me get comfortable with going down the full custom liquid cooling route for my next build.

I want to put up some pictures of what I ended up with as well as some 3DMark records that I broke as a result...


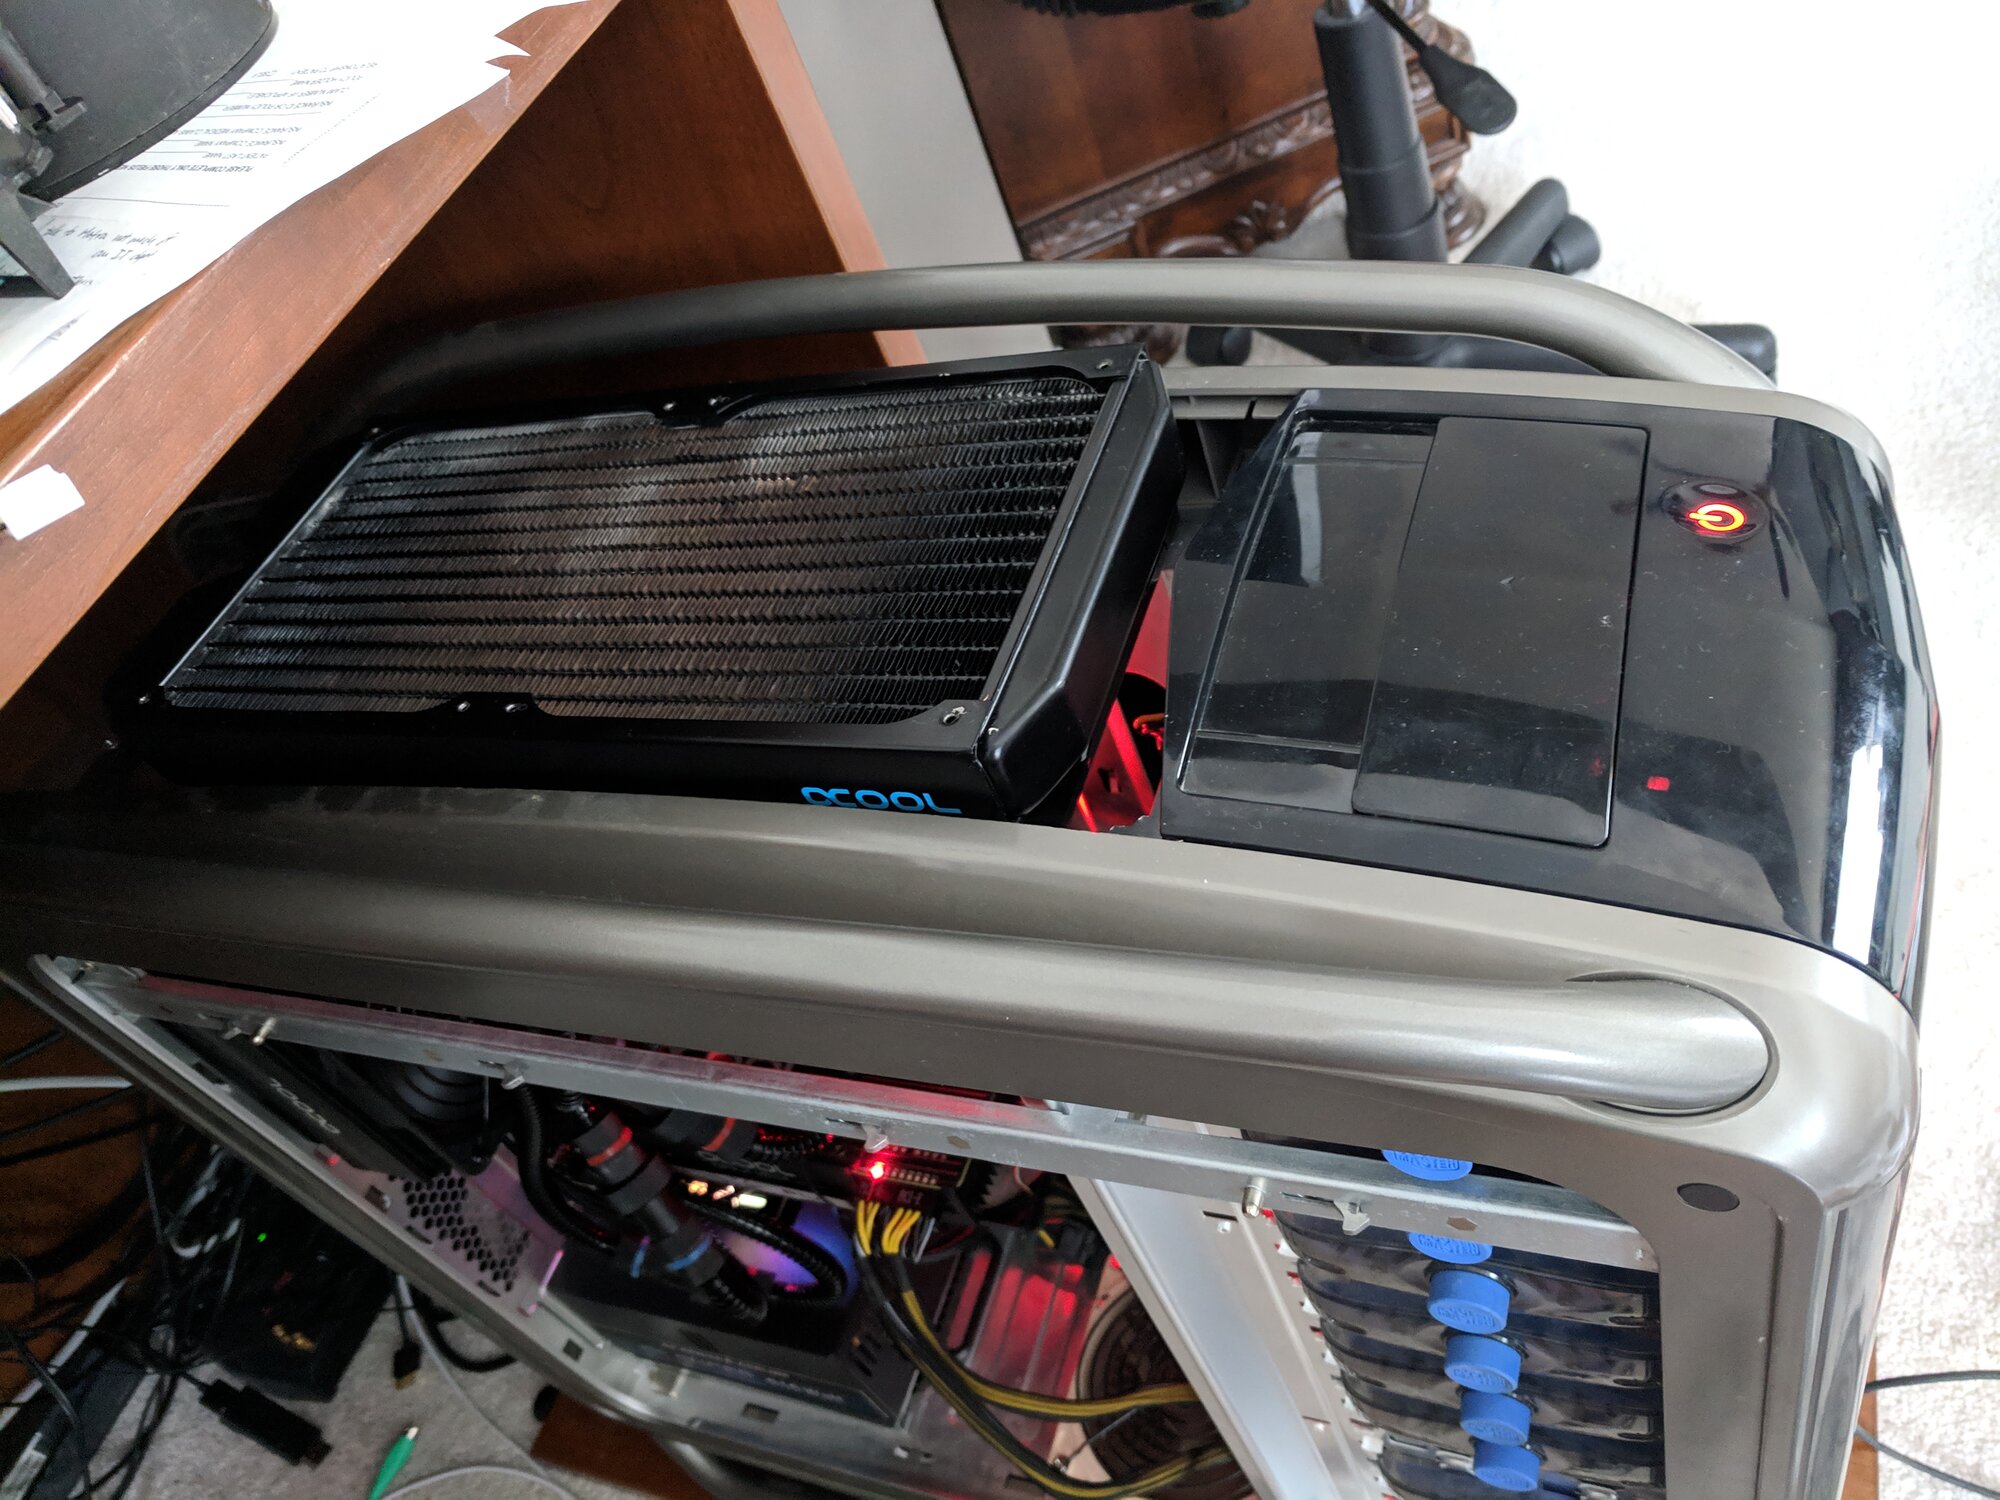
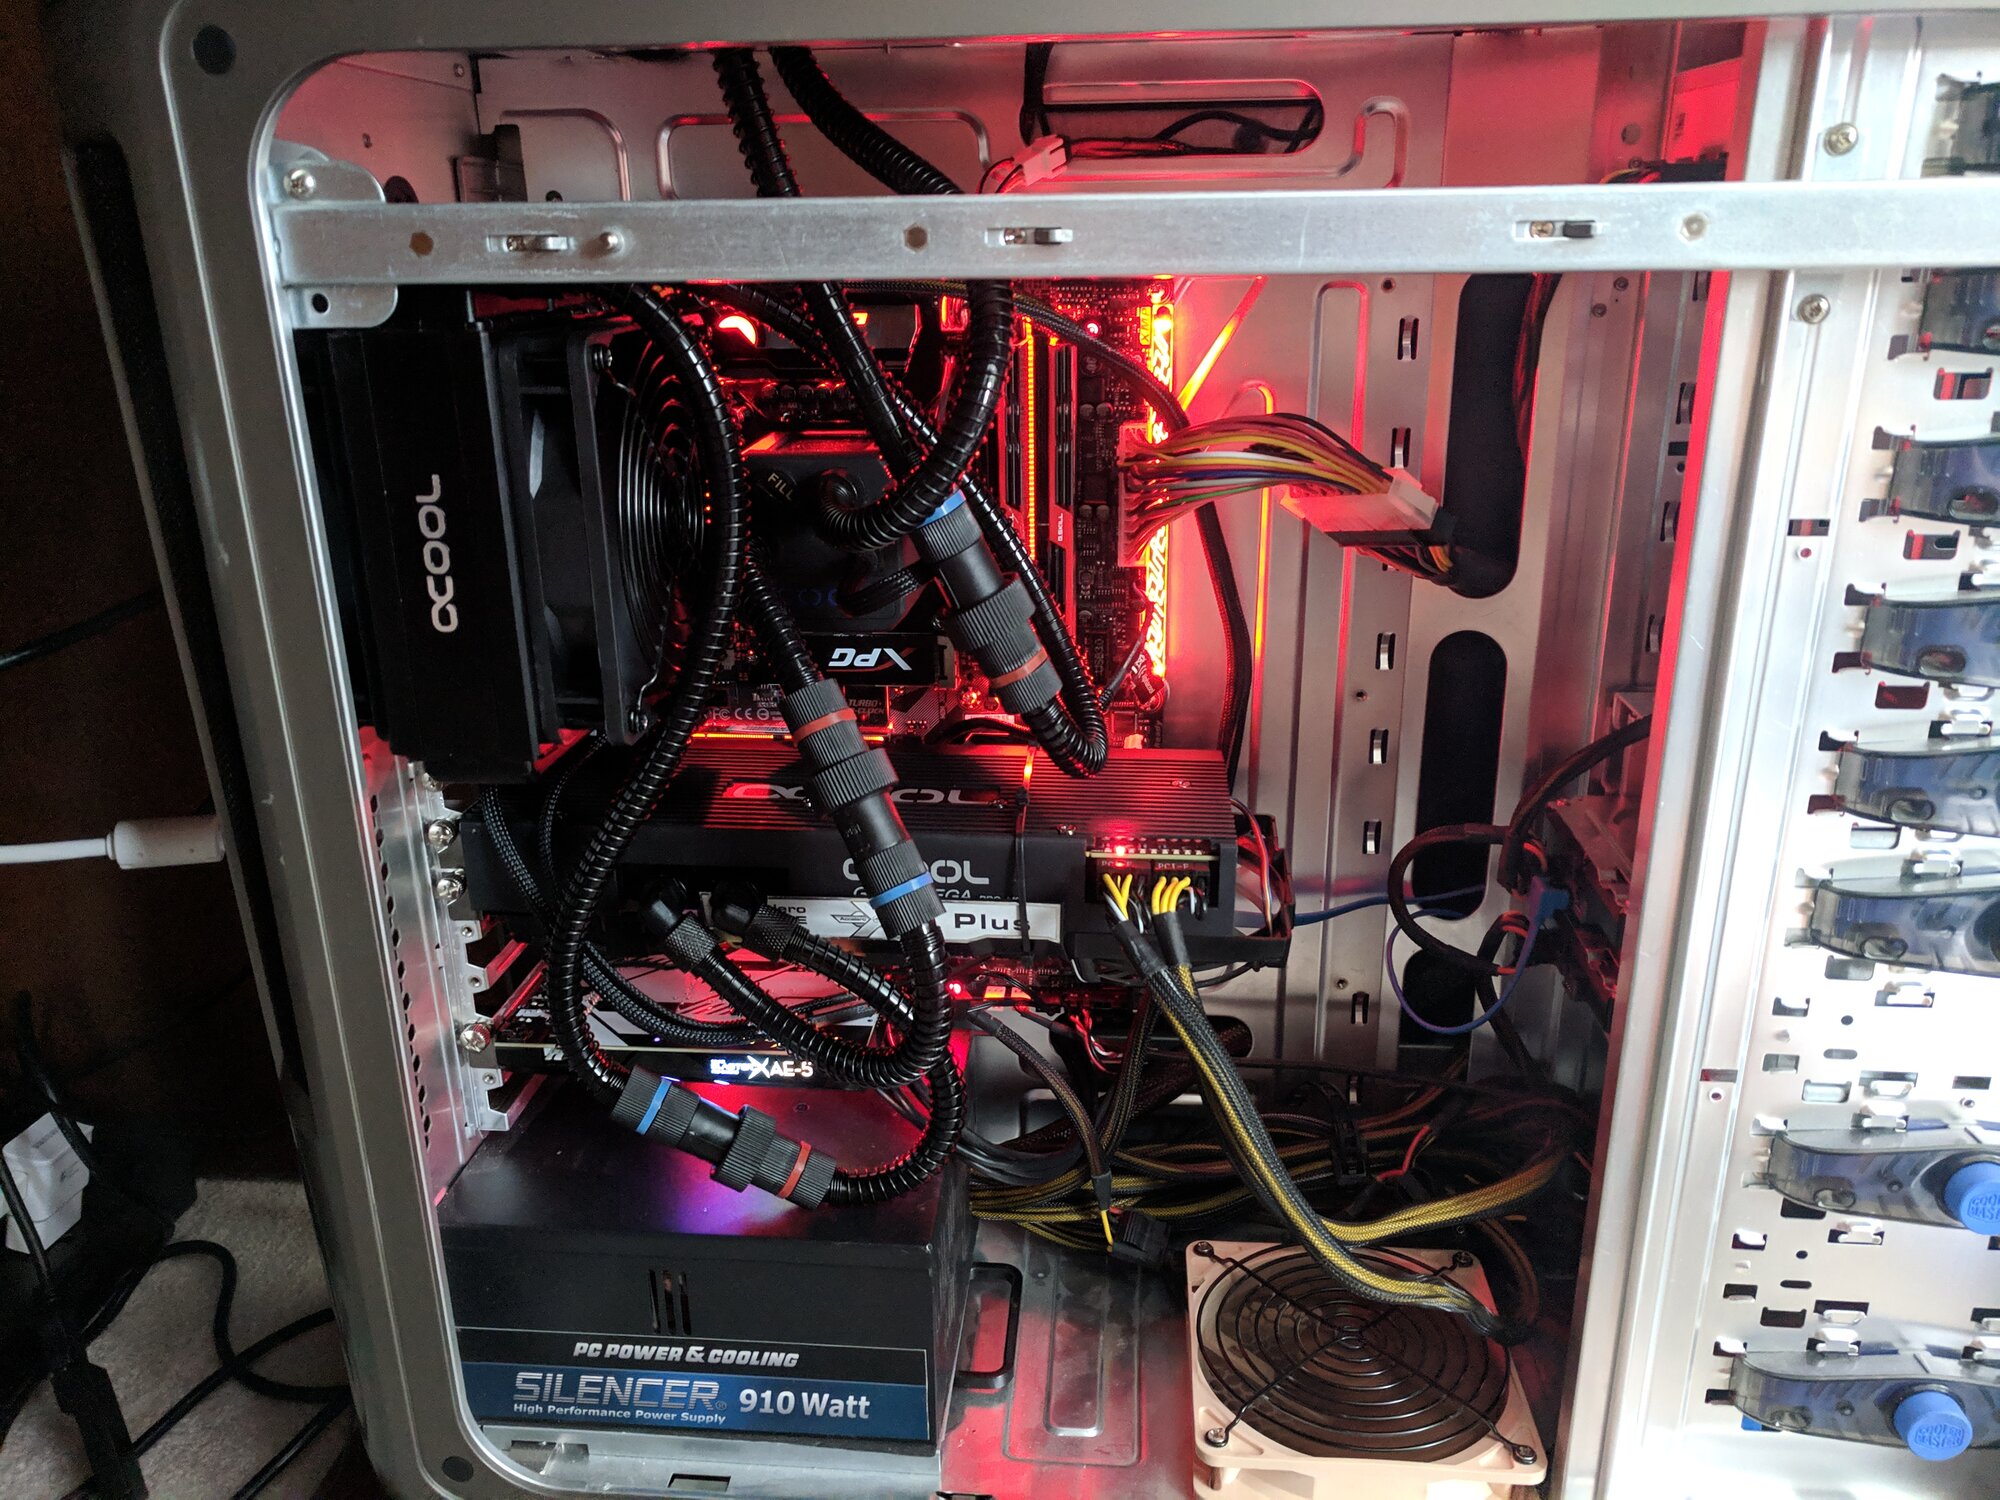
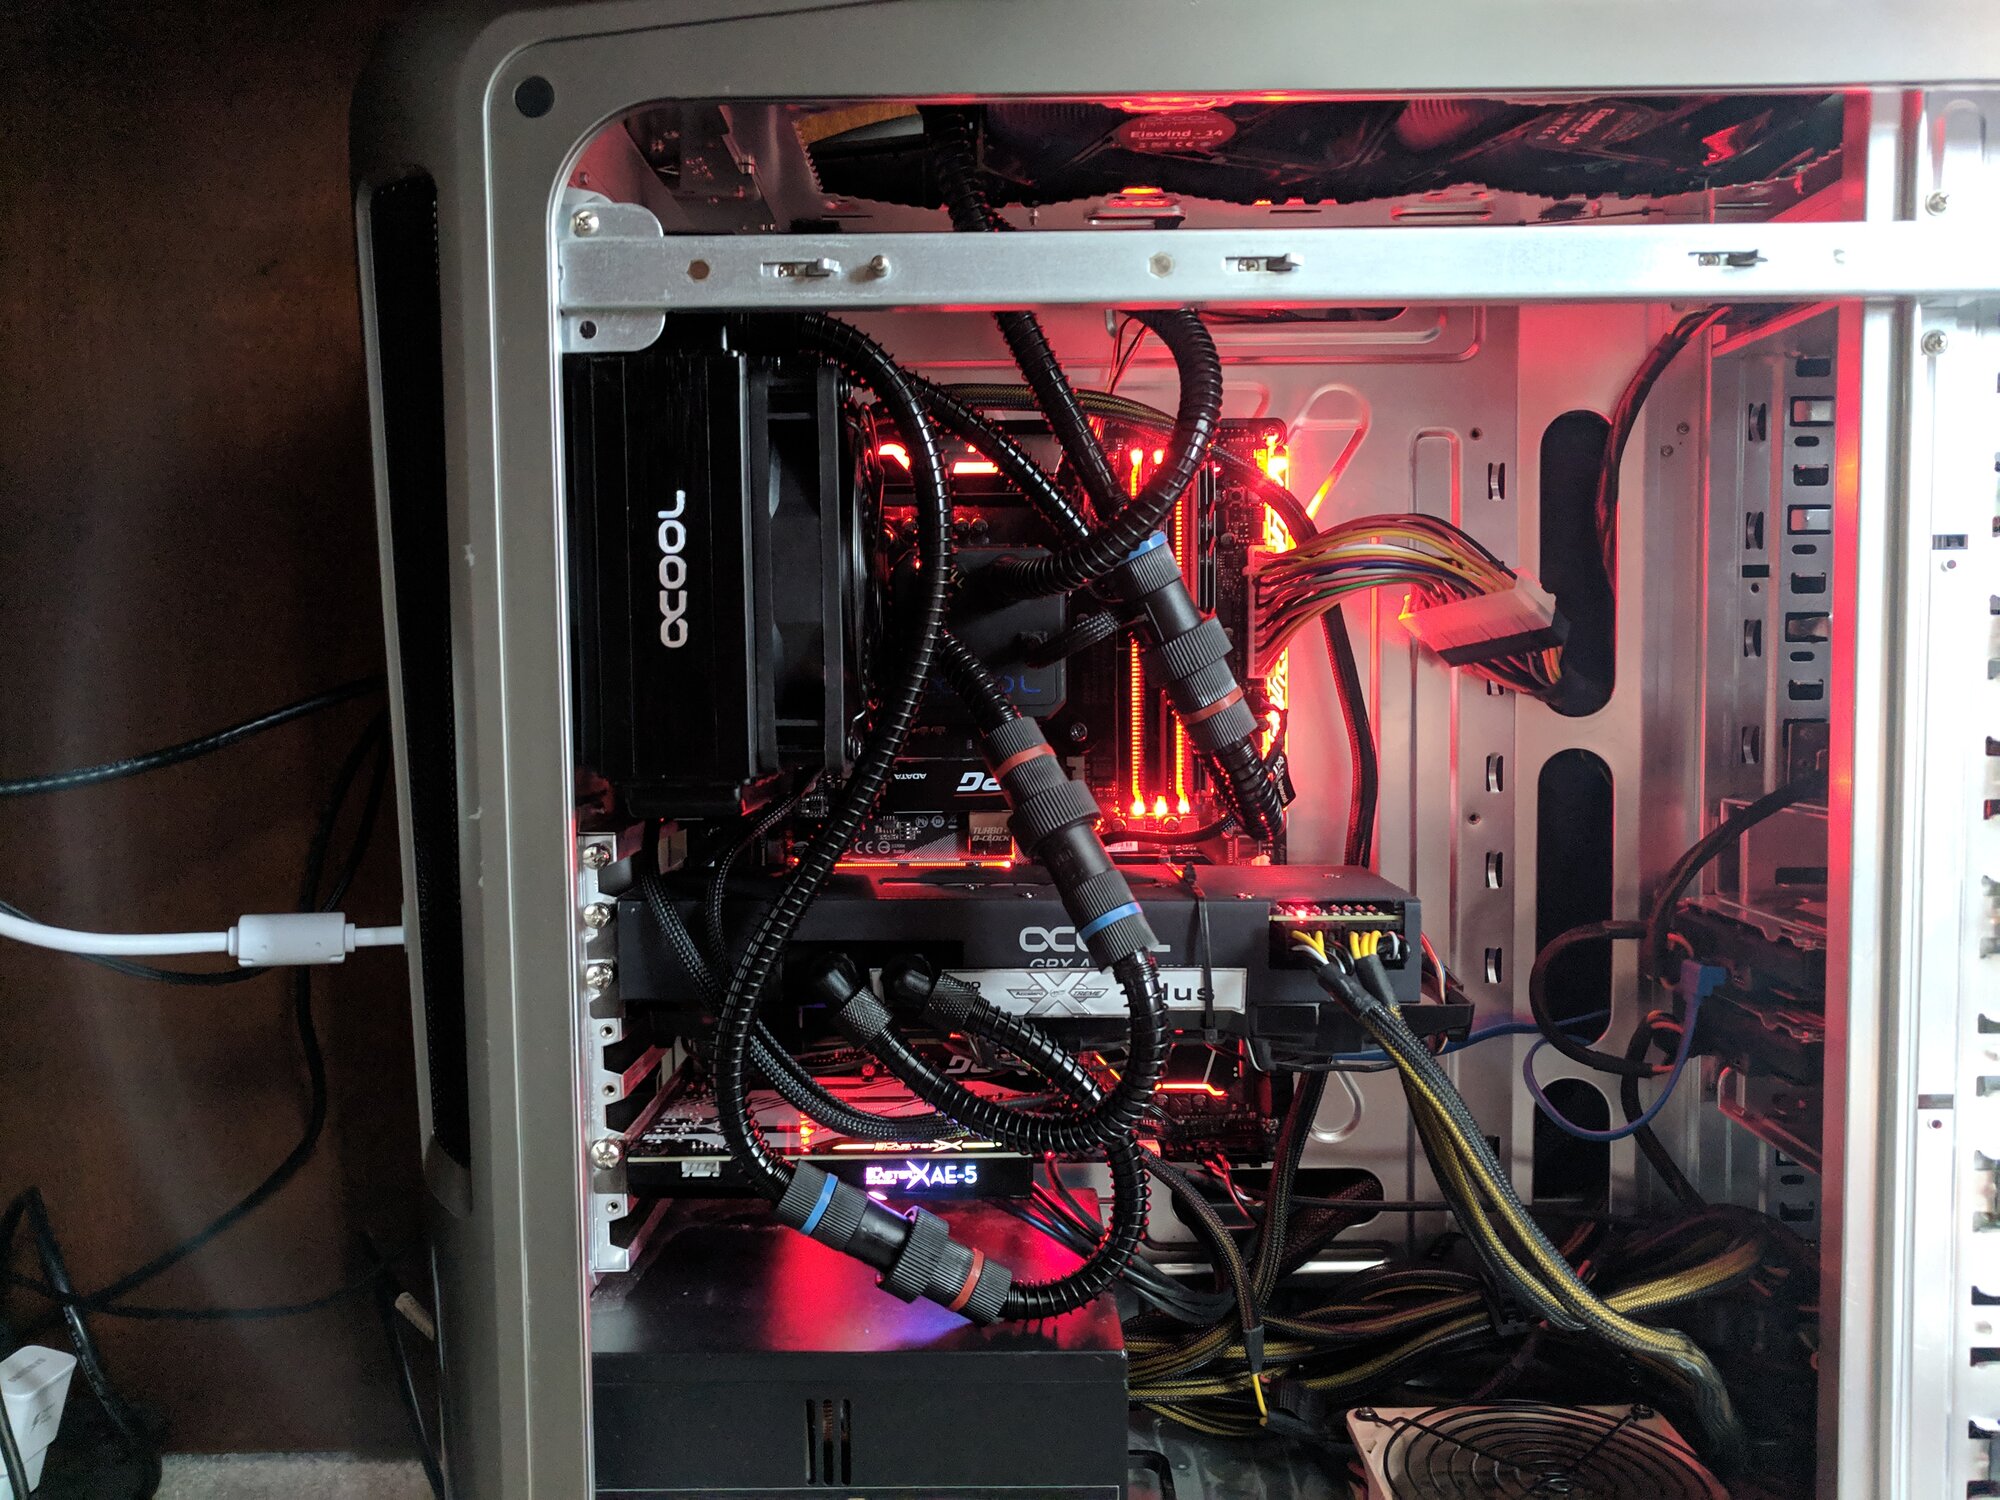
Case off to show off the goodies :)
IMG_20190214_142116.jpg


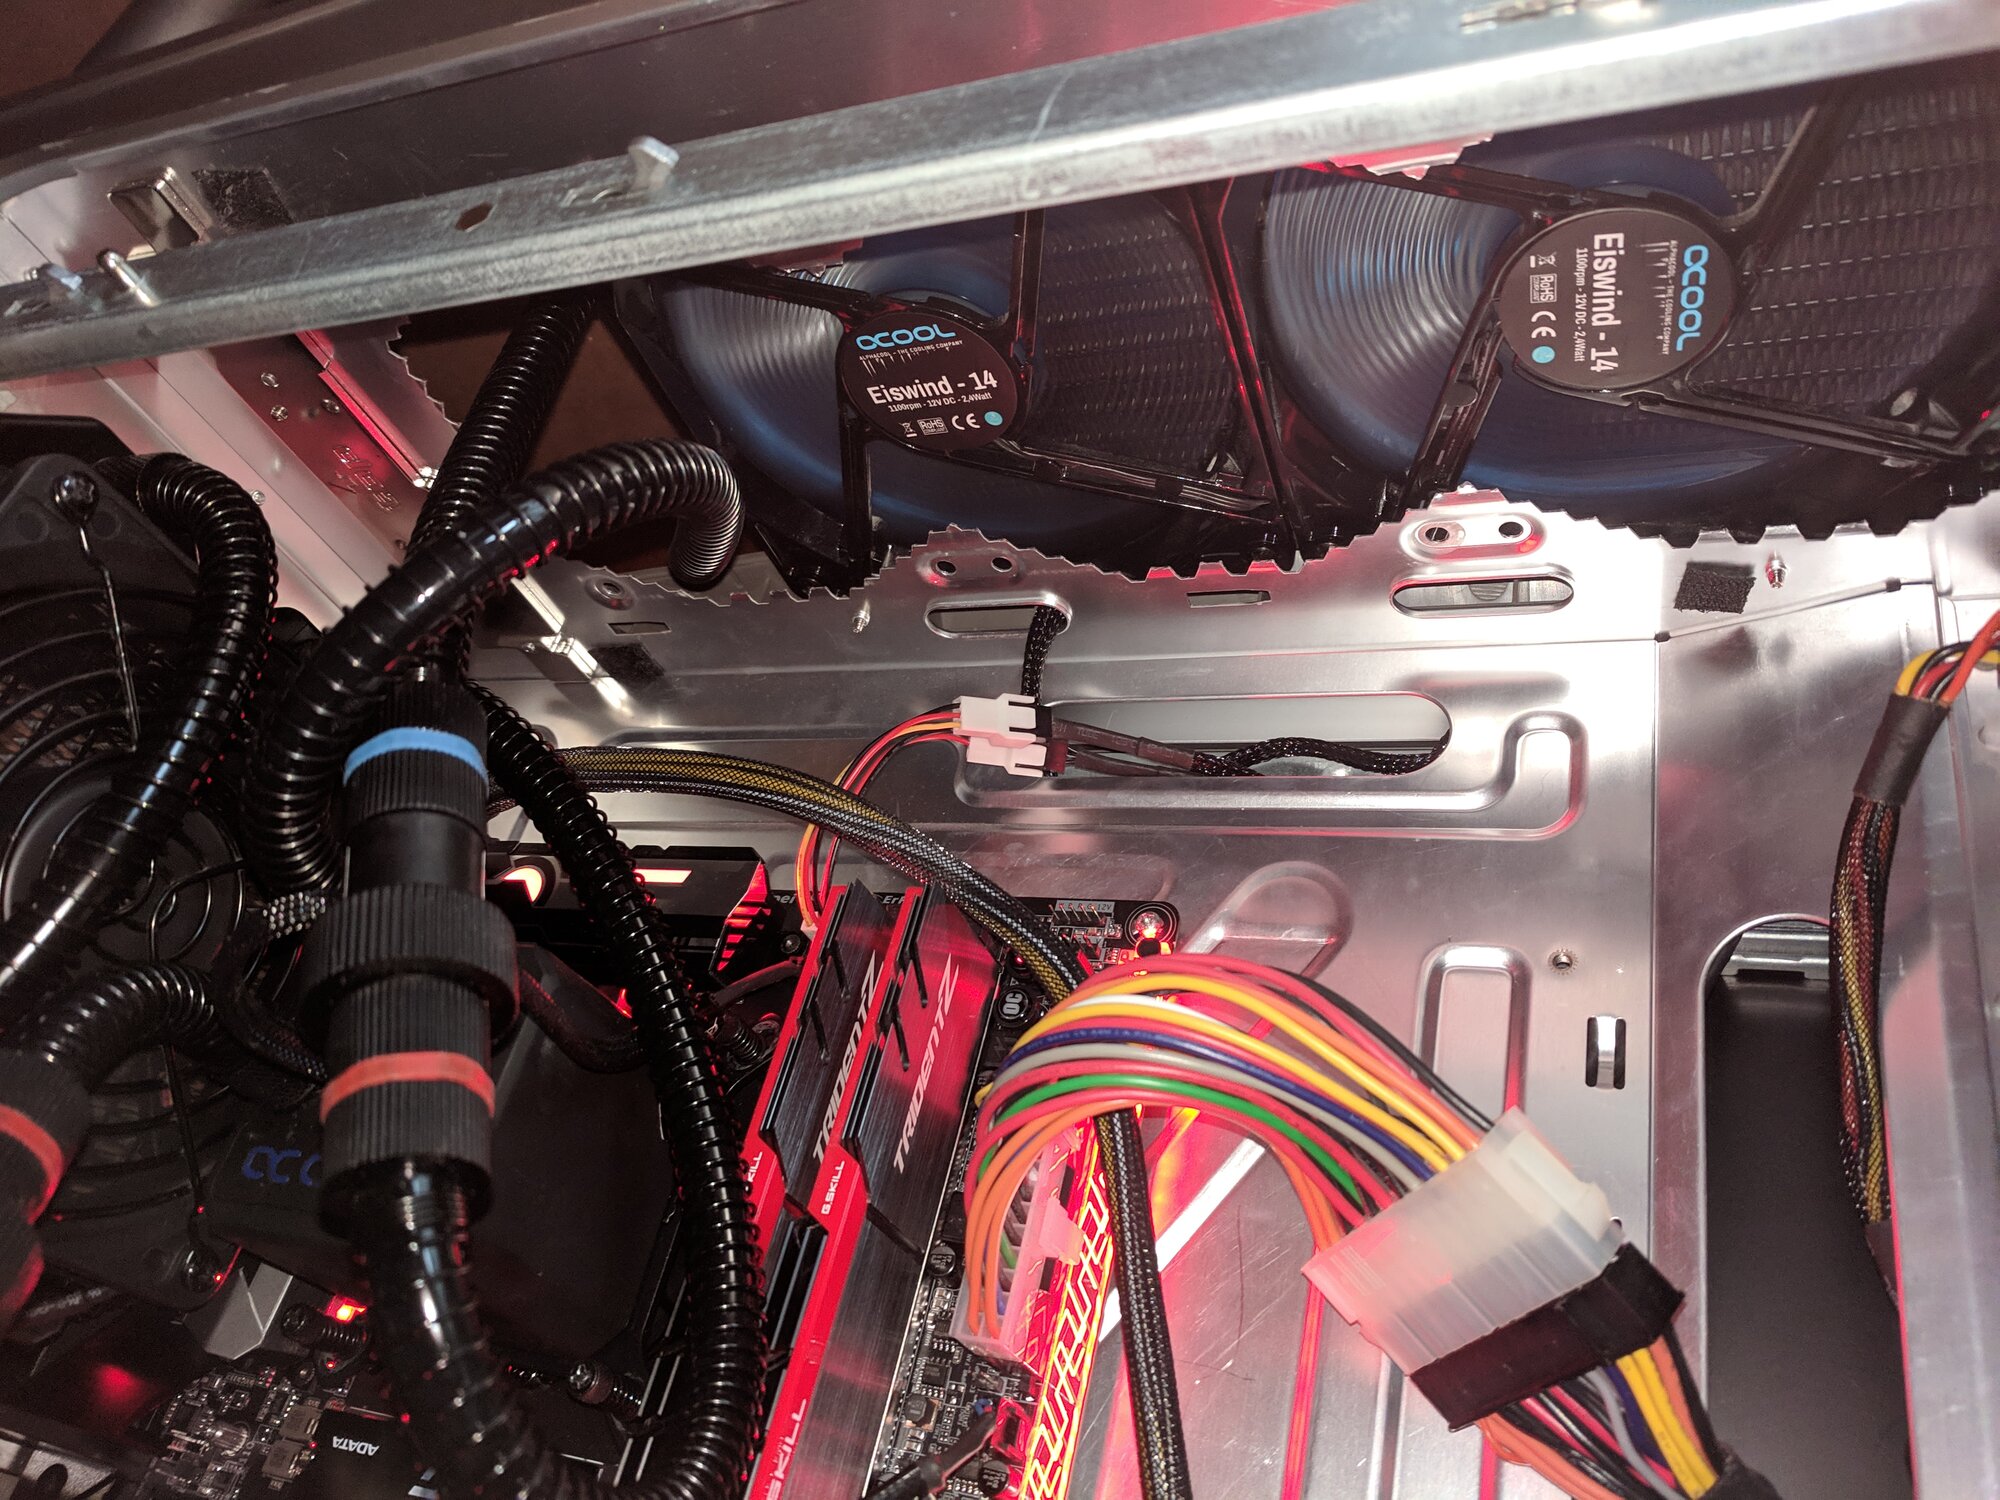
280mm Rad up top, unfortunately can't screw mount it into the 360mm bay. Fun fact that this radiator is only slightly smaller in surface area than the 360?
IMG_20190214_142125.jpg


Some more cable management needs to be done, but at this point I have removed the card, taken off the cooler, reapplied thermal pads and thermal compound about 5 times so it's left this way for ease.
IMG_20190214_142131.jpg


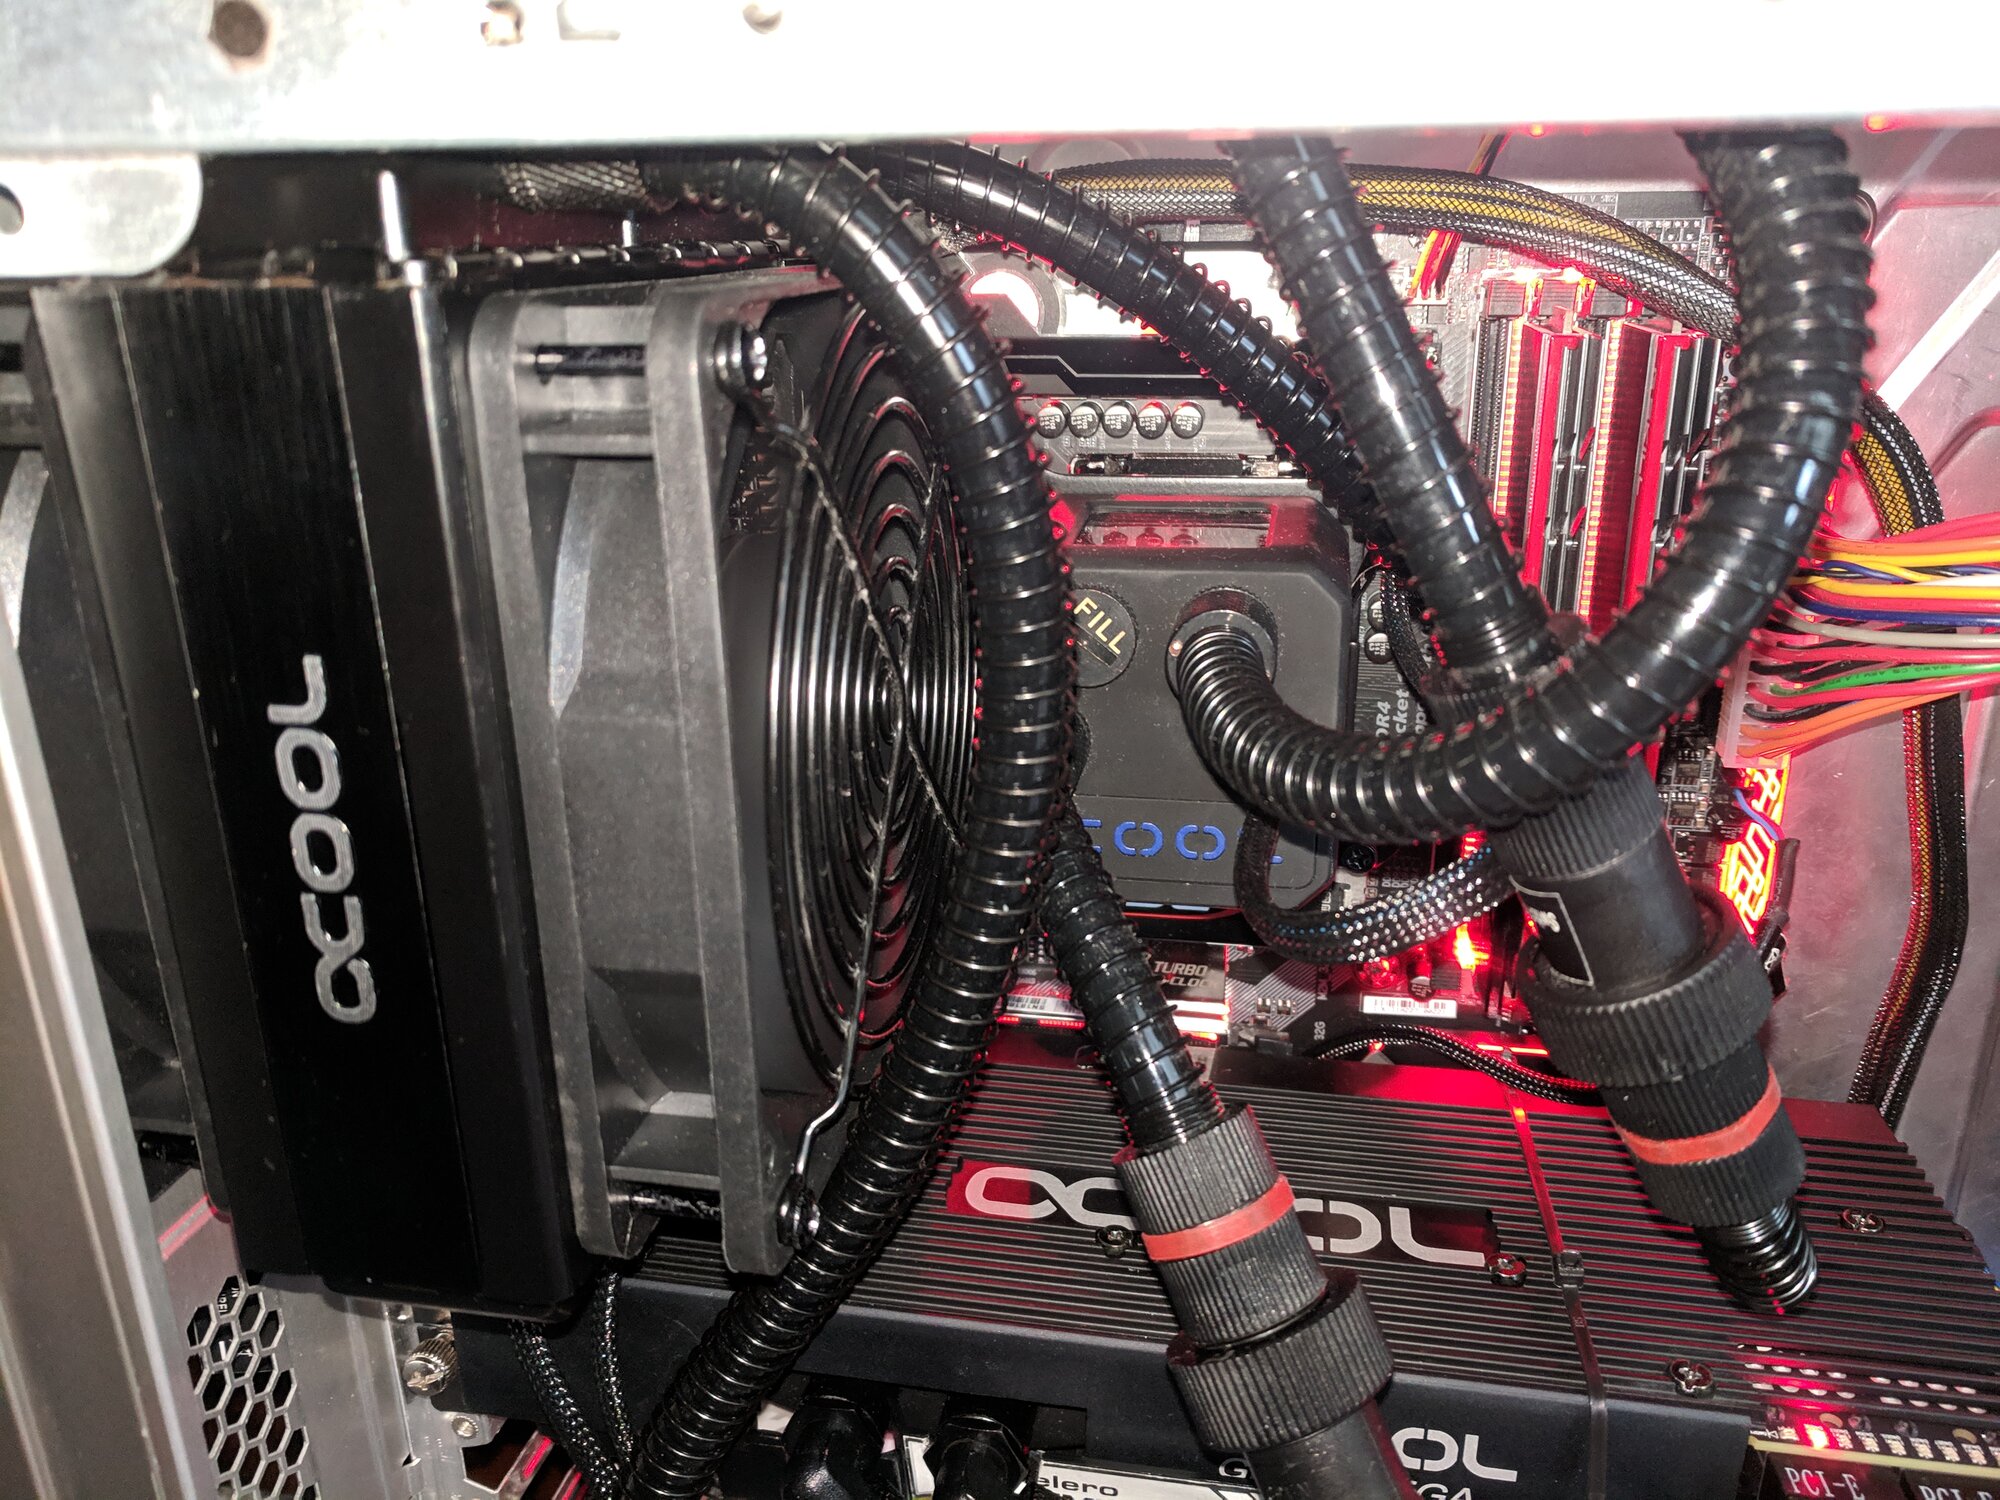
Closeup of 120mm Rad on the left and the CPU pump/res/block. It looks like they are touching from this angle but there is a small gap between the two. It actually fits pretty nicely in there.
IMG_20190214_142144.jpg


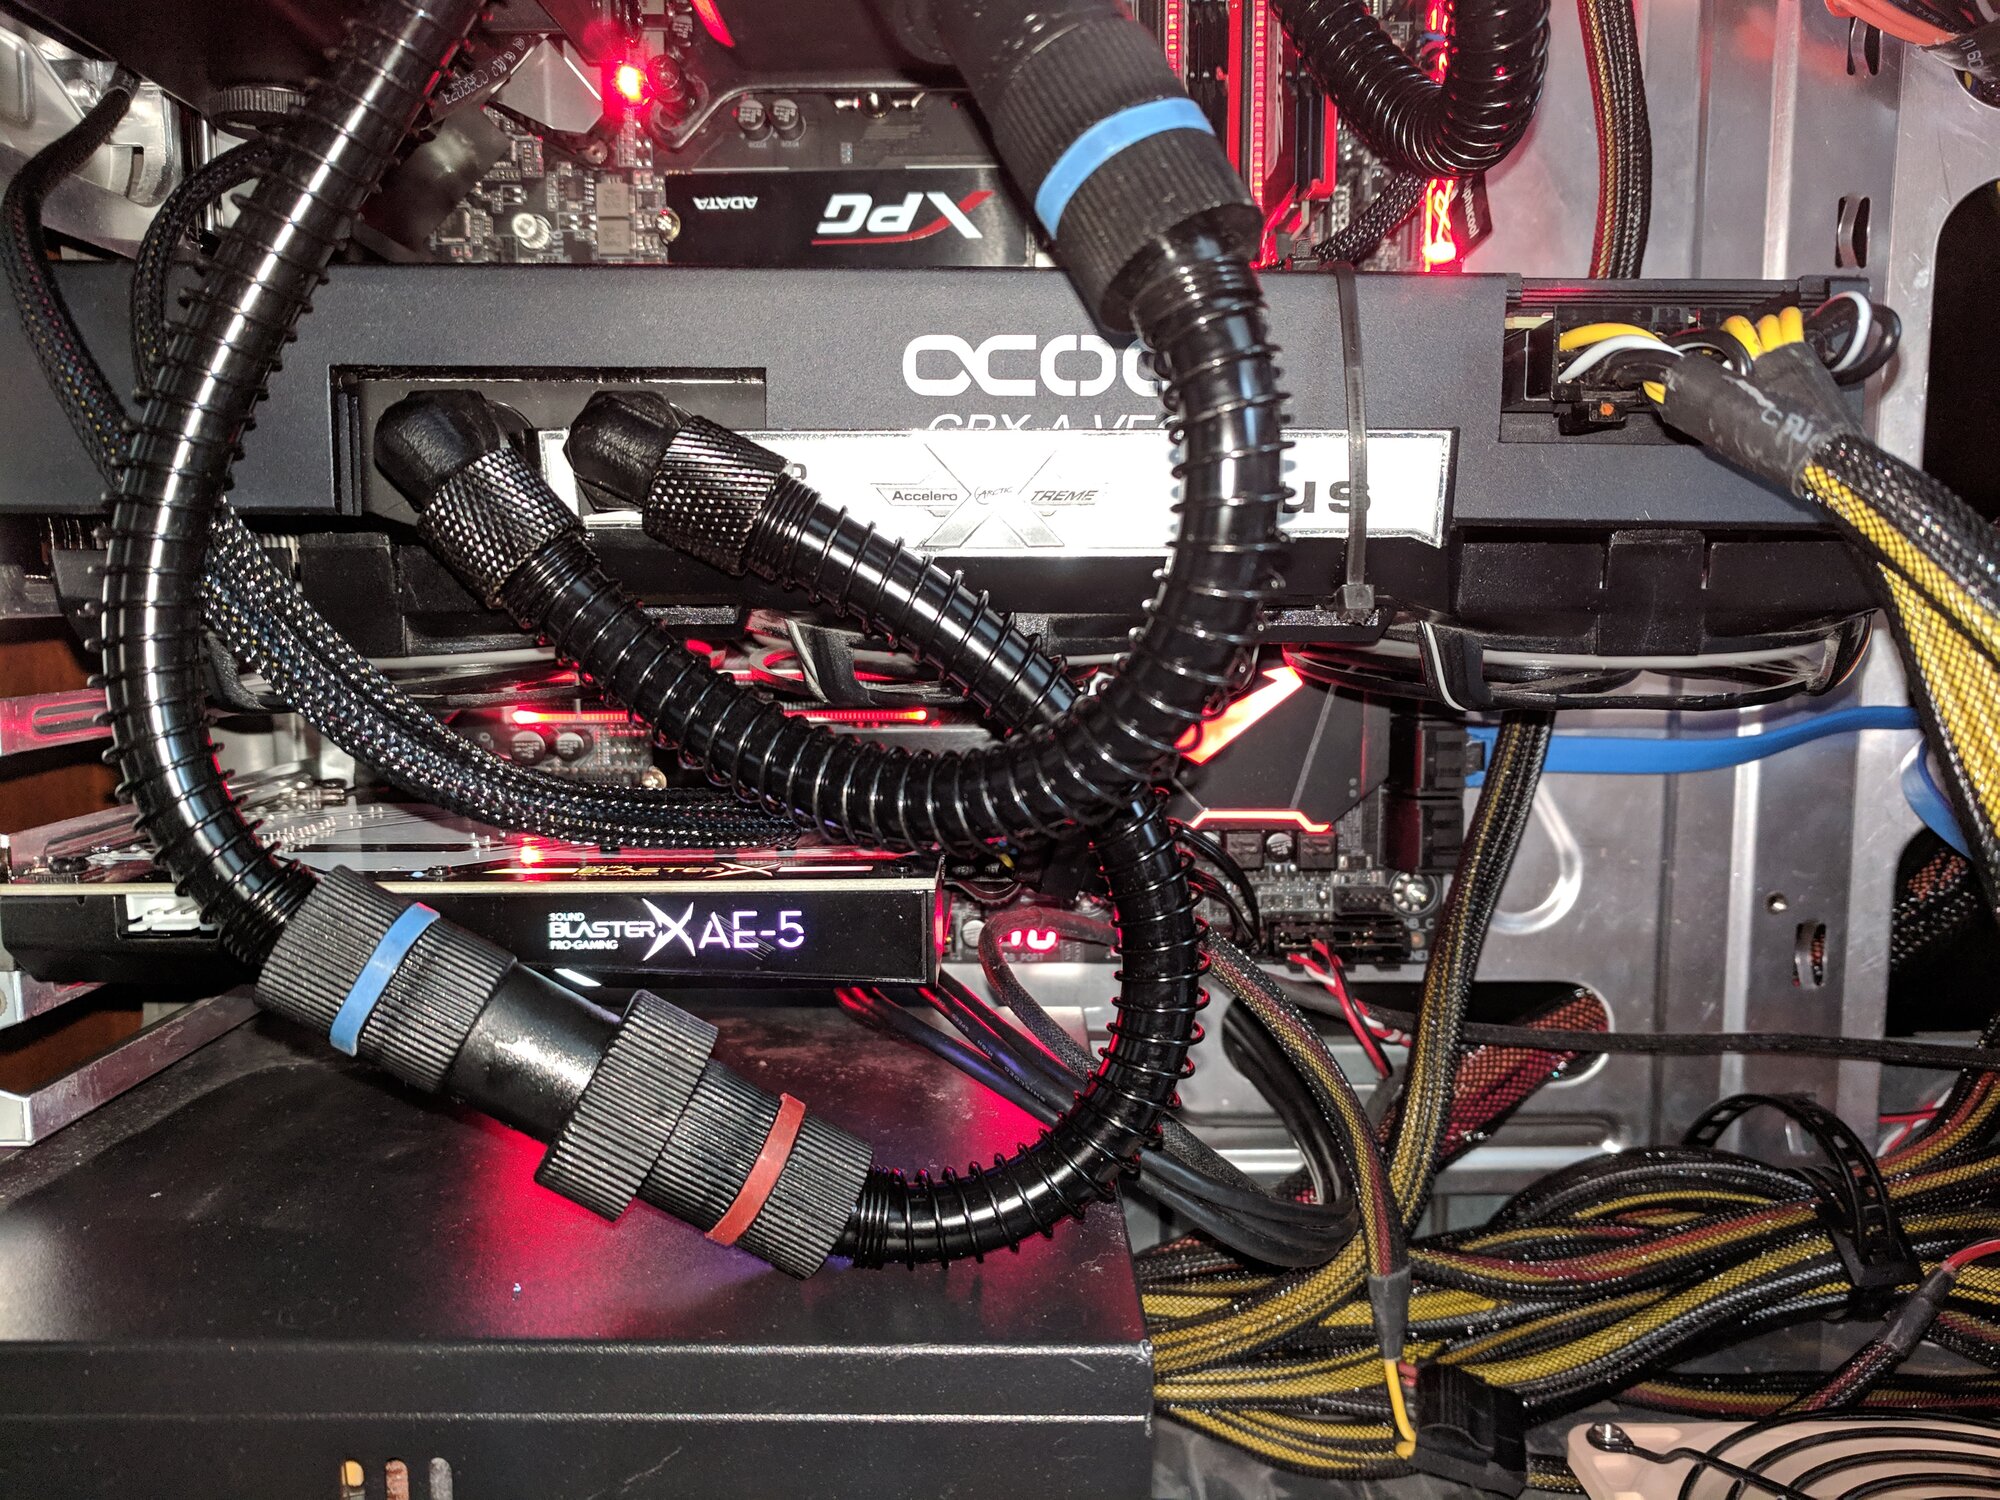
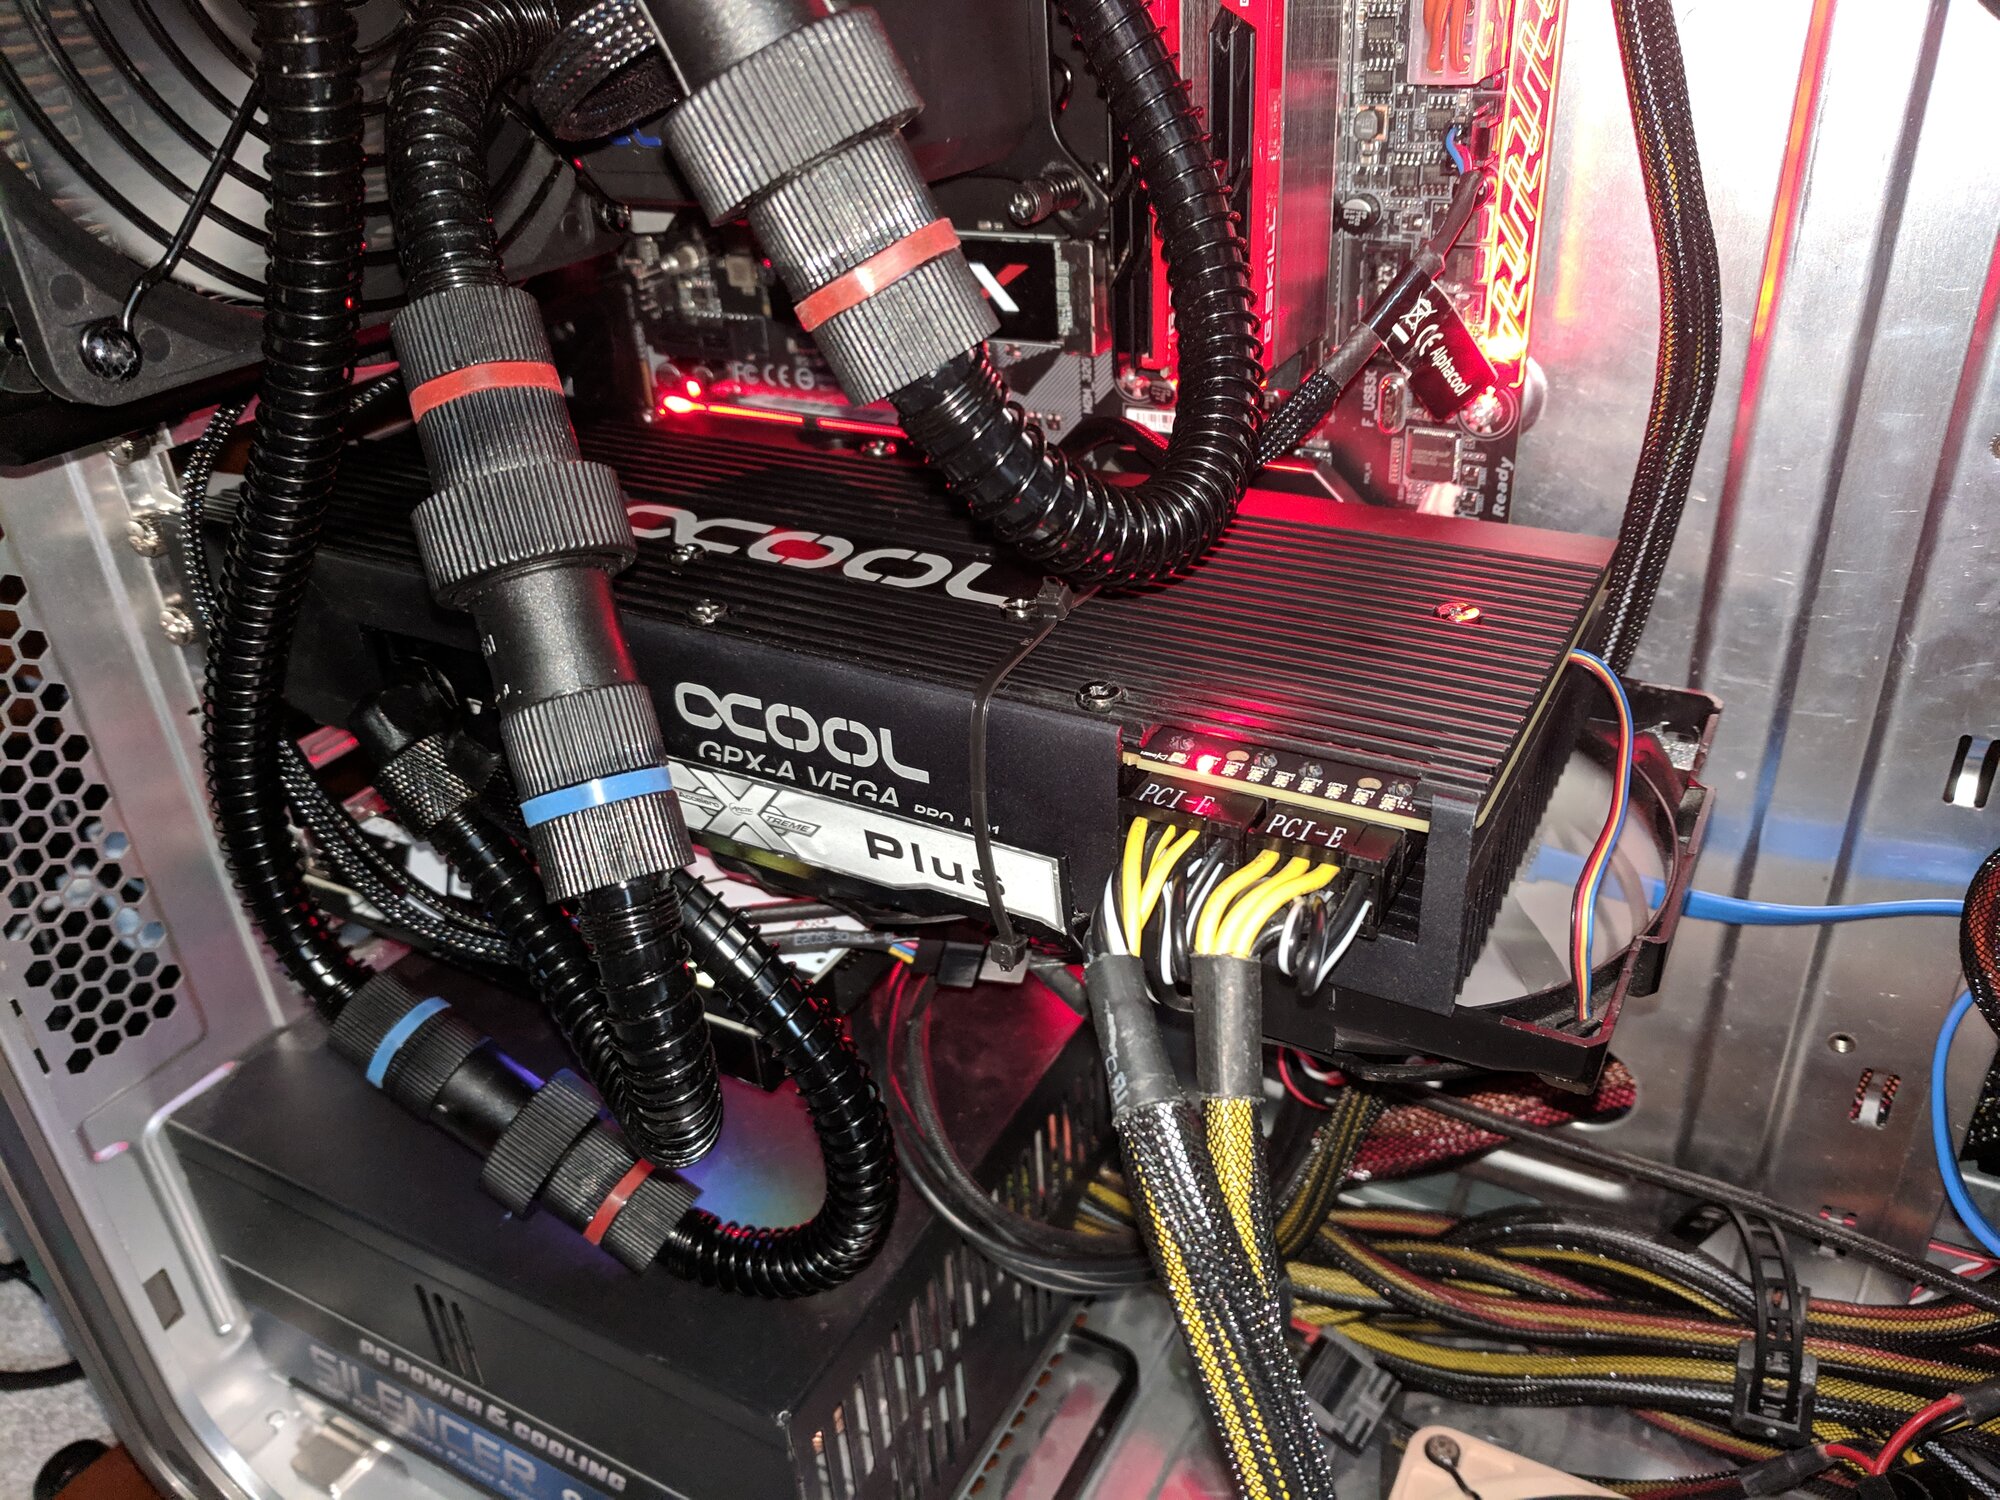
Closeup of the Vega 64 with the GPU cooler/pump... and wait, are those the fans and shroud from a leftover Arctic Cooling Accelero modded (also held on with zipties) to cool off the radiator plate that attaches to the VRMs?? I think it is!
IMG_20190214_142153.jpg


Another angle
IMG_20190214_142200.jpg


Looking up at the underside of the 280mm Rad on top of the case.
IMG_20190214_142218.jpg


Another beauty shot... but so messy =(
IMG_20190214_142241.jpg


So here is the background leading up to the above pictures:

When I received the second eBay steal of teh 280mm CPU loop, I hooked it up to the GPU cooling loop and installed everything in the case.

I realized quickly that the 280mm Rad wouldn't fit in the screw holes for the 360mm rad mounts in the top of the case. I had originally hoped to drill a couple holes and maybe use some of the existing holes to mount the Rad inside the case... no dice due to clearance issues and case construction. While fitting everything together I saw that the 280 would sit nicely up top, and there it found it's temporary new home.

Mounting the 120mm Rad was the next challenge and, honestly, it went much easier than I thought it would. Clearance was my biggest concern with the CPU AIO block sticking far above the motherboard, but in the end there was enough room to separate both by about 4mm.

Now on to the GPU...

Running Kombustor to test the stability of just the GPU cooler in the new loop, I watched the VRM temps rise steadily until they hit an absurd 100C. I shut down the program and thought through my options. The GPU Core/HBM itself was being cooled by the block and waterloop, but the design of the Alphacool unit had the VRMs and doublers only passively cooled by the black heatsinks. I didn't want to prop a 120mm fan blowing on the card long term... time to get modding!

Took the fans/shroud off of an old Accelero Plus and with a few cuts on the shroud to go around the loop fittings and a small cut to fit the shroud in between the heatsink fins, it was ready to go. (Oh I also had to remove the F-ing cooler AGAIN for the 5th time to attach the Accelero power cord to the power outlet on the video card PCB... but we won't talk about that).

Now the Kombustor runs were under control, never going above 80 on the VRMs.

Time to overclock and see what performance I gained through all this cheapskating!


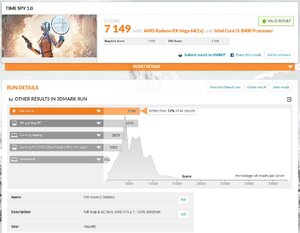
Here we go, first run stock everything: https://www.3dmark.com/spy/6205820
stock run.jpg

Start to tweak the mem settings since everything I saw online said this would impact performance the greatest: https://www.3dmark.com/spy/6205929
mem1.jpg

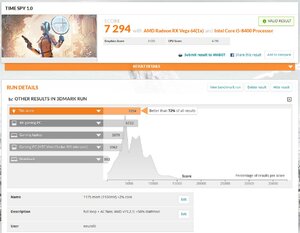
Final stable mem after a bazillion runs: https://www.3dmark.com/spy/6207222
memfinal.jpg

Now to tweak the core...: https://www.3dmark.com/spy/6207327
core1.jpg
Well that sucks. Dug into the research and see that the HBM/Core are essentially sharing the same pool of power, can I undervolt the HBM?

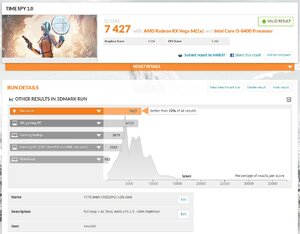
Undervolting mem: https://www.3dmark.com/spy/6207563
coreUVmem.jpg
Holy Sh!t that's a good omen. Let's keep dropping the mem voltage.

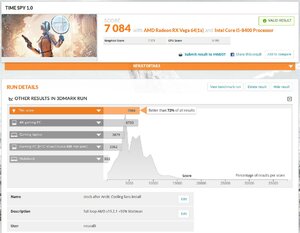
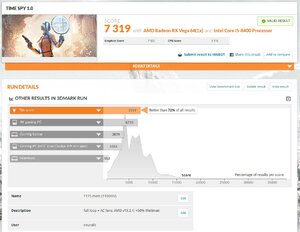
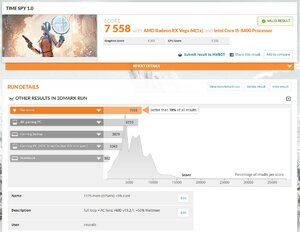
Final core overclock after dropping mem voltage as low as possible: https://www.3dmark.com/spy/6209735
corefinal.jpg
Happy with the results!!

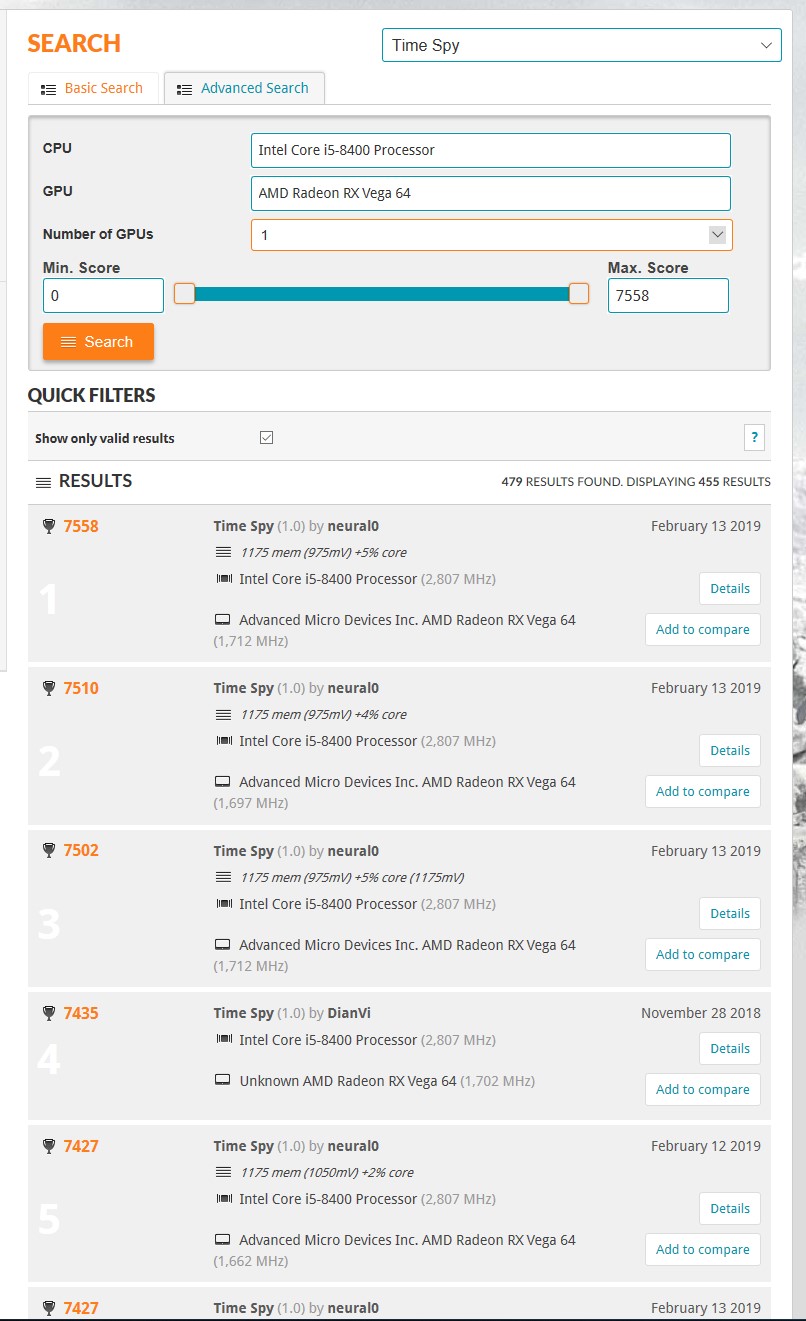
I wonder how they compare to the other Vega 64 + i5-8400s out there...: https://www.3dmark.com/search?_ga=2...ssor&gpuName=AMD Radeon RX Vega 64&gpuCount=1
world rankings.jpg

OMFG :eek: :woot: !!!!!!!!!!!! Haha did NOT expect this. This setup holds 9 out of the top 10 spots out of 450+ submissions!!! I'll take it!!!

Thanks for the encouragement and advice [H] Crew!
 
Last edited:
Guys I greatly appreciate all the info and advice!!! This might sound corny but this has helped me get comfortable with going down the full custom liquid cooling route for my next build.

I want to put up some pictures of what I ended up with as well as some 3DMark records that I broke as a result...


Case off to show off the goodies :)
View attachment 141927


280mm Rad up top, unfortunately can't screw mount it into the 360mm bay. Fun fact that this radiator is only slightly smaller in surface area than the 360?
View attachment 141928


Some more cable management needs to be done, but at this point I have removed the card, taken off the cooler, reapplied thermal pads and thermal compound about 5 times so it's left this way for ease.
View attachment 141929

Closeup of 120mm Rad on the left and the CPU pump/res/block. It looks like they are touching from this angle but there is a small gap between the two. It actually fits pretty nicely in there.
View attachment 141930

Closeup of the Vega 64 with the GPU cooler/pump... and wait, are those the fans and shroud from a leftover Arctic Cooling Accelero modded (also held on with zipties) to cool off the radiator plate that attaches to the VRMs?? I think it is!
View attachment 141931

Another angle
View attachment 141932

Looking up at the underside of the 280mm Rad on top of the case.
View attachment 141933

Another beauty shot... but so messy =(
View attachment 141934


So here is the background leading up to the above pictures:

When I received the second eBay steal of teh 280mm CPU loop, I hooked it up to the GPU cooling loop and installed everything in the case.

I realized quickly that the 280mm Rad wouldn't fit in the screw holes for the 360mm rad mounts in the top of the case. I had originally hoped to drill a couple holes and maybe use some of the existing holes to mount the Rad inside the case... no dice due to clearance issues and case construction. While fitting everything together I saw that the 280 would sit nicely up top, and there it found it's temporary new home.

Mounting the 120mm Rad was the next challenge and, honestly, it went much easier than I thought it would. Clearance was my biggest concern with the CPU AIO block sticking far above the motherboard, but in the end there was enough room to separate both by about 4mm.

Now on to the GPU...

Running Kombustor to test the stability of just the GPU cooler in the new loop, I watched the VRM temps rise steadily until they hit an absurd 100C. I shut down the program and thought through my options. The GPU Core/HBM itself was being cooled by the block and waterloop, but the design of the Alphacool unit had the VRMs and doublers only passively cooled by the black heatsinks. I didn't want to prop a 120mm fan blowing on the card long term... time to get modding!

Took the fans/shroud off of an old Accelero Plus and with a few cuts on the shroud to go around the loop fittings and a small cut to fit the shroud in between the heatsink fins, it was ready to go. (Oh I also had to remove the F-ing cooler AGAIN for the 5th time to attach the Accelero power cord to the power outlet on the video card PCB... but we won't talk about that).

Now the Kombustor runs were under control, never going above 80 on the VRMs.

Time to overclock and see what performance I gained through all this cheapskating!


Here we go, first run stock everything: https://www.3dmark.com/spy/6205820
View attachment 141942

Start to tweak the mem settings since everything I saw online said this would impact performance the greatest: https://www.3dmark.com/spy/6205929
View attachment 141946

Final stable mem after a bazillion runs: https://www.3dmark.com/spy/6207222
View attachment 141949

Now to tweak the core...: https://www.3dmark.com/spy/6207327
View attachment 141951
Well that sucks. Dug into the research and see that the HBM/Core are essentially sharing the same pool of power, can I undervolt the HBM?

Undervolting mem: https://www.3dmark.com/spy/6207563
View attachment 141952
Holy Sh!t that's a good omen. Let's keep dropping the mem voltage.

Final core overclock after dropping mem voltage as low as possible: https://www.3dmark.com/spy/6209735
View attachment 141953
Happy with the results!!

I wonder how they compare to the other Vega 64 + i5-8400s out there...: https://www.3dmark.com/search?_ga=2...ssor&gpuName=AMD Radeon RX Vega 64&gpuCount=1
View attachment 141954
OMFG :eek: :woot: !!!!!!!!!!!! Haha did NOT expect this. This setup holds 9 out of the top 10 spots out of 450+ submissions!!! I'll take it!!!

Thanks for the encouragement and advice [H] Crew!


Hmmm..Is TimeSpy free, or do I have to pay for it? If it's free, prepare to lose those spots!!!!:D

Congrads on getting it finished..I am going to be pulling my VEGAs from my loop since I am working on getting my Radeon VII (just one until EK releases the full cover block so it's 50/50 if I grab the better clocking card:eek::eek::eek:)

I think Timespy is free and the Extreme/Ultimate/4k tests are paid. I know i bought 3DMark on sale on Steam for like $5 and it came with a bunch of the benchmarks.

I'd love to see your scores! Healthy competition :)
 
I think Timespy is free and the Extreme/Ultimate/4k tests are paid. I know i bought 3DMark on sale on Steam for like $5 and it came with a bunch of the benchmarks.

I'd love to see your scores! Healthy competition :)

It appears to be "free" but Steam will not let you DL it since it requires the base 3DMARK to run...I used to have 3dAMRK way back in the day, but I am not paying full price for it :(
 
Back
Top