[Project] - Winging It - [Lian Li PC-A05B]

bacon11

Weaksauce
Joined
Jun 24, 2010
Messages
81
It's been a while since I've fooled around with my watercooled rig.

Hardware:
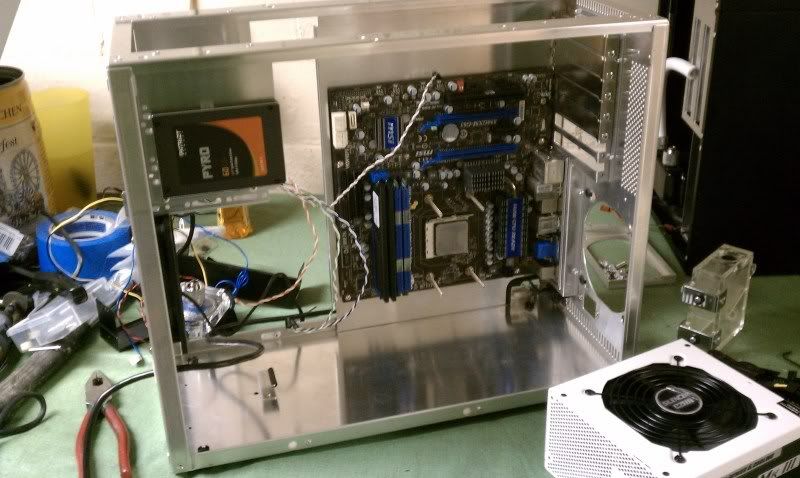
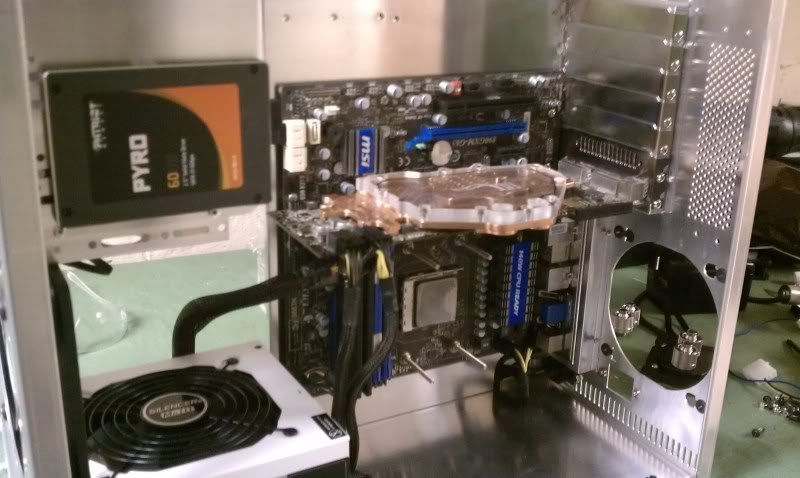
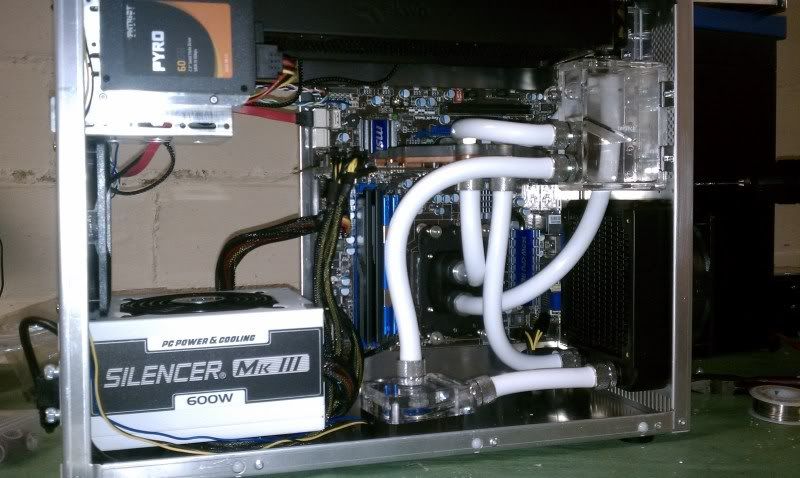
•Motherboard - MSI 890GXM-G65
• CPU - AMD Phenom II X6 1055T @ 3800mhz @ 1.375v
• RAM - 8GB DDR3-1600 (2x2GB Kingston HyperX, 2x2GB Geil)
• GPU - eVGA GTX260
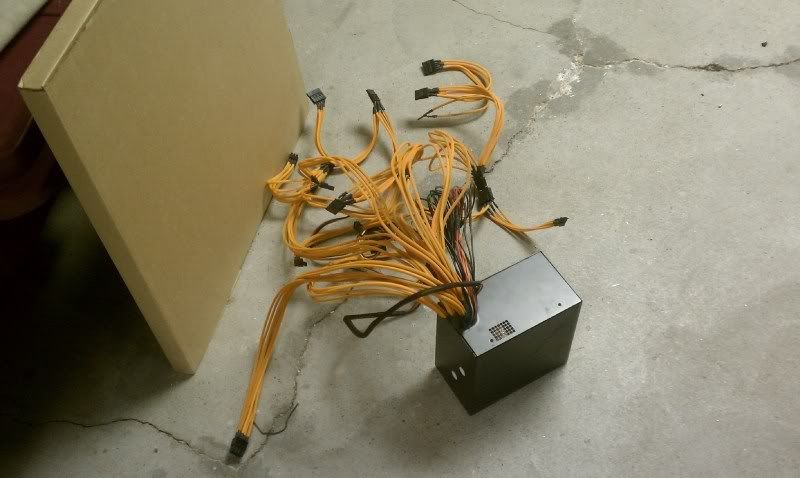
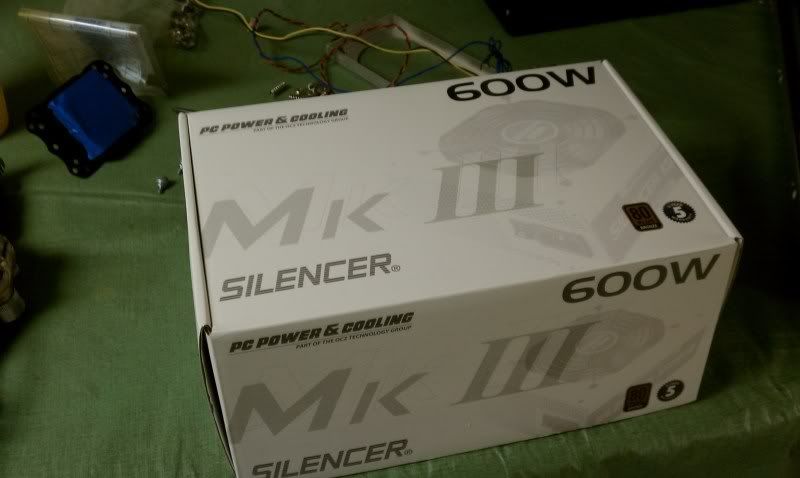
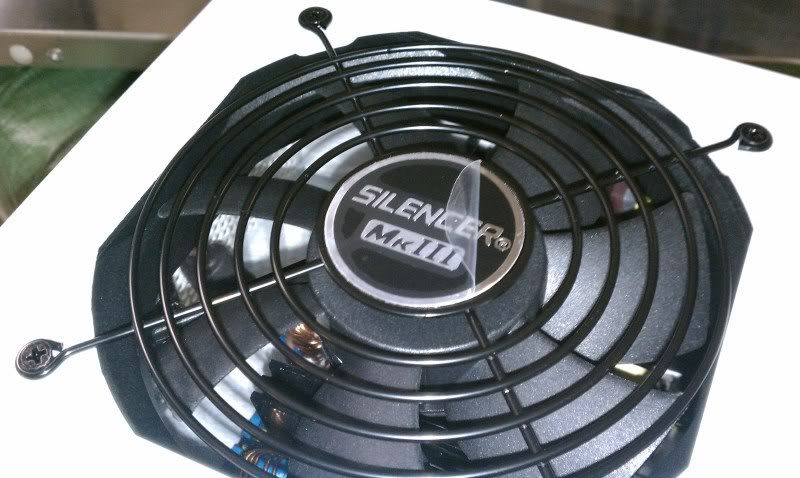
• PSU - Silverstone Olympia OP650
• Case - Lian Li v351B

Currently that's watercooled with:
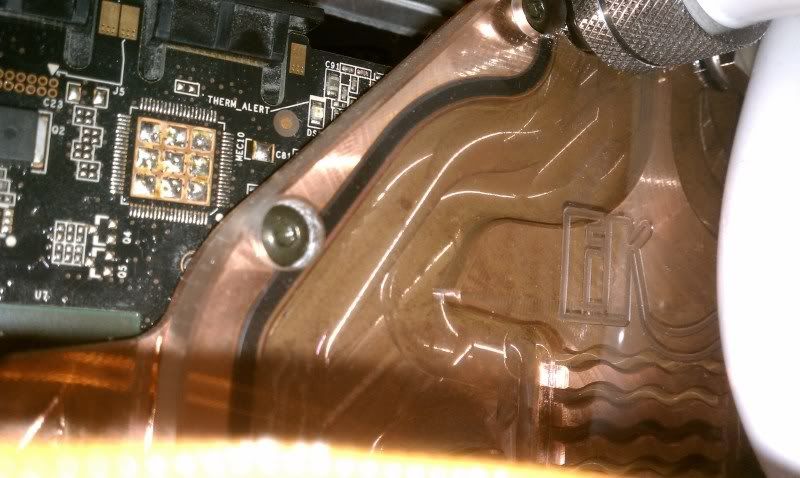
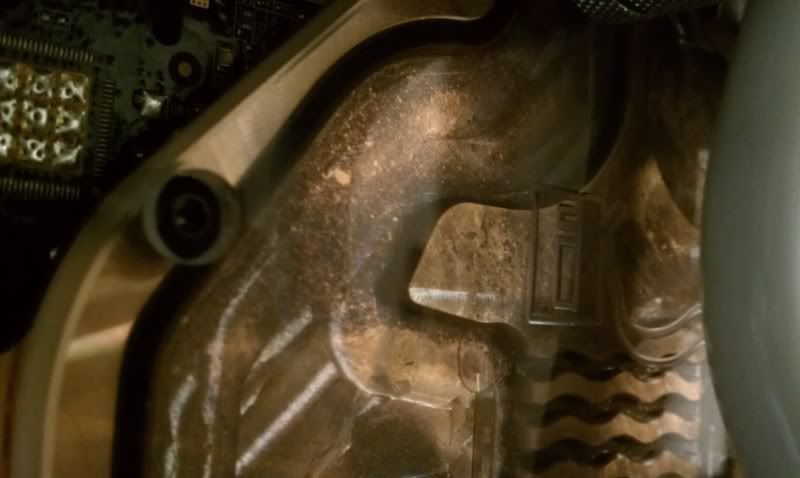
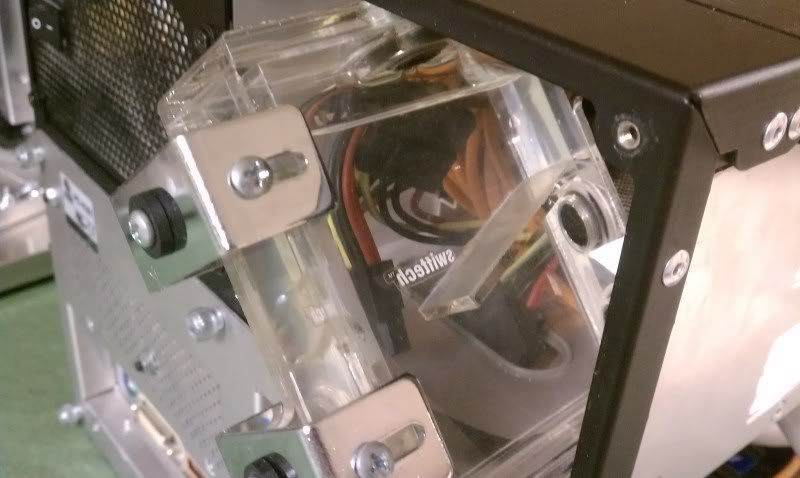
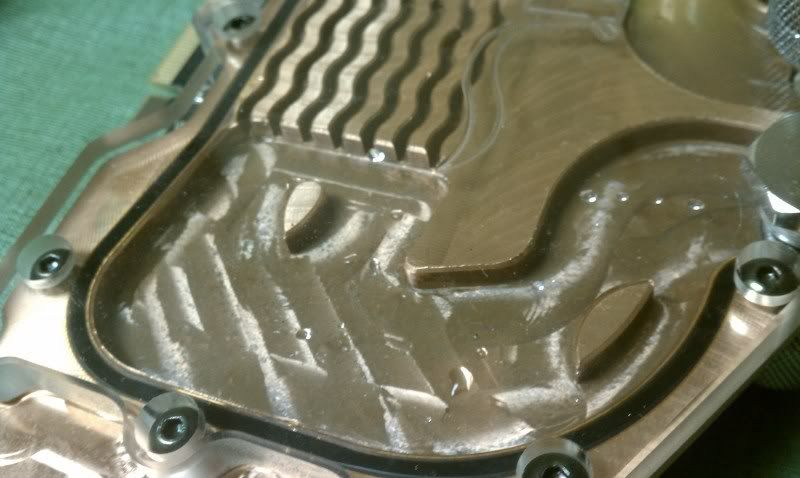
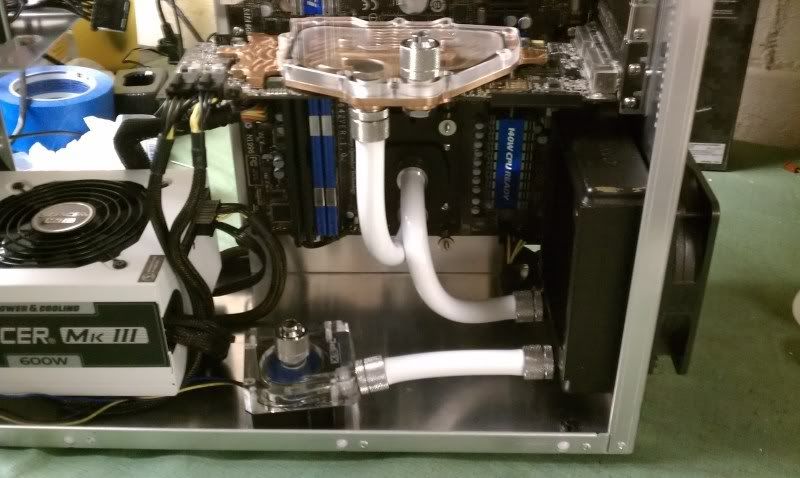
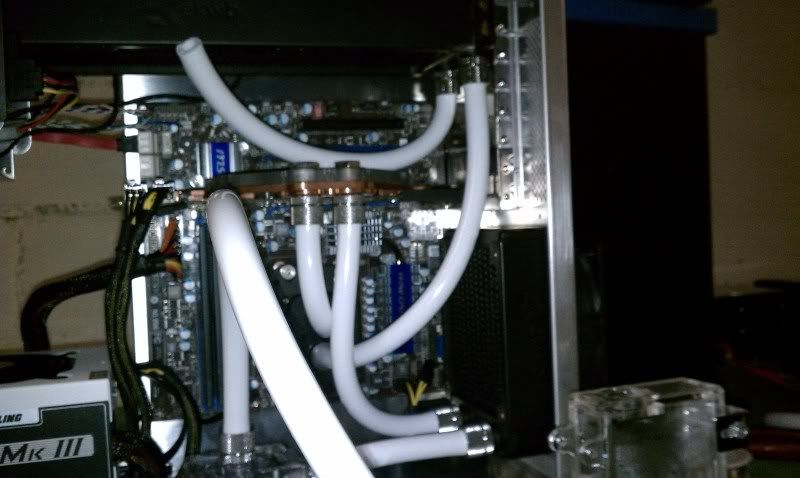
•CPU - EK Supreme HF v1 (the one that screws together from the top side)
• GPU - EK FC280
• Radiator - HW Labs Black Ice GTX 240
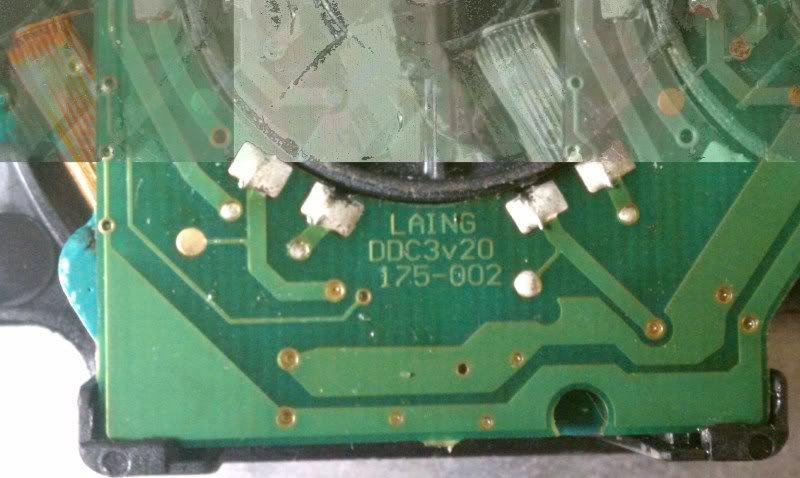
• Pump - Laing DDC3.2 + XSPC top
• Tubing - Primochill Primoflex Pro LRT white 3/8-5/8
• Fittings - Bitspower Black Chrome compressions
• Fans - Panaflo FBG12M12 (something like that)
• Reservoir - Swiftech MC Res micro v1

I get some pretty nice temperatures given the small radiator for the heat load. In my 19-21°C room, the CPU loads at about 31°C and the GPU at 43°C when loaded separately. Loading them 100% together doesn't make sense (no real world use seeing as I don't Fold/WCG at the time), and after playing BF3 for 1-3 hours, they're at about 28 and 42.

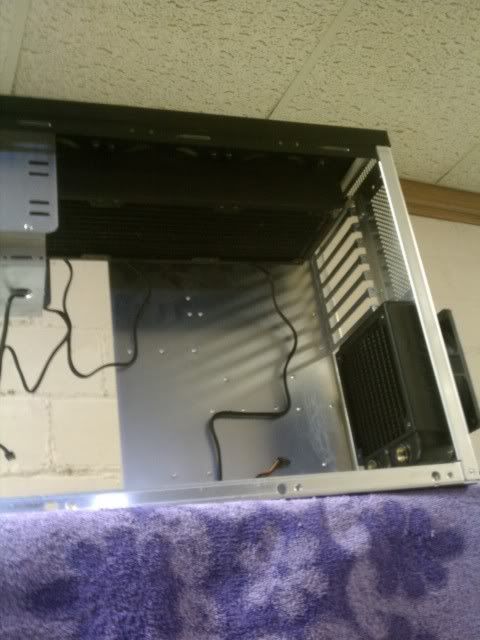
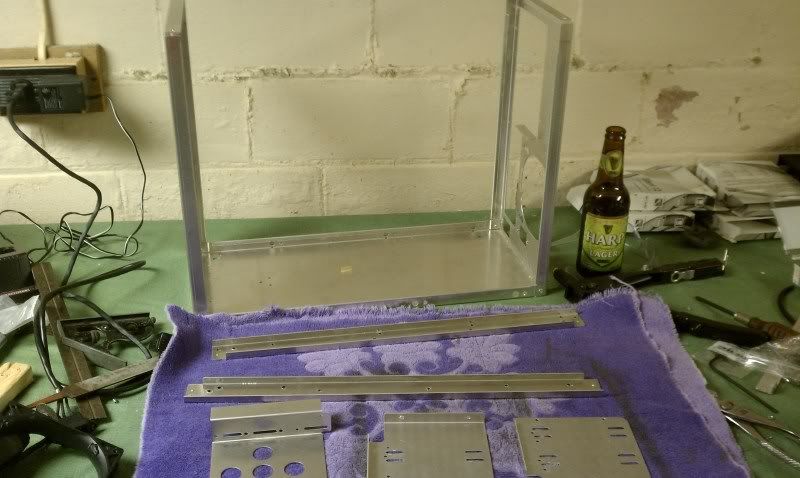
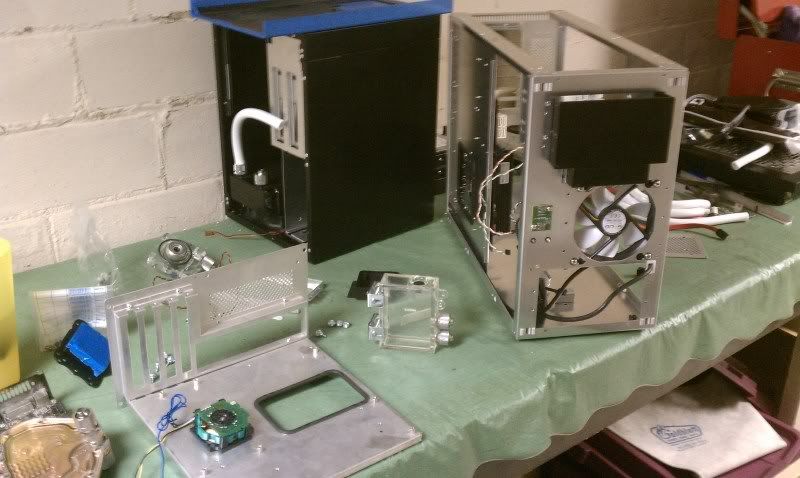
I've grown tired of the fan noise, and having watercooled an mATX case (just to see if I could), I've decided to bump up to a mid tower. I've always loved the smaller size of the Lian Li A05B, the inverted ATX layout, and the fact that it can still house a full ATX board.

In the quest for more cooling power with vastly quieter operation, I perused Martin's and Skinnee's sites, crunched some numbers, and arrived at something that I think will be equally as challenging as watercooling the v351, while giving me better performance at a quieter profile.

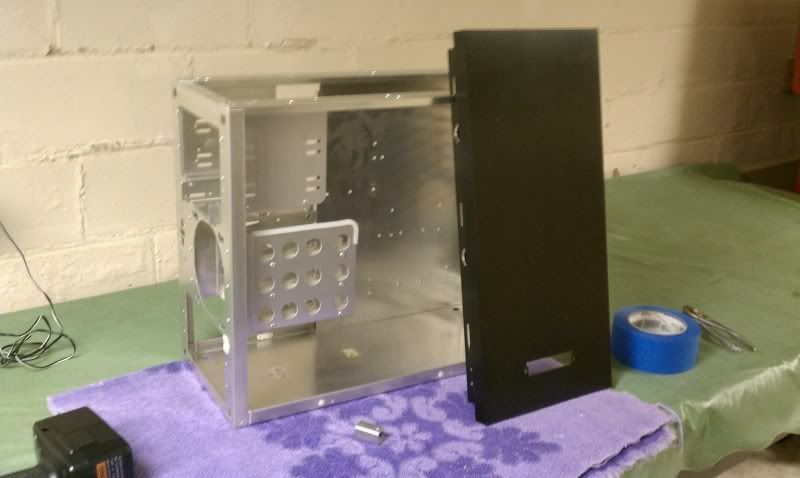
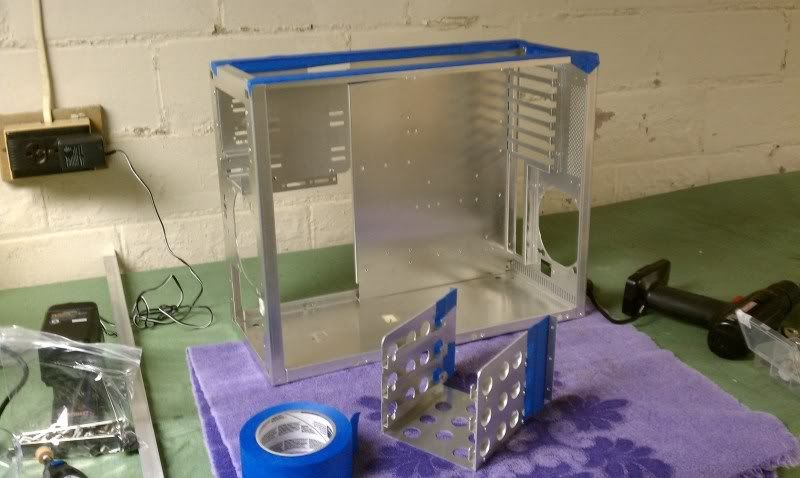
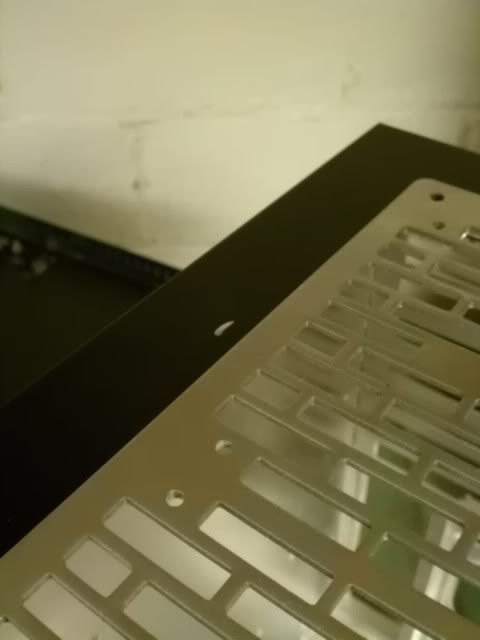
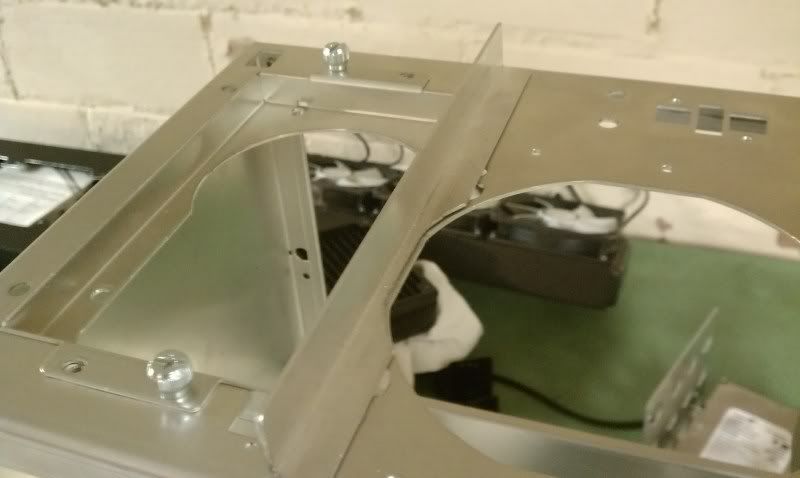
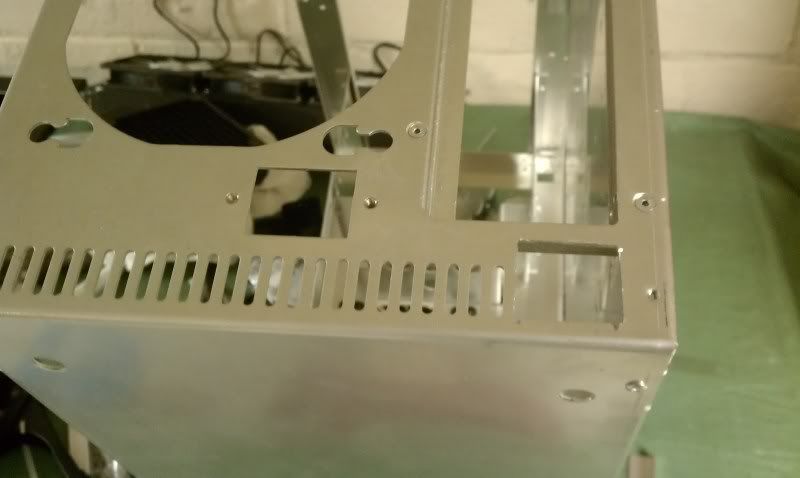
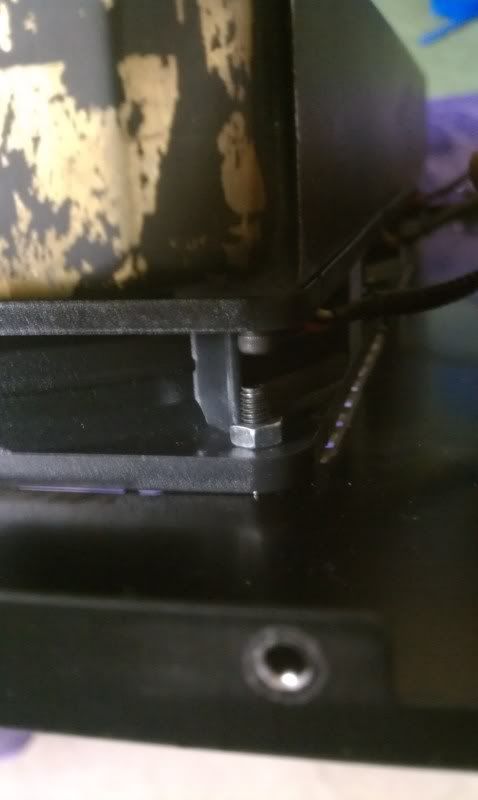
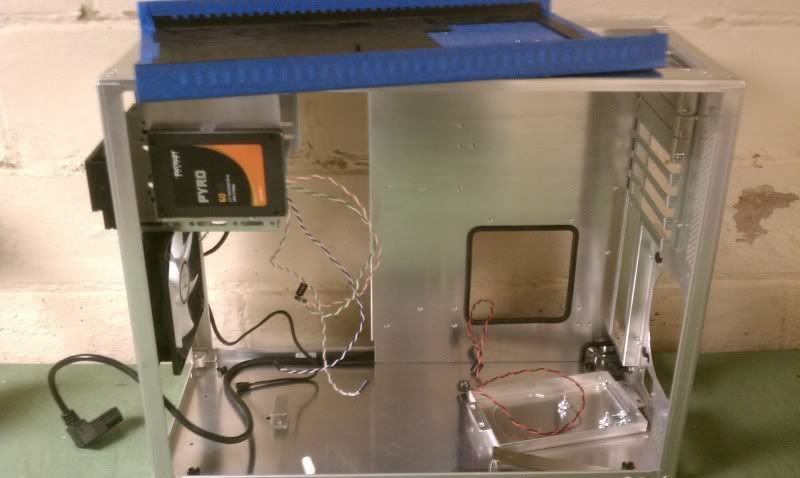
I've bought recently:•Case - Lian Li A05B
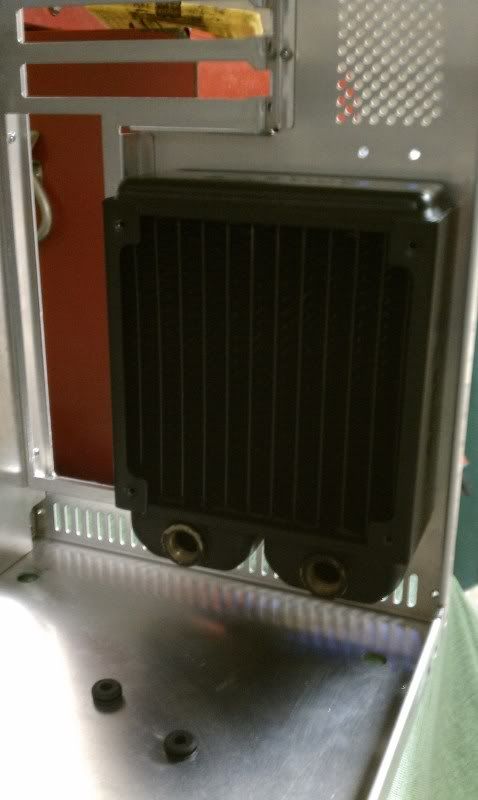
•Radiators - EK CoolStream XT 360 and XT 120
•Fittings - 2x Bitspower compressions
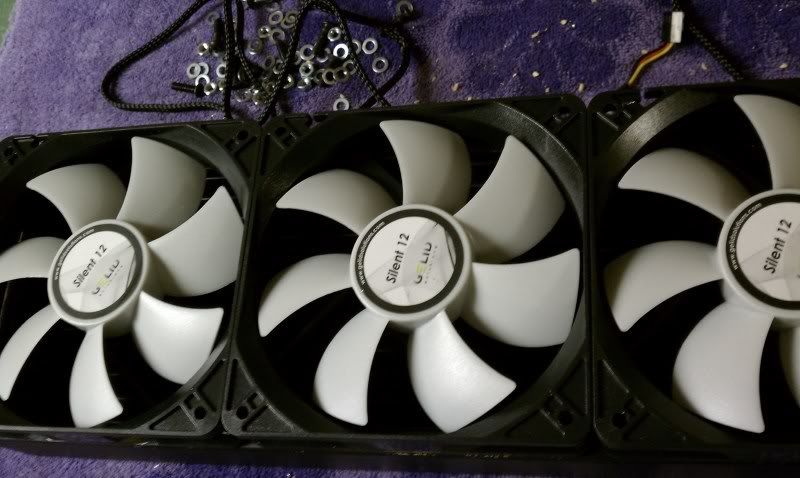
•Fans - 5x Gelid Silent 12 (per Martin's review)
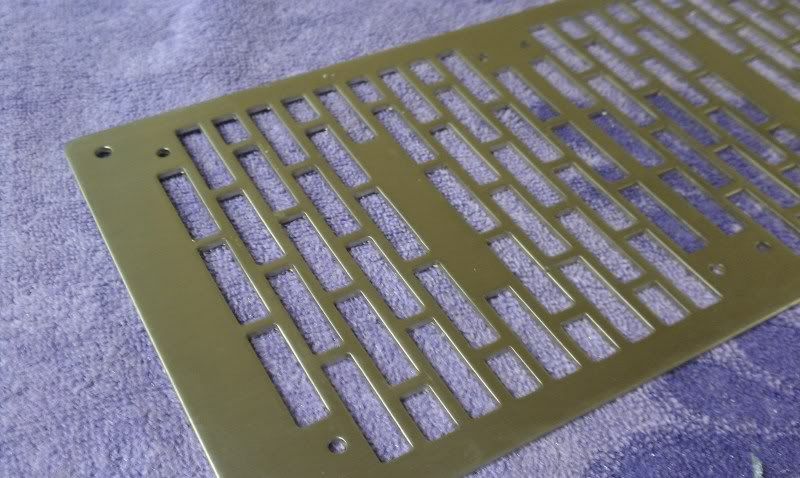
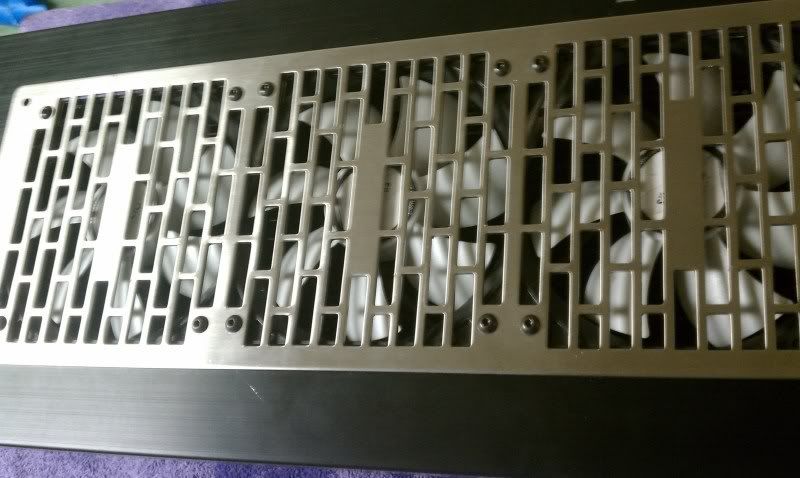
•Grill - AC Ryan Bricky 3x120 in stainless

I'll keep this post updated here at the bottom with links to updates every time I post a new update.

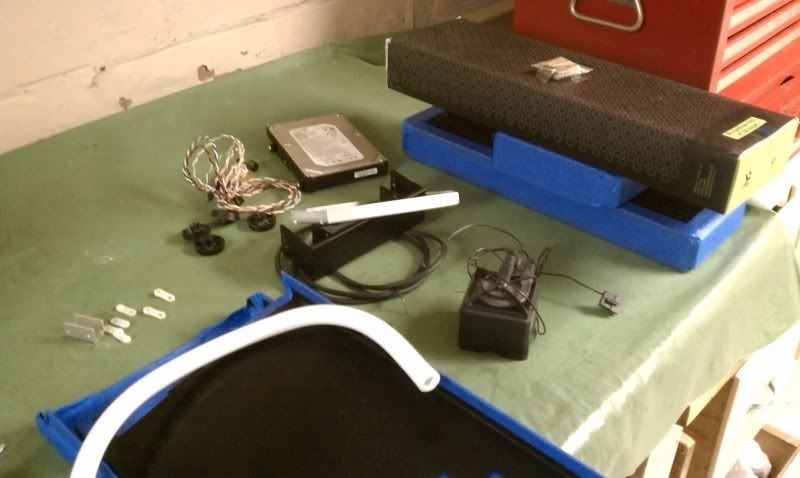
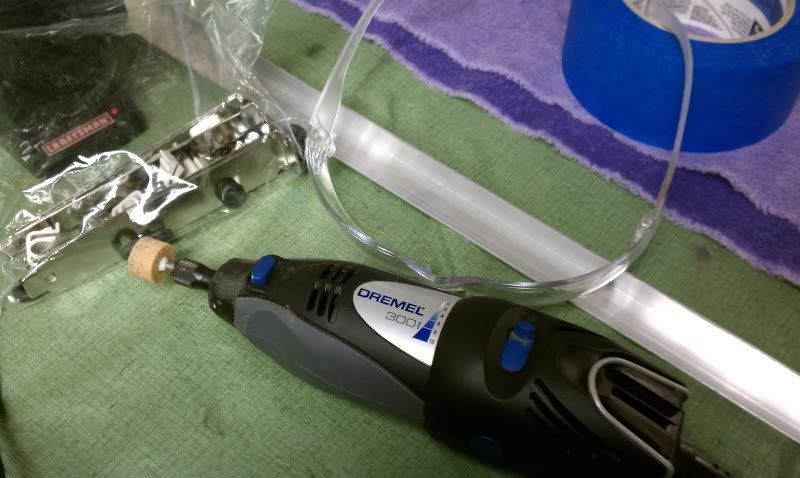
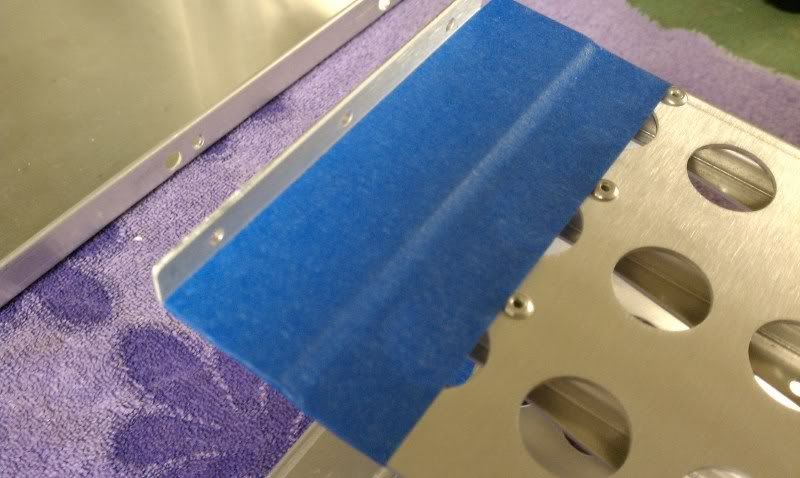
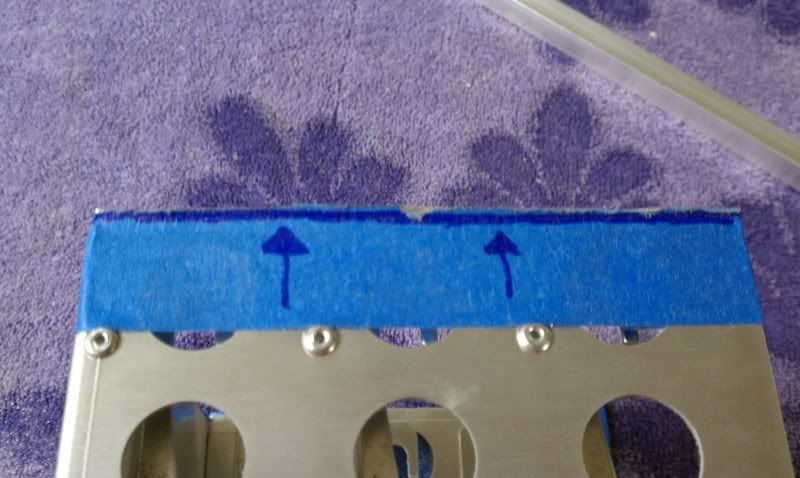
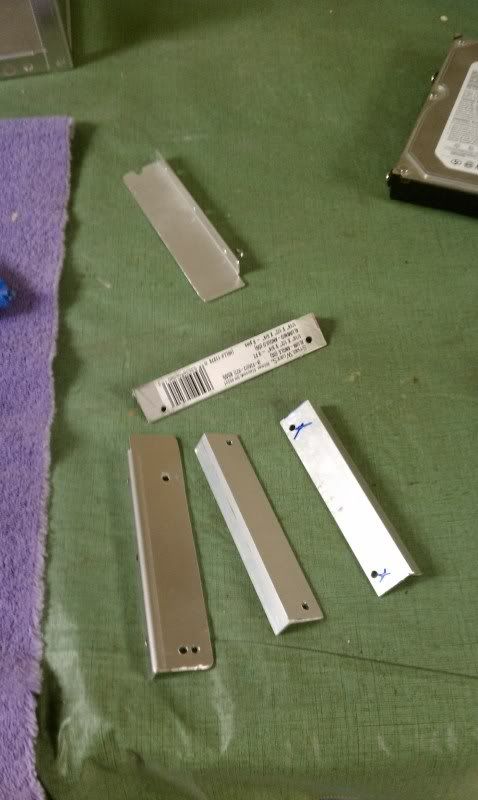
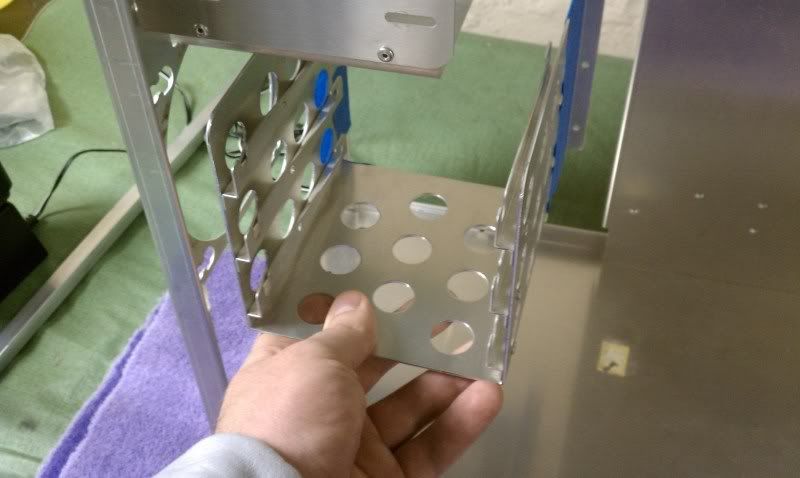
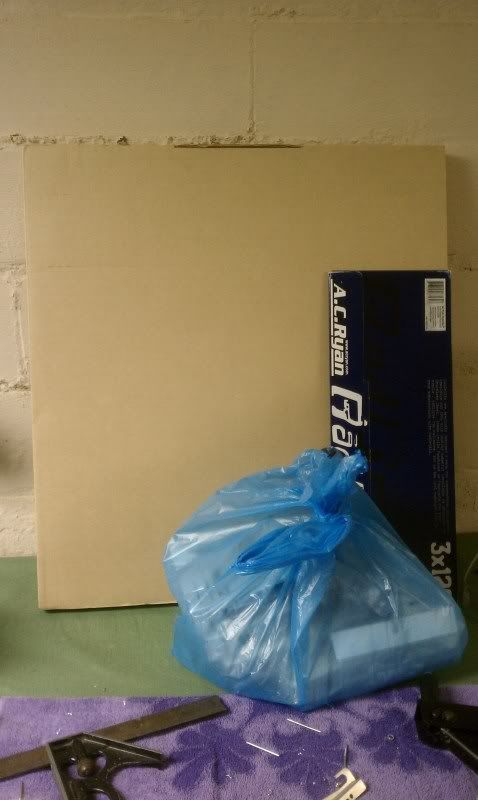
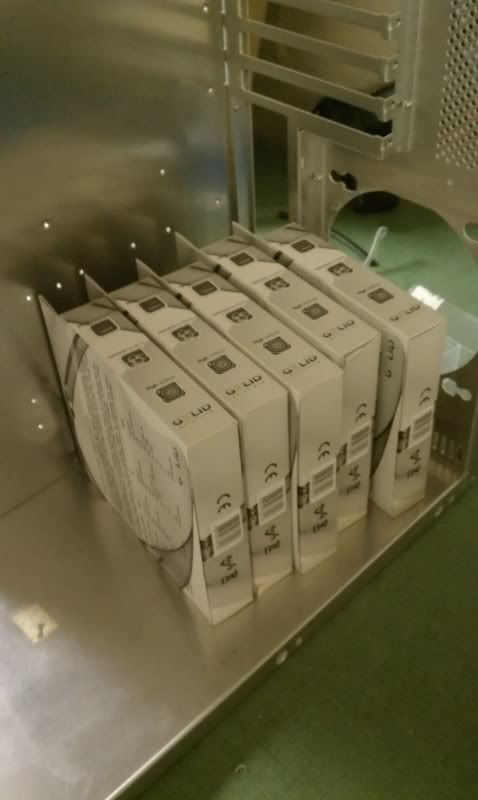
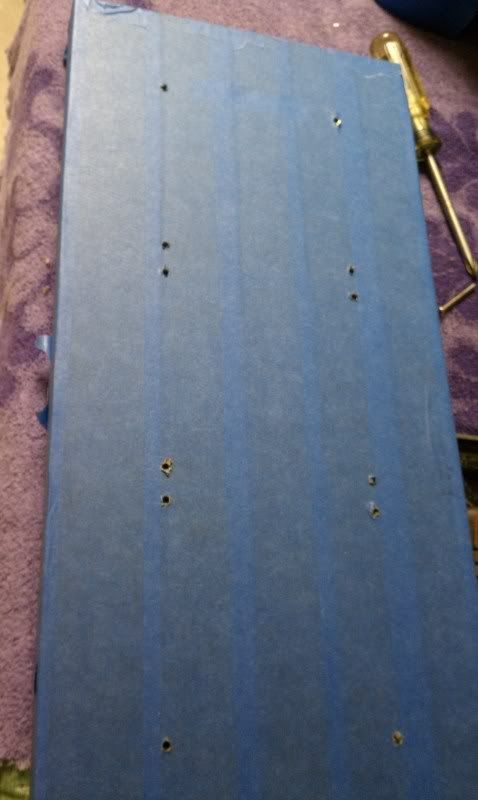
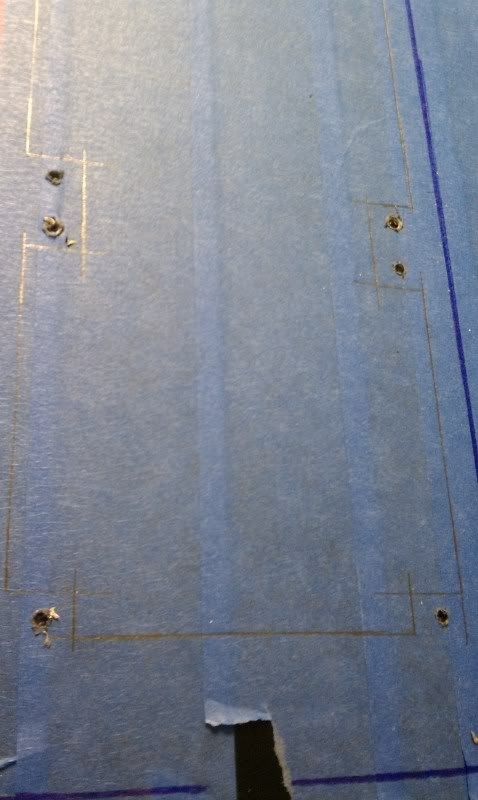
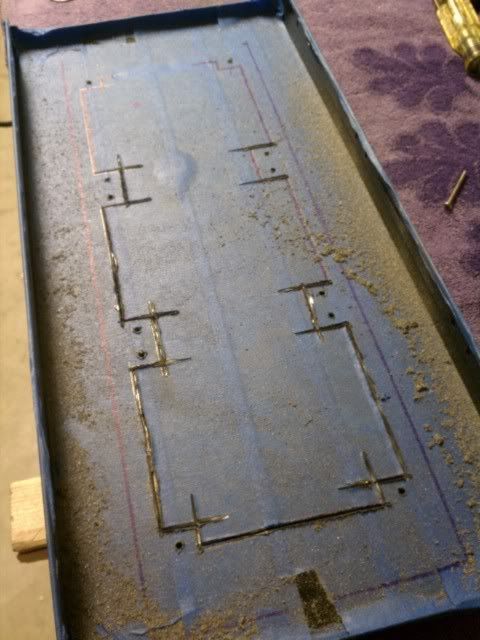
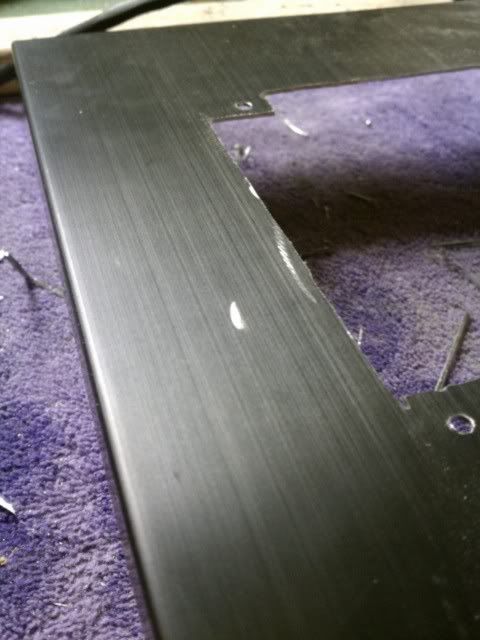
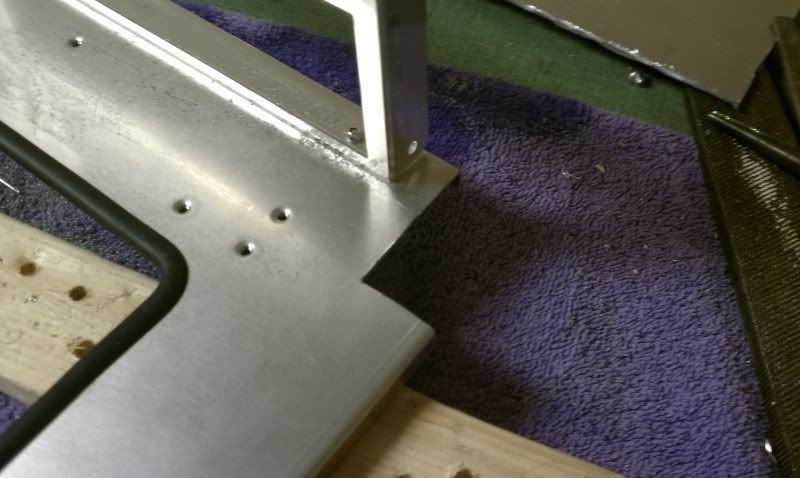
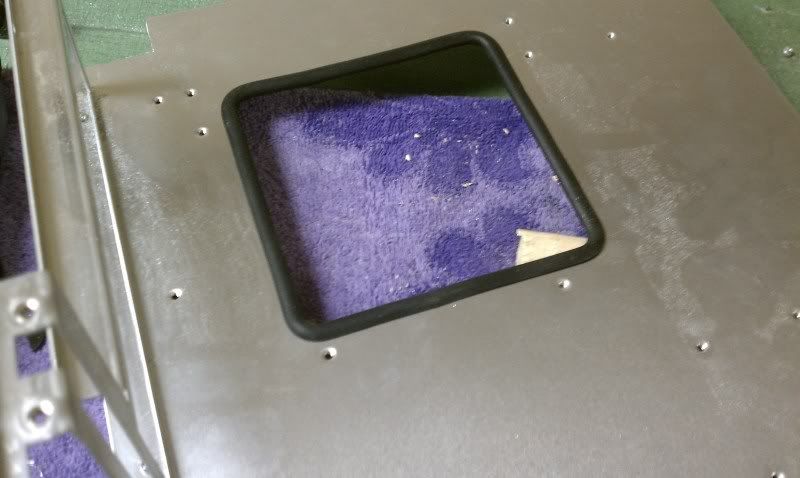
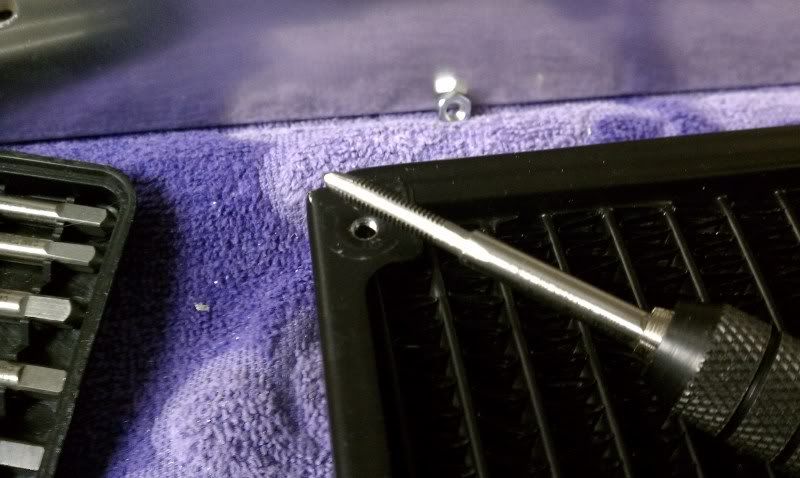
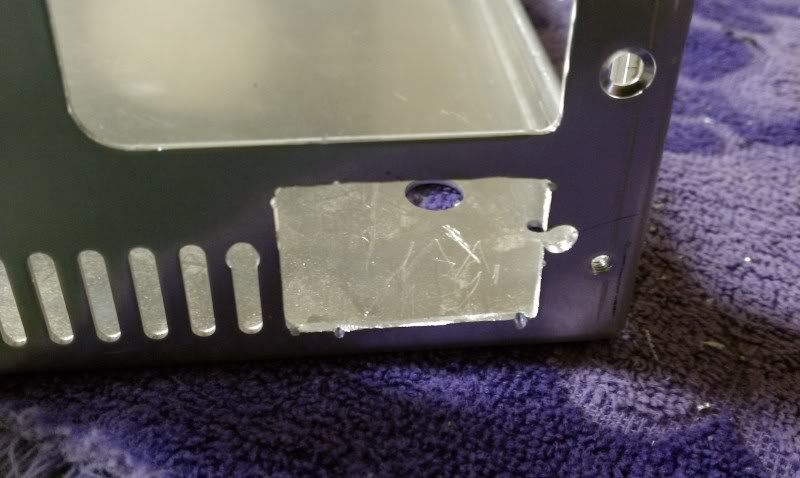
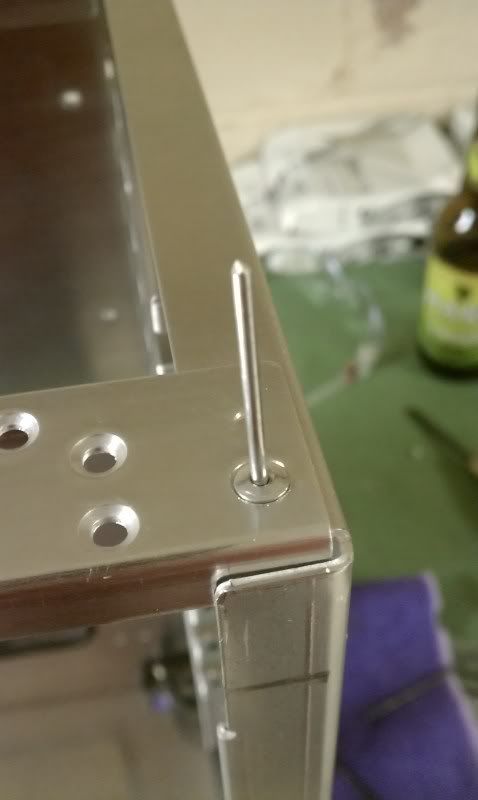
Bear with my pictures... my basement is lit well enough to work, but not well enough to take proper pictures. Ignore the fact that I'm also limited to using my cell phone... :(
 
Last edited:
Update 2-8-12 - Hard drive cage modification, top drilling

Here I am before starting much. I drilled out the rivets in the top panel and drilled the rivets in the PSU support bracket.
IMAG0021.jpg


I drilled out the rivets in the hard drive cage and taped some stuff up. I've got the other panels and the stock case fans, cables, etc in my room.
IMAG0022.jpg


Some of my goodies and old/dead stuff for mock up/placement.
IMAG0024.jpg


Tools of the trade. After getting some chunks of rust in my eye working under my car over the summer, I've decided safety first. Safety glasses are good, people. ;)
IMAG0023.jpg


I taped up my cage a bit, so I can see where I want to cut. I'm cutting the mounting flanges off because I'm planning on rotating the cage to hide the cables. After a bit, I'm contemplating abandoning it and working out some other way to retain my drives. I have three 3.5" drives I need to mount somewhere.
IMAG0025.jpg


Cut done.
IMAG0029.jpg


New versus old disc. This quick change kit I bought for my Dremel is awesome... fiber reinforced discs, quick change, moar cutting time and power.
IMAG0027.jpg


I bought some L aluminum from Lowes to try and fabricate some new flanges to mount my hard drive cage. Measure twice, cut four times? This is part of the reason I'm abandoning this idea...
IMAG0030.jpg


This is what I was contemplating. I'm thinking about rotating it clockwise 90° from this so the drives are vertical, but I'm undecided.
IMAG0026.jpg


Sack o' fans.
IMAG0035.jpg


One fan. I really like these fans for $7. I wanted something non-sleeve bearing because three will be mounted horizontally in the roof, and because I didn't want bearing noise at such a low RPM. Martin also gave them a 9/10 so...
IMAG0036.jpg


All 5.
IMAG0038.jpg


Rad grill. I have a source on black AC Ryan grills if anyone is looking to purchage them... I know Performance-PCs only has black 2x120 Bricky grills, so PM me if you're interested. ;)
IMAG0039.jpg


Drilled the holes for my grill.
IMAG0040.jpg


Beer break. Remember, enjoy responsibly.
IMAG0041.jpg


Marked my cuts.
IMAG0042.jpg


Partially done cutting.
IMAG0044.jpg


When I was done cutting, I went back and started using a grinding wheel on my Dremel to smooth the edges and fit it better to the grill. I should've used a file. The wheel got clogged with aluminum (looks welded to the wheel?) and tape goo, so it hopped and I tapped the roof. It went through the tape. :(
IMAG0045.jpg


The streaks are covered by the grill, but the moon shaped one isn't. I'll be getting a new top panel in the future, but I'll deal with this for now. It's on the motherboard side (left side) of the case towards the rear, so...
IMAG0046.jpg


That's all for this update.
 
Update 2-12-12 - Top fitting, radiator and fan mounting. Note - the only camera I have at my disposal is a cell phone (HTC Incredible) so bear with me with picture quality. The camera on this phone is actually surprisingly good when the lighting is right, but alas, the lighting in my basement is not photobooth or outdoor quality. It's plenty light to work and see, just not good for pictures. :(

It's been a while since my last update... not as many pictures because I was a bit frustrated with how things were going.

Man, these AC Ryan grills are somewhat of a pain to use. My 2x120 for my current rig was fine, but this 3x120 is a nightmare.

Back in my first update, I used the grill itself to mark the cuts and holes, not the template (part of the packaging). When I put the fans on the radiator and went to mount the radiator to the grill/case top panel, NOTHING lined up other than one fan. All of the other holes were either partially obscured or completely covered.

I got the 1x120 mounted in the rear. I know the barbs are supposed to be top side, but this will have to do. I can use the stock fan mounting points and everything by doing it this way. If I wanted the barbs top-side, I would need to drill new holes and it would actually shift the radiator and fan down in relation to the stock fan hole. I didn't want it to look unsightly, so I am going to just take extra care when bleeding.
IMAG0056.jpg


After walking away from the project for a day or two due to the rad grill frustration, I came back and made this piece. I'm considering having the front fan as an intake even though Lian Li intended it to be an exhaust. This L channel coupled with some edge molding will seal against the inside of the front bezel to separate the intake air from the PSU exhaust air. I've still got to drill a couple holes and rivet it in place.
IMAG0058.jpg


Relocated the power plug. I'm afraid I made it a bit too close to the side though. :(
IMAG0059.jpg


Fans mounted on the radiator. I need to find my heat gun so I can take these stickers off. Thanks to the guy that loaned these Gelids to Martin for testing... I never would've bought them without reading that review. Really liking the quality for 7 bucks.
IMAG0061.jpg


Because of the hole issues, I've had to modify my plan a little bit. I was going to have the 3x120 in the roof have its fans set to push exhaust and the front and rear 120s set as intake. Because I can't mount this radiator with this AC Ryan grill (can't open the holes on the grill enough without making them too big to let the M3 screws slip through), I've devised something else (YEAH ENGINEERING DEGREEE). I came up with using M4 hardware (M4x0.7x16mm screws and nuts) to mount the grill>case>fans together, and then used my previously-purchased M3x0.5 hardware for mounting the fans to the radiator. I mounted the fans to the radiator first, and then used my fat fingers and some needle nose pliers to position the nuts to attach the fans to the grill/case. Yeah, the paint on there is in rough shape... apparently EK's paint is easily ripped off using weak 3M blue painter's tape. That's okay for me I suppose, because I'm planning on painting them white. For someone else, probably not.
IMAG0064.jpg


It only took three days and two hardware store runs to get this far.
IMAG0065.jpg


IMAG0063.jpg
 
Update 2-20-12 - Motherboard cuts, "polishing"

It's been a while since I last updated this. I'm usually on xtremesystems, so with them being down with a server move, I've had less motivation to work on my case coupled with other stuff going on. I'm branching out, which is why I'm here. :)

Not much going in this update, but I've made some progress. I've got a real itch to get this done, just no motivation, if that makes sense. I've realized I need an SSD to replace my aging boot drive and a couple SATA to eSATA enclosures for my storage drives. I want this rig to appear driveless. Working on getting a 90GB+ SSD.

On to what you guys actually care about, pictures. :D

I've made a small cut in the bottom corner of the motherboard tray, or the top, depending how you look at it. It's in the corner where the 8pin CPU power usually is, so that's "top" in most cases, but seeing as this is an inverted ATX case, does that make it the bottom? Anyway...
IMAG0076.jpg


In the previous picture, you can somewhat see the cut out I made for the CPU backplate for my EK waterblock. I ran into backplate/screw clearance issues with my v351 motherboard tray, so I assumed I would run into them again on this case. I lined the cut (after filing) with some rubber edge molding I got from McMaster a while ago. I put some on that other cut too, later.
IMAG0075.jpg


One of the M3x0.5 holes stripped on my EK 1x120 radiator, so saying "F it," I tried re-tapping it to M4x0.7. It worked. I thought "You've got nothing to lose, just do it" and if it didn't work out, I would've bought some rivet nuts and drilled out the holes to accommodate. I'm debating re-tapping the 3x120 as well.
IMAG0081.jpg


I'm not proud of this at all, but it's part of the log. :( I have to move the 120v AC pass through cable to accommodate the 1x120 radiator in the rear. I cut too close to the side panel location without thinking how big the mounting "wings" are on the plug, so now I might have to put a little notch in the side panel. :mad::rolleyes: Measure more than once (for sure) before cutting...
IMAG0082.jpg


Now, I don't want to paint, powder coat or anodize the frame and drive bays because I personally think it's overdone and takes away from everything else in the case. I took the square I cut out for the CPU back plate hole, and tested a Brillo (steel wool) pad on it using long, unidirectional strokes. It turns out looking like polished brushed aluminum, if that makes sense. I love it, and I'm going to do the entire chassis and all the drive bays with this method. Terrible picture, but you can see where I "polished" and where I didn't.
IMAG0086.jpg


Better picture here. I've done the I/O back plate and the motherboard tray with this method, and it looks great. The Brillo pads I have actually have some kind of soap in them (found them around the house and wanted to test a theory, really) and I just went with it. I wet it down to wash out most of the soap, and then started at it. The soap acted like a lubricant of sorts, and the water/soap mixture eliminated all of the dust that would've been created.
IMAG0087.jpg


That's all for now... I might tear my rig down Wednesday to swap it over depending on how much "polishing" progress I make tomorrow. I'll have an SSD in my hands Wednesday possibly, so we'll see how it goes.
 
Update 2-22-12 - Polishing, reassembly

I completely disassembled the case last night and finished up the Brillo pad polishing. It came out pretty good - didn't eliminate all the scratches on the inside (bought a used case for dirt), but got rid of most of it and brightened the case up. I riveted it all back together, because I'm getting the itch to finish this thing.

Completely disassembled.
IMAG0088.jpg


"Polished" floor showing the reflection of the motherboard tray.
IMAG0090.jpg


I can't remember what this reflection is showing.
IMAG0091.jpg


A more overall view. You can kind of tell what was polished and what wasn't - I polished all the removeable bits, and the internal surfances of the bottom and back side. I didn't do anything to the exterior, because it won't show when I'm done.
IMAG0089.jpg


Missed a rivet. No wonder the case seemed floppy.
IMAG0092.jpg
 
Update 2-26-12 - Finishing everything for v.1

I decided I've been working on version 1 of this build long enough, so I made a push to finish everything up and get myself a running computer again. I didn't paint the radiators, make custom cables, or sleeve anything. I'm going to wait until Nils is back to 100% and then my friend and I are going to make a group order on some sleeving to save on shipping hopefully. My girlfriend also got tired of me spending so much time in the basement playing around with this stuff. :rolleyes:

Anyway, on to the pictures. These are from a three-day span, of which only this stuff got done.

New SSD. I grabbed a 60GB Patriot Pyro for $75 after rebate. I'll get another next time the rebate comes around (hoping as soon as this one ends) and I'll RAID0 them. This 60GB is enough for Win7 x64 Ultimate, all of my misc programs (media players, browsers, etc) and the only game I'm playing now (BF3), so it'll do for now.
IMAG0095.jpg


Pulling apart my old v351 set up, I noticed my GPU block is looking a bit dark. I couldn't tell if it was algae or just tarnishing at this point.
IMAG0096.jpg

IMAG0098.jpg


Pulling the reservoir out of its cubby hole, it was crystal clear as was my clear acrylic pump top, so I told myself it's just the copper tarnishing.
IMAG0099.jpg


Pulled the old PSU out so I had space to access everything. I'm replacing it with a 620 PC Power & Cooling modular unit. :D
IMAG0100.jpg


I couldn't remember if I had the 10w or 18w DDC, so I pulled mine apart when I was cleaning it. I've got the 18w version. Two radiators and two blocks is child's play for this pump, but is this the one that can have that aftermarket board soldered in for more power?
IMAG0102.jpg


My mess.
IMAG0103.jpg


Just tarnish. It won't come off with a finger nail or scrubbing with a rag. I'm going to leave it and just ketchup or vinegar it later.
IMAG0104.jpg


New PSU, $65 after rebate. :cool:
IMAG0105.jpg


Pretty...
IMAG0108.jpg


Getting everything situated.
IMAG0109.jpg


Getting there.
IMAG0110.jpg


My tubing started ou like this, but I changed it later on because I didn't like the GPU to 3x120 tube options.
IMAG0111.jpg


Finished tubing with the second routing plan, minus the reservoir.
IMAG0113.jpg


Mess in the 5.25" bays. I have a little board velcro'd on the side that splits one 3pin power connector into 7 for powering fans. I've got 4 fans plugged in, so no big deal. I did need to solder up a custom cable for it by salvaging some connectors from a dead fan and a molex>3pin converter.
IMAG0114.jpg


Finished minus water and the front and side panels.
IMAG0115.jpg


Bleeding this thing took longer than normal because I now have two radiators and they're both positioned as poorly as possible (barb locations) so I spent probably an hour tiling the case around. The fans are whisper quiet (the pump is the loudest thing now), so that's great. I still need to velcro the pump down to the case floor (it's just resting there) so it'll probably get a bit quieter when it's not rattling around. My temps have gone up a degree or two from what I remember, which could be the drastically slower fans (3000rpm vs 1000rpm now) even though my radiator space has doubled. I can sacrifice 2c idle temps (haven't loaded yet) for this much silence. Overall, I'm very happy with it. :up:
 
Back
Top