Hello and welcome to my worklog!
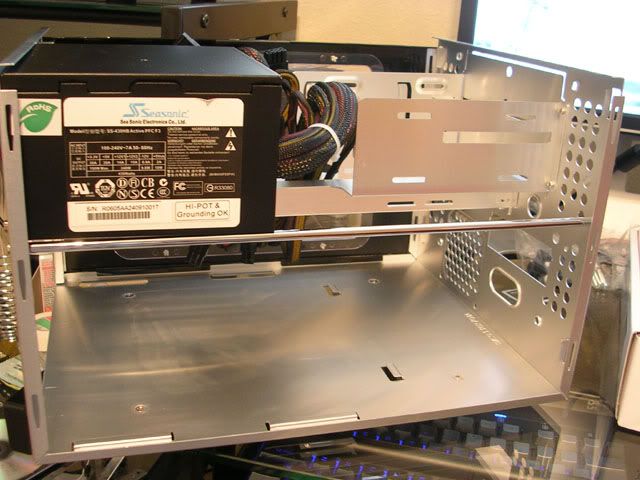
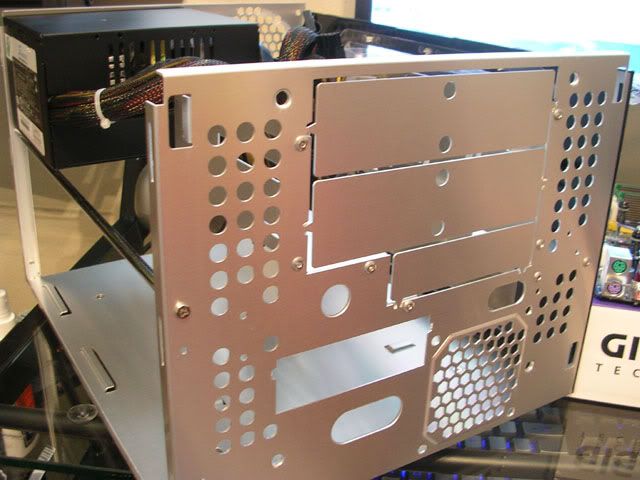
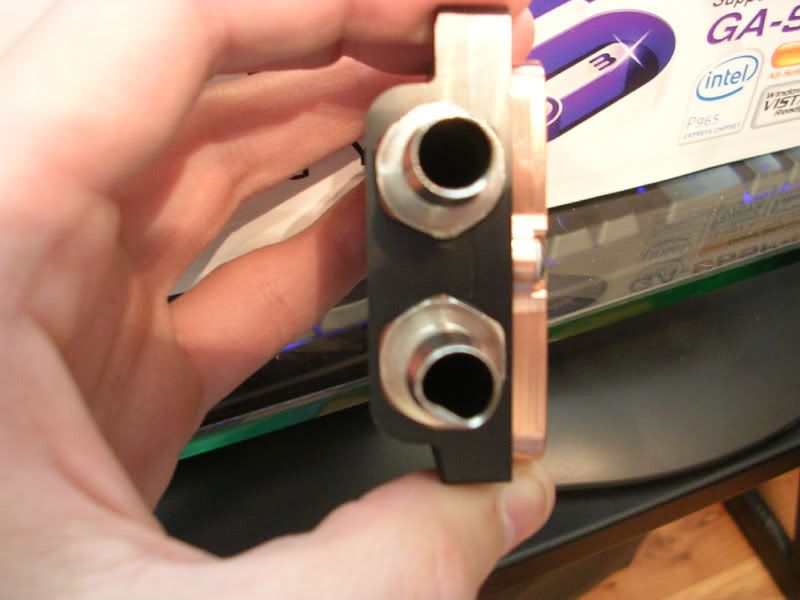
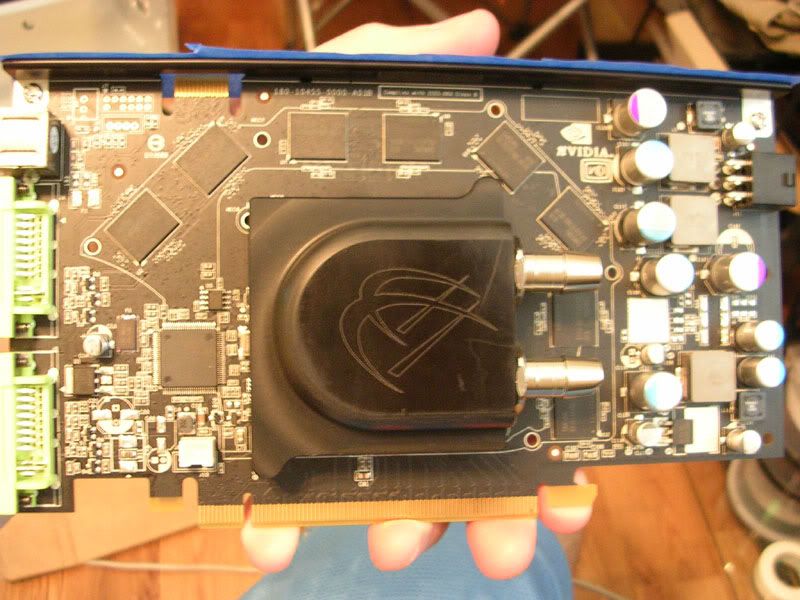
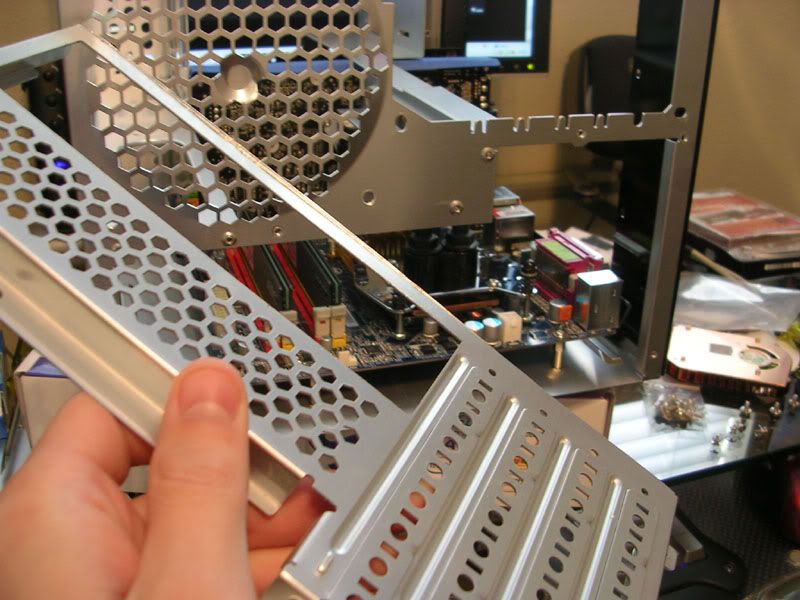
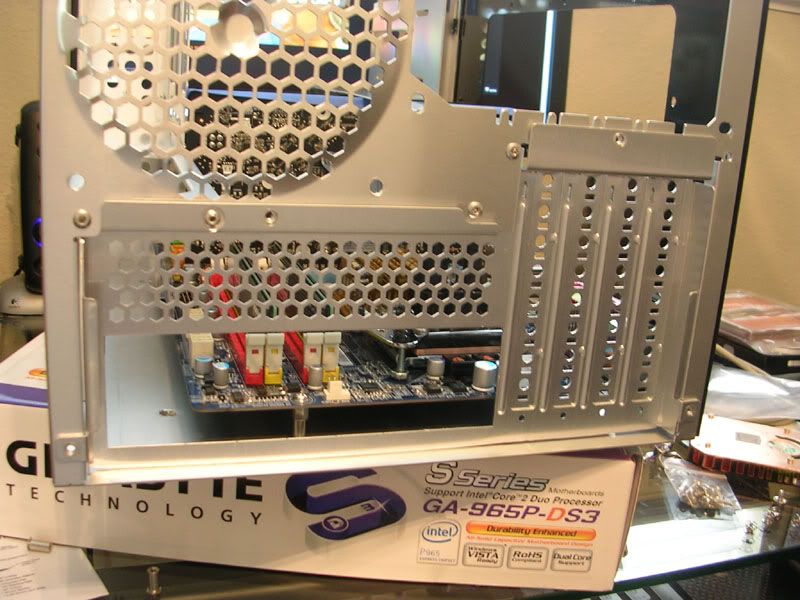
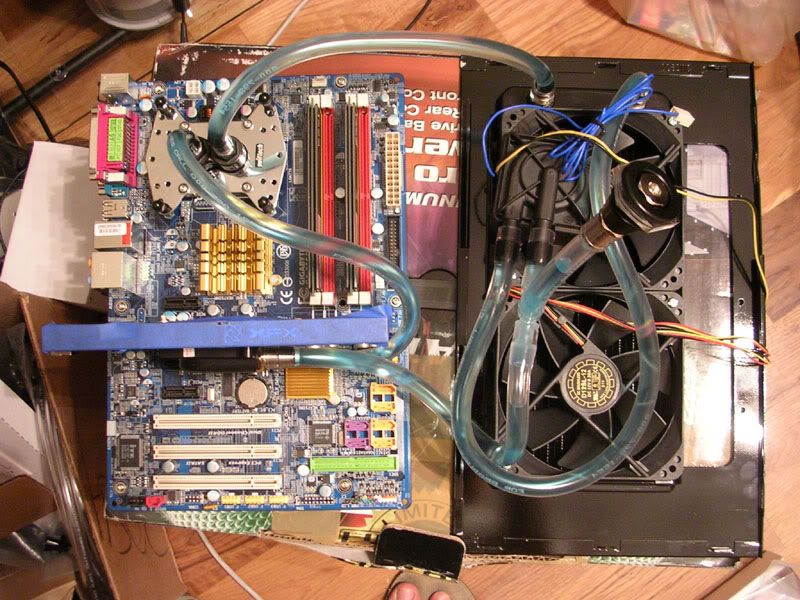
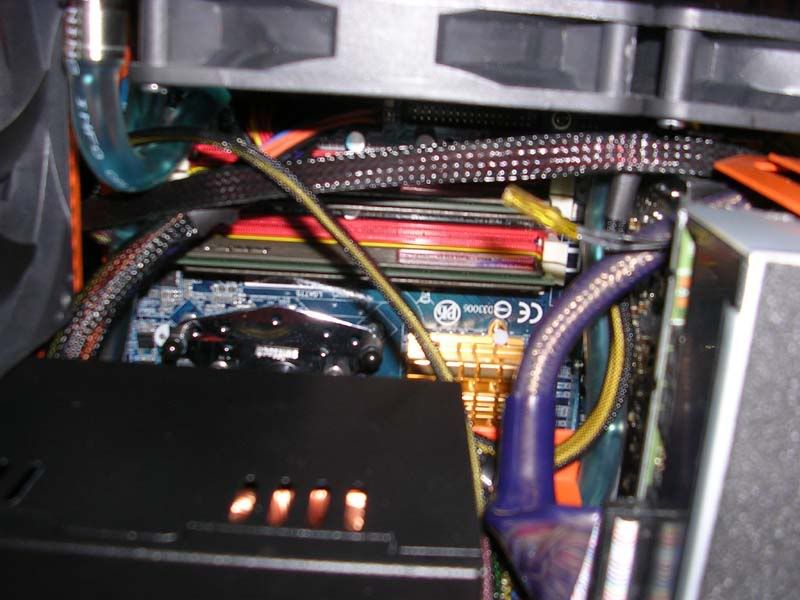
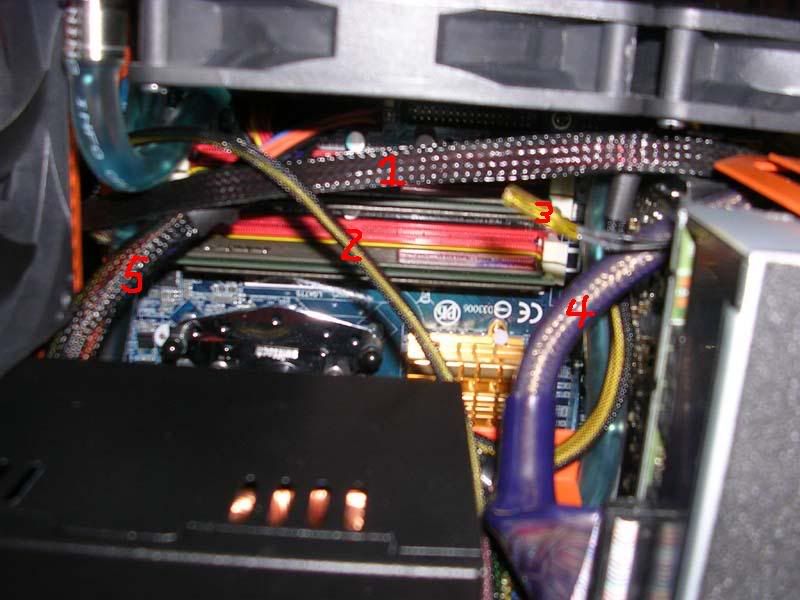
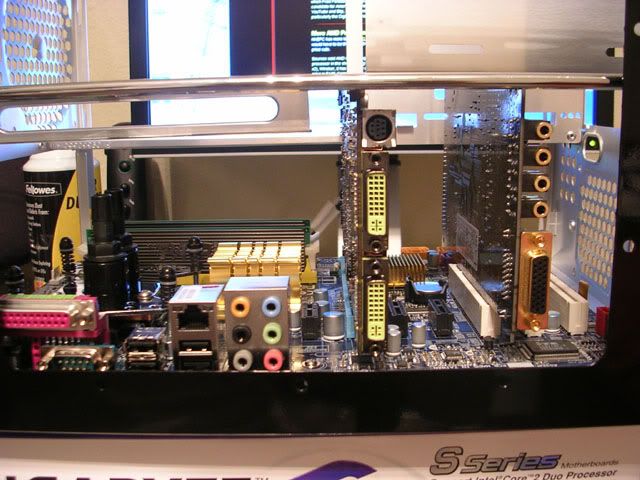
As the title says, this build is based on a Core 2 E6300/Gigabyte DS3 combo as well as 2x1GB Patriot memory, XFX 7900gt, X-fi sound and Seasonic S12 PSU crammed into an Ultra Microfly case. It will be watercooled using an Apogee CPU block, Laing DDC pump, and Maze4 GPU block with a DD StealthGTS 2x120 radiator. Everything will be internal.
Before anyone asks, yes, I realise this would be much easier in an ATX case. My current rig is also watercooled, in an ATX case, however I like the smaller size of the mATX case, and the challenge of cramming everything in there.") I have been planning this build for a while, and do not plan on changing it significantly. I hope to accomplish a clean and somewhat novel look, as well as near silence and good performance. Credit goes out to Votey and his XeQtion mod which provided me with a lot of inspiration for my own.
I have been planning this build for a while, and do not plan on changing it significantly. I hope to accomplish a clean and somewhat novel look, as well as near silence and good performance. Credit goes out to Votey and his XeQtion mod which provided me with a lot of inspiration for my own.
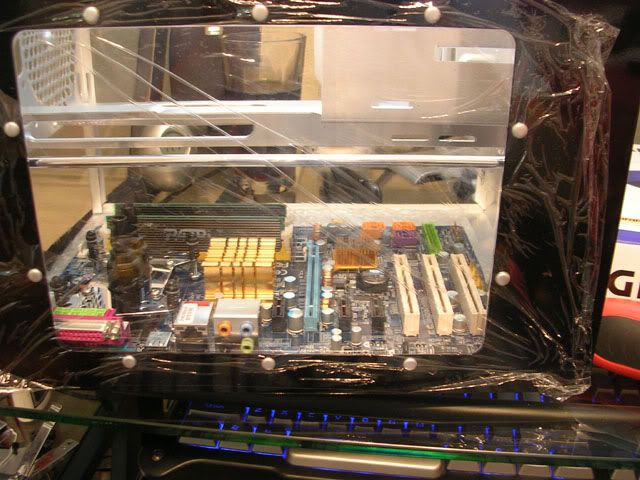
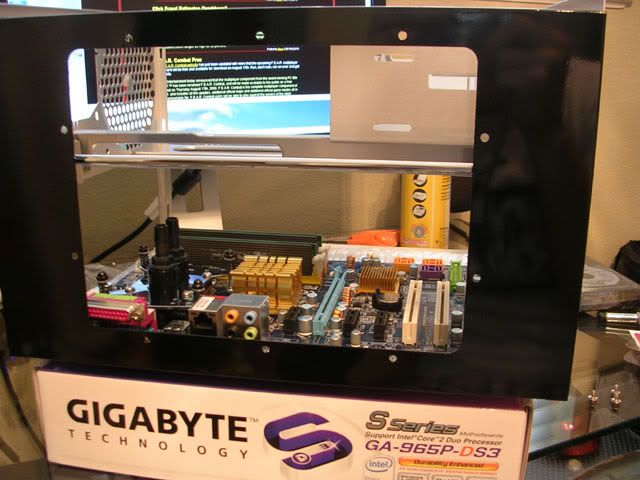
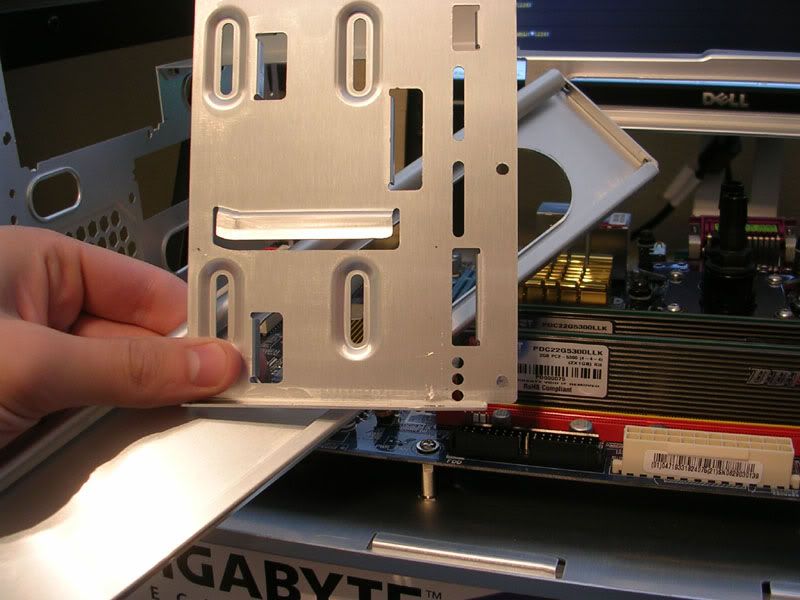
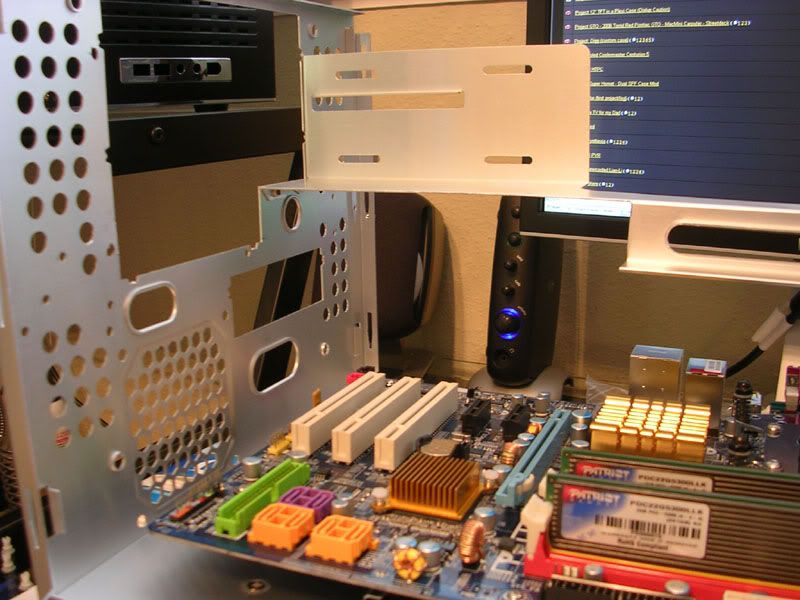
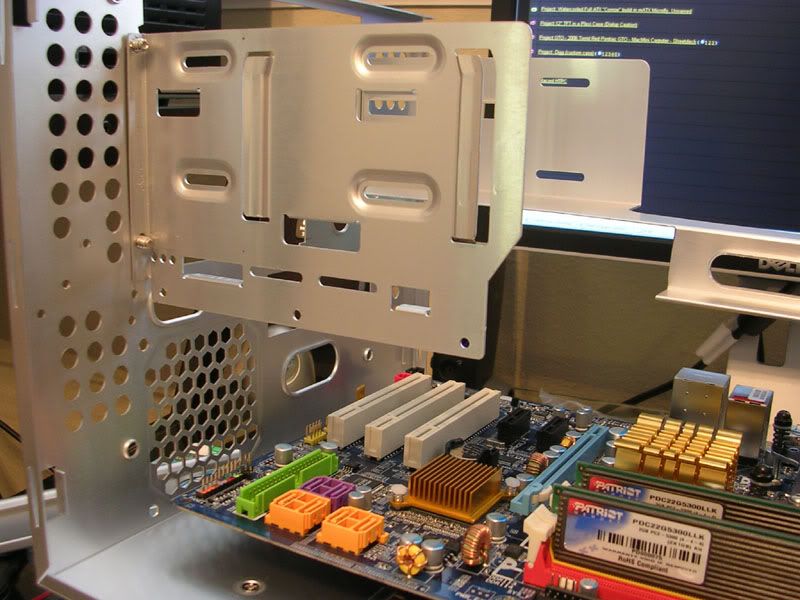
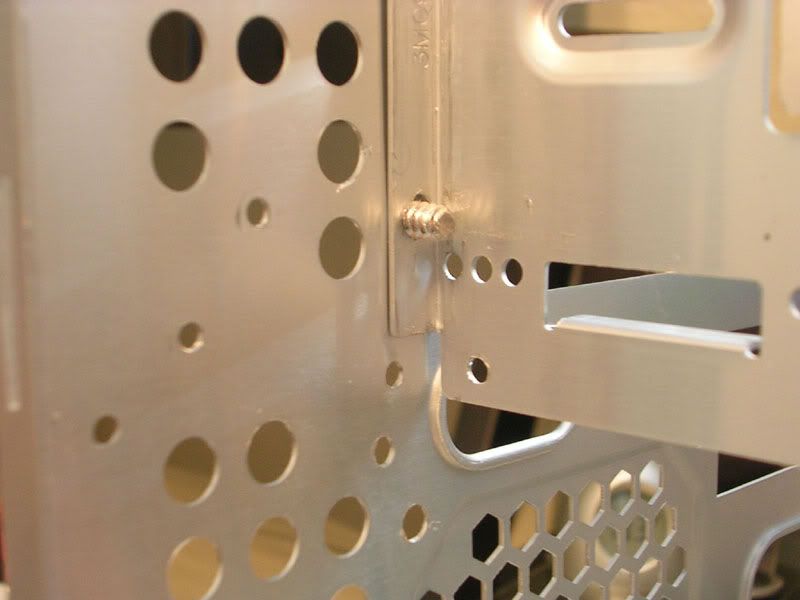
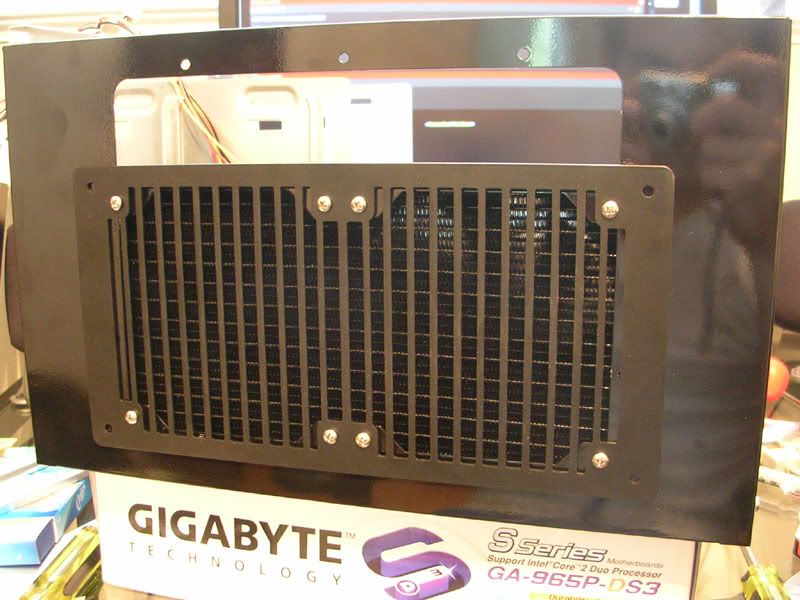
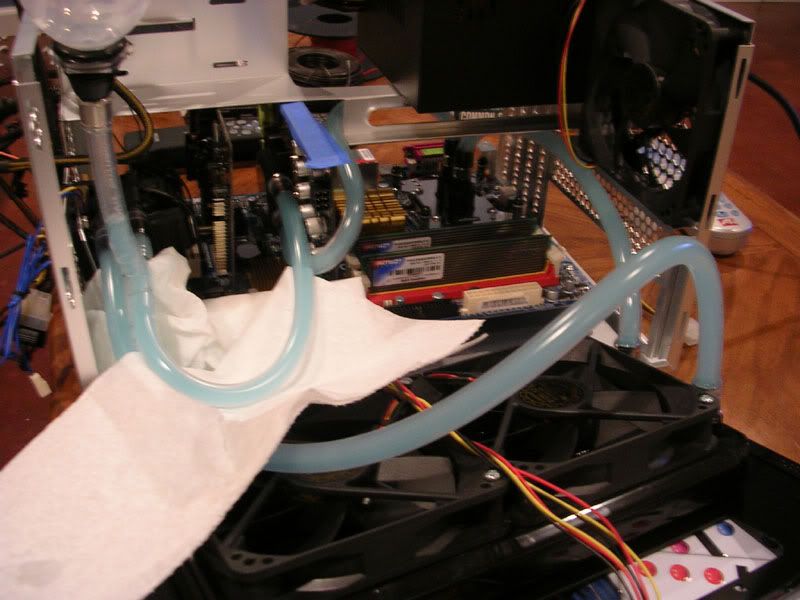
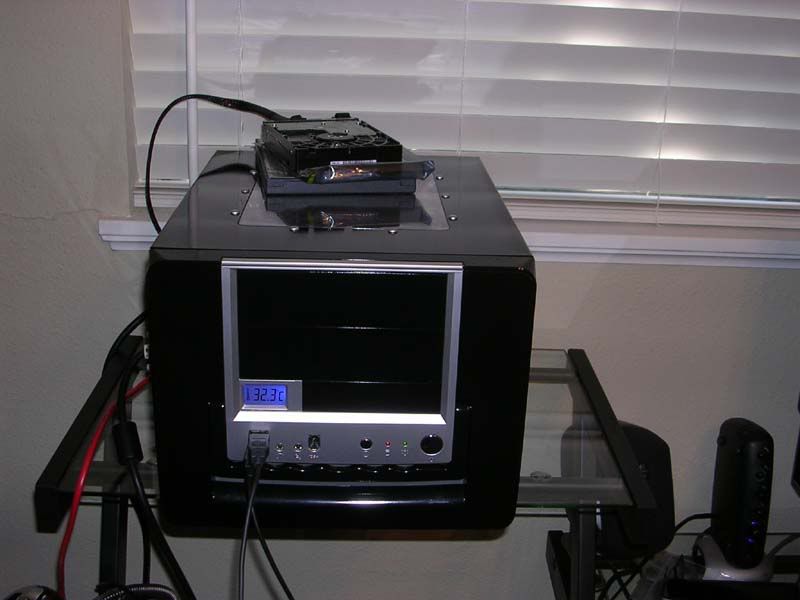
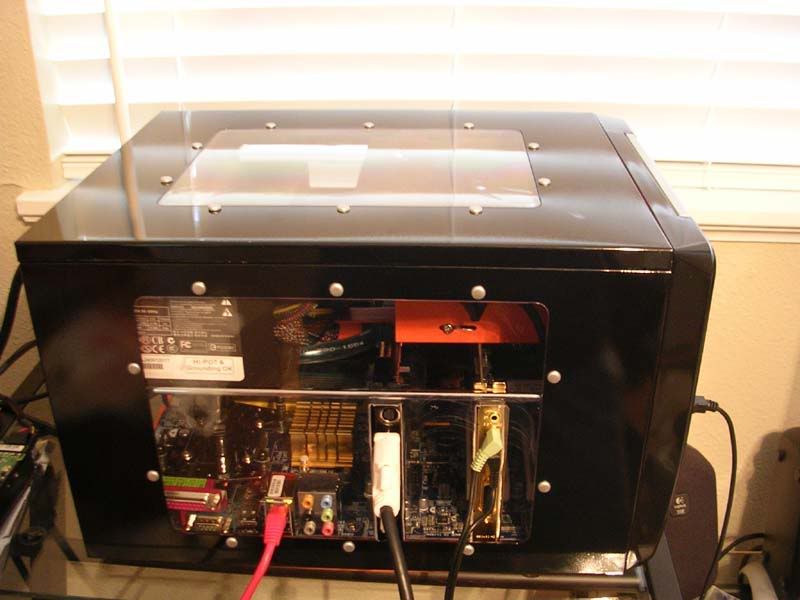
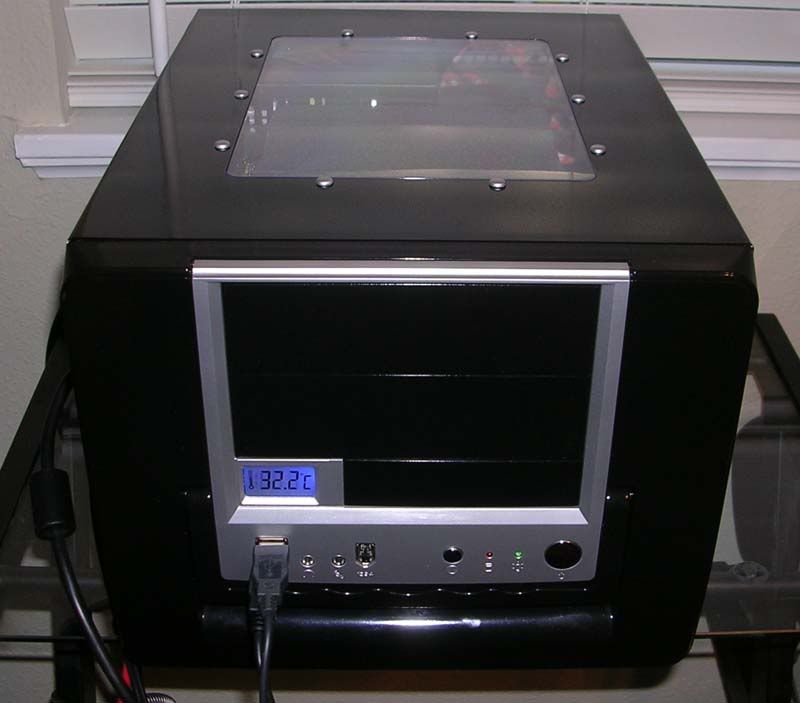
A teaser of my progress as I upload the rest of the pics:

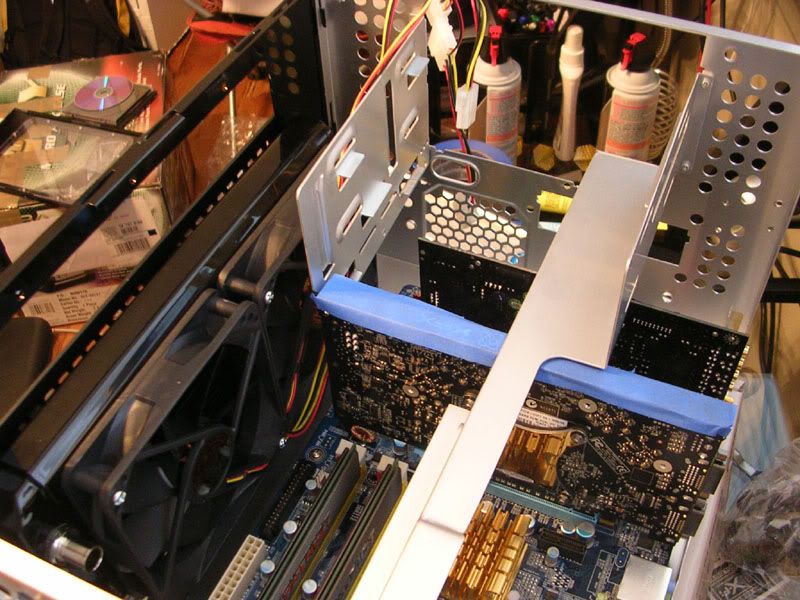
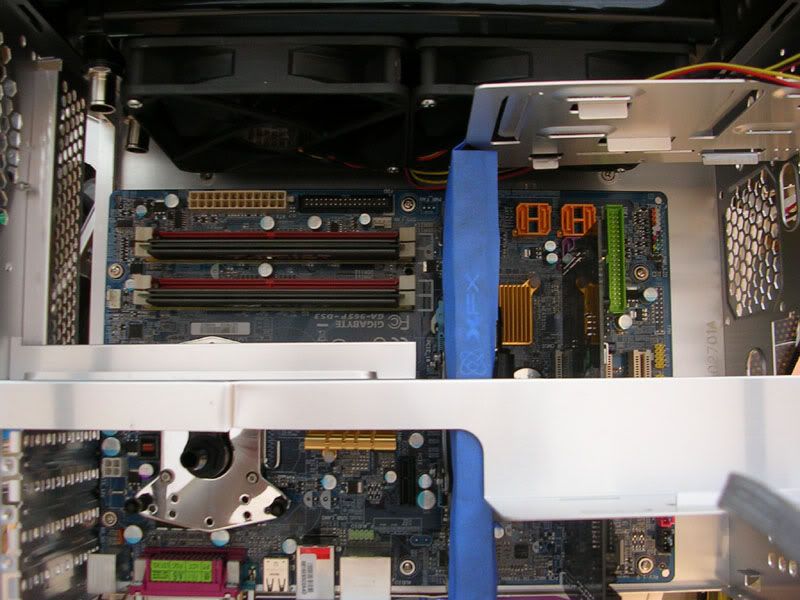
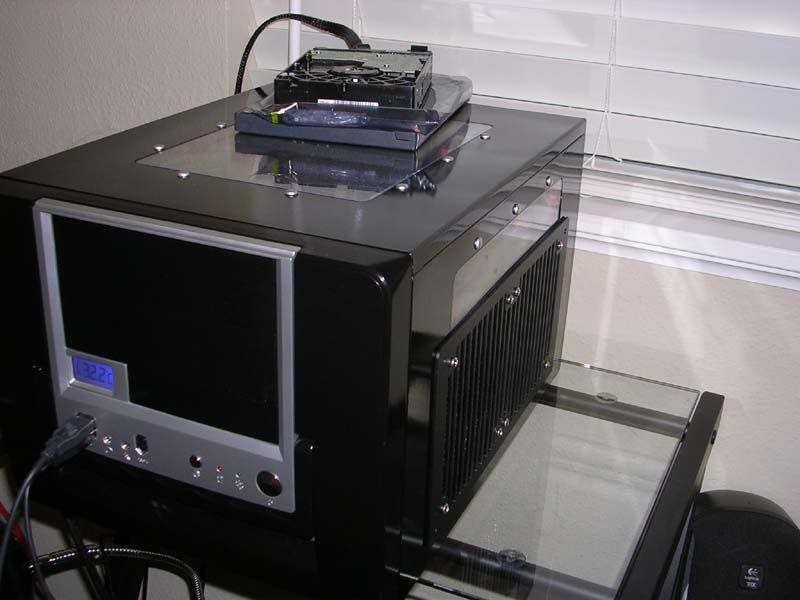
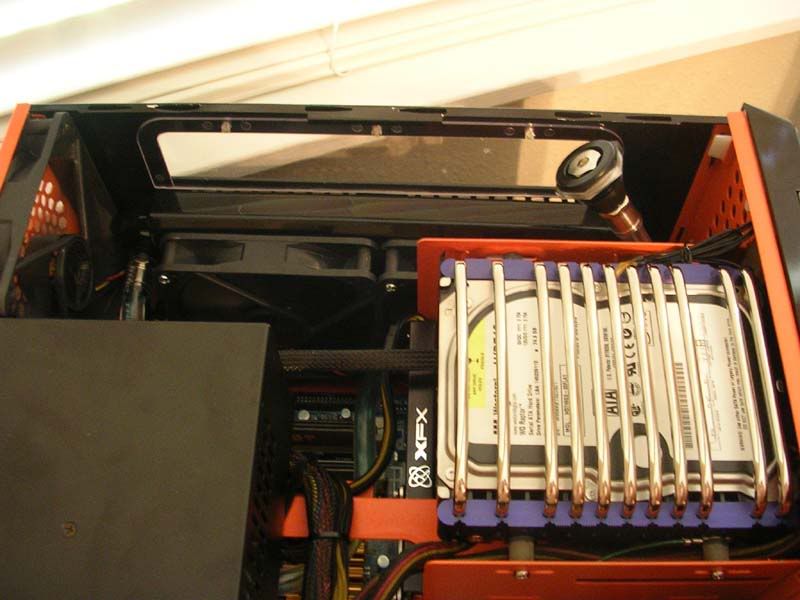
from the top
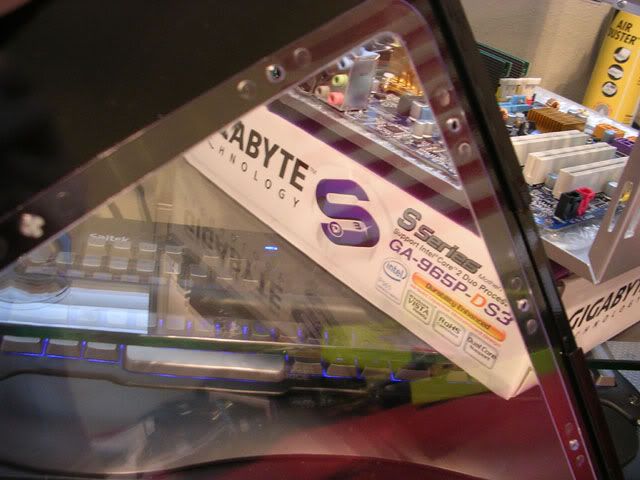
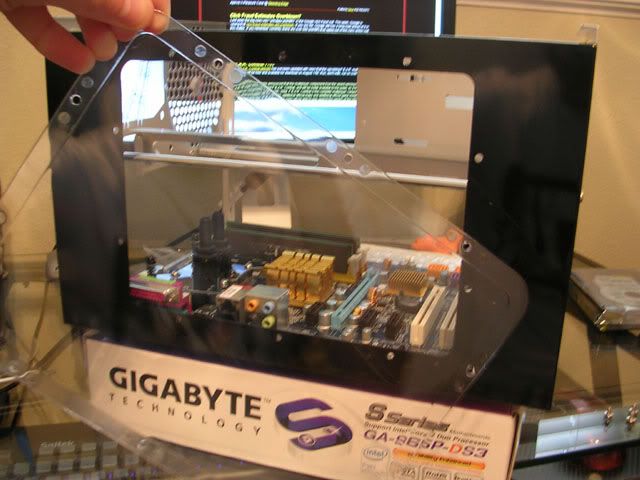
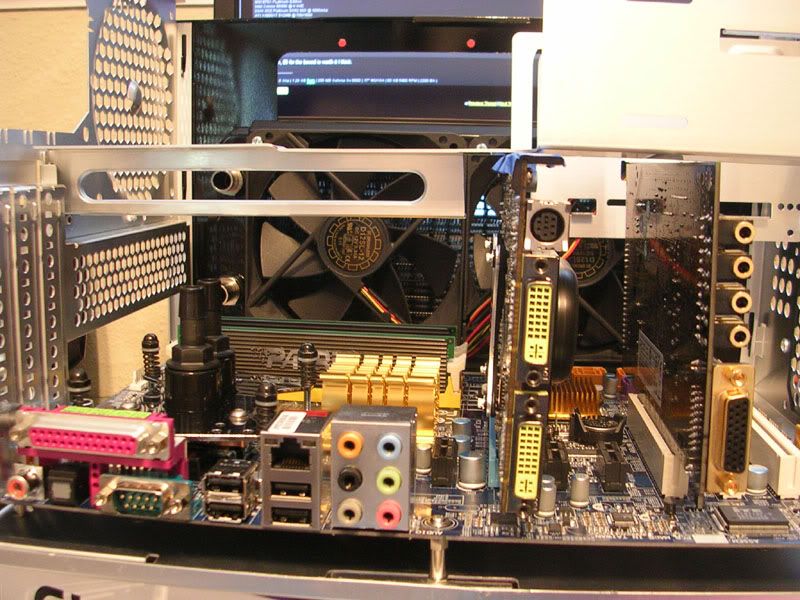
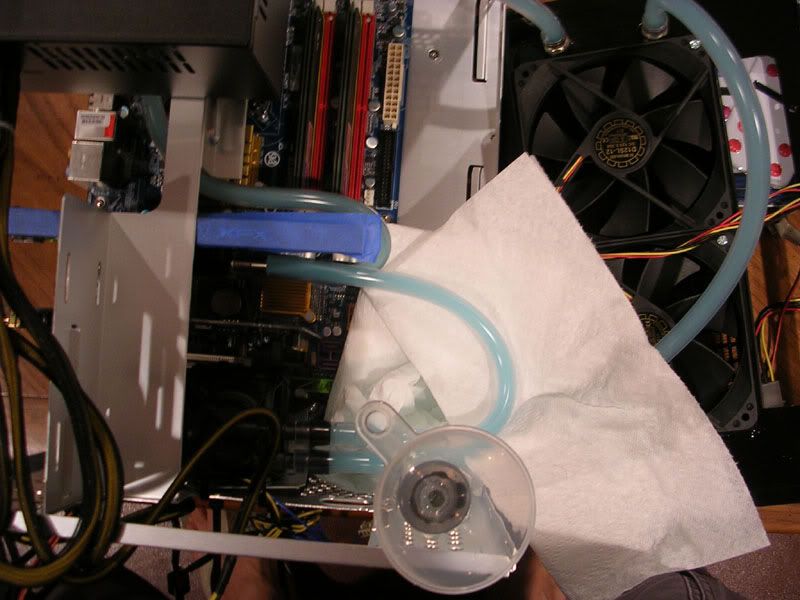
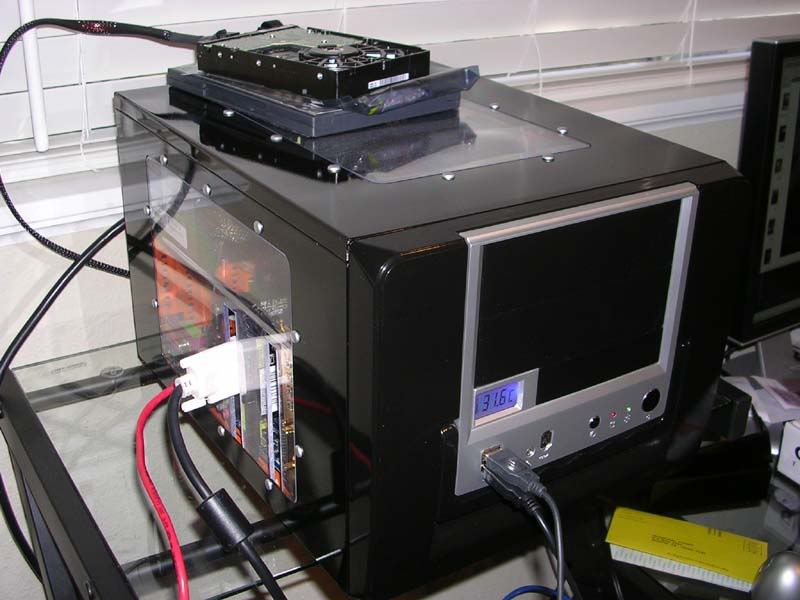
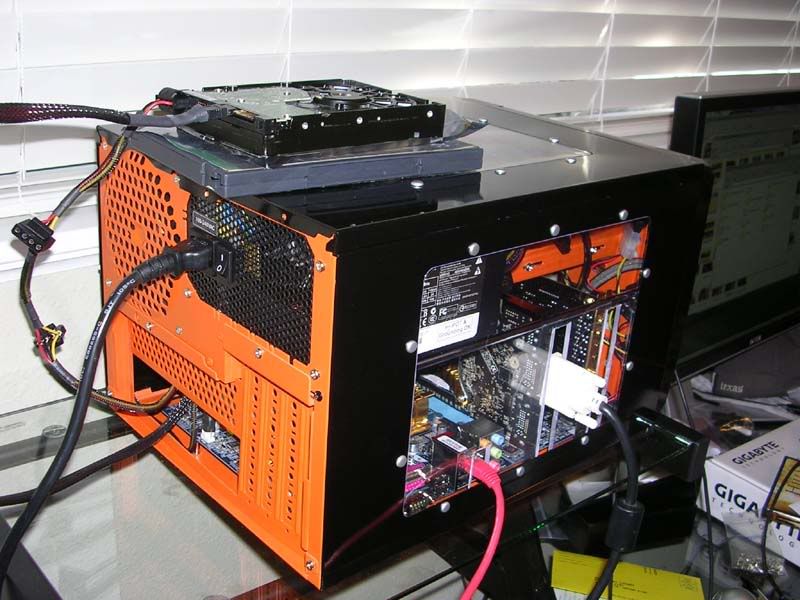
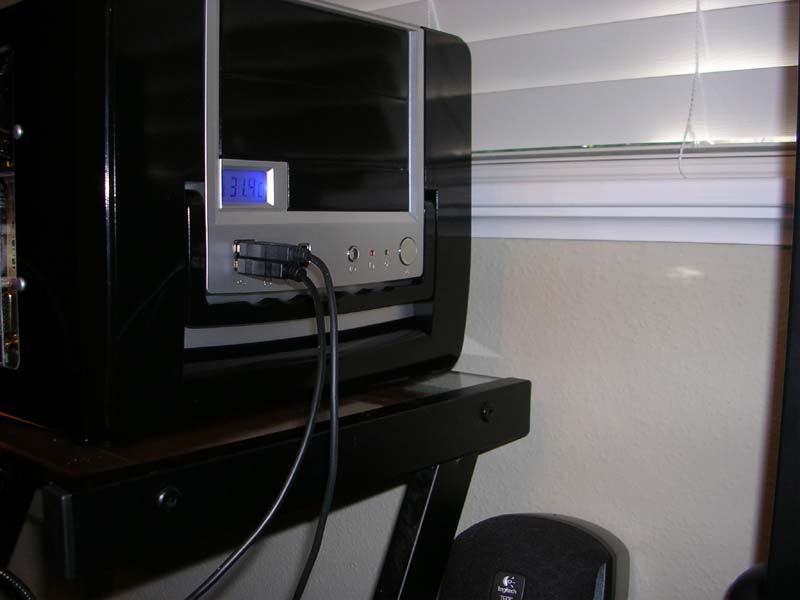
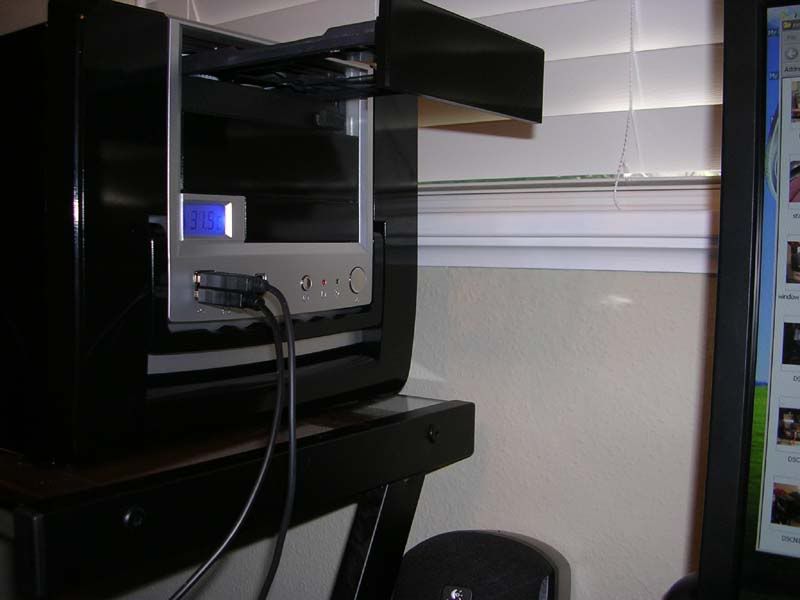
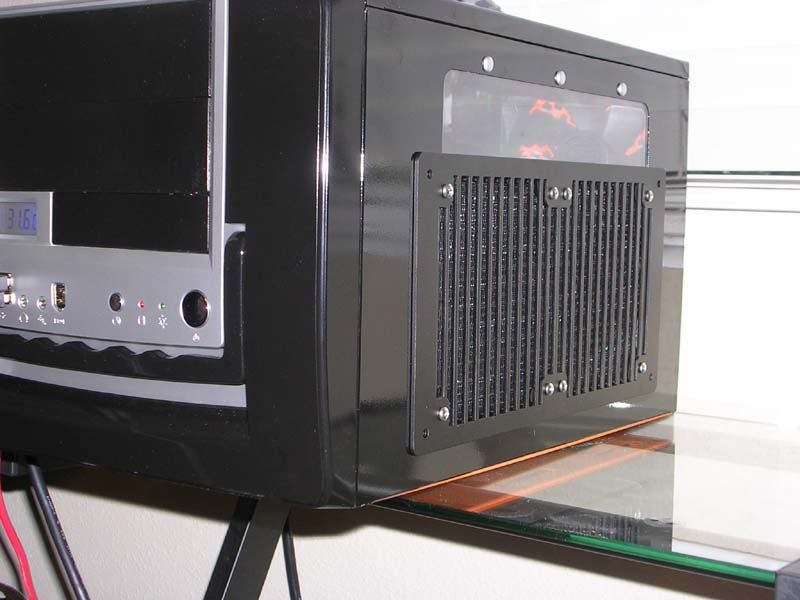
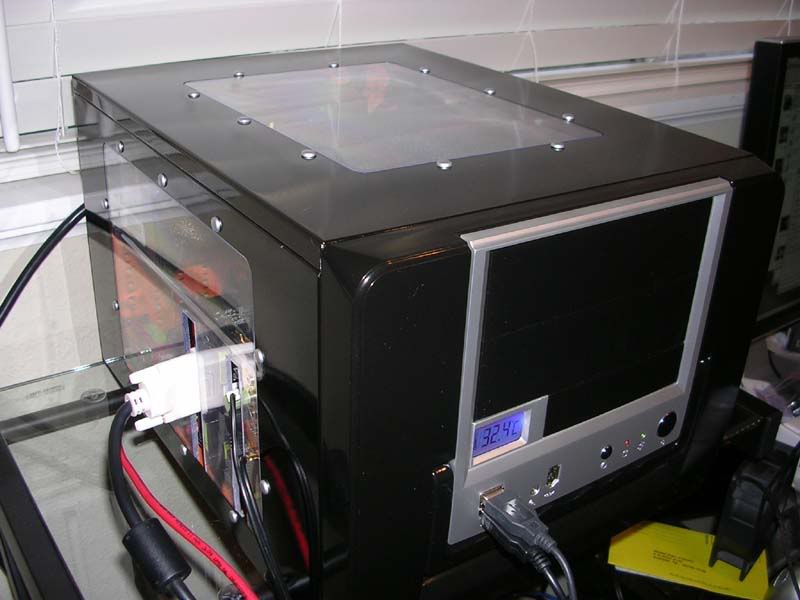
from the side
I recently finished summer classes and quit my job :wewt: so I plan on updating pretty regularly and having this completed within the next 2-3 weeks. Comments and questions are welcome of course
As the title says, this build is based on a Core 2 E6300/Gigabyte DS3 combo as well as 2x1GB Patriot memory, XFX 7900gt, X-fi sound and Seasonic S12 PSU crammed into an Ultra Microfly case. It will be watercooled using an Apogee CPU block, Laing DDC pump, and Maze4 GPU block with a DD StealthGTS 2x120 radiator. Everything will be internal.
Before anyone asks, yes, I realise this would be much easier in an ATX case. My current rig is also watercooled, in an ATX case, however I like the smaller size of the mATX case, and the challenge of cramming everything in there.
I have been planning this build for a while, and do not plan on changing it significantly. I hope to accomplish a clean and somewhat novel look, as well as near silence and good performance. Credit goes out to Votey and his XeQtion mod which provided me with a lot of inspiration for my own.A teaser of my progress as I upload the rest of the pics:
from the top
from the side
I recently finished summer classes and quit my job :wewt: so I plan on updating pretty regularly and having this completed within the next 2-3 weeks. Comments and questions are welcome of course