rogue_jedi
Supreme [H]ardness
- Joined
- Sep 6, 2002
- Messages
- 4,821
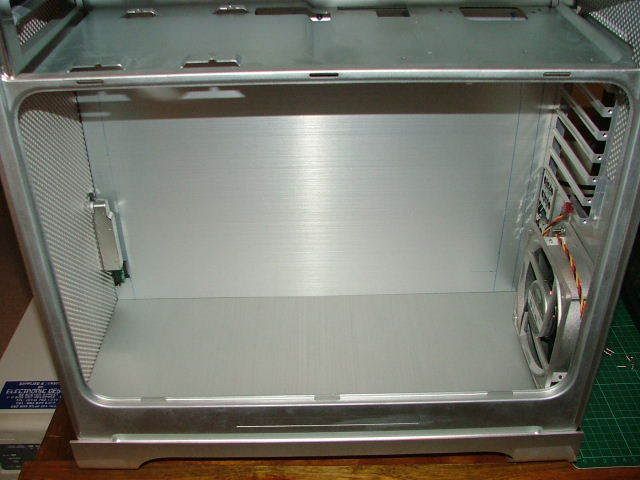
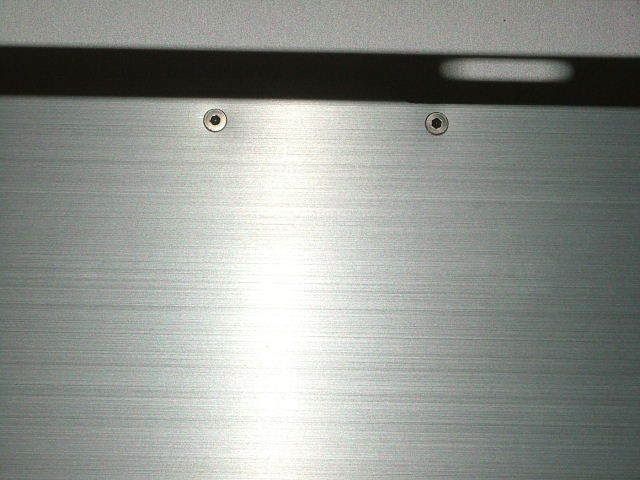
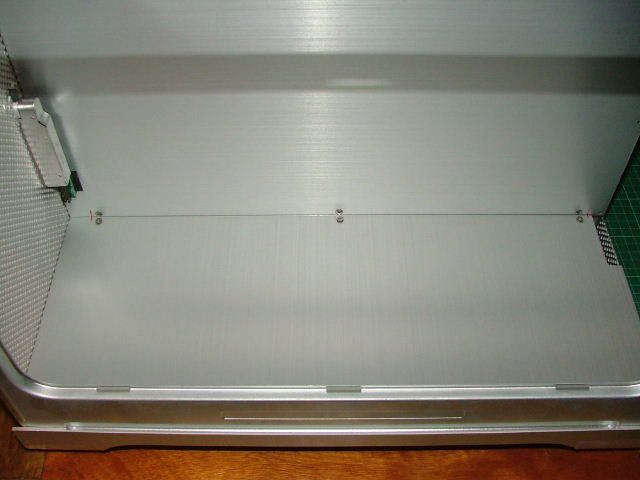
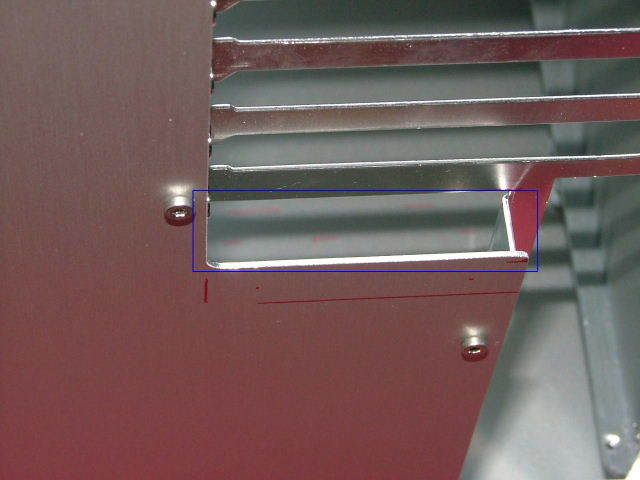
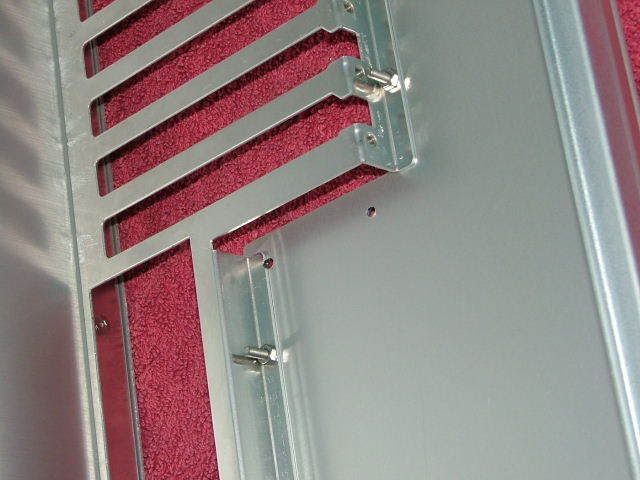
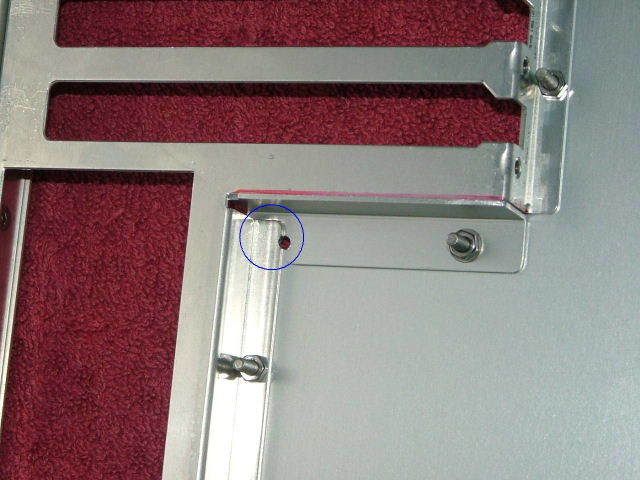
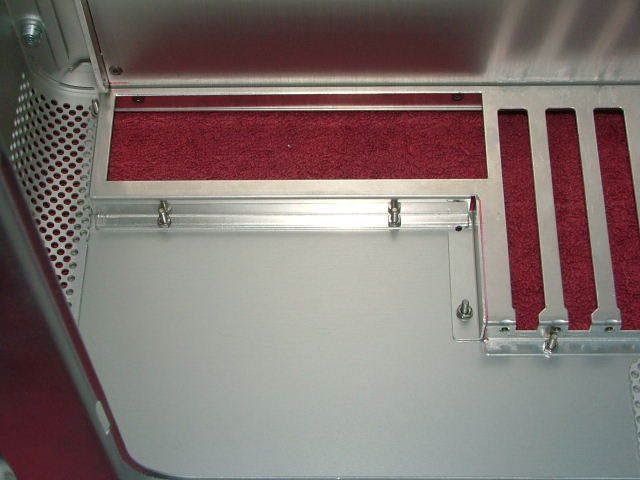
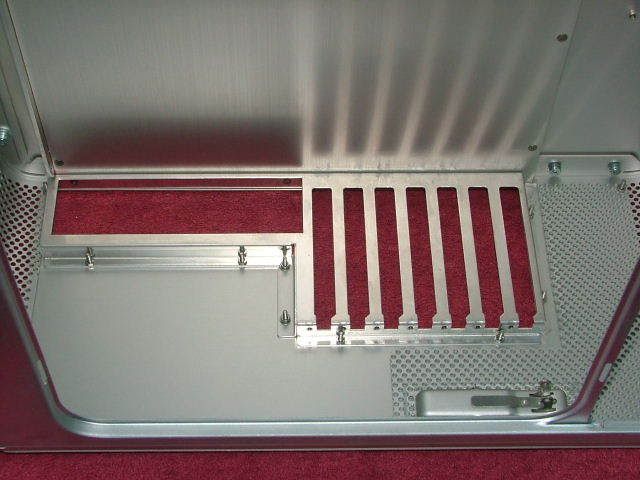
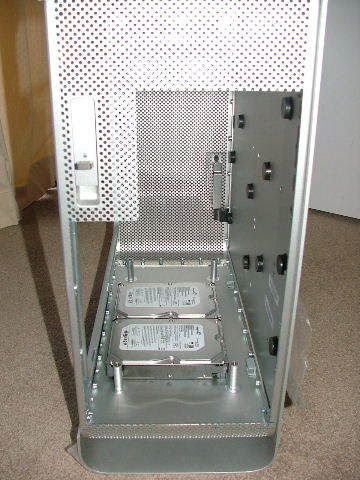
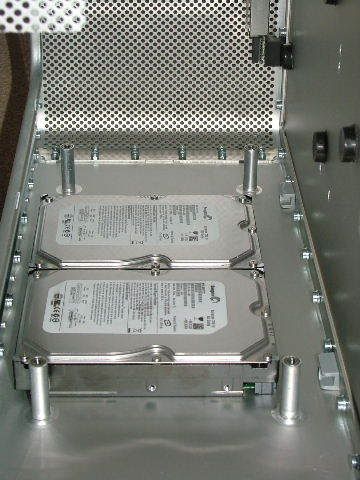
I'm not sure how well your plan for cooling the hard drives will work. I believe that hard drives are designed to dissipate most of their heat from the sides, not the top or bottom - so I don't know how well pushing air over the bottoms will work.
Also assuming those are the 7200.10's, they're almost as fast as the raptors anyways.

 the black knight always triumphs!
Also assuming those are the 7200.10's, they're almost as fast as the raptors anyways.
the black knight always triumphs!")