zoidberg3001
Limp Gawd
- Joined
- Jan 15, 2005
- Messages
- 148
Hey Top Nurse Looking great so far.
Looking forward to seeing some updates
Looking forward to seeing some updates
Follow along with the video below to see how to install our site as a web app on your home screen.
Note: This feature may not be available in some browsers.
Top Nurse said:Had a chance to drop by the city tow yards today to say good-bye to my car as it appears to be totalled. With all the frame damage I really don't want it back. Saw the scene of the crime today and there really was 186 feet of skid marks before I got hit.
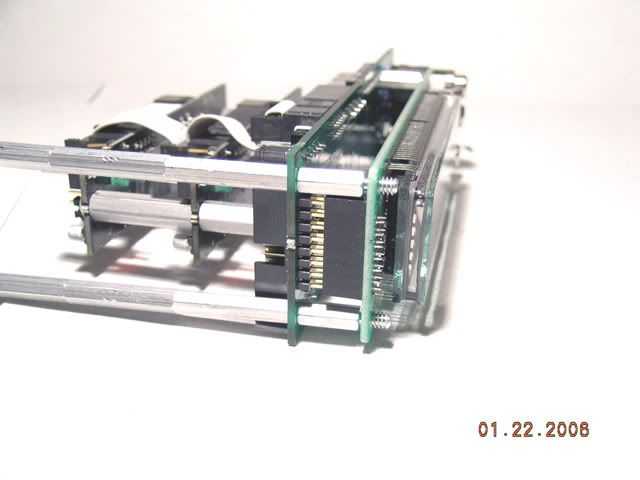
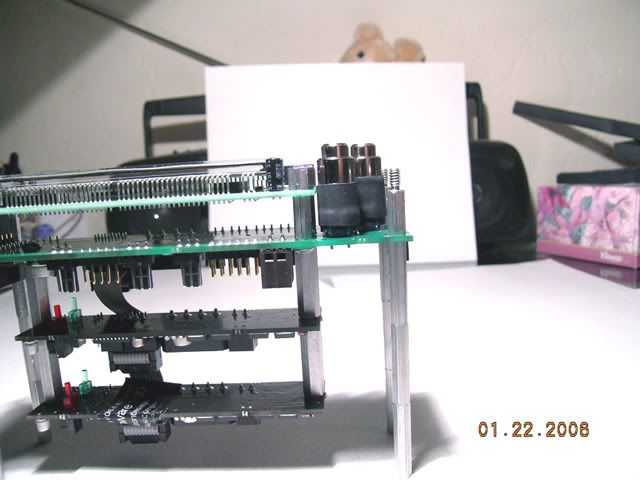
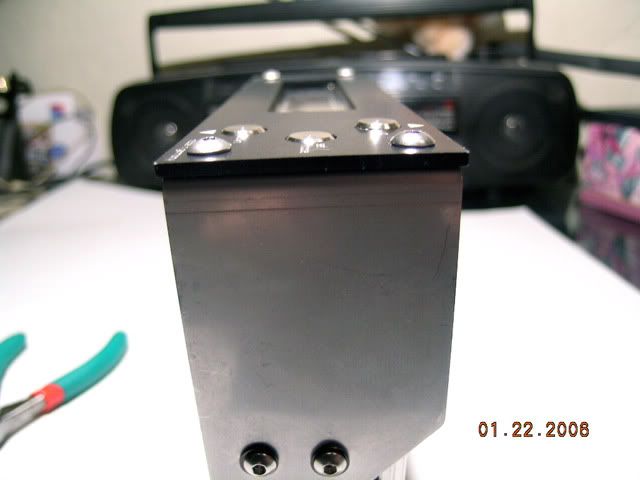
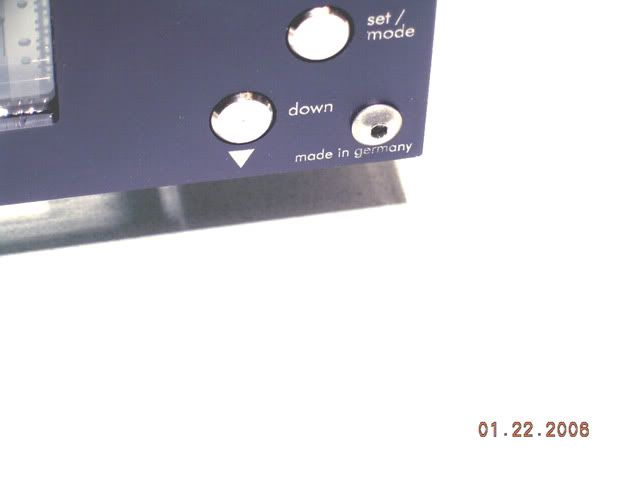
Anybody got any modding ideas for these pics?


CAD OC'er said:almost six months after this post and still finished.....
ShoNuff said:Heeeeeey!!! No updates in 2006? What are you doing? You must focus and not be distracted by work and stuff like that.
elite.mafia said:Forget about the car, it's a POS chevy...
Bio-Hazard said:Heater cores in general make great radiators..............
Deranged said:Heater cores out of large SUVs make excellent radiators.
But glad you all stopped by to chat. 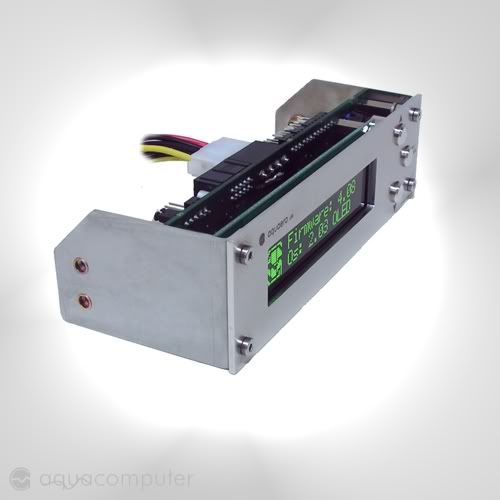


Scroatdog said:Outstanding.....
Fahey said:Wow thats going to come in handy.
el rolio said:heh i want the tool but only to open my heinekens with and to go together with my opterOWN IHS
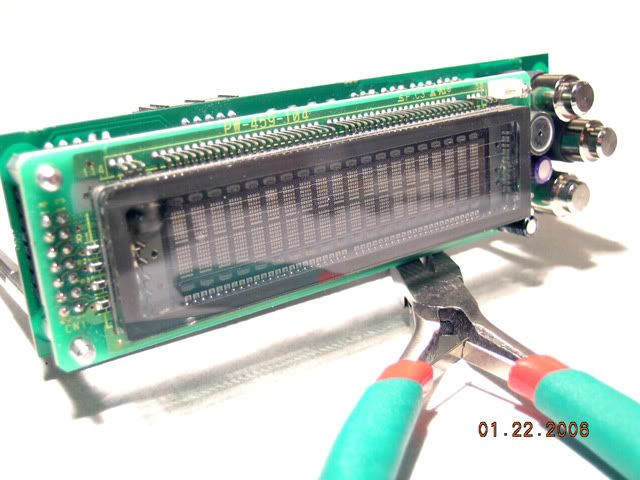
ps: i wanna see a pic of hte VFD on, cuz so far the only pics ive seen of the green vfd is from the AC site, i want some real world pics! do it TN please!
Top Nurse said:Maybe in a day or two, okay? So why don't you hook your own up?
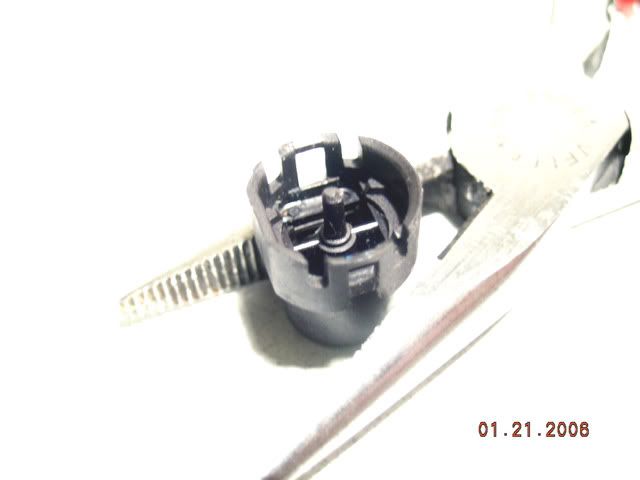
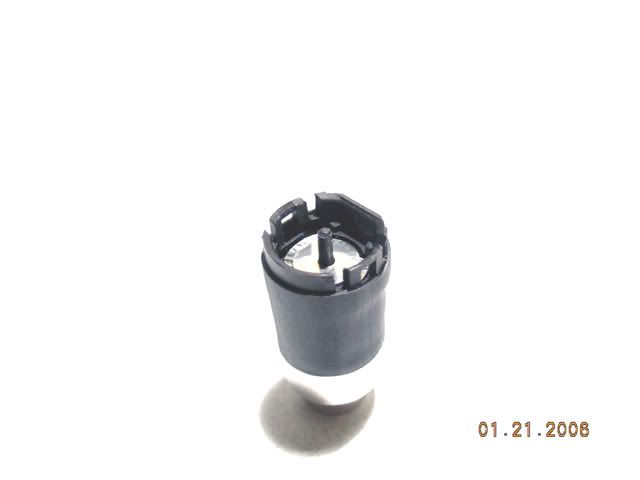
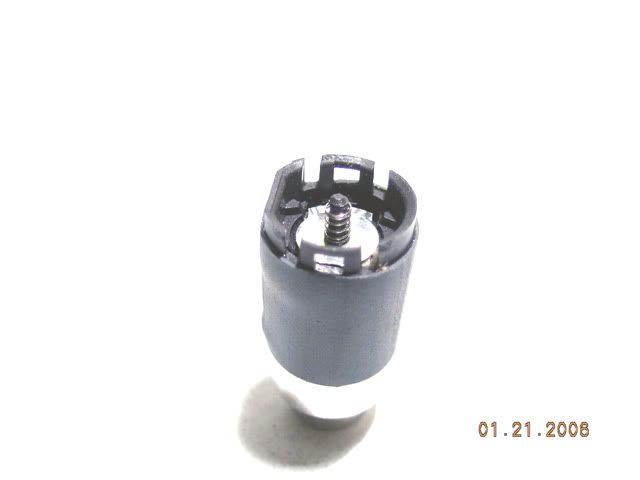
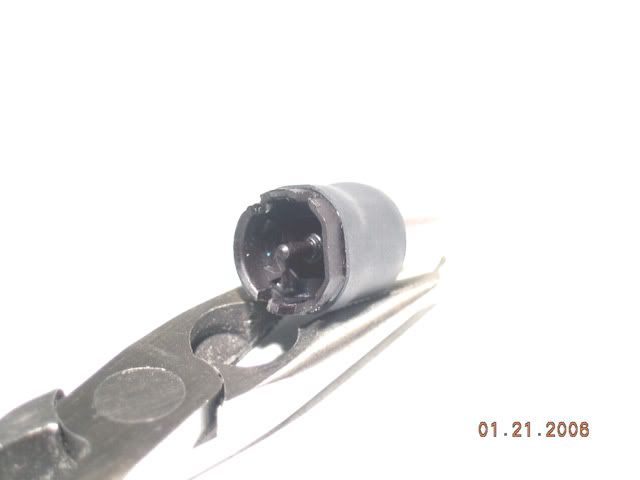
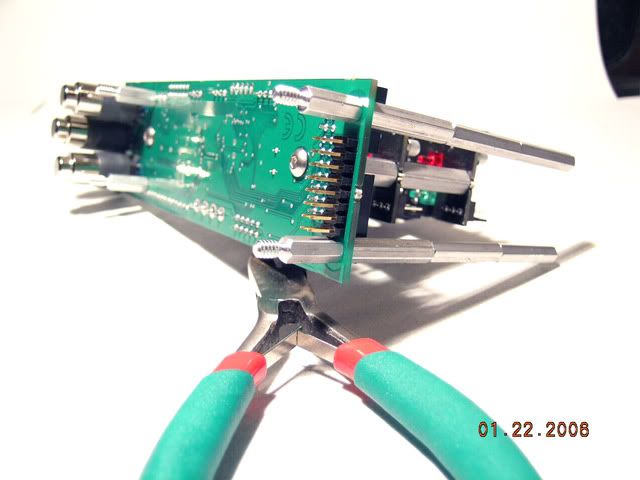
Ahh! A new use for the Multi-Tool... Removing IHS?
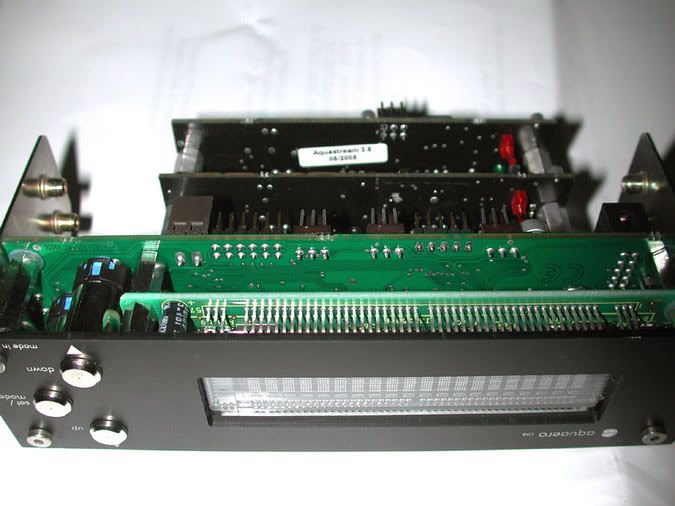
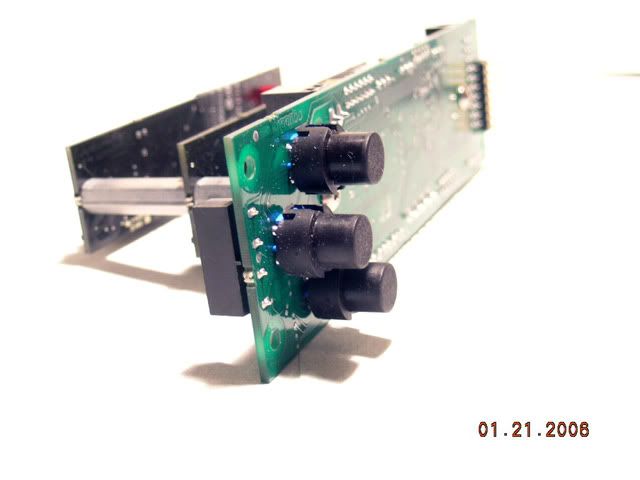
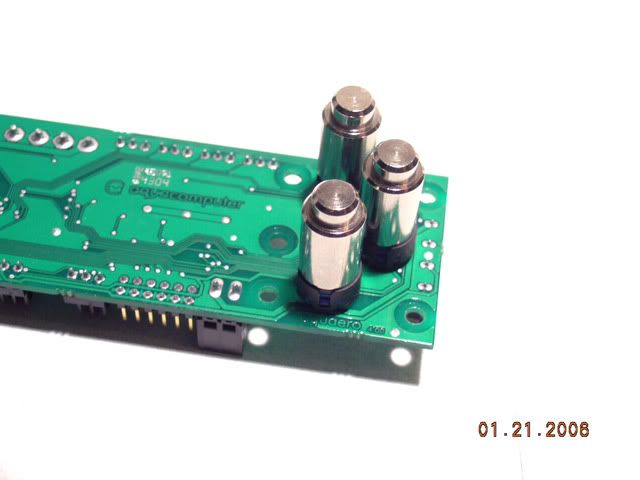
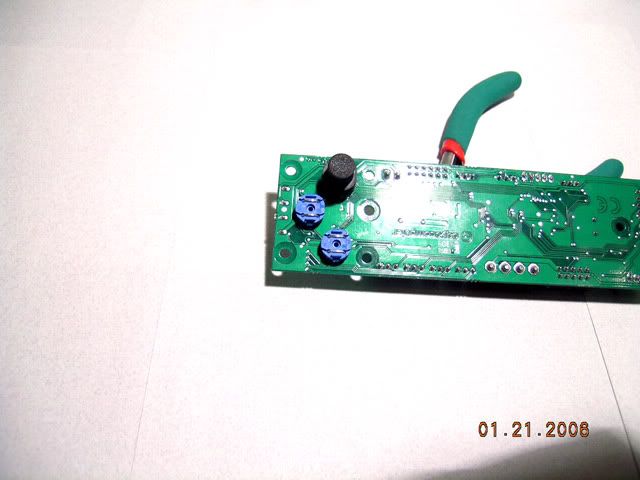
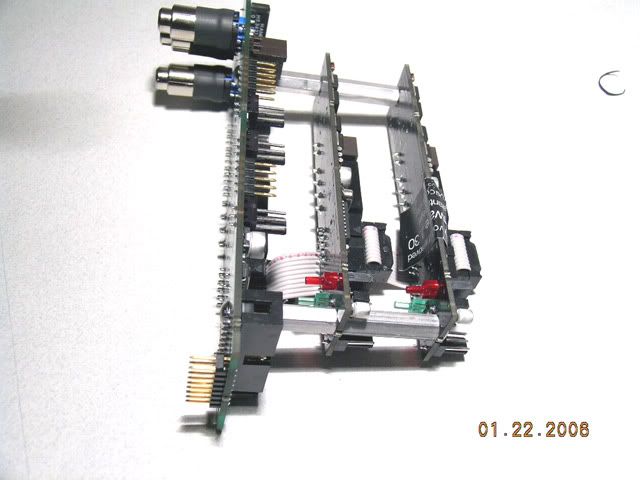
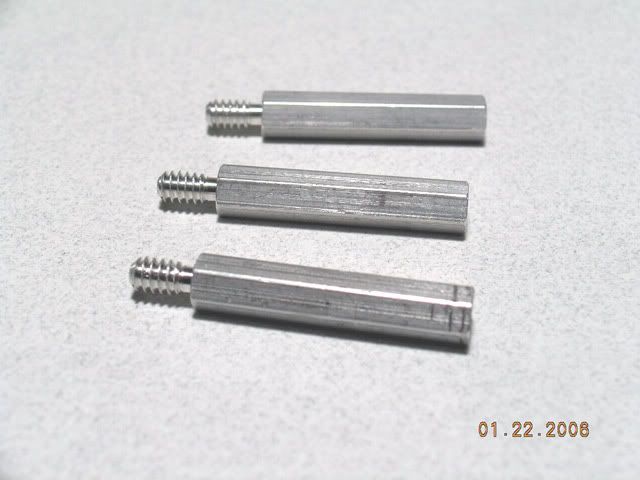
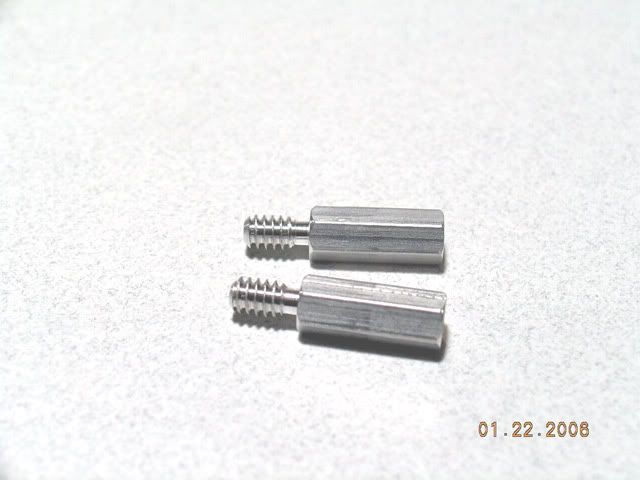
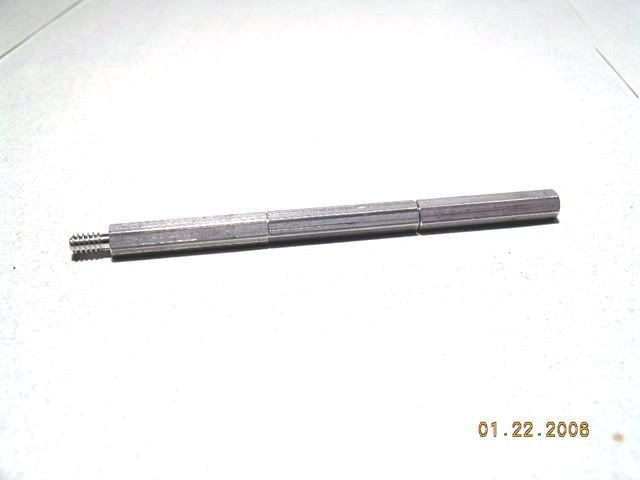
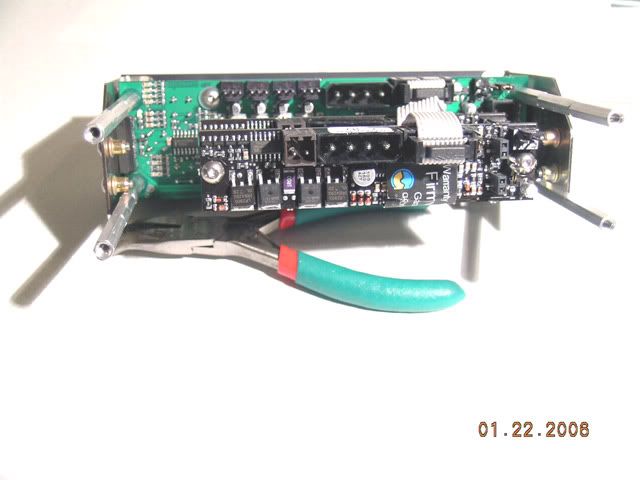
Fahey said:Hey TN whats the Dimension of the Aquero/Multi Switch/Pump hardware X2 come out to
In mm
Asking because Im going to try and figures ways of keeping all the water cooling part by it.
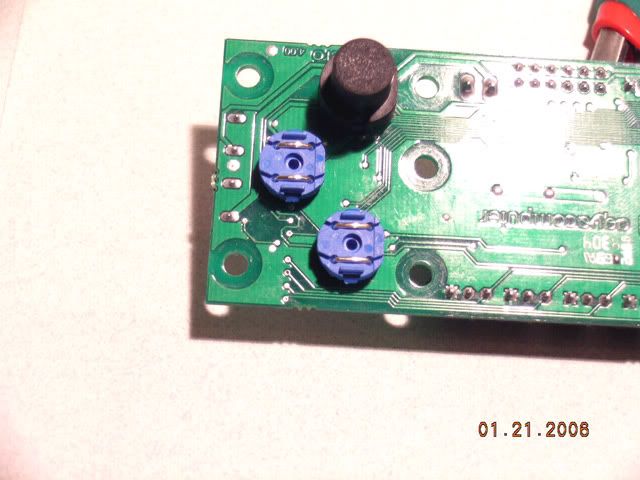
Majin said:Nice Work TN, That is a great way to save SPACE!
Top Nurse said:My ASUS EN 6600 GT's are about to go bye-bye (packing them up as we speak). I got a pair of 6800 Ultra's coming soon with Aqua Computer AquagraFX 6800 blocks already on them. The black and silver blocks will look nice on FF.
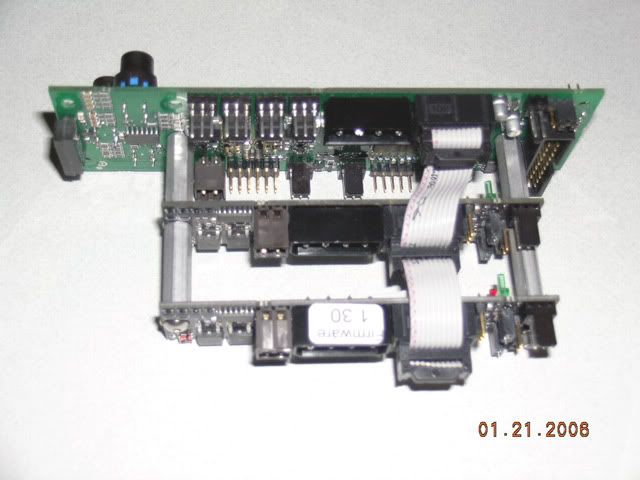
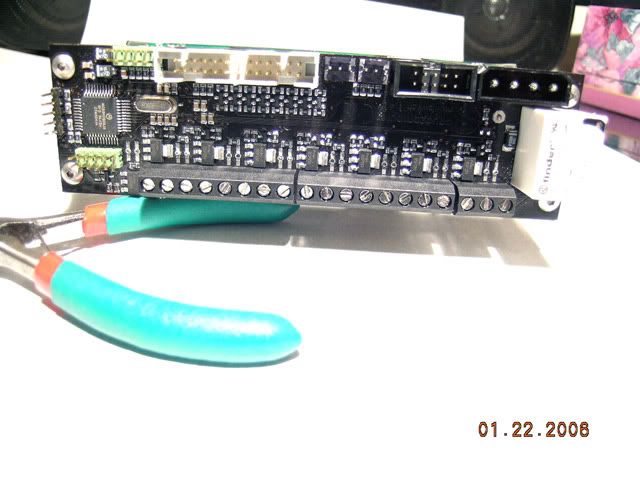
drizzt81 said:may i ask: wtf is a multi-switch?
Bio-Hazard said:Just checking, have you finished this project or has pasted on............
Just dusted off the case for some more hot FF action. Will be posting a new installment of FF wiring this weekend.
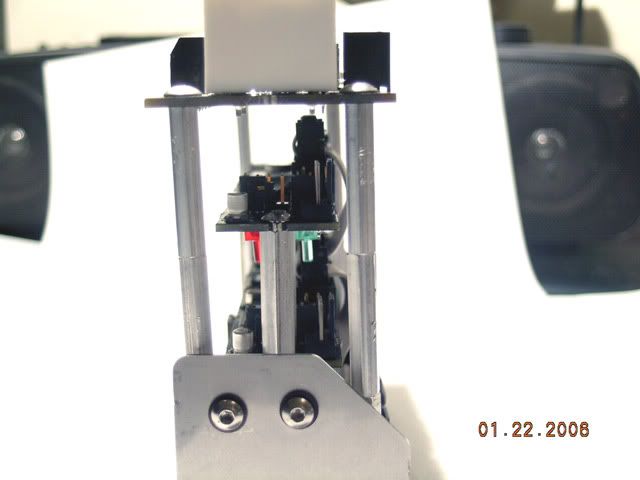
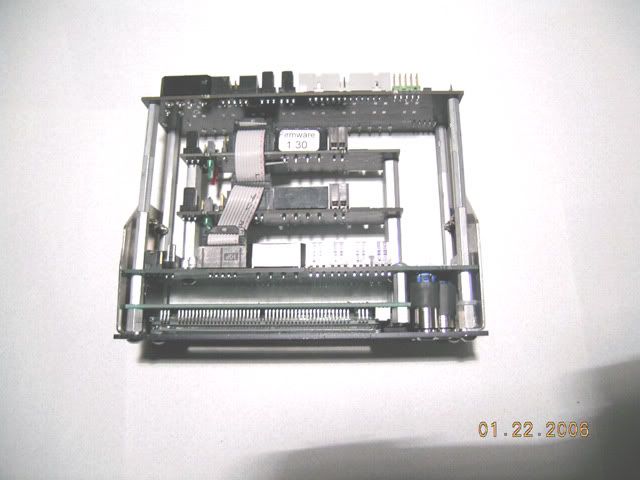
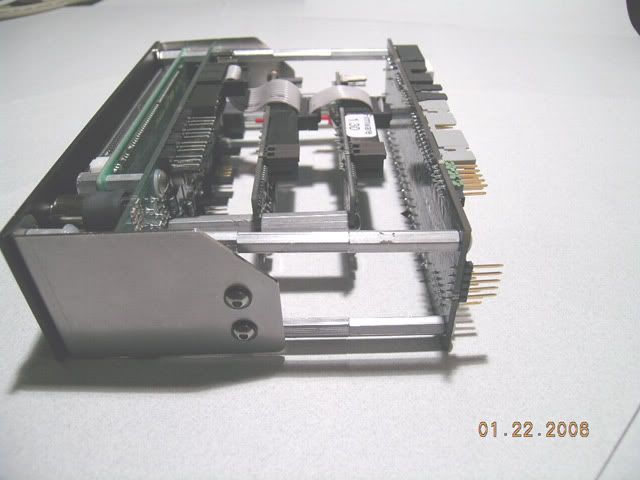
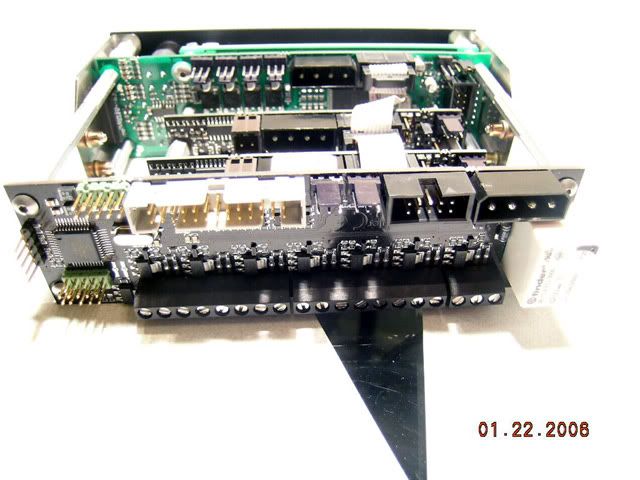
Just haven't felt like doing much and I have been doing a bit of work just not enough for an update. Gotta get some more Vicodin (better living through better chemistry) So here are some pics.