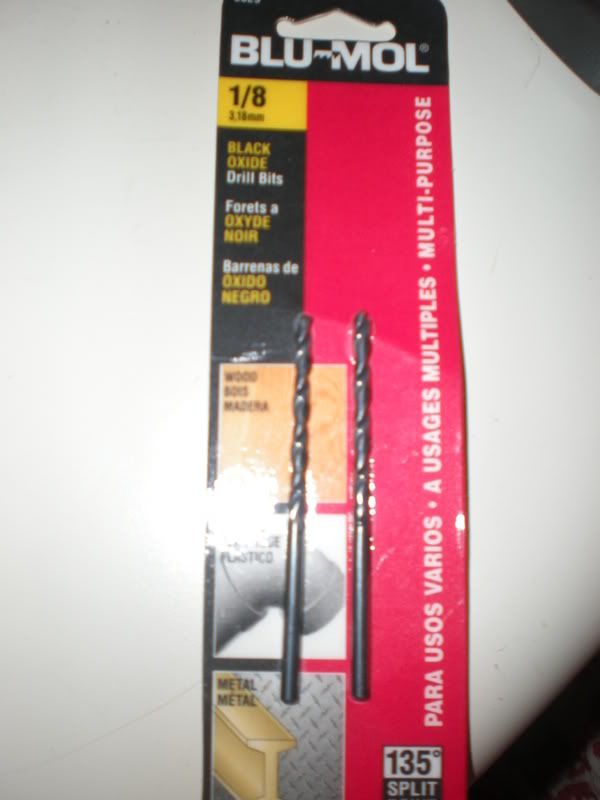
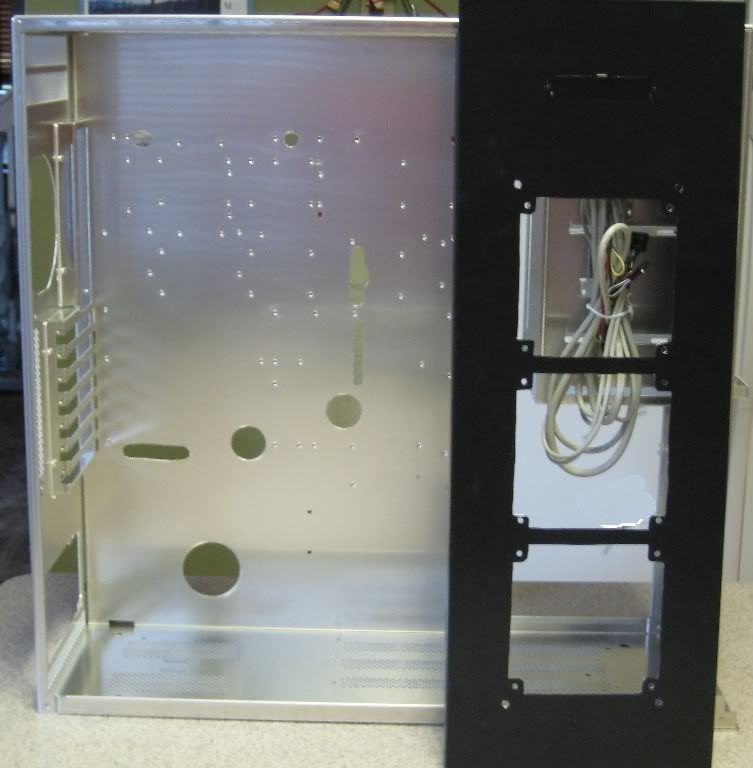
I did, though I replaced them with swivel feet (cheap things from Home Depot).. had to drill.
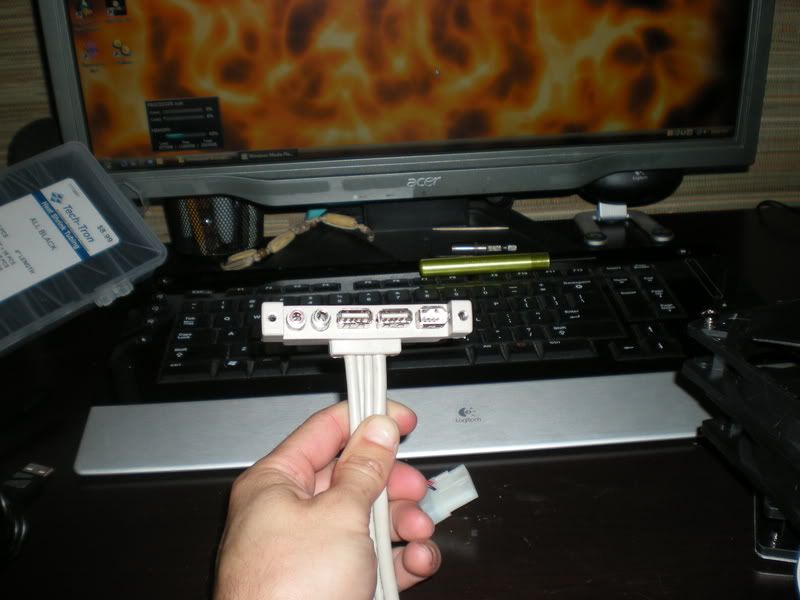
The hole is about 1cm in diameter (+/- 0.01mm).
Awesome, thanks a lot.
Follow along with the video below to see how to install our site as a web app on your home screen.
Note: This feature may not be available in some browsers.
I did, though I replaced them with swivel feet (cheap things from Home Depot).. had to drill.
The hole is about 1cm in diameter (+/- 0.01mm).
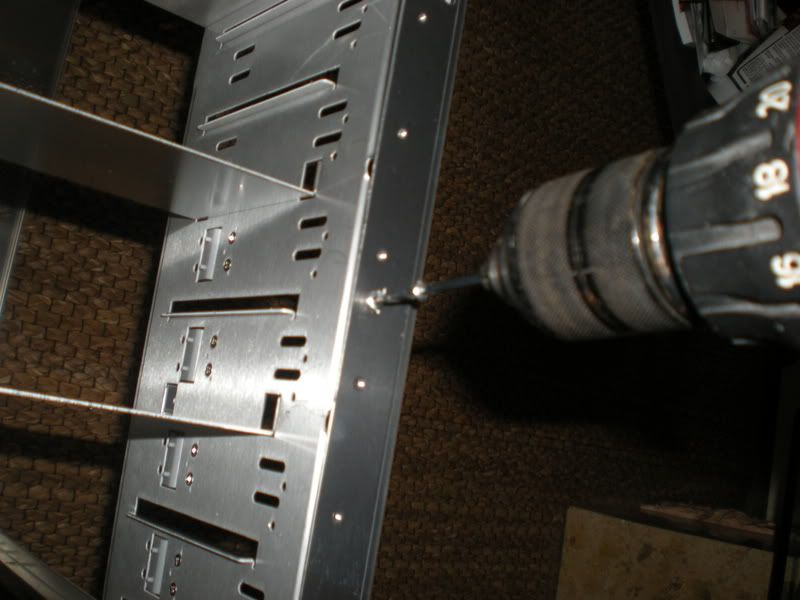
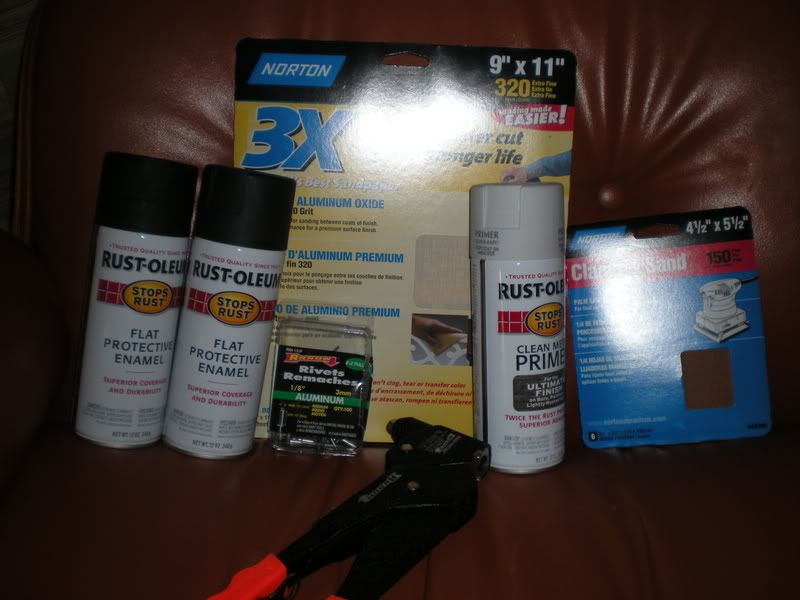

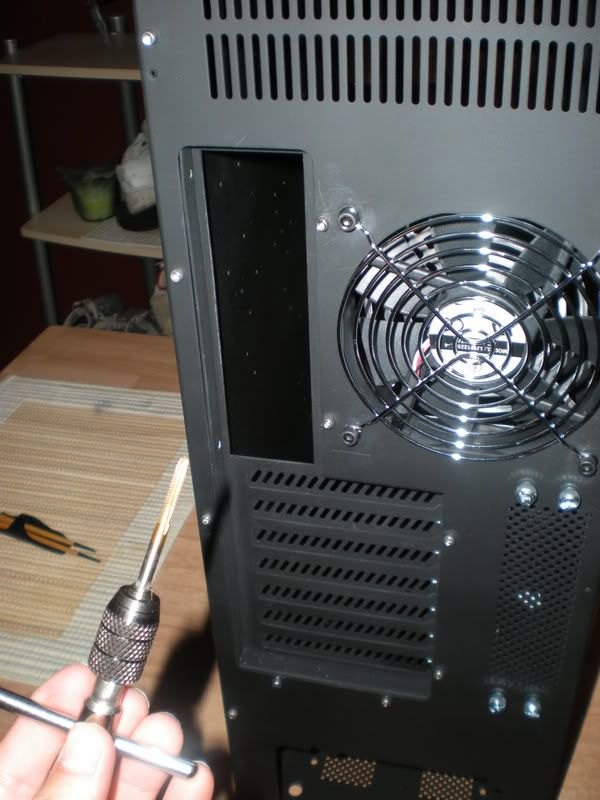
 Make sure you add a clear sealant to protect it. Didn't do it to mine and now I really regret it.
come on people, share them pics!


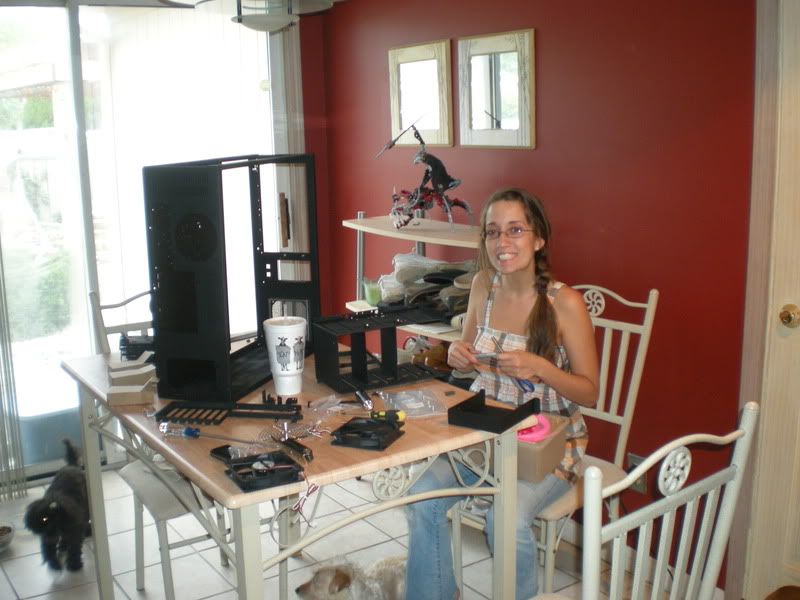
^^, whoah, are you like a 13?
You mean age or shoe size?
AGE: 20
Shoe Size: 18 (US)
lol Just kidding I mean nothing by that. 
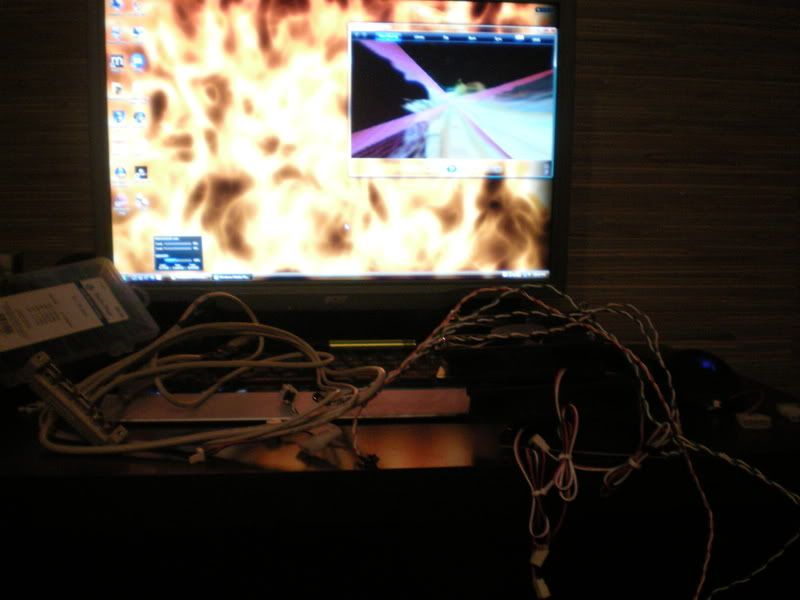
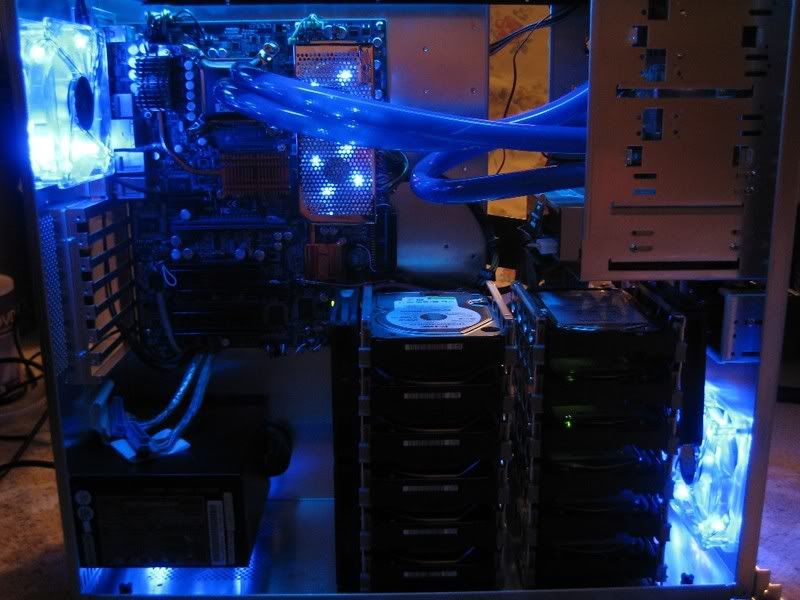
 I picked them up at HarborFreight for $5 each... very happy with that purchase.
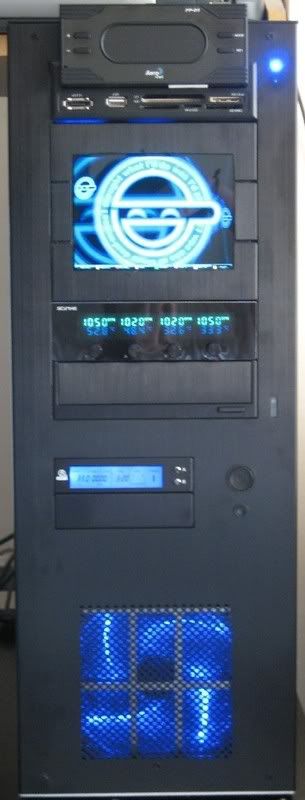
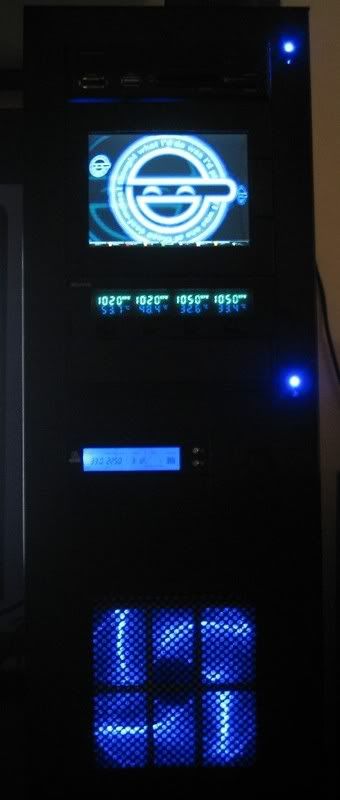
 It also shows how freaken bright these LED chains are.


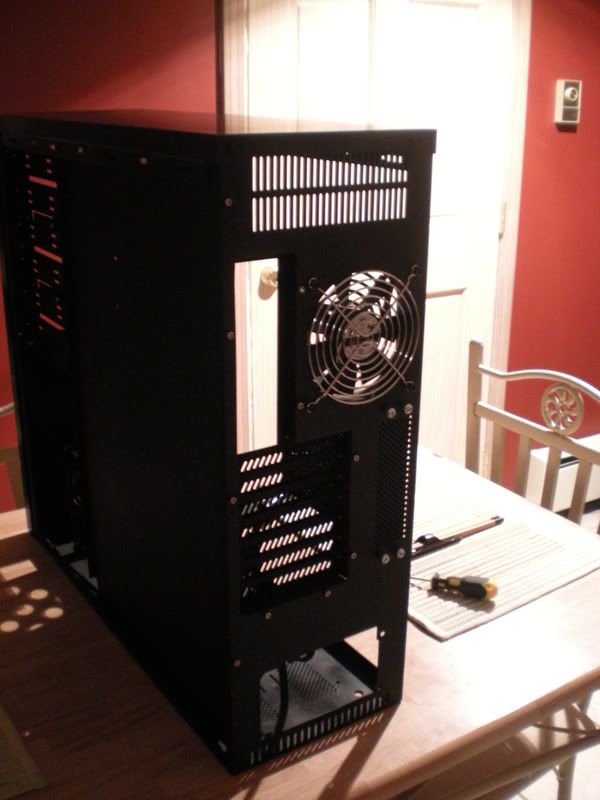
The case was on clearance several months ago, i dont know if they have any. have you checked their website? or ebay? i would venture a guess that the case is probably no longer available. The case is not listed on their website.
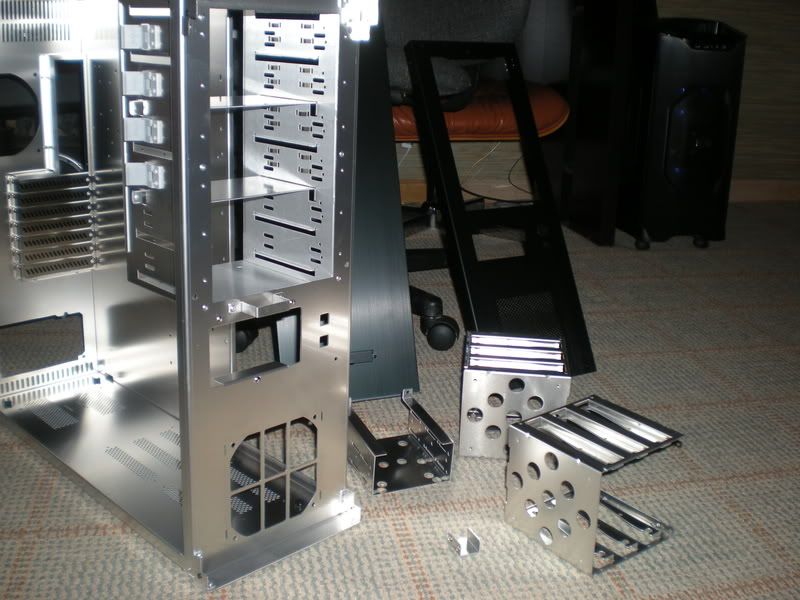
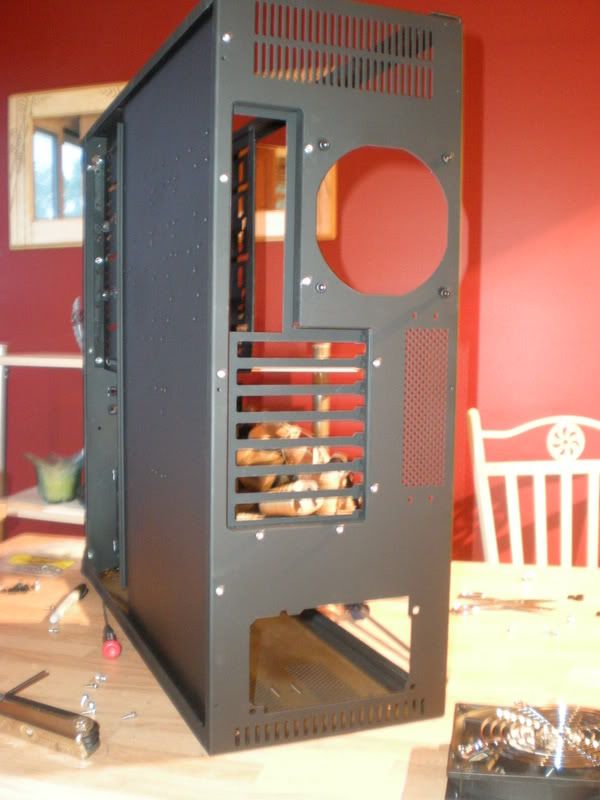
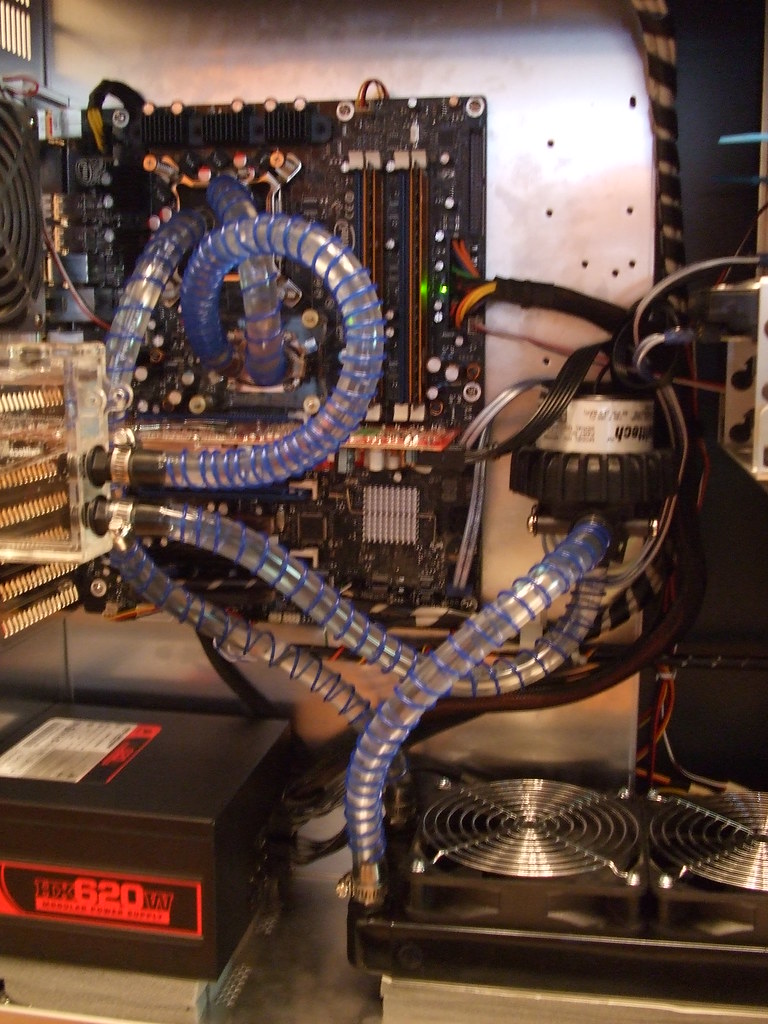
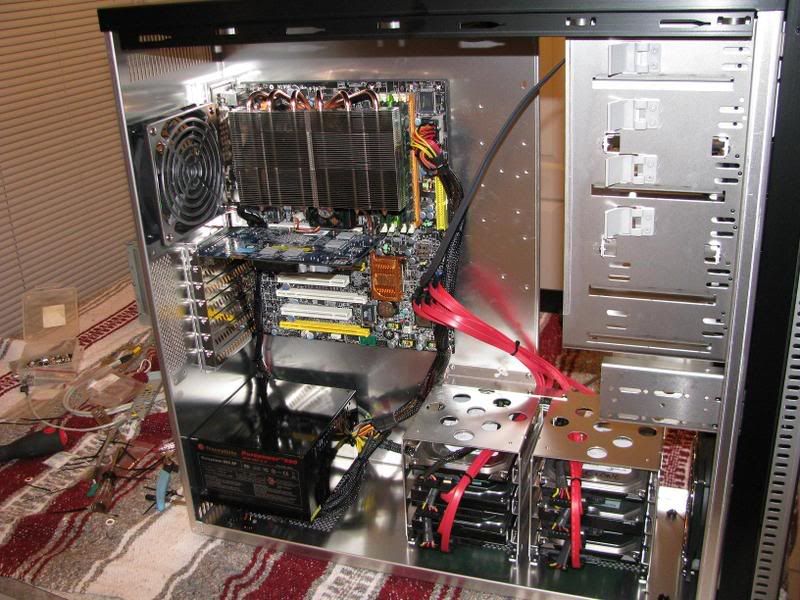
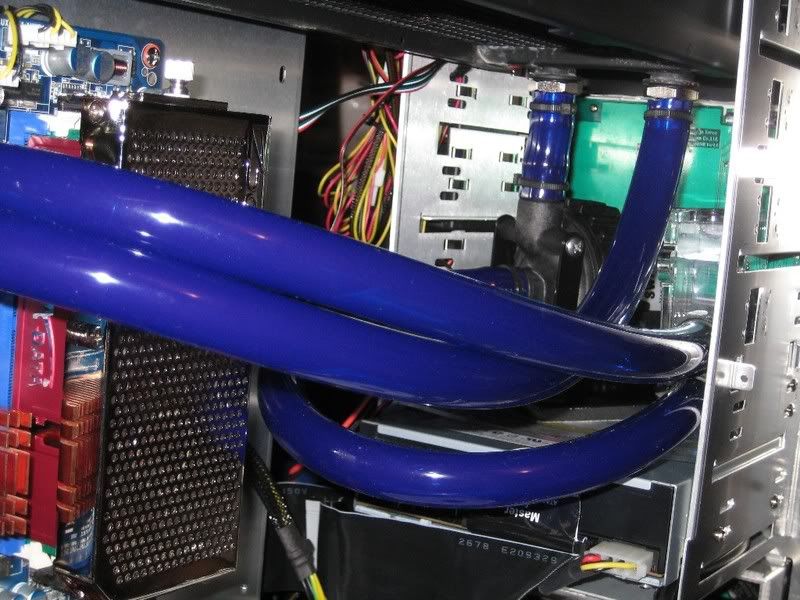
For the W/C'ing folks...
Anyone pull the bottom HDD cages, and put a 2x120 rad on the bottom? There's obviously venting capabilities already mfg'ed down there, just curious to see if anyone has put a rad into a "bottom venting" position in this case?
I've got a shiny new case sitting next to me ready to move my current gear/loop into, as I'm changing from a 240/120 to a 240/240 setup. I'm trying to figure out the best placement for the 2nd 240. ( 2x MCP-220's)
I'm having doubts that the plastic case feet that fit the roughly identical PC-7 series cases will raise the case up off the floor enough to provide good airflow from the bottom. (especially on carpet)
External Vendor Link
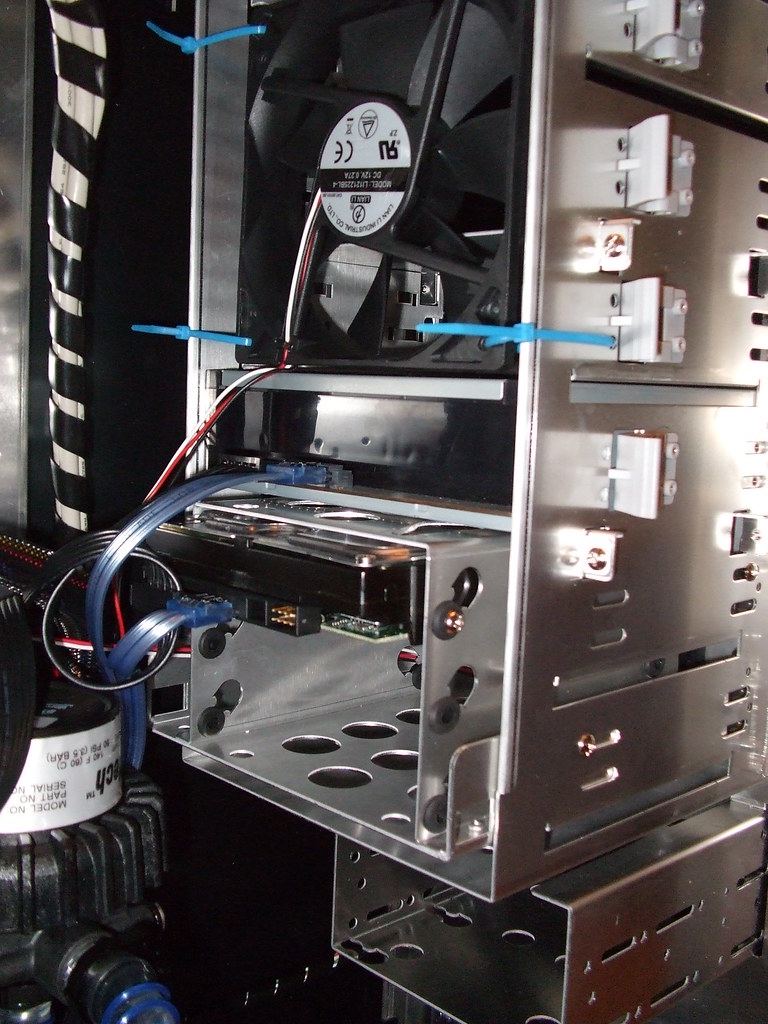
There's always the option to mount the 2nd 240 in the extra 5.25 bays using this:
Lian-Li 5.25 bay mounts (External link to vendor)
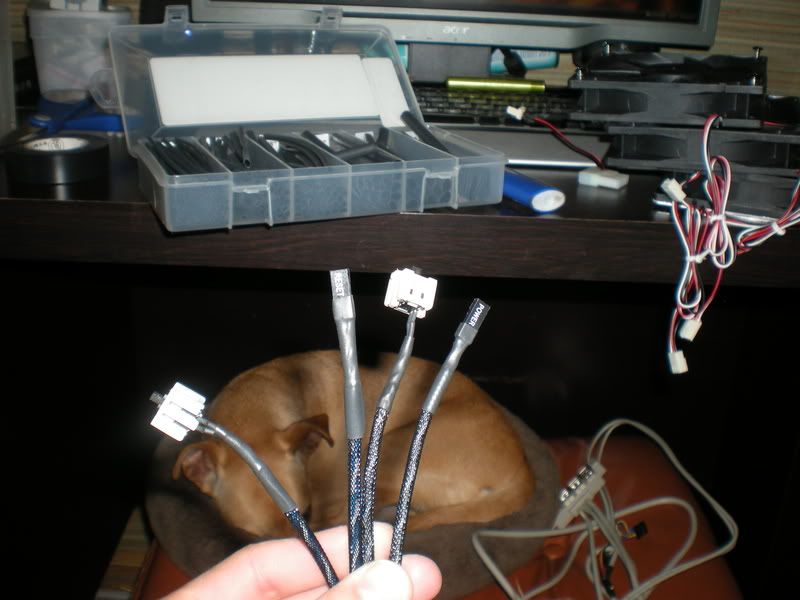
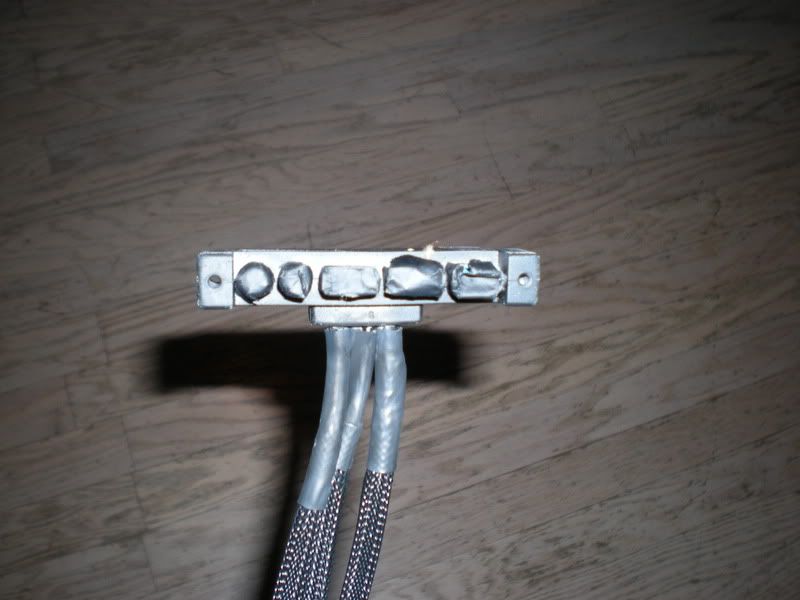
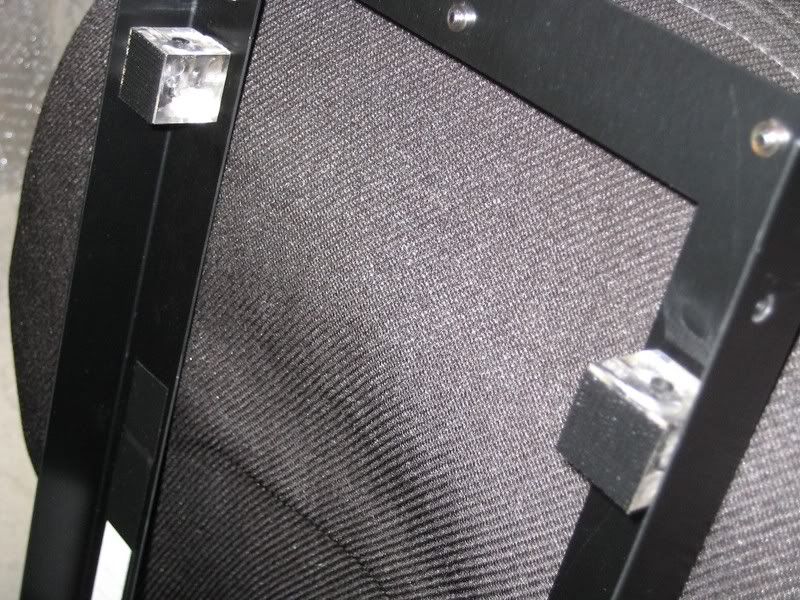
Hey fallen, i love those switches that you put on the top. Where those hard to implement? im planning to cut my side panel just havnt gone out to get the blades or tape lol.
For the W/C'ing folks...
Anyone pull the bottom HDD cages, and put a 2x120 rad on the bottom? There's obviously venting capabilities already mfg'ed down there, just curious to see if anyone has put a rad into a "bottom venting" position in this case?
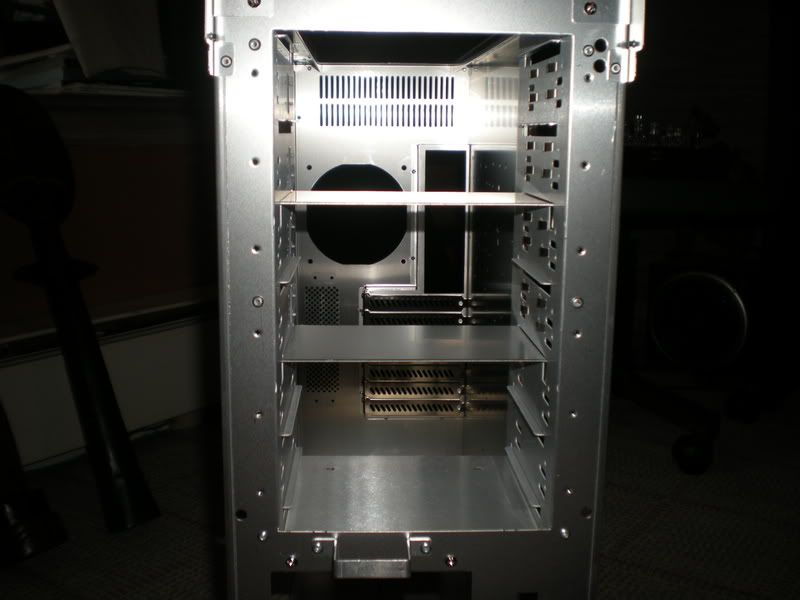
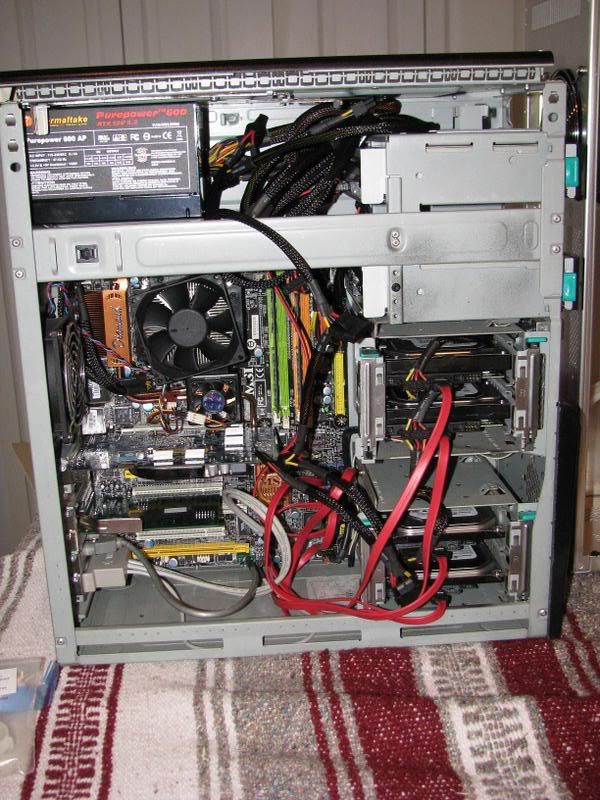
You will not be able to mount the radiator in the 5.25" drive bays. The side notches that allow the drives to slide in, will prevent it from going in. If you have the case, you will understand what I am talking about.
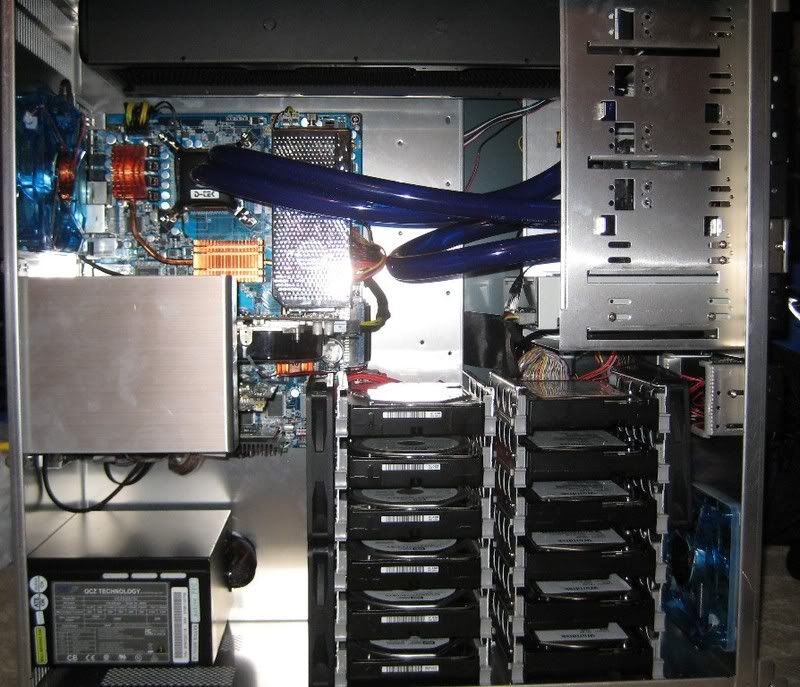
I just finished doing this!For the W/C'ing folks...
Anyone pull the bottom HDD cages, and put a 2x120 rad on the bottom? There's obviously venting capabilities already mfg'ed down there, just curious to see if anyone has put a rad into a "bottom venting" position in this case?...

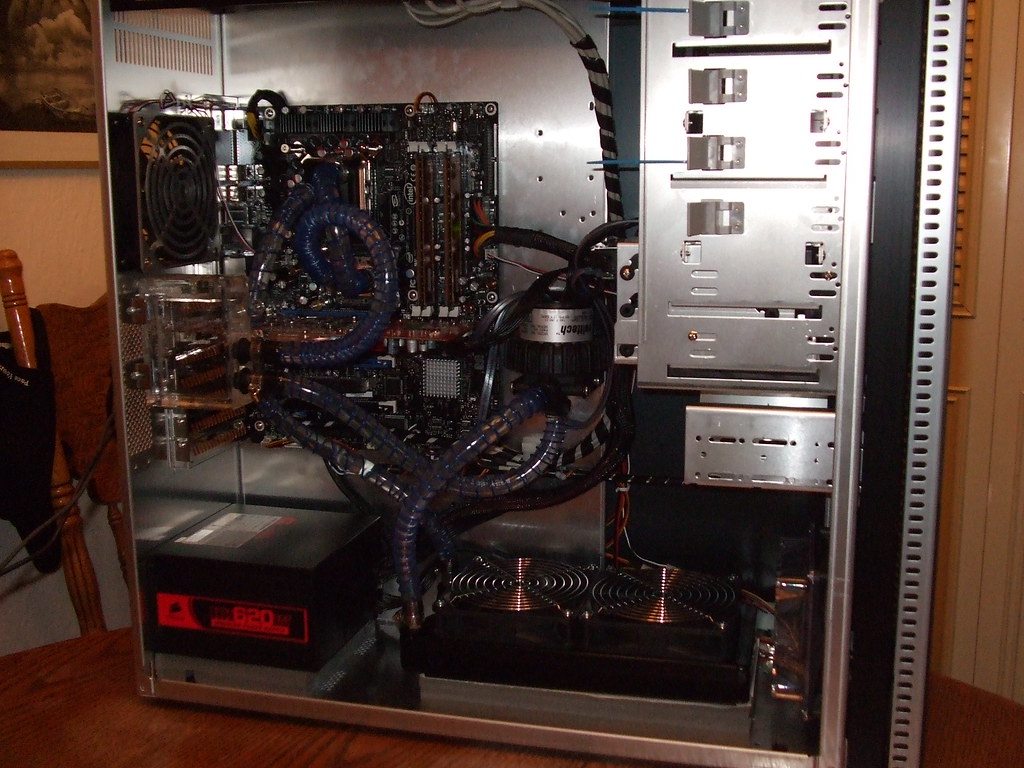
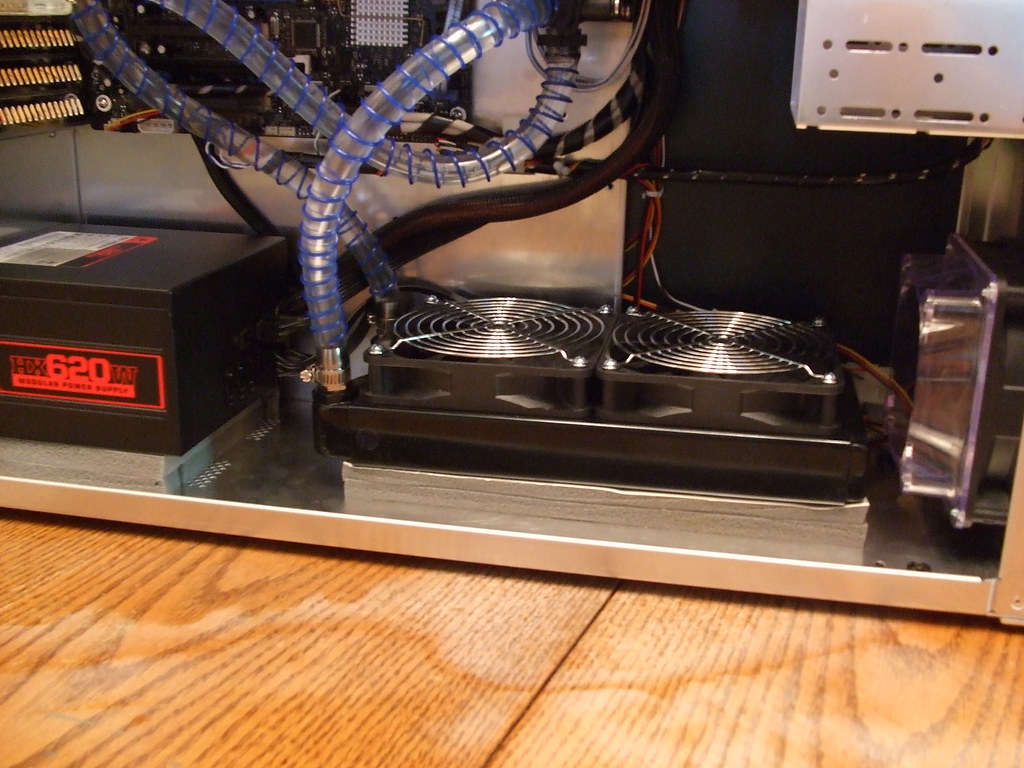
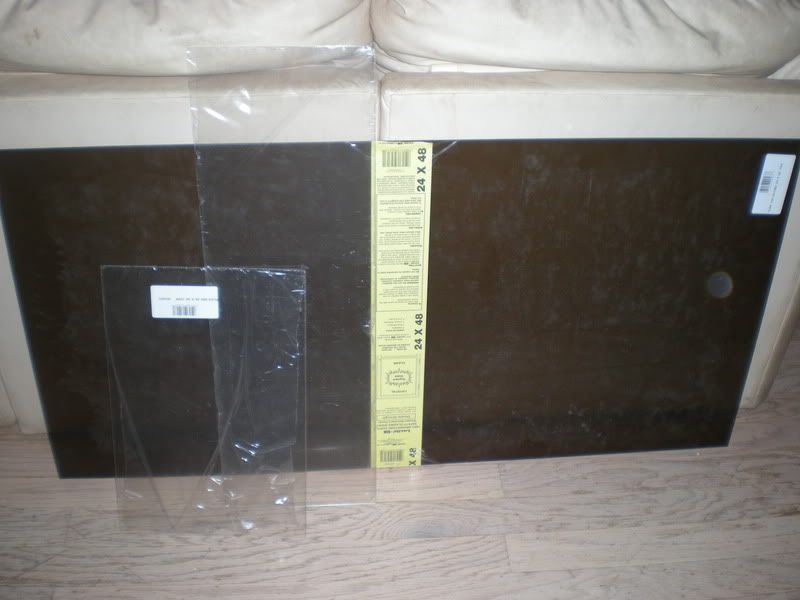
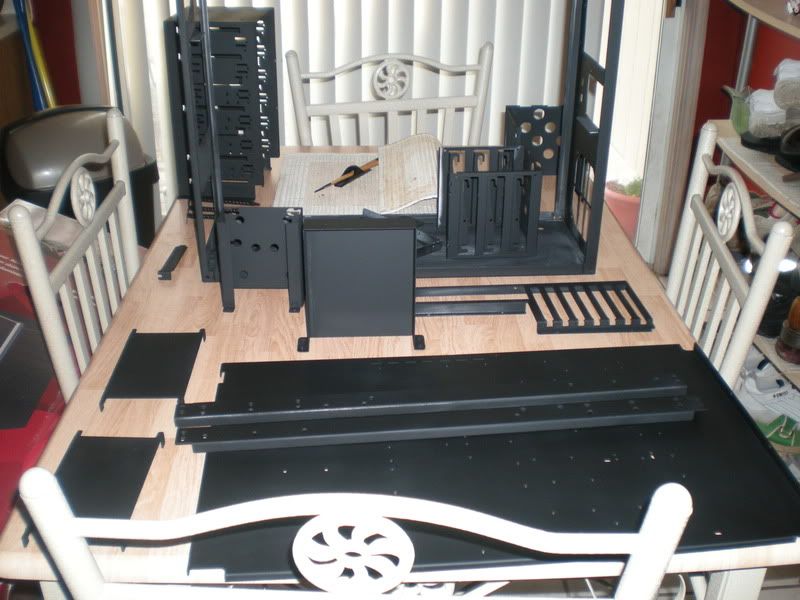
 Best $32 I've ever spent. Went directly next door and bought some lexan and mesh and am working on the side panel window/vent today. Stayed up last night and got all the internals in, even figured out a cool way to mount the rad in the top of the case with side Lian Li fan mount thing, the graphics cooler one.
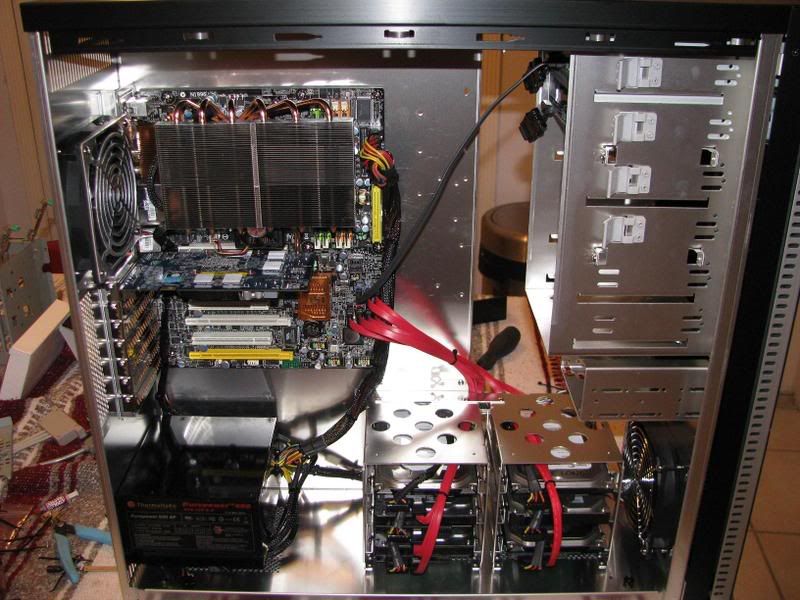


 And see if there are any left and stock up on a couple... cause they're amazing cases for $50 or even $100...