Navigation
Install the app
How to install the app on iOS
Follow along with the video below to see how to install our site as a web app on your home screen.
Note: This feature may not be available in some browsers.
More options
You are using an out of date browser. It may not display this or other websites correctly.
You should upgrade or use an alternative browser.
You should upgrade or use an alternative browser.
post pics of ur p180/p182/190s
- Thread starter mark660
- Start date
Indeterministic
Weaksauce
- Joined
- Jul 26, 2010
- Messages
- 95
Scythe Mugen 2
harrison0550
Limp Gawd
- Joined
- Oct 28, 2010
- Messages
- 129
Was able to score a BNIB Black Antec P180 Mini today off of eBay for $51.00 + $19.99 S/H for a total of $70.99. Not too shabby I don't think.
So you want to sale it for $80? Need my address for shipping?
 Great deal, good find!
laithmeister
Weaksauce
- Joined
- Oct 9, 2010
- Messages
- 74
Nice, but is once big ass heatsink
investinwaffles
Limp Gawd
- Joined
- Apr 26, 2010
- Messages
- 495
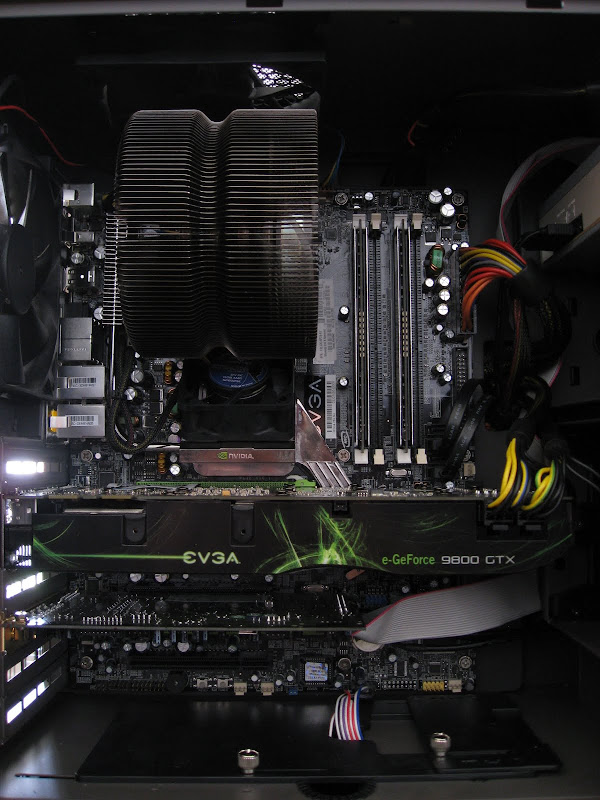
I apologize for the absolutely terrible pictures
Nikon battery charger died so my SLR is sitting on the shelf collecting dust (really need to order a new one...)
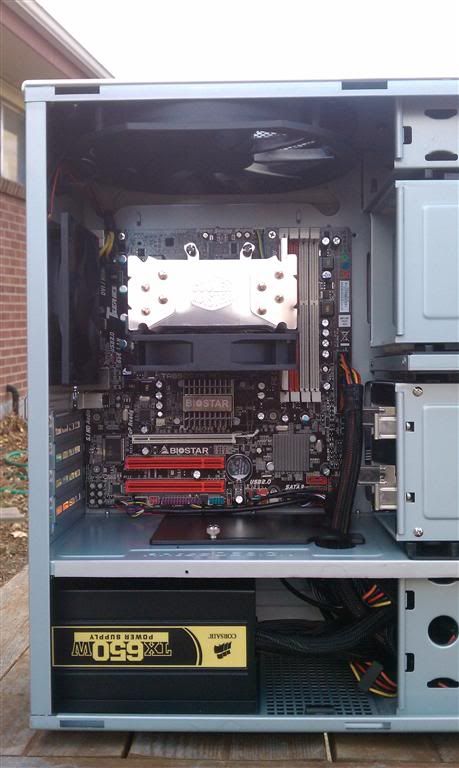
Anyway, Finished my WHS build. All I need is some drives to fire this puppy up :thumbup:
Just testing as of now on XP, but it is running at (phenom X3), 4 cores, 3.8ghz stable at 1.37v
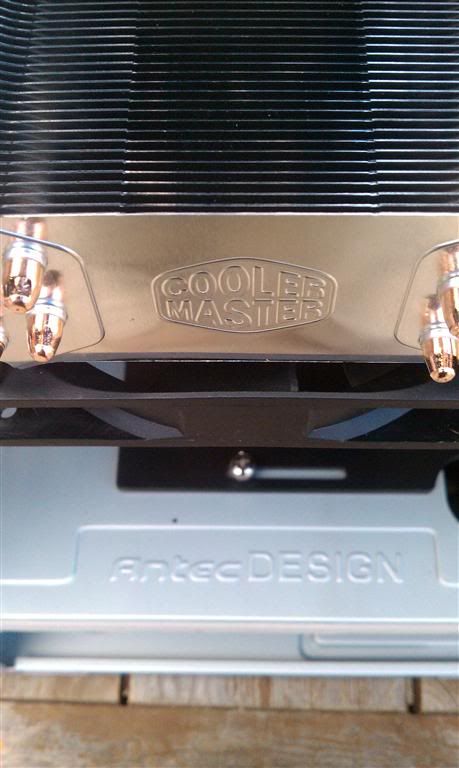
Looks like it is a pretty good chip! Hyper 212 is keeping it at 34*C idle, and 68*C full load. Very surprised with this "budget" AMD processor :thumbup:
Build cost: $108 MB + CPU, $55 for the Mini P180, $15 for the Hyper 212, $55 for the Corsair 650TX, $70 WHS License, $80 Samsung F4 2TB + $30 Mushkin 4GB DDR3 1333 = $400ish total (damn good price if you ask me)
Probably going to try to undervolt and maybe downclock it to 2.5ghz on 3 cores for stability (dont need my WHS machine BSODing on me, lol).
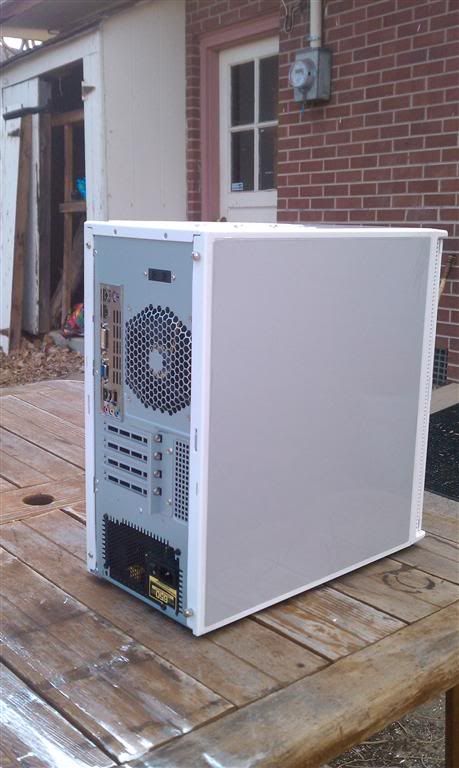
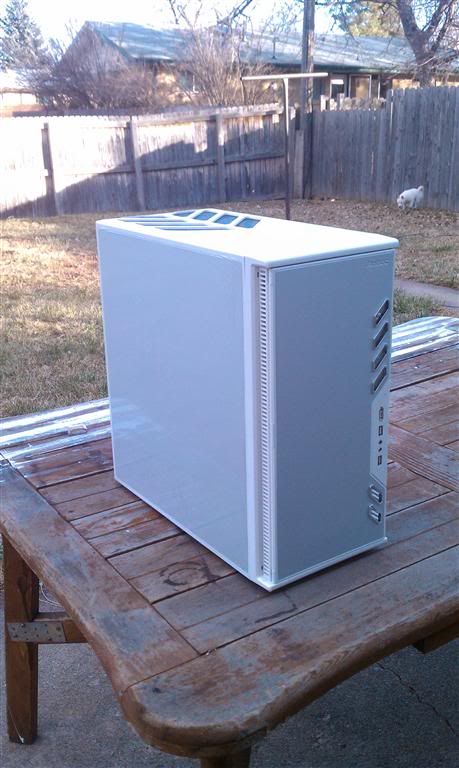
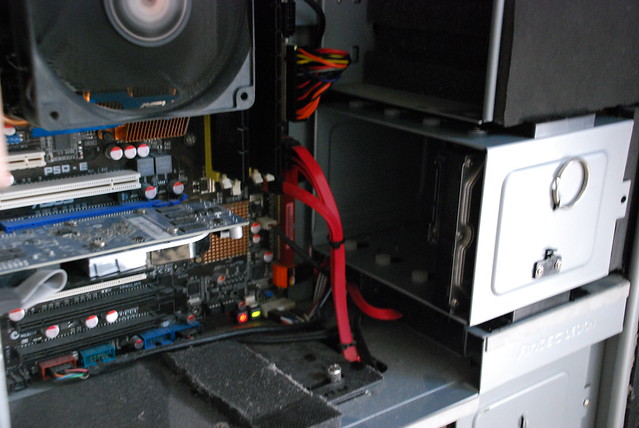
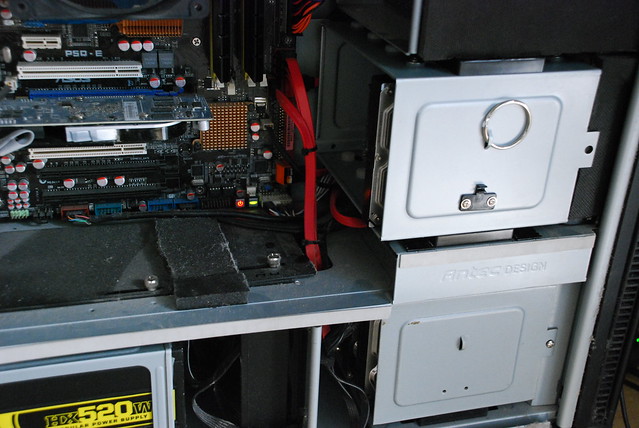
This is my first encounter with an Antec case and I am fairly impressed (I use almost only Lian-Li cases). The ony huge gripe I have is that antec made it impossible to use 120mm fans up front with the HDD cages in! This could potentially be a problem once I start filling it with drives

Nikon battery charger died so my SLR is sitting on the shelf collecting dust (really need to order a new one...)
Anyway, Finished my WHS build. All I need is some drives to fire this puppy up :thumbup:
Just testing as of now on XP, but it is running at (phenom X3), 4 cores, 3.8ghz stable at 1.37v
Looks like it is a pretty good chip! Hyper 212 is keeping it at 34*C idle, and 68*C full load. Very surprised with this "budget" AMD processor :thumbup:
Build cost: $108 MB + CPU, $55 for the Mini P180, $15 for the Hyper 212, $55 for the Corsair 650TX, $70 WHS License, $80 Samsung F4 2TB + $30 Mushkin 4GB DDR3 1333 = $400ish total (damn good price if you ask me)
Probably going to try to undervolt and maybe downclock it to 2.5ghz on 3 cores for stability (dont need my WHS machine BSODing on me, lol).
This is my first encounter with an Antec case and I am fairly impressed (I use almost only Lian-Li cases
). The ony huge gripe I have is that antec made it impossible to use 120mm fans up front with the HDD cages in! This could potentially be a problem once I start filling it with drives
Posted my rig in this thread quite a while ago. Here's my update.
Just upgraded my PC.
Went from a e8400 on an EVGA 780i to a i7 970 on an Asus Rampage III Formula. The rest of the specs are in my signature.
Went from this:
To:
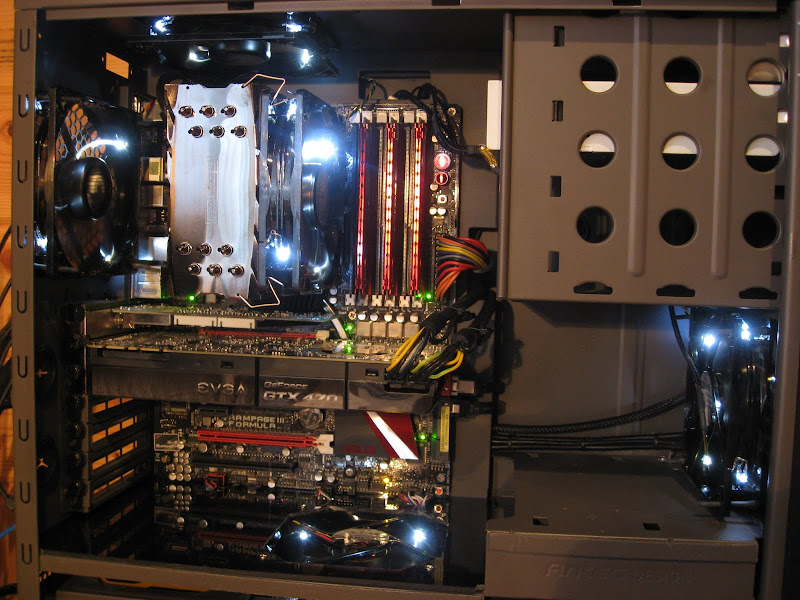

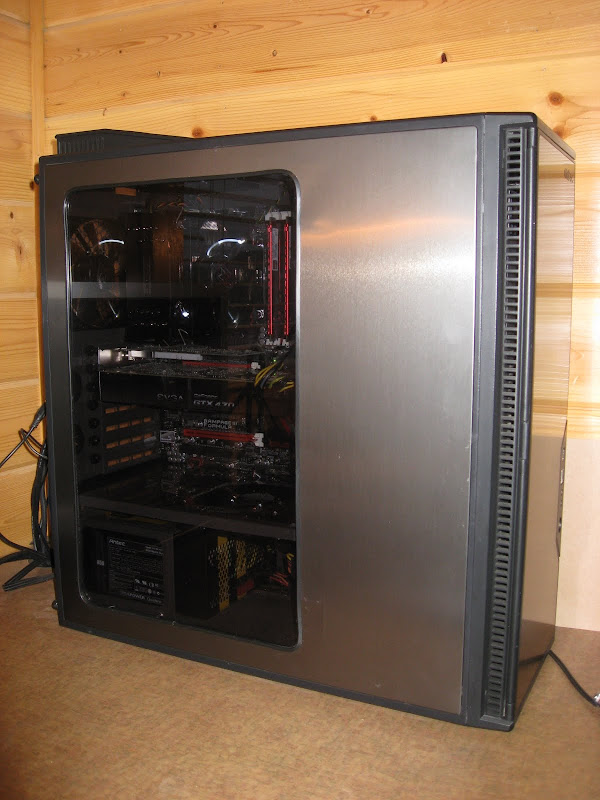
More images in my WebAlbum if you care to look.
Just upgraded my PC.
Went from a e8400 on an EVGA 780i to a i7 970 on an Asus Rampage III Formula. The rest of the specs are in my signature.
Went from this:
To:
More images in my WebAlbum if you care to look.
EndersShadow
[H]ard|Gawd
- Joined
- Dec 27, 2008
- Messages
- 1,228
Finally got some pics of my P182. Might be moving down to a Lian-Li A05 shortly though lol... Then I would have to re-post it again in that thread hehehe

HP2509m Monitor, Infinity Primus 162's, Harman Kardon 3490

HP2509m Monitor, Infinity Primus 162's, Harman Kardon 3490
Someone stole your keyboard, bro.
Look closer. Bro's got a keyboard drawer.
EndersShadow
[H]ard|Gawd
- Joined
- Dec 27, 2008
- Messages
- 1,228
Someone stole your keyboard, bro.
Look closer. Bro's got a keyboard drawer.
LOL...I do have a keyboard drawer for my Logitech DiNovo keyboard. I am possibly going to be custom building a floating desk later this year in the summer.
Q: Has anyone in this thread removed the plastic top of their p180/p182? The part fastened to the steel top.
I did when I painted my case. It's held on with some double sided tape. Just be careful when trying to pull it off.
I did when I painted my case. It's held on with some double sided tape. Just be careful when trying to pull it off.
thank you good and kind sir. I will rip it off carefully like a frenzied lover.
you have successfully created a ninja assassin computer.
fventura03
n00b
- Joined
- Jun 23, 2011
- Messages
- 54
amazing setup guys!


moelesture
n00b
- Joined
- Aug 12, 2011
- Messages
- 3
registered just to post these...
Day 1 and 2 of my project:
cutting the top grill out. it took a million dremel cutting wheels to do this


cutting the back grill. another million cutting wheels later

welding the metal plate for the top fan. i used a cd rom drive for the scrap, clipped just the right size out to wedge between the circular reinforced 5.25 bay and the zig-zag front bezel metal.


sanded the lower fan down just enough to clear the drive cage

cutting the cables and routing the fan wiring


front view so far. original fan filters are being replace by .5" HEPA filter for HVAC use. it will be sandwiched between the front bezel and front of the case and will flow a ton more air than stock.
cutting circular hole for new fan and gluing plastic

a mock pic to get the look idea. i will get a sheet of abs plastic and patch the other 2 fan holes later. i smell bondo in my future.. and cancer

this concluded day 1 and 2 of the work. tomorrow and sunday will be sanding, painting, wiring, sound dampening, gpu support brackets, maybe adding 5.1 front audio capability.
also, i will be selling several pieces that wont be put back off the p182. ill post a pic of everything available (antec doesn't offer these parts for some reason and they can easily break by accident.) I wont need them so if they help others, awesome.
Day 1 and 2 of my project:
cutting the top grill out. it took a million dremel cutting wheels to do this
cutting the back grill. another million cutting wheels later
welding the metal plate for the top fan. i used a cd rom drive for the scrap, clipped just the right size out to wedge between the circular reinforced 5.25 bay and the zig-zag front bezel metal.
sanded the lower fan down just enough to clear the drive cage
cutting the cables and routing the fan wiring
front view so far. original fan filters are being replace by .5" HEPA filter for HVAC use. it will be sandwiched between the front bezel and front of the case and will flow a ton more air than stock.
cutting circular hole for new fan and gluing plastic
a mock pic to get the look idea. i will get a sheet of abs plastic and patch the other 2 fan holes later. i smell bondo in my future.. and cancer
this concluded day 1 and 2 of the work. tomorrow and sunday will be sanding, painting, wiring, sound dampening, gpu support brackets, maybe adding 5.1 front audio capability.
also, i will be selling several pieces that wont be put back off the p182. ill post a pic of everything available (antec doesn't offer these parts for some reason and they can easily break by accident.) I wont need them so if they help others, awesome.
moelesture
n00b
- Joined
- Aug 12, 2011
- Messages
- 3
Day 3-4
cutting and slicing unneeded wires and removing the awful factory braiding. case on the left is two chieftec cases made into a server chasis. it was painted with the best stuff for cases (truck bed liner spraypaint!)


adding foam to the case for more insulation


all painted and lookin good


washing away 2 years of dusty buildup. time to sit and dry overnight

slicing a hole in the psu to give much needed slack to my 8pin


front panel wiring, tucked nicely.. for now

and now the gpu's. Originally i was going to add support brackets for the 5770's but they are just sol lightweight they don't really need them. The cpu cooler received some support this time around.

and their cables

wiring up the drive bay


HEPA filtration with almost zero airflow restriction


thus concluding day 3-4. now to let the parts dry nice and good so there's no accidents.
up next is fan wiring, cable tucking, and further insulation.
cutting and slicing unneeded wires and removing the awful factory braiding. case on the left is two chieftec cases made into a server chasis. it was painted with the best stuff for cases (truck bed liner spraypaint!)
adding foam to the case for more insulation
all painted and lookin good
washing away 2 years of dusty buildup. time to sit and dry overnight
slicing a hole in the psu to give much needed slack to my 8pin
front panel wiring, tucked nicely.. for now
and now the gpu's. Originally i was going to add support brackets for the 5770's but they are just sol lightweight they don't really need them. The cpu cooler received some support this time around.
and their cables
wiring up the drive bay
HEPA filtration with almost zero airflow restriction
thus concluding day 3-4. now to let the parts dry nice and good so there's no accidents.
up next is fan wiring, cable tucking, and further insulation.
Last edited:


FlamingPanther
Limp Gawd
- Joined
- Jan 14, 2003
- Messages
- 375
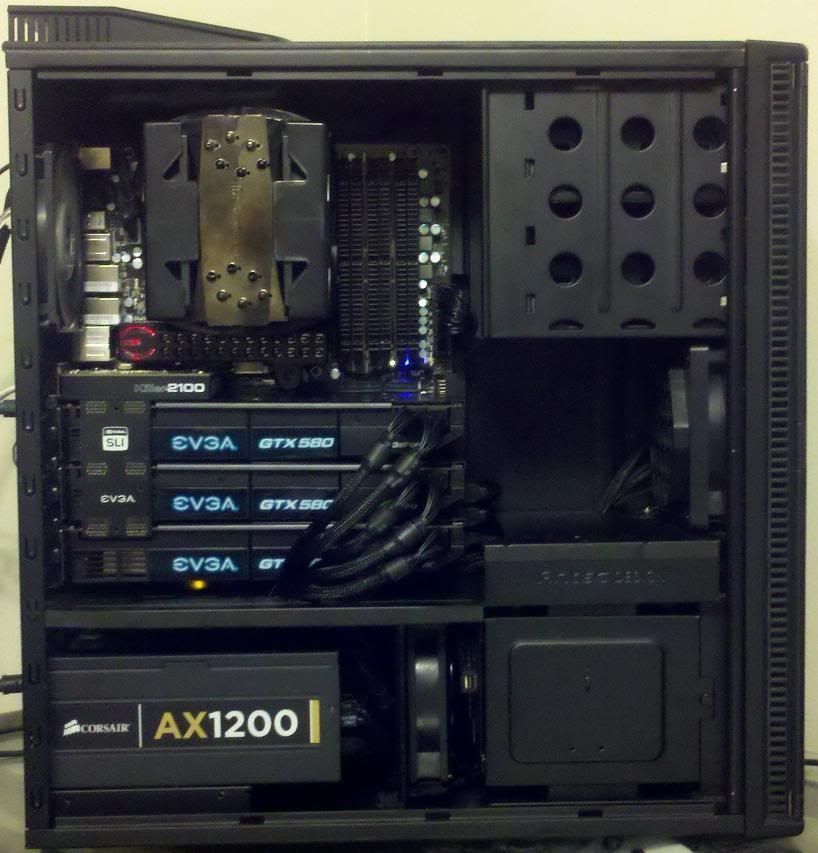
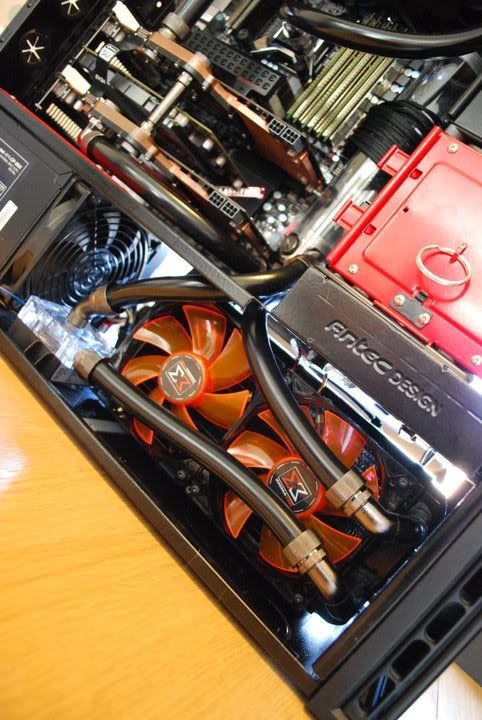
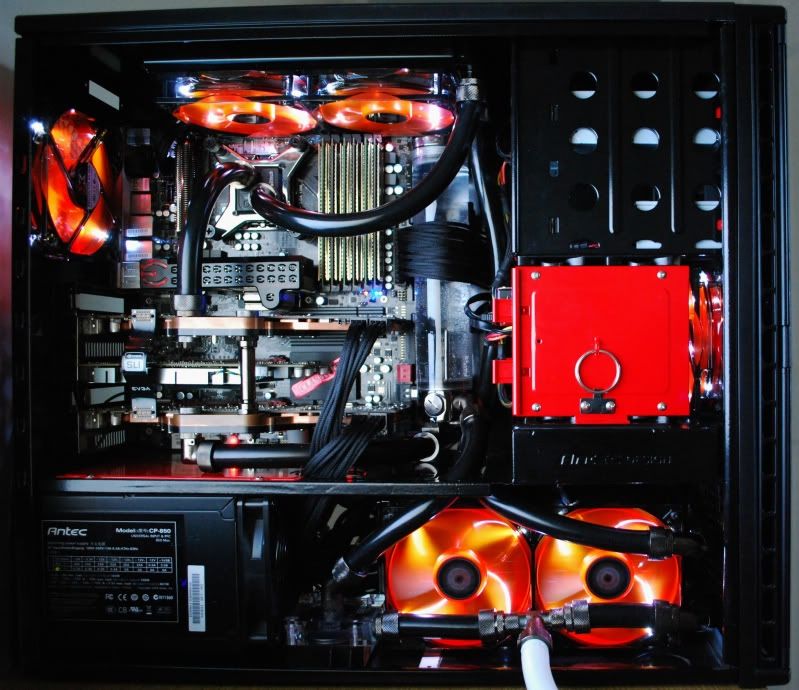
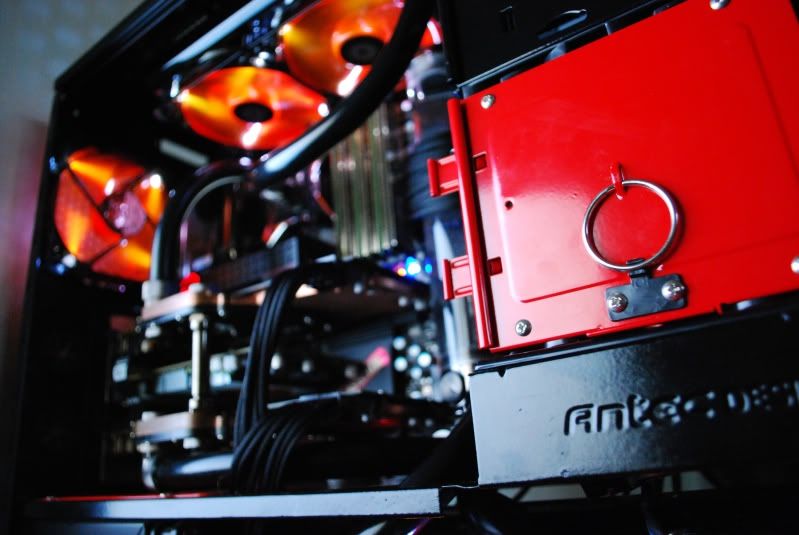
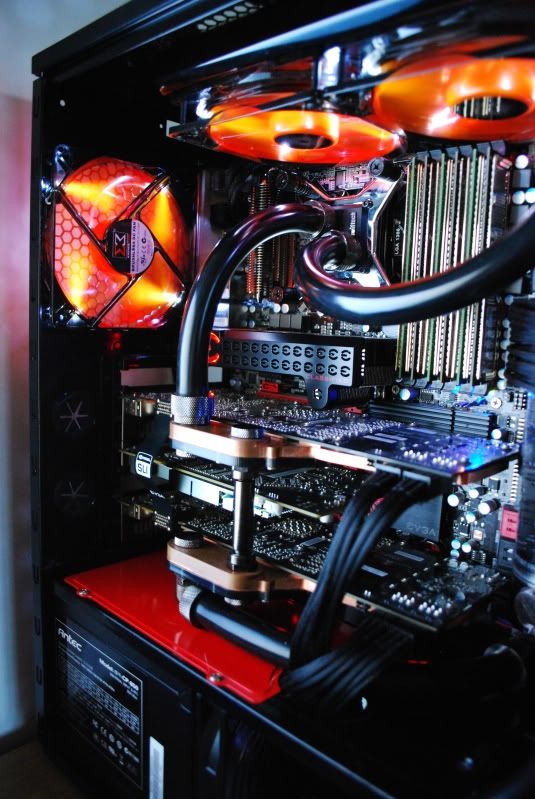
Here is my P193 folks.
internals are about to be bulldozer-ified and power-coated.

GPU's idle at 60C, load at about 80.
Bottom 4850's fan has since died.

Getting a H-50 with a Scythe Ultra-Kaze to fit wasn't that difficult, slight Dremeling had to occur on the 200MM side panel fan,

you can see the H-50's rad is right there on the side-panel.
cheated on the sleeving, haha.

Stock fans up top, to be replaced with some 4-pin pwm when the bulldozering happens.
8-pin EPS has since been sleeved and extended. (did that today)

4850
Empty
4850
X-fi
4850
3Ware
It gets warm even with the side fan on "3"
I'll have to get some better pictures today.
internals are about to be bulldozer-ified and power-coated.
GPU's idle at 60C, load at about 80.
Bottom 4850's fan has since died.
Getting a H-50 with a Scythe Ultra-Kaze to fit wasn't that difficult, slight Dremeling had to occur on the 200MM side panel fan,
you can see the H-50's rad is right there on the side-panel.
cheated on the sleeving, haha.
Stock fans up top, to be replaced with some 4-pin pwm when the bulldozering happens.
8-pin EPS has since been sleeved and extended. (did that today)
4850
Empty
4850
X-fi
4850
3Ware
It gets warm even with the side fan on "3"
I'll have to get some better pictures today.

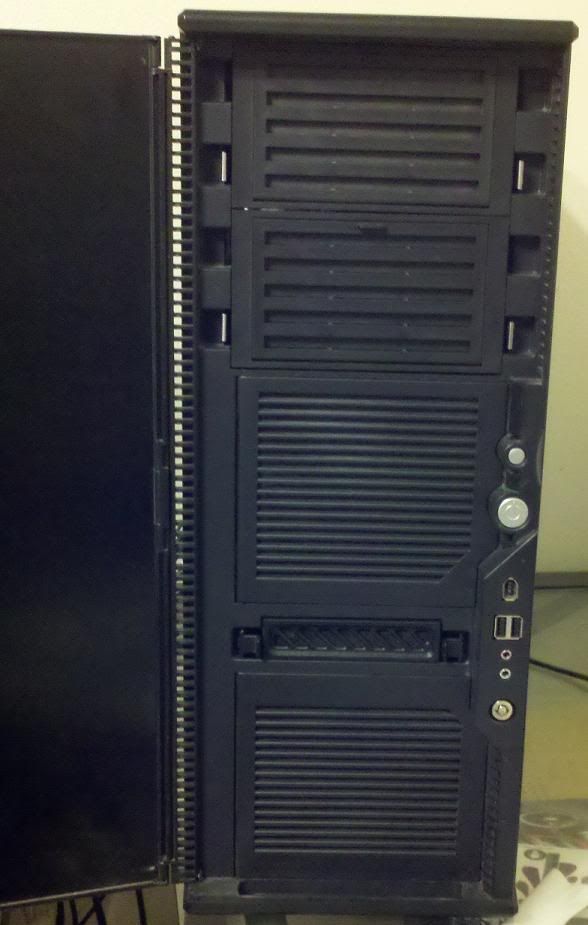
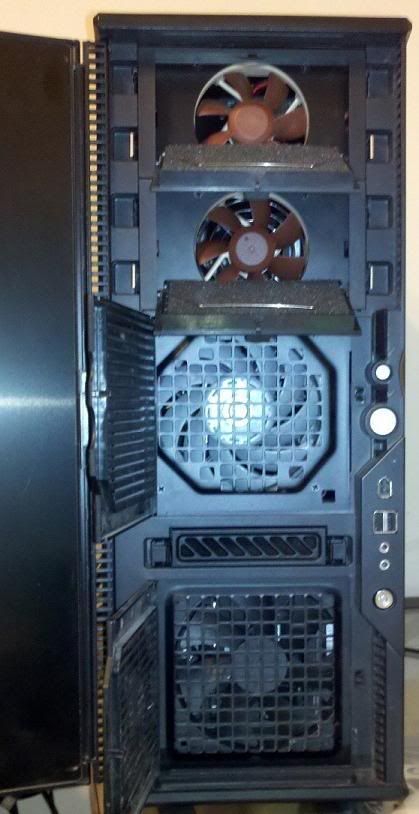
here is an old p180B Removing alternate slats on the front intake grilles really helped a lot on airflow they were to restrictive as they are supplied

Cabling even routed better Now:

the before it wasn't bad I had cleaned it up and moved hard drives to bottom cage but wiring still cluttered

Took MB, parts out and and modded the case so most of the large wires can go in the rear used a greenlee knockout/punch for the upper right MB power cable.
I have some sleeve wrap coming for the black and red fan wires to do them up and then its way less cluttered.


These cases are still decent and you can save a bit of dough.
Cabling even routed better Now:
the before it wasn't bad I had cleaned it up and moved hard drives to bottom cage but wiring still cluttered
Took MB, parts out and and modded the case so most of the large wires can go in the rear used a greenlee knockout/punch for the upper right MB power cable.
I have some sleeve wrap coming for the black and red fan wires to do them up and then its way less cluttered.
These cases are still decent and you can save a bit of dough.
Last edited:
xv13tlaclo1x
n00b
- Joined
- Oct 31, 2011
- Messages
- 10
Here is mine


supragt3297
n00b
- Joined
- Aug 24, 2008
- Messages
- 7
Very clean setup!
These cases are still decent and you can save a bit of dough.
p182 is better than decent, it is still the best case you can buy. p183 is fruity but still #2
sitalchauhan
Limp Gawd
- Joined
- May 30, 2006
- Messages
- 244
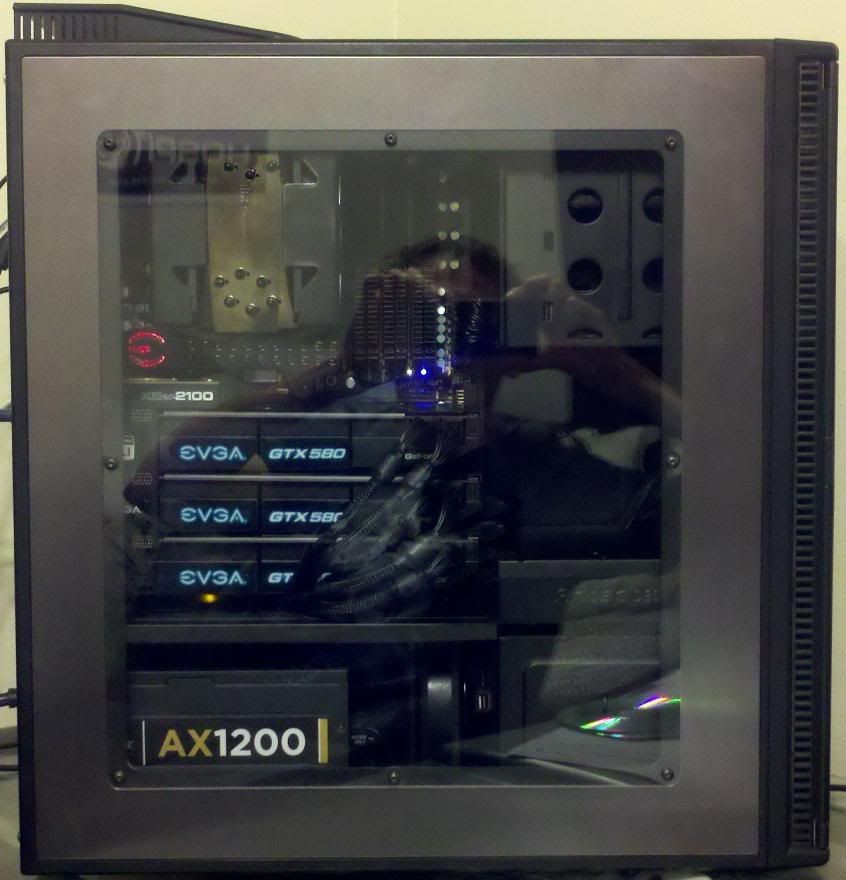
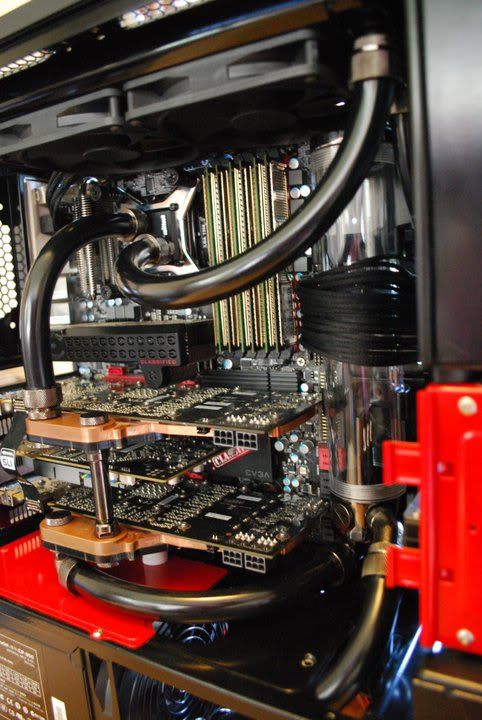
Here is my ancient P180B that I recently watercooled.
Check out my build thread if you get time. I resprayed all of the internals black and made lots of dremel cuts to help cable management:
http://hardforum.com/showthread.php?t=1674524
Check out my build thread if you get time. I resprayed all of the internals black and made lots of dremel cuts to help cable management:
http://hardforum.com/showthread.php?t=1674524


Northerner
2[H]4U
- Joined
- Dec 25, 2002
- Messages
- 2,539
viejawind, that is a great clean looking rig, awesome job!