NickOfTime
[H]ard|DCer of the Month - April 2014
- Joined
- Oct 29, 2012
- Messages
- 181
06-26-2014, 02:18 AM
Jathanis [H]ard|DCer of the Month - Feb. 2013
RC5-72 and OGR-27 used the same client when I was running them both a while back. I think this is one of those my lazy butt keeps promising to do a guide for, but can never find the time... But NickofTime has it about right - it's a simple install and run. Key things to remember are (or were, at least) that the client will want to run both RC5 and OGR, so if you only want to run one, you have to set that.
Oh, what the hell - here's a start of a walkthrough for the 64 bit version of Windows 7/8 as I reset it up:
And for whatever I missed here, there is more info at http://faq.distributed.net/ for general info. The readme that comes with the zip AND the FAQ page both claim there is a first time setup tutorial at www_DOT_distributed_DOT_net/docs/tutor_clients.php, but that's a lie, so don't waste your time - try http://www.distributed.net/Docs_tutor_stats instead.
To Join Team HardOCP
http://stats.distributed.net/team/tmsummary.php?project_id=28&team=24958
Wait Till First Results are Submitted and Stats are Updated ( Daily at 00:30 UTC / 6:30PM CST )
Search for your Email address in the Participant Stats (http://stats.distributed.net/team/tmsummary.php?project_id=28&team=24958 Top Middle Search Box)
On the stats page for your email address, click the button "Please email me my password", which gets you your password.
Wait for the Email, It could take a few hours to get around to sending... (Or was it a day?)
After you login, you can change the displayed name for the email address, etc.
And While Logged in Navigate to the Team Stats (http://stats.distributed.net/team/tmsummary.php?project_id=28&team=24958) and Click the link at the bottom of "I want to Join This Team!"
Jathanis [H]ard|DCer of the Month - Feb. 2013
RC5-72 and OGR-27 used the same client when I was running them both a while back. I think this is one of those my lazy butt keeps promising to do a guide for, but can never find the time... But NickofTime has it about right - it's a simple install and run. Key things to remember are (or were, at least) that the client will want to run both RC5 and OGR, so if you only want to run one, you have to set that.
Oh, what the hell - here's a start of a walkthrough for the 64 bit version of Windows 7/8 as I reset it up:
- The install is just a simple Open the Zip File and Copy to a Folder of Your Choosing...
- Windows version still uses a DOS Shell style interface. Very old school fun!
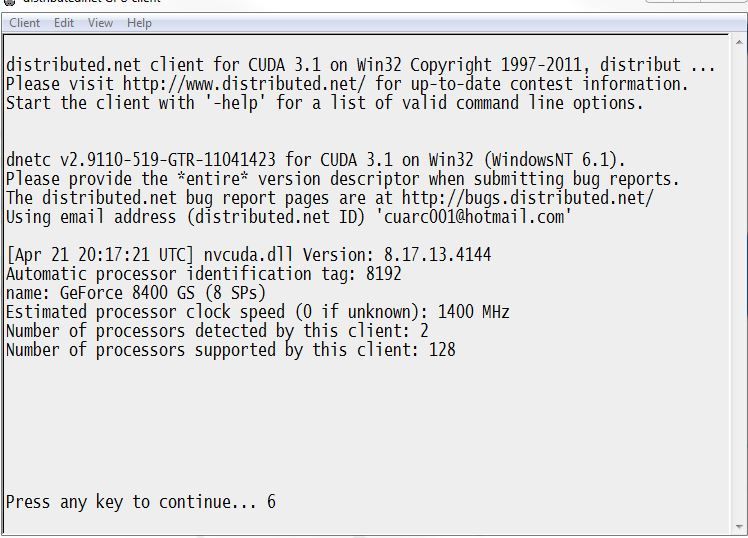
- Upon running dnetc.exe for the first time, you're presented with a screen with options 1-4, along with save & exit (0) and discard & exit (9) options. Choose (1) to start.
- Choose (1) and enter the email you previously used on RC5 or OGR projects OR just enter the email you want them to send your password to if new.
- Note per their page: "Finally, you will need to request that your stats password be sent to you by email to the address that you specified in your email client configuration, which is also the one under which you appear in the stats server. To do this, you must be on your (or one of your) personal stats page(s) and click on the link at the very bottom of that page that reads: "I cannot remember my password. Please email [insert your email address here]'s password.". Once you click on that link, you should receive an email with your stats password shortly thereafter."
- Unfortunately, I seem to have forgotten my password, and it takes a while for them to send it when requested, so I'll update this part about joining our team tomorrow when I get it!
- Hit (0) to return to the main menu
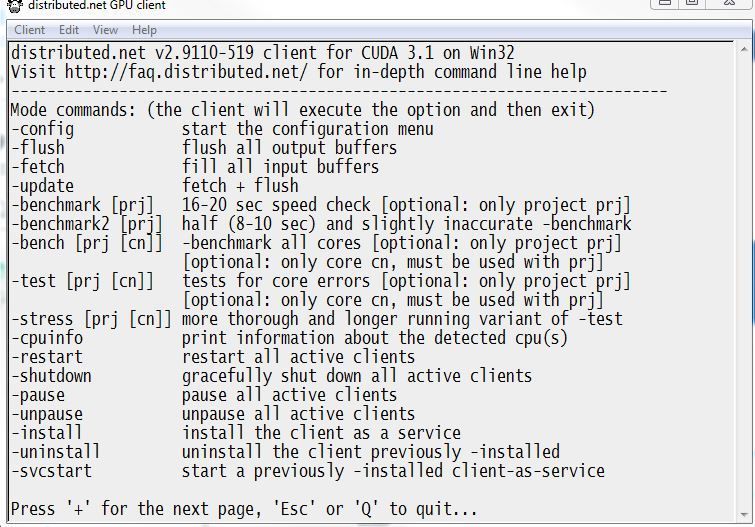
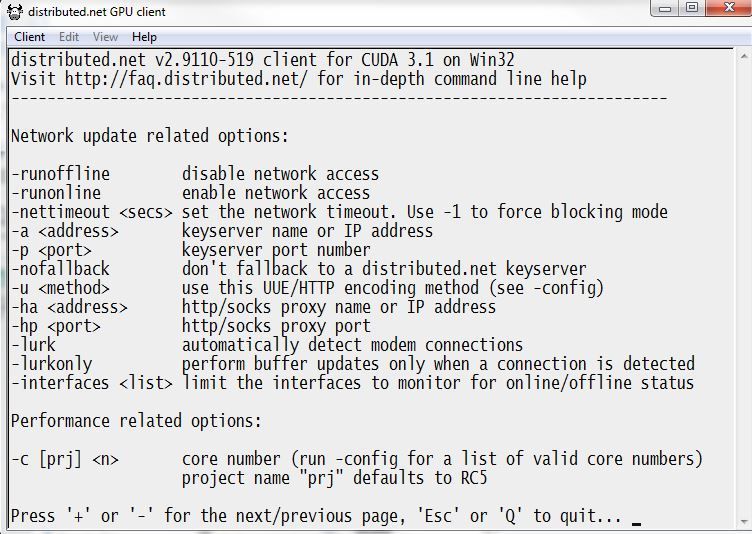
- Next, hit (2) for Buffer and Buffer Update Options, then choose (9) for Load-work Precedence. There are good instructions here, but the TL;DR is to just add "=0" behind RC5-72 to just get OGR-28. Note that the client is design to get whatever the current flavor of OGR is, so you use "OGR-NG" instead of "OGR-28" when setting this up.
- If you have a relatively unstable internet connection, you can use (13), Fetch Work Threshold to increase the number of buffered units, but they recommend leaving it at 0 for standard fixed internet connections. Just FYI.
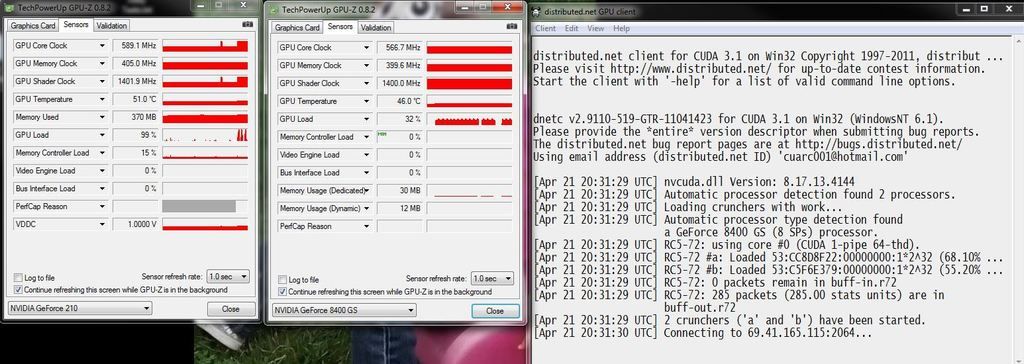
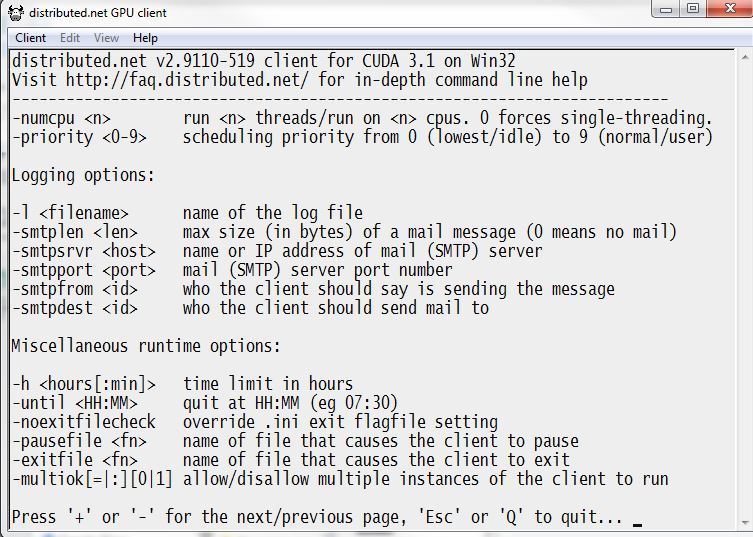
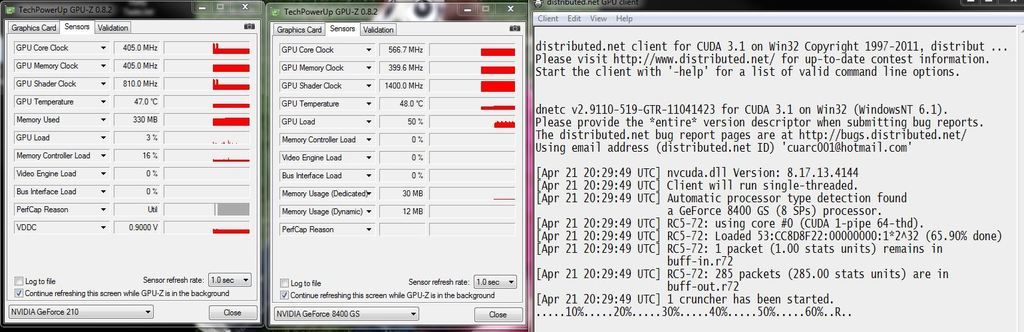
- Next, hit (3) for Performance Related Options, then hit (4) to set Priority Level. Here you can adjust the level from the default of 0, which will only run when all other processes are idle, up to 9, which will run this over all other processes - only do this on a dedicated machine! I have a borg somewhere currently only running RC5-72 using the command line version that I have no idea where it is, and I think it has this set to 1. That is obviously low enough to be unnoticeable yet return me some regular points. If running this concurrently on a BOINC machine, keep this low, if the primary project, bump this up as high as you can tolerate. As always, YMMV... EDIT: Just playing around with it, setting this to "2" on my i7 takes over all eight BOINC threads and runs dnetc.exe at 96-98%. Setting it to "1" allows BOINC to run each of the eight BOINC threads (POGS right now) at 4-6% while dnetc.exe takes about 60%. And setting it to "0" seems to be having the same effect as "1". So I have no idea how to get it to run at a lower Priority than BOINC right now...
- Back on the Performance related options page, ignore (3) in Windows, as it's not yet implemented. Linux users, if you know otherwise, please let me know! But option (2) will allow you to set specific cores to run it on, or allow you to run it as a single threaded client. "-1" is the default and will auto-detect cores, "0" is for single threaded, and any number "1" or greater will be the number of cores it will attempt to use. I will confirm that in the future and update accordingly...
- Okay, you should now have your email entered, the project selected, and your priority set. Get back to the main menu and hit (0) to save and exit. You are now done with setup, and can run the program without messing with any of that again!
- Of course, if you want to redo any of that info, you can do it one of three ways - if not running, either restart with the flag "-config" to modify settings (the not so easy way), or just delete the dnetc.ini file in the project directory and restart to redo everything above (the hard way!). OR do it the easy way - if running, minimize the client, which should send it to your tray, then right click the cow icon and select "Configure" - this will pause the client and reopen the config area. Once you hit (0) to save and exit, the client will automatically apply the changes and continue!
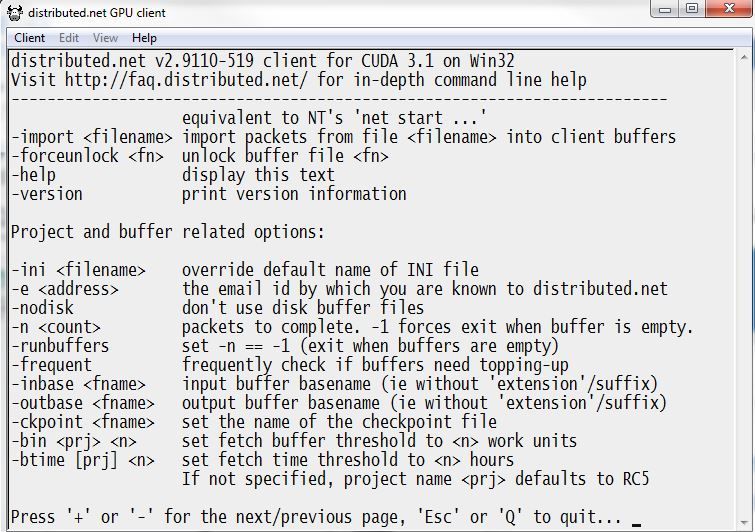
- Lastly, this uses TCP port 2064 by default to report/retrieve work, so if you have connectivity issues, check that on your firewall!
And for whatever I missed here, there is more info at http://faq.distributed.net/ for general info. The readme that comes with the zip AND the FAQ page both claim there is a first time setup tutorial at www_DOT_distributed_DOT_net/docs/tutor_clients.php, but that's a lie, so don't waste your time - try http://www.distributed.net/Docs_tutor_stats instead.
To Join Team HardOCP
http://stats.distributed.net/team/tmsummary.php?project_id=28&team=24958
Wait Till First Results are Submitted and Stats are Updated ( Daily at 00:30 UTC / 6:30PM CST )
Search for your Email address in the Participant Stats (http://stats.distributed.net/team/tmsummary.php?project_id=28&team=24958 Top Middle Search Box)
On the stats page for your email address, click the button "Please email me my password", which gets you your password.
Wait for the Email, It could take a few hours to get around to sending... (Or was it a day?)
After you login, you can change the displayed name for the email address, etc.
And While Logged in Navigate to the Team Stats (http://stats.distributed.net/team/tmsummary.php?project_id=28&team=24958) and Click the link at the bottom of "I want to Join This Team!"
Last edited: