TheSlySyl
2[H]4U
- Joined
- May 30, 2018
- Messages
- 2,704
I figured a few people here might be interested.
My Switch was a launch switch and has seen thousands of hours of use.
About a week or two ago my switch started to sound like a jet engine going off, I knew it was time to replace the fan. I've been expecting this for a while so I already looked at some tutorials.
One thing lead to another...
1: I need a new fan.
Well... if I need a new fan, I should probably get a new switch backplate because mine has a crack.
...if I get a new backplate, Why not get a colored one?
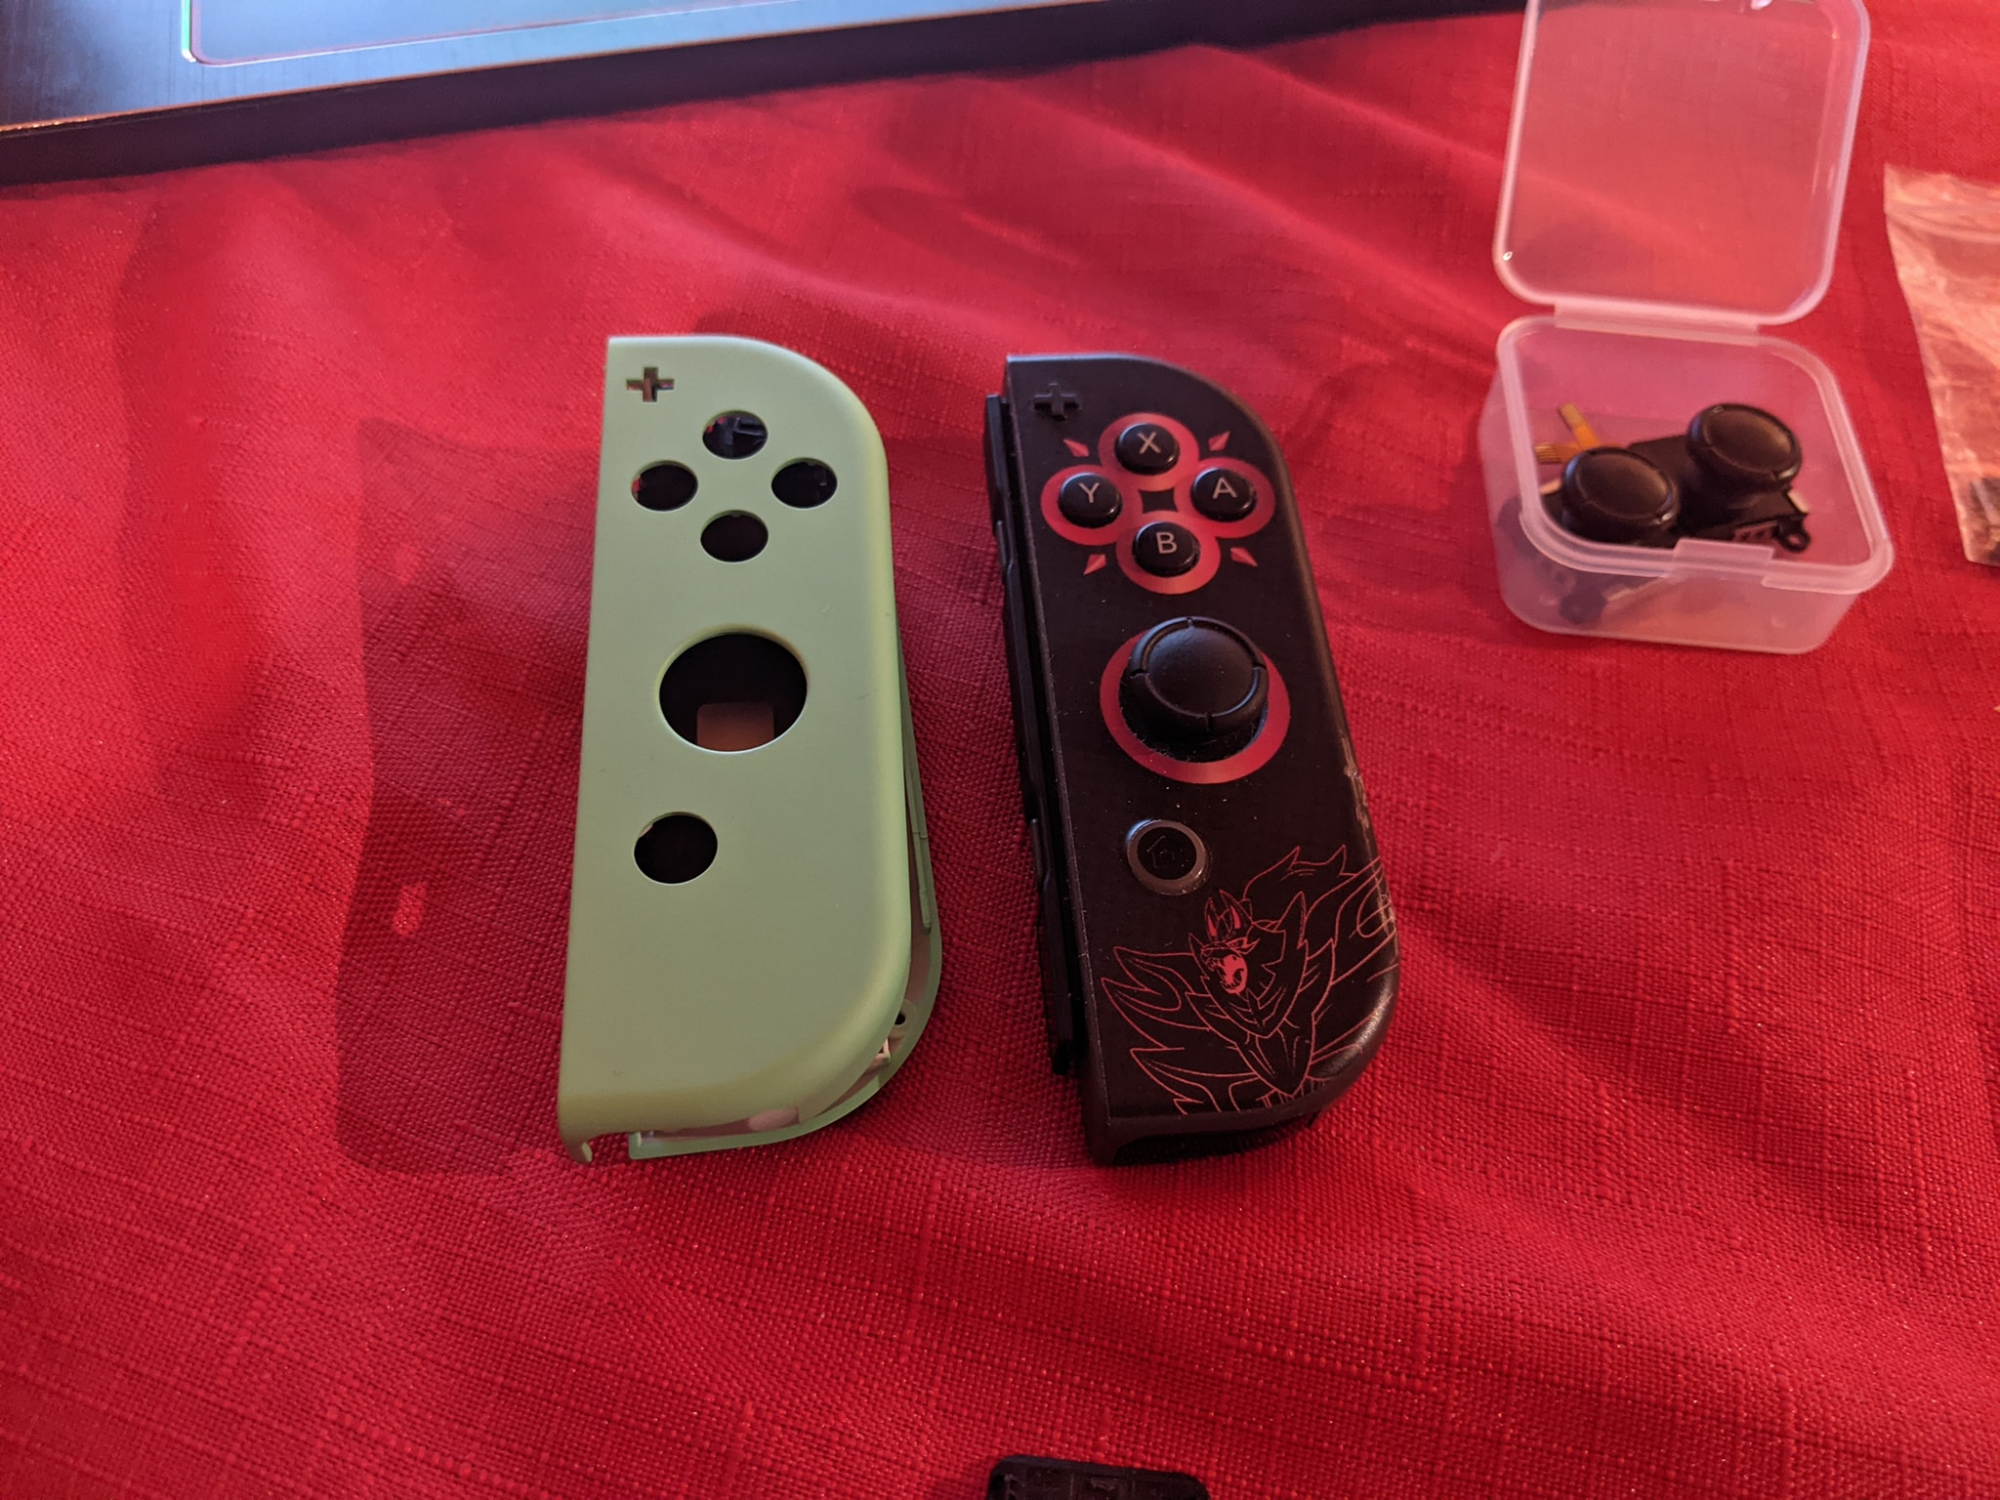
...If I'm gonna get a colored backplate, maybe I should get colored joycons that match!
...If I'm gonna get joycon shell replacements, maybe I should replace my joysticks that have a little bit of drift.
So here we are.
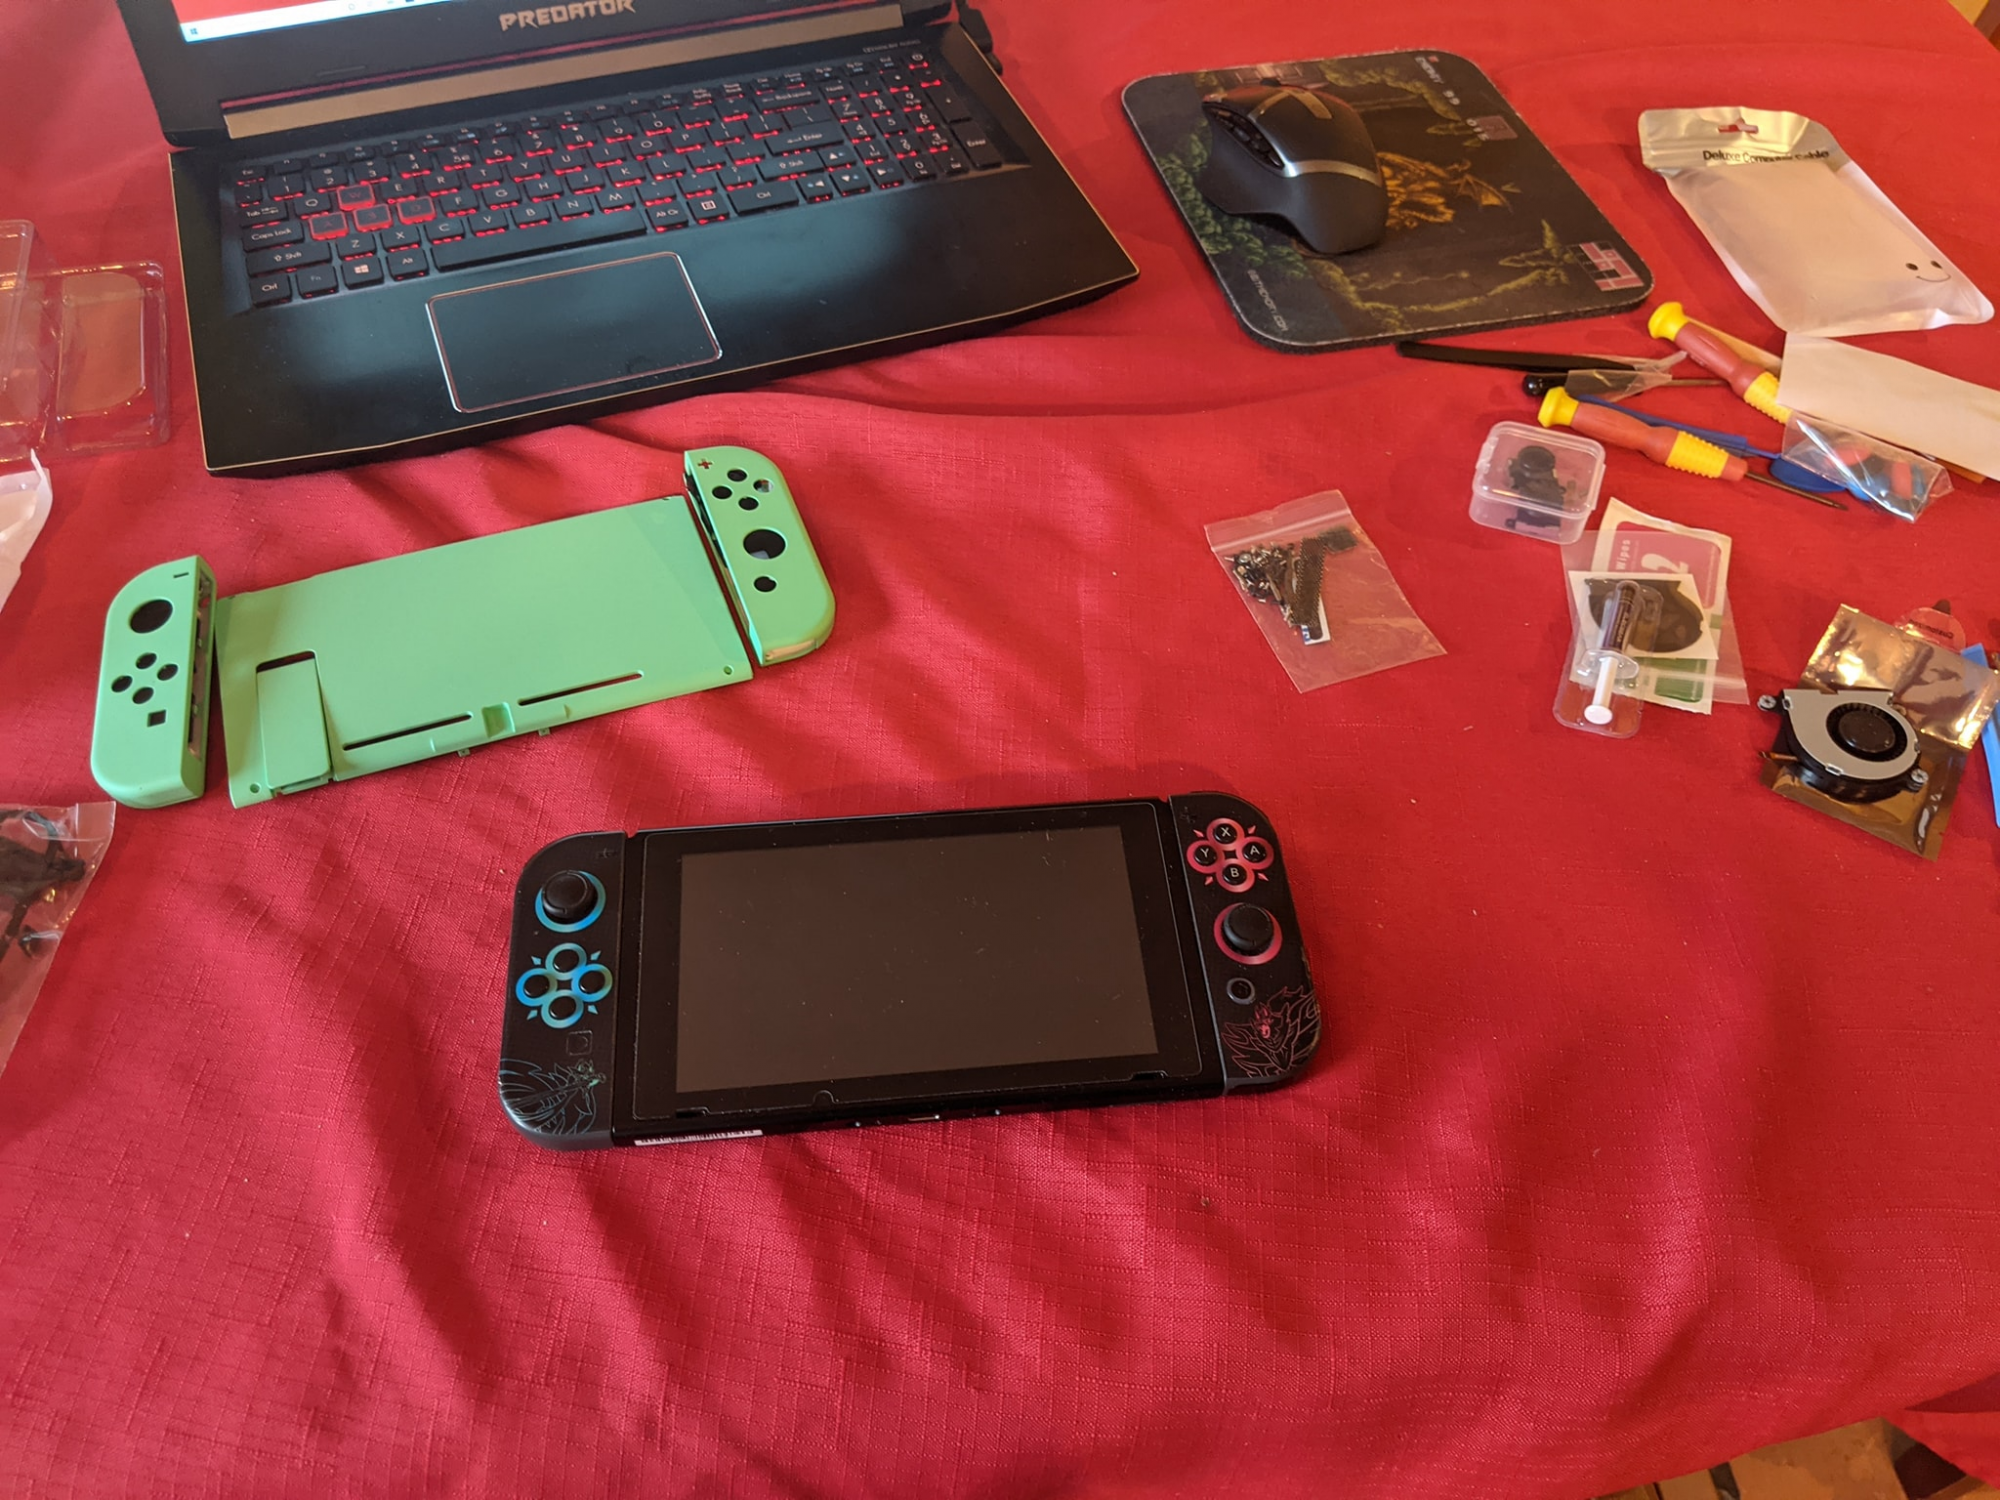
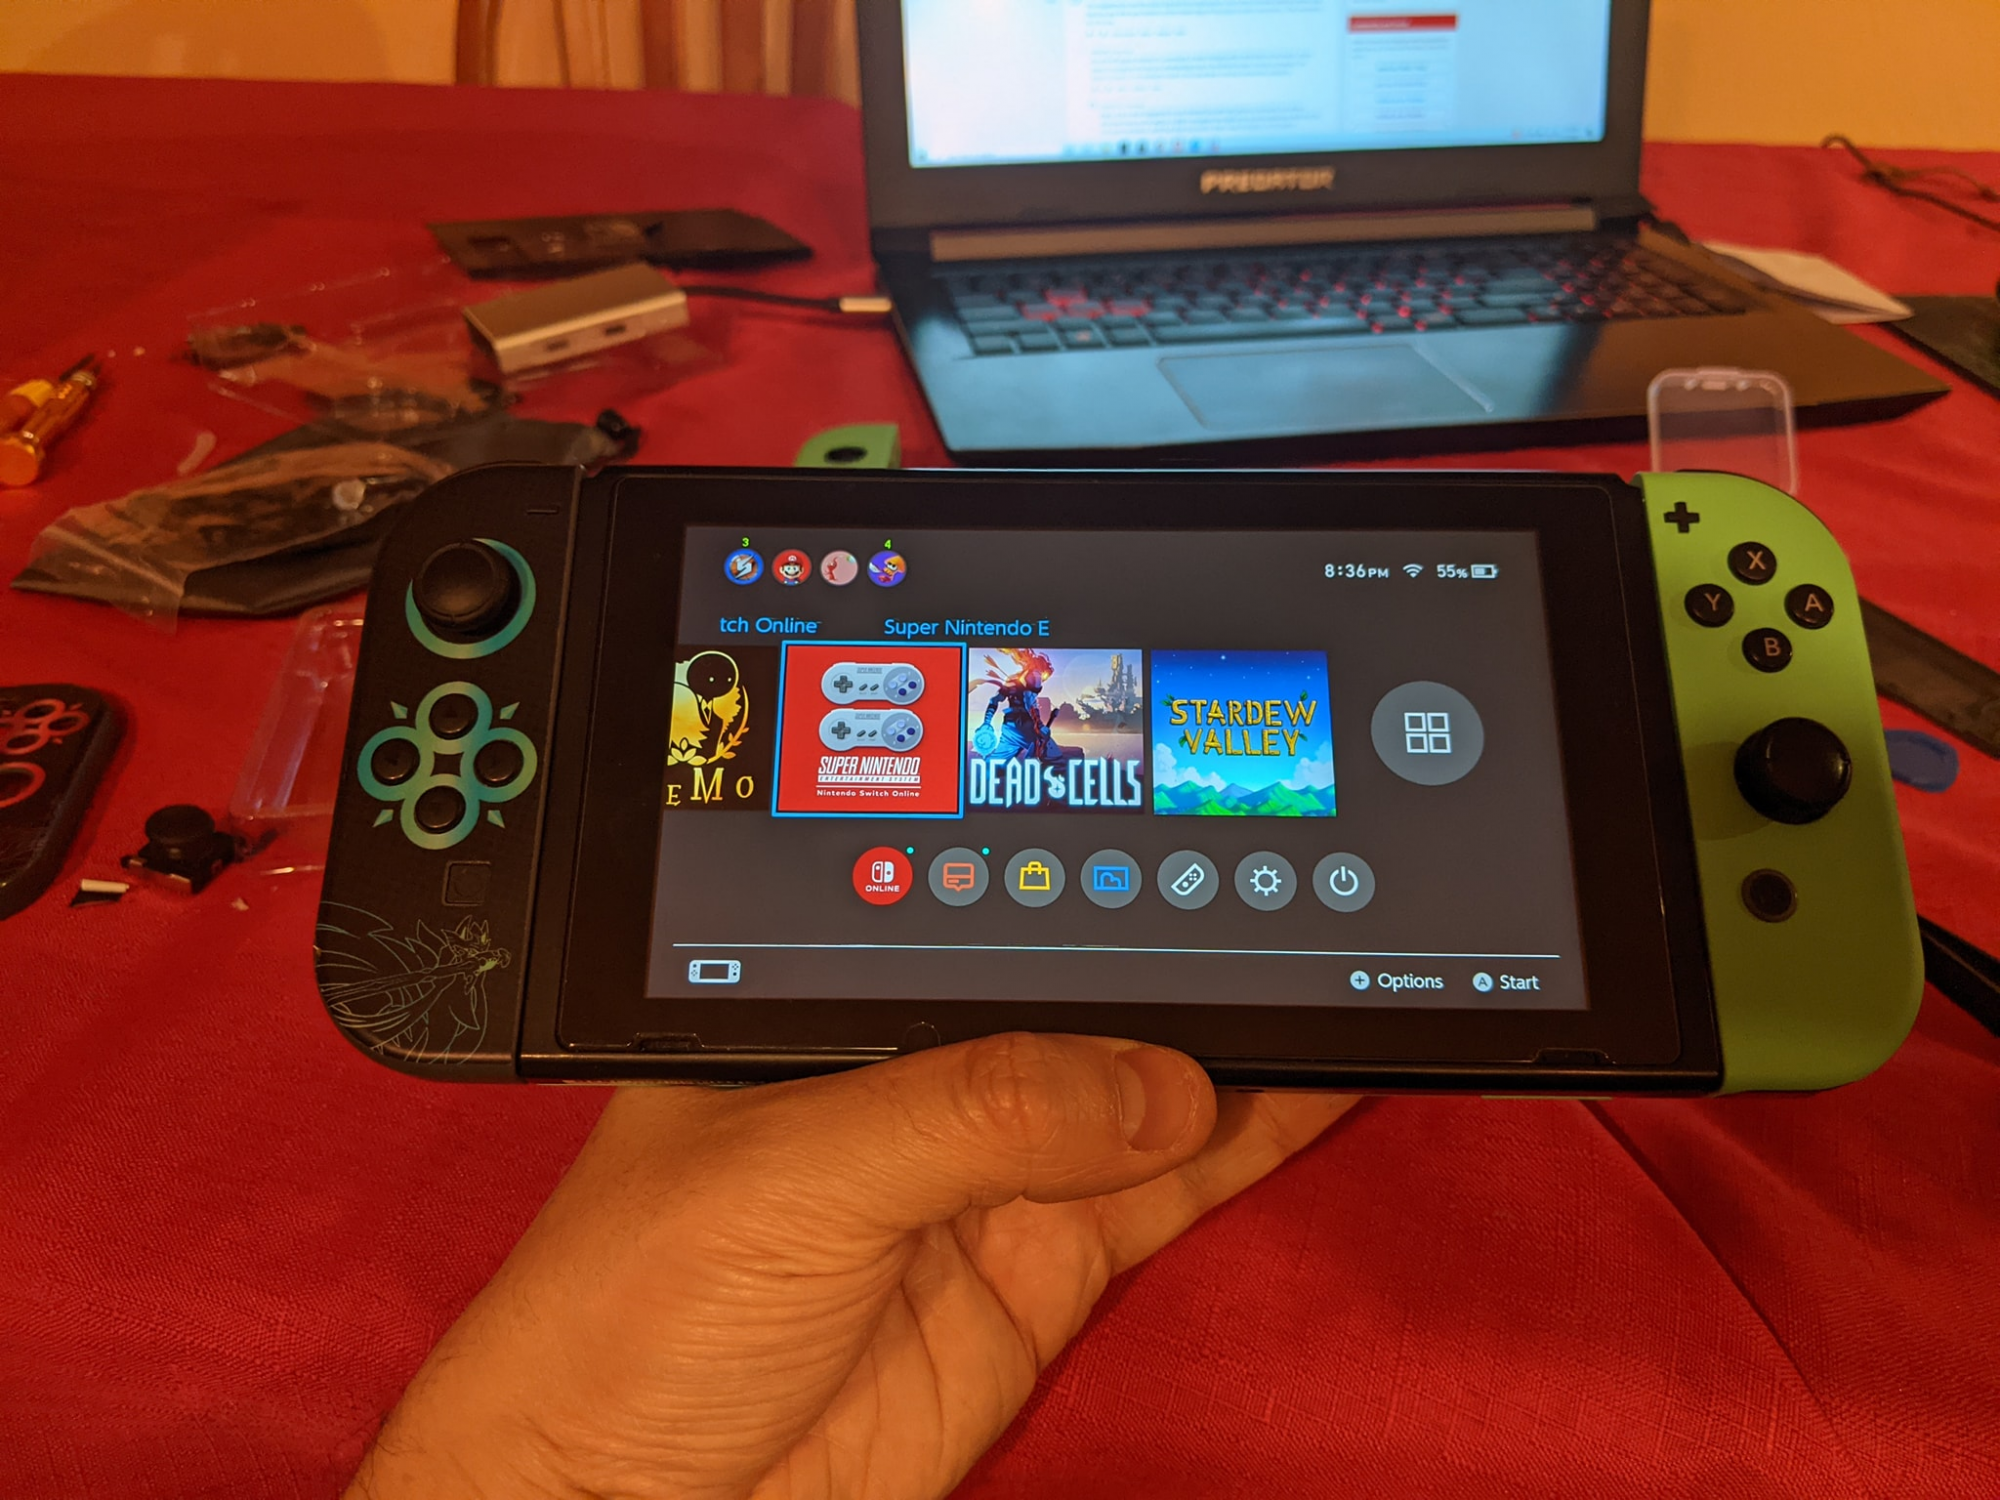
My switch! When Sword/Shield came out I decided to put those stickers on my joycons, mostly to cover up all the grease shine that had accumulated on them. They've been holding out ok.
You can see the new shell to the left, the new fan to the right, and the replacement joycons above.
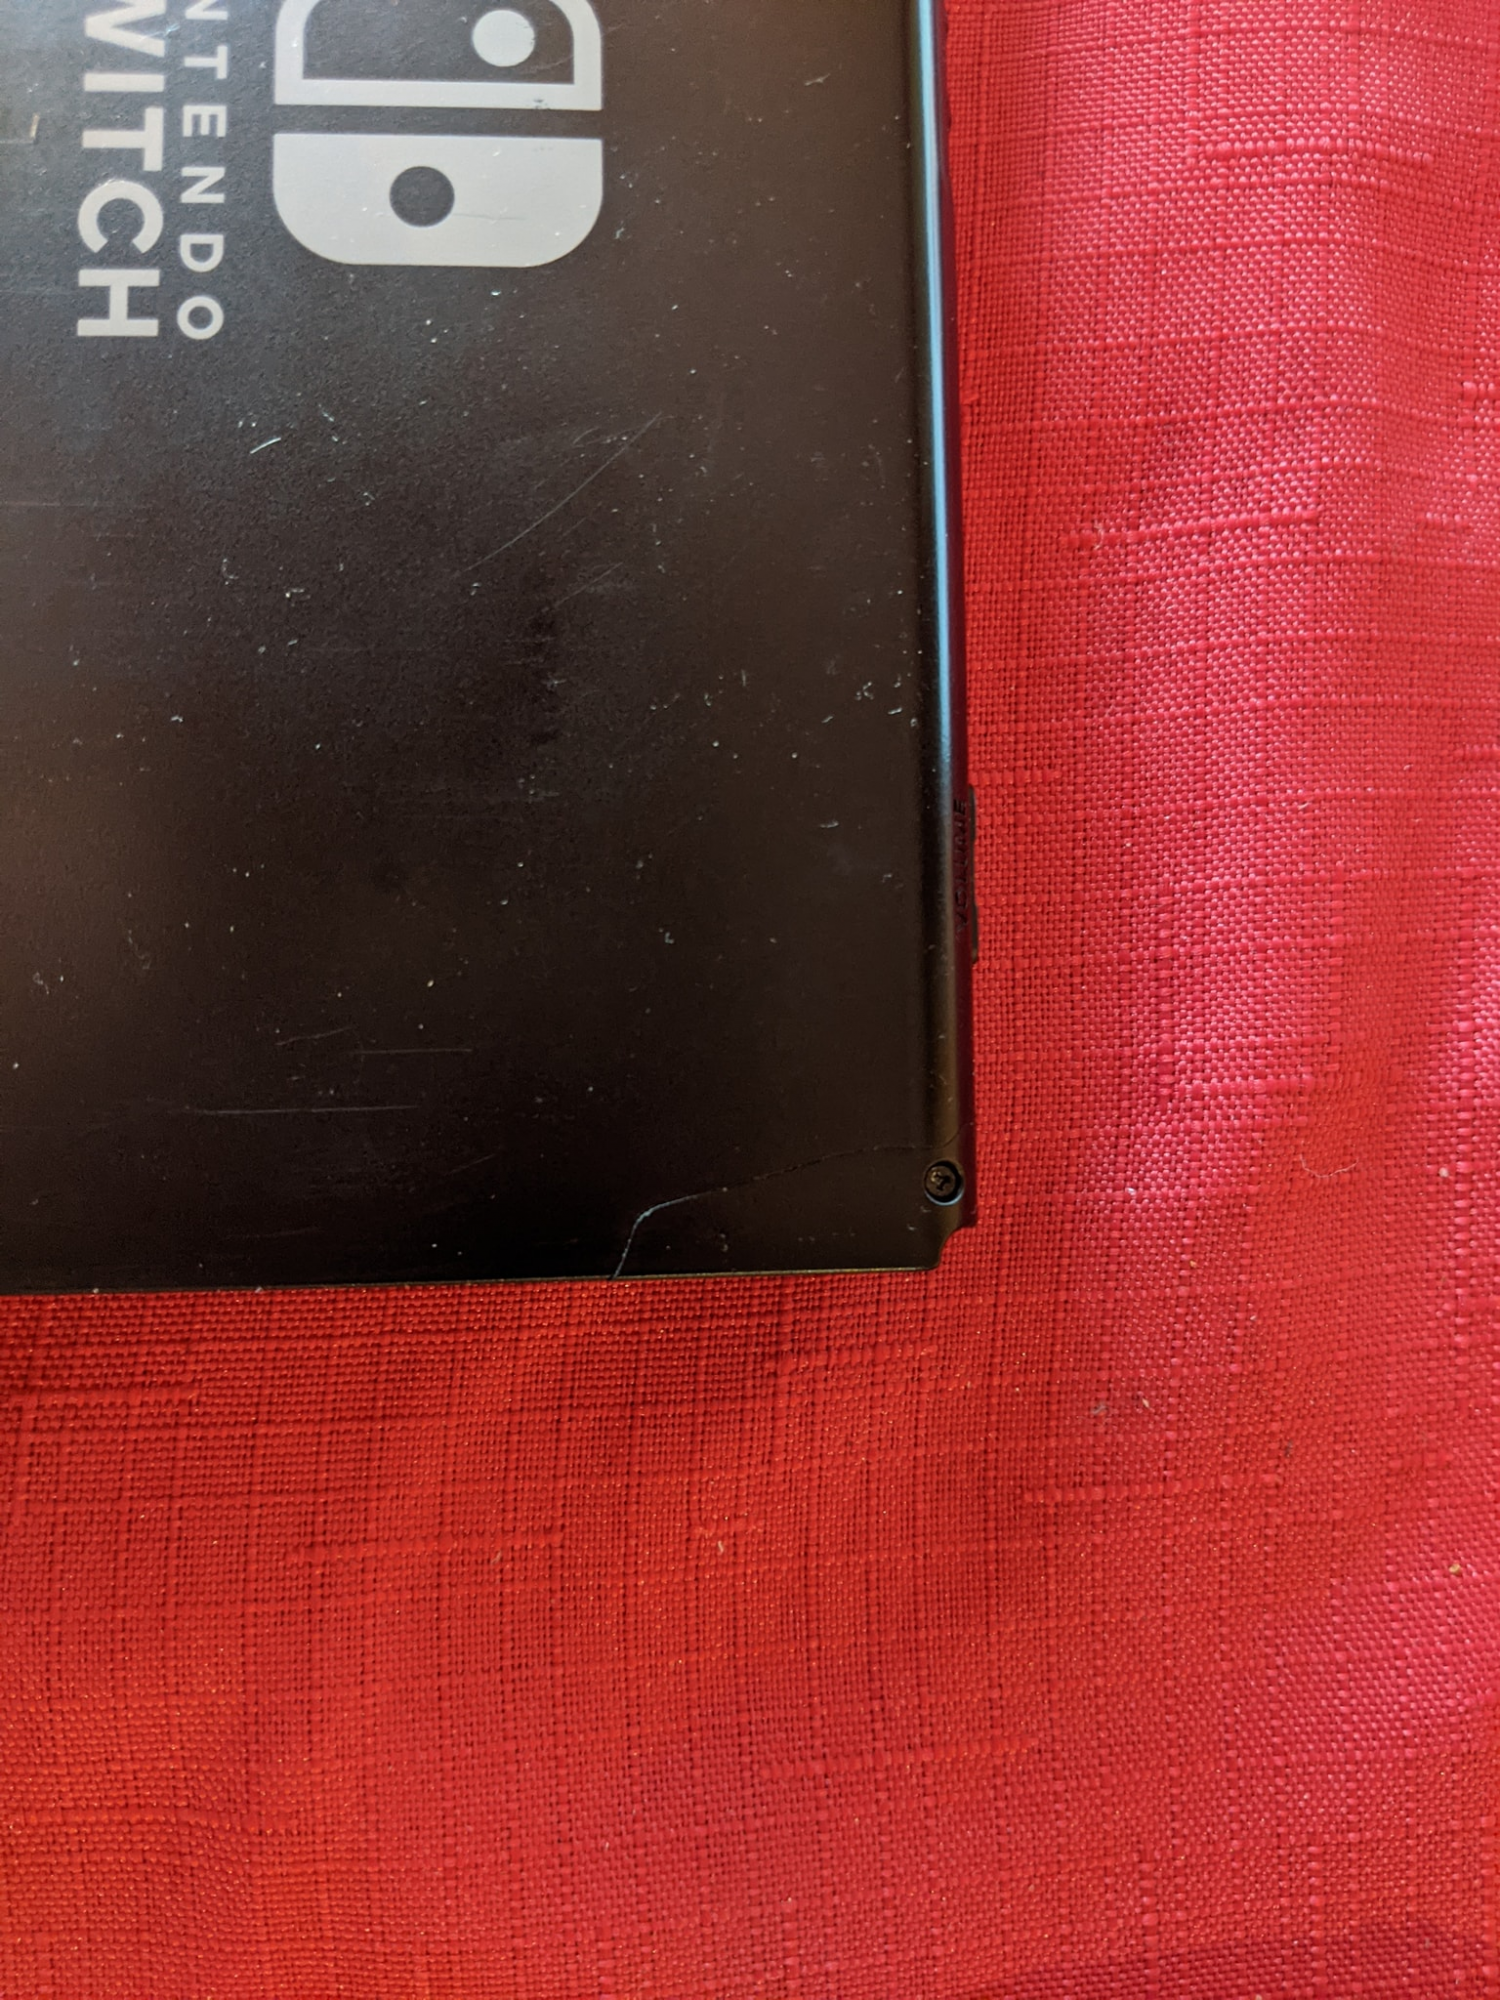
The crack in the corner of my swich, its been there for years but I do expect that it probably lead to more pressure onto the fan, part of the reason for its noise these days.
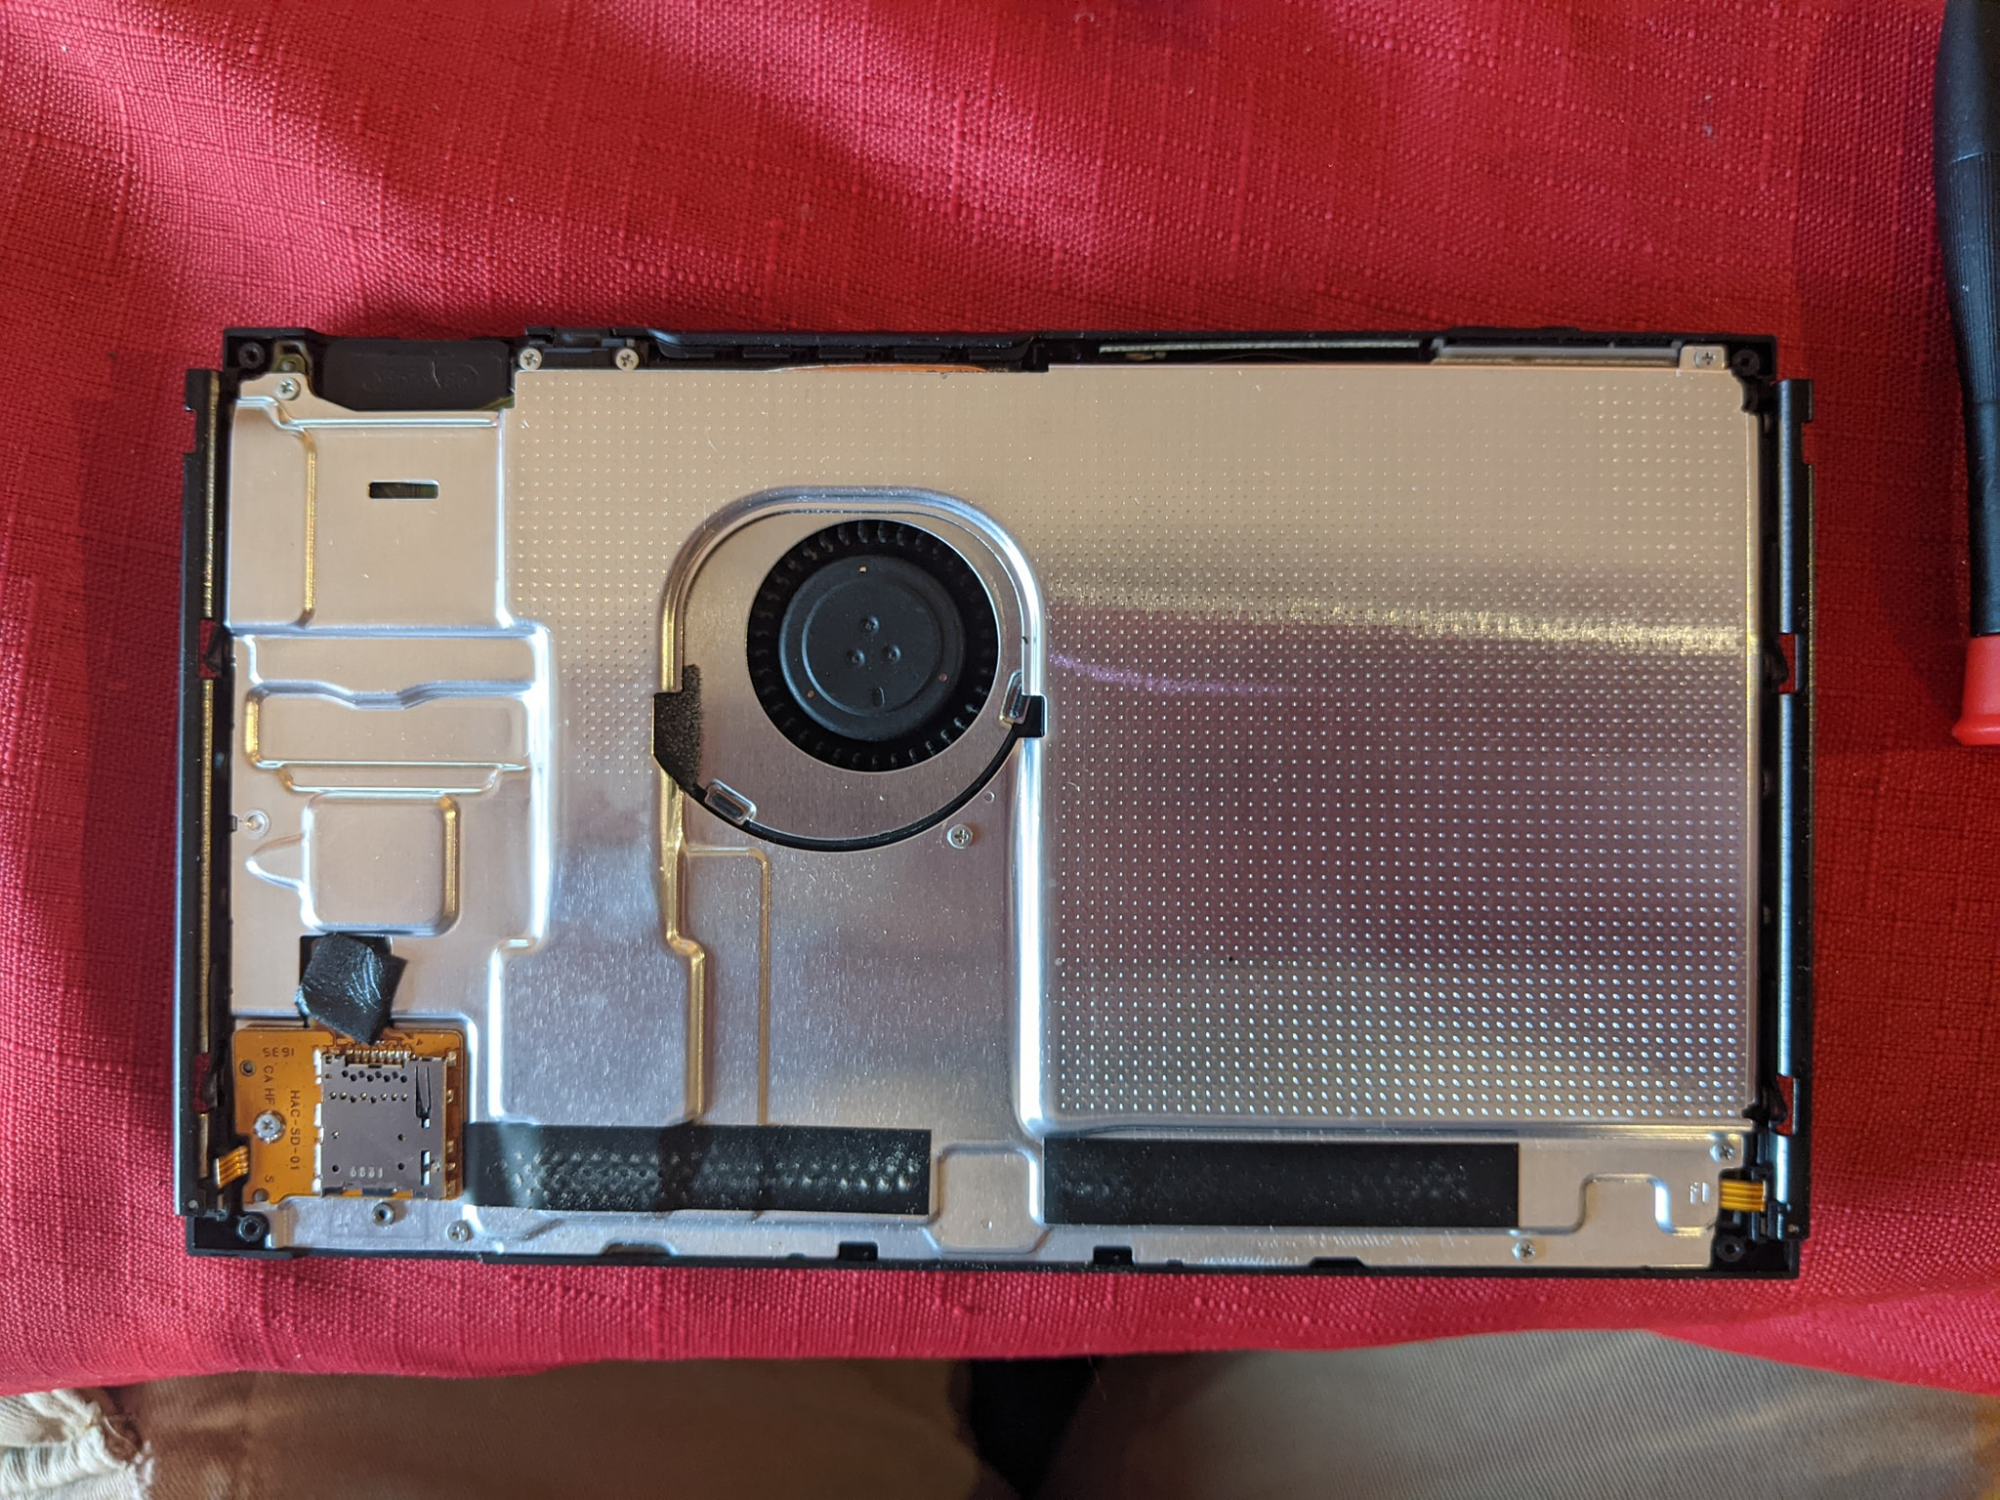
The back removed, this is basically just one bit sheet of metal that is likely mostly for rigidity but also potentially for heat distribution.
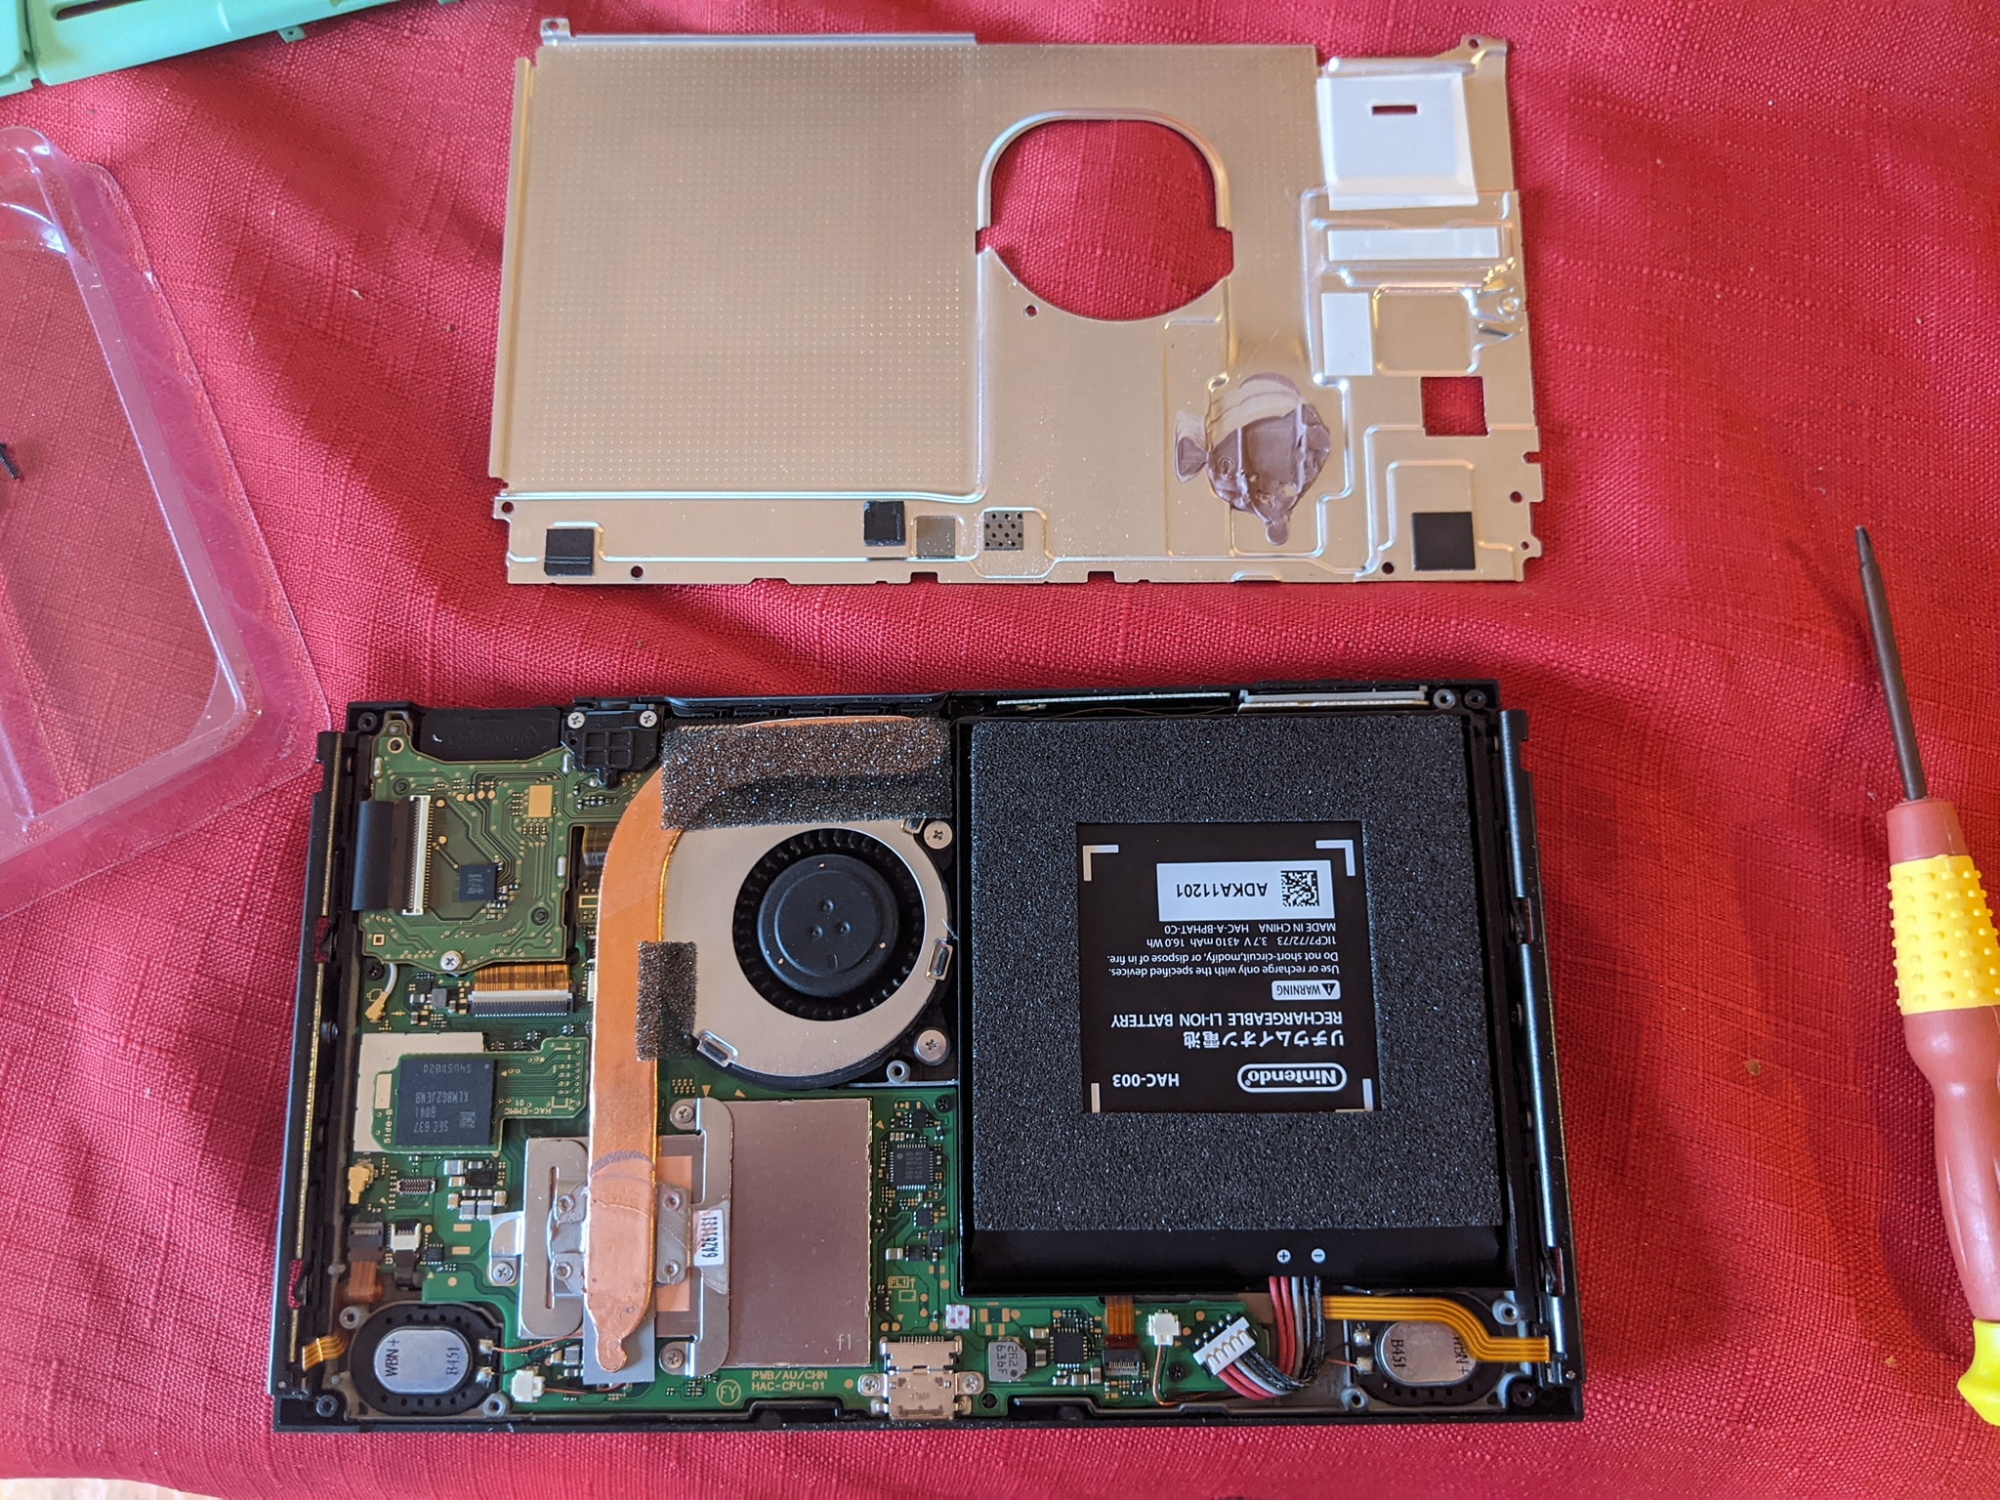
I was surprised that they bothered to put thermal paste above the heatsink, connecting it to the metal plate. All the thermal paste in this thing was dry and cracking, not a surprise at all at this point.
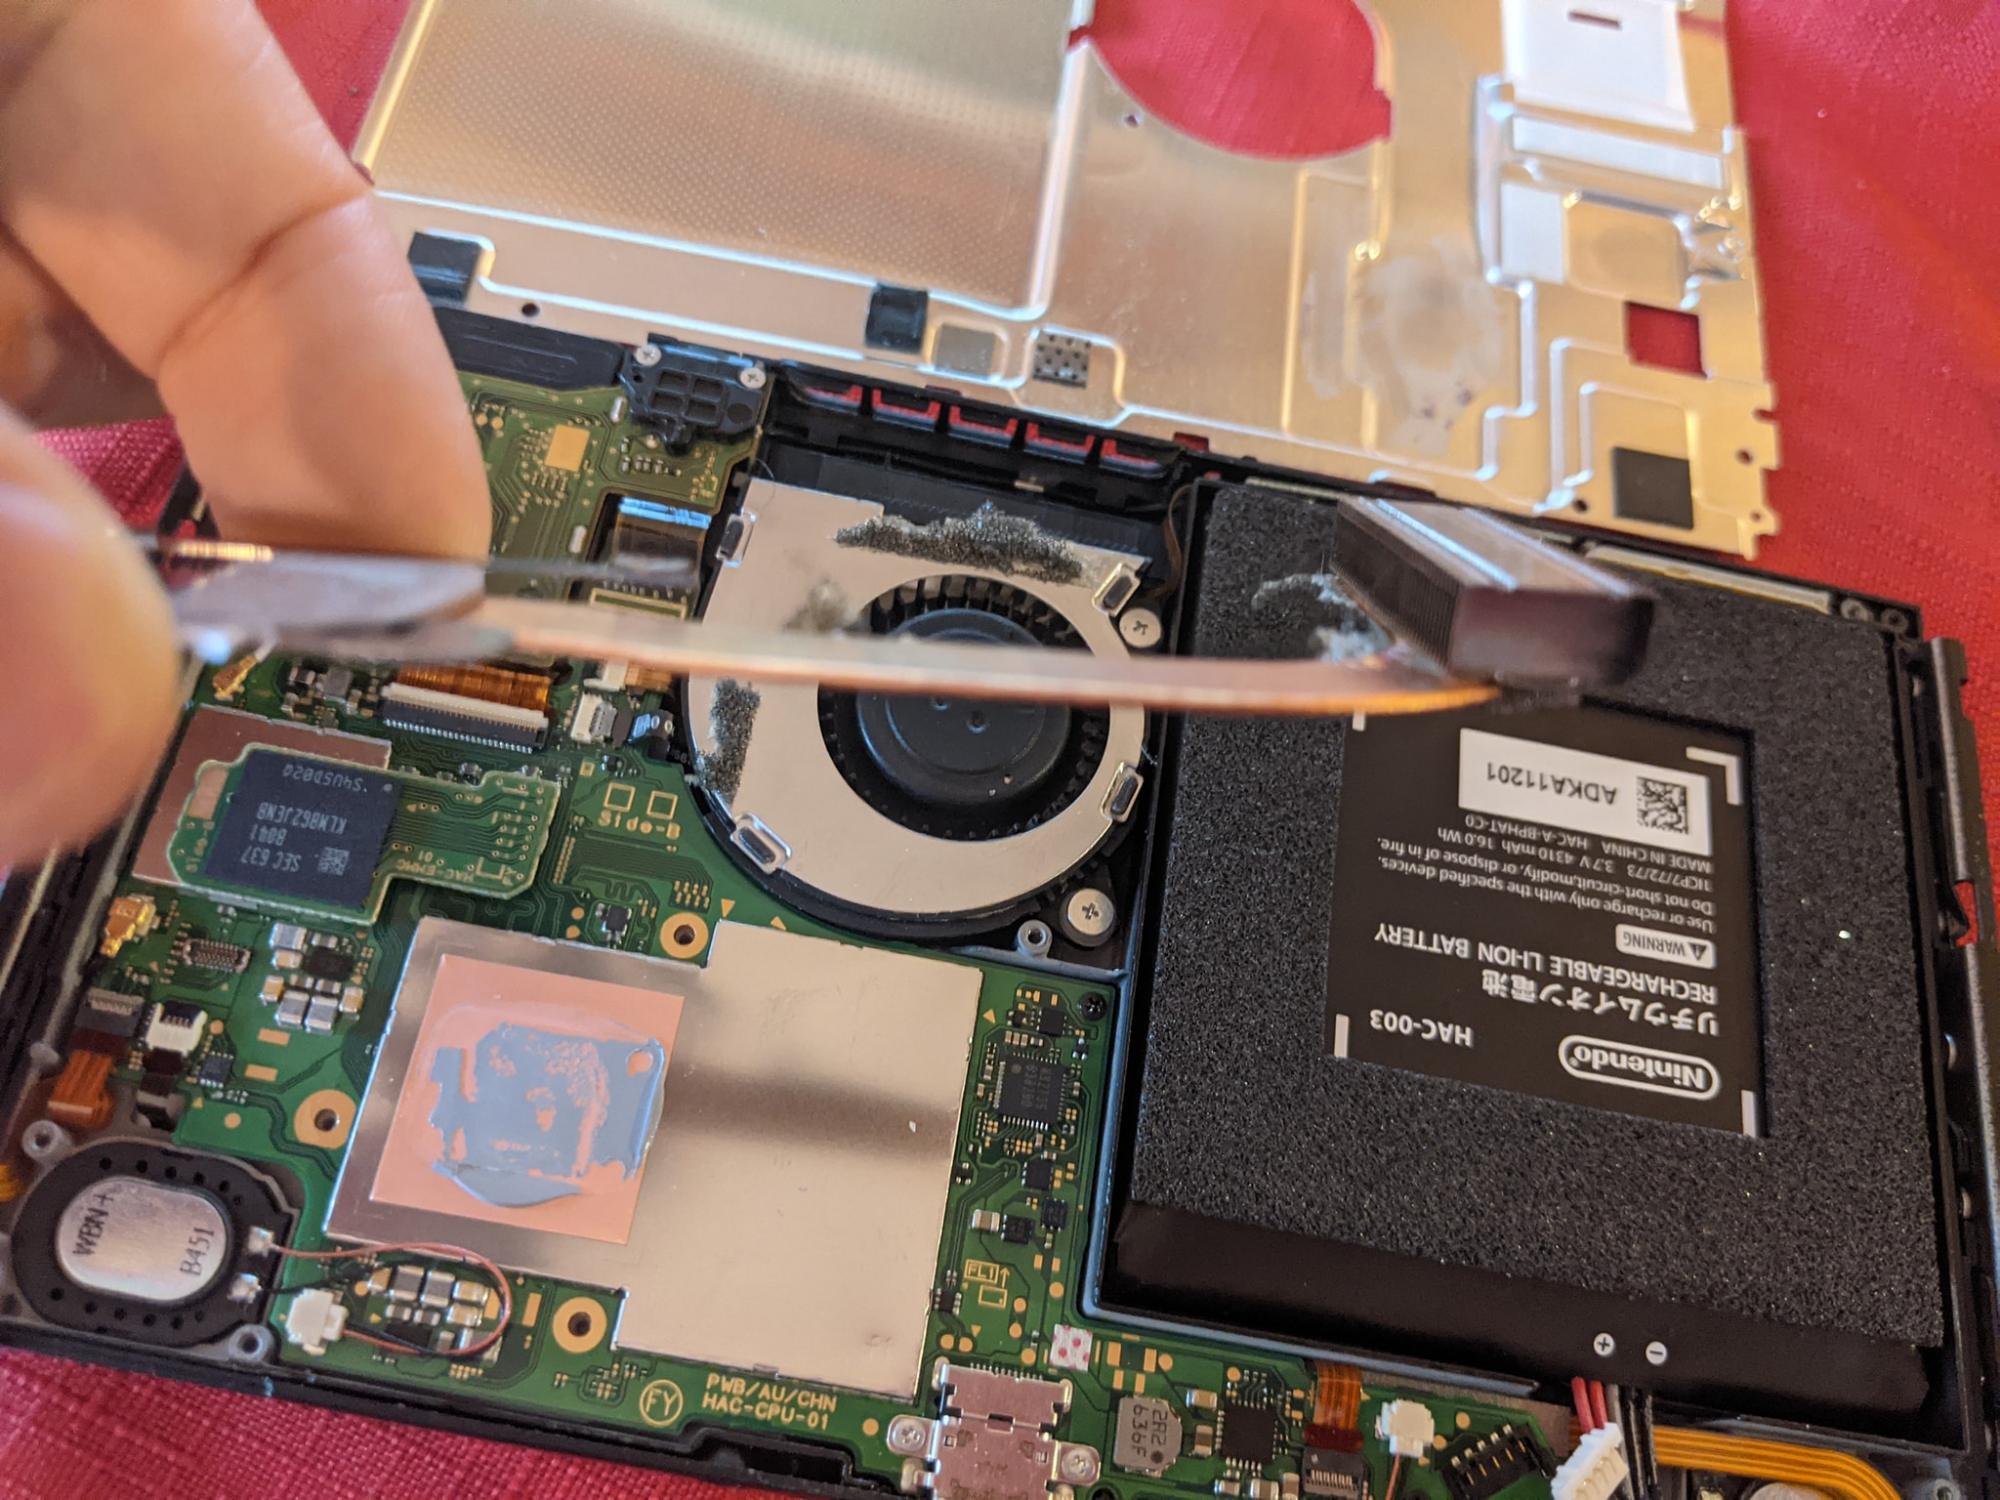
This is the entire switch heatsink. That tiny, wafer thin heatpipe and not even enough fins to cool an NVME. Crazy. I didn't have the guts to remove the metal plate that hides the processor, but i'm sure its down there. I cleaned up all the dried thermal goop and replaced it with Noctua NT-H2 as I still had some left.
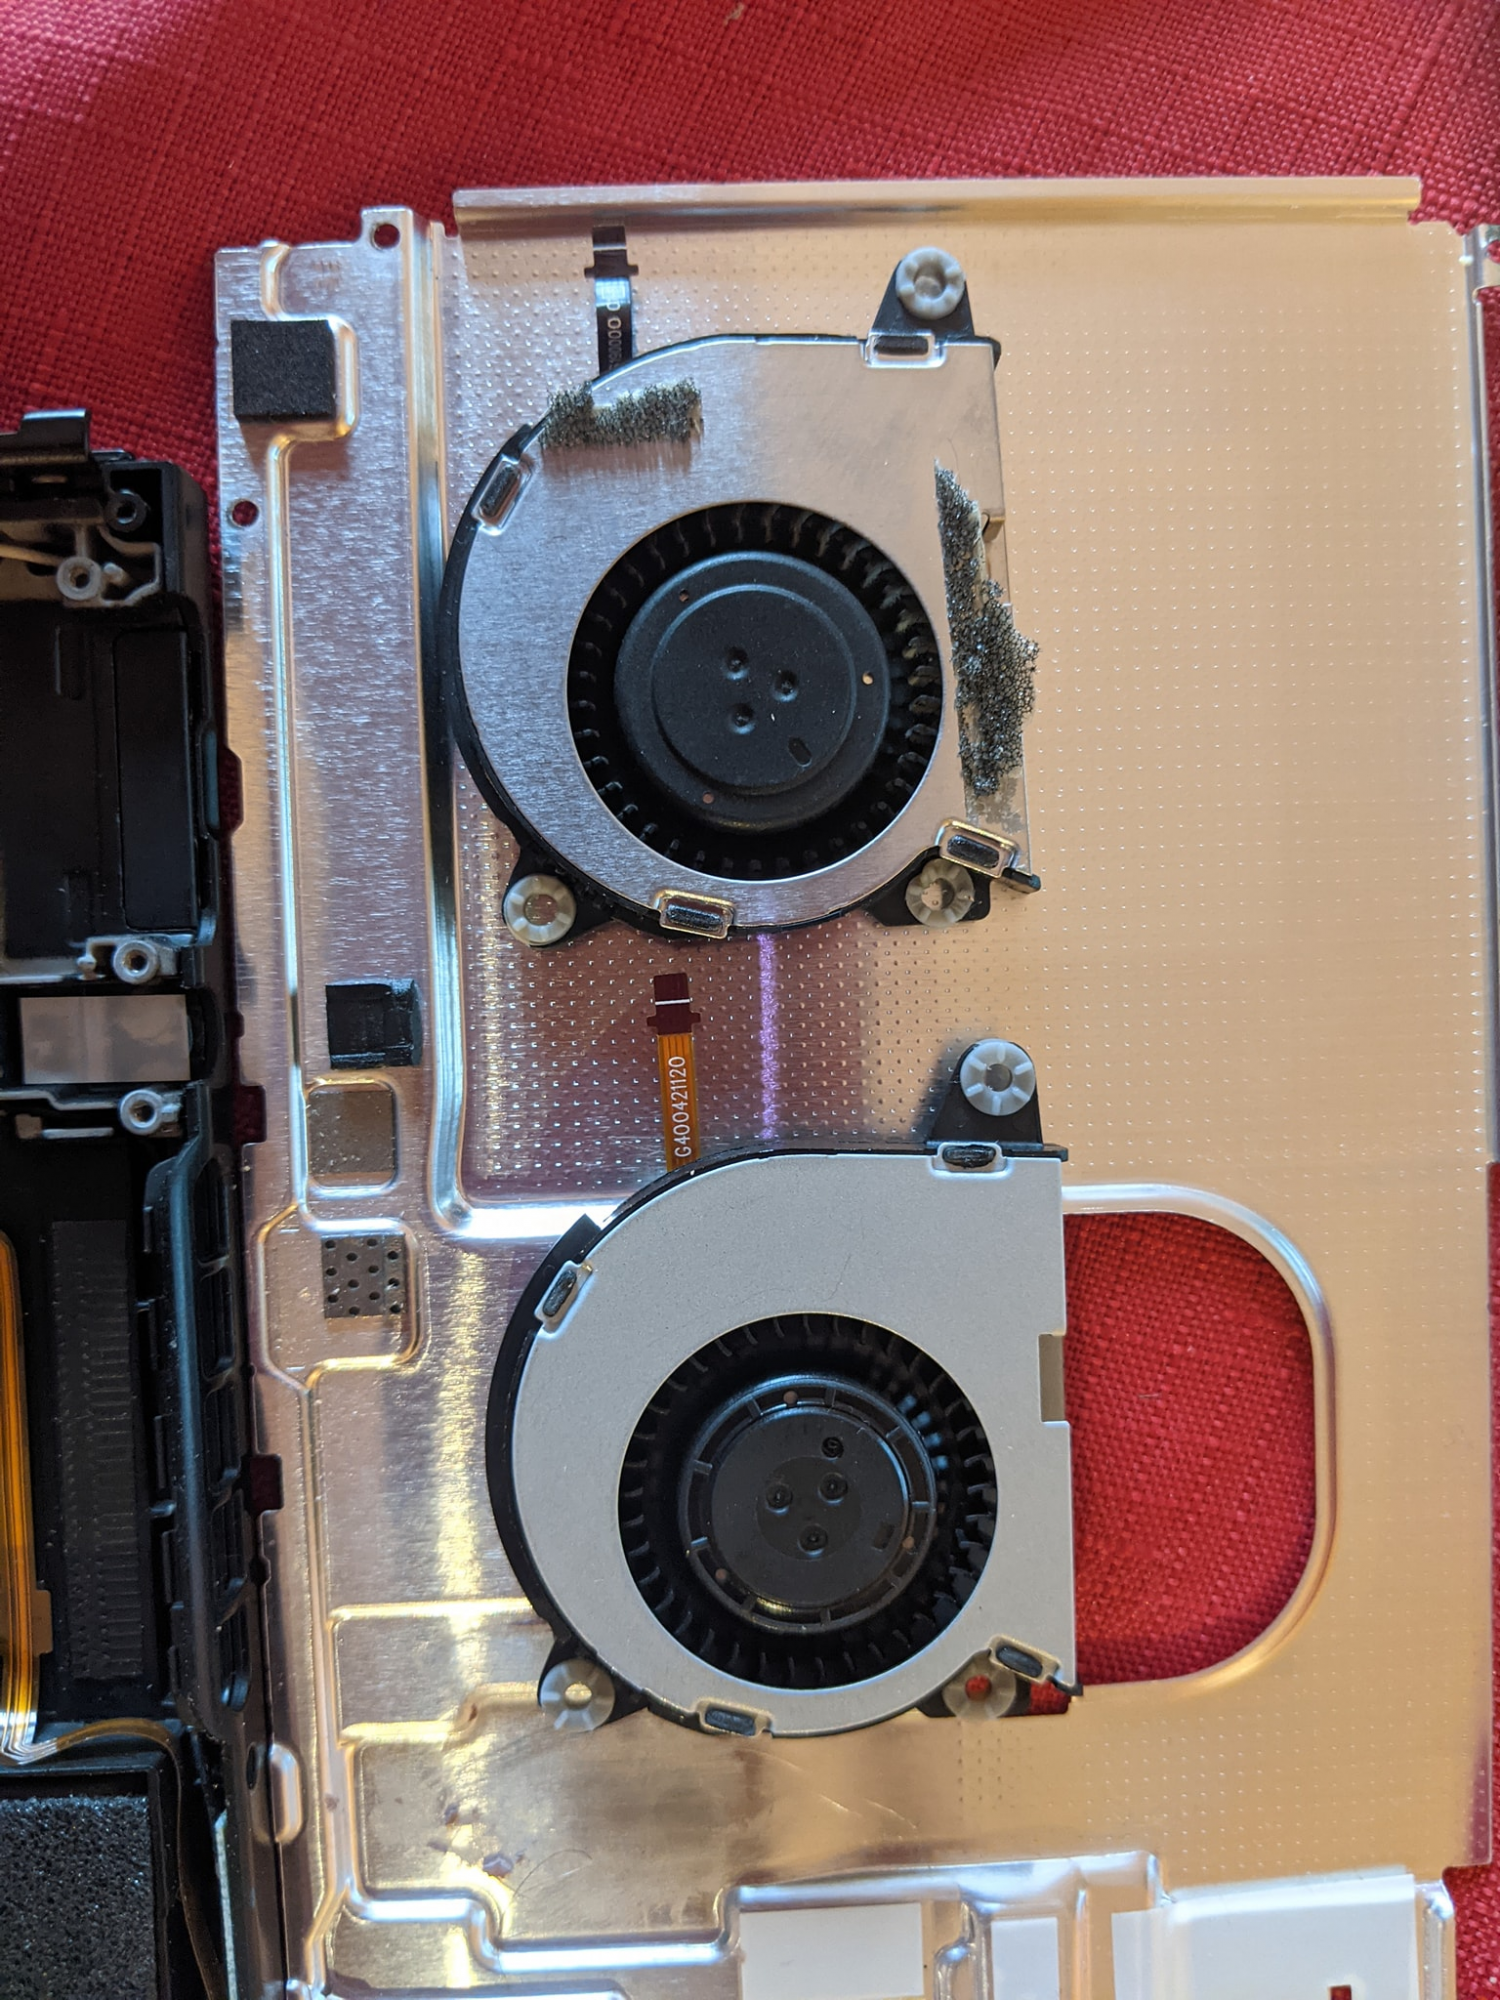
Old fan on tap, new fan on the bottom. Exact same size, different manufactures (Original was Delta, new one is Nidec). They claimed the new one is "cooler and quieter" but we'll see if that happens. Installation wasn't that bad.
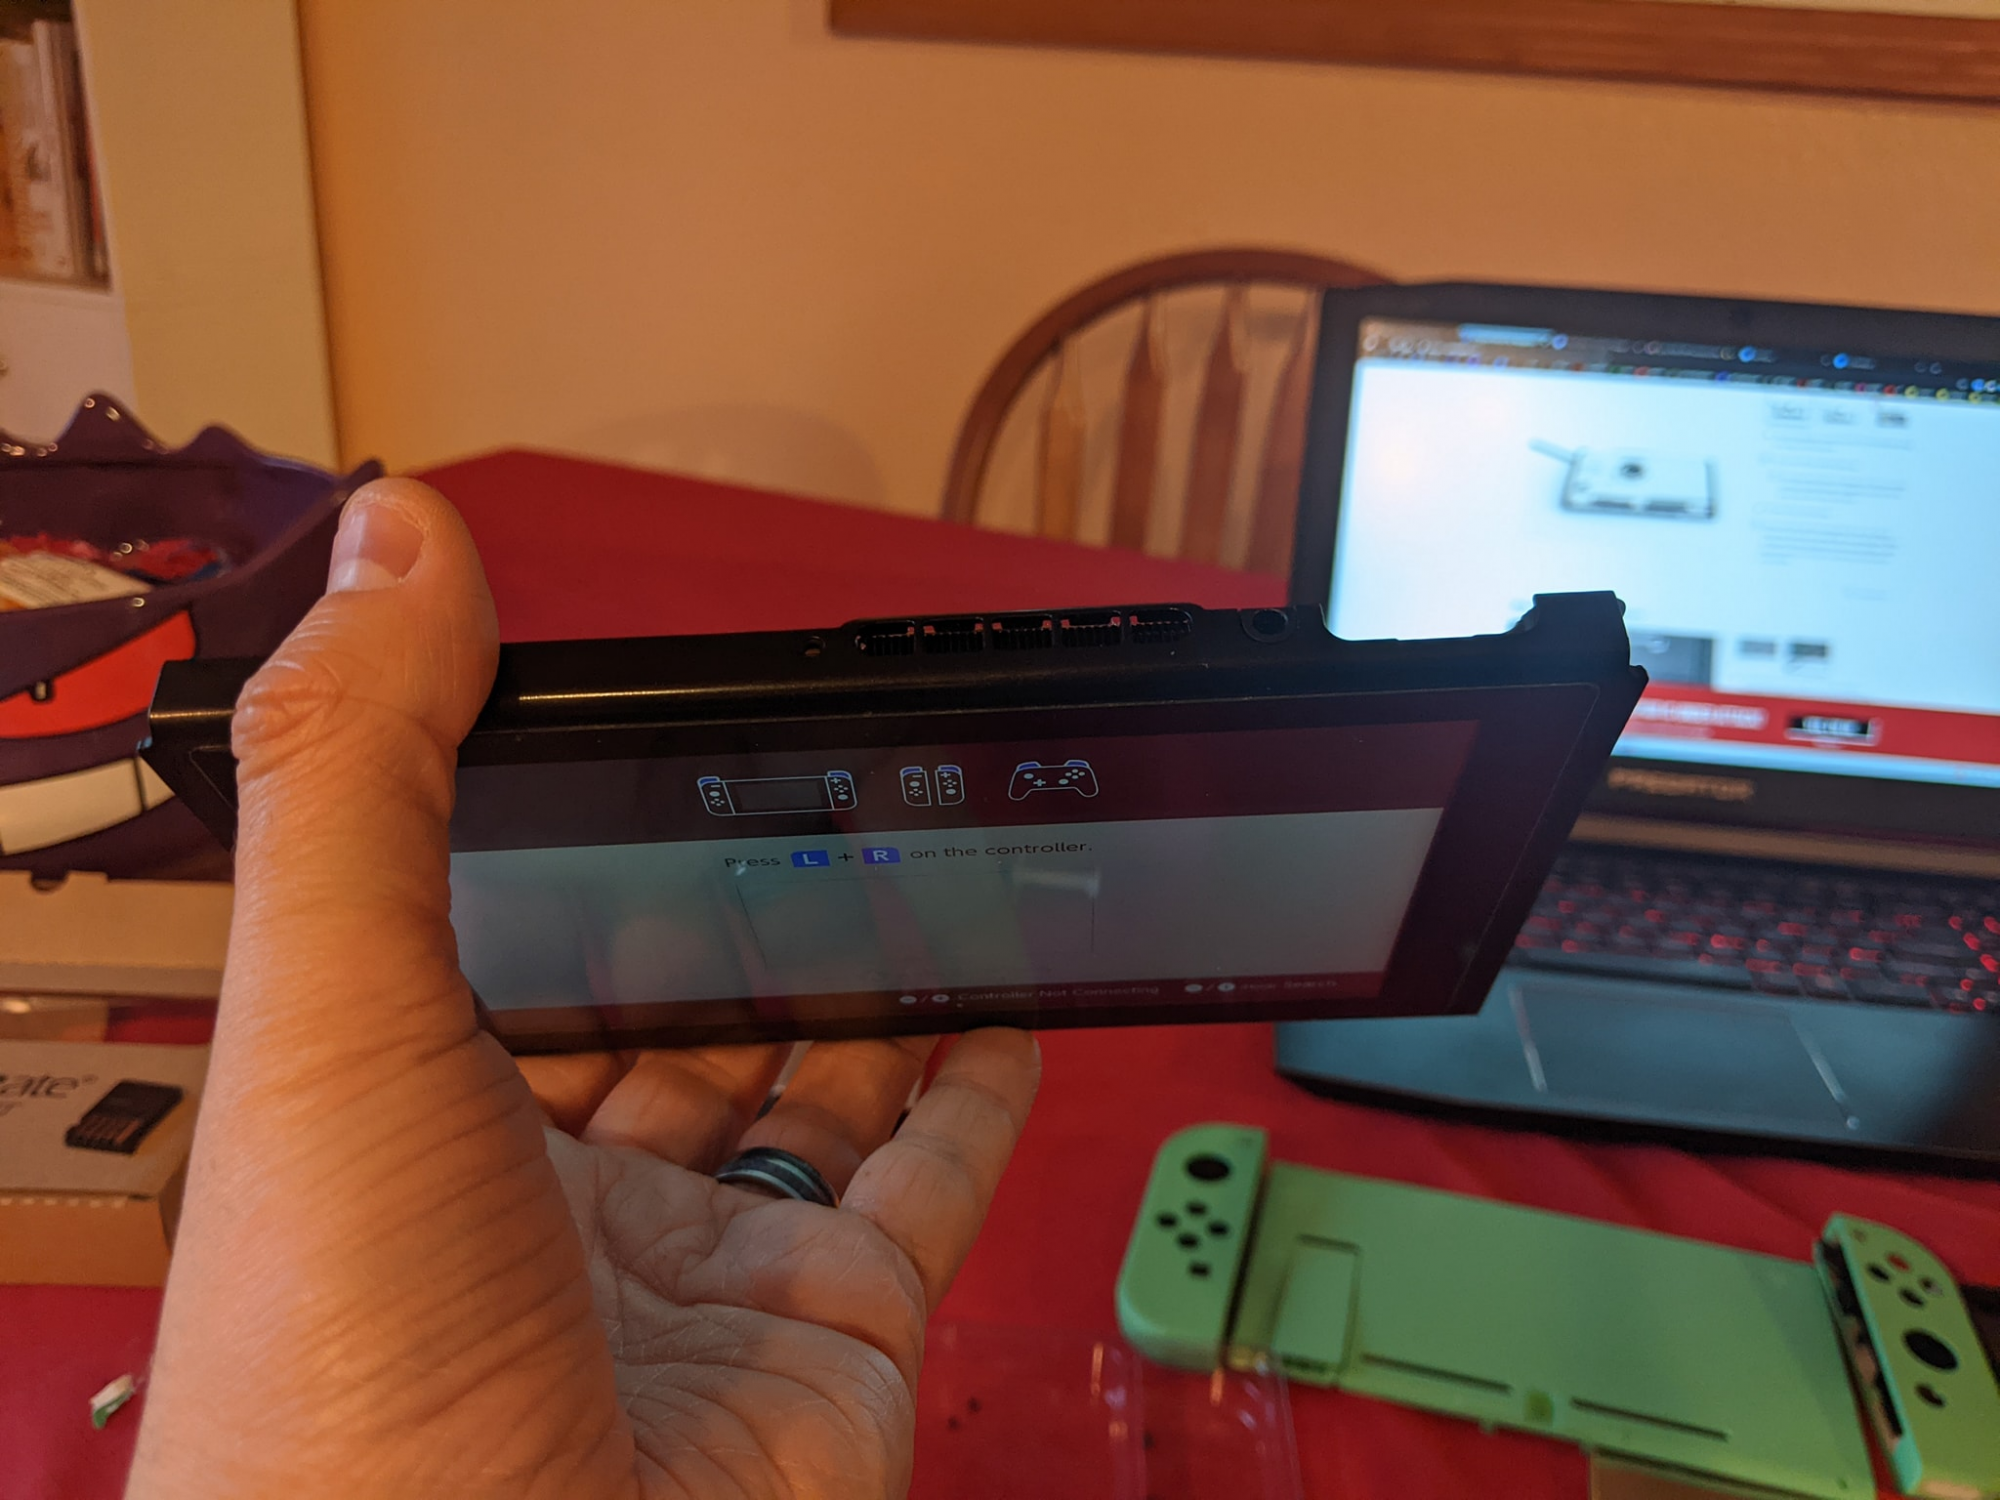
Testing to make sure everything works before I fully put it back together. It turns on! The fan spins! Sucess!
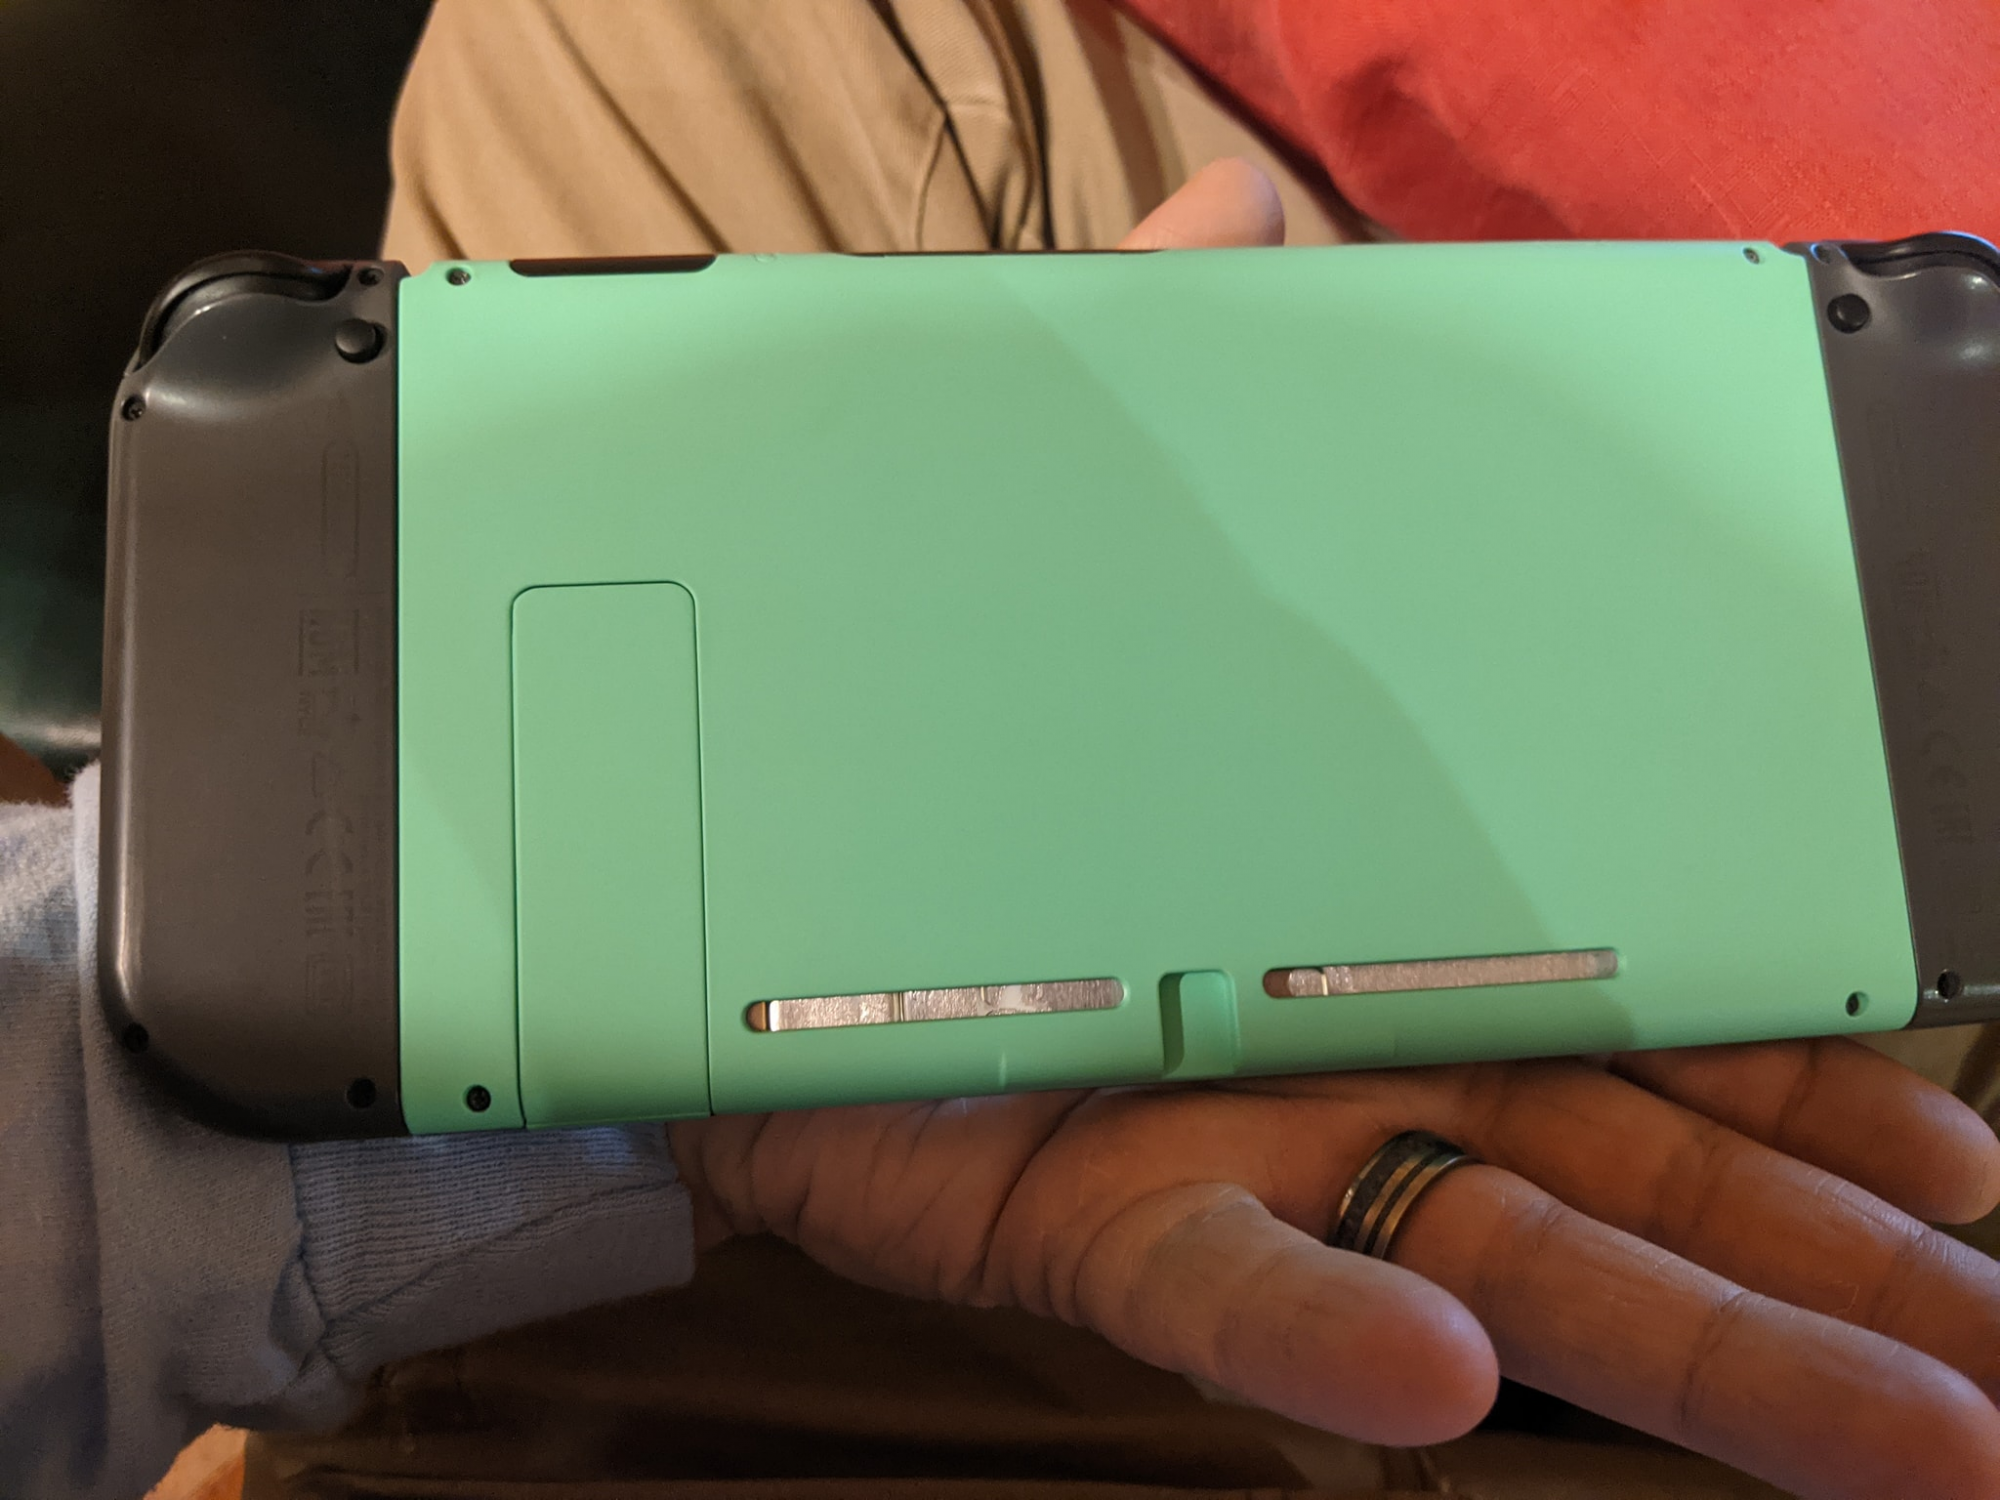
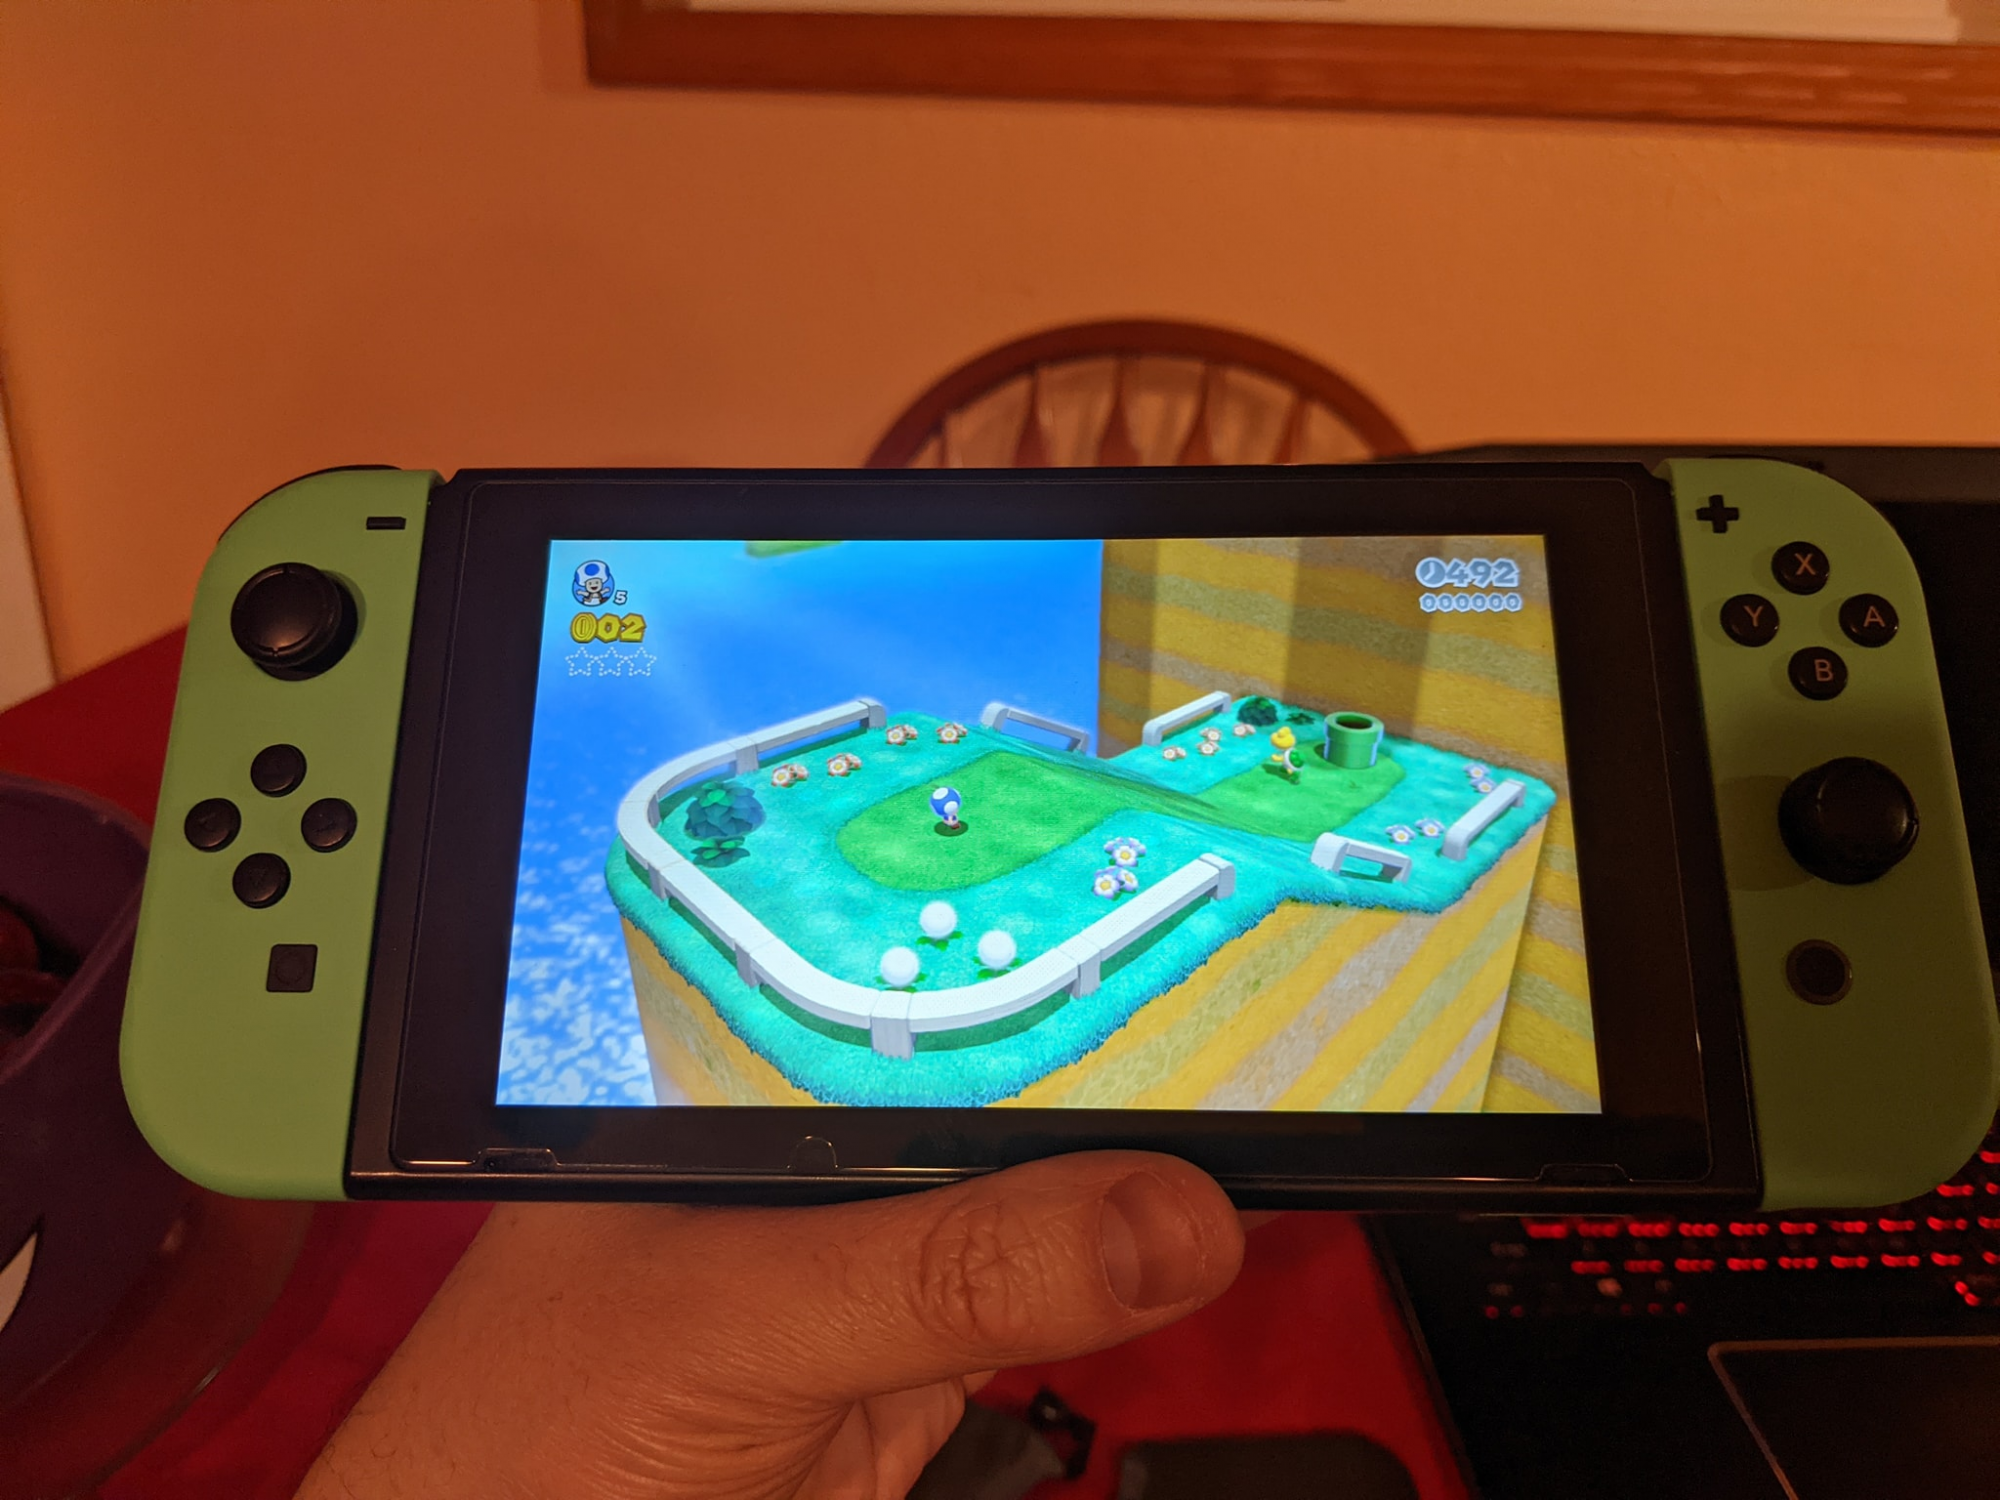
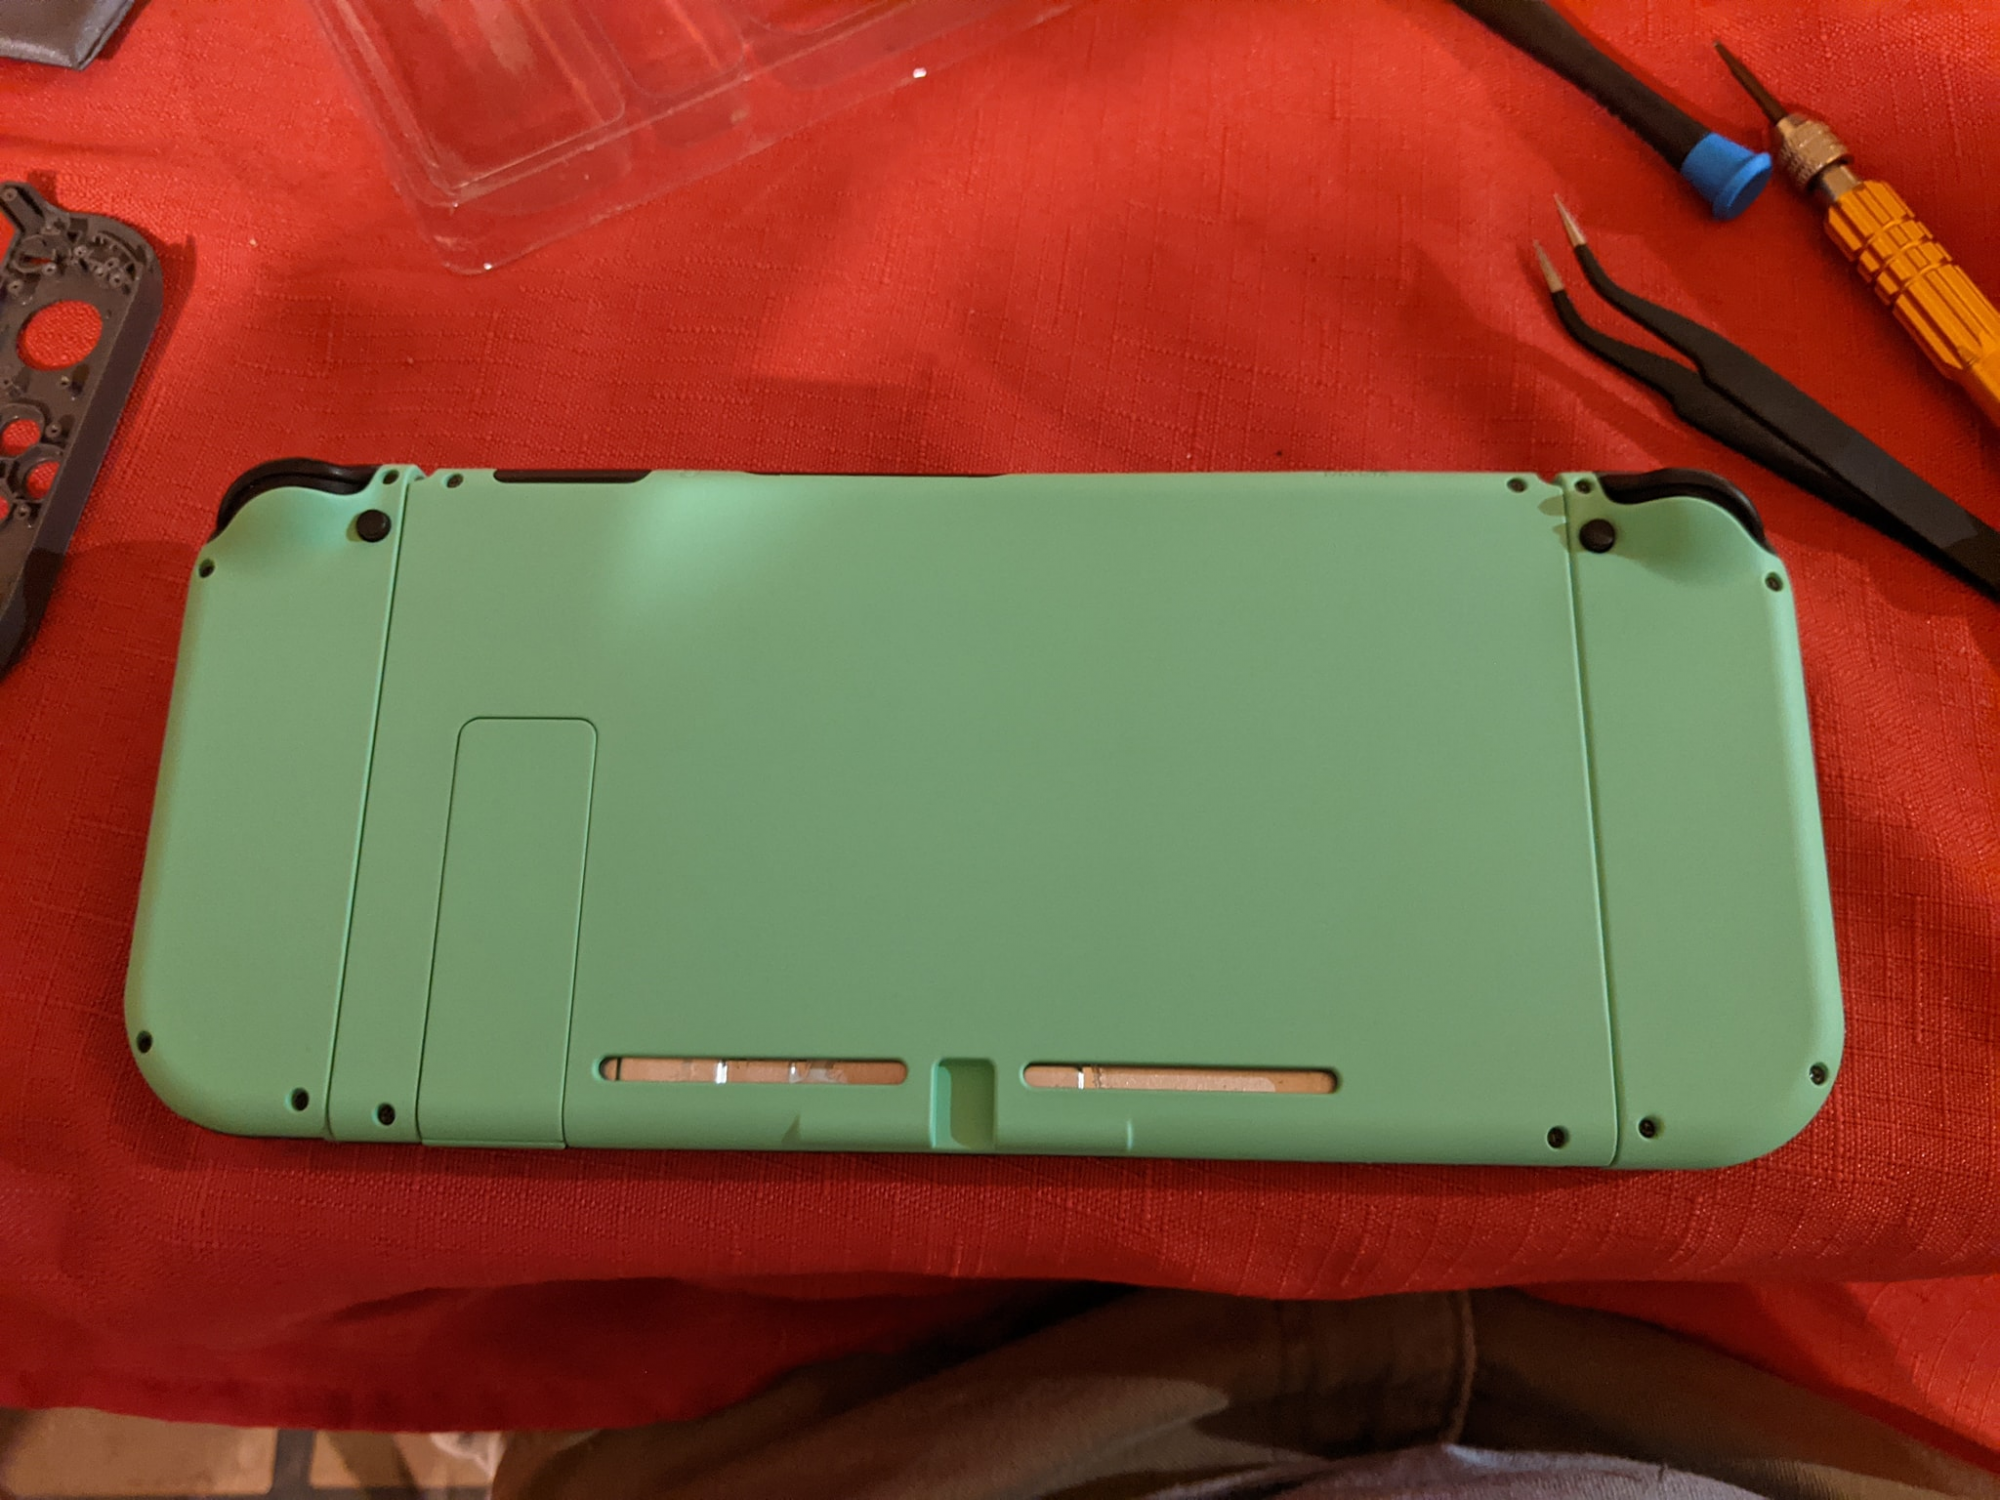
The new back shell! I was feeling pretty good at this point. I didn't bother installing the tiny, Unnecessary taped on fan grills, airflow matters! (it likely doesn't make a difference at all.)
I did have a large bit of frustration with the Micro-SD daughterboard connector. It just didn't want to snap in and it took me quite some time to finally get it connected correctly.
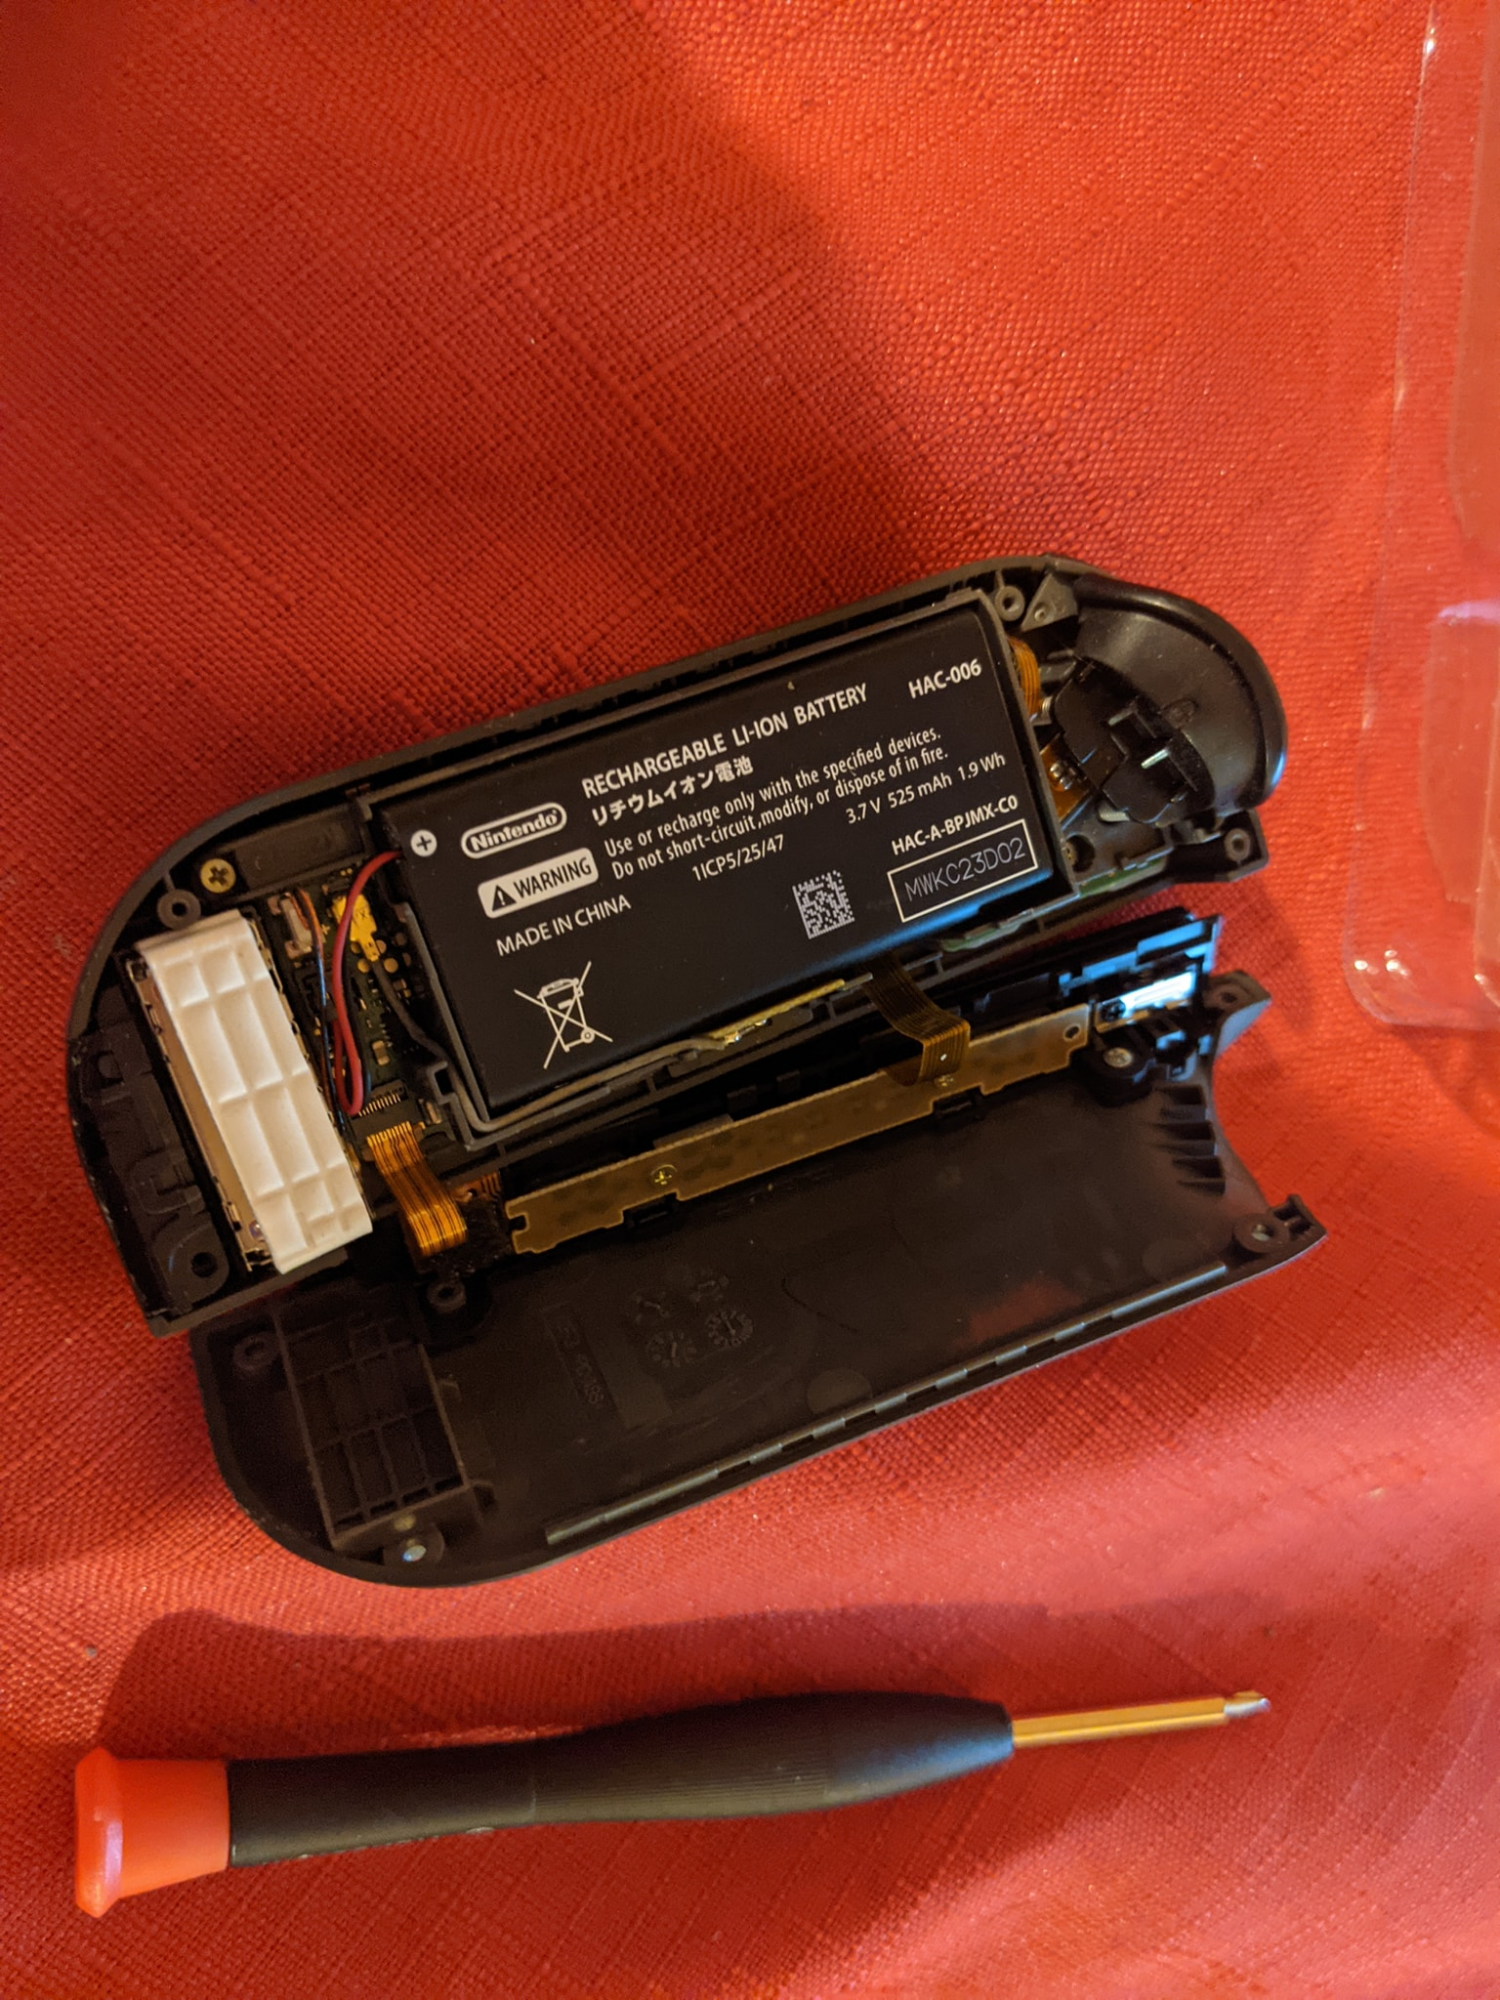
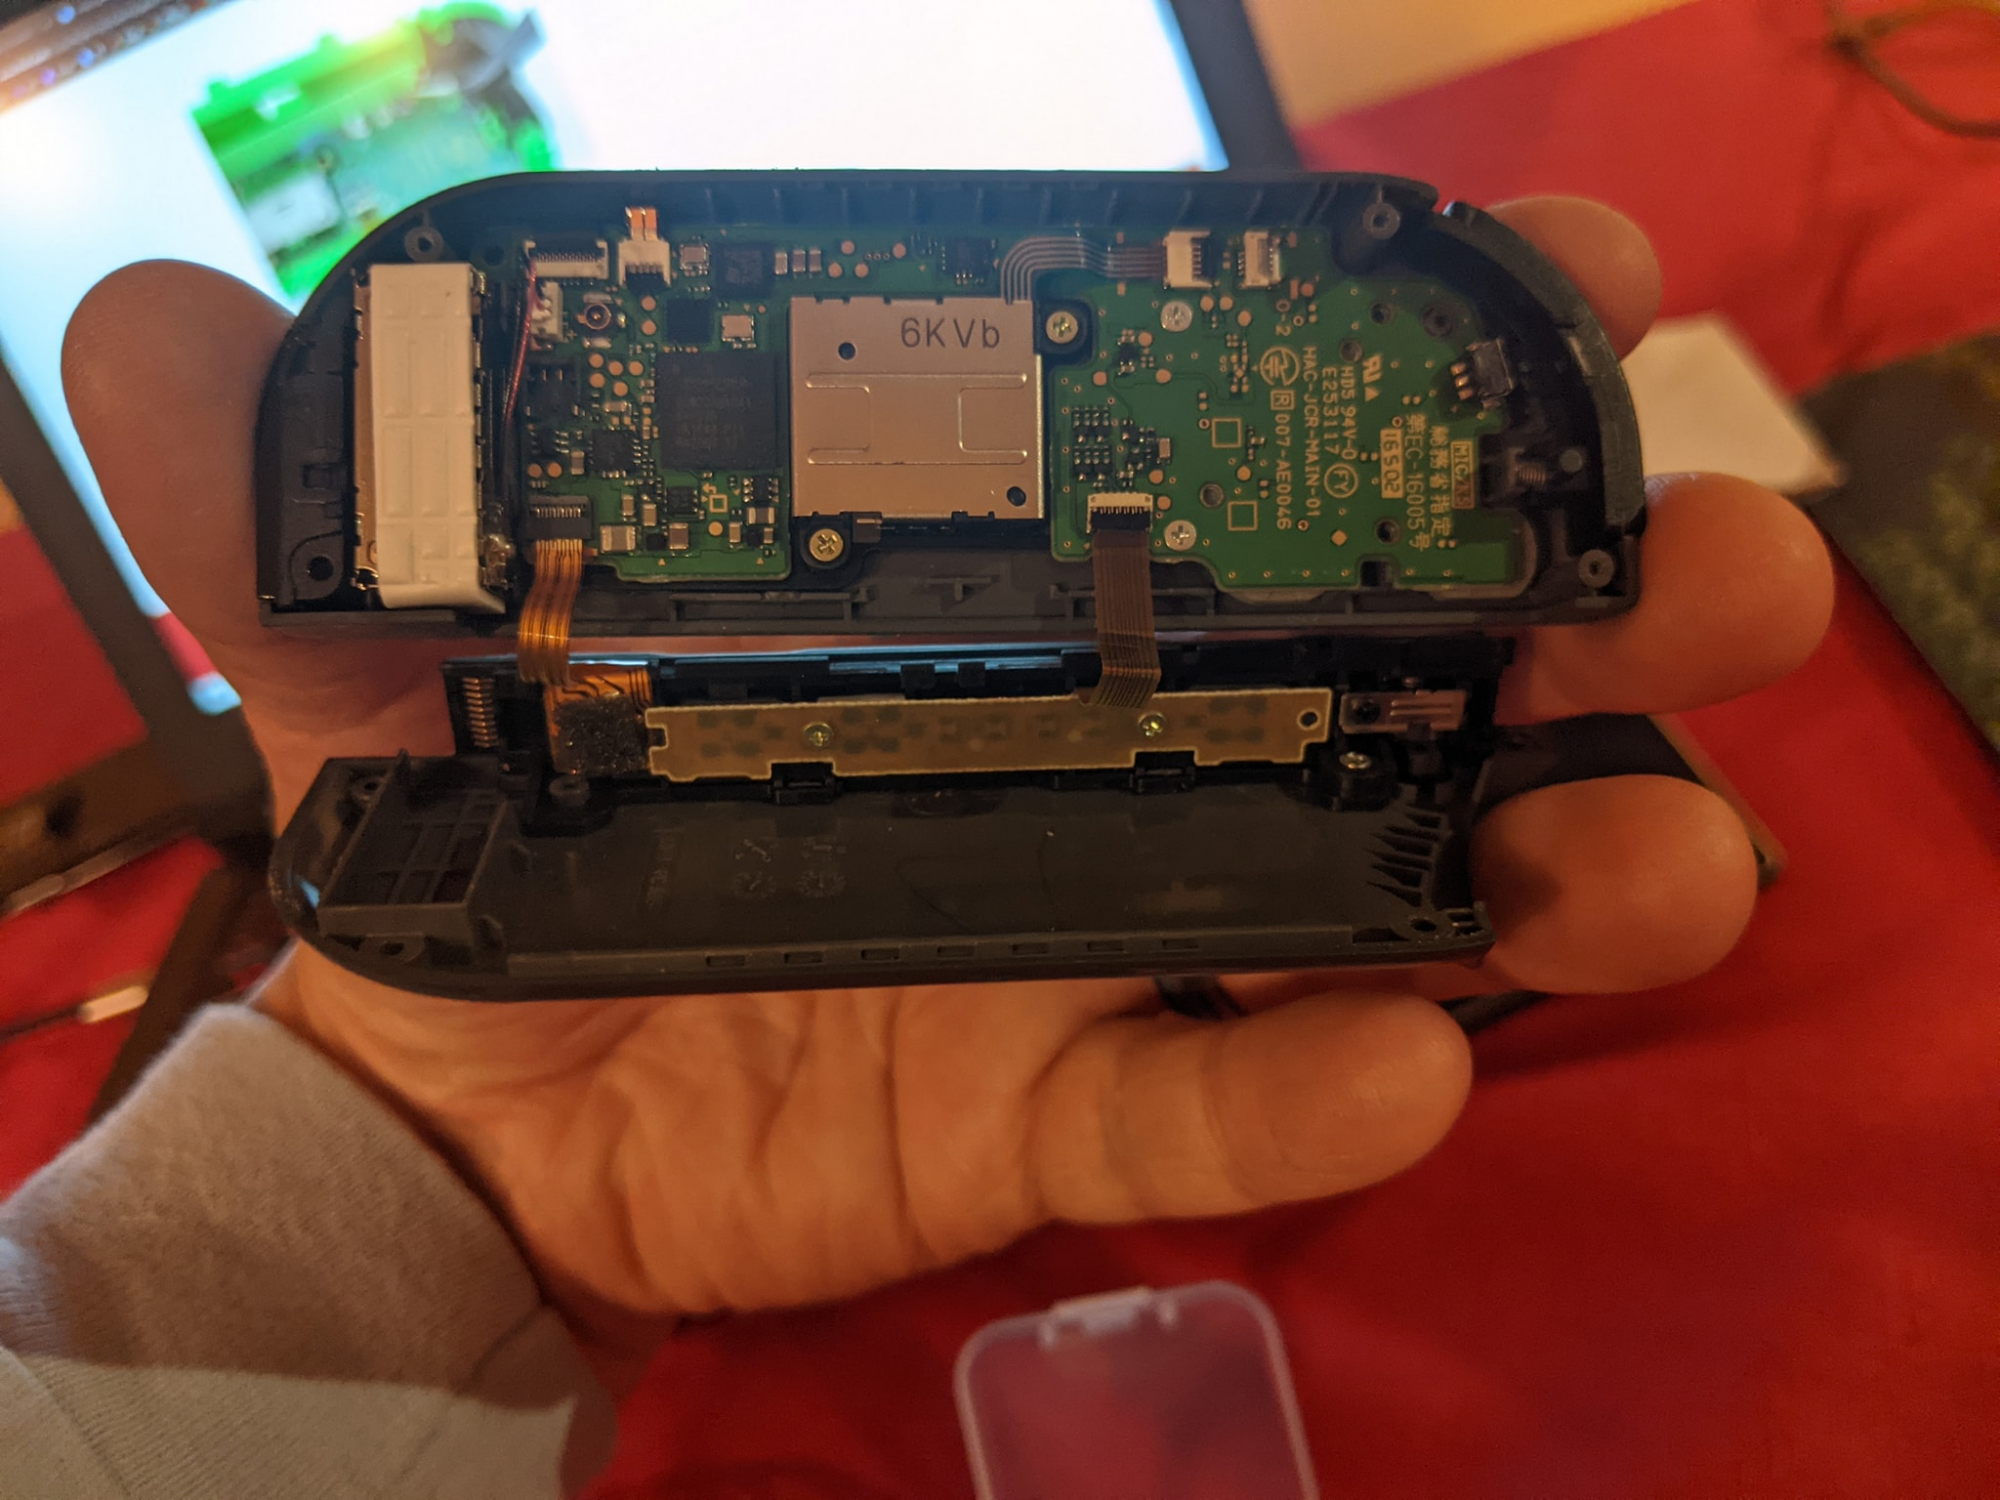
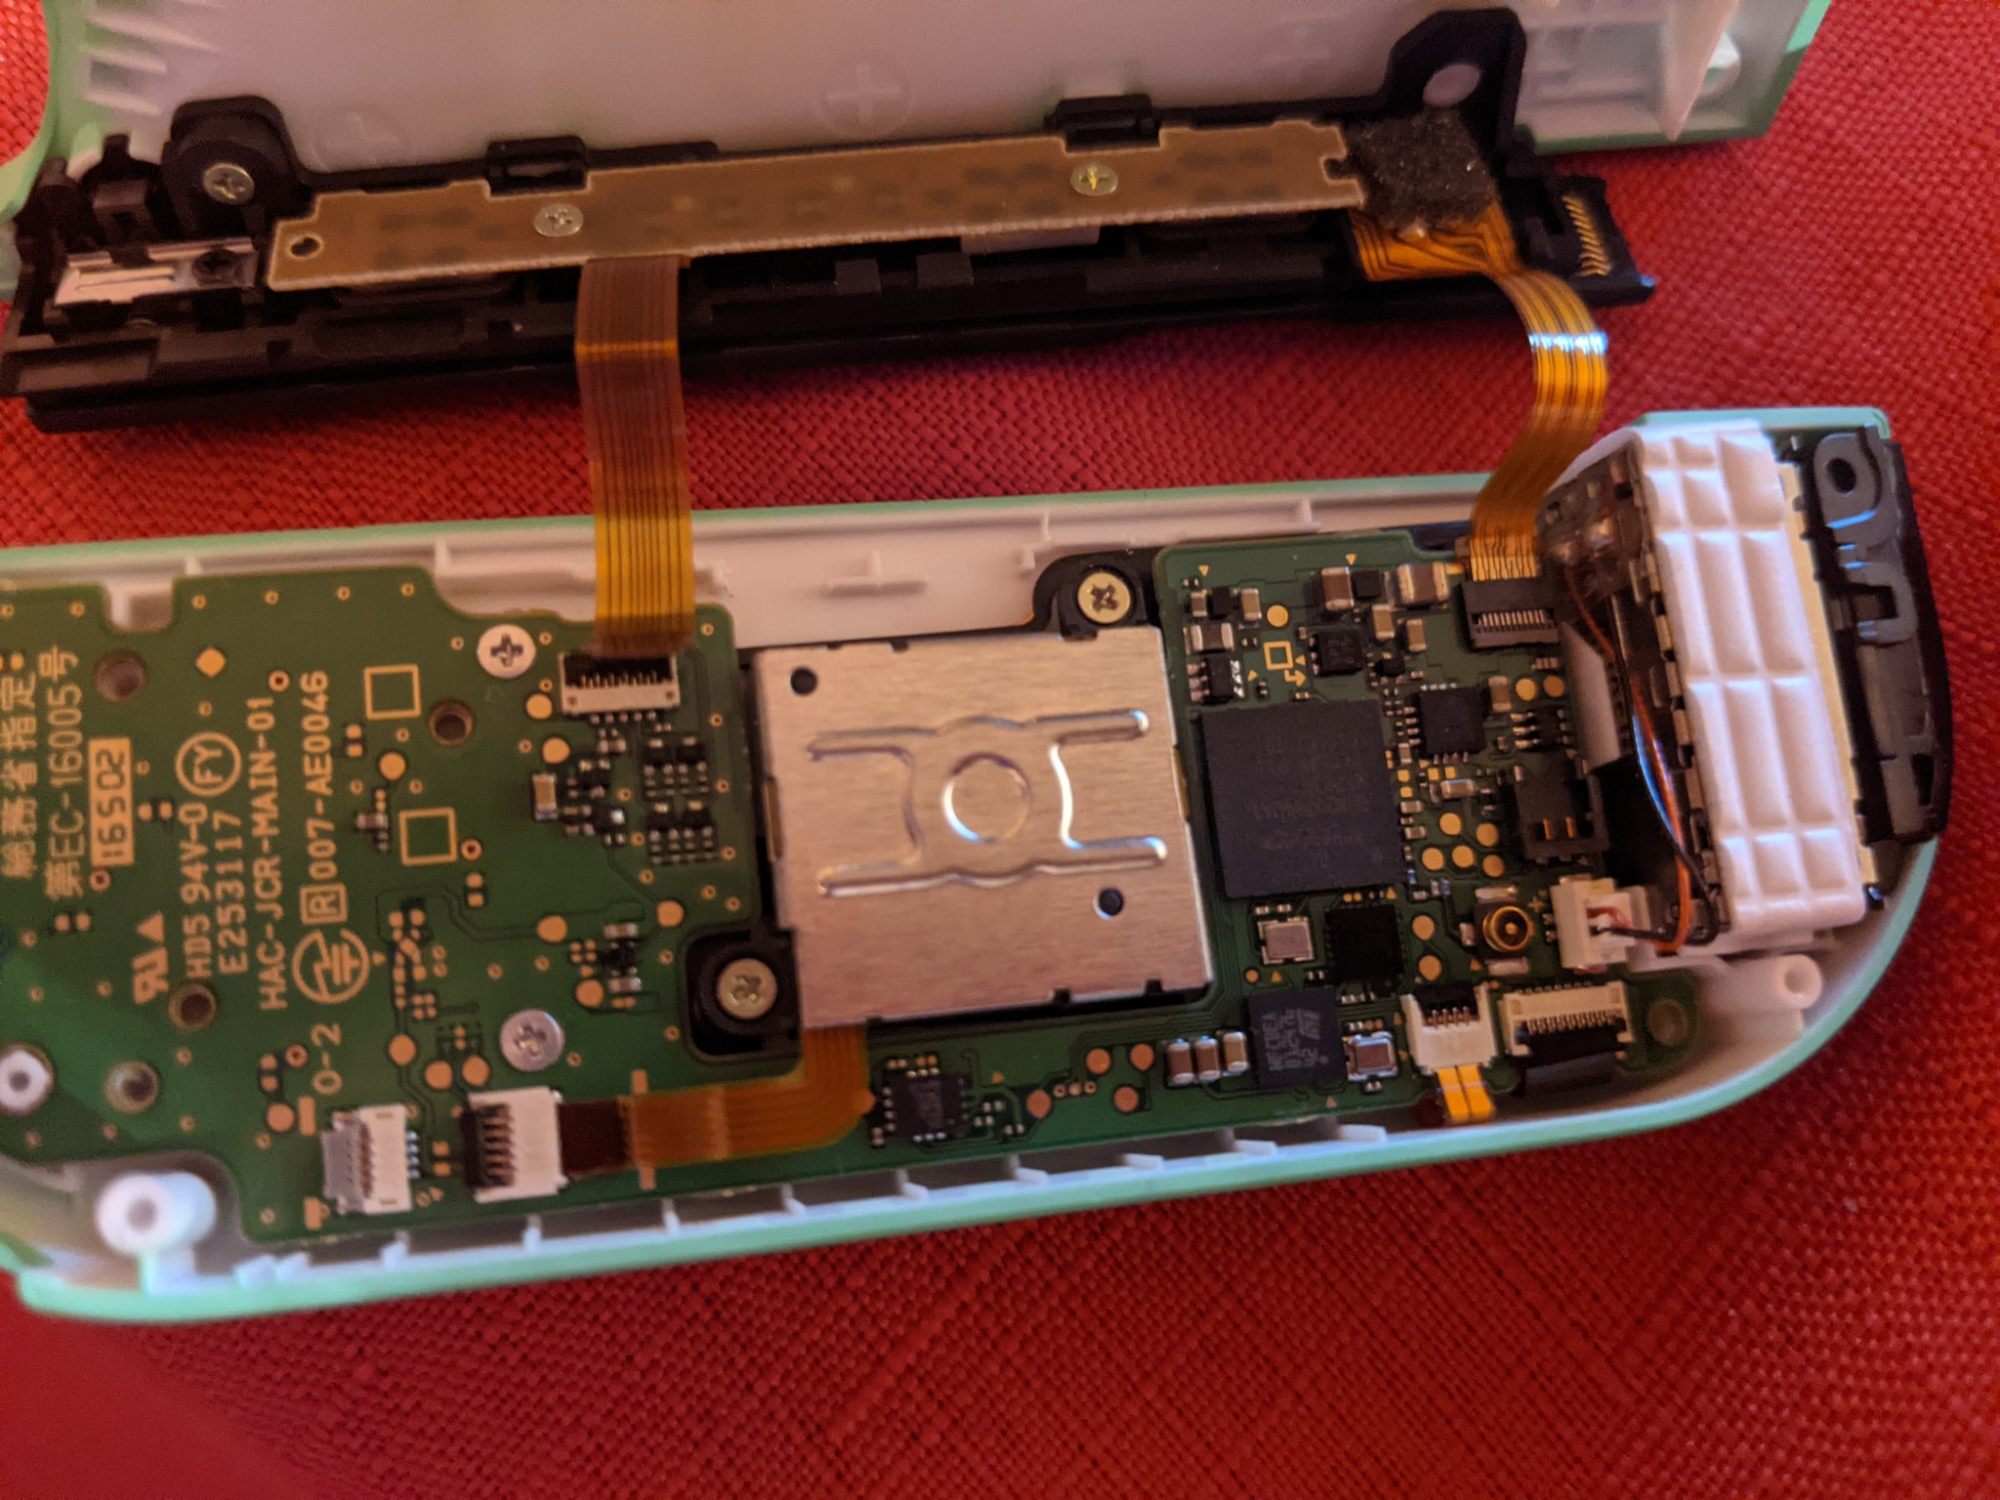
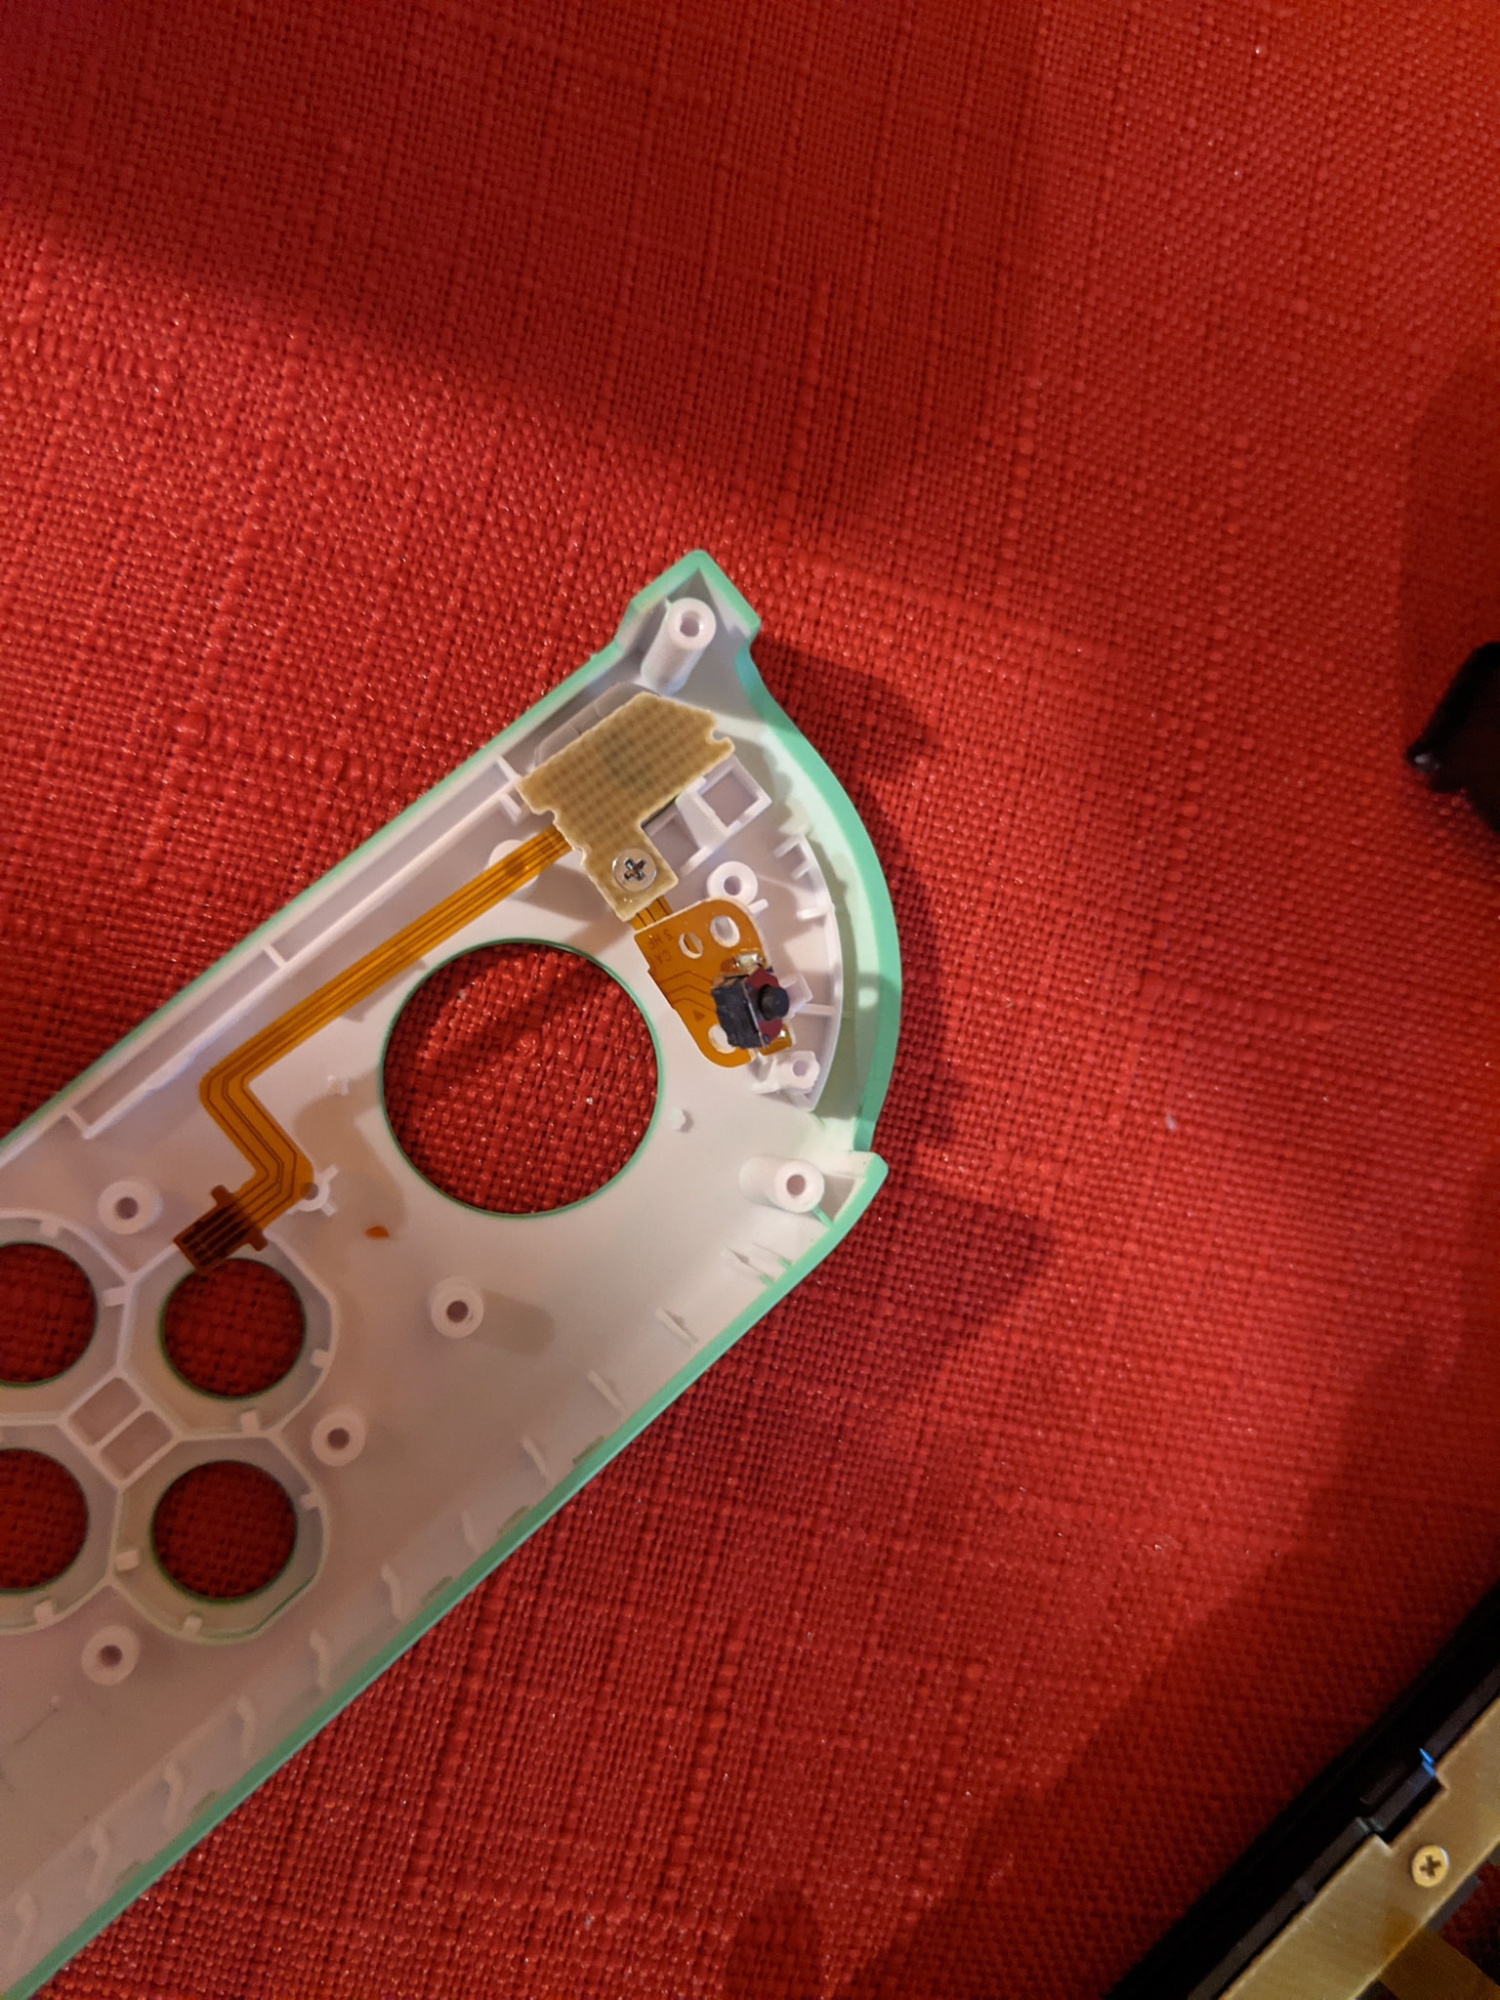
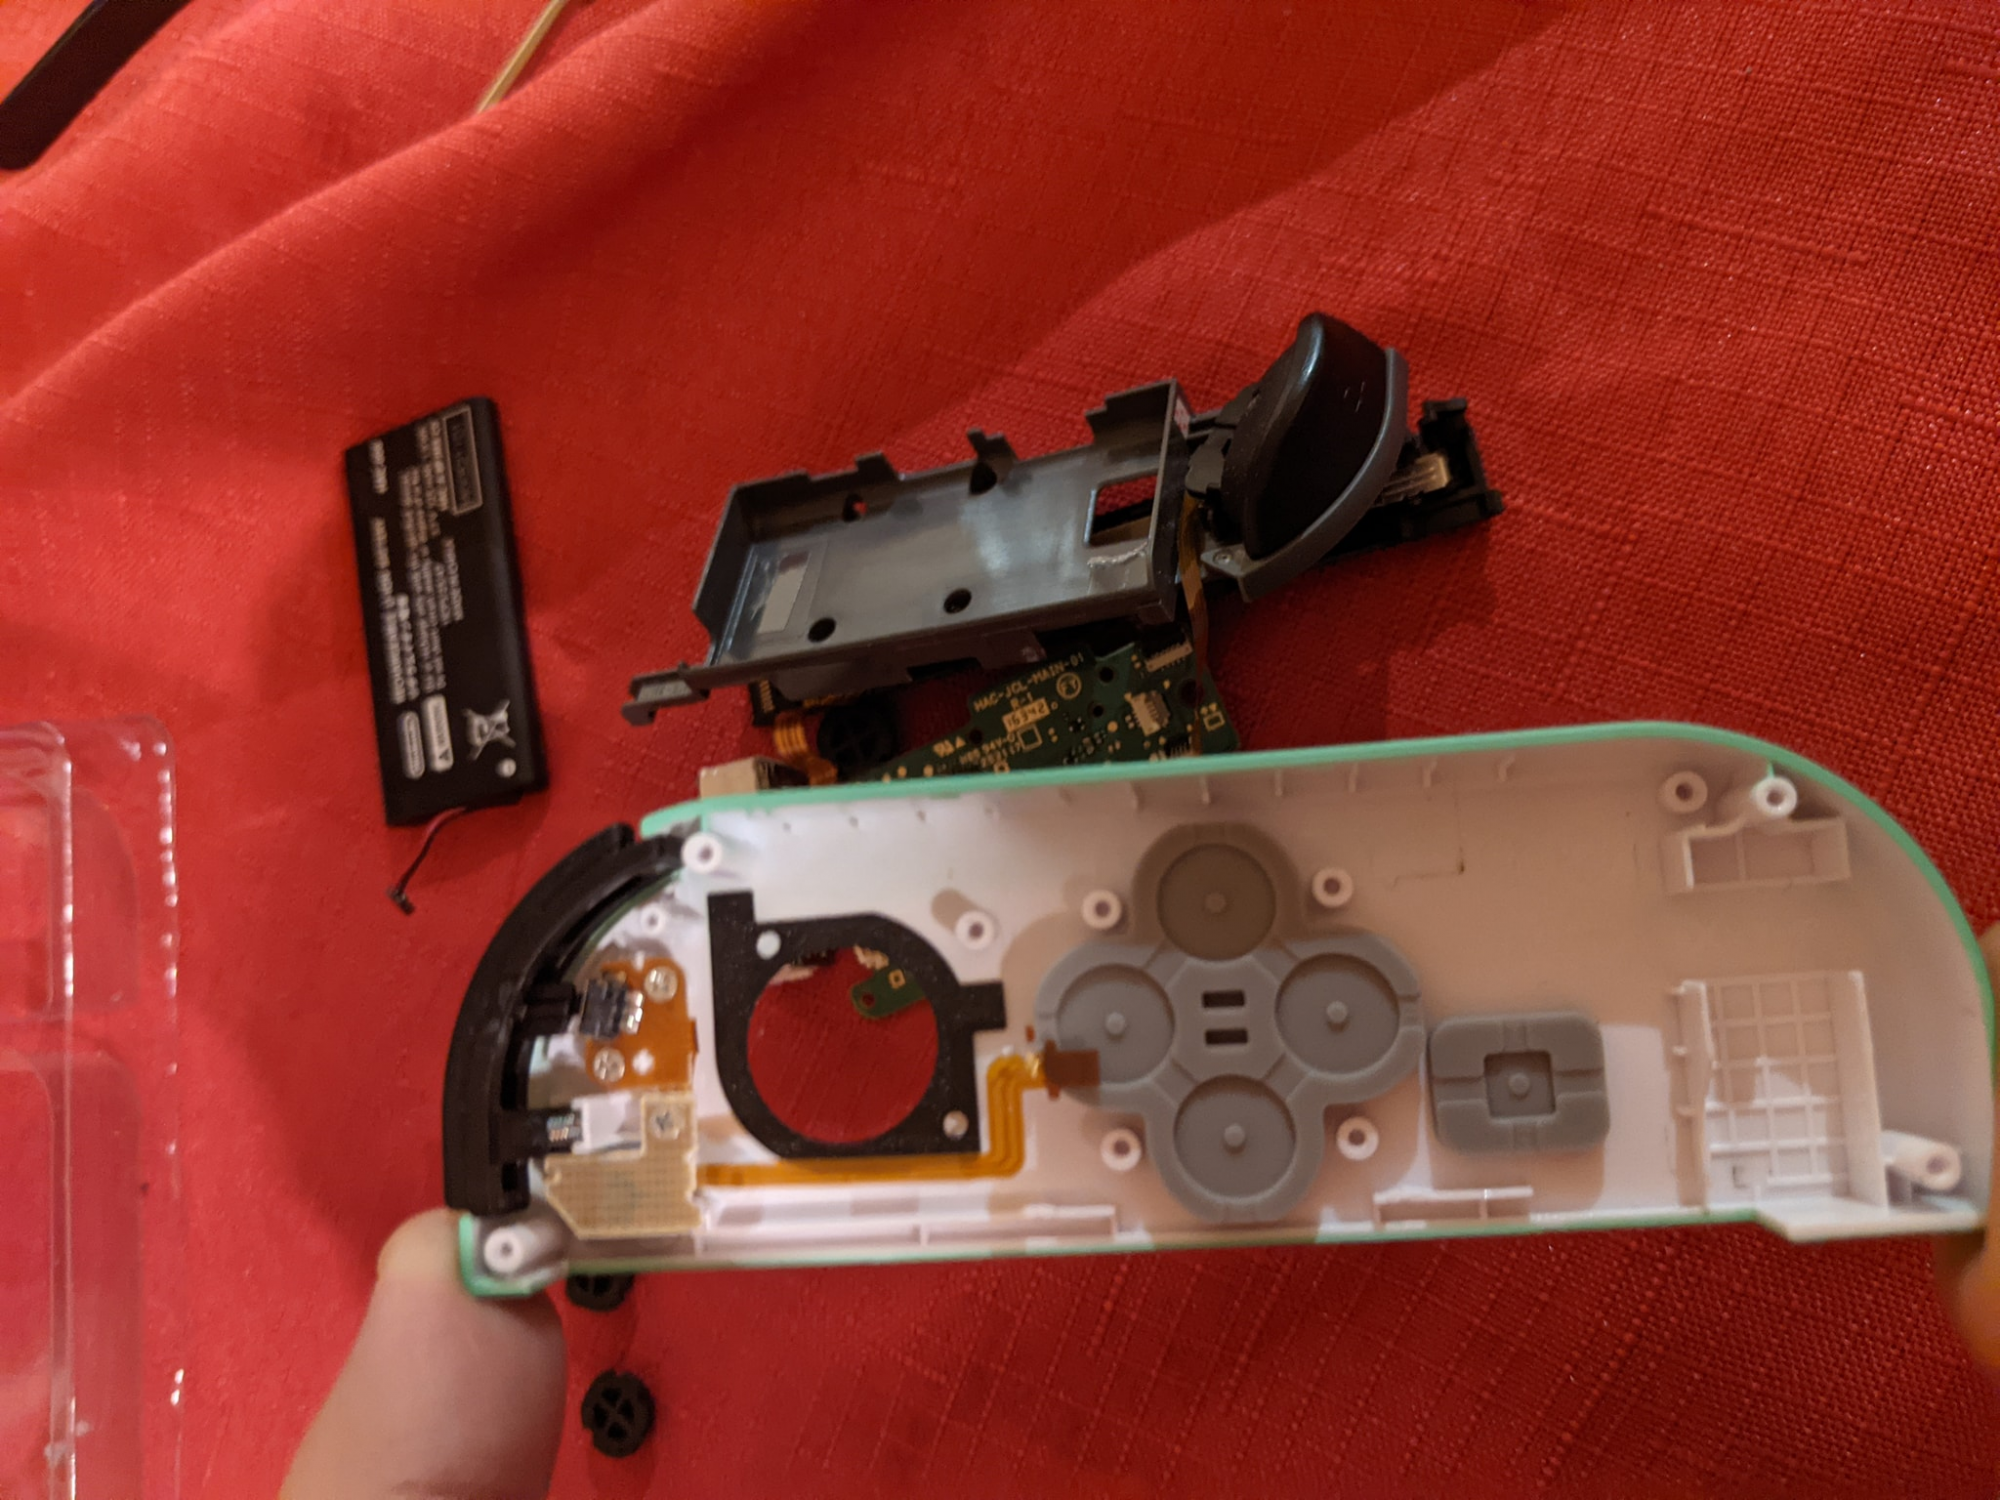
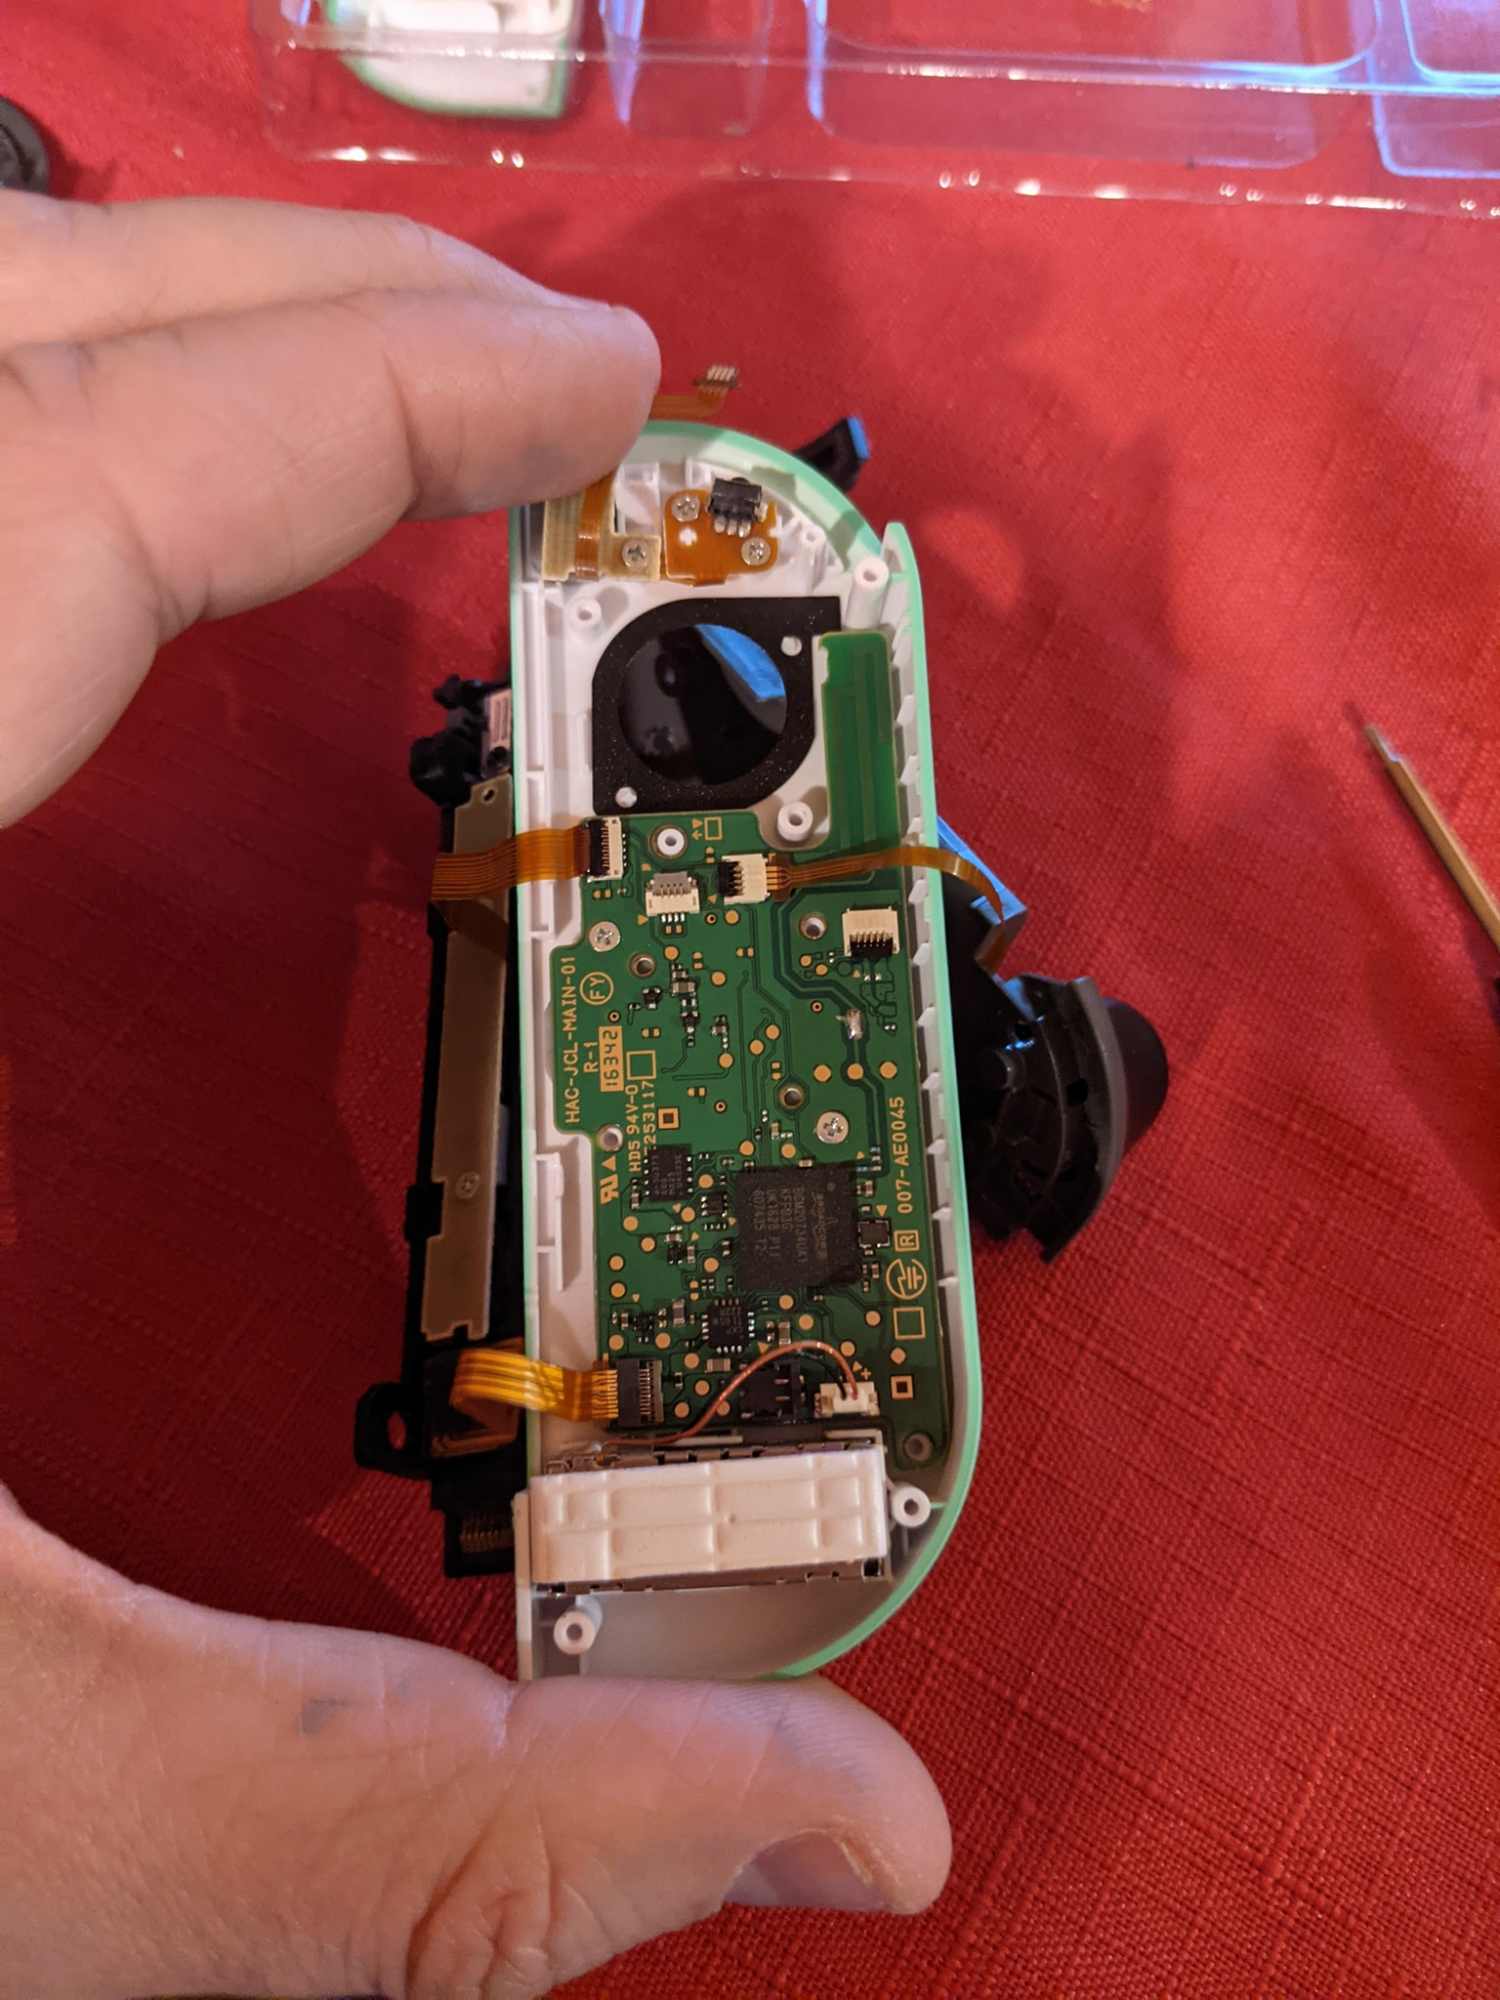
So, after this, I went to switch out the joycons....
My Switch was a launch switch and has seen thousands of hours of use.
About a week or two ago my switch started to sound like a jet engine going off, I knew it was time to replace the fan. I've been expecting this for a while so I already looked at some tutorials.
One thing lead to another...
1: I need a new fan.
Well... if I need a new fan, I should probably get a new switch backplate because mine has a crack.
...if I get a new backplate, Why not get a colored one?
...If I'm gonna get a colored backplate, maybe I should get colored joycons that match!
...If I'm gonna get joycon shell replacements, maybe I should replace my joysticks that have a little bit of drift.
So here we are.

My switch! When Sword/Shield came out I decided to put those stickers on my joycons, mostly to cover up all the grease shine that had accumulated on them. They've been holding out ok.
You can see the new shell to the left, the new fan to the right, and the replacement joycons above.

The crack in the corner of my swich, its been there for years but I do expect that it probably lead to more pressure onto the fan, part of the reason for its noise these days.

The back removed, this is basically just one bit sheet of metal that is likely mostly for rigidity but also potentially for heat distribution.

I was surprised that they bothered to put thermal paste above the heatsink, connecting it to the metal plate. All the thermal paste in this thing was dry and cracking, not a surprise at all at this point.

This is the entire switch heatsink. That tiny, wafer thin heatpipe and not even enough fins to cool an NVME. Crazy. I didn't have the guts to remove the metal plate that hides the processor, but i'm sure its down there. I cleaned up all the dried thermal goop and replaced it with Noctua NT-H2 as I still had some left.

Old fan on tap, new fan on the bottom. Exact same size, different manufactures (Original was Delta, new one is Nidec). They claimed the new one is "cooler and quieter" but we'll see if that happens. Installation wasn't that bad.

Testing to make sure everything works before I fully put it back together. It turns on! The fan spins! Sucess!

The new back shell! I was feeling pretty good at this point. I didn't bother installing the tiny, Unnecessary taped on fan grills, airflow matters! (it likely doesn't make a difference at all.)
I did have a large bit of frustration with the Micro-SD daughterboard connector. It just didn't want to snap in and it took me quite some time to finally get it connected correctly.
So, after this, I went to switch out the joycons....
Last edited:
![[H]ard|Forum](/styles/hardforum/xenforo/logo_dark.png)
