Mod in a Week // "APASF: CP London Edition" (Update: 1st Day Completed)

Luciel

Limp Gawd
Joined
May 31, 2011
Messages
191
Hi Everyone,

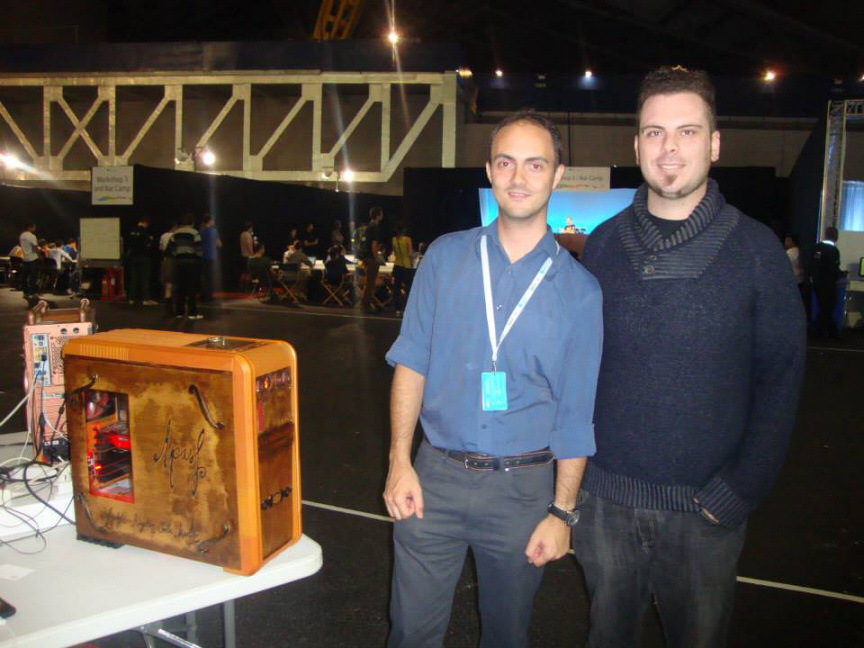
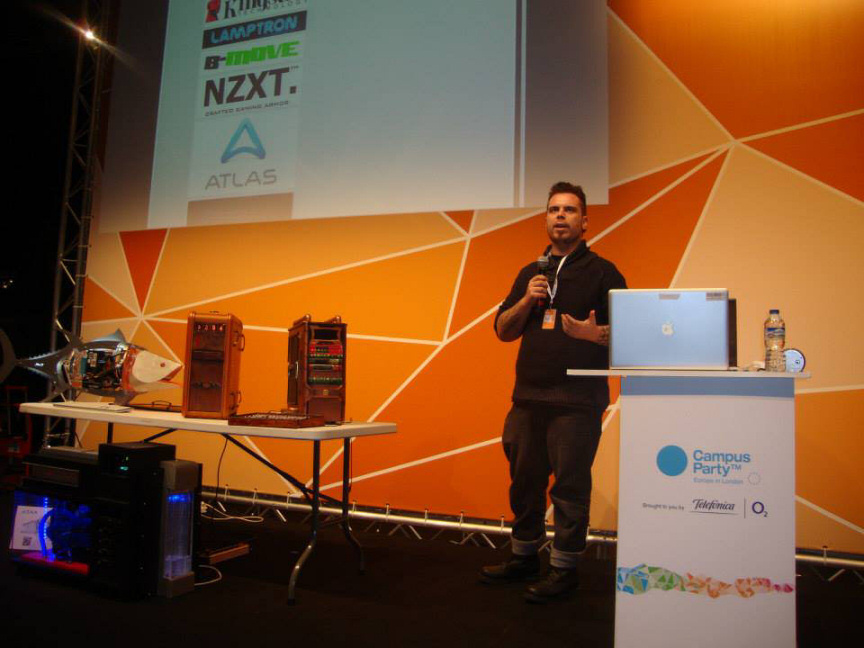
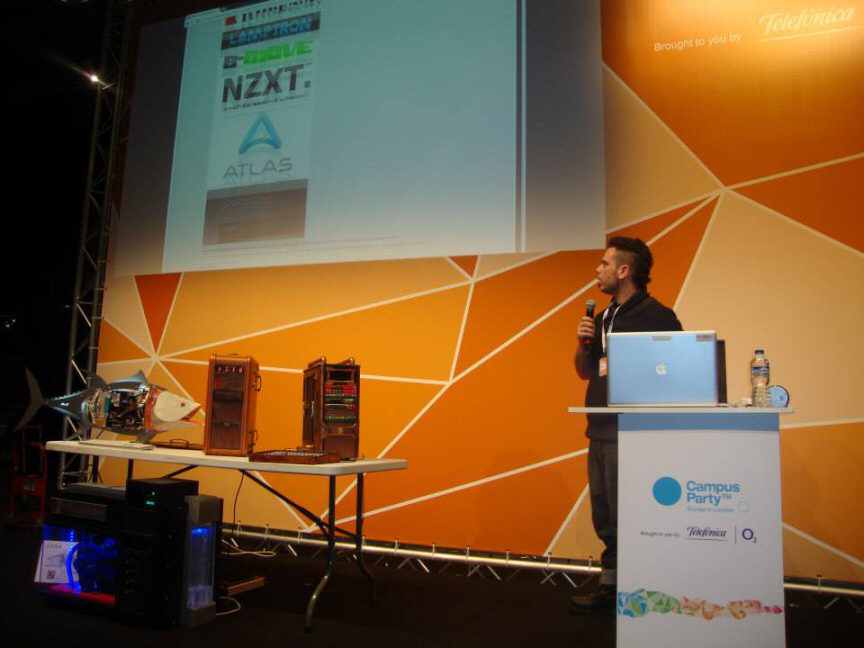
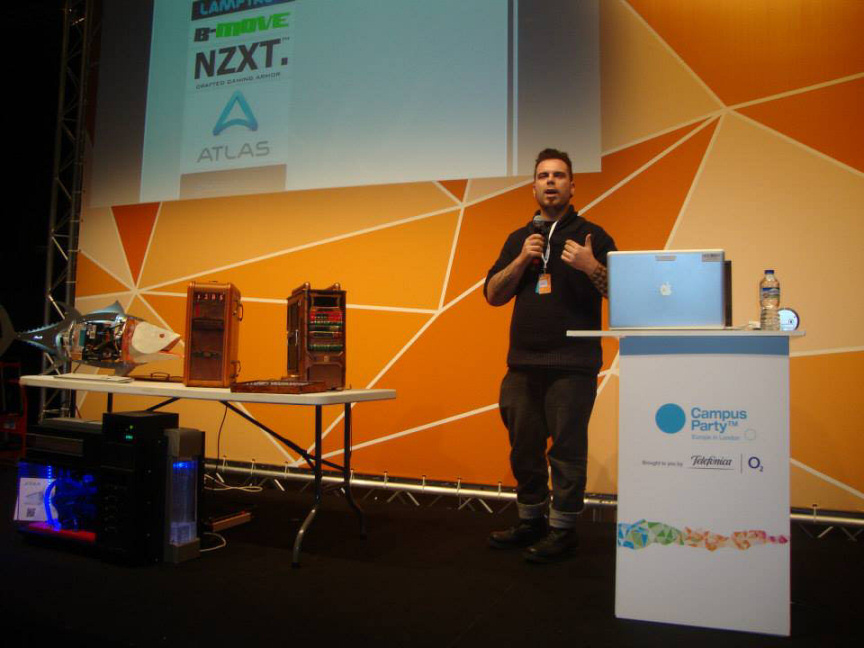
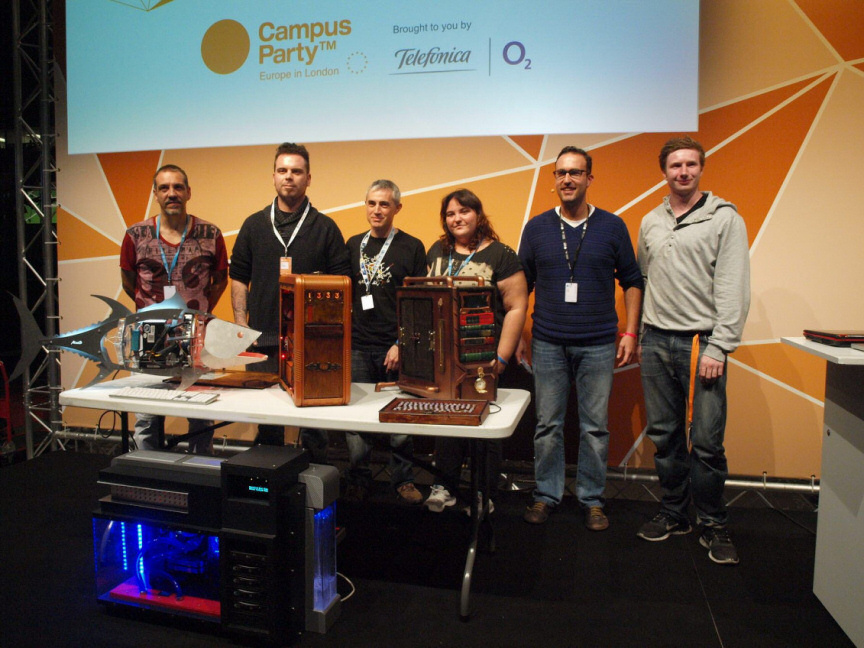
So I have a few projects in the cooking stages which I mostly work on when I get time to do so. That said, I will be going to the Campus Party Europe 2013 in the O2 Arena in London and I haven´t made a mod in a week project since Fallout Cause SP back at the end of 2011. I´ve just come out of an awfull illness based weekend and 7 days from now I´ll be flying to the UK to the campus, to give a couple of speeches, do some work at the modding workshop and generally have a great time and hopefully meet a bunch of you.

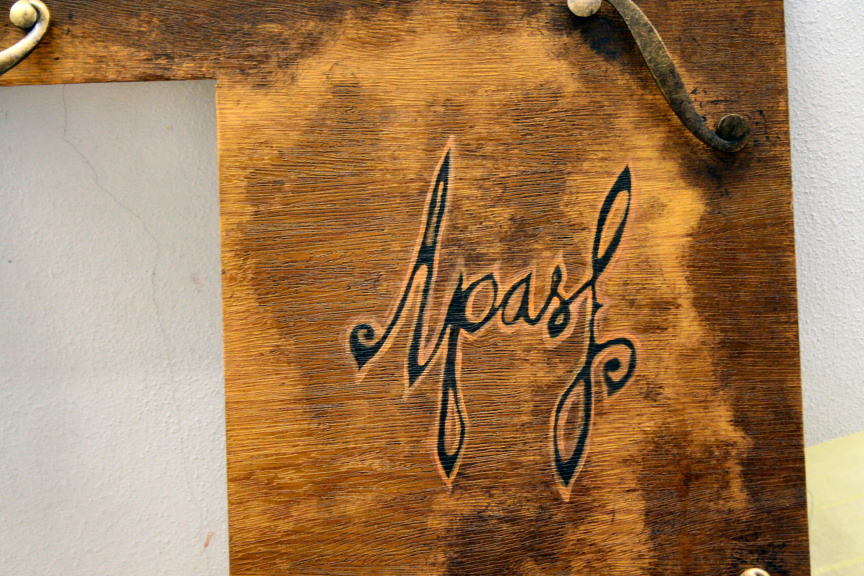
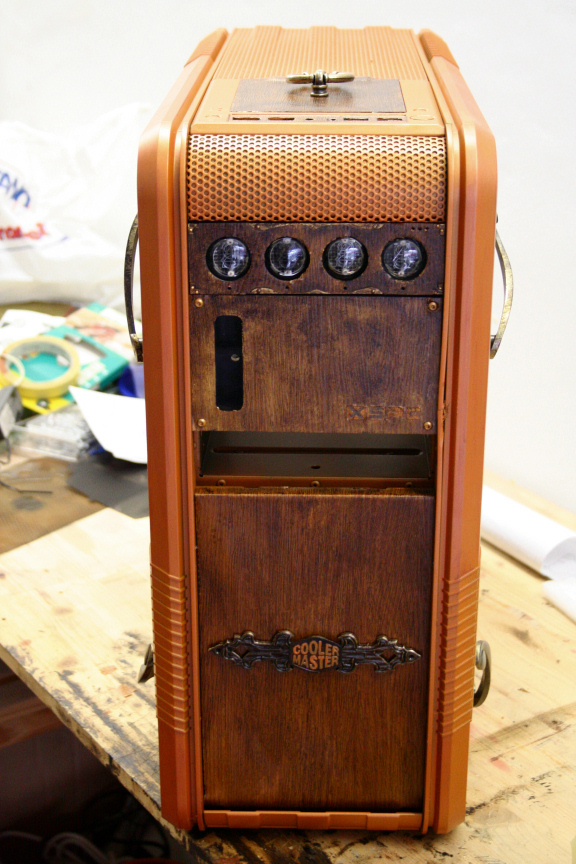
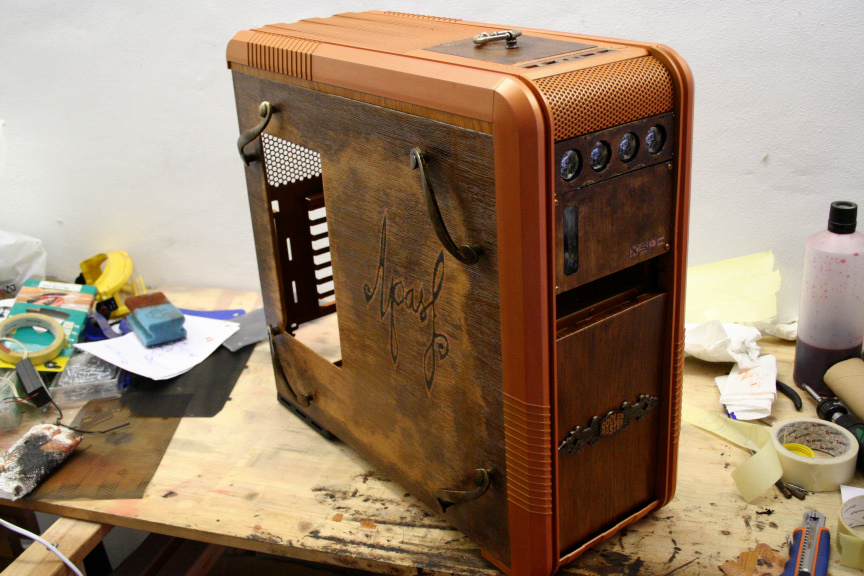
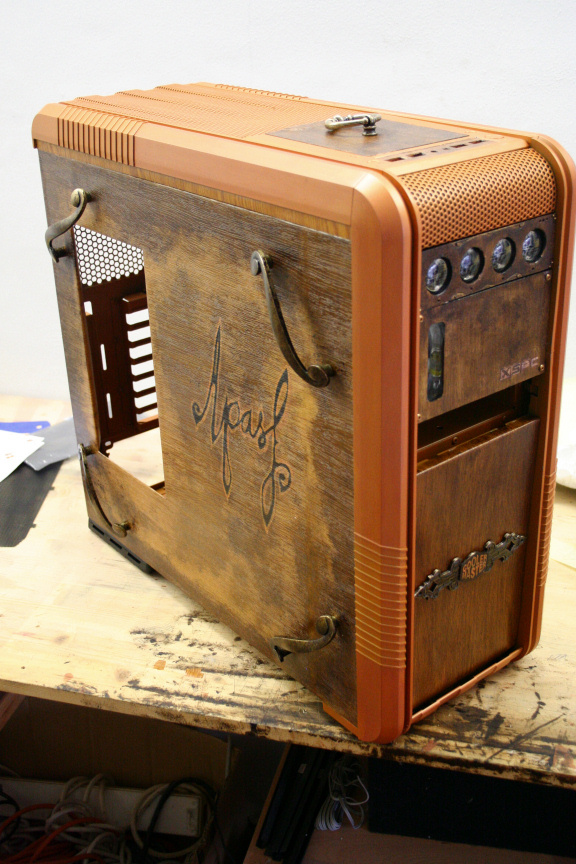
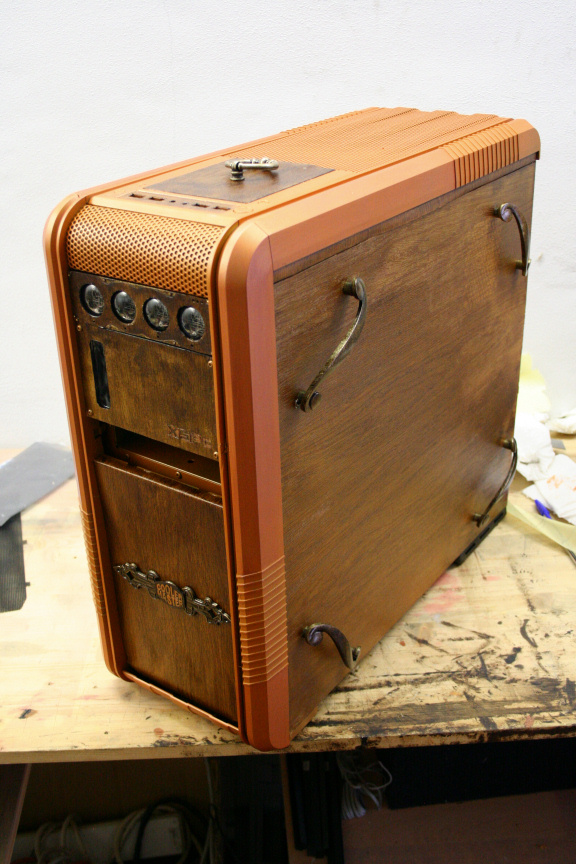
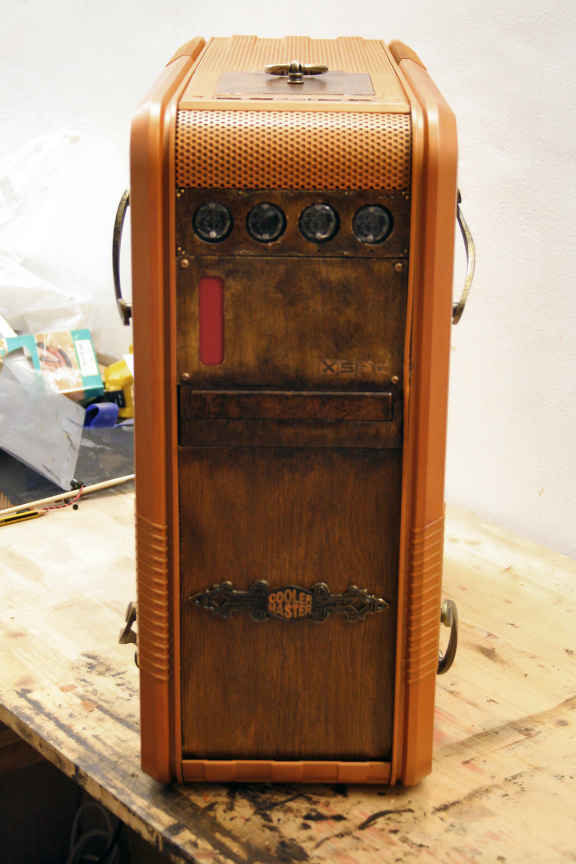
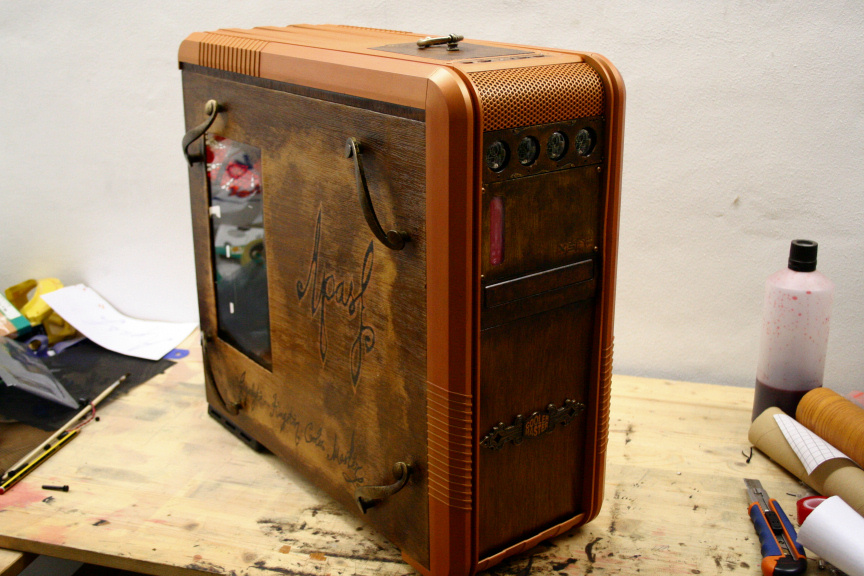
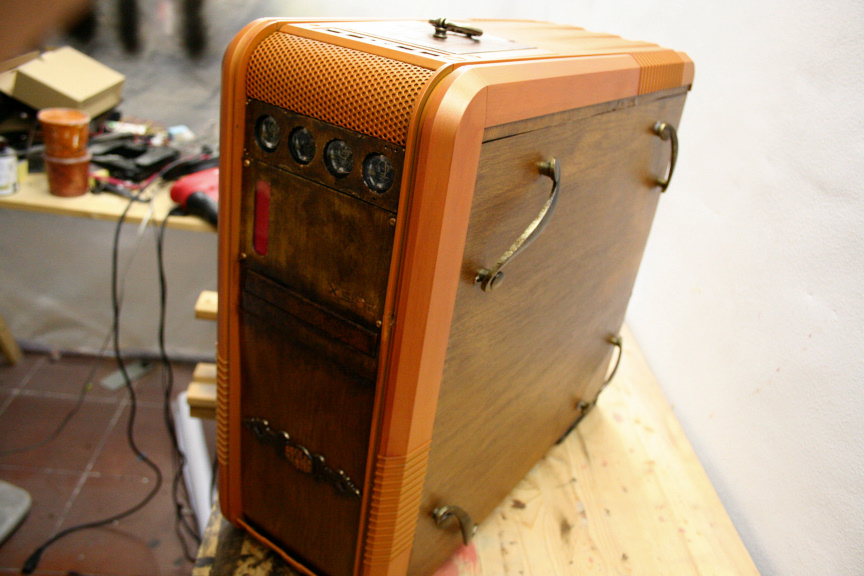
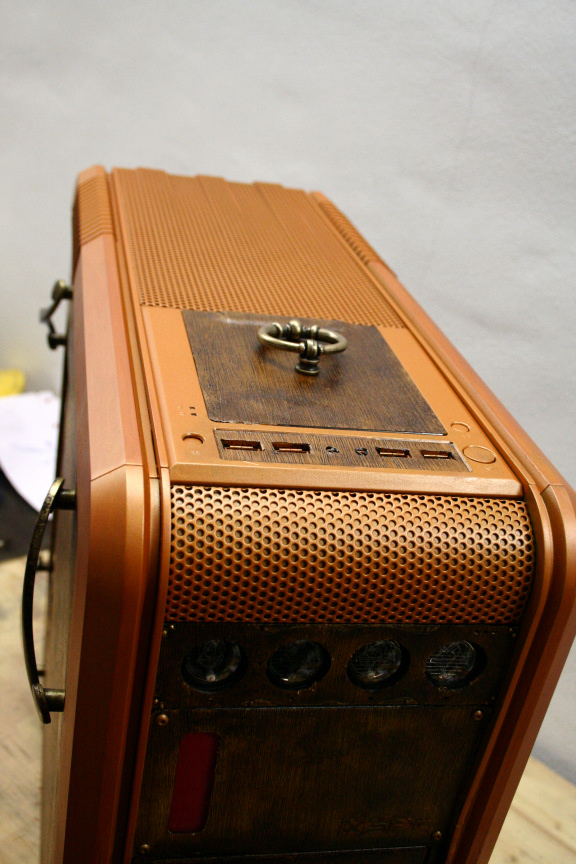
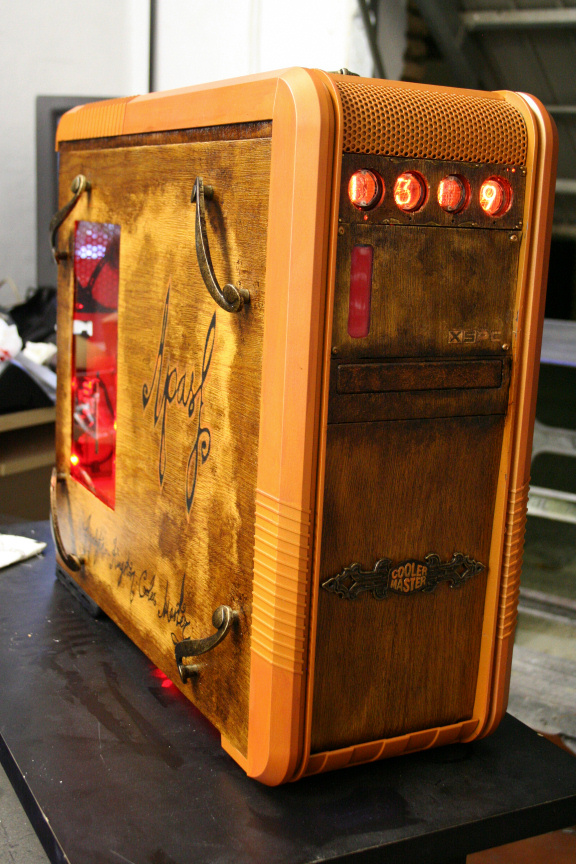
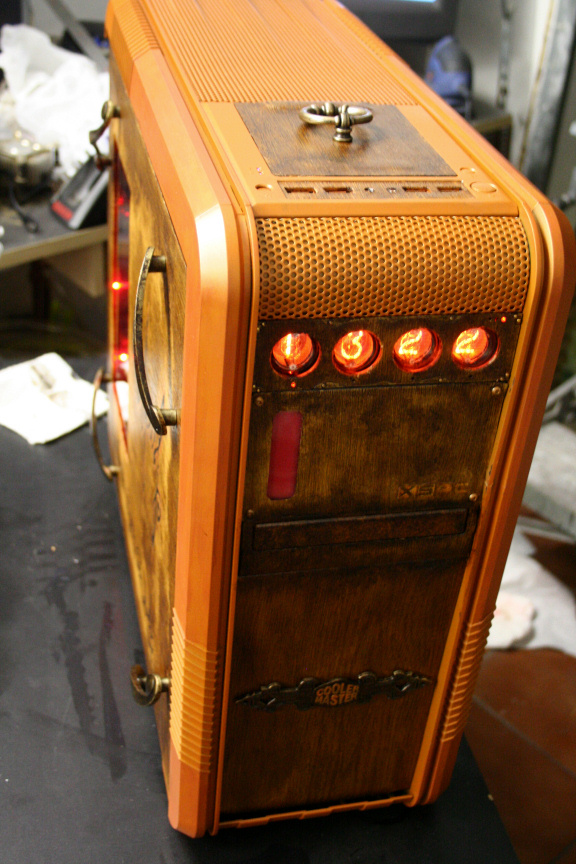
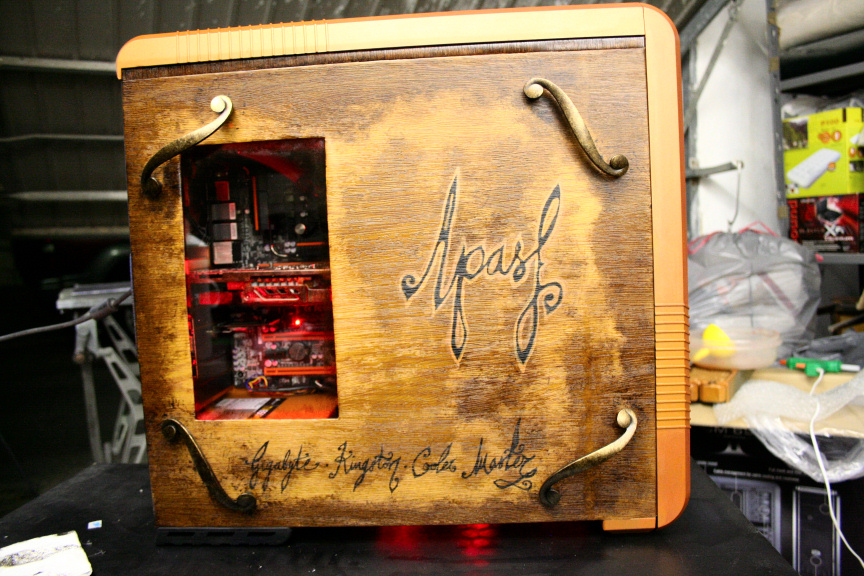
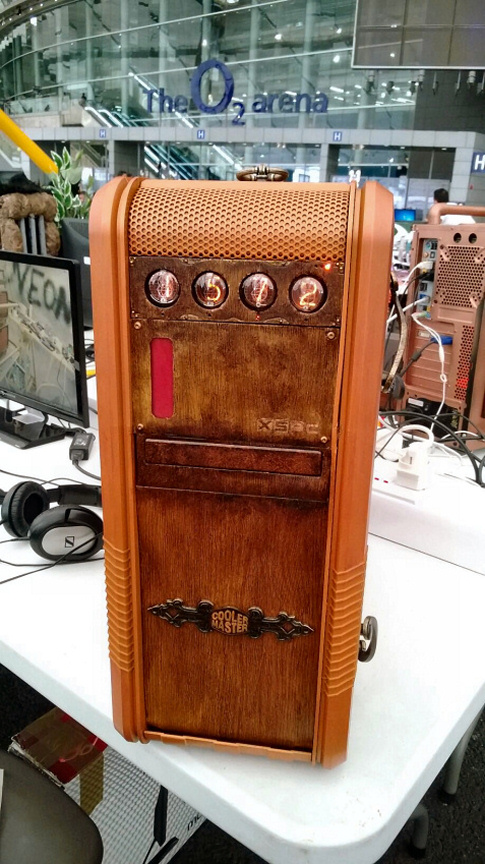
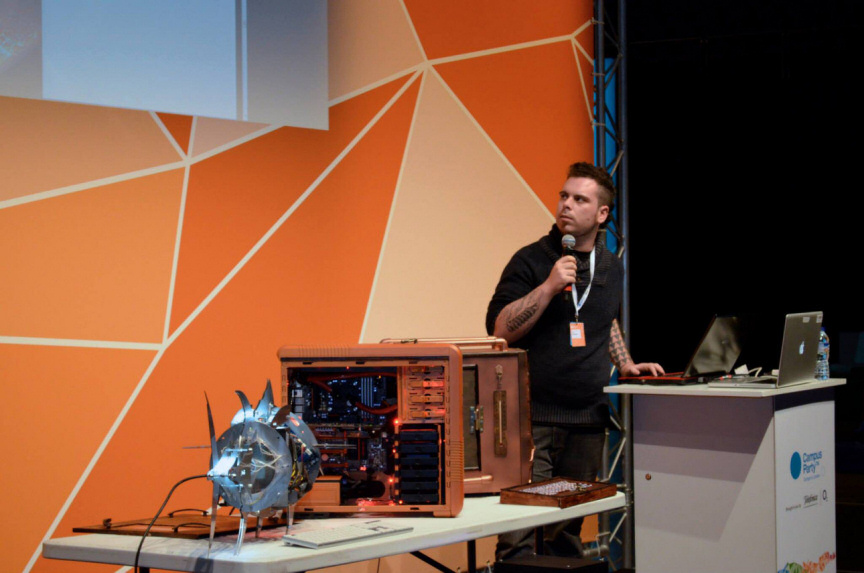
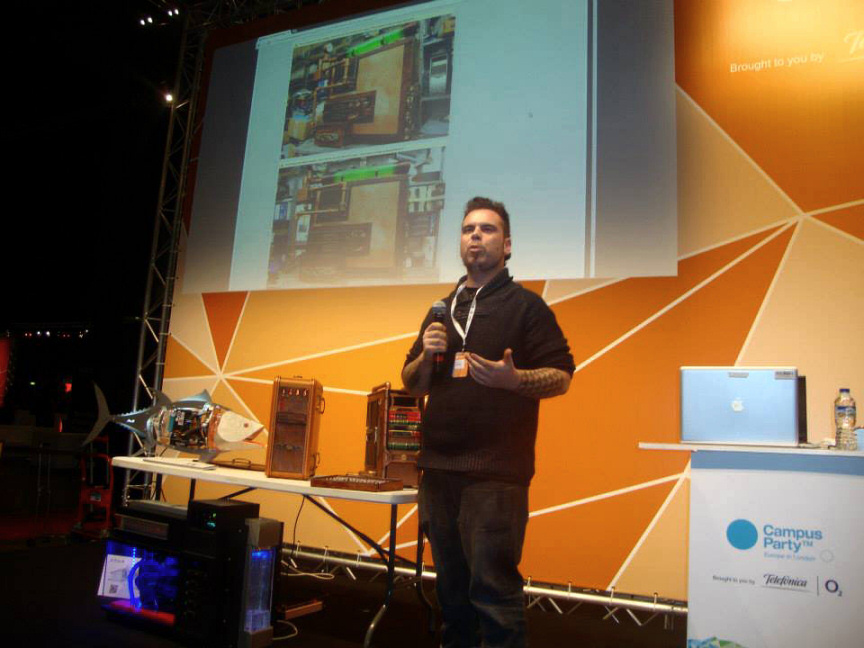
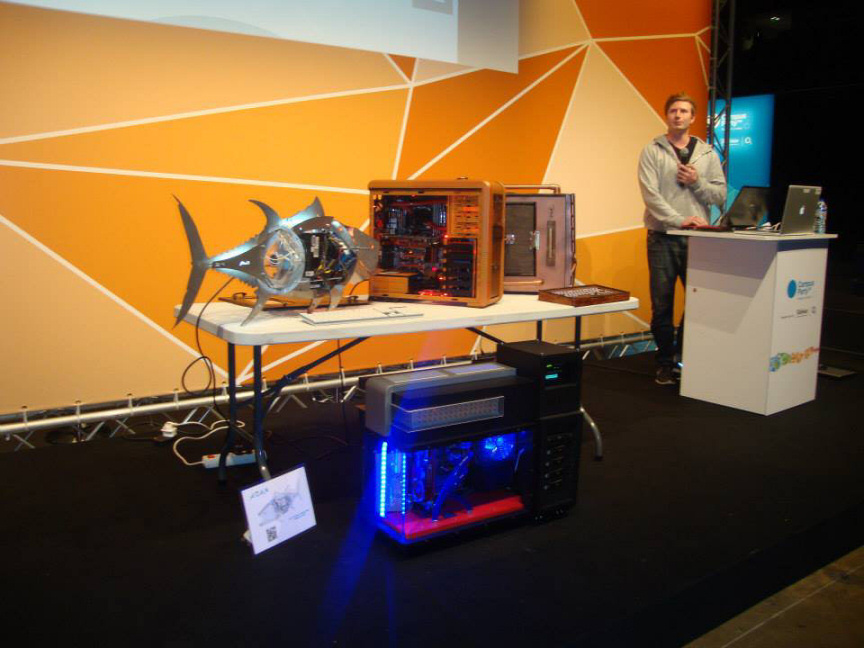
So it seems like the perfect time to go about doing one of these Mod in a Week projects, to be specific, a version of my latest main project APASF which got MOTM here on bit-tech last June-July (don´t exactly remember right now) and featured in the CustomPC so it seemed appropiate.

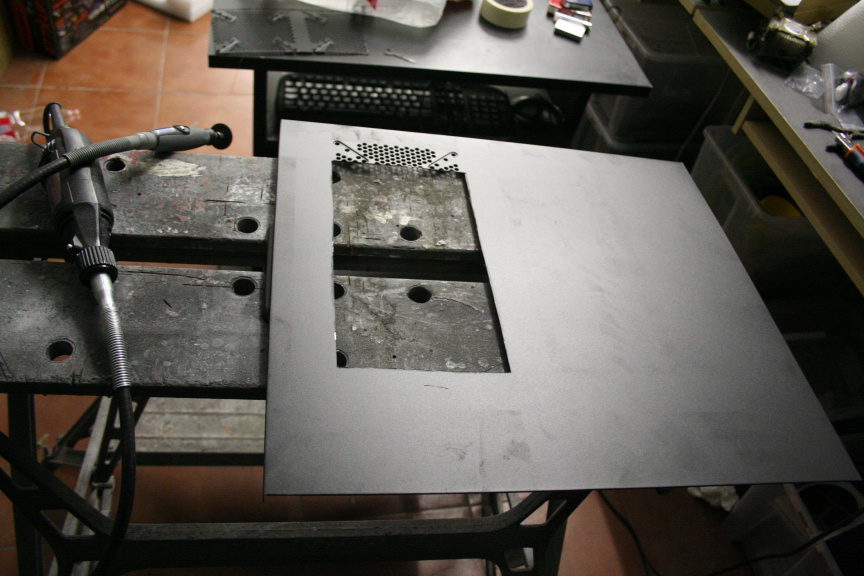
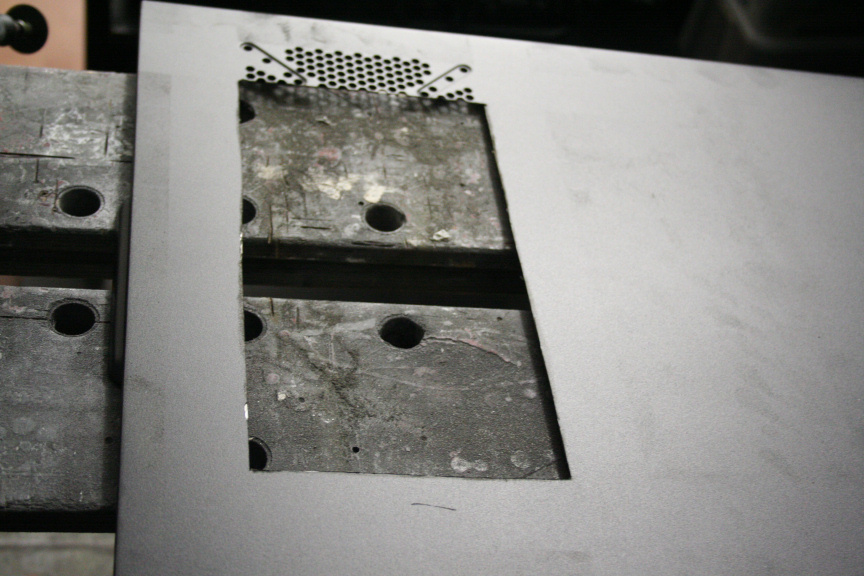
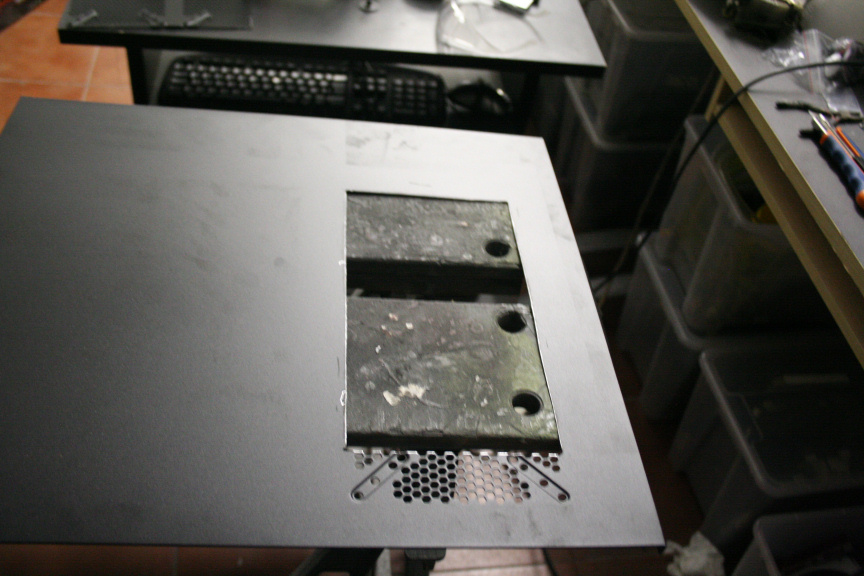
Because I need to keep it relatively simple in order to be able to start today and complete it within a week, I have to throw all major modifications out the window but this does not mean lack of detailing.

For any of you that have followed my previous Mod in a Week projects, this is how it works. I start today and go on through 7 days, posting one or more updates per day on here, suggestions are VERY welcomed but have in mind that anything suggested has to be something doable within the timeframe.

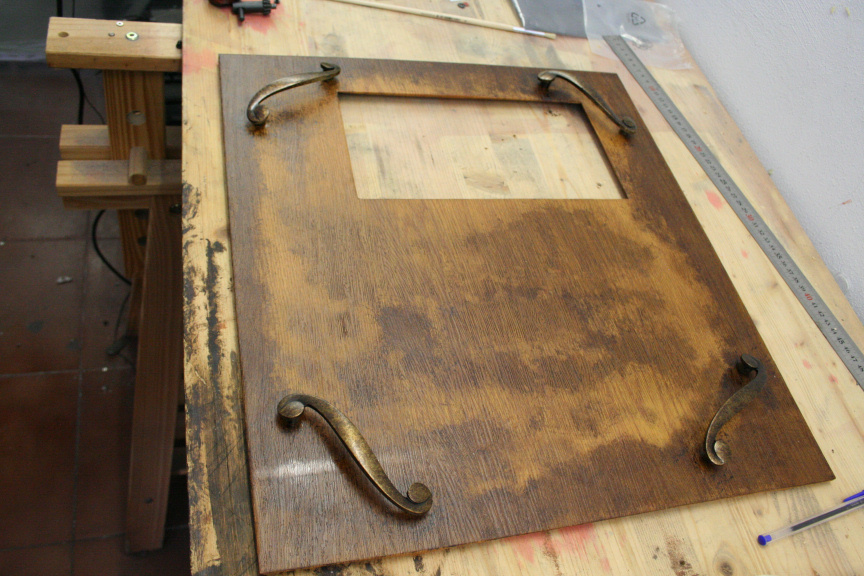
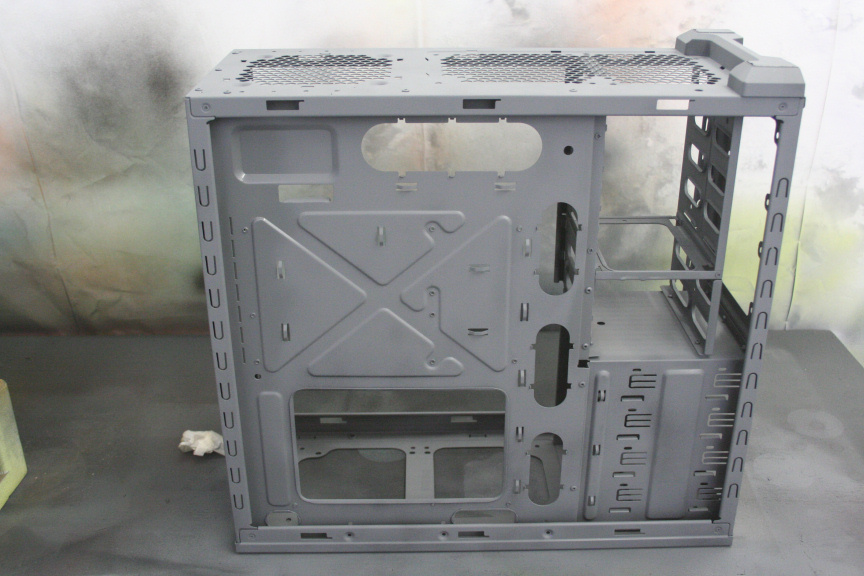
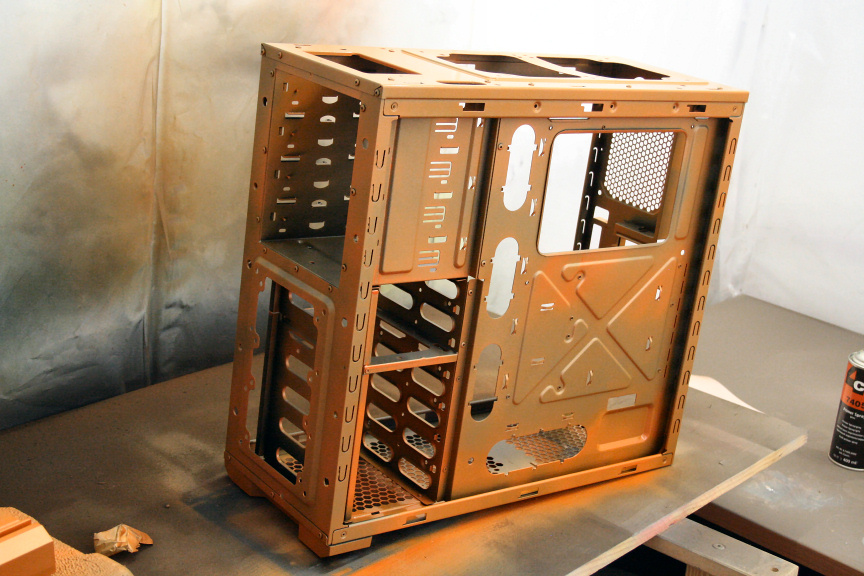
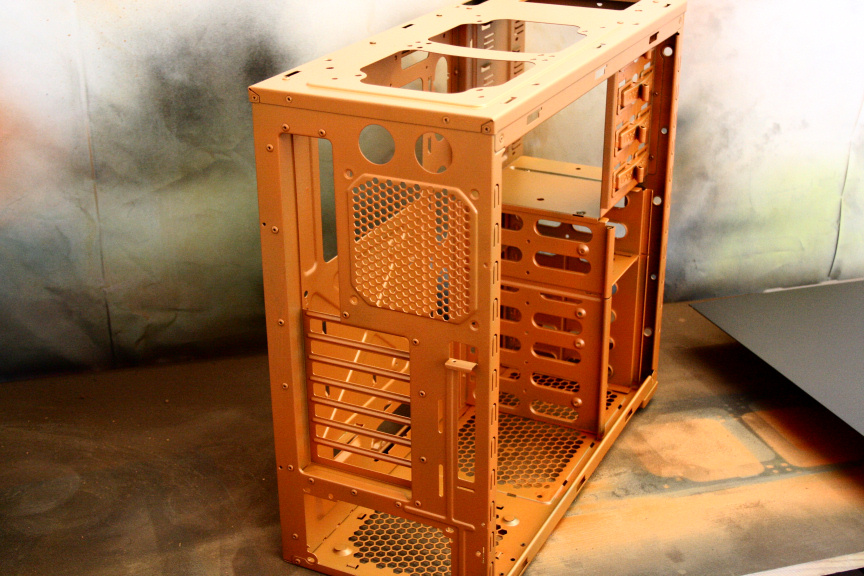
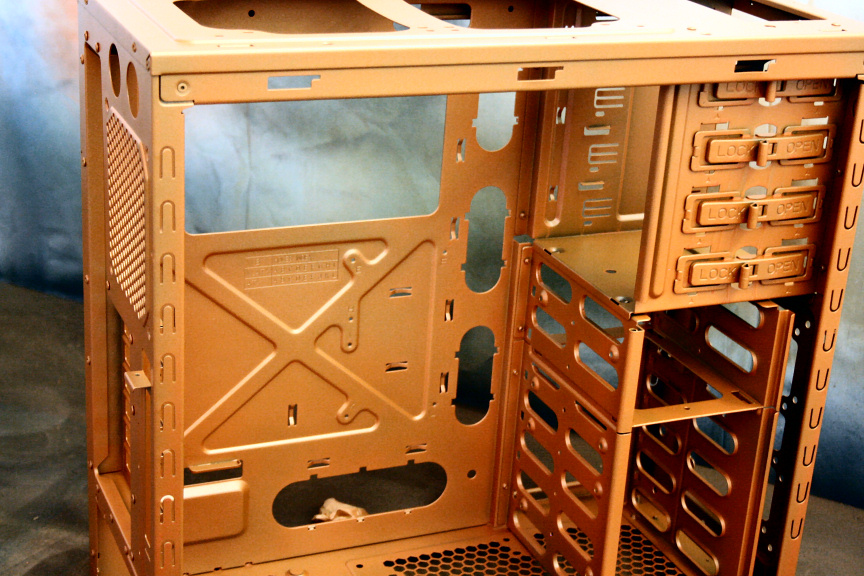
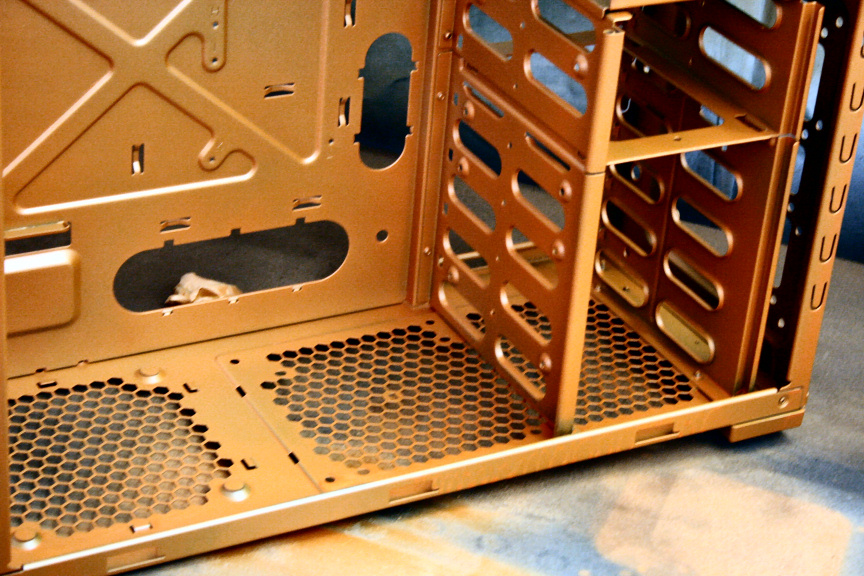
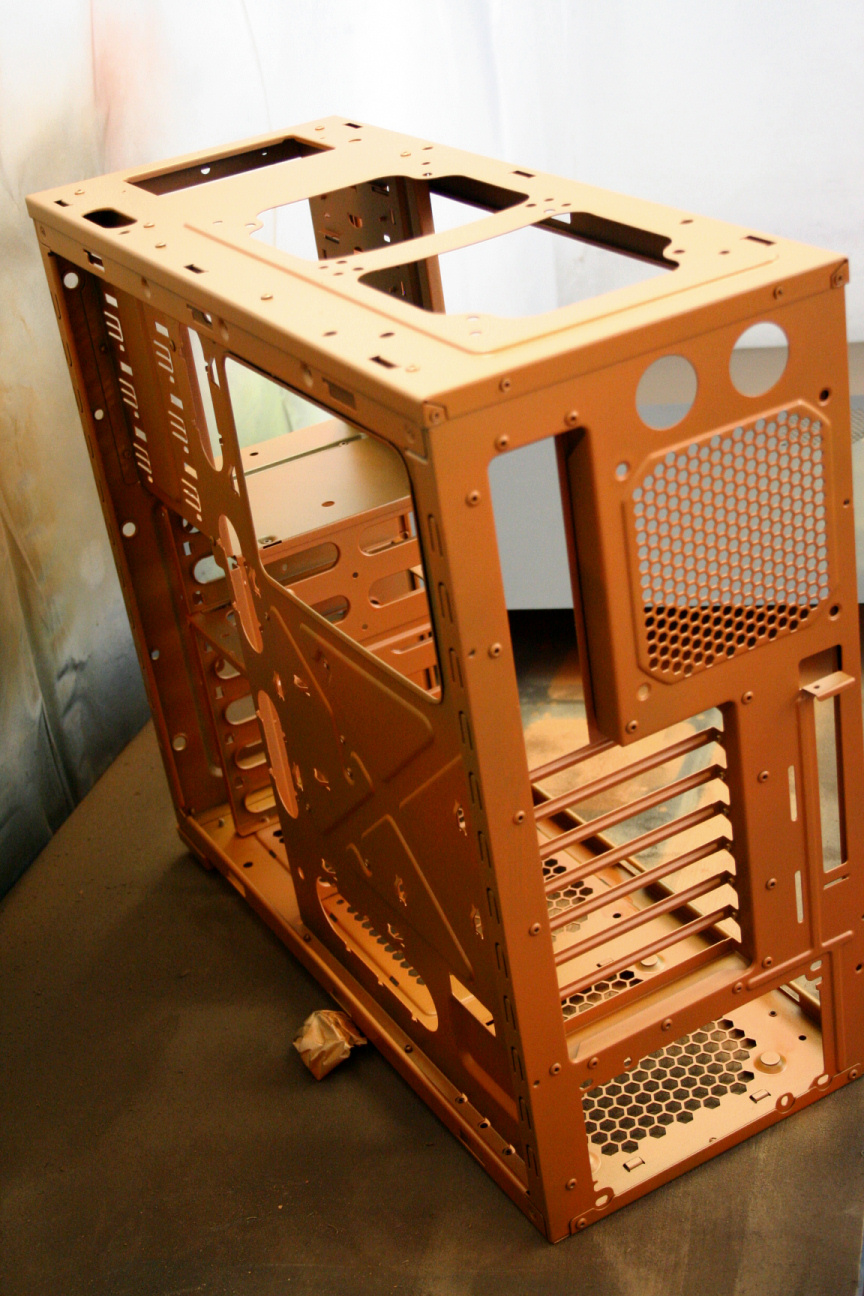
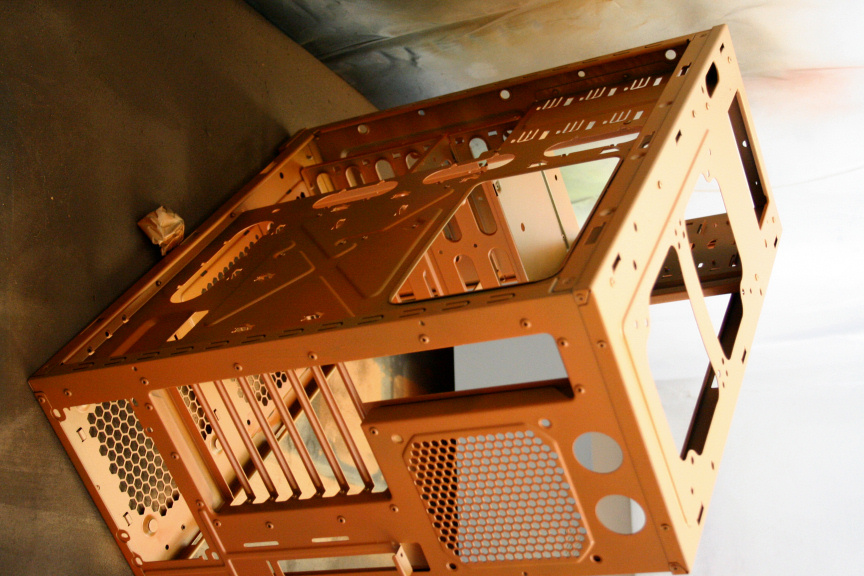
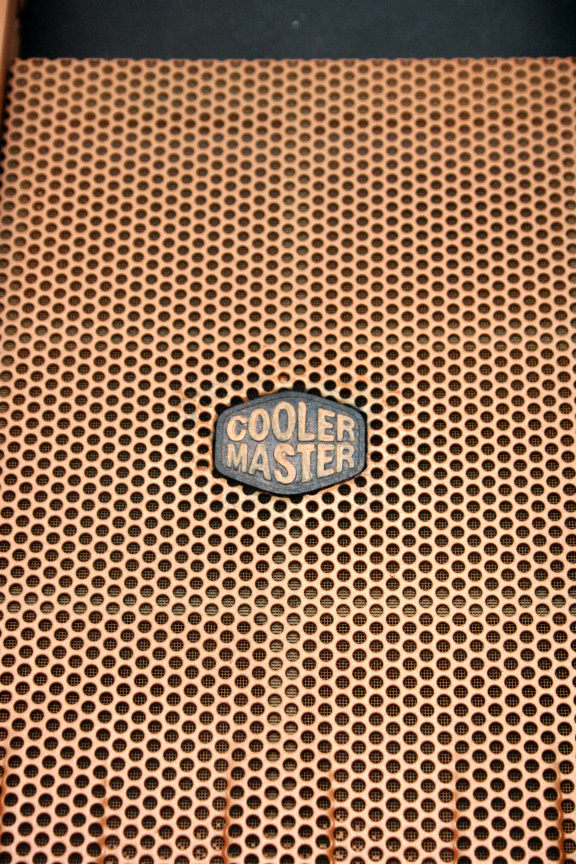
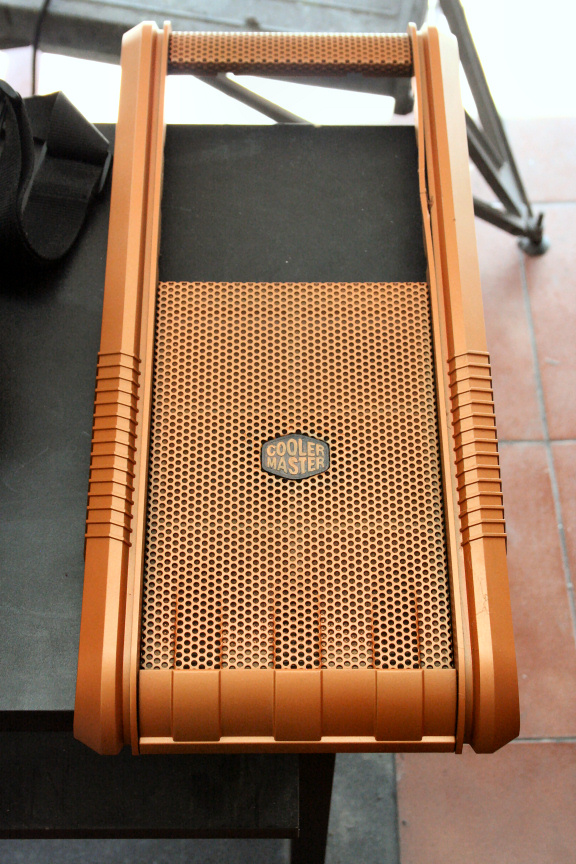
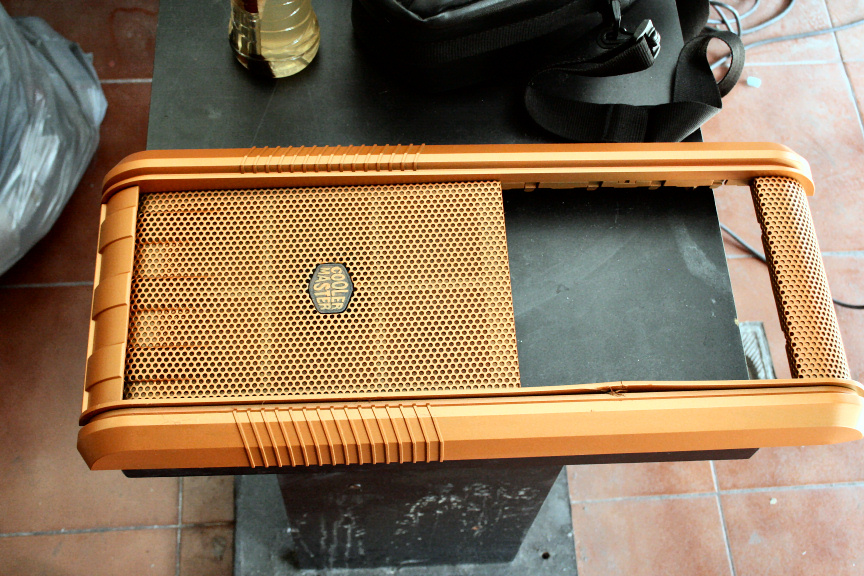
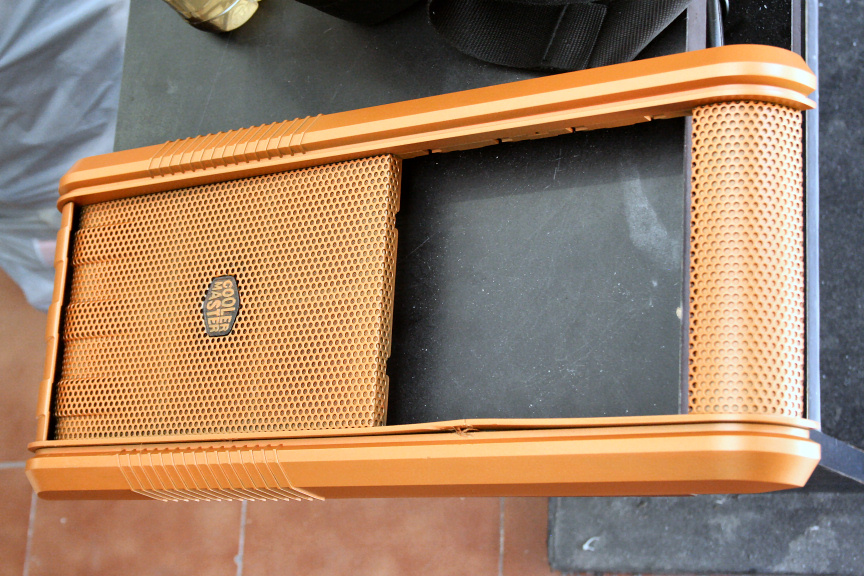
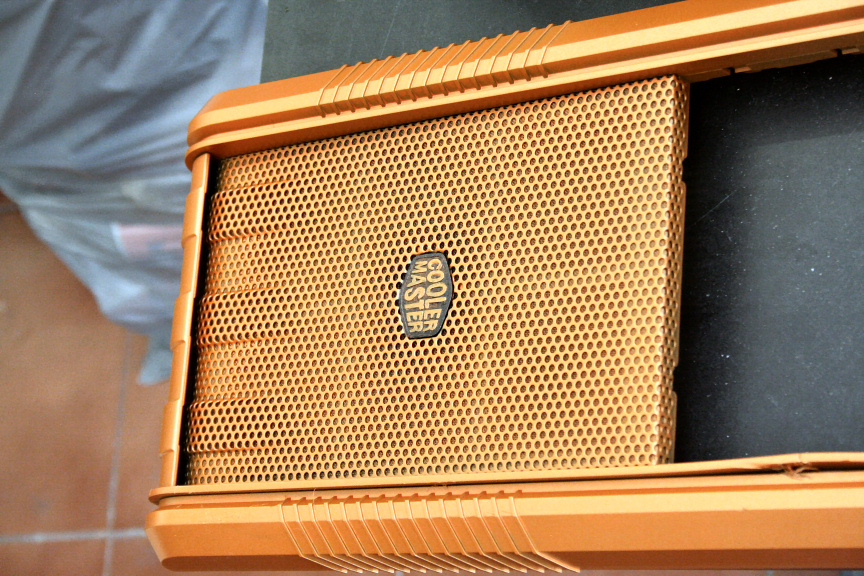
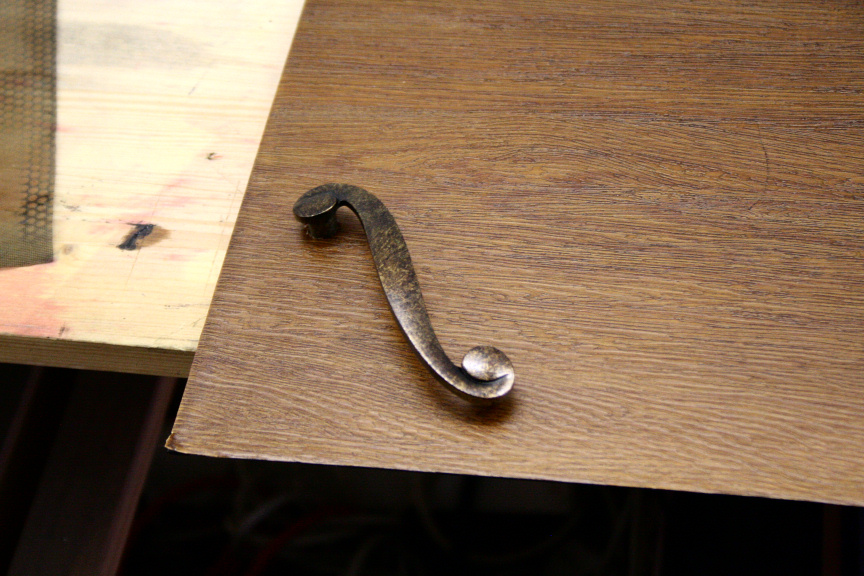
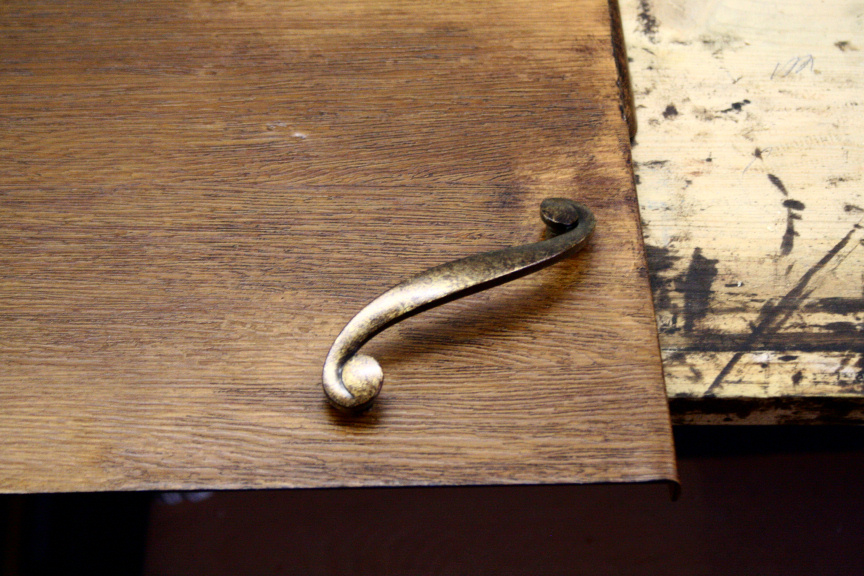
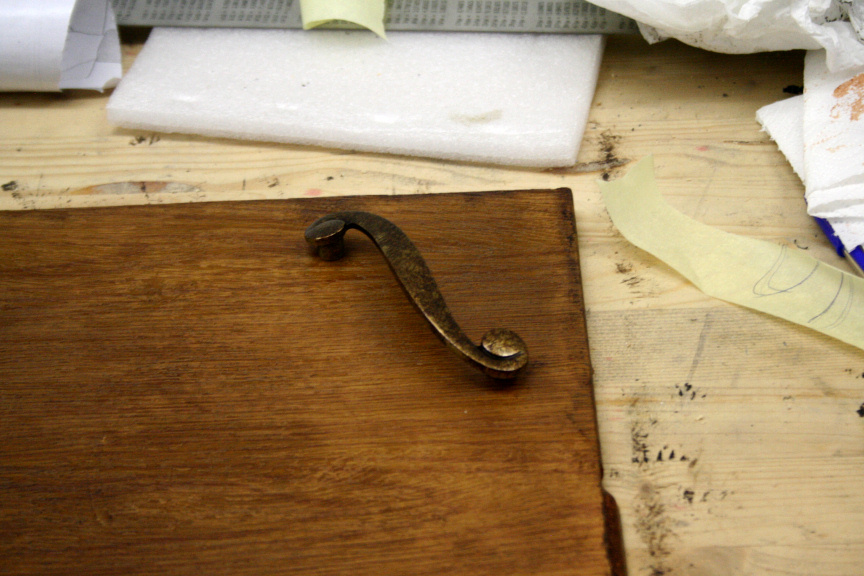
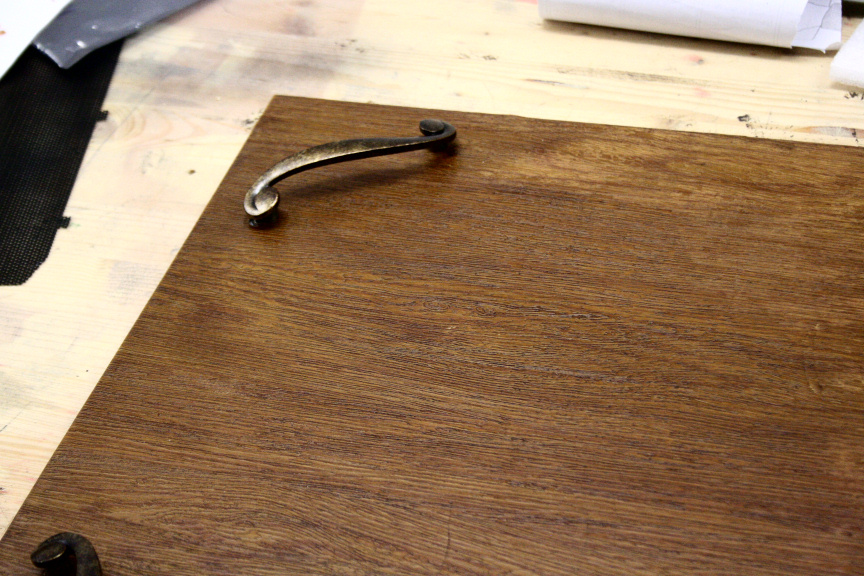
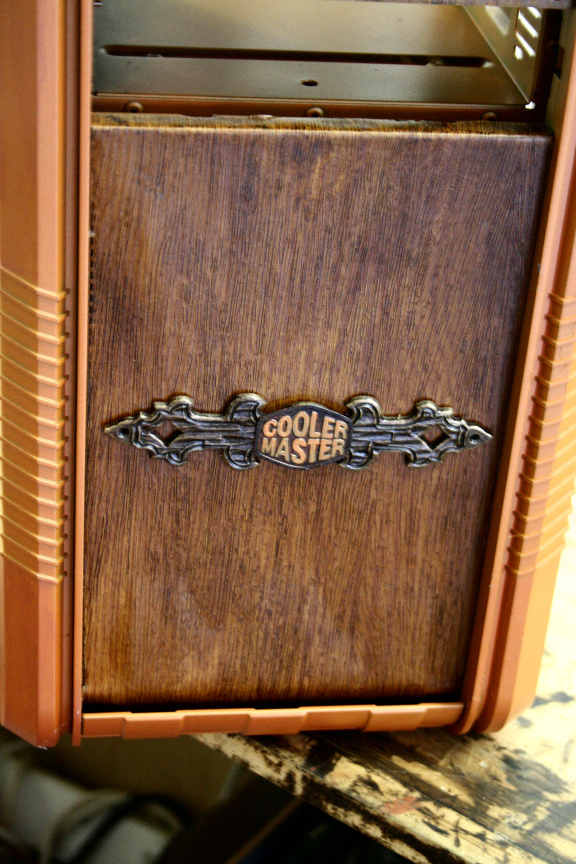
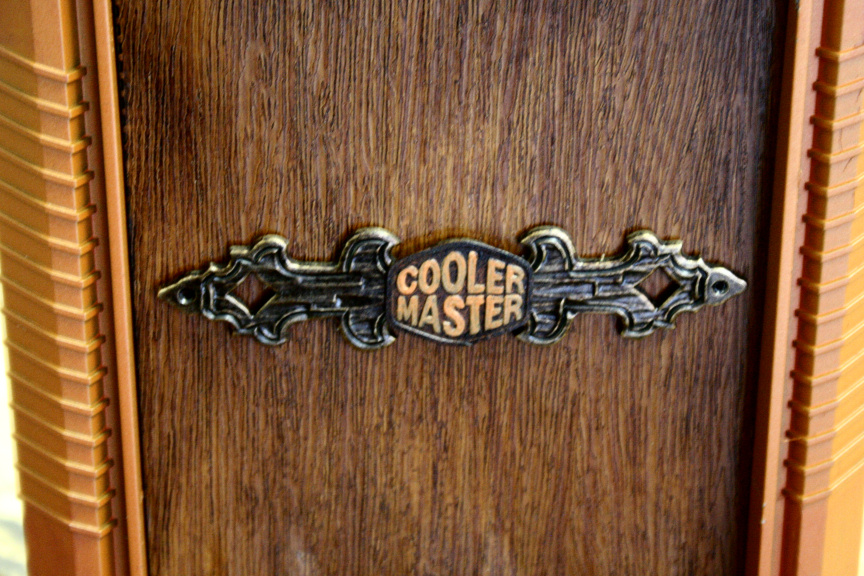
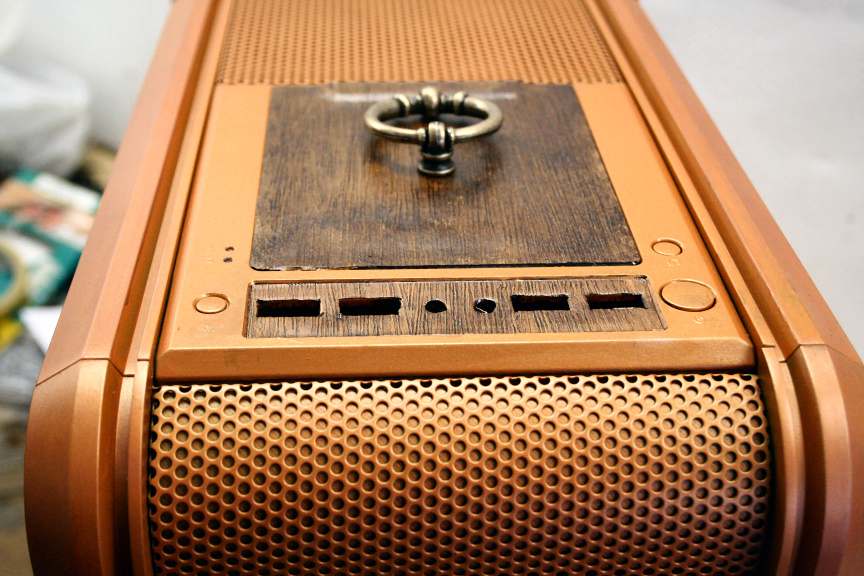
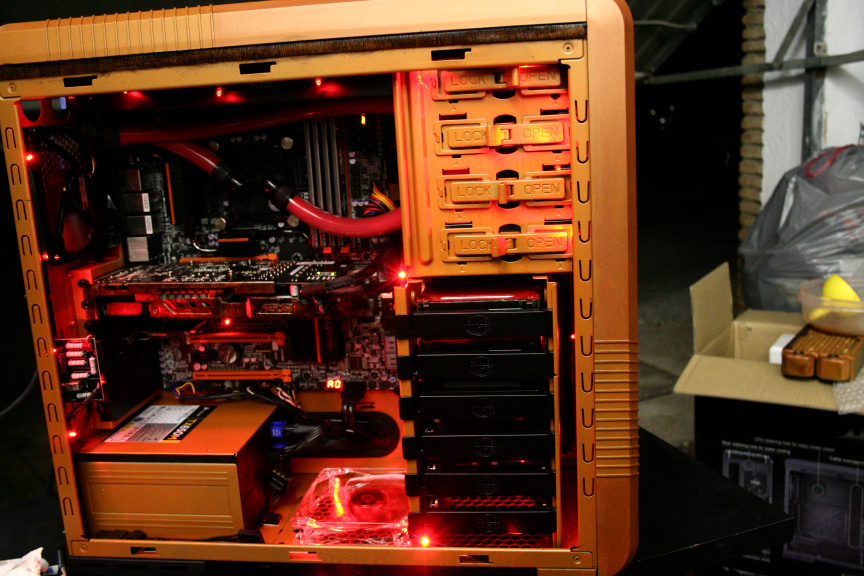
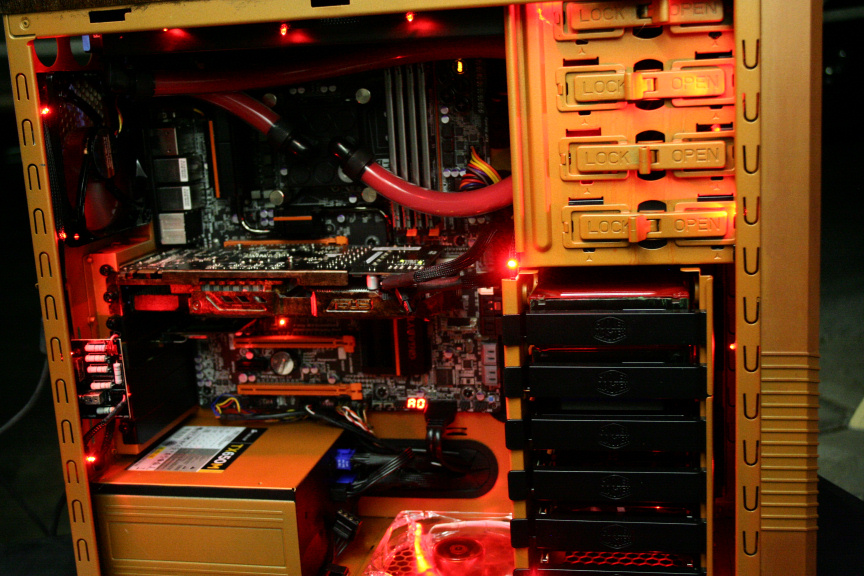
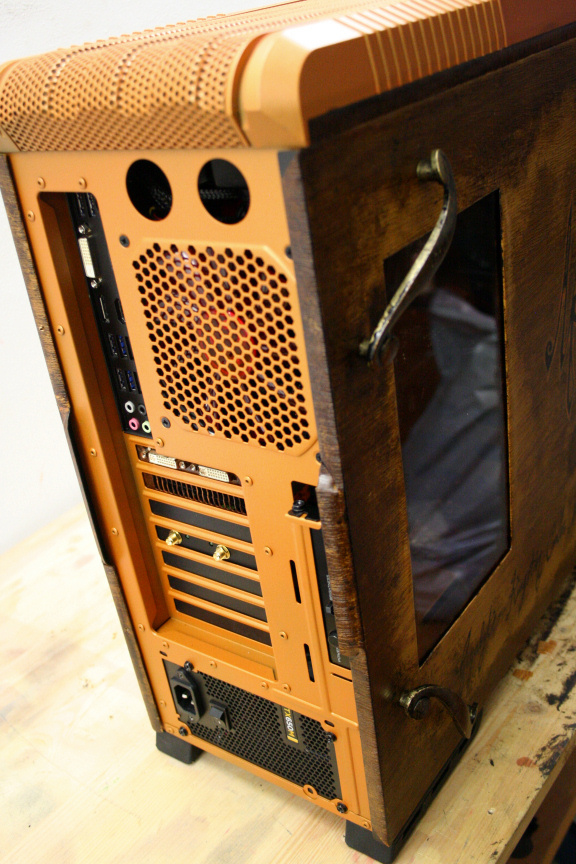
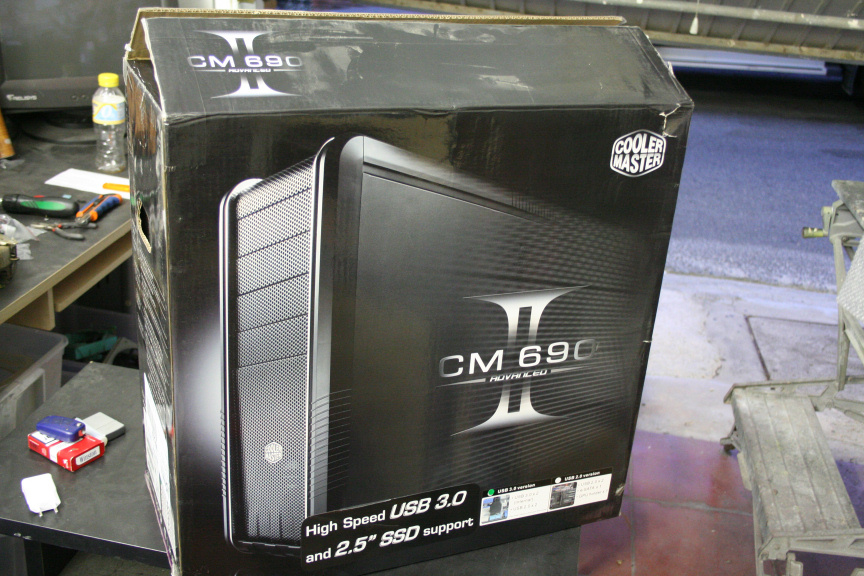
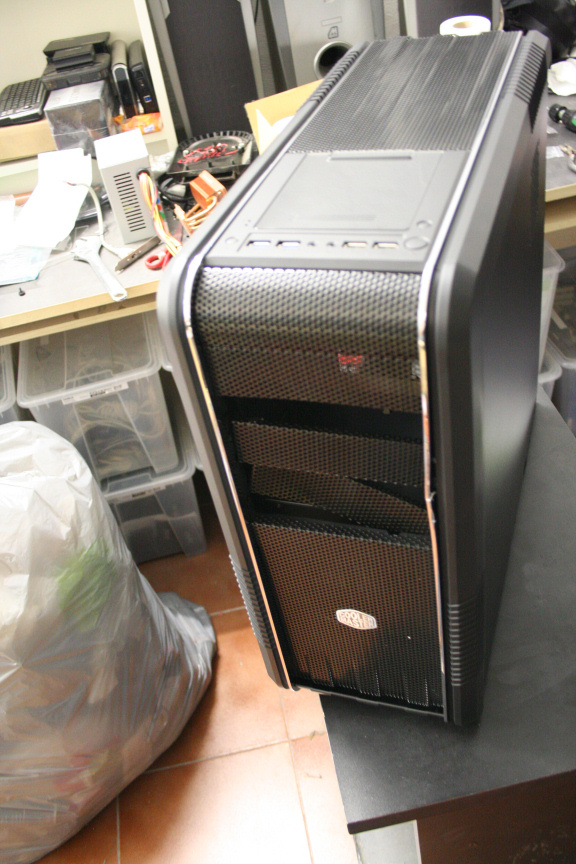
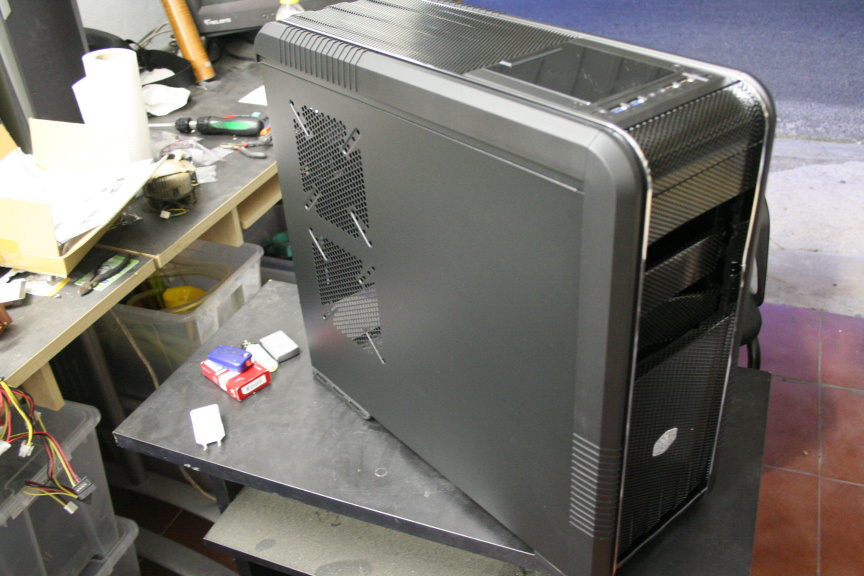
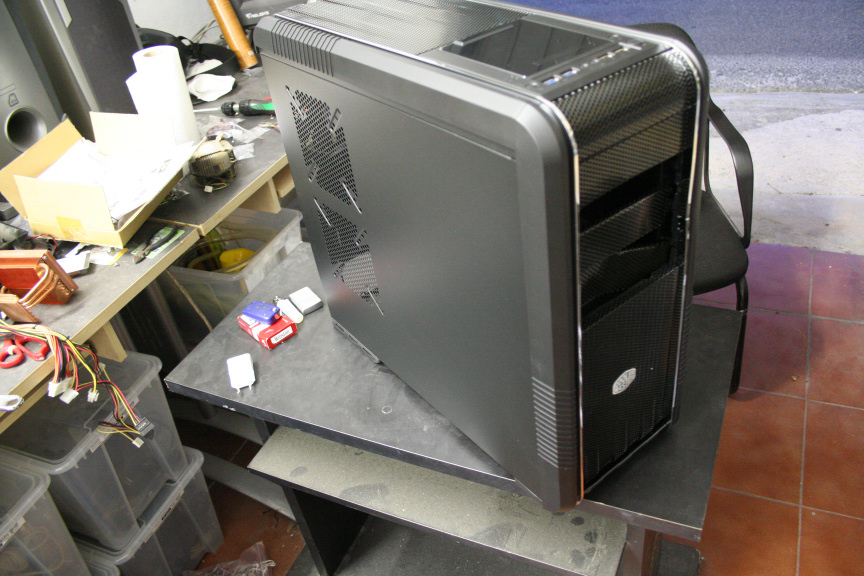
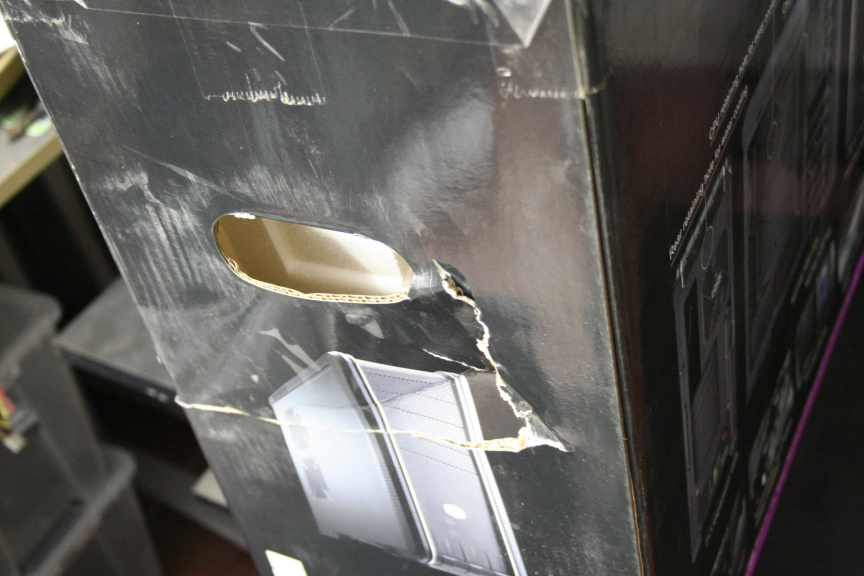
In terms of help, my friends from ASUS Ibérica (Ibérica = Spain & Portugal) are helping out with whatever they have avaliable at the time, as this has been a very last minute thing, which is a Maximus V Gene-Z (which is not ideal for a fulll sized case but it´s still an awesome piece of kit) and the cool guys from Cooler Master are helping out with a PSU (no idea which yet), originally I planned to use a CM 690 II Black & White edition which they where also going to help with, unfortunately due to time limitations, they can´t get one in time so I managed to find a "normal" CM 690. I´ve decided on this case because it´s shape and features adapt very well to the design I have in mind.

-----------------------------
END OF PROJECT EDIT:
-----------------------------


Unfortunately products from ASUS and CM did not arrive in time and when the asus motherboard came I had to send it back due to being damaged on arrival (what is going on with delivery services around here!?).

Instead, I used products sponsored to other projects or won in contests while making sure it was ok to do so.

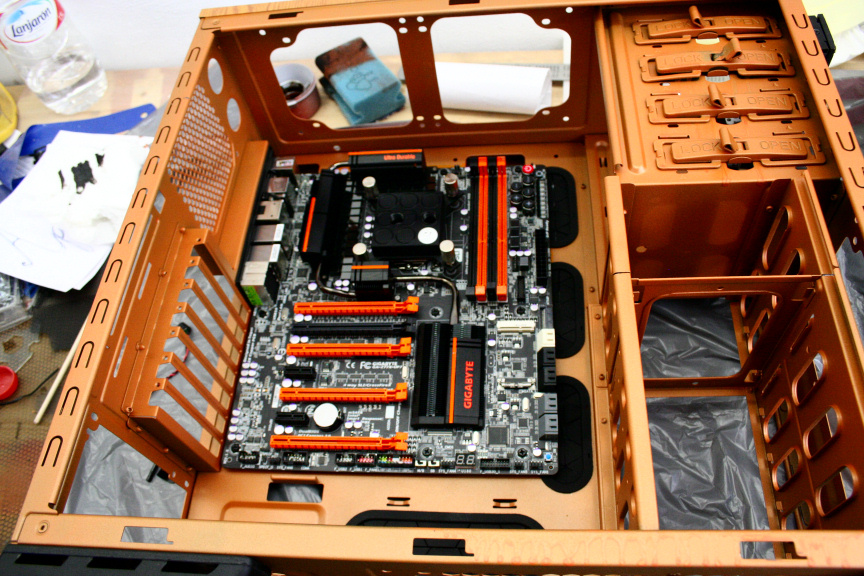
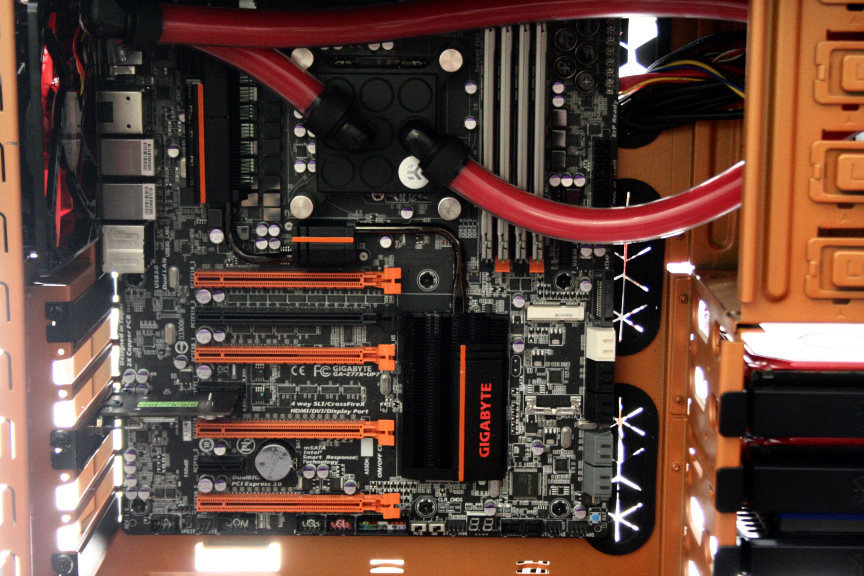
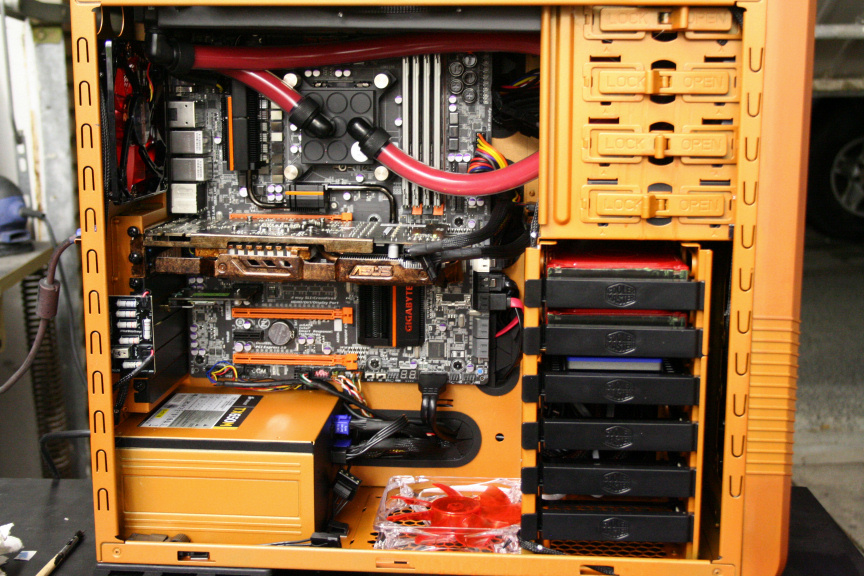
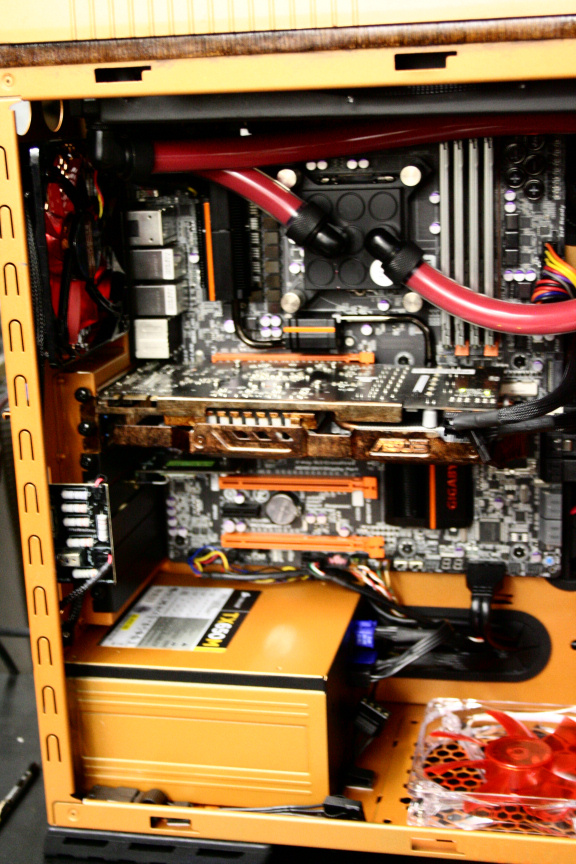
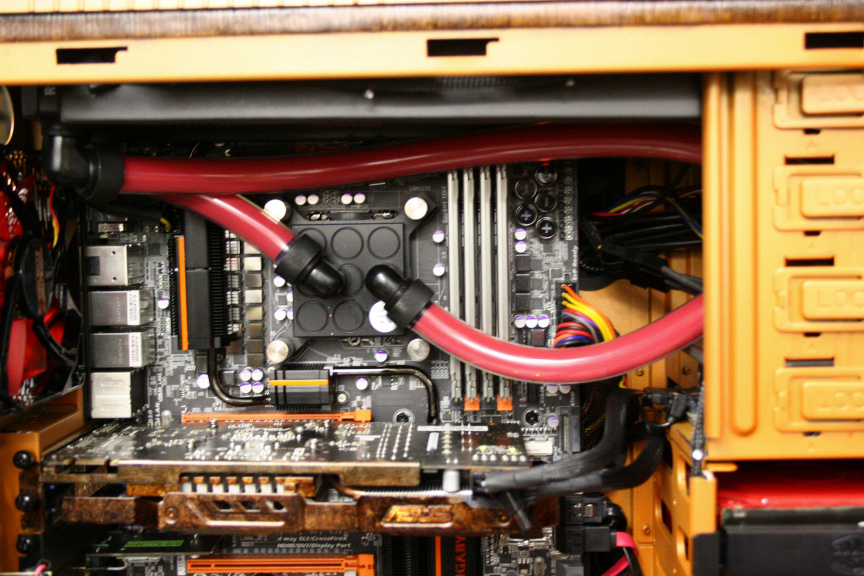
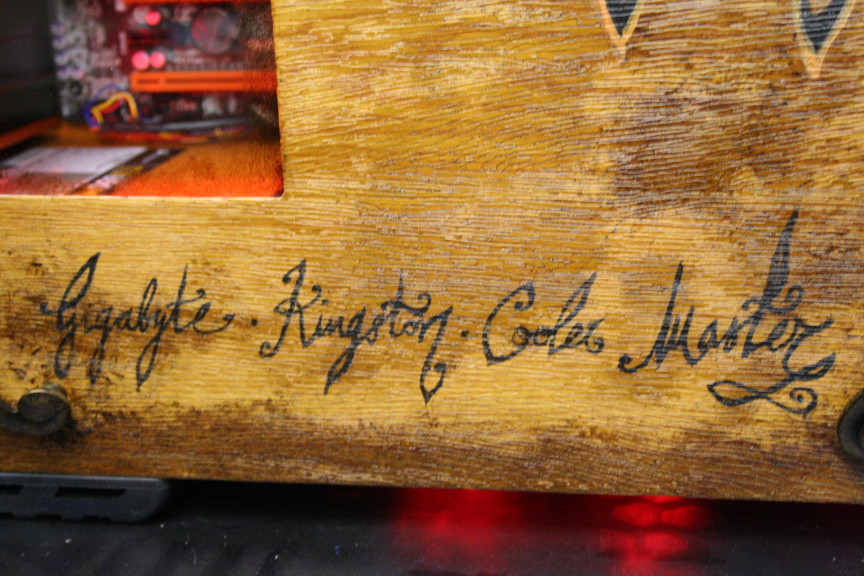
So! Thanks Gigabyte for the Z77X-UP7!

gigabyte.png


Thanks Kingston for the SSDs and RAM!

kingston.jpg


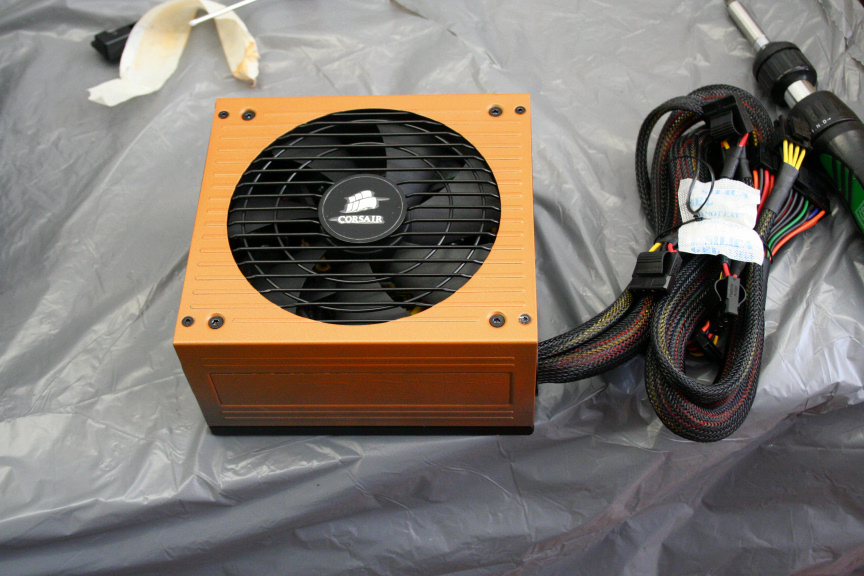
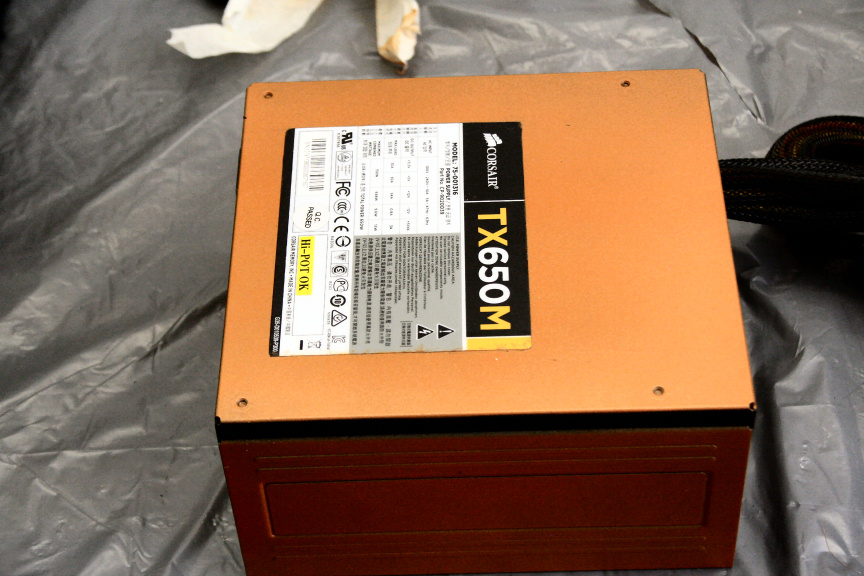
Thanks Corsair for the TX650-M PSU!

corsair.png


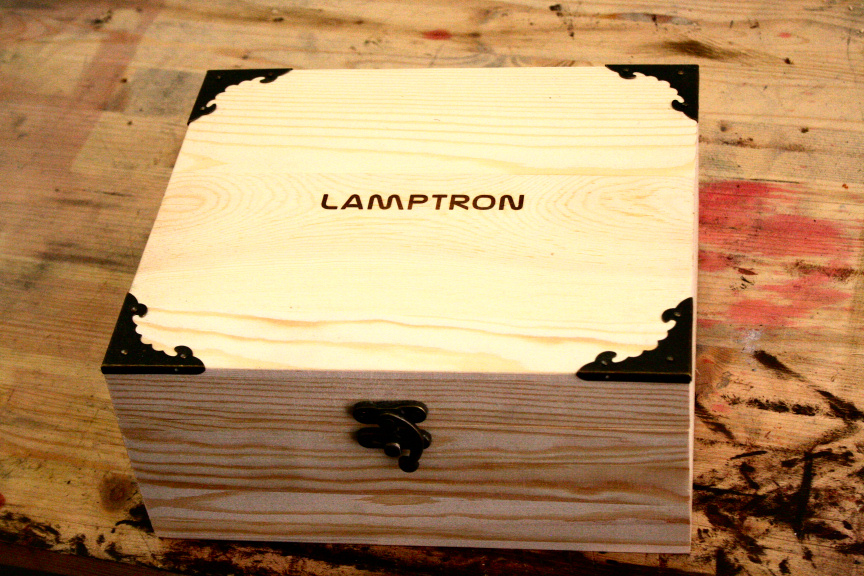
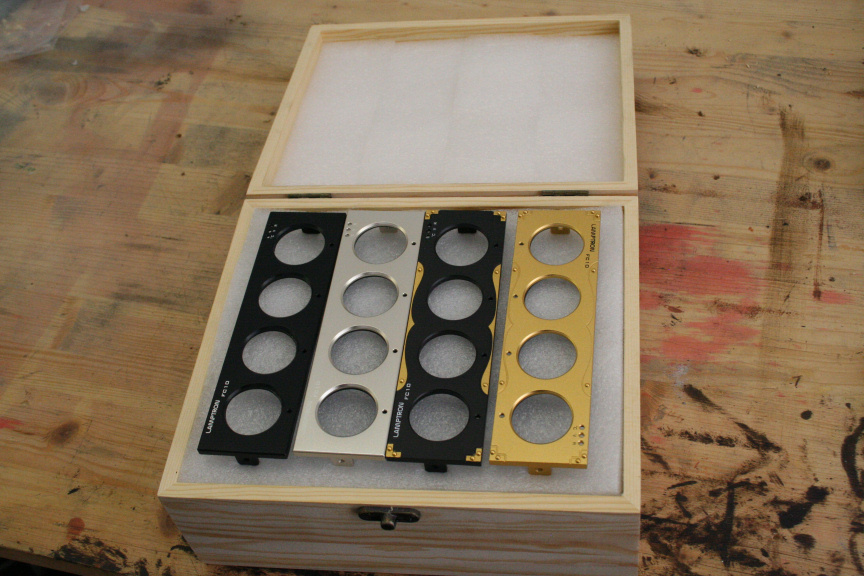
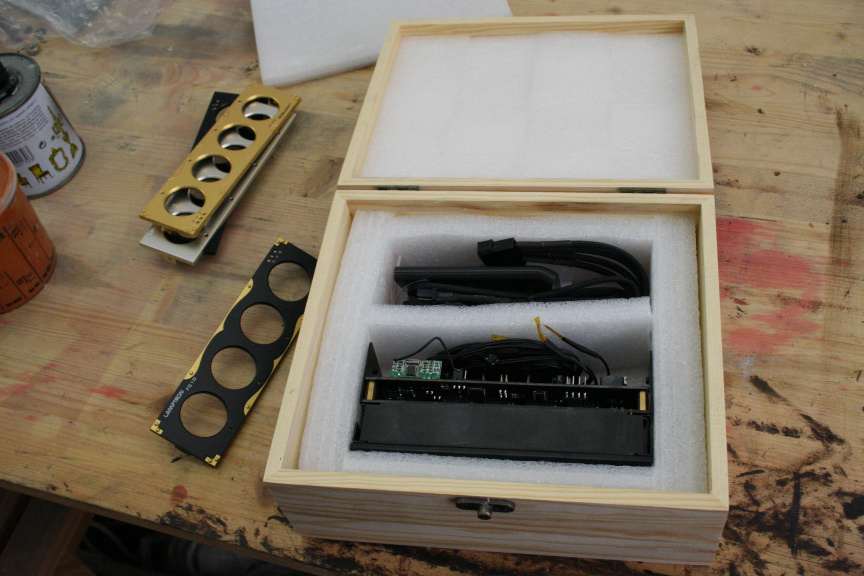
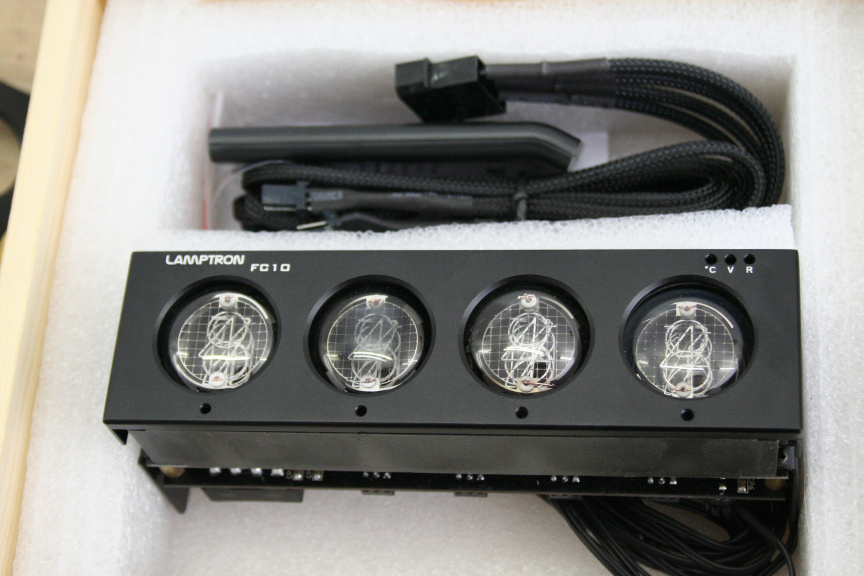
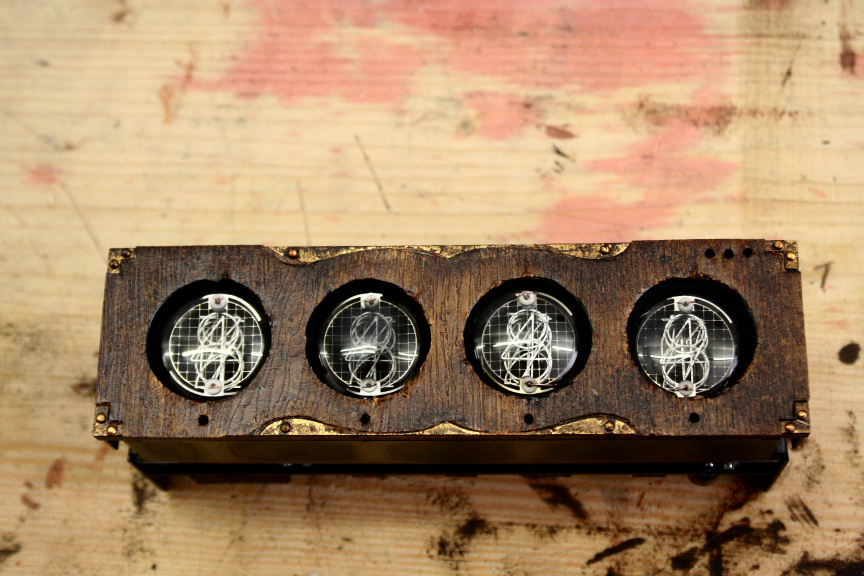
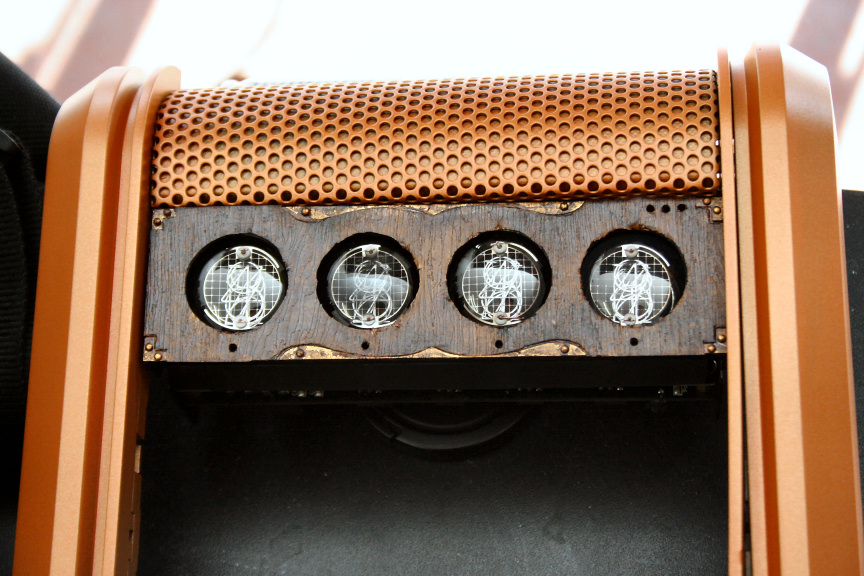
Thanks Lamptron for the FC10 SE!

lamptron.jpg


Thanks Mayhems for the 2Ltr bottles of pastel white and the dyes!

mayhems.jpg


And Special thanks to ASUS and Cooler Master for trying to get the products to me in time, no matter what!

asus.jpg


coolermaster.jpg


-----------------------------
END OF PROJECT EDIT:
-----------------------------


Right so, wish me luck! The project starts NOW and will finish with final pictures at the Campus Party Europe event in a weeks time. I will be posting updates later on today (I´m now off to buy paints and supplies).
 
Last edited:
FINAL PICTURES SET 1:

So, I give you, Mod in a Week: "APASF: CP London Edition".

102.JPG


With special thanks to:

103.JPG


Enjoy!

96.JPG


97.JPG


98.JPG


99.JPG


100.JPG


101.JPG


104.JPG


105.JPG


106.JPG


107.JPG


FINAL PICTURES SET 2 - Campus Party Europe London O2 Arena:

While I´m waiting for a bunch of people to email me photos, here´s a selection of what I currently have, you´ll even recognise the original APASF on the screen as I was talking about sponsorships and how it affects companies in terms of publicity, value for money, etc. You may also recognise a certain Hans (pOpE) and Anthony Leather (Combatus) who where fantastic to meet in person! All in all I think it´s safe to say we all had a blast at the event!

108.jpg


109.jpg


110.jpg


111.jpg


112.jpg


113.jpg


114.jpg


115.jpg


116.jpg


117.jpg
 
Last edited:
Monday: Day 1 of 7

Ok so I´ve spent most of the day going through a selectiong of DIY, and random accesories shops scouting potential parts, details, etc just as I did with the original APASF project. Remember while this has a Steampunk basis, it also has a touch of post-apocalyptic (APASF: A Post-Apocalyptic Steampunk Future) so, anything I find I have to be able to make it look really old and thrown about.

Of course I also went to my usual paint supplies store and bought all I needed. All in all, around 5 hours where spent doing all this.

Once I got home, I found the first catastrophic event. Something that´s happened to all of us at one point or another, the delivery "service" throwing our packages about, which in this case meant a damaged CM 690 II...

1.JPG


2.JPG


3.JPG


4.JPG


5.JPG


6.JPG


7.JPG


8.JPG


Unfortunately I do not have the time to send it back and get a replacement. Fortunately it´s only the removable faceplates and the "chrome" border that seems damaged as far as I can tell. The faceplates I do not care about as all 4 frontal bays will be occupied. The chrome border I´m thinking about a bit of epoxy, sanding down and they will be painted over aniway. Just glad it wasn´t as bad as it could´ve been!

So, not the best start huh?

Aniway. the rest of the evening I dedicated exclusively to one of the side panels. I will be adding a window of sorts so I had to cut those grills out, not fully though or it wouldn´t leave to much border at the top. So I got my dremel and started to "play" (Safety notice: please do not play with dremels! :S)

9.JPG


10.JPG


11.JPG


12.JPG


All cleaned up. It´s time for the vinyl. I couldn´t find the one I used on the original APASF project so found a close second, it´s quite darker but I do like that it´s not plain like the other one, it´s actually got a rugged surface which adds to the effect.

So, I cut up the right size and aplied it to the side panel:

13.JPG


14.JPG


15.JPG


Being a darker colour it doesn´t allow me to play as much as I´d like to with shades on my ageing effects but I got through the first stage of it which are the darker shades:

16.JPG


17.JPG


18.JPG


19.JPG


20.JPG


21.JPG


22.JPG


A couple more coats of the lighter effect inks need to be aplied to it before I´m happy with it but it´s starting to get that old, rugged wood look.

As a bit of a preview, here are some of the details I´ll be adding, pre-ageing of course (clean brass right now and we can´t have that).

23.JPG


24.JPG


25.JPG


26.JPG


And that´s it for the first of 7 days in this Mod in a Week project, I hope you keep on reading tomorrow!

:)
 
Tuesday: Day 2 of 7

Most of today´s avaliable time I dedicated to pretty much sanding the case down. Normally on a new case that hasn´t got a glossy finish I wouldn´t bother to much about this but since a large portion of the case imitates copper in this design it needs to be as smooth as possible so this was needed. That however is boring so I´m going to show you the rest of what I did today.

I finished yesterday´s side panel (for now, still missing the window and a couple of details), as in, added the final lighter coats of the ageing process and attached the brass details to which I had also aplied the ageing.

27.JPG


28.JPG


29.JPG


30.JPG


31.JPG


32.JPG


Once that was fully dry I put it away safely for now (can´t afford any accidents!).

After all that (very) tedious sanding, cleaned it all up and aplied a good coat of primer to both the top section and the chasis.

34.JPG


35.JPG


Oh and, I fixed the damage caused by the shipping of the case! I like to think it came out quite well, time constraints and all considered.

36.JPG


37.JPG


38.JPG


And for the last 2 hours of today´s avaliable time, I aplied a few coats of the copper. It´s amazing how many more coats the chasis needs in comparison to the plastic bits, I actually ran out of paint, so, need to get some more tomorrow!

39.JPG


40.JPG


41.JPG


It goes without saying that the copper will be aged as well, can´t have none of that new shinyness here!

And that´s it for the second of 7 days in this Mod in a Week project, I hope you keep on reading tomorrow, now I need a shower, get something to eat and go to my "other" job :(
 
Cheers!

--------------------------

Wednesday: Day 3 of 7

Today was a late start. I got home from work at around 5am last night and between having something to eat, shower, etc I didn´t get to sleep till 6am. Obviously when my alarm was set to wake me up at 10am so I could continue with the project it was a bit of a "no f**ing way* so kept on sleeping for a couple of extra hours.

That said I think I´m doing good in terms of progress. So today I started with some of the bits and bobs, like the XSPC reservoir / D5 pump combo.

42.JPG


I aplied the vinyl...

43.JPG


...and did my thing :)

44.JPG


So, on the top of the case there´s a hotswap/dock bay that I´d though I´d give the treatment (mostly because I don´t want copper to be everywhere without wooden bits here and there).

45.JPG


46.JPG


I still have to aply the ageing process to the brass detail but, I quite like it!

Oh, I did go and buy extra copper paint, and the chasis took a grand total of 7 coats (7 COATS!!) to get a solid color on...

47.JPG


48.JPG


49.JPG


50.JPG


51.JPG


This is a bit of a drawback though as because of the amount of coats, it is going to take longer to be ready for matt lacquer which then has to dry itself (though that only takes about an hour) which means I can´t play with the barebone chassis till at least late tomorrow or even friday. Thankfully however there´s not much that needs to do be done to that, so really as long as that part is ready by the time I´m ready to put all the hardware in, it shouldn´t be an issue.

I also did some work on the frontal CM logo. Not sure if it´s obvious in the photos but I did slightly overlap the letter borders in order to exagerate them so they look "curvier", not sure if that makes sense? Also, as you will see, my "fix" didn´t hold :( I can´t say I´m surprised, the amount of epoxy left on it after sanding was minimal in order to keep the shape, so I´m thinking some superglue and of course the preassure of the bay components will keep it in place.

52.JPG


53.JPG


54.JPG


55.JPG


56.JPG


Oh and here´s something really special...

59.JPG


60.JPG


61.JPG


62.JPG


...and...

63.JPG


64.JPG


So yes, so far I think it´s been the most fun day of the 3 so far for me, though my hands are full of inks of several tones which are extremely hard to get rid off!

And well, that´s it for the third of the seven days of this Mod in a Week, as always I hope you´re enjoying keeping track of it and hope you come back for more tomorrow!
 
Wow, very unique build. Gonna have to keep an eye on this one, looks like it is going to turn out awesome based on what you have shown so far. Keep up the good work!!
 
Thanks a bunch guys! :D

---------------

Thursday: Day 4 of 7

Had a bit of a misshap today and took a ton of process photos, once finished I realised there memory card wasn´t in the camara...

...so all photos are actually from the end of today but I´ll explain what I did aniway :)

My sister gave me a hand today with her epic caligraphy skills and finally paid tribute to the name.

65.JPG


66.JPG


Tomorrow we will do a few other writings under that and I can consider that sidepanel (aside from the window and its details) finished.

The other side panel however was finished today.

67.JPG


68.JPG


69.JPG


70.JPG


71.JPG


Remember yesterday I did the CM logo on the front? Well this is what it was in preparation for... :)

72.JPG


73.JPG


Did the wood detail on the usb and audio connections up top.

74.JPG


And finally I couldn´t resist putting it all togueter to see how it was going, have in mind there´s still a LOT to do in terms of detailing the case and effects but... I was shocked... just...wow. I´m in love! Also, you´ll notice there´s something different about the copper. I used a sponge to aply a darker tone of copper (though with a pearl effect) so the copper changes tones depending on the light as you can see by the pictures).

75.JPG


76.JPG


77.JPG


78.JPG


79.JPG


Well, that´s it for the fourth of the 7 days. The idea for tomorrow is to finish with the external look of the case. Do that DVD drive that will go in that open slot in the front and work on the hardware!

I´ve hoped you´ve enjoyed today´s update and that you come back for more tomorrow! :)
 
Friday: Day 5 of 7

Today I apologize to all readers. I simply haven´t had time to update this with day 5´s update but rest assured I will tomorrow morning/noon as I just got back from work (almost 7am here and simply don´t have the energy to do the write up!
 
Friday: Day 5 of 7

Bunch of problems today. Unfortunately neither the ASUS motherboard nor the CM PSU made it in time so I´m having to use alternative parts. Gigabyte had sponsored a motherboard for a different project so I contacted them and ask them if it´d be ok for me to use it with this project, they said sure so I went ahead with it and well, it seems to go hand in hand...

80.JPG


81.JPG


However I´m most likely going to have to shave off the mobo´s heatsink as it´s just a bit to tall to allow the rad to fit in the case. I do have a slimline rad which fits just fine but it seems to be leaking so I can´t trust it.

The PSU is more of a decision than an issue, I´ve got a brand new Corsair TX650 but I´m thinking it´s going to cut it short for a GTX560 Ti SLI setup, while I do have an NZXT HALE90 (850w) it´s going to be a pain as that´s within my main PC so it means taking the whole thing apart to get it out. So I decided for now to go with the Corsair, took it apart, and started to paint it.

83.JPG


84.JPG


Also started customizing the EK 360 rad.

82.JPG


So I´m going to take the chance to say thanks as all these products where either sponsored or winnings from previous project.

First of all, massive thanks to Gigabyte, I could have been in serious trouble if it wasn´t for you guys!

gigabyte.png


Thanks Corsair for the TX650!

corsair.png


Thanks Mayhems for the coolant!

mayhems.jpg


a Special mention for Kingston. 2x 240Gb HyperX SSDs + 16Gb 1866Mhz DDR HyperX ram!

kingston.jpg


Thanks to Lamptron for the FC10!

lamptron.jpg


So. I´ve now done all I can do before sticking all the HW in, so that´s what I´m doing on Day 6 and hell, if possible even finish this project on day 6, so you know, I can sleep on Sunday (that´d be nice).

Thanks for reading! :)
 
Saturday: Day 6 of 7

Though technically today is Sunday, I couldnt post yesterdays update as I had to source some parts from my everyday pc so I had no PC to post from.

I will reply to all comments on Monday evening when I´m setup at the Campus Party event (hopefully everything arrives in one piece, gulp.

Right so, more issues. The radiator was stuffed, leaking and while fixable I didn´t have the time and I had to bring my PC to the workshop aniway so figured I´d just use its rad instead. So, sourced the radiator from the main pc, cpu, ram and harddrives and the build went on, luckily from here on, only small fixable-on-the-spot issues where encounted.

Let the cabeling and tinkering begin!

85.JPG


86.JPG


87.JPG


Gave the final coat of copper to the PSU and lackered afterwards.

88.JPG


89.JPG


In it goes along with the rest of the parts.

90.JPG


91.JPG


92.JPG


93.JPG


Fingers crossed for a problem-free boot...

94.JPG


95.JPG


Success!!!! It even recognised my raid array from my previous setup (different mobo)! All hdds, ssds and devices detected.

And that´s it for day 6, join me on the final day!
 
Sunday: Day 7 of 7

Final day!

As I mentioned in the previous entry I will reply to all comments on Monday evening if all arrives ok.

Today I finished it all up. There will be a second set of pictures from the CP event but here´s the first set. It goes without saying had it not been a time limited edition, I would´ve done a lot more detailing and precision work but, well all things considered and a few faults aside, I´m really glad on how it turned out.

So, I give you, Mod in a Week: "APASF: CP London Edition".

102.JPG


With special thanks to:

103.JPG


96.JPG


97.JPG


98.JPG


99.JPG


100.JPG


101.JPG


104.JPG


105.JPG


106.JPG


107.JPG


And that´s the end of the project. I hope you have enjoyed following it. I will post an updated as mentioned tomorrow (Monday) evening if all arrives well.

Now, to bed!
 
that was one interesting design, when i first saw the wood and handles i was very iffy of the look, but once completed it really came together!
 
This is a nice mod especially in such a short time frame. I'm not a fan of the steampunk motif but your skills are evident. Everytime you tarnished the wood/vinyl I squirmed a bit but thats just my taste. I followed the APASF mod on and off and that is obviously your thing so more power to you.
 
Guacho, te quedo hermoso eso...
Reitero, lo unico que no me gusta, es que le hayas anulado la ventilacion frontal....
 
that was one interesting design, when i first saw the wood and handles i was very iffy of the look, but once completed it really came together!

Thanks! I believe it´s one of those things that mostly works as a combination with the rest so it´s imperative to see the final pictures and it´s hard to judge before doing so :)

Nice! Any tips on creating a side window for the NZXT h630?

I´ve never tried that case but I´d imagine it´s like the rest, use masking tape to get a refference for straight lines and dremel the hell out of it, of course also grinding it afterwards for a smooth finish :)

This is a nice mod especially in such a short time frame. I'm not a fan of the steampunk motif but your skills are evident. Everytime you tarnished the wood/vinyl I squirmed a bit but thats just my taste. I followed the APASF mod on and off and that is obviously your thing so more power to you.

Special thanks to you Sir! It´s definately a style that not everybody likes but it makes it even more special with comments like yours, someone who doesn´t care for the taste but is able to admire the work itself so thanks!

Guacho, te quedo hermoso eso...
Reitero, lo unico que no me gusta, es que le hayas anulado la ventilacion frontal....

Pequeños sacrificios por el diseño ;)

FINAL PICTURES SET 2 - Campus Party Europe London O2 Arena:

While I´m waiting for a bunch of people to email me photos, here´s a selection of what I currently have, you´ll even recognise the original APASF on the screen as I was talking about sponsorships and how it affects companies in terms of publicity, value for money, etc. You may also recognise a certain Hans (pOpE) and Anthony Leather (Combatus) who where fantastic to meet in person! All in all I think it´s safe to say we all had a blast at the event!

108.jpg


109.jpg


110.jpg


111.jpg


112.jpg


113.jpg


114.jpg


115.jpg


116.jpg


117.jpg


As a side note, updated first post and added all current final pictures to the "reserved for final pictures" part.
 
Back
Top