- Joined
- Jun 6, 2000
- Messages
- 6,254
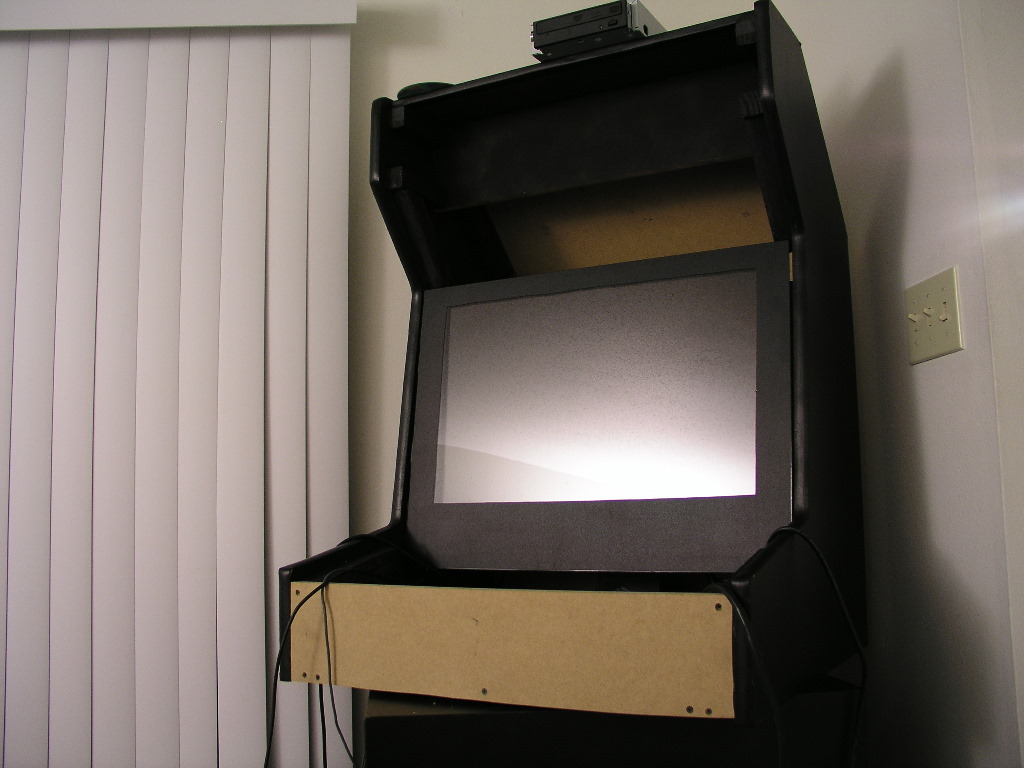
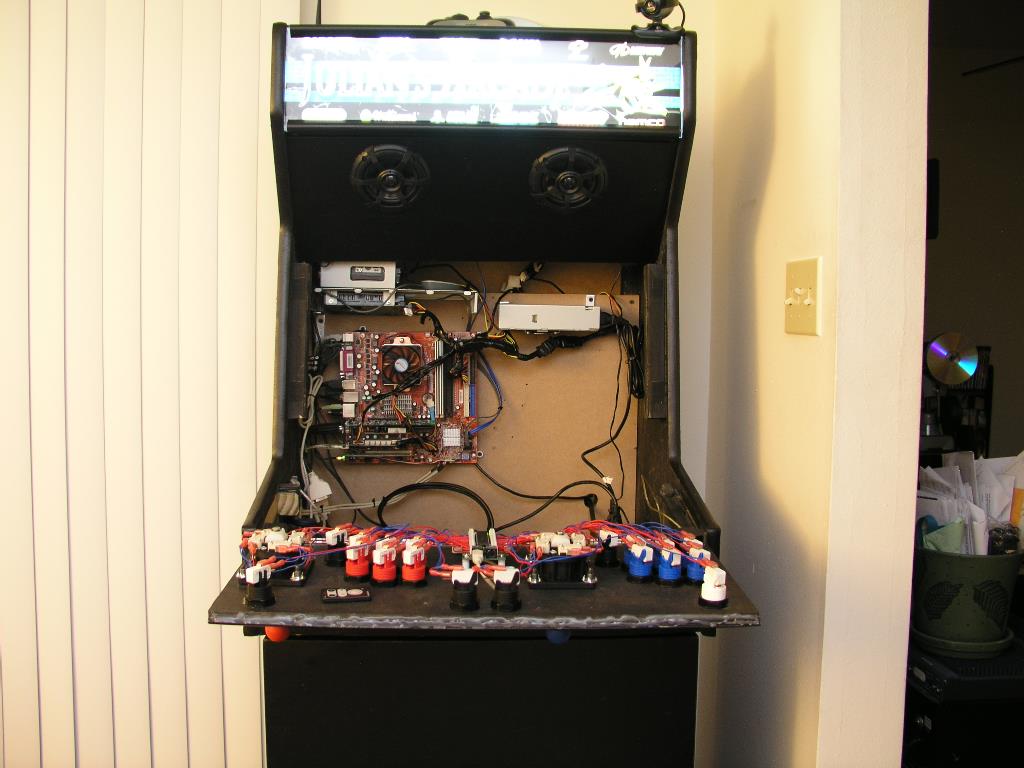
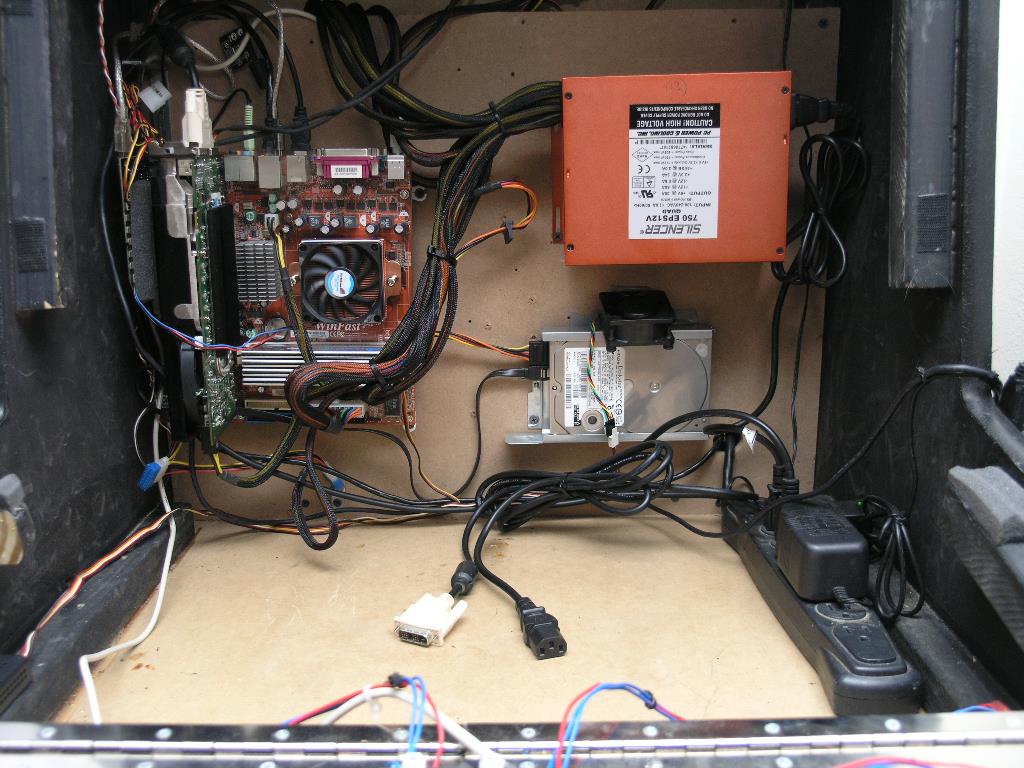
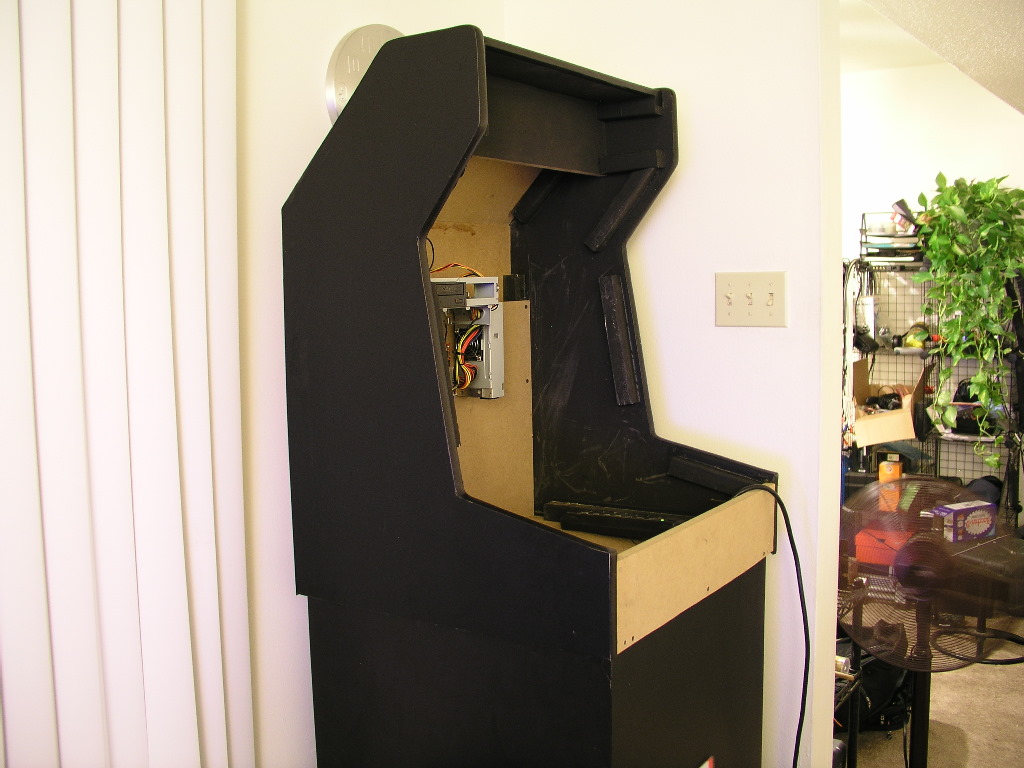
I finally started my bartop mame cabinet build.. I still have the marquee to think about.. I gutted a case I bought on newegg for $55. It had removable brackets and small p/s that worked out great. If it doesn't look like a bartop .. it's because it's on my subwoofer. ")
UPDATES ON LAST PAGE.
edited: added specs
Specs:
24" Dell 2405FPW (all I had lying around that was bigger than 19")
Opteron 144
1TB Hitachi storage drive
74GB Raptor boot drive
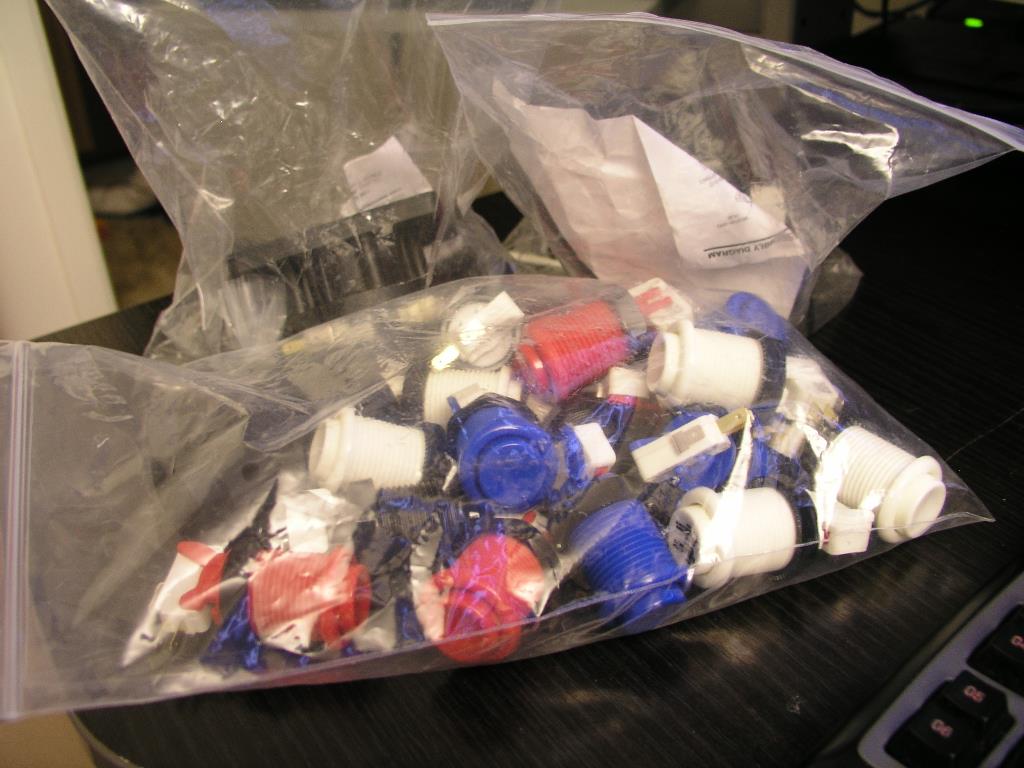
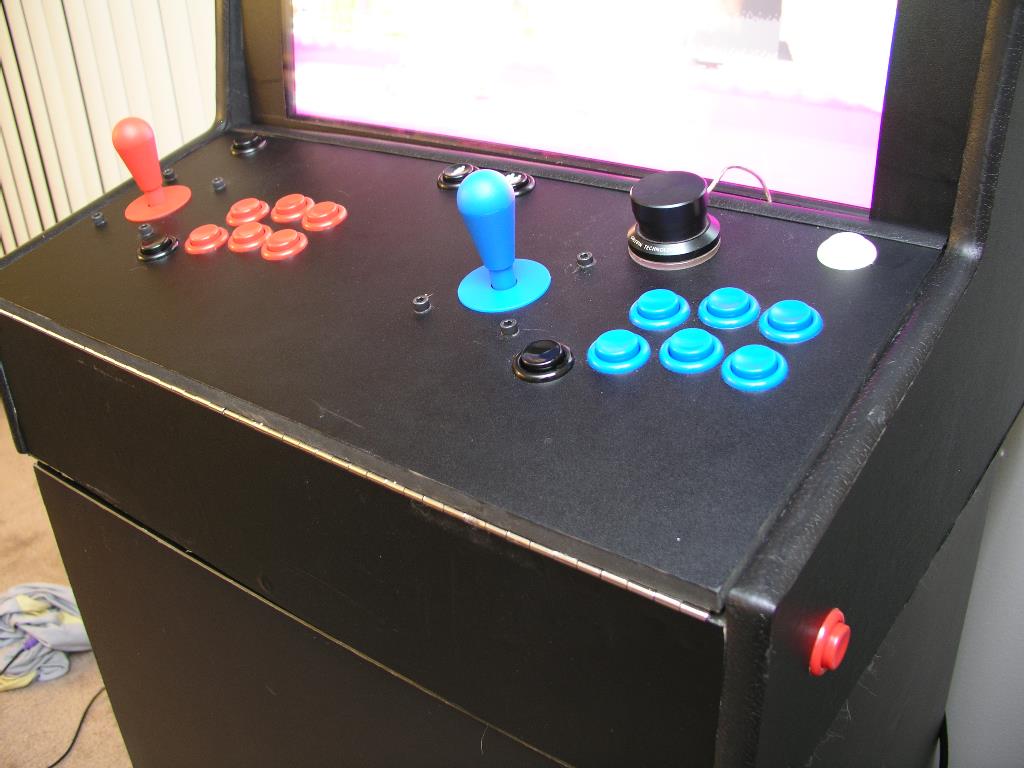
IL / Happ Competition J/S & Buttons
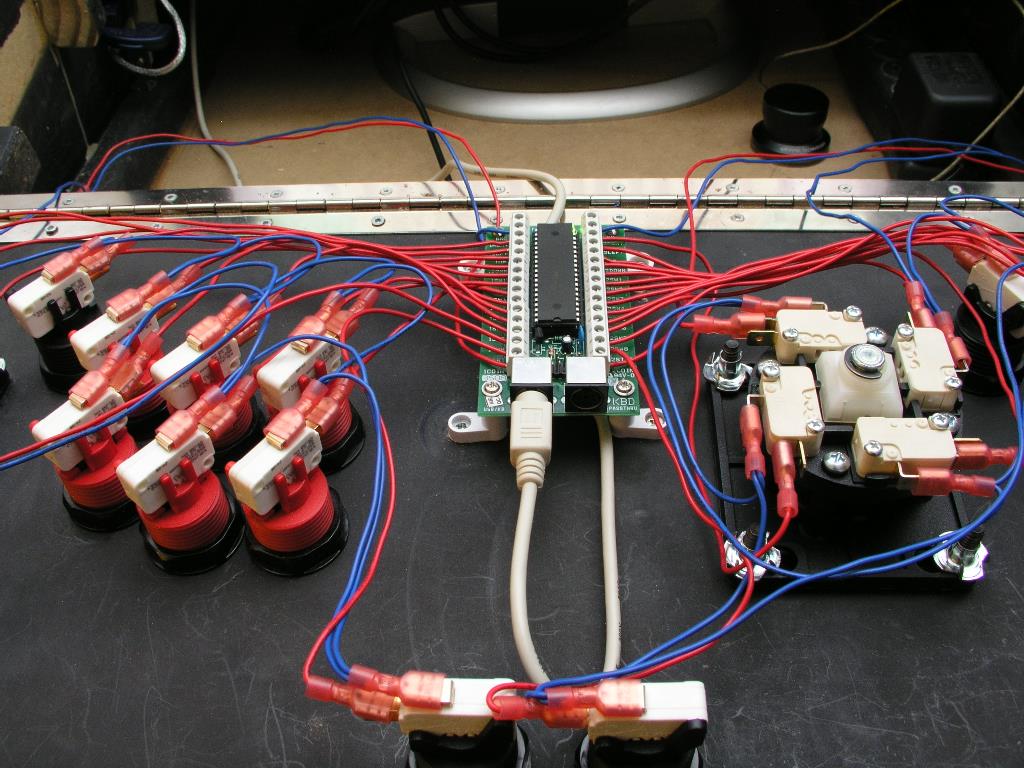
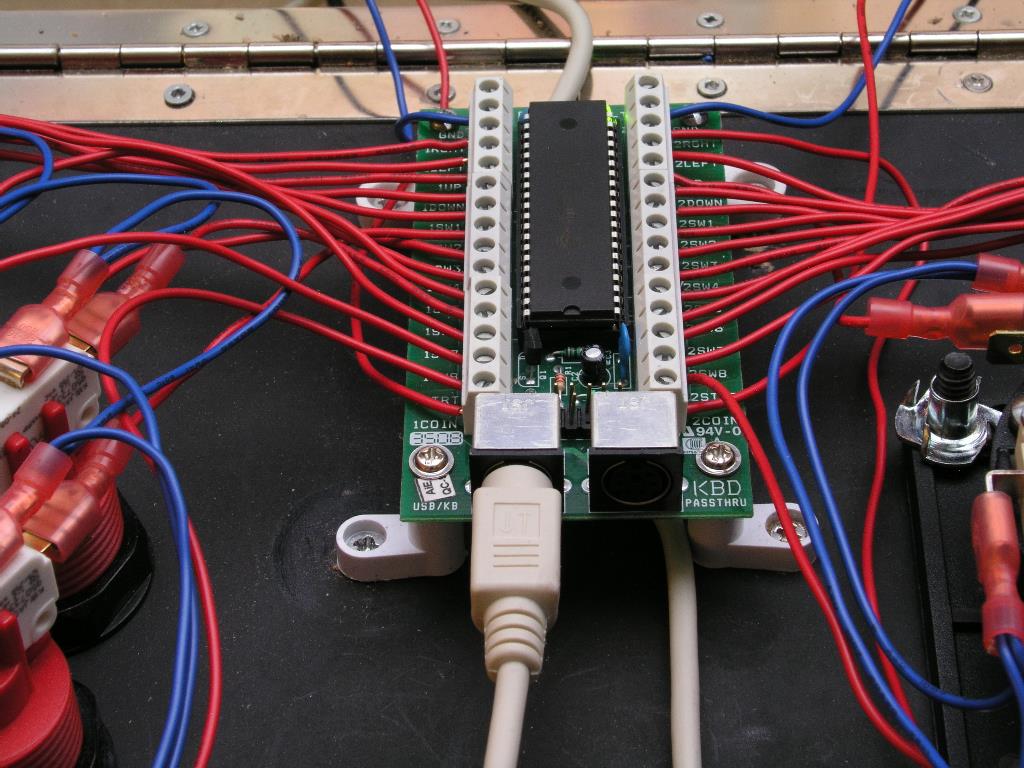
Ipac2 keyboard controller
Wifi (external antenna) & GigE
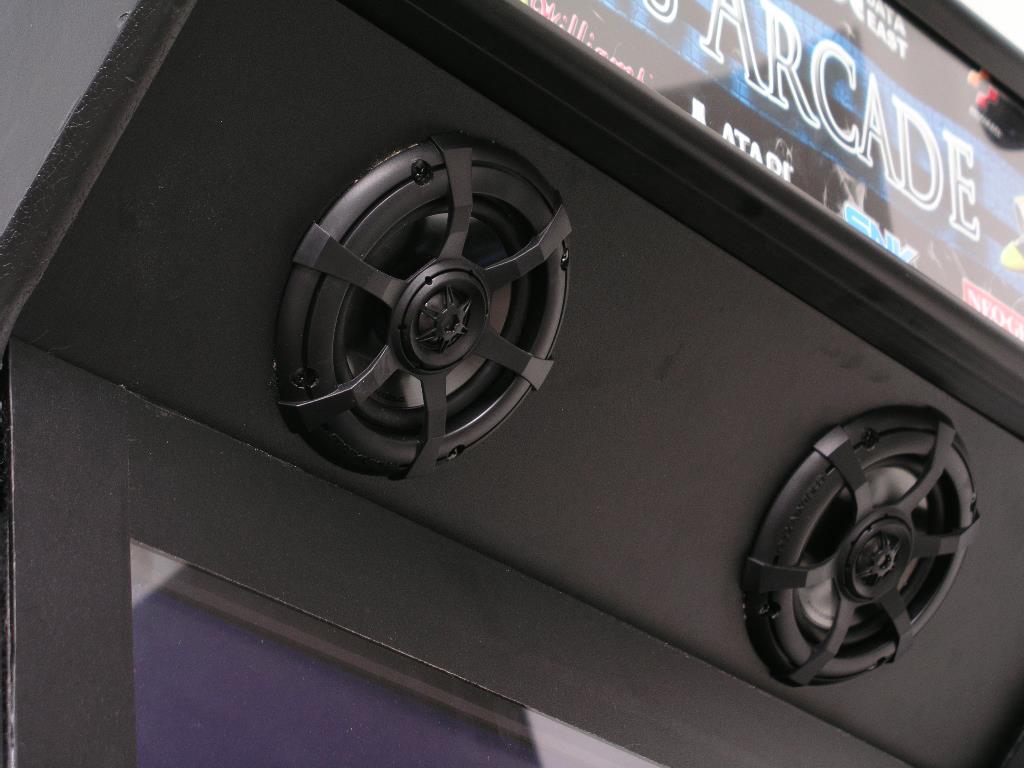
2 x 4" Phoenix Gold RSD (had them lying around too)
external usb hub (not in pics) for console controllers
Sunbeam Theta fan controller (controls fans through software)
Quickcam 4000 (to stream my living room or anyone that's playing using ActiveWebcam) hehe
Griffin Powermate (volume controller) hid when not in use.
(EDIT: "upgraded to an FX55 and dumped the raptor. I also added a pcp&c 750 and an 8800GTX in SFIV. (get's an A with the in game bench)
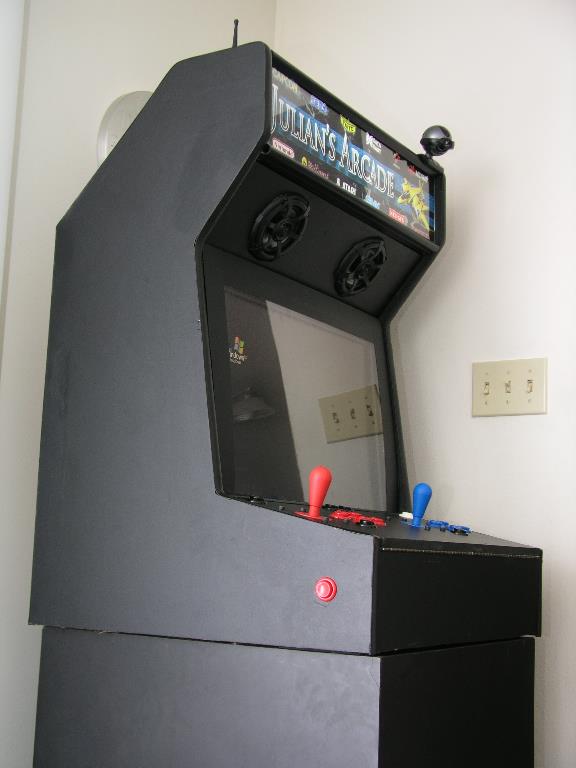
Overall it was a pretty easy build. I made some mistakes that I won't do next time but overall my friends get a kick out of it. I will post more pics when I get the control panel lit up.
Notes:
- using Maximus Arcade as the FE which has worked great so far.
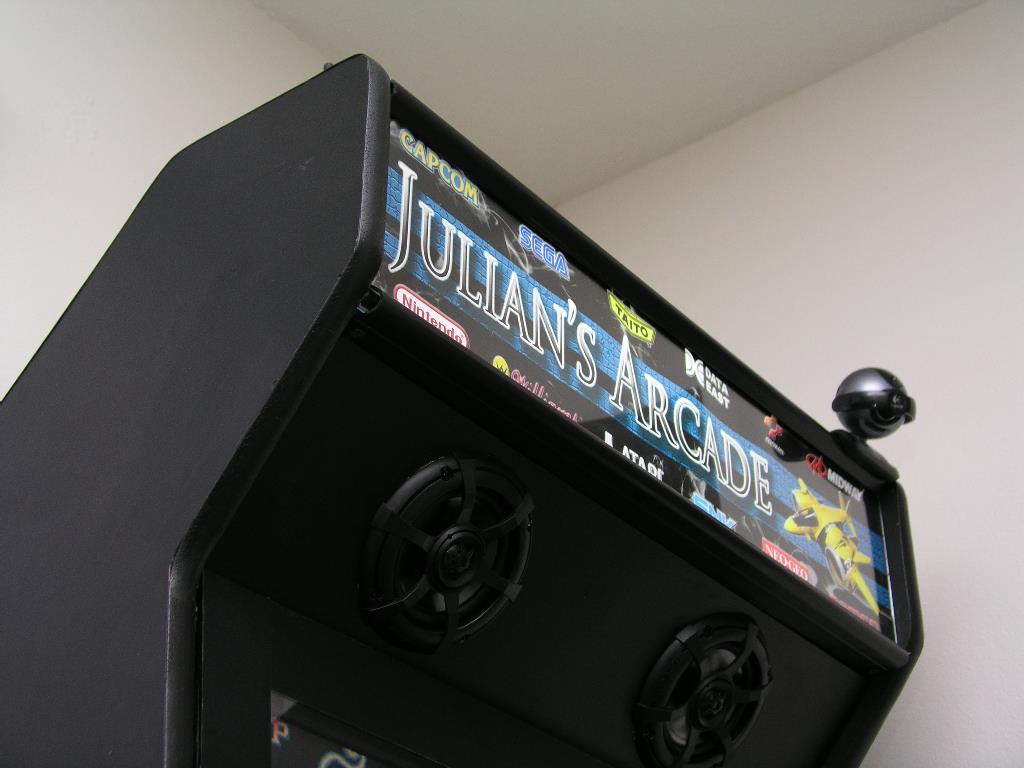
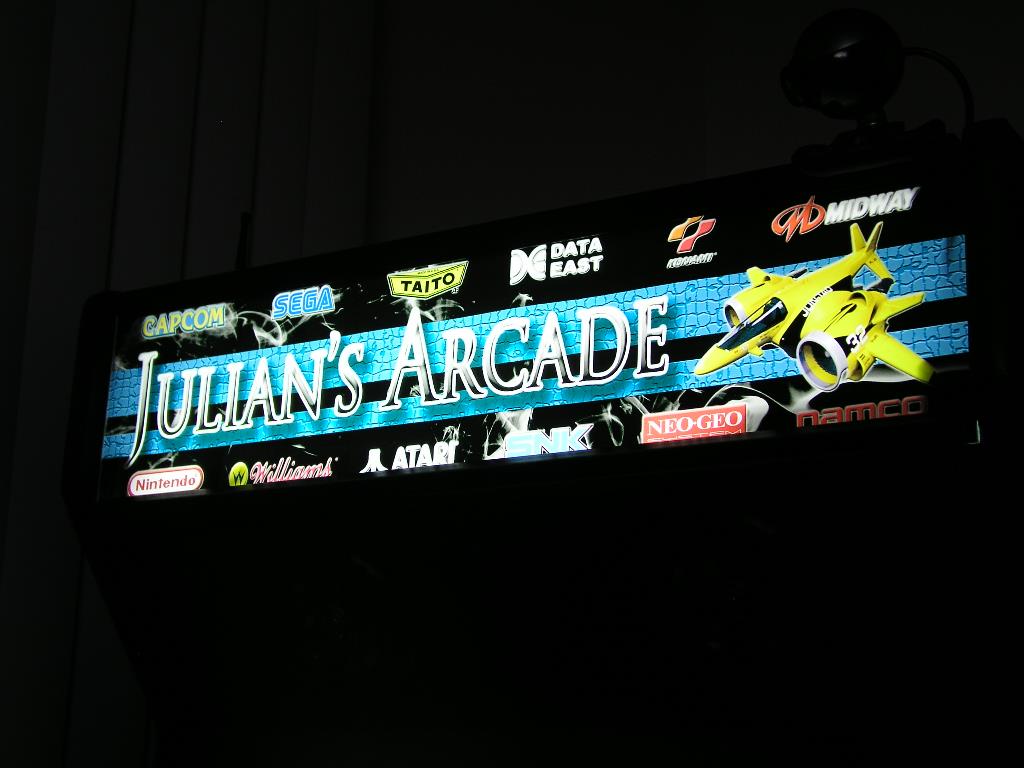
- I was real surprised on how easy the keyboard controller was to hook up. I was also pleased on how my marquee from Mame Marquees turned out.
- used 4 cold cathodes powered by the PC to light up the marquee and put a button on the back to start the computer.
- powering the speakers with an amp ripped out of a set of dell speakers and control the volume with the knob in the pic of the control panel.
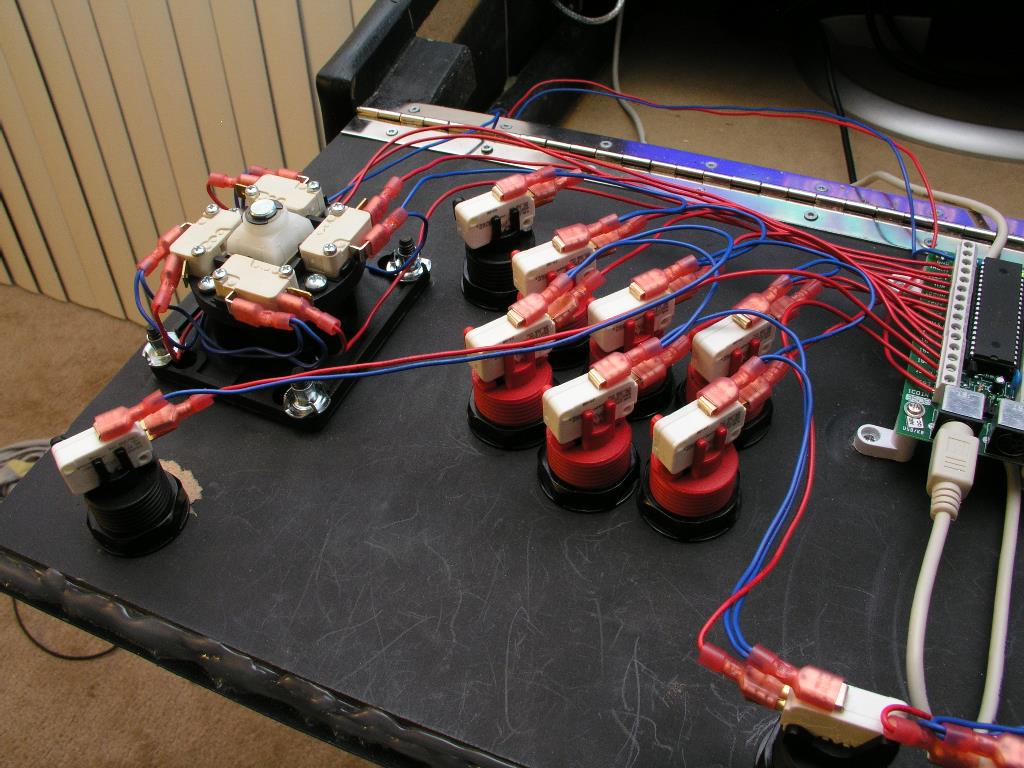
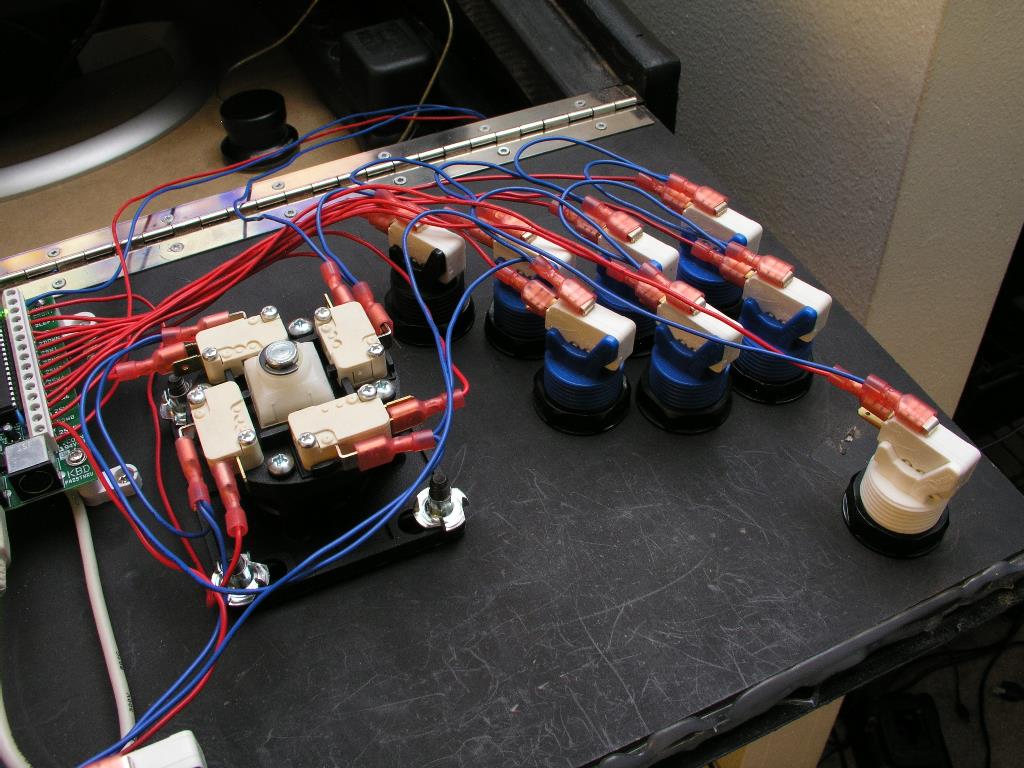
- accidently bought solid core wire, which actually turned out great since I could bend the wire anyway I wanted. Just have a good set of crimpers.
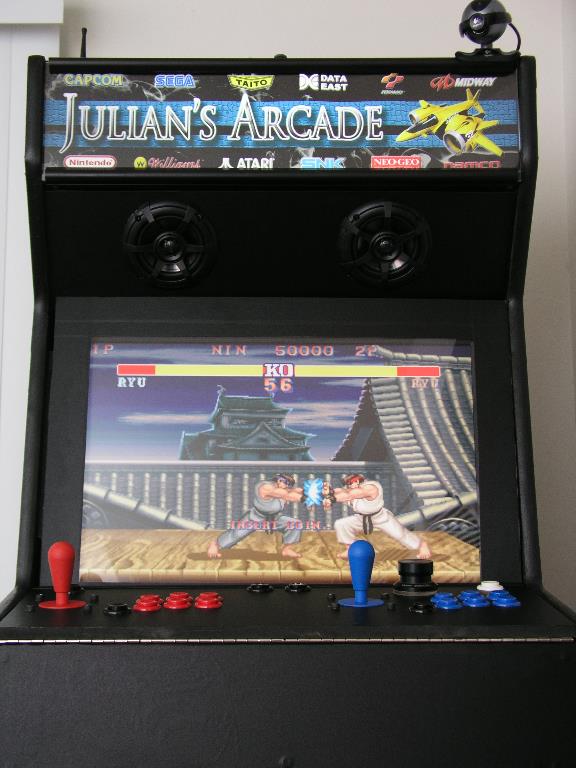
- ordered a set of Electric Ice buttons since they are in stock now and will be lighting up the control panel soon.
- installed a set of stainless dragon joysticks (not pictured)
- used a sheet of Lexan for the screen with velcro. I also used leftover laminate for the bezel
- everything is removable from the front by opening up the control panel and pulling out the bezel. May make it changeable in the future.
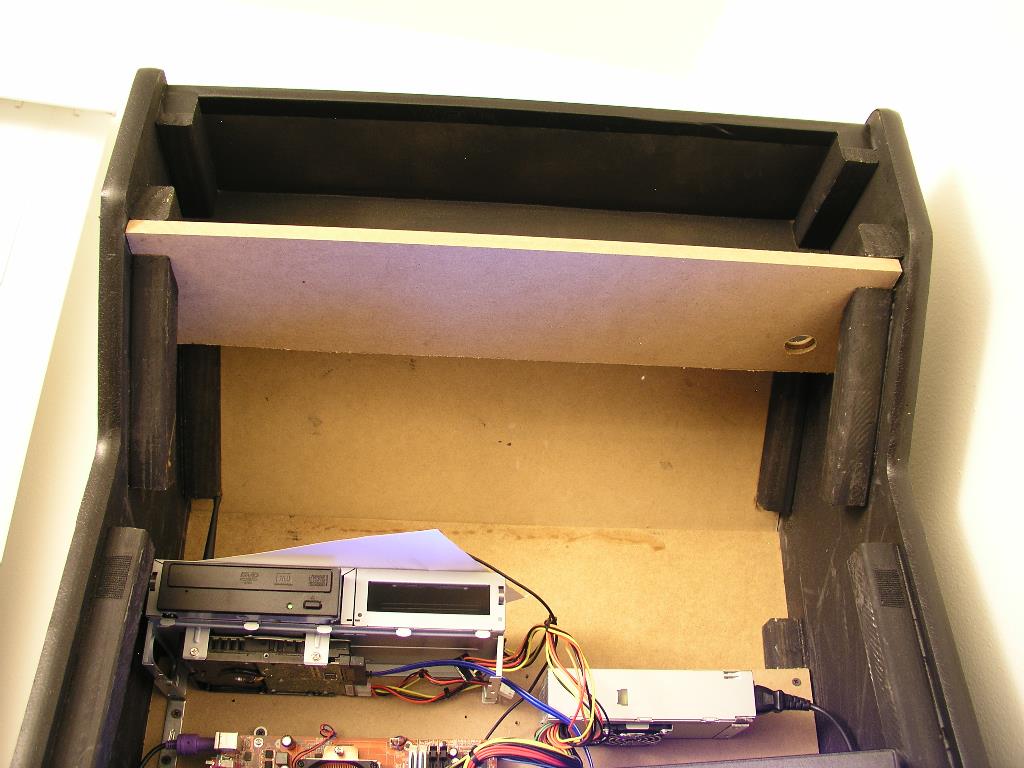
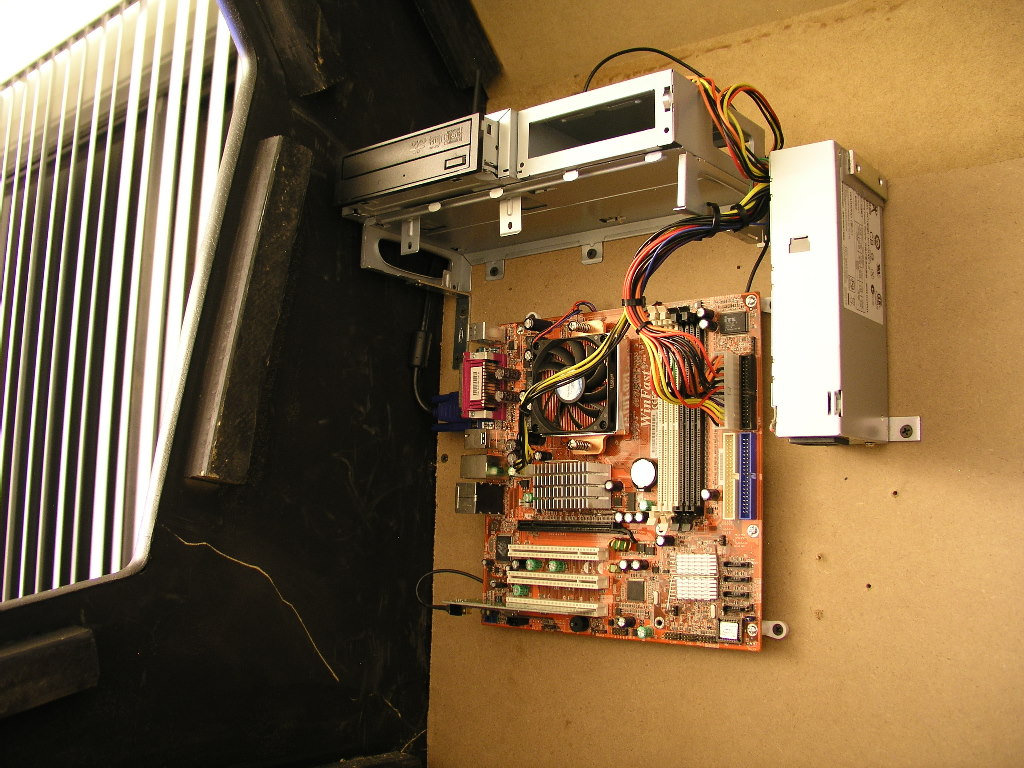
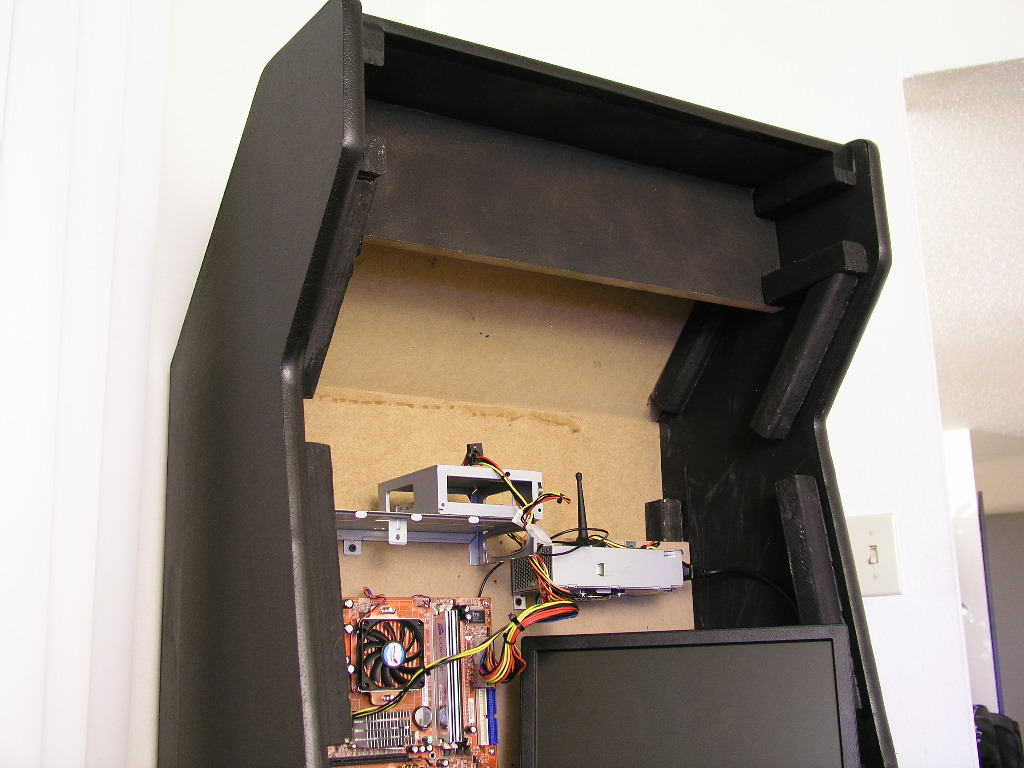
with the bracket, I can get a couple of drives and a cdrom.. they are removeable too.
still trying to decide on a marquee.. plus I need to decide if I want to power the cathodes with my pc or just get an undercounter type.
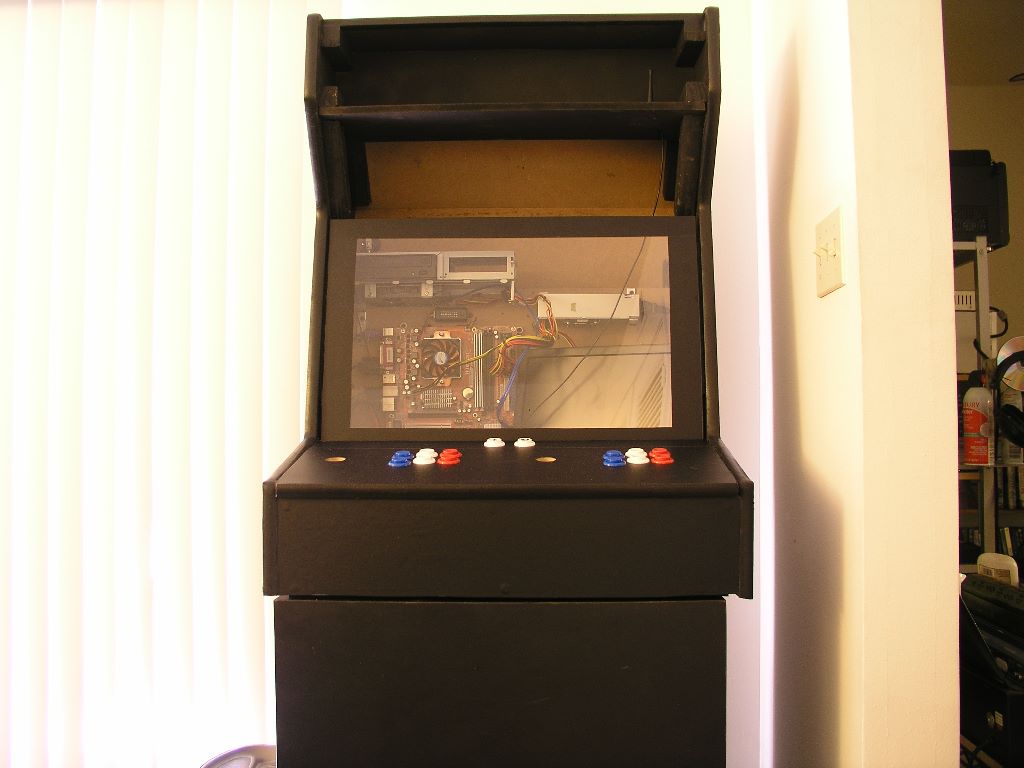
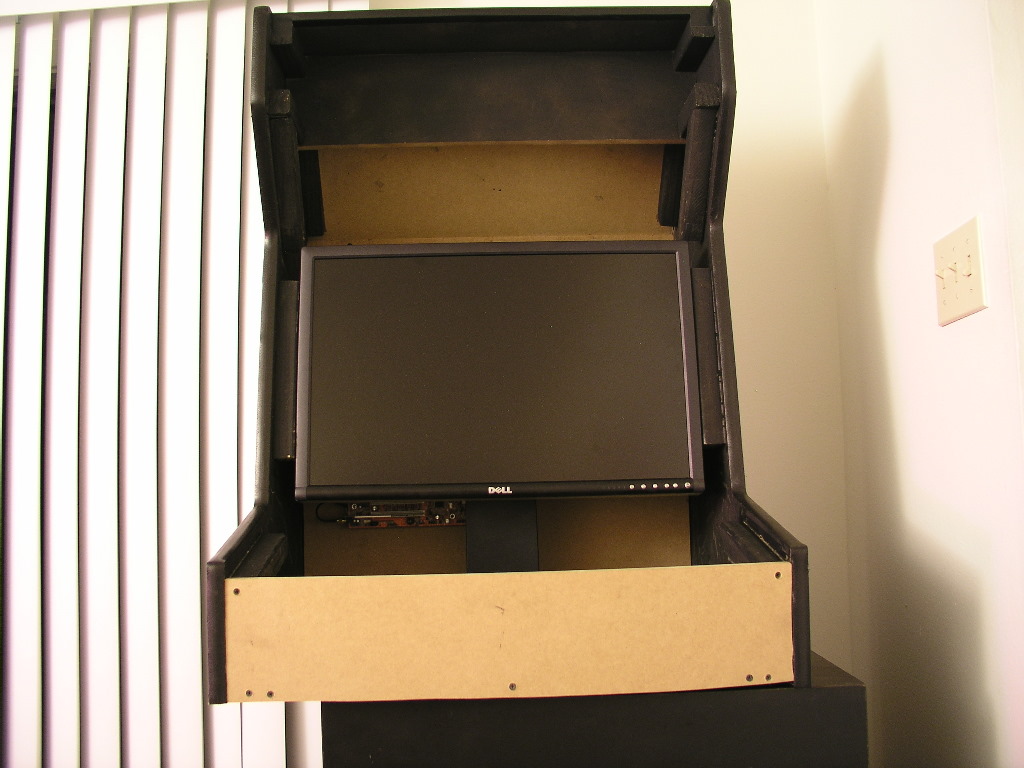
widescreen is usually a shunned on a mame cab but I am going to jam my modded xbox and plug into it, plus it was the only other monitor (2405FPW) I had lying around. I have a Lexan bezel that will finish it up nice. It will be velcroed in so I can remove the monitor and work on the system later.
test firing everything up...
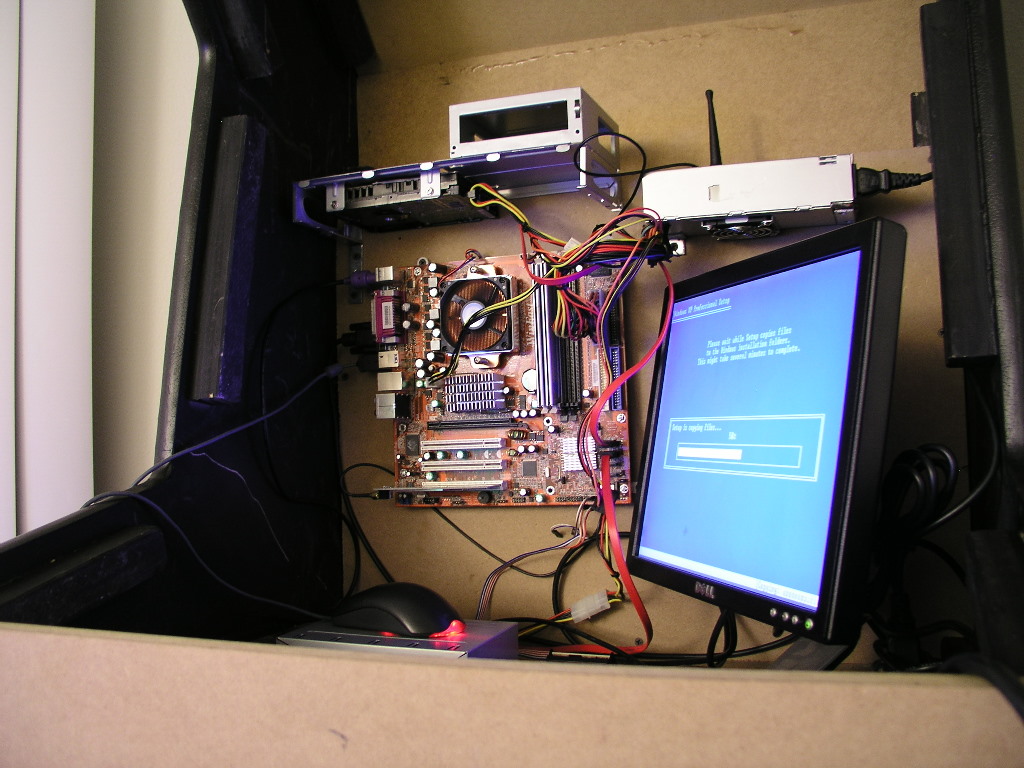
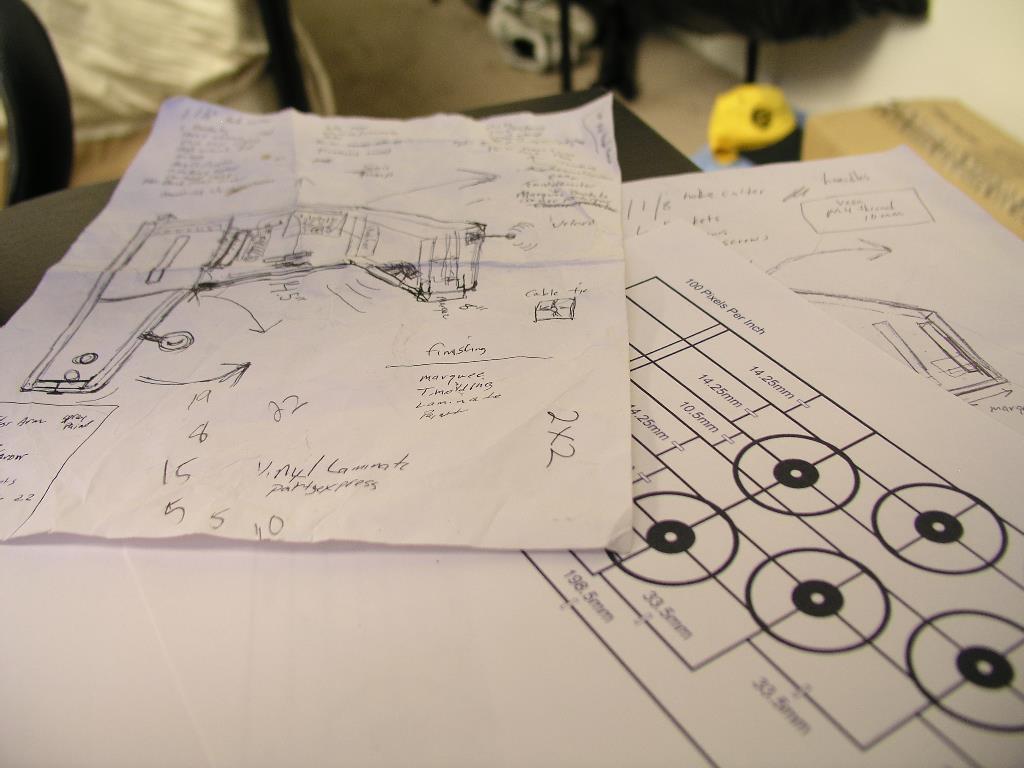
I have yet to design the control panel but it's going to be the typical 2 player 6 button layout with 2 side buttons. Its also going to be hinged for easy access. Since I am going to have a wireless kb/mouse and wifi, I can just load movies or games whenever I want.
I will try and post more pics as I get the rest of my parts..
UPDATES ON LAST PAGE.
edited: added specs
Specs:
24" Dell 2405FPW (all I had lying around that was bigger than 19")
Opteron 144
1TB Hitachi storage drive
74GB Raptor boot drive
IL / Happ Competition J/S & Buttons
Ipac2 keyboard controller
Wifi (external antenna) & GigE
2 x 4" Phoenix Gold RSD (had them lying around too)
external usb hub (not in pics) for console controllers
Sunbeam Theta fan controller (controls fans through software)
Quickcam 4000 (to stream my living room or anyone that's playing using ActiveWebcam) hehe
Griffin Powermate (volume controller) hid when not in use.
(EDIT: "upgraded to an FX55 and dumped the raptor. I also added a pcp&c 750 and an 8800GTX in SFIV. (get's an A with the in game bench)
Overall it was a pretty easy build. I made some mistakes that I won't do next time but overall my friends get a kick out of it. I will post more pics when I get the control panel lit up.
Notes:
- using Maximus Arcade as the FE which has worked great so far.
- I was real surprised on how easy the keyboard controller was to hook up. I was also pleased on how my marquee from Mame Marquees turned out.
- used 4 cold cathodes powered by the PC to light up the marquee and put a button on the back to start the computer.
- powering the speakers with an amp ripped out of a set of dell speakers and control the volume with the knob in the pic of the control panel.
- accidently bought solid core wire, which actually turned out great since I could bend the wire anyway I wanted. Just have a good set of crimpers.
- ordered a set of Electric Ice buttons since they are in stock now and will be lighting up the control panel soon.
- installed a set of stainless dragon joysticks (not pictured)
- used a sheet of Lexan for the screen with velcro. I also used leftover laminate for the bezel
- everything is removable from the front by opening up the control panel and pulling out the bezel. May make it changeable in the future.
with the bracket, I can get a couple of drives and a cdrom.. they are removeable too.
still trying to decide on a marquee.. plus I need to decide if I want to power the cathodes with my pc or just get an undercounter type.
widescreen is usually a shunned on a mame cab but I am going to jam my modded xbox and plug into it, plus it was the only other monitor (2405FPW) I had lying around. I have a Lexan bezel that will finish it up nice. It will be velcroed in so I can remove the monitor and work on the system later.
test firing everything up...
I have yet to design the control panel but it's going to be the typical 2 player 6 button layout with 2 side buttons. Its also going to be hinged for easy access. Since I am going to have a wireless kb/mouse and wifi, I can just load movies or games whenever I want.
I will try and post more pics as I get the rest of my parts..
Last edited: