Navigation
Install the app
How to install the app on iOS
Follow along with the video below to see how to install our site as a web app on your home screen.
Note: This feature may not be available in some browsers.
More options
You are using an out of date browser. It may not display this or other websites correctly.
You should upgrade or use an alternative browser.
You should upgrade or use an alternative browser.
LIAN LI PC-V350 !!!
- Thread starter emax
- Start date
what size are those fans bkbroiler?
The two small fans are 70mm fans. The HDD Cage fan is 92mm.
Hello everybody, I wanted to make the next question, i need to remove the motherboard tray with the noctua 9UB installed, the question is with 2 marked with red lines affect the stability of psu? or the rest of the chassis supports the psu? thanks in advance for opinions and ideos for the mod


Yeah, do not cut there unless you have your psu mounted another way (read: if you do not use the backplate at all to hold it up). Also, in this picture, the drive cage is removed. Seeing as the drive cage adds stability to that same area, I'd argue that even if you don't cut there, it's not enough to hold up your psu without bowing out.
Simply stated, find a way to mount your PSU to the top of the case, without using the backplate at all for support, and you can do whatever you need to do the backplate.

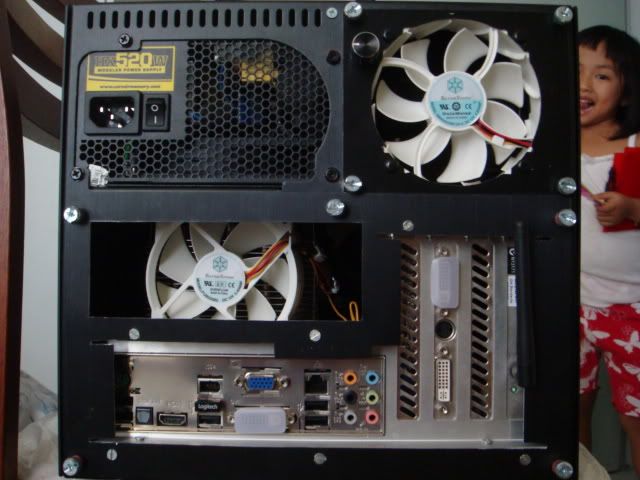
Ok, got the back plate. Looks good so far. I'm frustrated that I didn't get enough time with this over the weekend. I need a drill bit to make the hole next to the 92mm fan larger so I can mount the fan controller, but daylight savings time screwed me and I waited too long to go to the hardware store - grrr. Anyway, long story short, I'm still working on this, but here are a few pics that should give you an idea of the overall finished product. I'll have much better pics when I can have a little photo session in the daylight hours
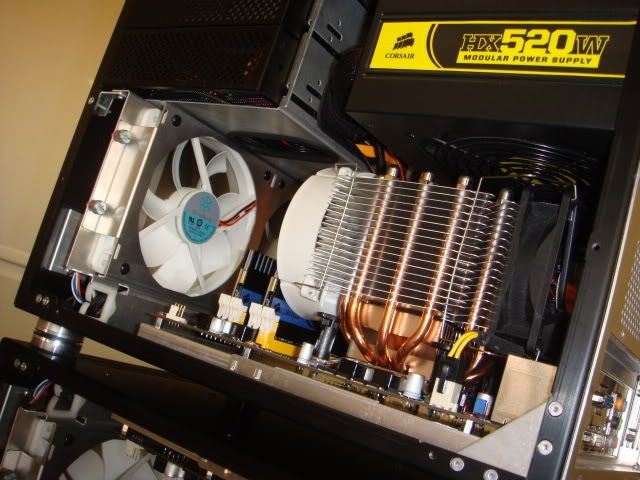
Here is a pic showing where I shaved away part of the case, allowing me to assemble everything outside the case:
Here is a little preview of what the final product will look like:
Hi man you can install a noctua c12 with dfi jr p45 and can pull off the motherboard tray with nocuta is installed ? with the mod in the left frame too ? Thx
Hi man you can install a noctua c12 with dfi jr p45 and can pull off the motherboard tray with nocuta is installed ? with the mod in the left frame too ? Thx
I would have a look at this post and ask this guy if it's possible to orient his noctua in such a way as to be able to slide out the mobo tray (without the fan) if he were to notch out the case. It looks like he can orient it with the heat pipes facing the back of the case, but I can't tell you if the thing stuck out too far or not for that mod to work - these heatsinks all fit on the board differently. However, this guy has the hardware you asked about in your question to me...
http://www.hardforum.com/showpost.php?p=1033435667&postcount=411
Hi man you can install a noctua c12 with dfi jr p45 and can pull off the motherboard tray with nocuta is installed ? with the mod in the left frame too ? Thx
Not a chance. I'm in the process right now of installing the same m/b and heatsink. Any rotation you choose will not allow the m/b tray to slide in/out with the heatsink installed. I had to cut out a small notch about 2 inches long and about 1/4" wide to allow the edge of the heatsink fins to slide through. Also, I checked and there's no way w/o heavy mod that you can get this to happen with the fan installed. No biggie for me tho.
Not a chance. I'm in the process right now of installing the same m/b and heatsink. Any rotation you choose will not allow the m/b tray to slide in/out with the heatsink installed. I had to cut out a small notch about 2 inches long and about 1/4" wide to allow the edge of the heatsink fins to slide through. Also, I checked and there's no way w/o heavy mod that you can get this to happen with the fan installed. No biggie for me tho.
I mean this mod a cut left frame how to figure in this pics with red lines ...

DTN107
Supreme [H]ardness
- Joined
- Jun 30, 2008
- Messages
- 4,846
rEVjon
Did you cut into the 5.25 bay to fit your wires through?
Did you cut into the 5.25 bay to fit your wires through?
darthcani: That is the area that I'm speaking of....except that I didn't make nearly as long of a cut as that. The cut I made only allowed enough room for the fins to fit through. BTW, I situated my h/s such that the round ends of the heatpipes are sitting over the memory slots on the m/b.
rEVjon
Did you cut into the 5.25 bay to fit your wires through?
yes, for better cable management

You only need to cut this much, to fit the noctua c12p.
sorry for the blurry picture
EDIT: It looks like you have a different bolt layout for your backplate, that one on the left top looks to be in the way.

Thanks for your answer, i ordered the Noctua C12 im waiting to arrive to me im a little far in Argentina but 10 15 days after my orden generally arrived we will see ....
CrimandEvil
Dick with a heart of gold
- Joined
- Oct 22, 2003
- Messages
- 19,670
Oh.My.God. What happened to that Li-Li?!?!
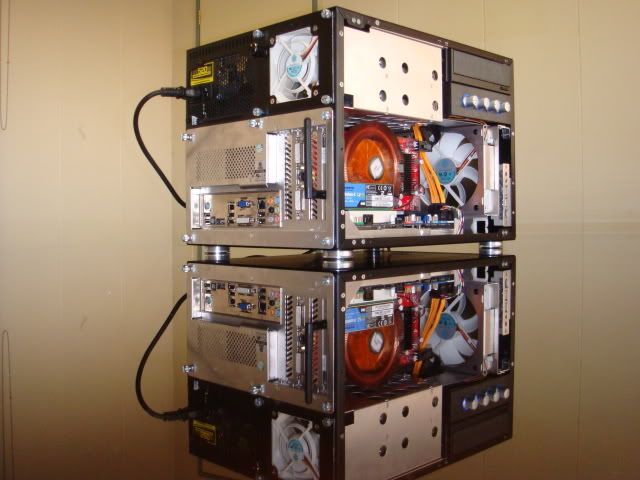
Here are pics of my completed project. I could do more with cable management, but for now I'm happy with the results, as this is a good compromise between looks and functionality (being able to pull out my motherboard tray without any hassles). I have fan controllers on the back three fans that allow me to turn all the fans down to inaudible levels. When I want to get heavy use out of my processor or graphics cards (transcoding or gaming), I can turn them up. If I were to order the back plate again, I'd add a little more material above the 70mm fans (I covered the minuscule gap that was left there by trapping some heat shrink tubing between the top part of the fans and the chassis to give it a finished look (beats re-ordering another panel).
Right now, the fans on my two graphics cards are the only thing you can hear. They are only running at 6% and are a vast sound improvement over stock 4850 coolers (Palit came up with this 2 slot cooler that offers much better cooling performance than the originally designed 4850s). Still, when it comes time to upgrading the graphics cards, I'll be happy to rid myself of the low whine they make. This is a portable gaming rig first and foremost, however the graphics card noise is the only thing I had to live with for this build. For everything else I got exactly what I wanted


Right now, the fans on my two graphics cards are the only thing you can hear. They are only running at 6% and are a vast sound improvement over stock 4850 coolers (Palit came up with this 2 slot cooler that offers much better cooling performance than the originally designed 4850s). Still, when it comes time to upgrading the graphics cards, I'll be happy to rid myself of the low whine they make. This is a portable gaming rig first and foremost, however the graphics card noise is the only thing I had to live with for this build. For everything else I got exactly what I wanted


@ Dr.Joe.. looking nice. Where will you place the radiator? and which components are you using?
The rad is external...
Its an Mora 2 Pro from Watercool, with selfmade feet and fanmount:

Its connected with these CPCs:

The HW:
Q6600
9600GT
Gigabyte G33M-DS2R
@bkbroiler
great work at backplate.. im having exactly the same intentions with adding exhausting fans but i dont have the case yet to make measurements.. is it possible to use 80mm fans instead of 70mm (from the pictures it seams like there is 1cm above&below)? Im asking this as im unable to find any store in EU that have 70mm fan grils which is quite non-standard size for fans
great work at backplate.. im having exactly the same intentions with adding exhausting fans but i dont have the case yet to make measurements.. is it possible to use 80mm fans instead of 70mm (from the pictures it seams like there is 1cm above&below)? Im asking this as im unable to find any store in EU that have 70mm fan grils which is quite non-standard size for fans

@bkbroiler
great work at backplate.. im having exactly the same intentions with adding exhausting fans but i dont have the case yet to make measurements.. is it possible to use 80mm fans instead of 70mm (from the pictures it seams like there is 1cm above&below)? Im asking this as im unable to find any store in EU that have 70mm fan grils which is quite non-standard size for fans
Thanks! Using the 70mm fans took a little modding to make them work (I had to shave a little off the case under the PSU to make them fit properly. I chose that size because it was the biggest size fan I could make work there (80mm just won't fit - you'd have to move the PSU - then your better off doing the 120mm fan mod Tremelos did). I understand your pain for finding the 70mm fan grills, it was difficult to find the ones I have - it just took some dedication on my part to find them. I wasn't able to find anything other than the wire grills though, but fortunately for me, that's all I was looking for. The funny thing is, I found plenty of 70mm fans on the internet, just not the grills.
For reference sake, the psu fan in my pictures (above the 70mm fans), is an 80mm fan.
Let me know if I can be of further help.
bk
ok, bad news. the ninja will not fit. it is 2-3 mm to big.
so i will give Thermalright`s High-Riser HR-01 PLUS a chance...
Its old quote, but can you explain why it does not fit, to wide or to tall?
Im considering the same backplate mode, and wondering if the Noctua NH-U12P would fit inside?
@bkbroiler
thanks for info, I'm then set on tremeloes mod
DTN107
Supreme [H]ardness
- Joined
- Jun 30, 2008
- Messages
- 4,846
Nice rEVjon. Hw much of an improvement is the airflow you think is now?
-------------------------------
Also newegg now hows the silver and red V351.
http://www.newegg.com/Product/Product.aspx?Item=N82E16811112221
http://www.newegg.com/Product/Product.aspx?Item=N82E16811112223
-------------------------------
Also newegg now hows the silver and red V351.
http://www.newegg.com/Product/Product.aspx?Item=N82E16811112221
http://www.newegg.com/Product/Product.aspx?Item=N82E16811112223
RonindeBeatrice
Limp Gawd
- Joined
- Dec 17, 2007
- Messages
- 197
DolbySystems
n00b
- Joined
- Mar 13, 2009
- Messages
- 3
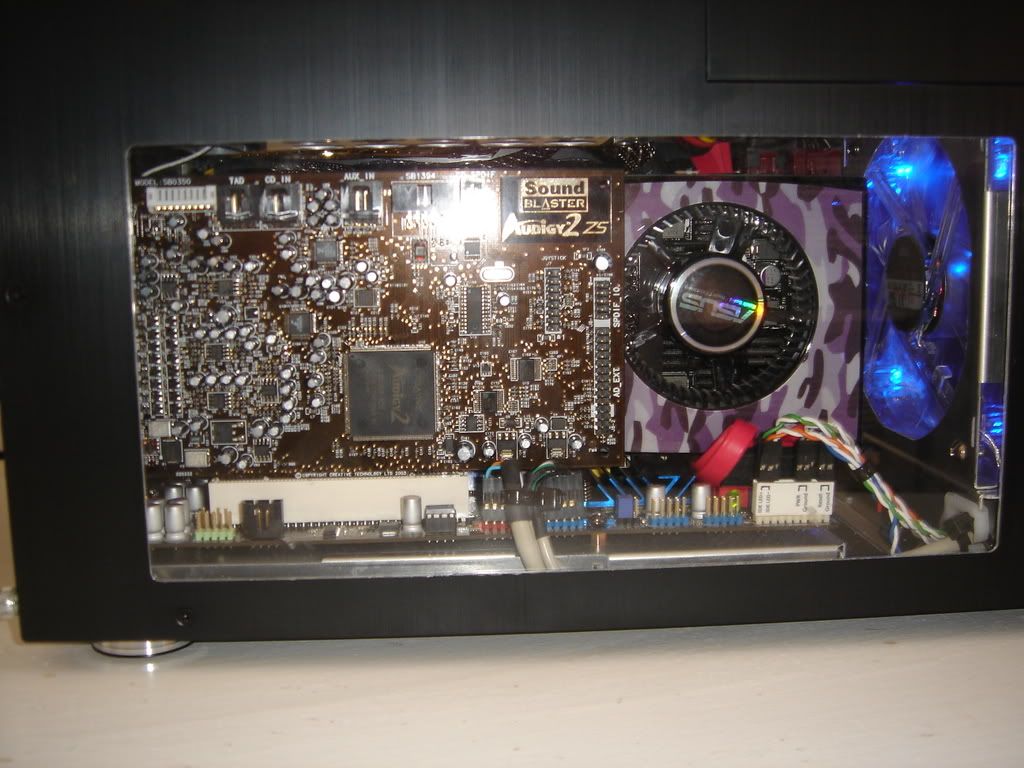
Hi guys... here's my first attempt at a PC-V350 build with custom side widows
(pics at bottom of post)
What's inside?
Asus P5Q-EM
Intel Core2 E6850 (dual core 3.0GHz)
Stock Intel CPU cooler
4GB Kingston DDR2-800 (4-4-4-12)
Asus GTX-280 1GB
Creative Audigy2-ZS
Lian-Li 3-in-2 HDD cage
3 x 320GB Seagate SATA2
1 x 500GB Seagate SATA2
Enermax Infinity 720w PSU
External USB DVD-RW
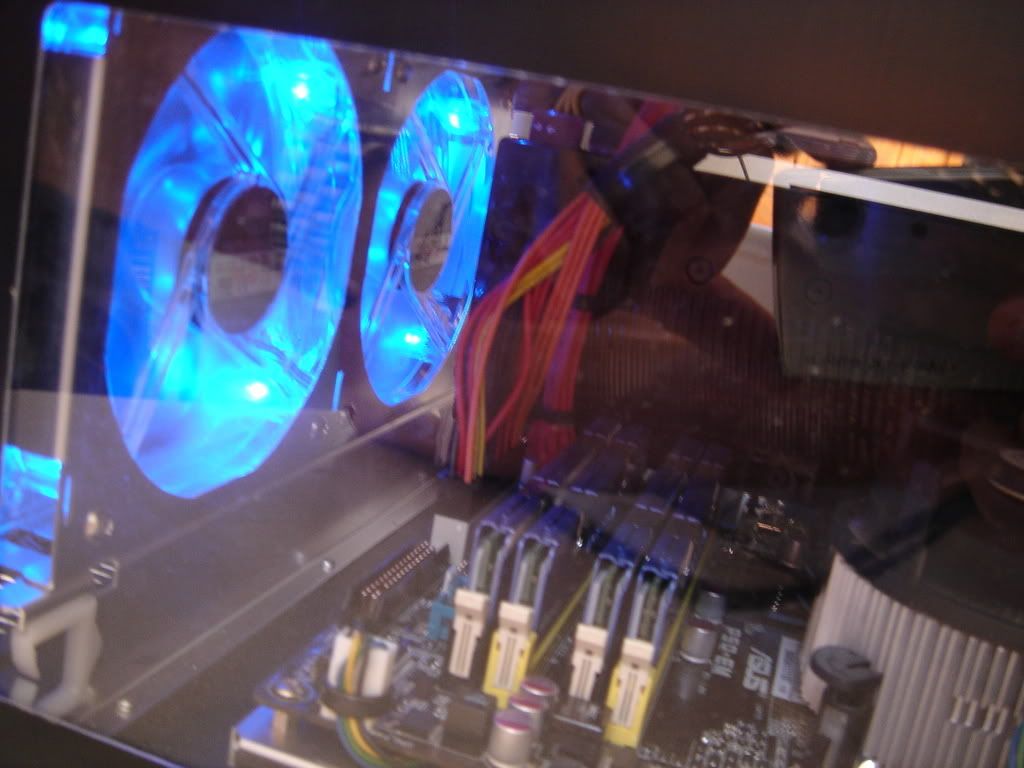
2 x 120mm coolermaster blue LED fan
1 x 92mm zalman blue LED fan
1 x 80mm Lian-Li fan (in HDD expansion cage)
Replacements / Additions next week:
Scythe Kaze Master 5.25" fan controller
2 x Noctua NF-S12 fan
1 x Noctua NF-R8 fan
2 x blue CCFL lights
Possibly AXP-140 HSF (can anyone verify that this fits???)
My inspiration?... Tremeloes' original watercooled PC-V350 (sadly no watercooling for me)
Pics:

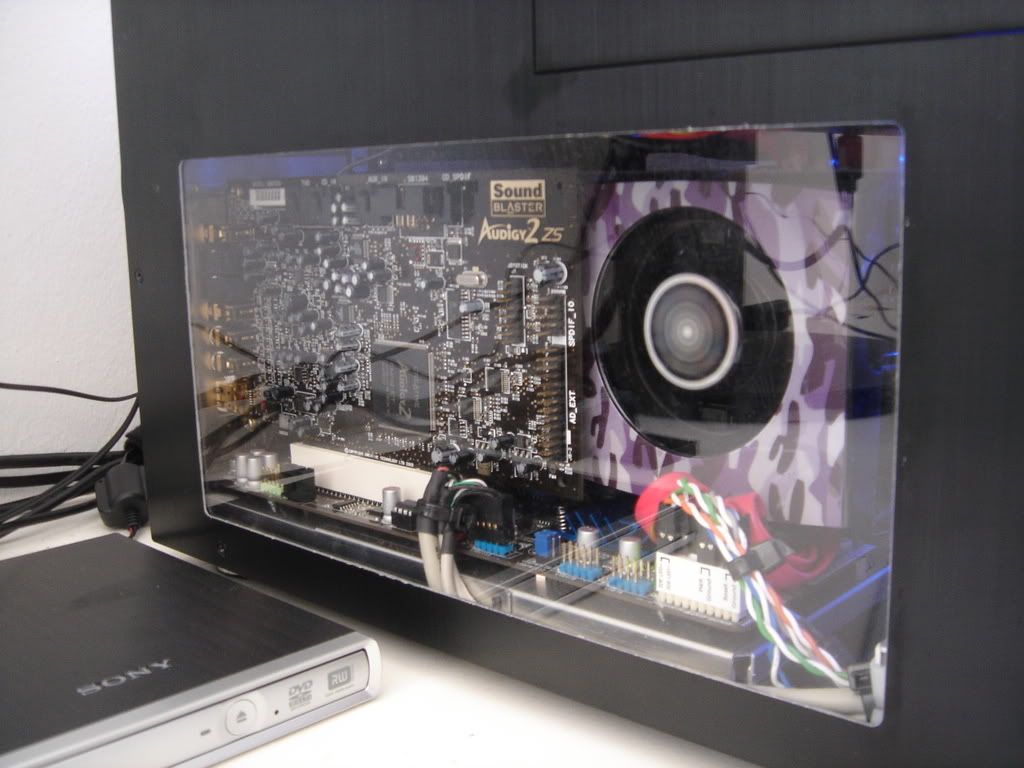
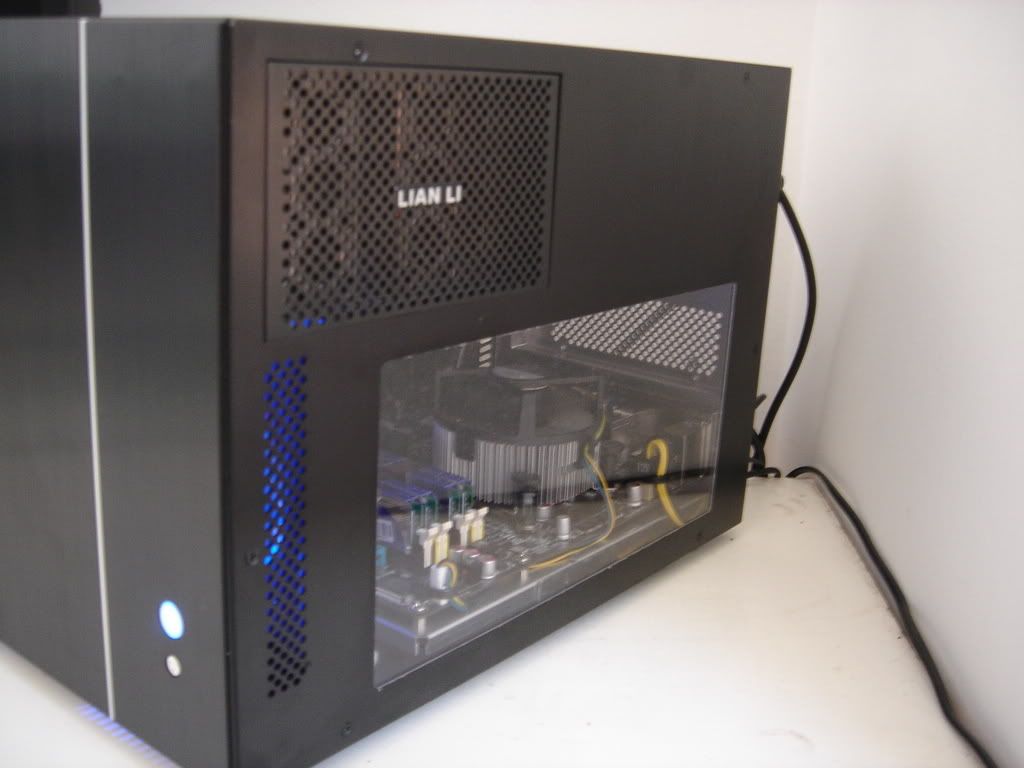
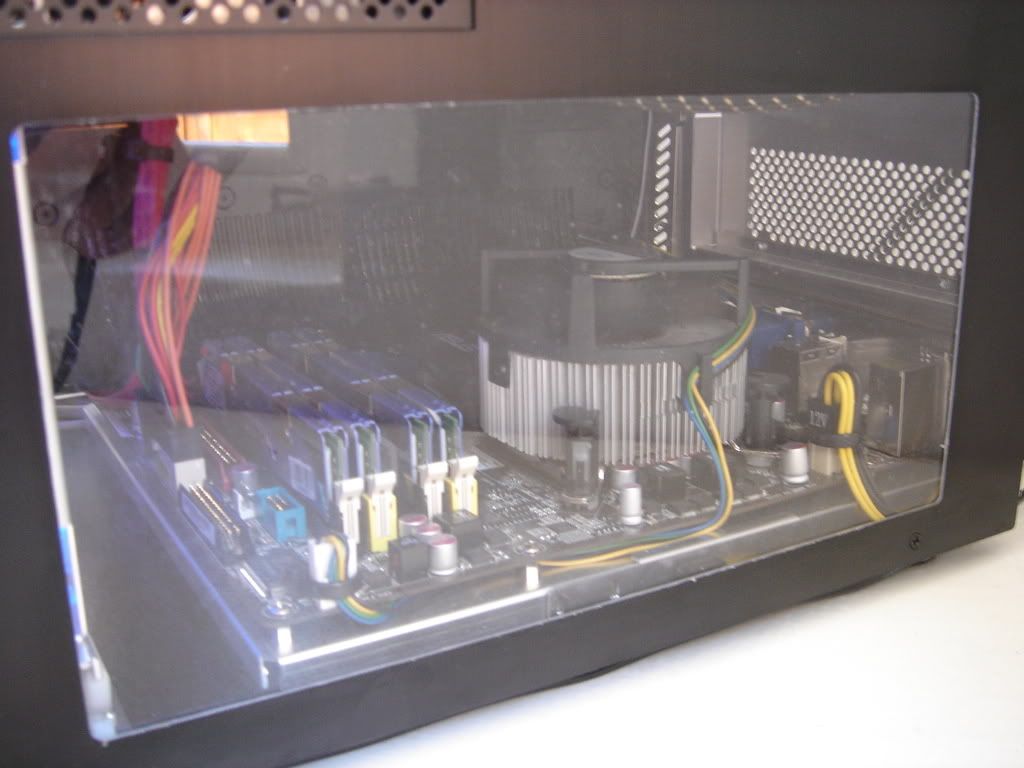

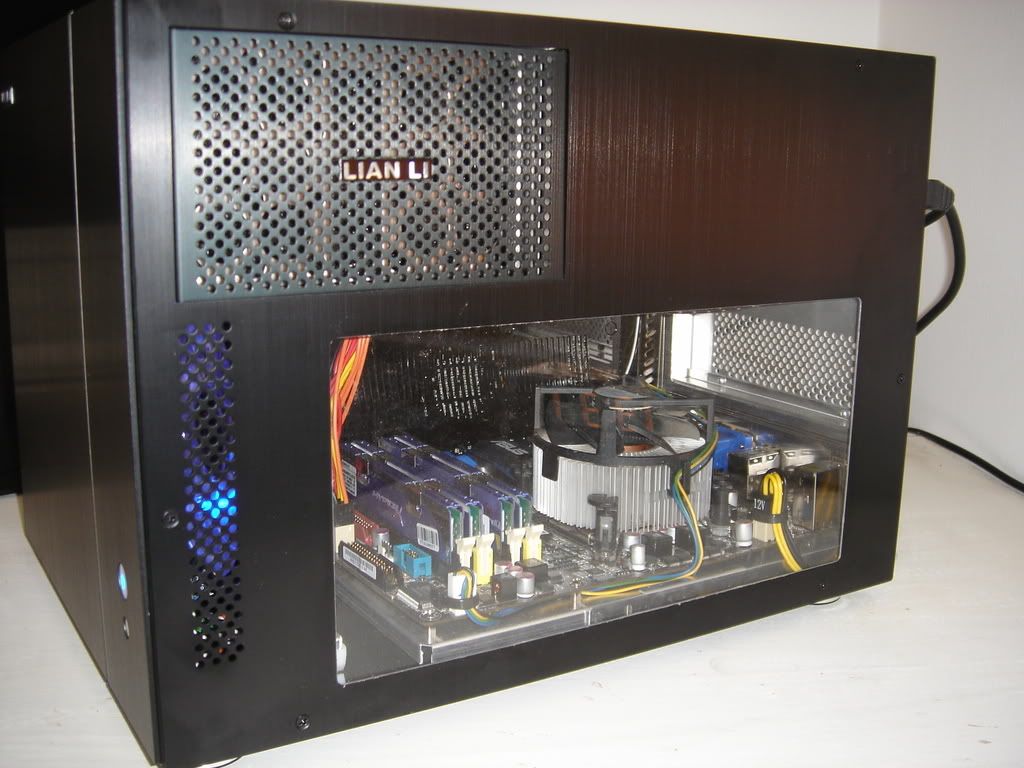
I hope you like
I could do with improving the aesthetics on the rear 92mm fan mod.
(pics at bottom of post)
What's inside?
Asus P5Q-EM
Intel Core2 E6850 (dual core 3.0GHz)
Stock Intel CPU cooler
4GB Kingston DDR2-800 (4-4-4-12)
Asus GTX-280 1GB
Creative Audigy2-ZS
Lian-Li 3-in-2 HDD cage
3 x 320GB Seagate SATA2
1 x 500GB Seagate SATA2
Enermax Infinity 720w PSU
External USB DVD-RW
2 x 120mm coolermaster blue LED fan
1 x 92mm zalman blue LED fan
1 x 80mm Lian-Li fan (in HDD expansion cage)
Replacements / Additions next week:
Scythe Kaze Master 5.25" fan controller
2 x Noctua NF-S12 fan
1 x Noctua NF-R8 fan
2 x blue CCFL lights
Possibly AXP-140 HSF (can anyone verify that this fits???)
My inspiration?... Tremeloes' original watercooled PC-V350 (sadly no watercooling for me)
Pics:
I hope you like
I could do with improving the aesthetics on the rear 92mm fan mod.
digitalxdna
Gawd
- Joined
- Dec 27, 2005
- Messages
- 932
where/how did you get your windows done?
DolbySystems
n00b
- Joined
- Mar 13, 2009
- Messages
- 3
a big HAAS cnc machine + 400x400 piece of clear acrylic + my father in law (mech eng.) = cool windows!
I mounted them using clear silicone
Something similar should be achievable with a dremel + a skilled user?
I mounted them using clear silicone
Something similar should be achievable with a dremel + a skilled user?