Laptop guts bolted to the back of a monitor

Joined
Apr 5, 2016
Messages
2,286
IMG_20170917_175851_01.jpg


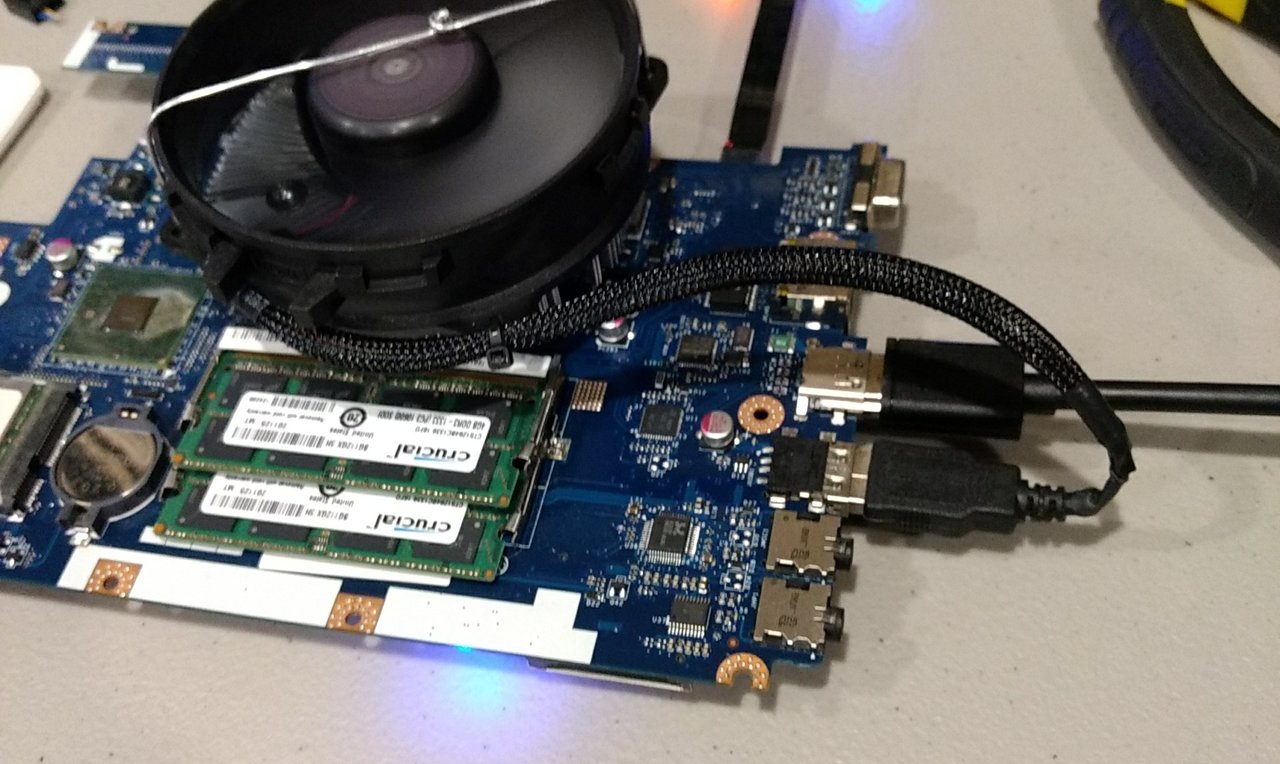
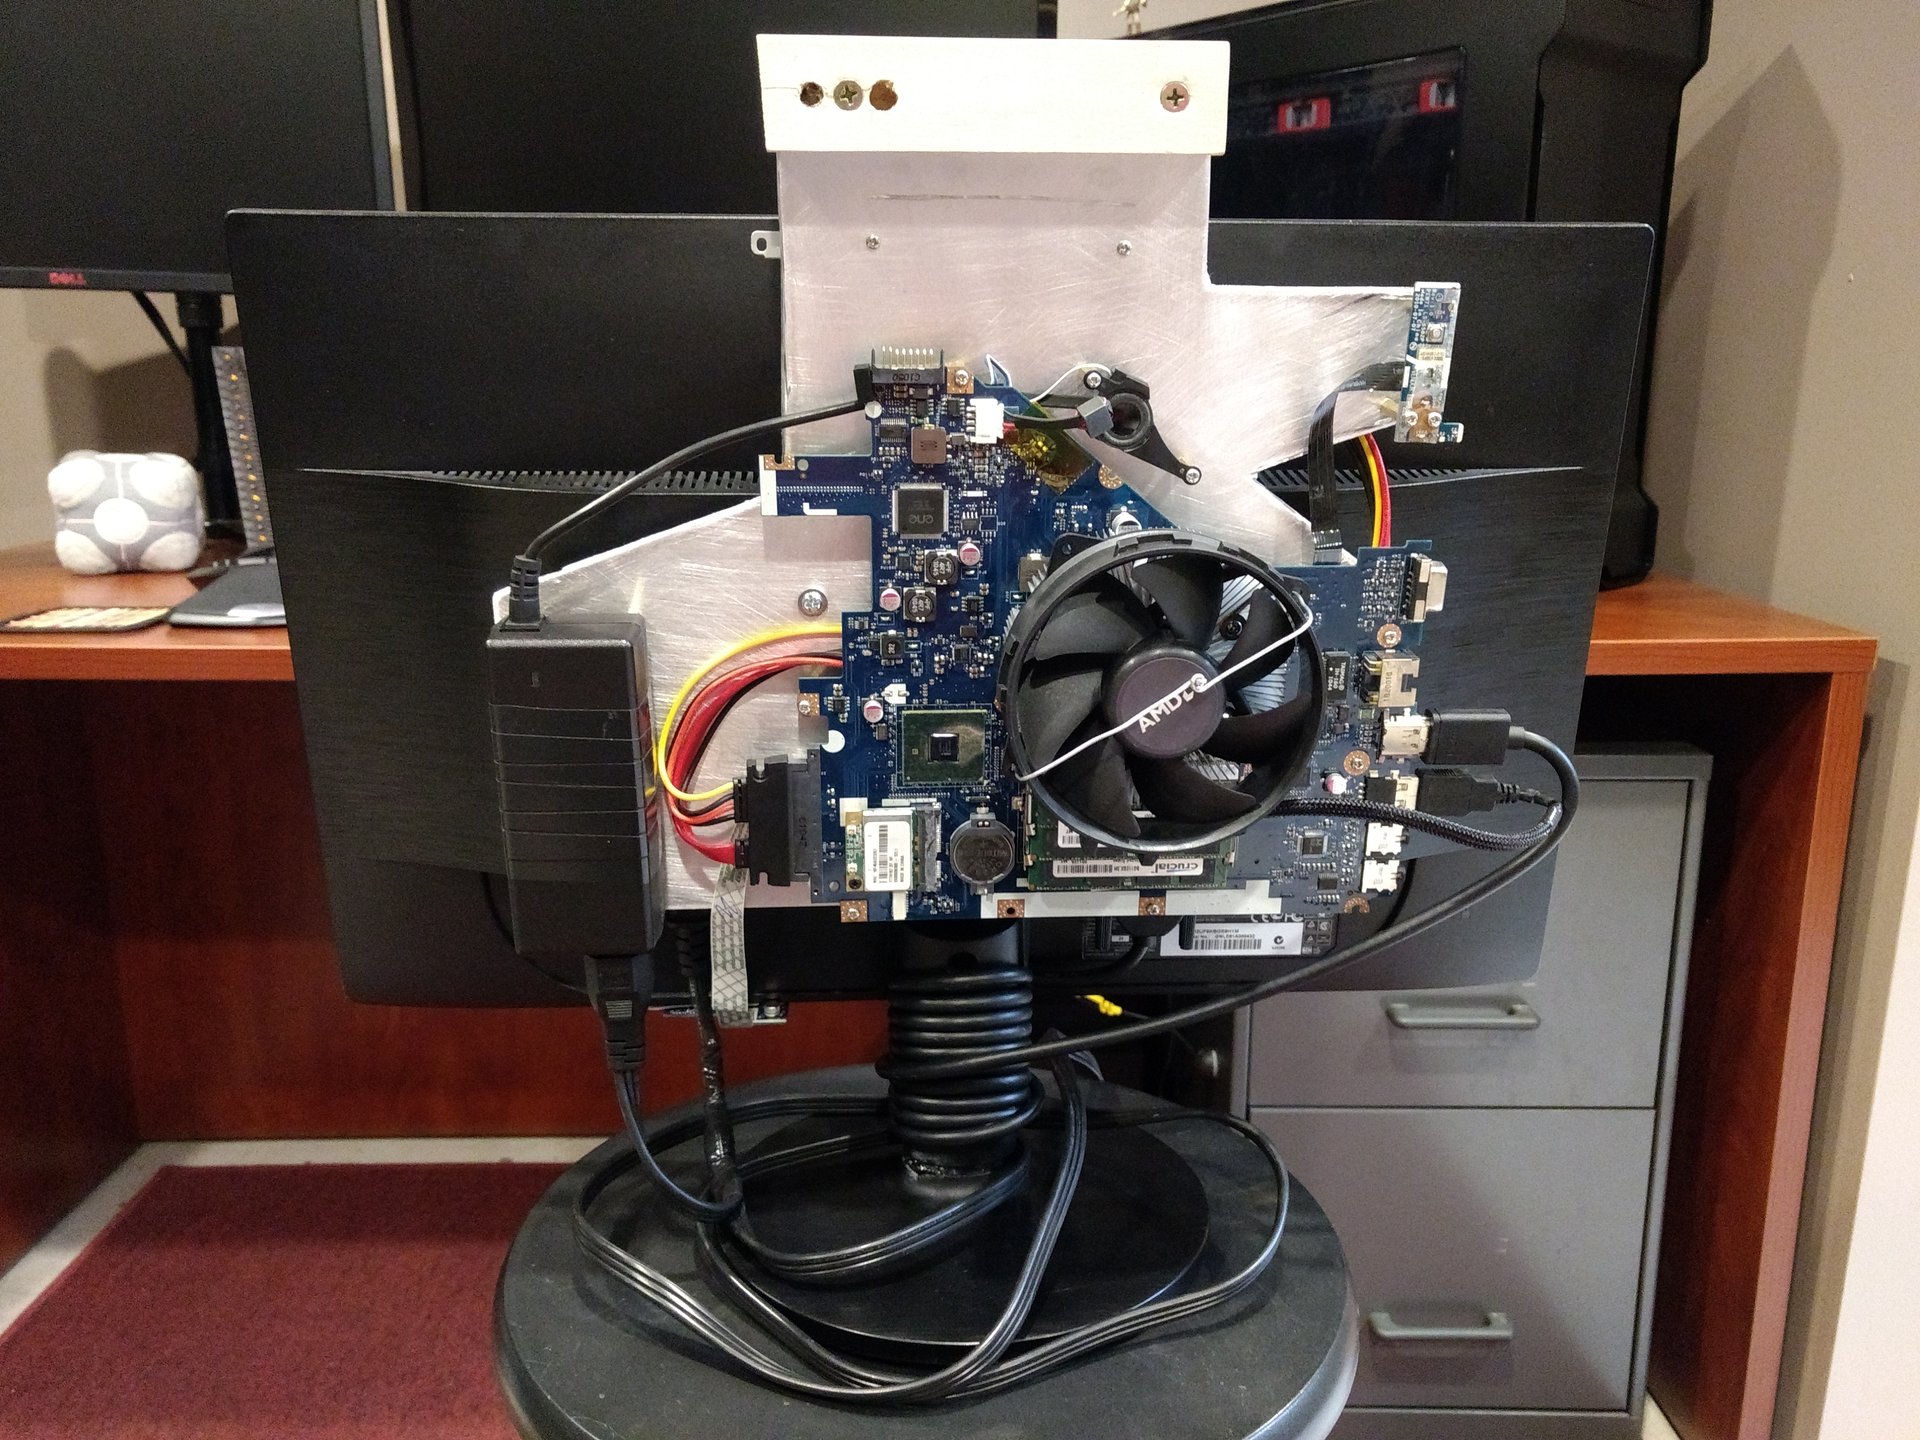
Mainboard salvaged from an Acer Aspire with a failing display.

Heatsink: stock Intel desktop heatsink. Spring mounted to laptop socket by dubious methods involving a power drill and lots of strategically bent fins.

Fan: from a Wraith Stealth AMD cooler. Attached to heatsink using... baling wire. Powered by 5v from USB plug.

Thermal max after 30min of 100% synthetic CPU load:

54°c.
 
Well done, glad you got that going nice and cool by using a bigger fan.
 
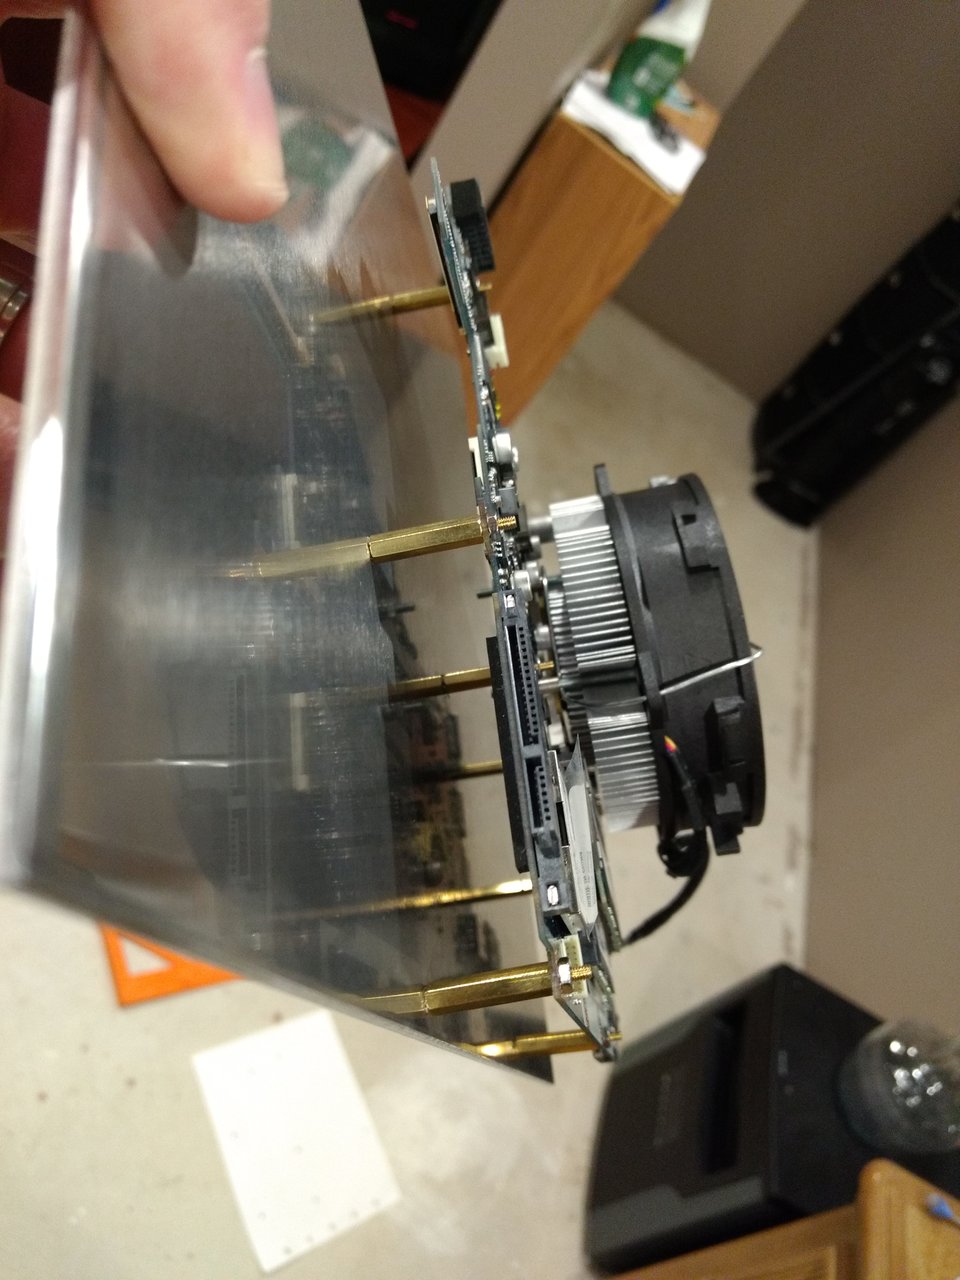
A, uh... "motherboard tray."

IMG_20170918_213227324.jpg


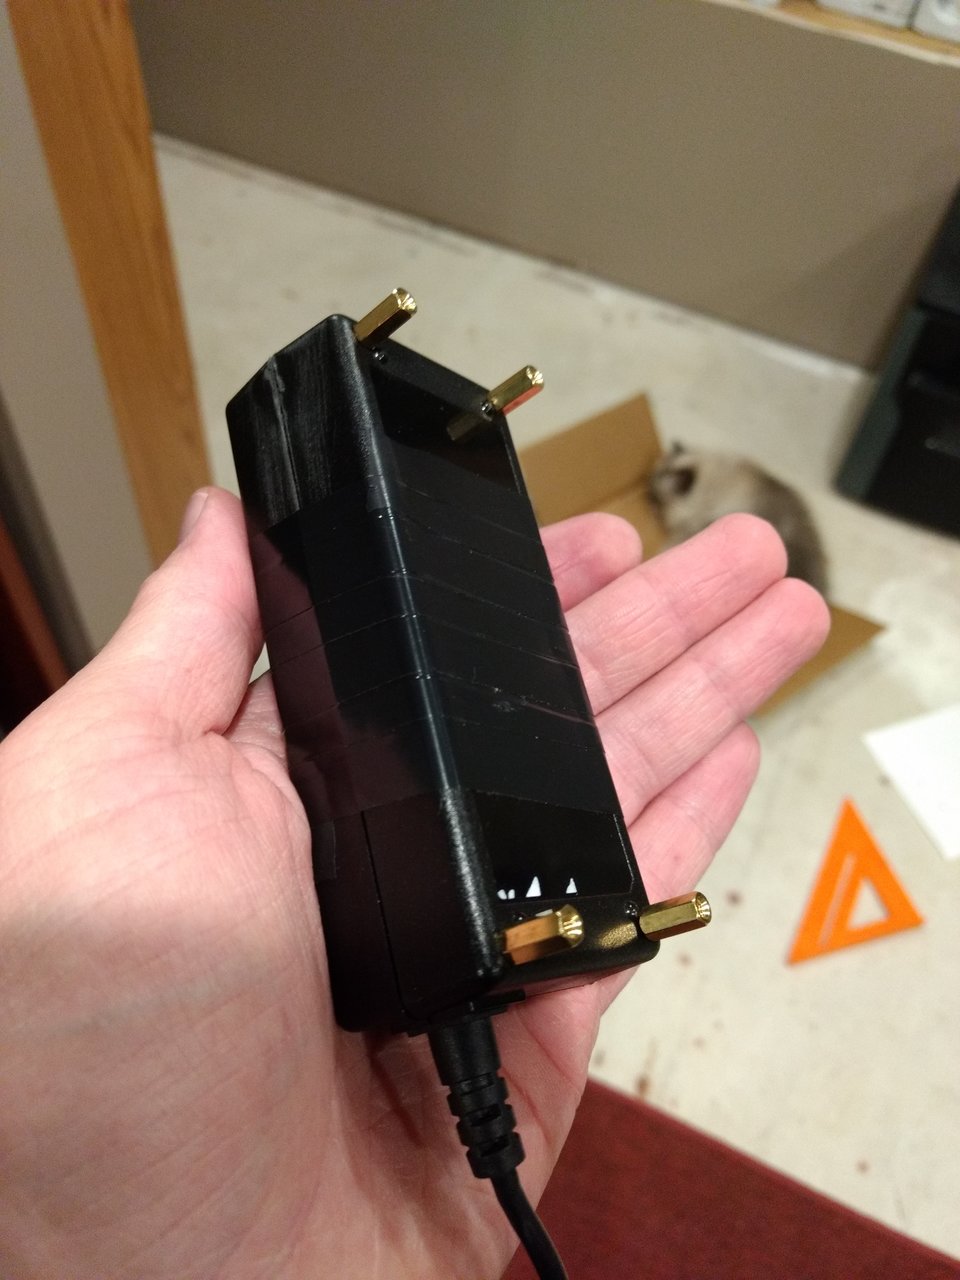
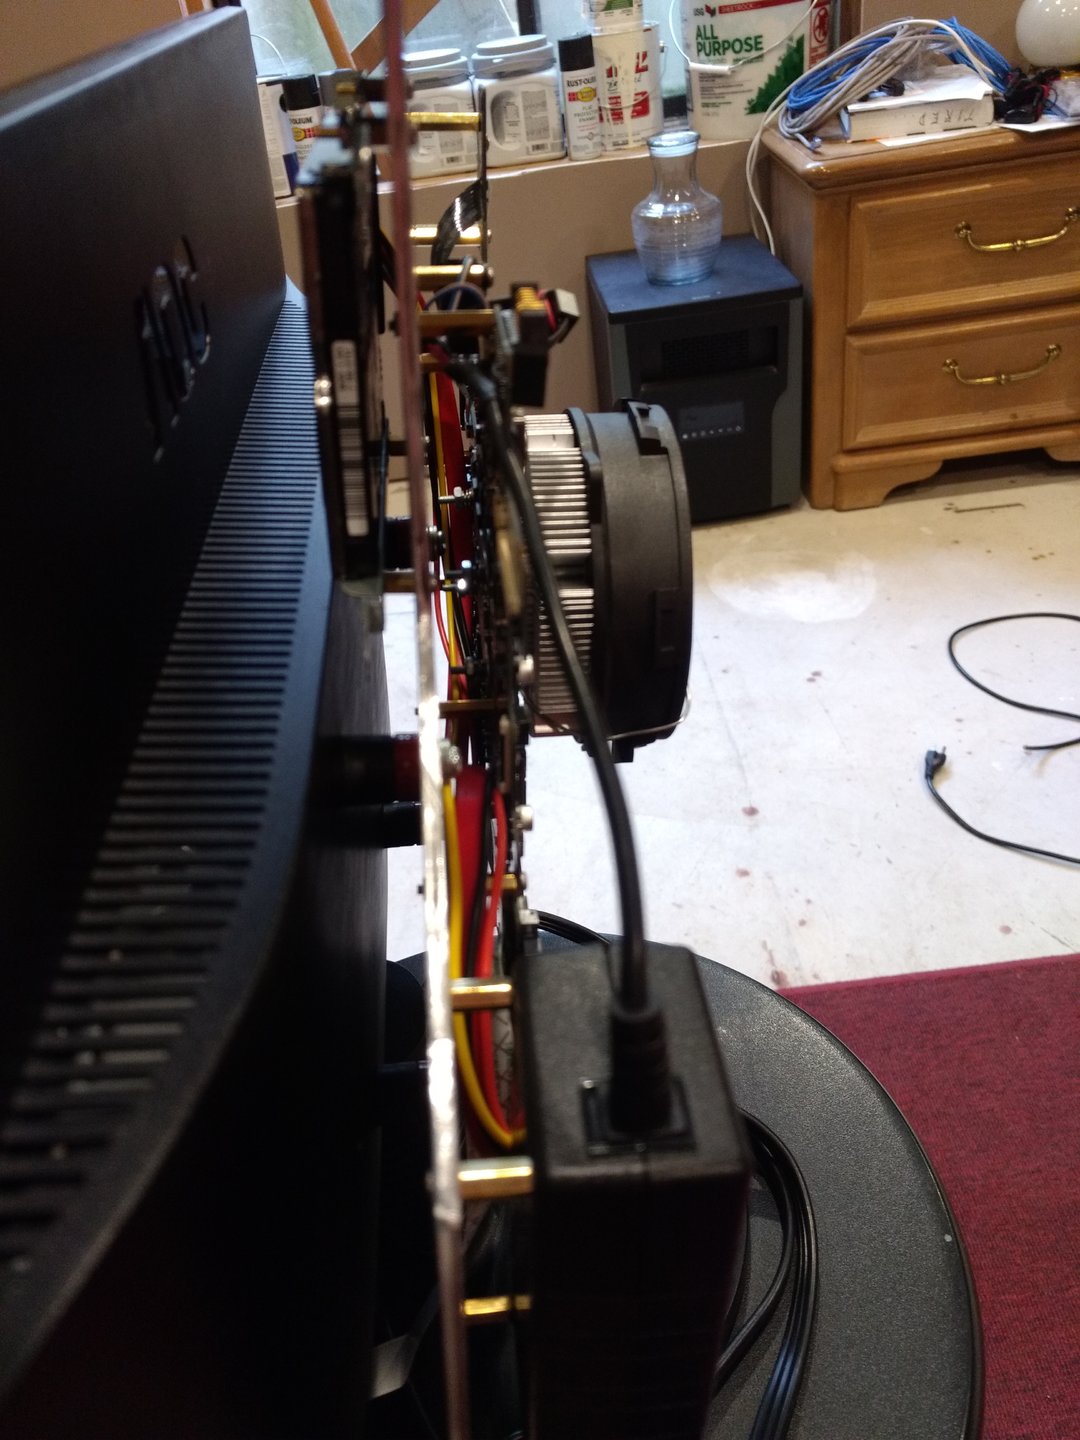
Standoffs added to power brick so that it, too can bolt to the... uhm... "motherboard tray."

FB_IMG_1505791432561.jpg
 
Here she is!

IMG_20170919_214126499.jpg


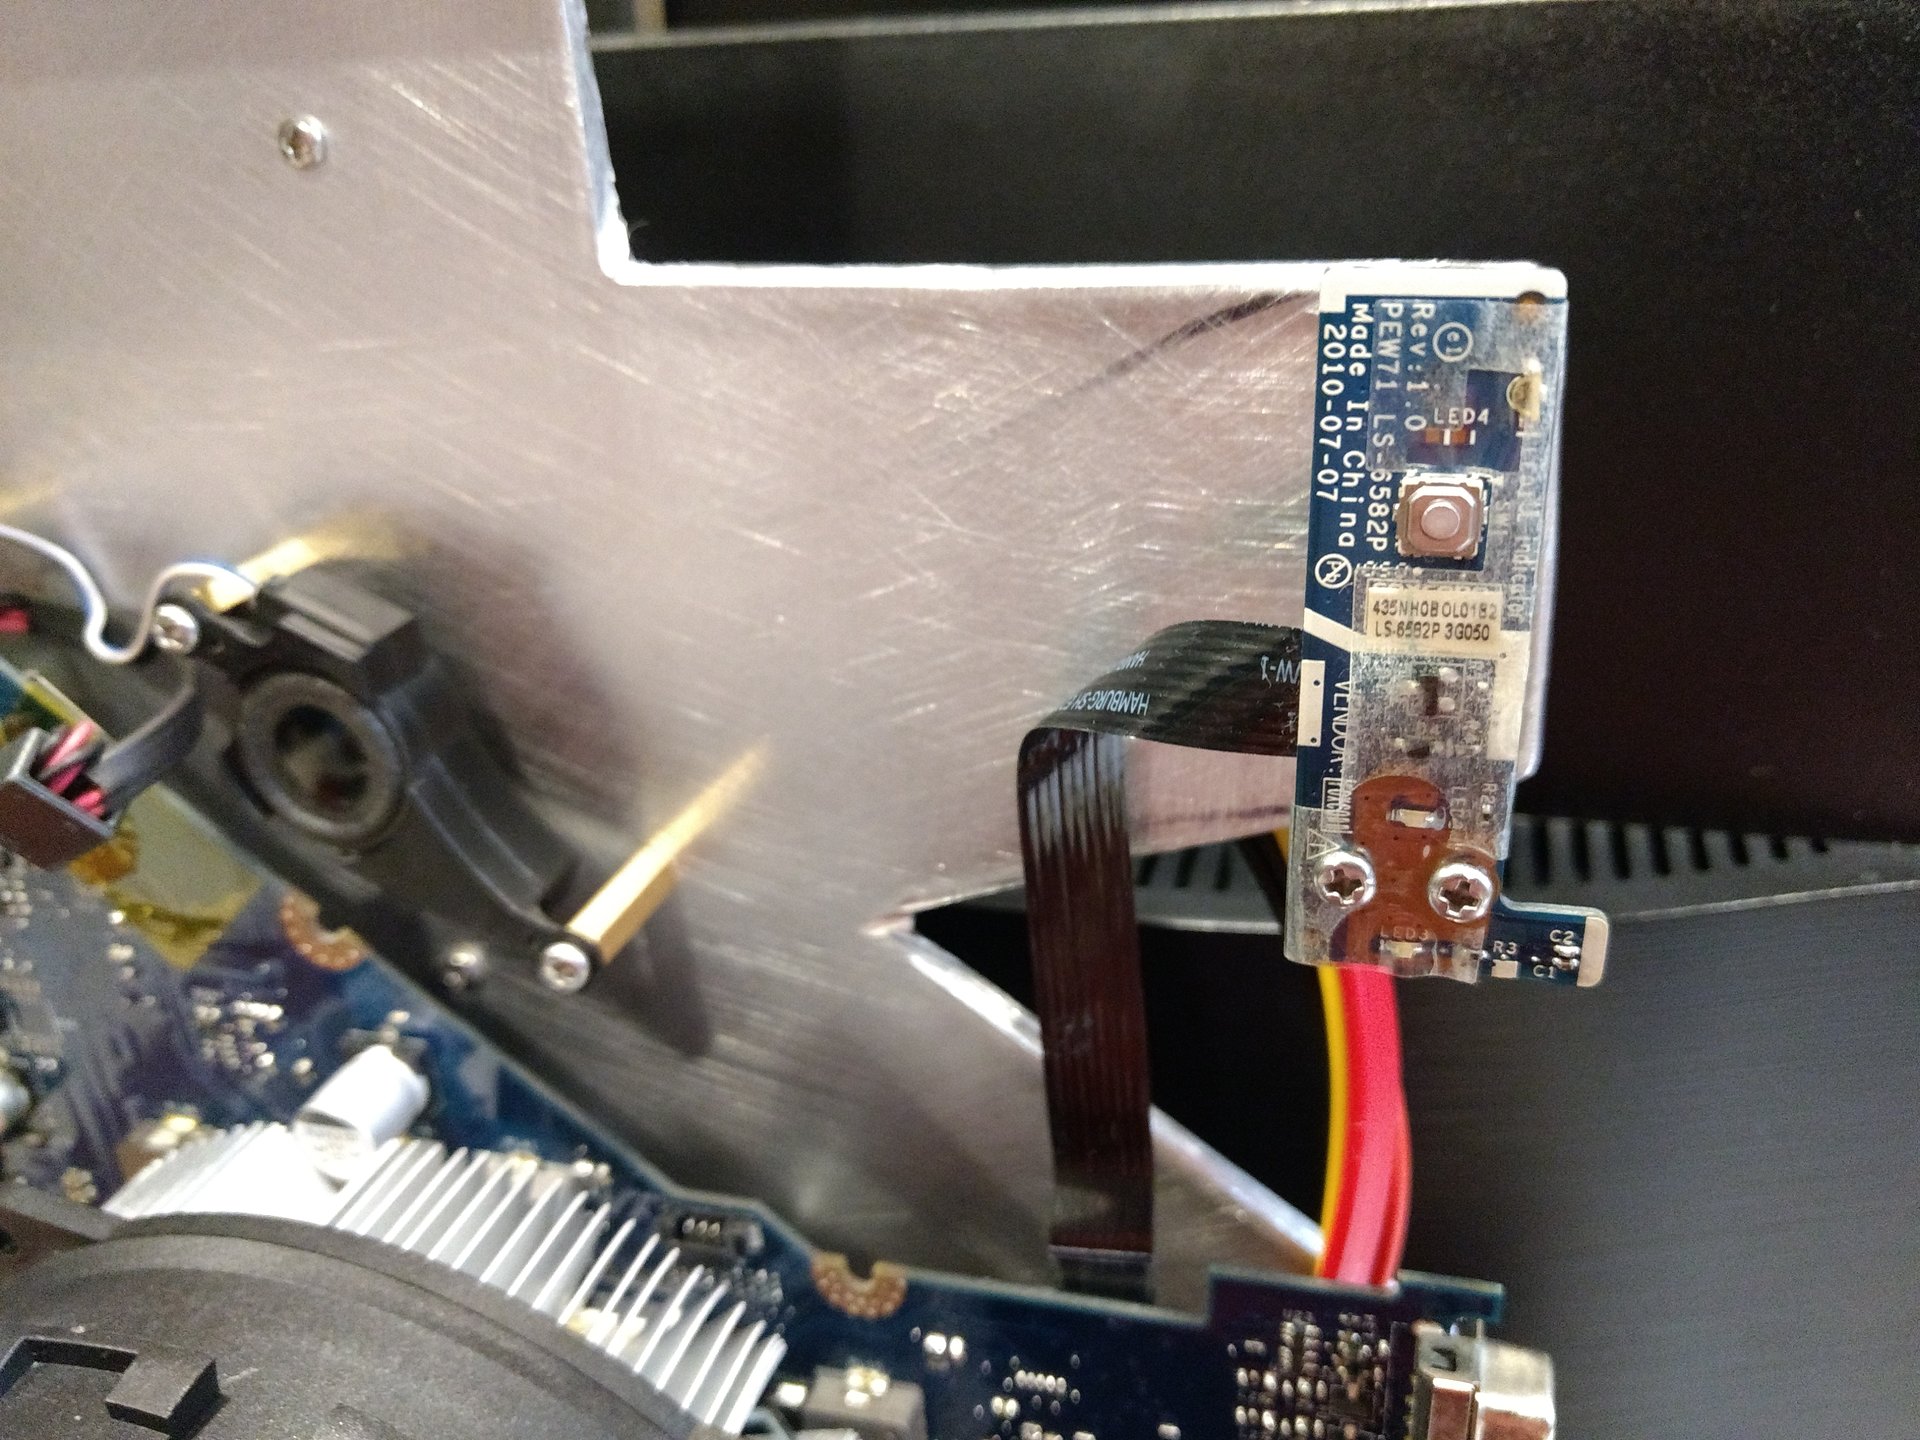
Got a few things I need to sort out. The dangling bit on the left is the USB ports. I'd like to secure them to the outer edge of the monitor, but am hesitant to try and disassemble the panel; I've never taken a monitor apart. The dangling bit on the upper right is the power switch and light as well as the HDD access light. I can solder to the ribbon cable so I may replace all three, but I'm not decided. I accidentally mounted the speaker a little too far from the header on the mobo. I also need to trim a lot of excess aluminum, obvs.

IMG_20170919_214108549.jpg


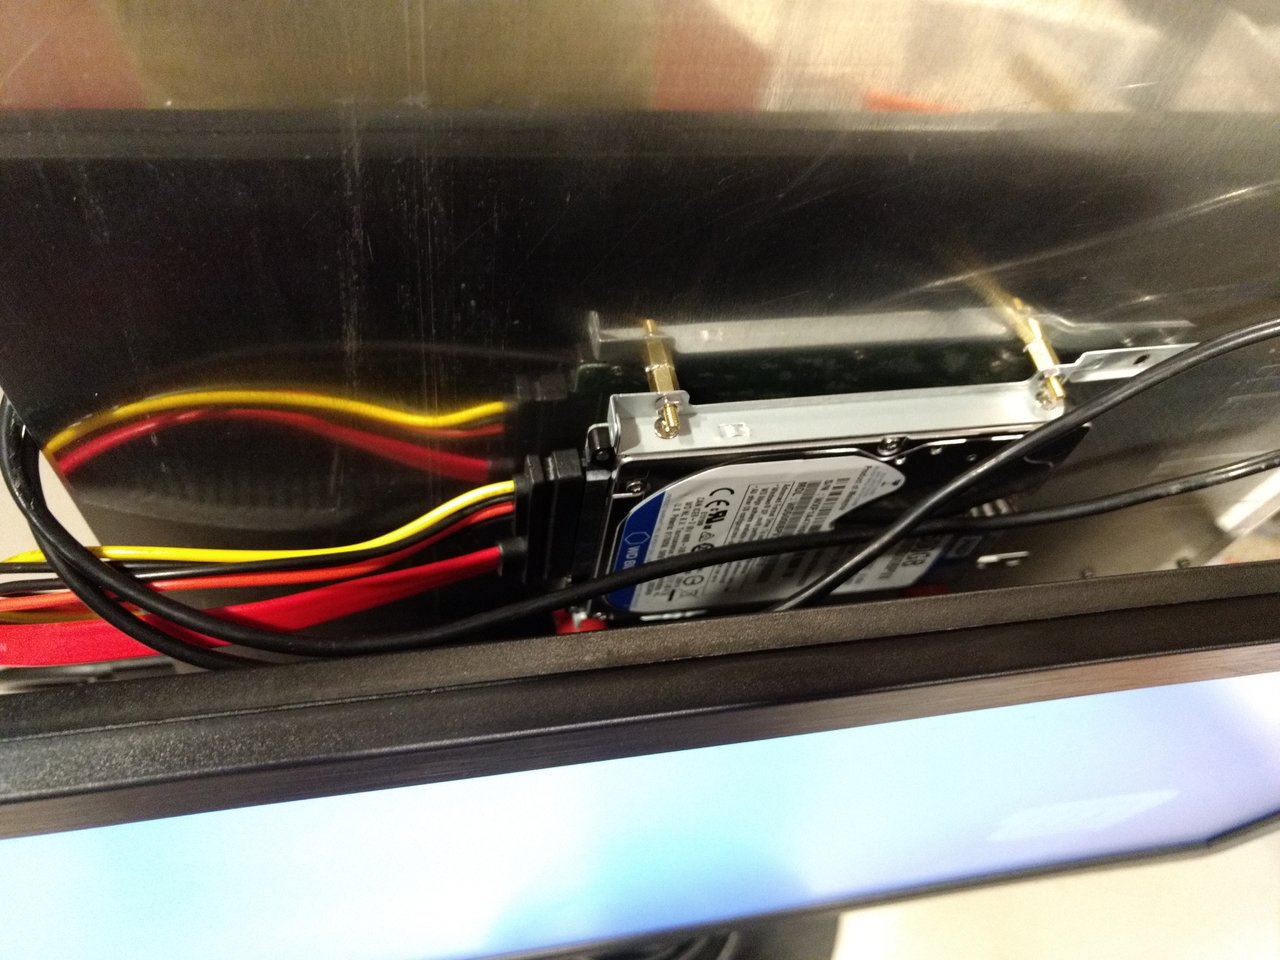
The hard drive is tucked on the underside of the plate behind the monitor.

IMG_20170919_214102359.jpg


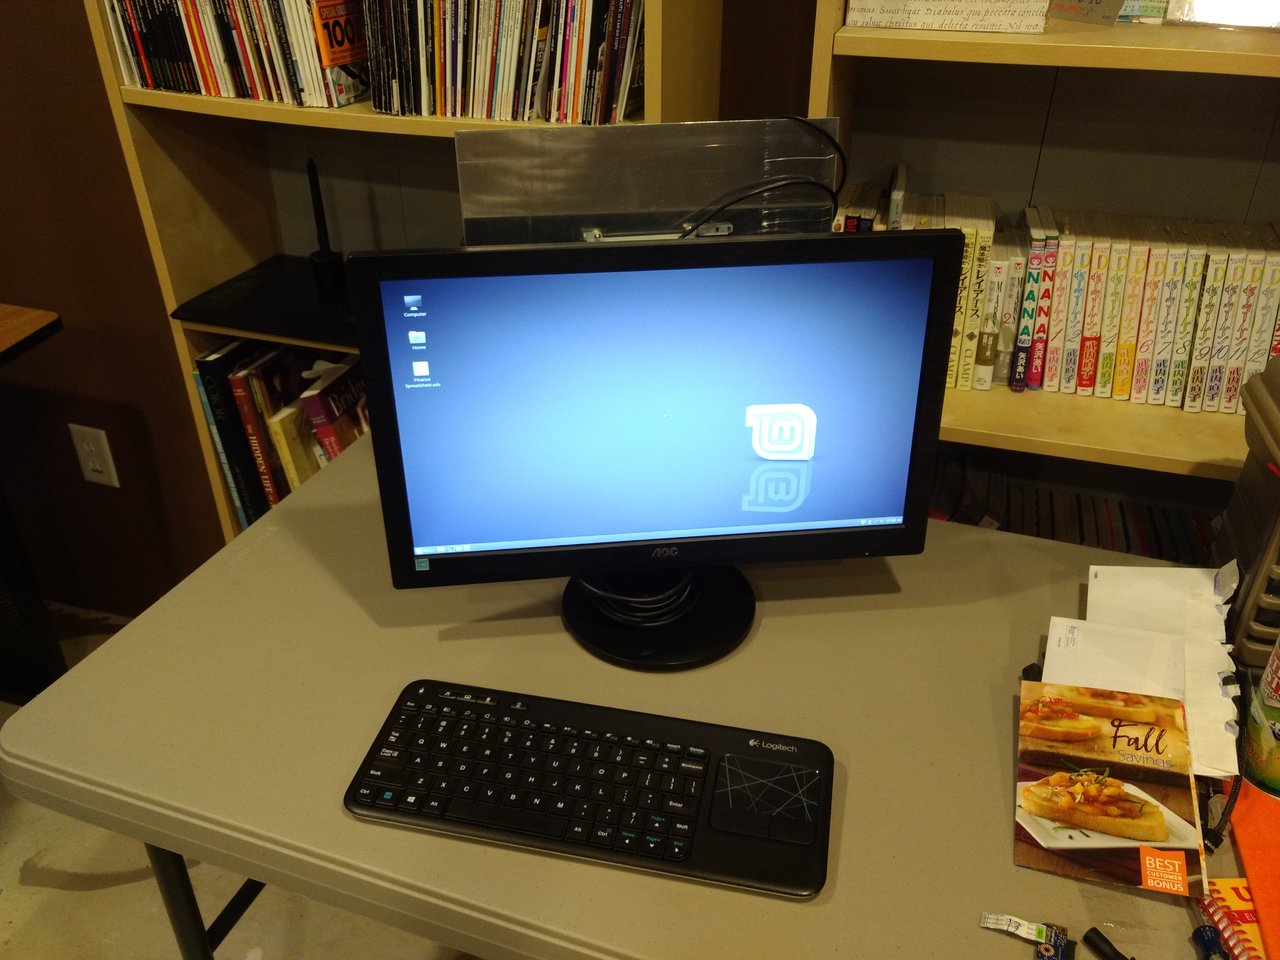
She's not quite done yet, but she boots and runs!
 
Well everyone, I think project FFF is officially complete. There's plenty I could still do to make it look nicer, but after all, that was never really the goal here.

Front view:

IMG_20170930_153213007.jpg


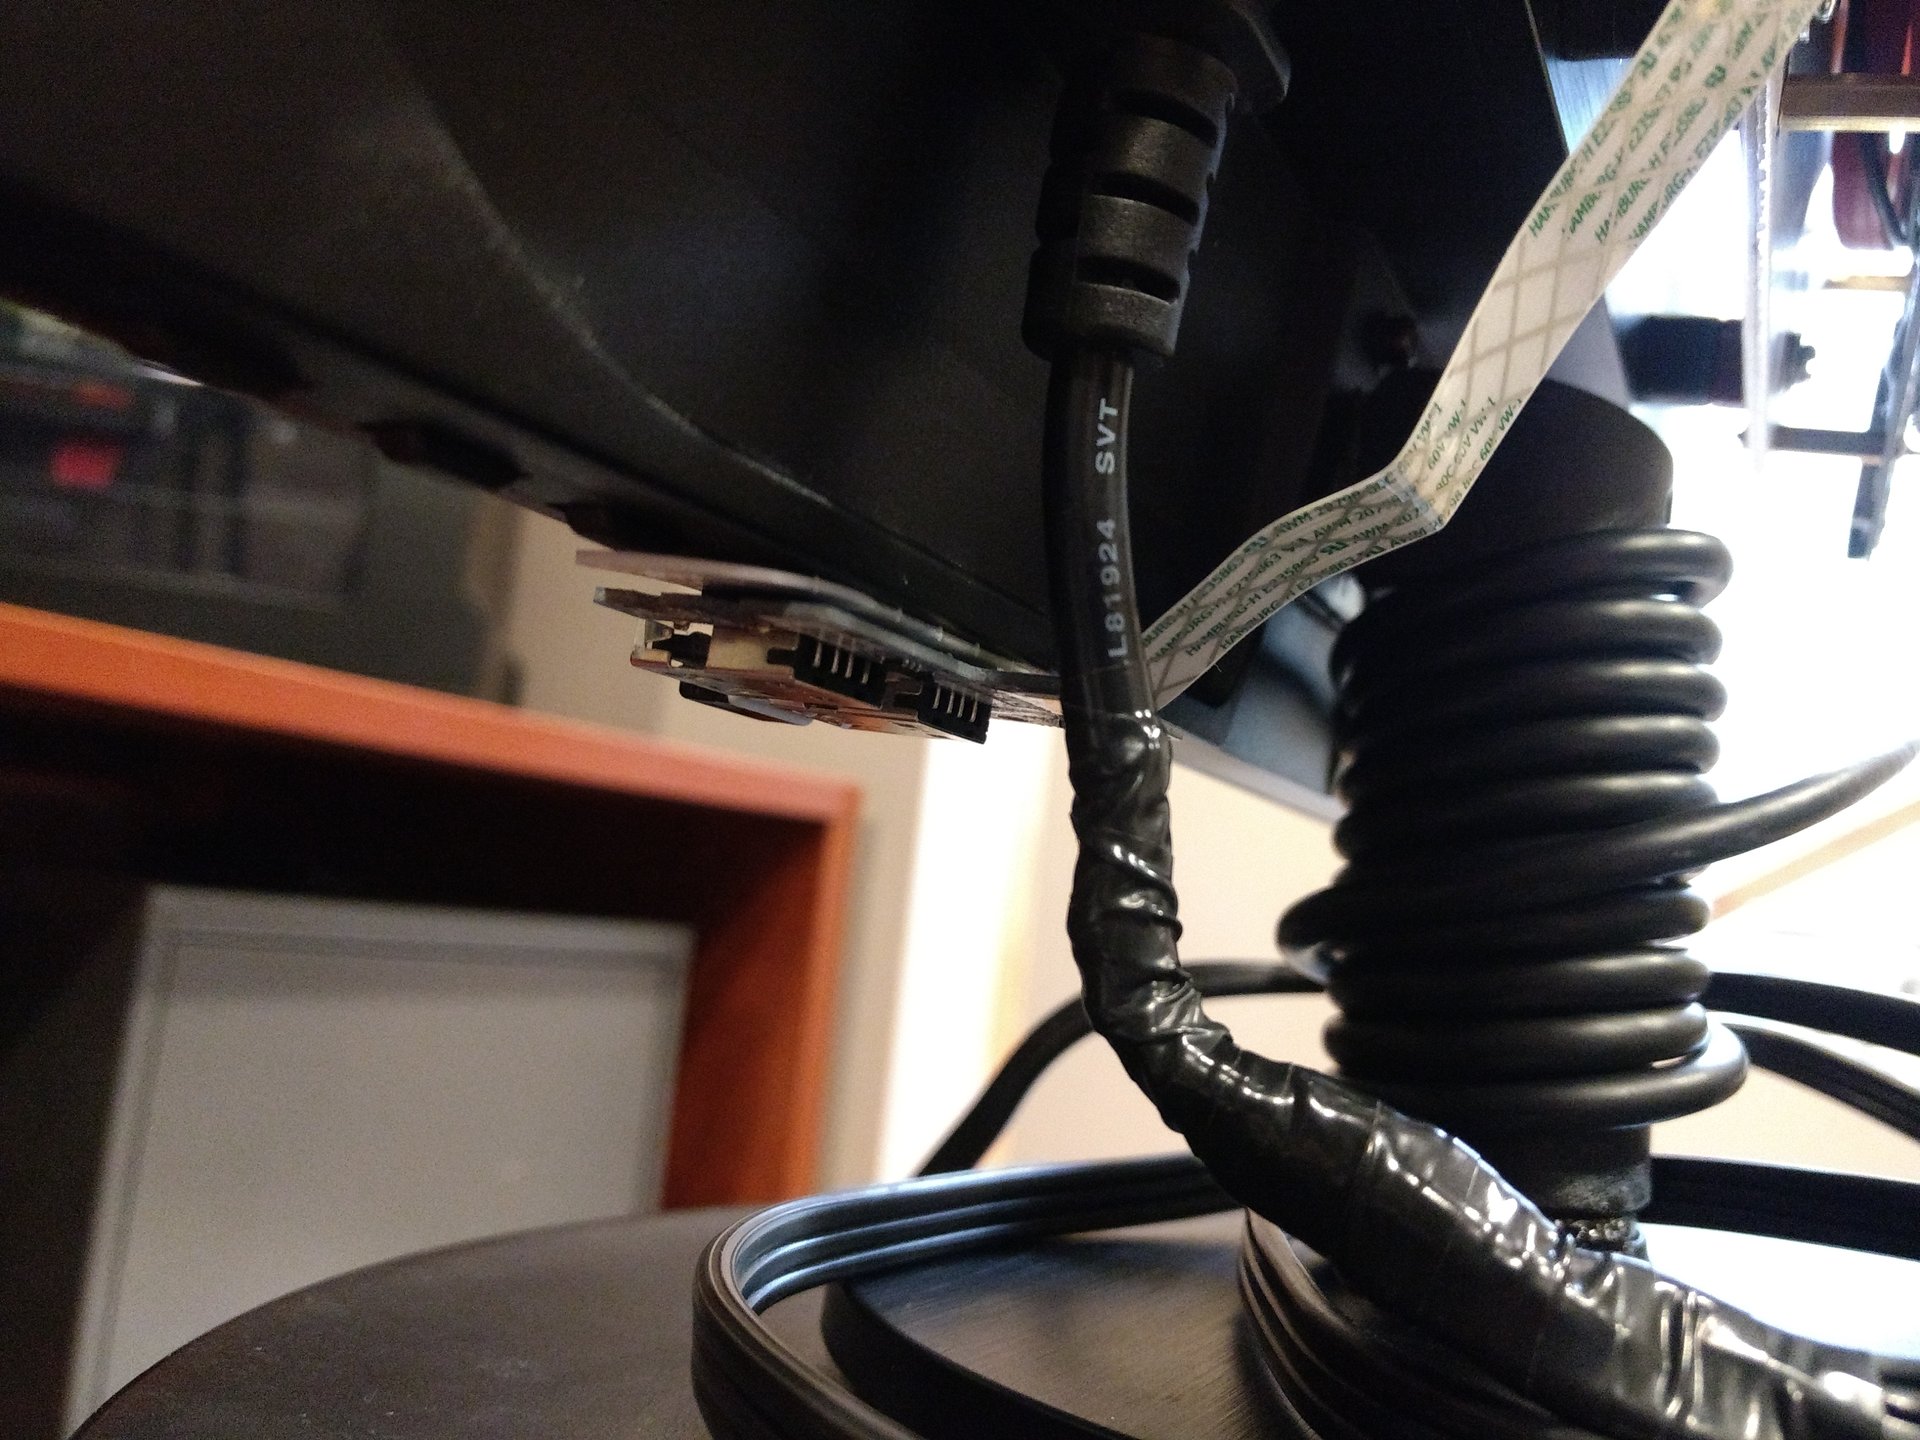
You'll notice the conveniently located USB ports. That was a happy accident; the ribbon cable serving them was just long enough.

IMG_20170930_153304658.jpg


Here's a better shot of the USB board and the janky power cable joinder. This machine is the shotgun wedding of a laptop and a monitor, but I only wanted to have one power plug to deal with.

IMG_20170930_153230580.jpg


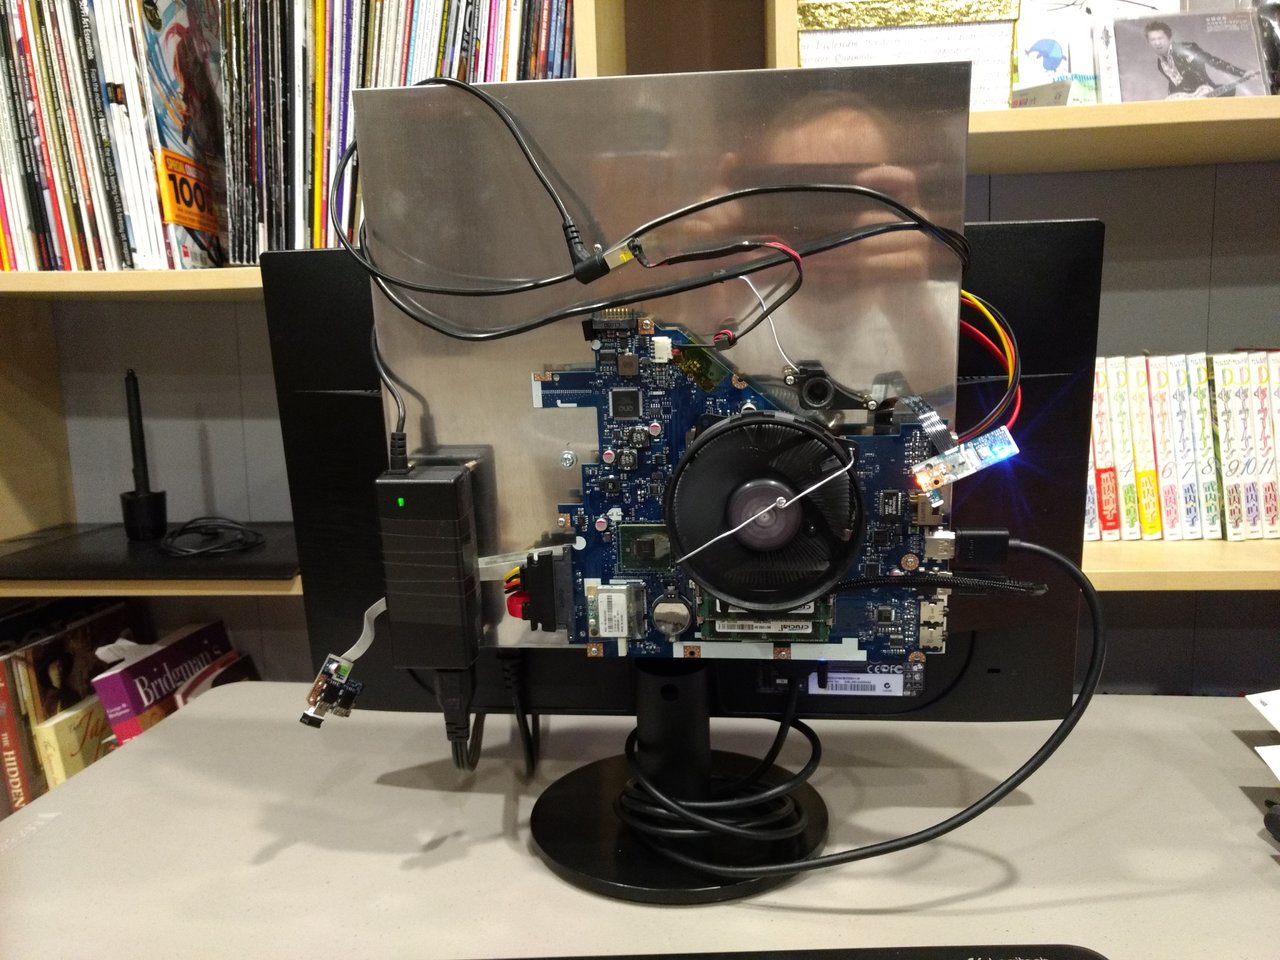
The back of the beast isn't all that glamorous. Note the carry handle on top; I figured it was necessary for something like this. It's too heavy for me to feel comfortable toting it by the screen.

Here's a shot of the sandwich:

IMG_20170930_153254821.jpg


Here's a shot of the power button PCB. I thought about putting it somewhere else, even custom wiring a proper switch, but that was just too much work for the caliber of project this is.

IMG_20170930_153314816.jpg


She boots, she runs, she's just about silent! Perfect for my application. =)
 
that monitor is likely 19v internally. I bet you could reduce that down to a single power supply.
 
that monitor is likely 19v internally. I bet you could reduce that down to a single power supply.
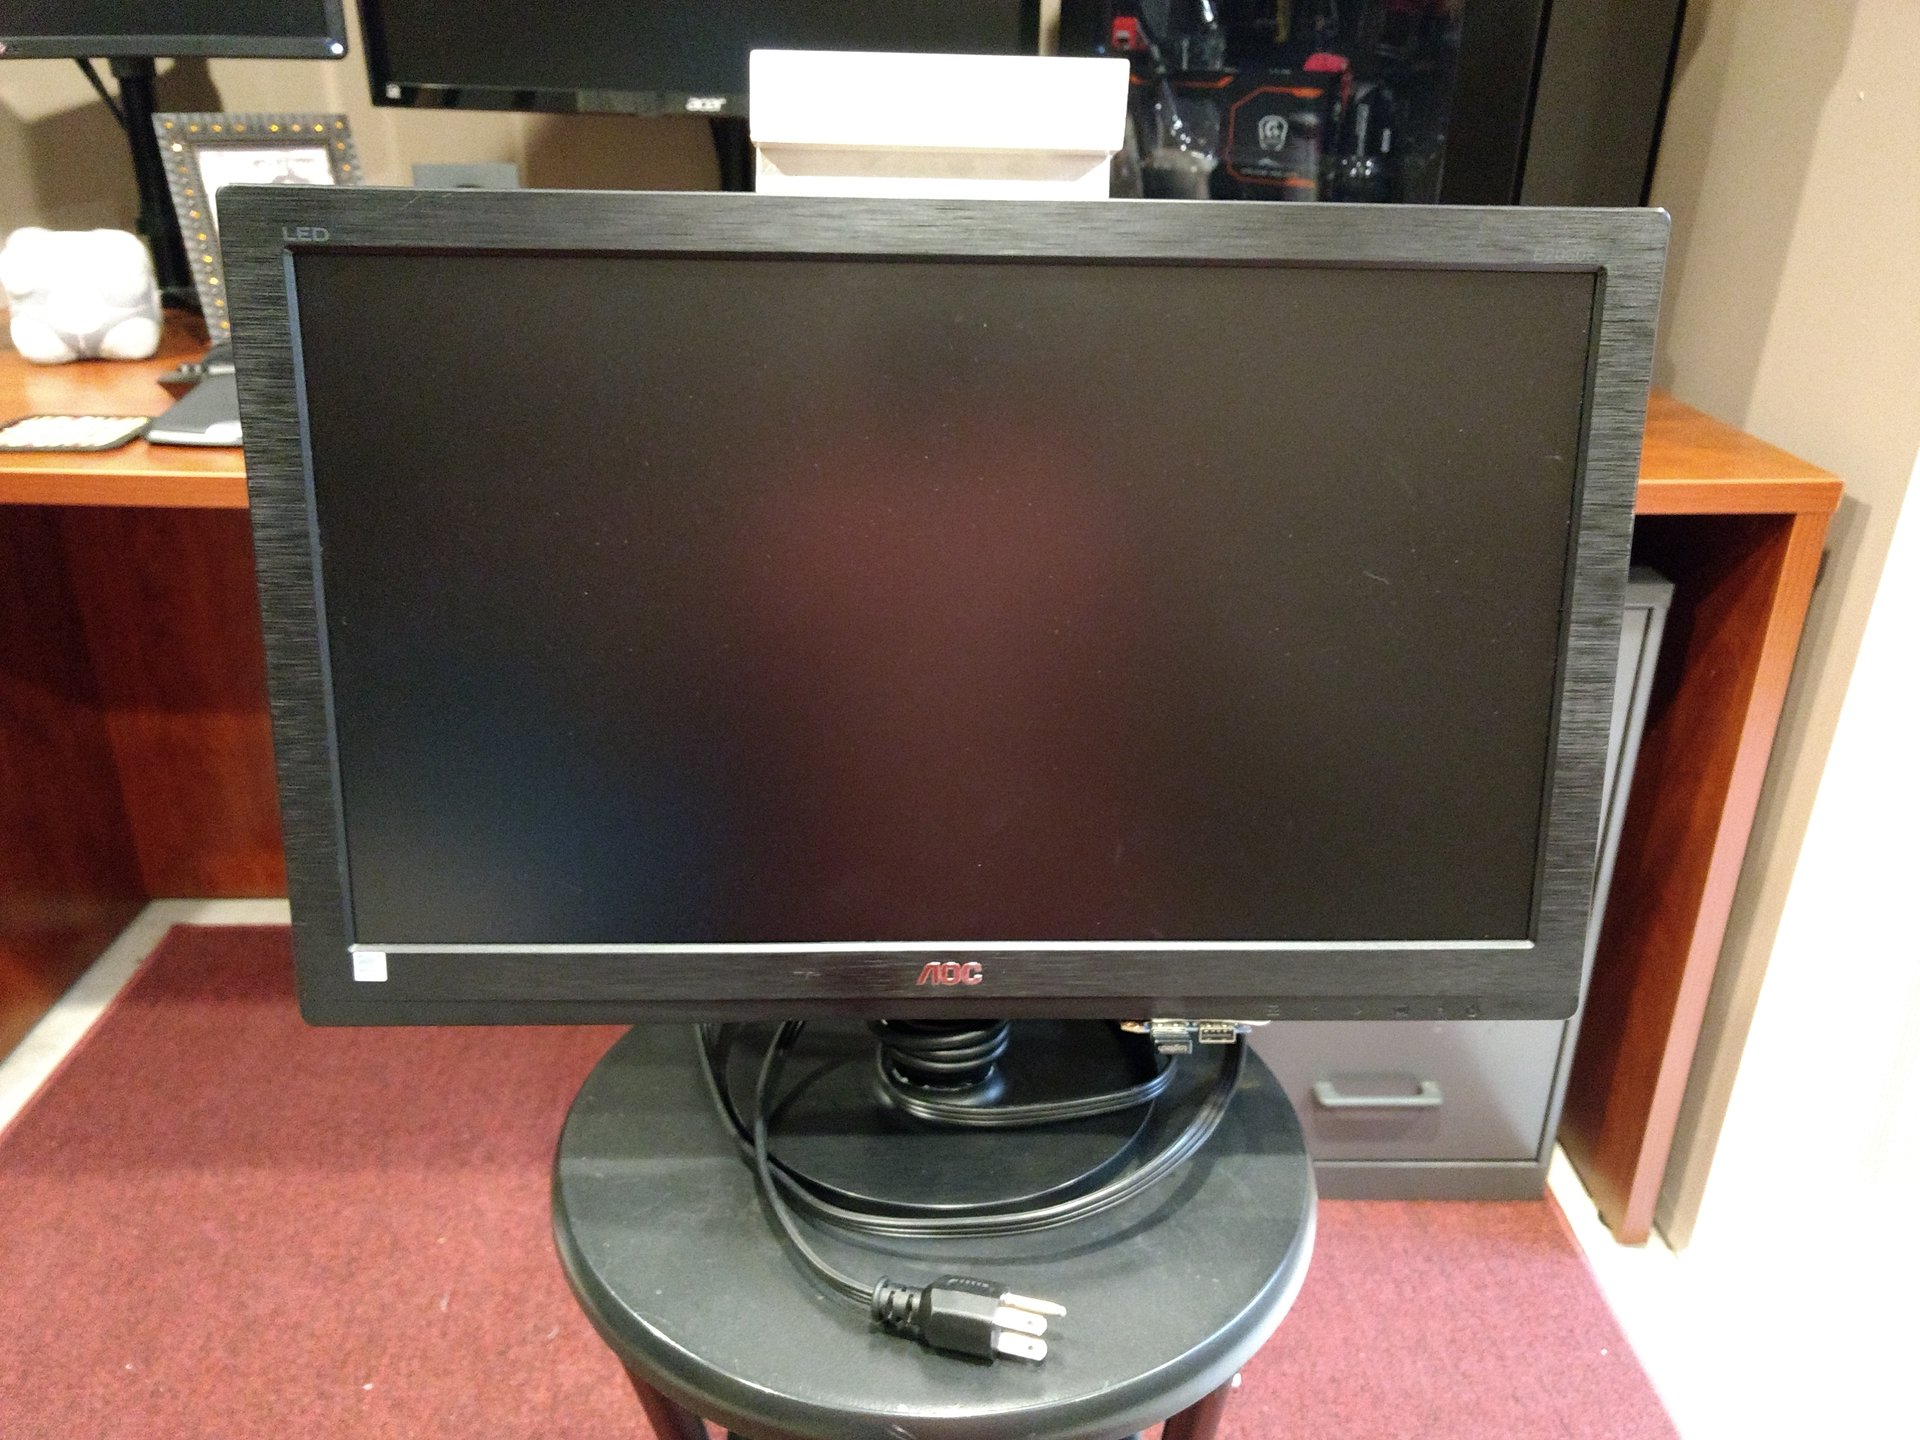
Maybe so, but one of the design goals I had for this was to leave the monitor "stock" so to speak. So, if I decide later on that this was a dumb idea and I'm not using it, I can just unbolt the thing from the VESA mount and I've got my monitor back.
 
yea, the cable between the mobo and the LCD screen. This totally goes outside your leaving the monitor intact tho.
 
yea, the cable between the mobo and the LCD screen. This totally goes outside your leaving the monitor intact tho.
Do you suppose I might find a way to adapt the ribbon connector on the mobo to an HDMI or DVI cable? So I can free up the mobo's actual HDMI port?
 
ive only ever seen LVDS to HDMI via the way of a (way too complex for me) FPGA board.
 
Back
Top