thexshadow
n00b
- Joined
- Nov 7, 2013
- Messages
- 23
- can you mount that thing via the fans? > so that the radiator is screwed onto the fans and the fans onto the case..
--------Yes you can.
- does it matter if the fans push or pull through the radiator?
--------Not really, 1-2 % difference (depending on the fan)
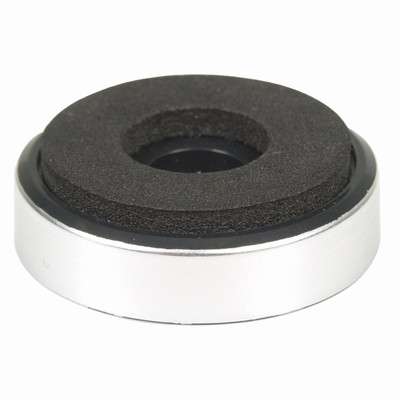
- can you assembly it so, that the radiator would be sitting on one side of a panel and the fans on the other side? > max panel thickness..
--------I do not see why not, you are going to need some kind of padding in between so it doesn't rattle.
- are there restrictions to the orientation of the radiator? > air bubbles/filling/etc..
--------Better to have the prongs for the tubing up so you can bleed it easy.
- can you daisy chain 1x120 and 2x120 radiators? > how easy is it to modify the tube assembly..
--------Yes you can, if you go custom (not sure if anyone has modded an AIO cooler to add a second rad, other then the h220)
- pro/con of cpu/gpu having dedicated radiators vs all in one single loop? > even possible with the complete systems like H100i..?
--------Smaller, less things going on, tubing wont be everywhere.
--------Heat is spread out more even.
--------If you use the h220, you can add components into the loop super easy, and its an AIO.
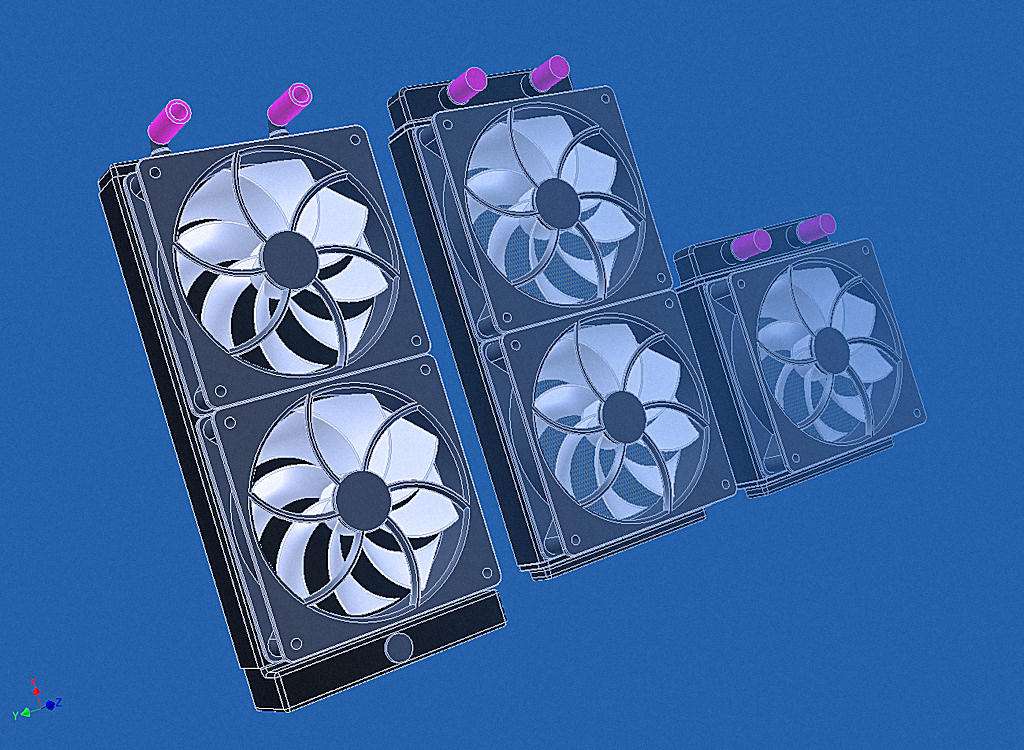
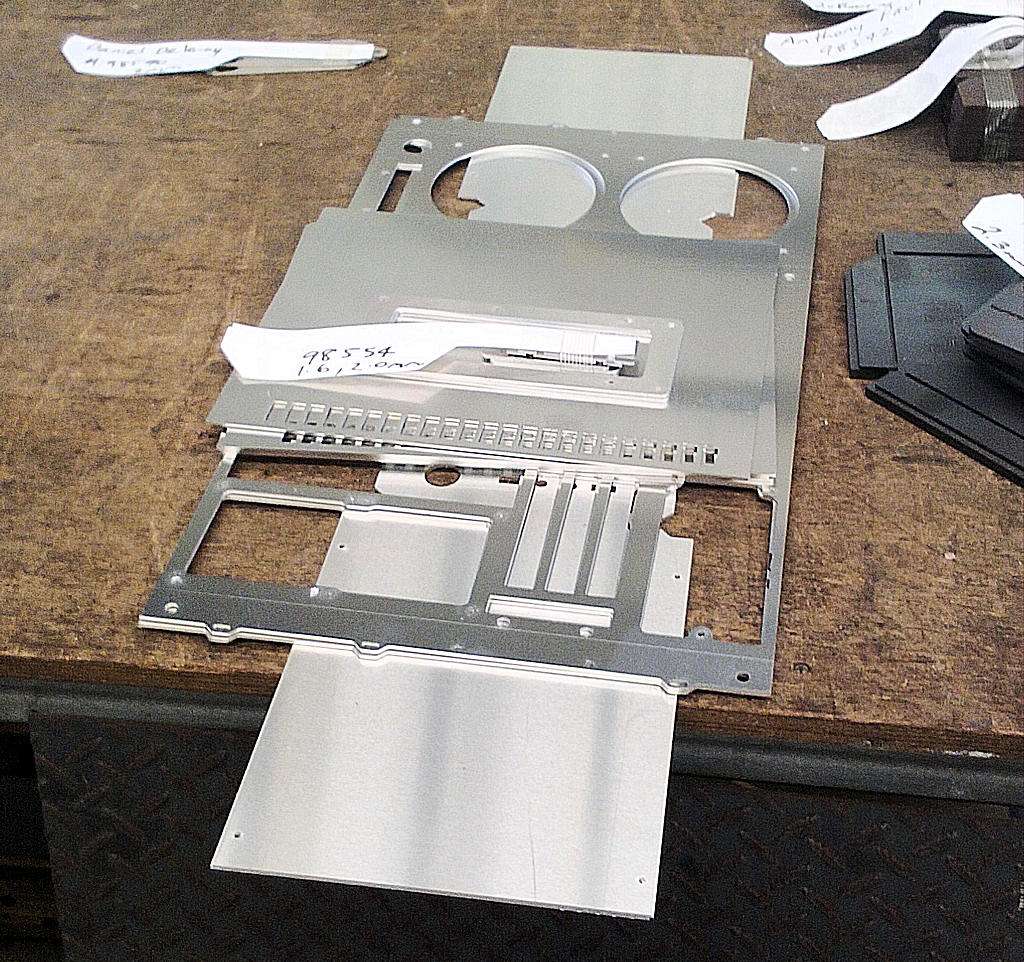
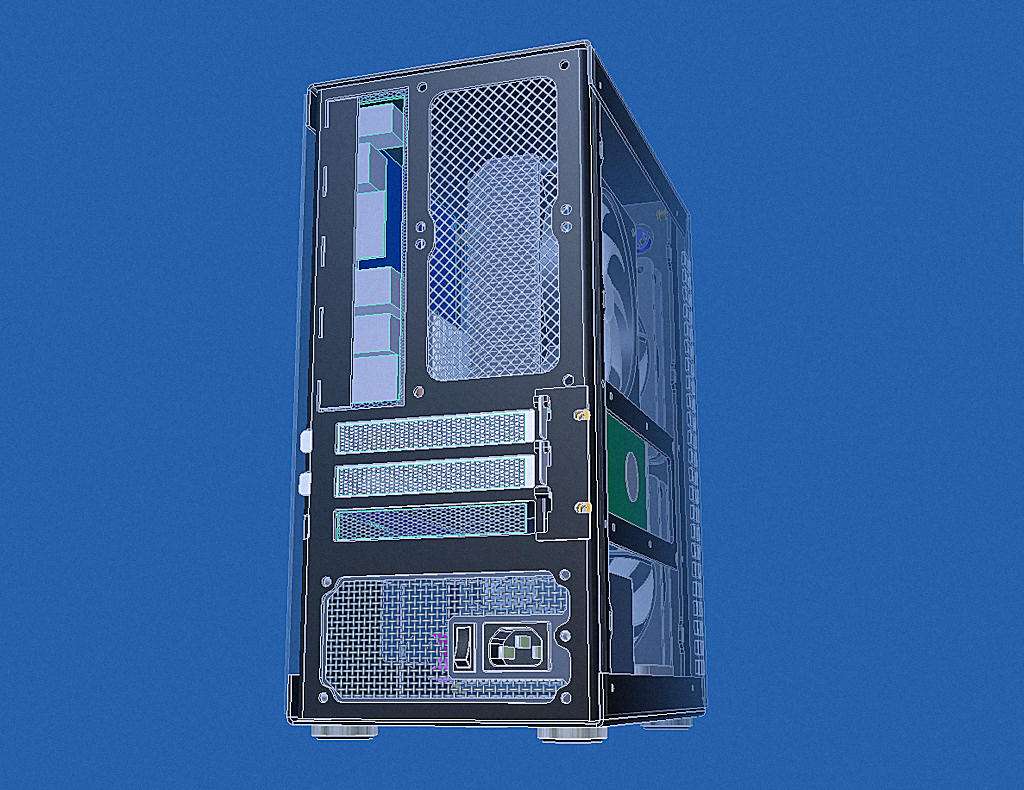
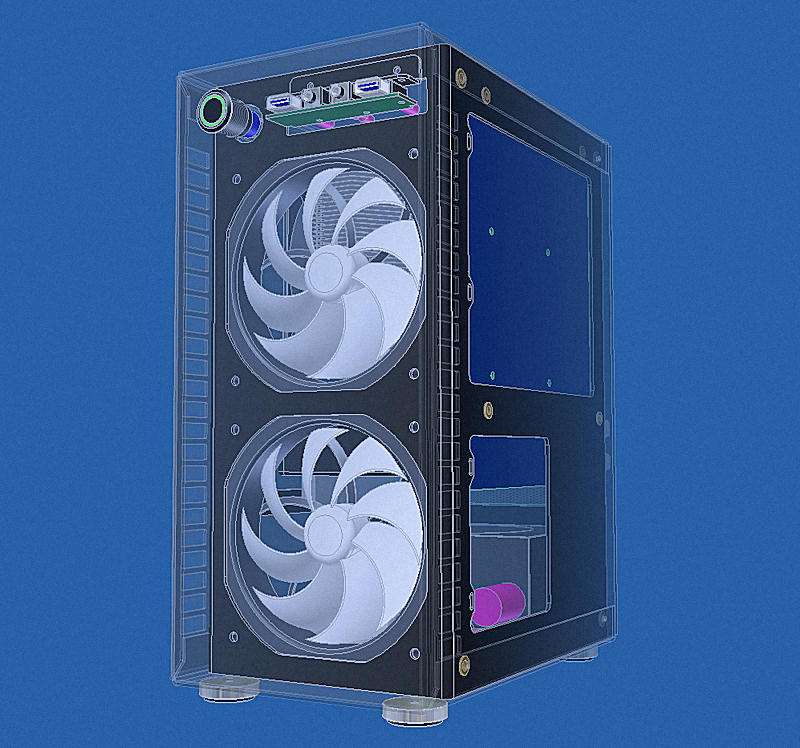
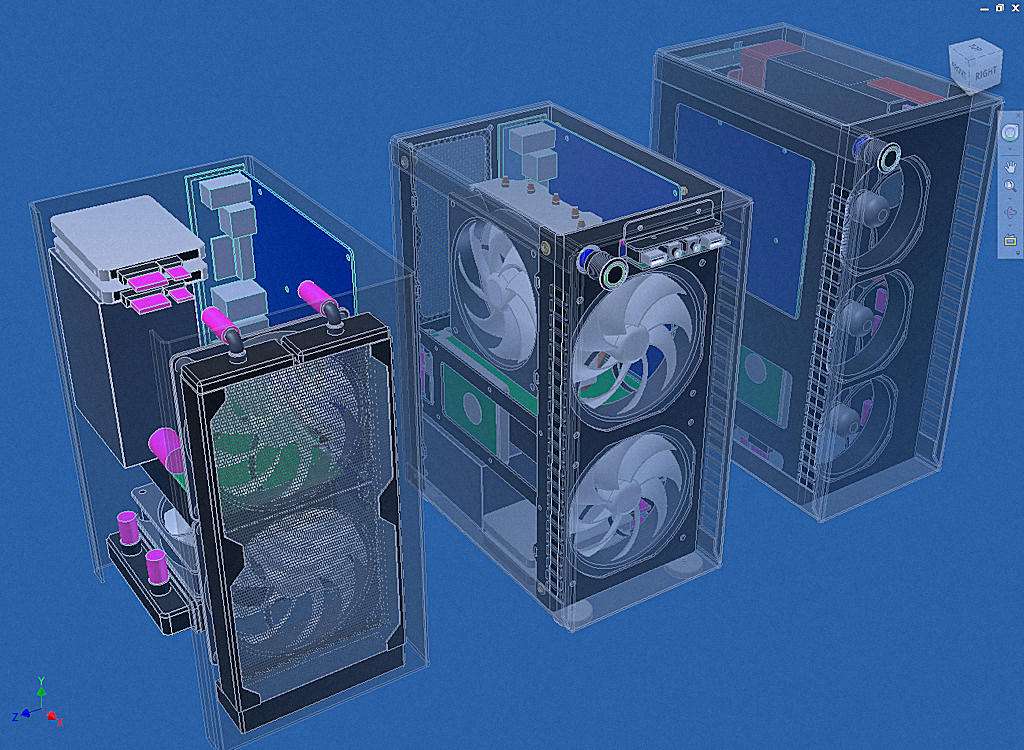
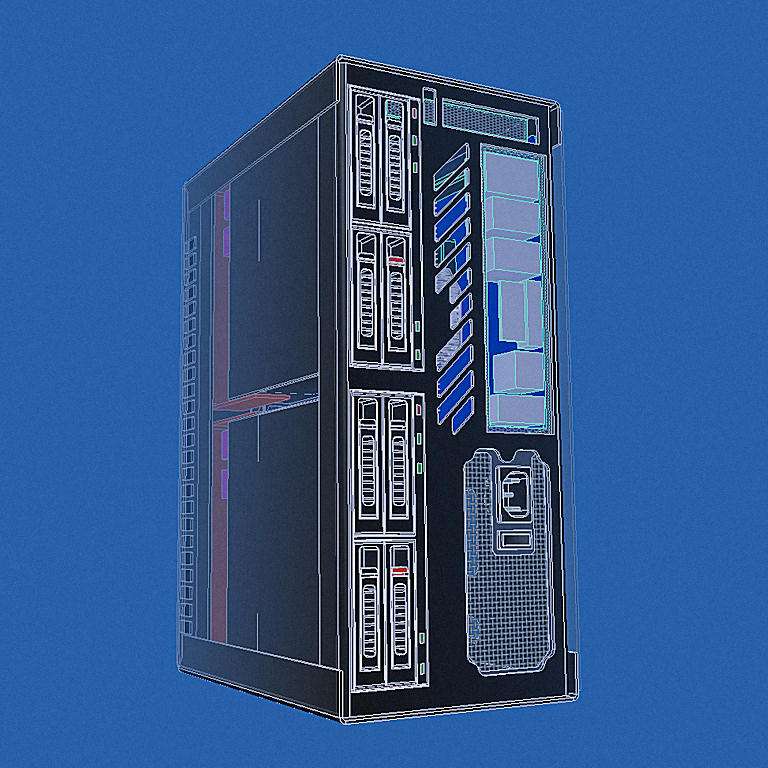
Also, have you considered something like this?
Have two holes for the fans in the front, then you can add filters and they would be easy to clean and would shorten the case be about an inch.
Last edited:
")