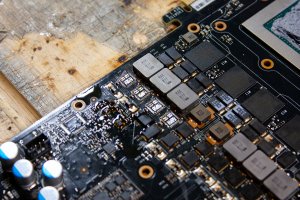
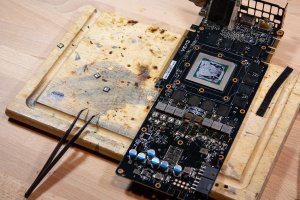
Graphics Card Necromancy: EVGA 980 Ti SC (Reference Board)

RazorWind

Supreme [H]ardness
Joined
Feb 11, 2001
Messages
4,647
Folks! It's that time again!

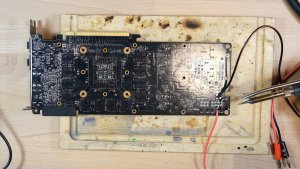
On the bench today, we have an EVGA GeForce 980 Ti SC, which has this handsome axial flow cooler, but is otherwise a run of the mill nVidia reference design 980 Ti, with a slightly faster BIOS. This card was sent to me by a Hardforum reader, who I won't call out, but he's welcome to chime in. Before he sent the card to me, he told me that it doesn't work, and prevents the system from starting when it's plugged in. Those of you who have read my other threads are probably aware that that is a classic symptom of a short to ground on one of the 12V power input rails, so that's where we're going to start our diagnostics.
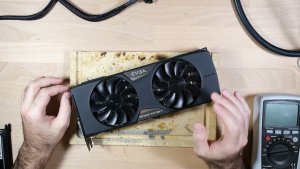
Card_orig.jpg

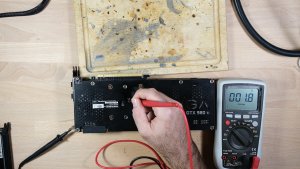
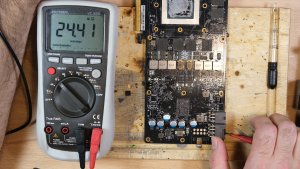
First, we obviously have two 12V connectors, plus the PCI-E connector's 12V pins, so we need to confirm that that's our problem, and figure out which one is the culprit.
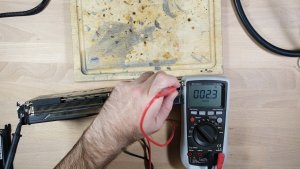
8pin_resistance.jpg

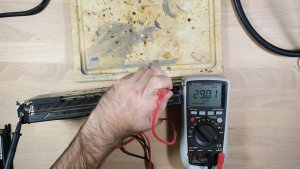
Let's try the big one first. Yep. That's definitely a short.
6pin_resistance.jpg

The other rail looks ok. This is higher than one usually sees, but higher is better than lower.

So, about that shorted rail... Who can tell us what the significance of that resistance value is?
 
Hello RazorWind! Feel free to call me out. :)

Full disclaimer...I’m completely new with video card troubleshooting. So as you’re seeing, the “big one” is what’s giving me issues. The system will post when there’s no power applied there but won’t once there is. My Google-fu is pretty good and I was able to find a video of somebody troubleshooting this same card for the same issue. The problem for me...it was all in German and I don't speak German. I was, however, able to find the short, which I’d speculate is what you’re looking at...almost no resistance in the first measurement.

The video I was watching found a blown mosfet so I’m assuming that’ll be the problem somewhere, but as you’ve seen inside this card by now, I’m sure, all of the components look great. I couldn’t find any signs of damage. Maybe I overlooked it but I went over it for a long while. If I could have seen some visual damage I would have tried to replace the component, but I couldn’t find out where the problem actually is. That’s when I found this forum and knew you could help me/us figure it out!
 
So, about that shorted rail... Who can tell us what the significance of that resistance value is?
Aww, come on guys! Surely one of you knows! ;)

If you guessed that that resistance value is what we expect to see through the core, then you guessed right. What this means is that, for whatever reason, it appears that our 12V input is statically connected directly to the VRM's output, and thus to our GPU core. Now, that's obviously undesirable, but it's not necessarily the end of the world. As we learned with Solan's 980 Ti, chances are pretty good that the GPU survived this.

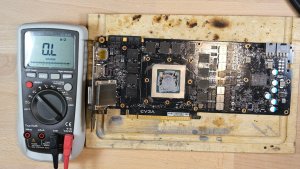
See here, a resistance measurement taken at the core. Same ~2 ohms.
core_resistance.jpg

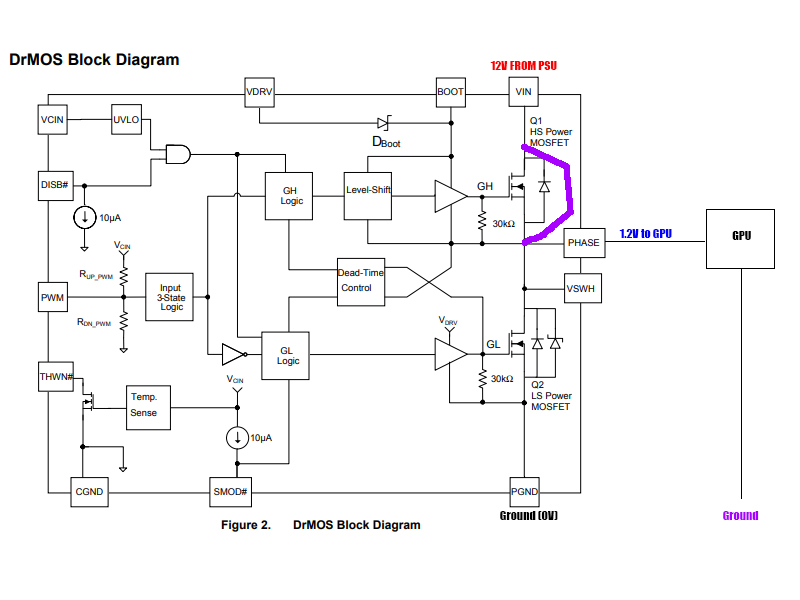
This tells us something important. The only thing that actually connects our 12V input an the GPU's power rail is the high side MOSFETs in our VCore VRM. Below is a diagram of one of this board's power stages. It appears that what's happened is that, a wire has formed where the purple line is, in place of Q1, the high power MOSFET. You can see that, if the purple line were there in place of the transistor, you'd have a direct path from the 12V input (red) to the GPU and then through the GPU to ground.
circuit_diagram.jpg


So, knowing that, there isn't much to be learned with the heatsink on. Let's get that off and see what's up.

As an aside, note that this card is sort of a funky design in that each bank of four phases shares a bank of three inductors. In contrast, most card designs have an inductor for each phase, and only the output (far) side of the inductors is connected together.
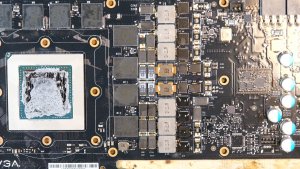
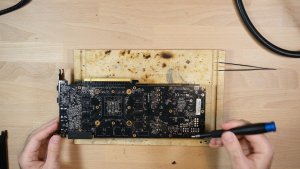
naked_board.jpg

Unfortunately, as Kumbassa says, there isn't any visible damage that I can see. We'll have to do some actual testing to see what's wrong with it. First, let's try to narrow down the part of the board the problem lies in. A crude way of doing this is to figure out which of our power stages (a combined dual mosfet + driver IC) are connected to our affected power input.

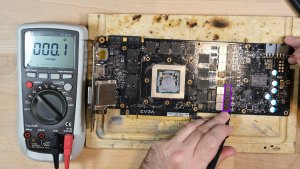
Some probing around the board reveals that it's these bottom four power stages. The 0 ohm reading on the meter indicates that we have continuity between that 12V input pin at the connector, and that empty pad near the bottom bank of power phases.
this_bank.jpg

At this point, we need to figure out which one of our power phases is our culprit. There are a few ways of doing this, but the most readily available to us are to:
1. Pass some current through the shorted circuit, and look for anything that gets warm, indicating that that's where the current is flowing.
2. Start removing the components from the circuit until the short goes away.

Option 1 is theoretically the least invasive, so we're going to try that first.
Power supply wires on...
power_supply.jpg

We use isopropanol as a bellweather to detect the heat. It's cheap, readily available, and it evaporates very quickly, meaning that if you heat it up enough, you can actually see it evaporating. And yes, this is a modest fire hazard. Try it at your own risk.

Here's the board with the power supply off.
alcohol_on.jpg

And here it is after a minute with the power supply on. If this had worked, you'd see one that's dry. Unfortunately, it didn't work. They all look the same.
nothing_obvious.jpg

So, that having failed, we're going to have to resort to just removing the suspect power stages until we clear the short. We'll start with the one by the edge.
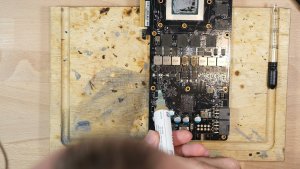
Flux on...
flux_on.jpg

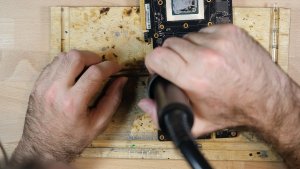
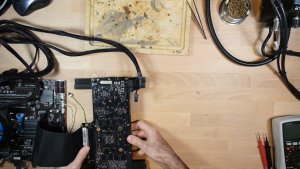
Heating the board...
hot_air.jpg

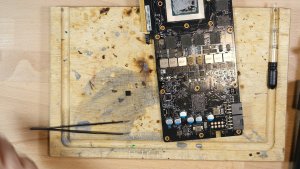
And it's off...
stage_off.jpg

Next, we check our resistance on the affected 12V input. Is it still shorted?
resistance_check1.jpg

Holy crap, it's not! We've cleared the short! In all seriousness, I figured it would be one of the ones in the middle of the board, and I'd have to remove all of them.
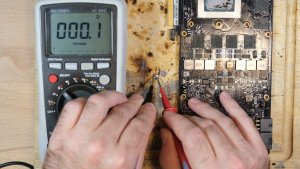
We can confirm that this power stage is in short by checking it directly. See? Zero ohms.
Yep_its_Dead.jpg
 
Holy crap, it's not! We've cleared the short! In all seriousness, I figured it would be one of the ones in the middle of the board, and I'd have to remove all of them.
We can confirm that this power stage is in short by checking it directly. See? Zero ohms.
View attachment 263214

Thanks for posting RazorWind! I was suspecting one of the upper ones in the middle of the board as being the culprit, but wasn’t sure of how to test them. The way you walked through it made perfect sense.

Where were you able to pull up the board schematic from?
 
Thanks for posting RazorWind! I was suspecting one of the upper ones in the middle of the board as being the culprit, but wasn’t sure of how to test them. The way you walked through it made perfect sense.

Where were you able to pull up the board schematic from?
You can't really test them individually when they're all in the same circuit together.

The diagram is lifted from the datasheet for the power stages on this board, which are OnSemi/Fairchild FDMF6823As.
https://www.onsemi.com/pub/Collateral/FDMF6823A-D.pdf

It's not really a schematic for the board itself, but rather just the inside of the power stages. Board schematics, unfortunately, are pretty closely guarded trade secrets, which adds to the difficulty of this sort of work considerably.
 
Thanks RazorWind! I honestly hadn't thought of pulling up the schematic for the inside of the power stage. Given that the board schematics are closely guarded secrets, threads like these are immensely helpful for the rest of us. Thanks for posting and sharing your progress and techniques/thought process.
 
At this point, we need to test the card and see if it's able to run with the remaining seven phases. This will tell us if the core got hosed when the original failure happened, or when we tried to use current injection to find our short.

So, we'll put the heatsink back on and plug it in to the test machine.
heatsink_on.jpg
plugged_in.jpg

Let's fire it up...

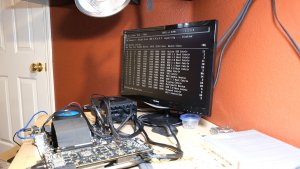
...and, we've got a picture!
it_lives.jpg

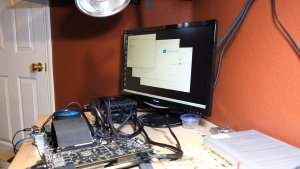
It took a couple of tries to boot into windows, I think because this install previously had Solan's MSI 980 Ti, which identifies itself as a different subId, but it did work.
driver_works.jpg

At least, it worked for a while. I stopped running the camera at this point, but fired it up again later, and when I tried running the GPU-Z render test, it burned out a second power stage. :(
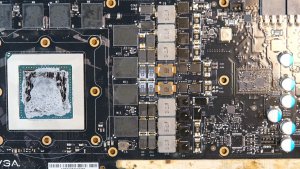
all_four_off.jpgall_four_off2.jpg

Given how many times I've seen this happen at this point, I'm pretty confident that our core is still fine, so I ordered some more power stages from Digi-Key and removed the remaining three from that bank. Now, we have to wait on the new parts to arrive.
 
Just curious how much do you charge for stuff like this?
I don't charge for doing this. I'm not really good enough or fast enough at it to be able to promise success in any reasonable amount of time. When I work on [H] members' cards, it's basically as an alternative to just throwing it away, for them. I get around the inexplicably high price of dead graphics cards on ebay, and they have a chance at getting it back in usable condition.

This could change in the future, maybe, but I think new graphics cards would have to get a lot more expensive, and the warranties would have to get a lot shorter, before I'd get anyone to pay me $300 to do this, and I think that's about what Louis Rossmann charges for a Macbook logic board, which is arguably easier to fix. He can't even be bothered to touch a graphics card, and he's obviously pretty capable.
 
Hi RazorWind! Checking in to see if you were ever able to figure out what the problem was on this board? I’m curious to know if you ever figured out what was burning up the power stages.
 
Ugh, I'm sorry about the radio silence on this. I eventually got the new power stages in hand, and had a brutal time soldering them onto the board. If you look at the photo with the power stages removed, you'll see that there are three large pads on the underside of each one, and then forty tiny pads surrounding them. I was getting great contact with the big pads on the bottom, but I'd always get too much solder on them, which would cause the IC to float, and the peripheral pins to never connect.

I spent hours and hours installing and removing them, cleaning the pands and trying again, and I think I finally have just the right amount of solder on pads to install the new power stages. The trick being that less is more, and the size of the pads makes I've had it sitting like that on my work bench for a while now, and every time I think about working on it again, I feel tired and dead inside, and come up with an excuse not to. I should sack up get on with it, but the pads are just so pretty now... If I screw it up I have to clean them again... :( Also, I'm down to my last four new power stages. If I screw it up, I have to either reheat them, or order new ones, and they're actually kind of expensive.

To answer your question about why the power stages fail, I think initially, they're failing thanks to just running hot for a long period of time. The one that failed is the one that gets the least cooling, and that's apparently a pattern on this board design, if one believes Buildzoid.

I'm not sure why my replacements often fail - it could be that the original failure was secondary to some other problem, like a failure of the bootstrap circuit. I've never been able to conclusively diagnose that, though. It could also be that I'm damaging the mosfets when I install new ones by getting them too hot. Soldering an IC that size without a preheater is pretty tricky, and it wouldn't shock me at all to find out that I just suck at it.
 
I've had it sitting like that on my work bench for a while now, and every time I think about working on it again, I feel tired and dead inside, and come up with an excuse not to.
Hahaha. I can completely understand that! Thanks for the update and let me know if you ever get the “sack” to approach it again. Hahaha. This post has been a great help and I’m glad we’re all learning. :)
 
Back
Top