Gilthanis
[H]ard|DCer of the Year - 2014
- Joined
- Jan 29, 2006
- Messages
- 8,735
GIMPS uses the Prime95 app which is the same as SOB. It is a little easier to understand for setting up because you don't have to make changes to a config file.
First, you need to register an account with the website at www.mersenne.org/gettingstarted/ Make sure you add our team under your Account Settings. Our team name for this project is HardOCP
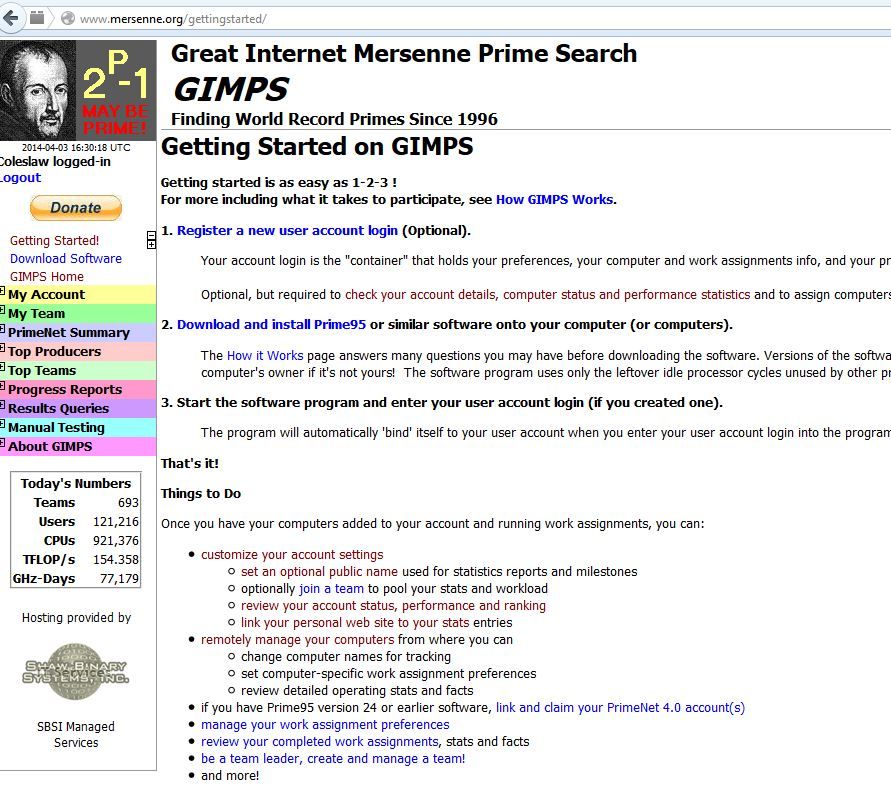
Next, click on the link to download and install Prime95 on the second step of that screen which should bring you to a page that looks like the one below.
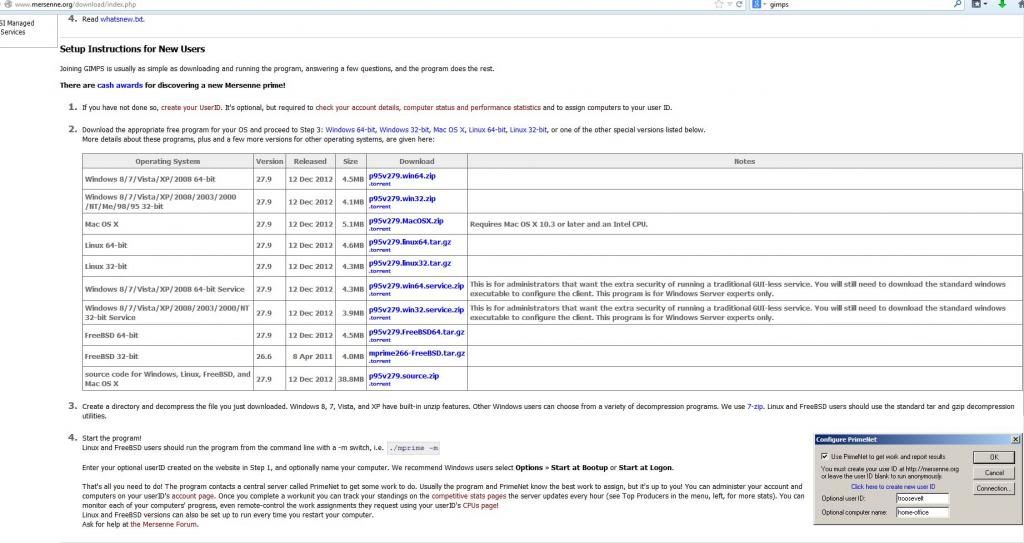
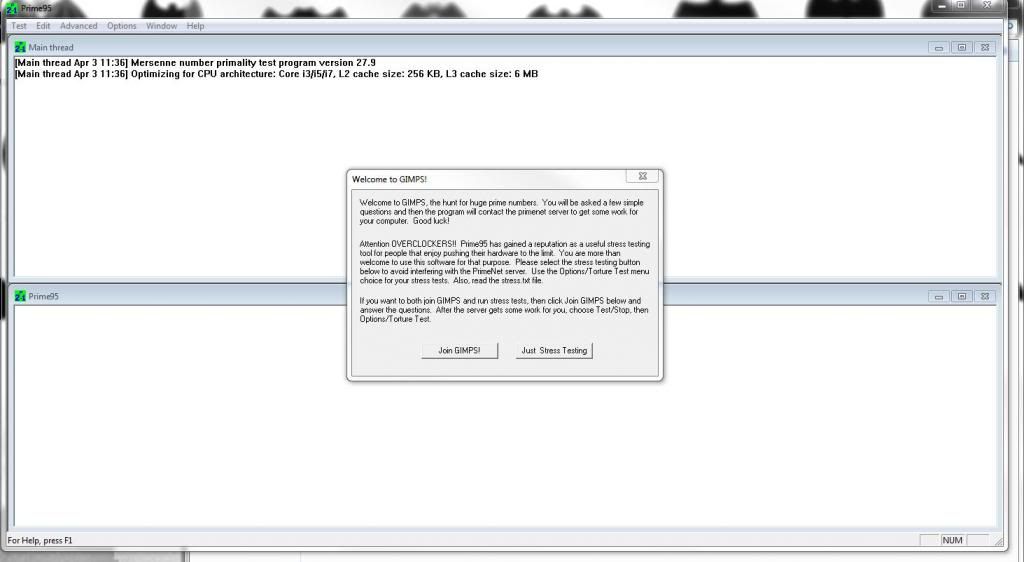
Choose the version that best suits your system and extract the files to a folder on your computer. Remember where this folder is located. In that folder you will find a file called Prime95.exe. Run that file and you should see the app run with a Welcome message. Even though you already created an account, click Join GIMPS! button anyway.
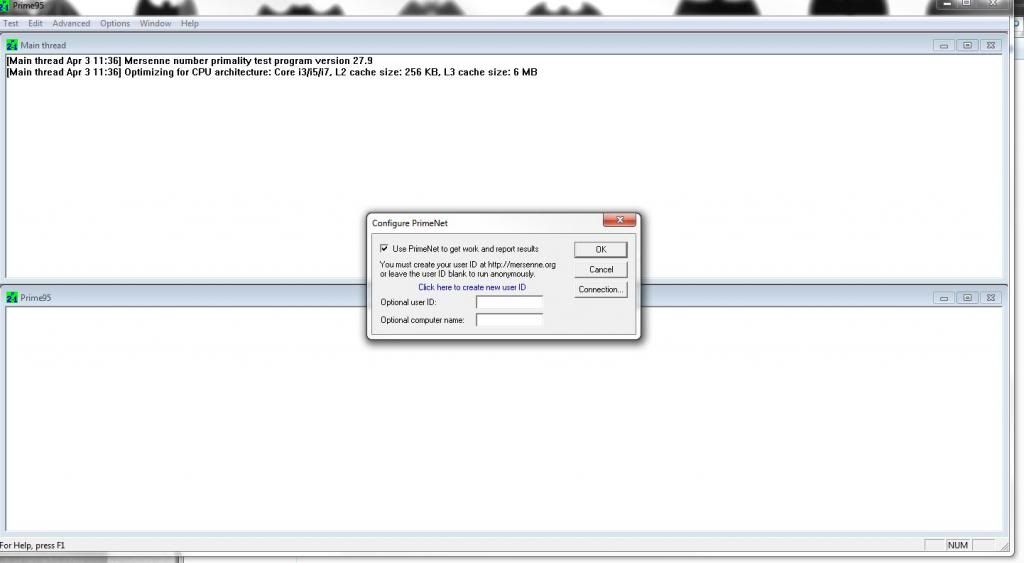
The next screen is where you enter the user name you created with the website. I recommend also giving your computer a unique name for easy reference in the future if you add more to your list. Hit OK.
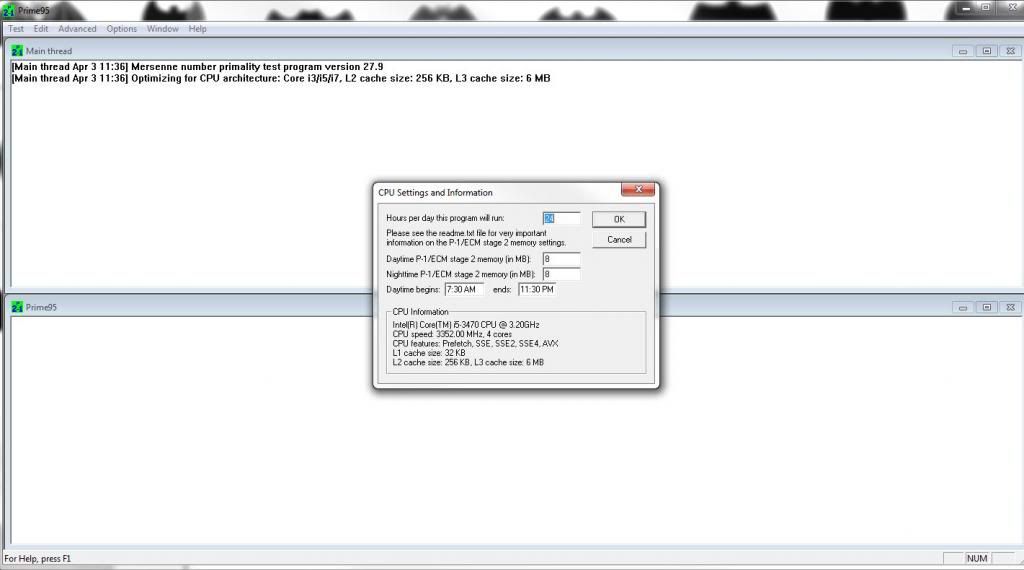
The CPU Settings and Information screen basically tells the client how long and at what times to run the app.
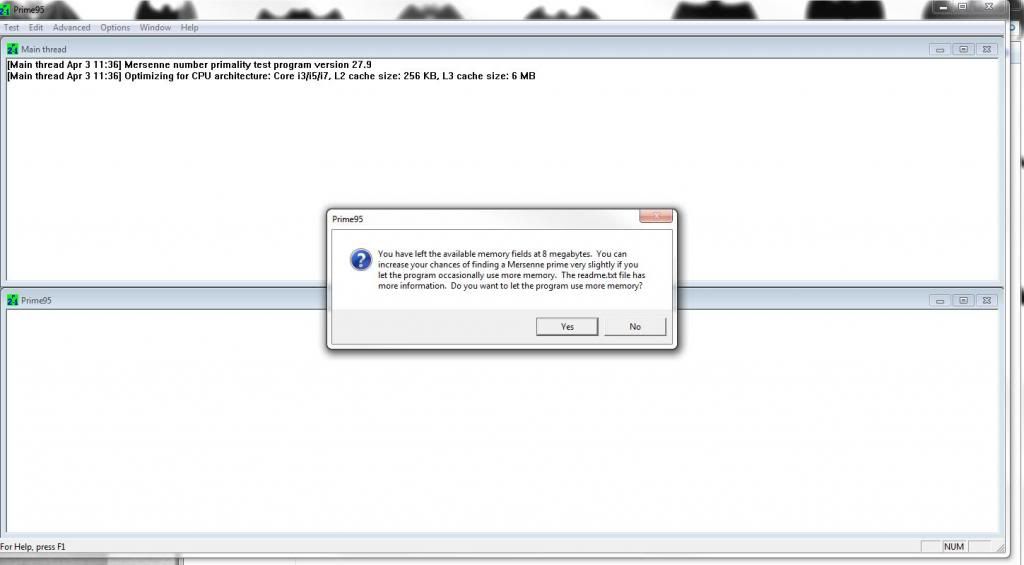
If you left the default memory setting at 8MB, you will get this prompt. If you click yes, it will take you back so you can change the amount to something higher.
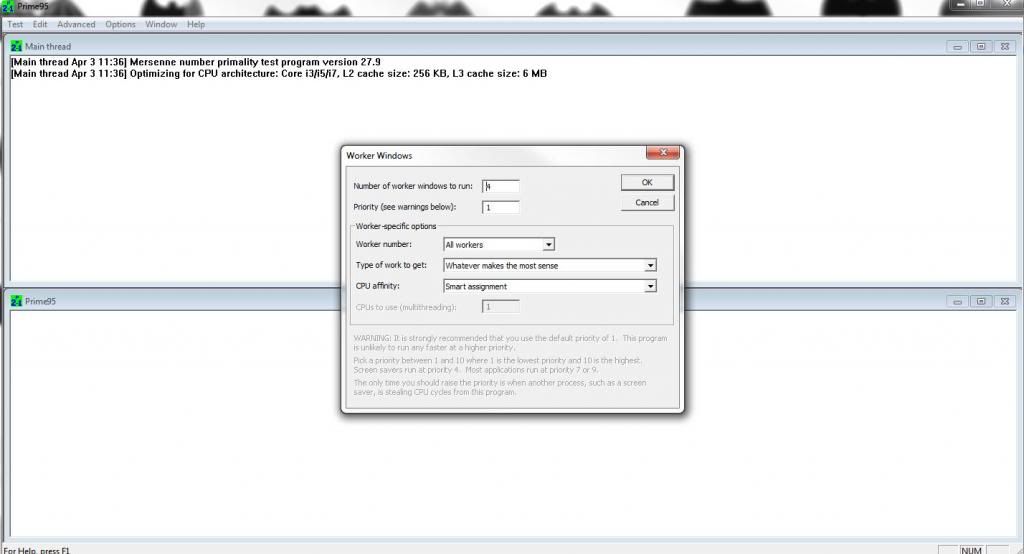
The next screen tells the client how many workers to run. This essentially is how many cores you want used by the client and this is how many work units will run at a time. You can also change priority levels and such here.
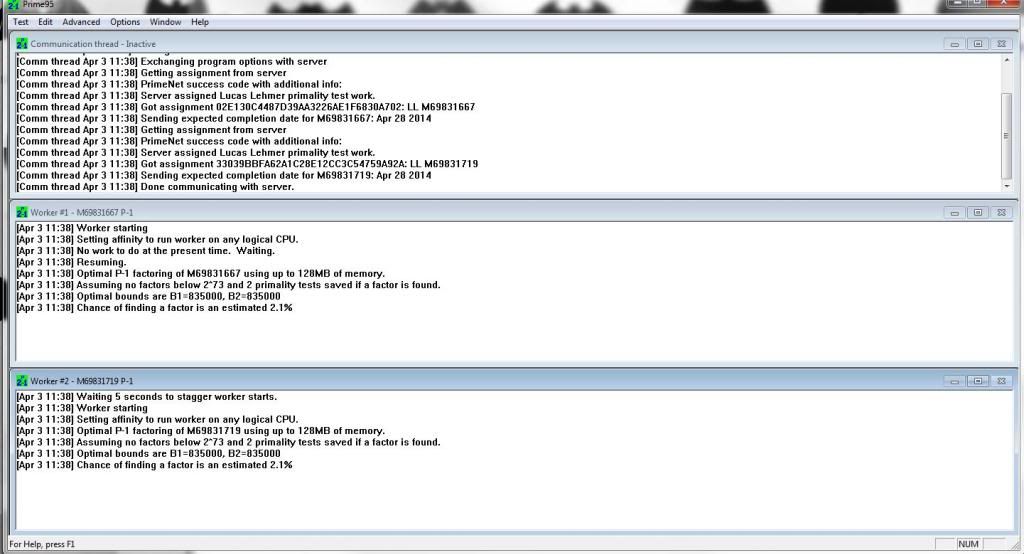
Now you should see something similar to this. If you hover your mouse over the icon next to the clock, you should see what percentage is complete on each worker.
First, you need to register an account with the website at www.mersenne.org/gettingstarted/ Make sure you add our team under your Account Settings. Our team name for this project is HardOCP

Next, click on the link to download and install Prime95 on the second step of that screen which should bring you to a page that looks like the one below.

Choose the version that best suits your system and extract the files to a folder on your computer. Remember where this folder is located. In that folder you will find a file called Prime95.exe. Run that file and you should see the app run with a Welcome message. Even though you already created an account, click Join GIMPS! button anyway.

The next screen is where you enter the user name you created with the website. I recommend also giving your computer a unique name for easy reference in the future if you add more to your list. Hit OK.

The CPU Settings and Information screen basically tells the client how long and at what times to run the app.

If you left the default memory setting at 8MB, you will get this prompt. If you click yes, it will take you back so you can change the amount to something higher.

The next screen tells the client how many workers to run. This essentially is how many cores you want used by the client and this is how many work units will run at a time. You can also change priority levels and such here.

Now you should see something similar to this. If you hover your mouse over the icon next to the clock, you should see what percentage is complete on each worker.

Last edited: