Compact Splash M-ITX SFF Gaming Build Log

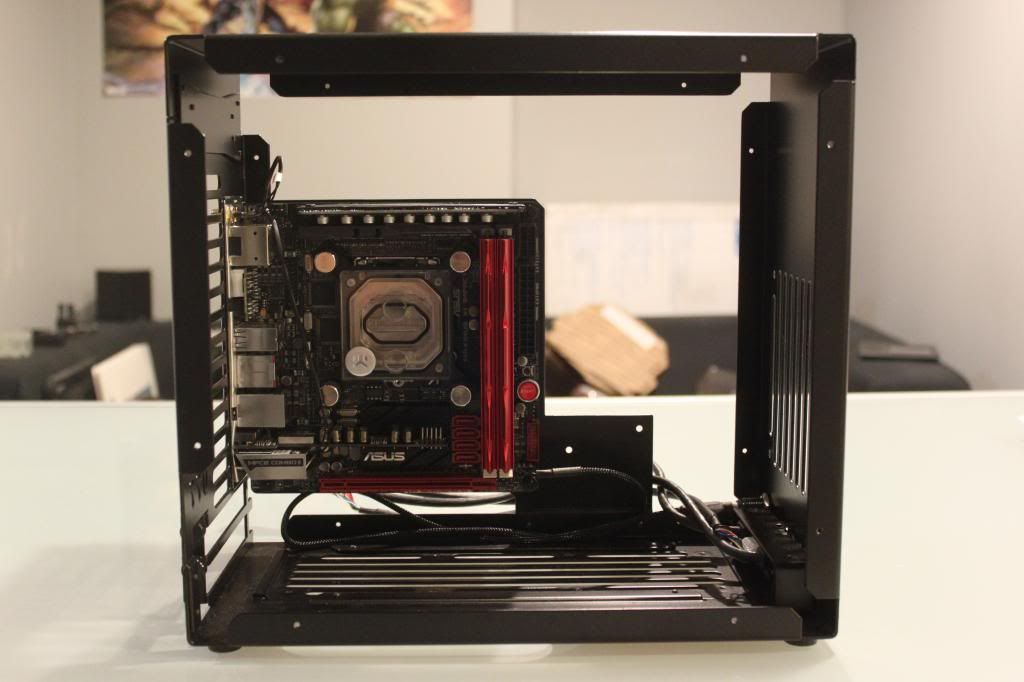
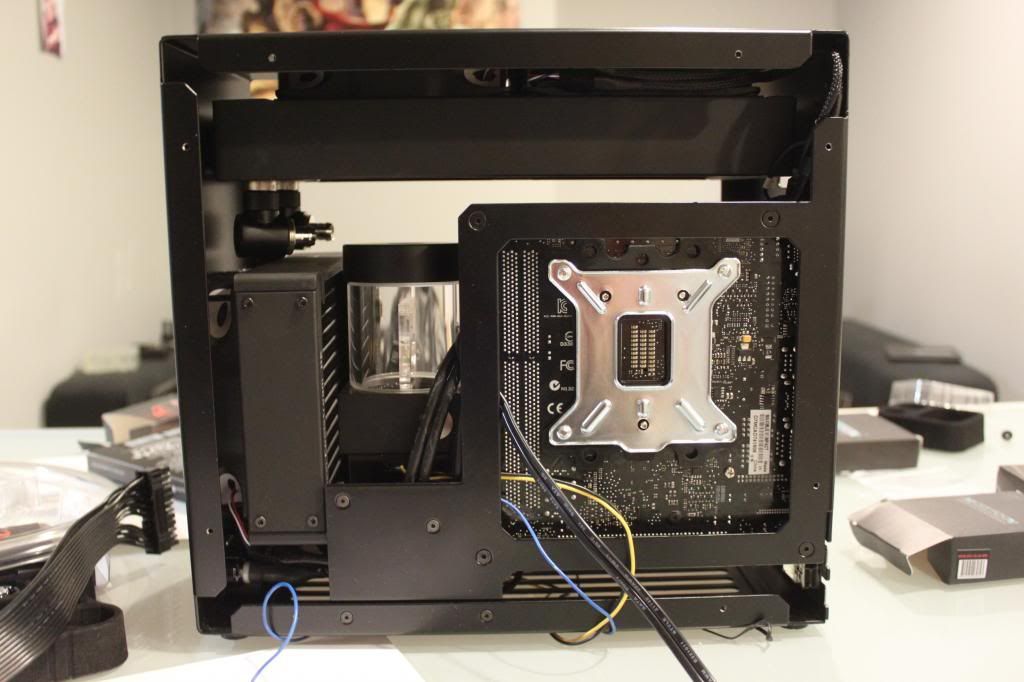
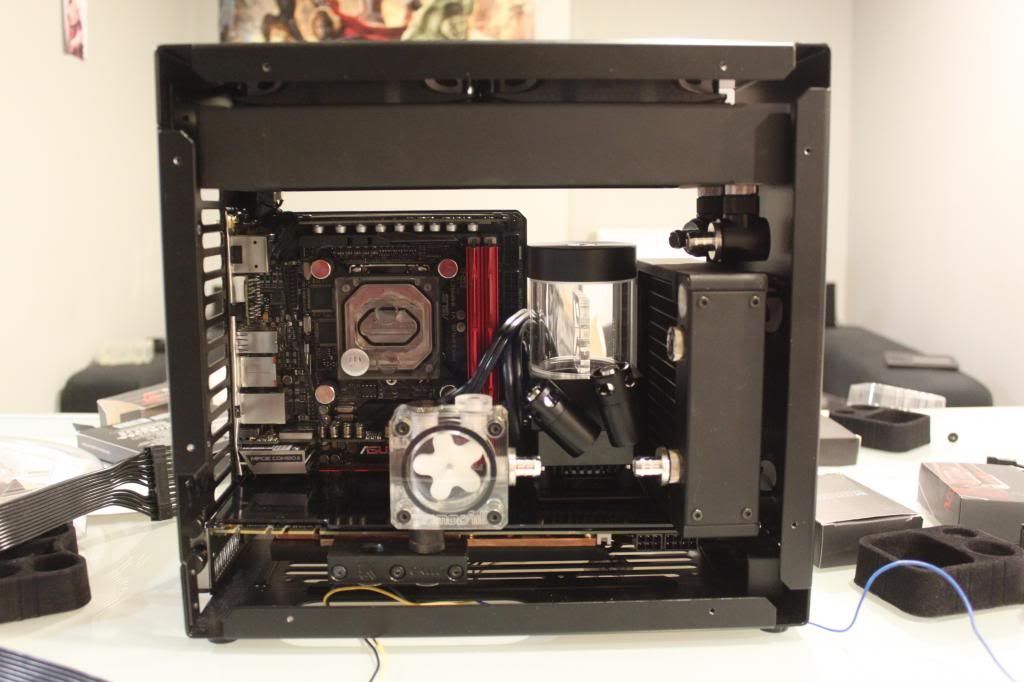
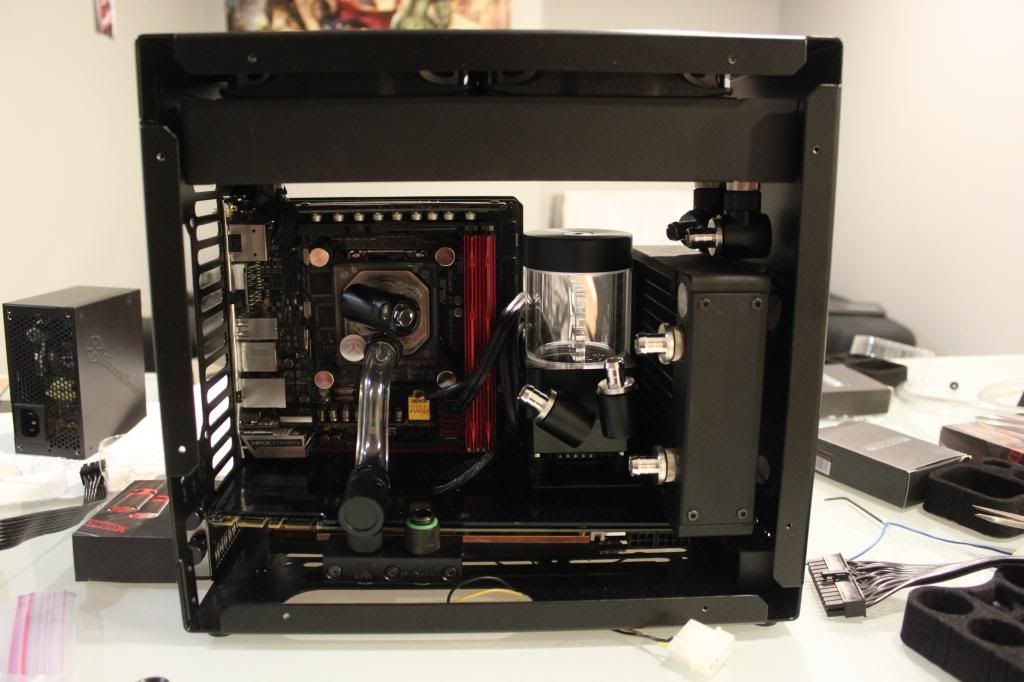
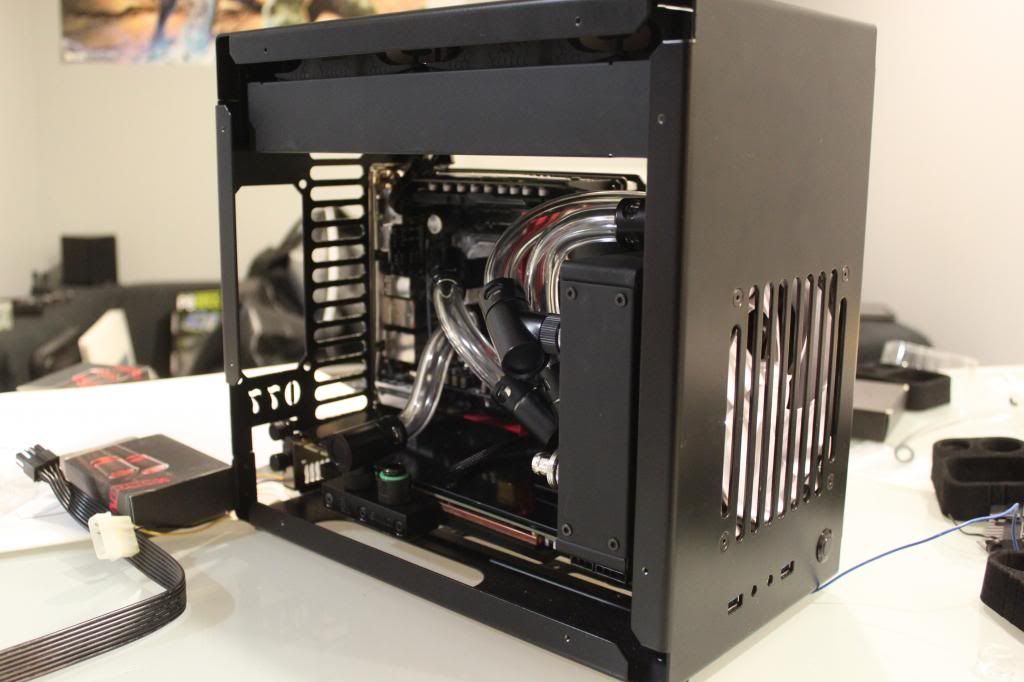
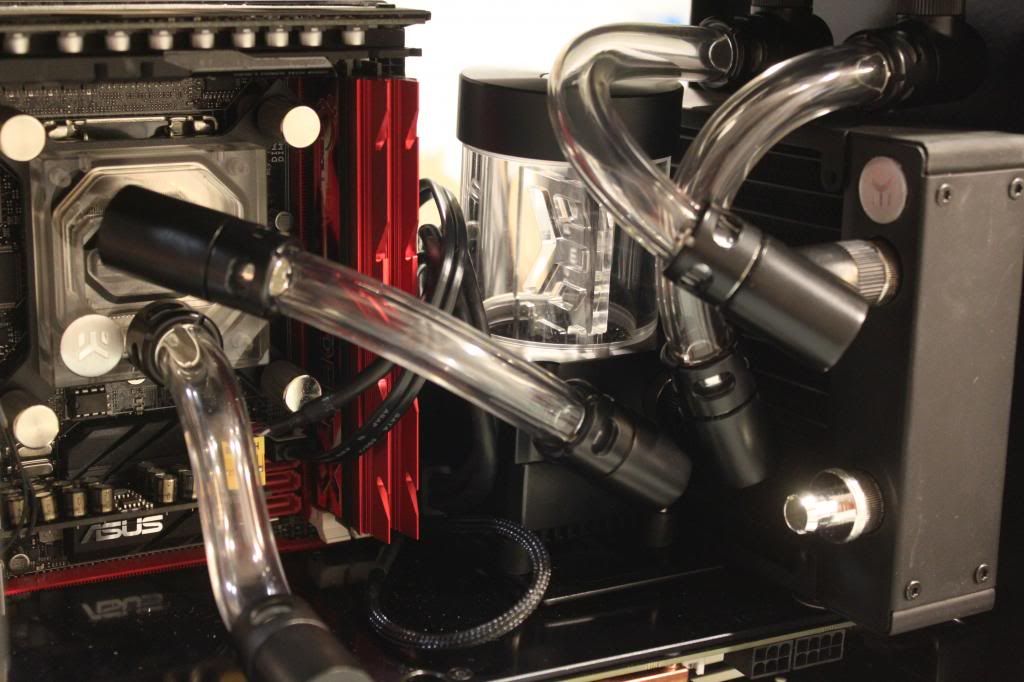
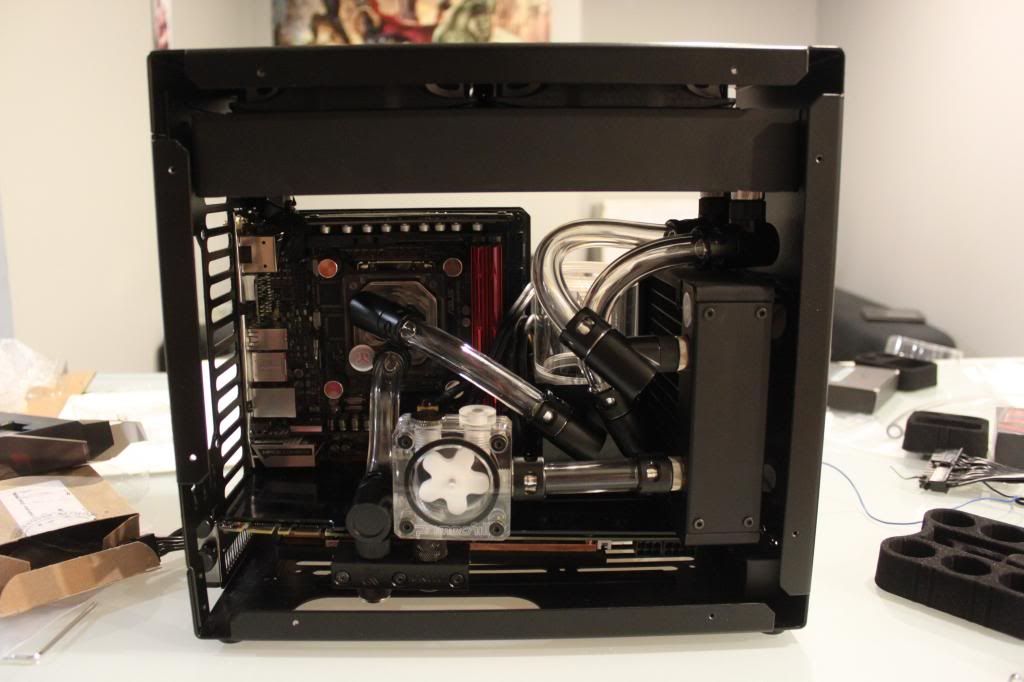
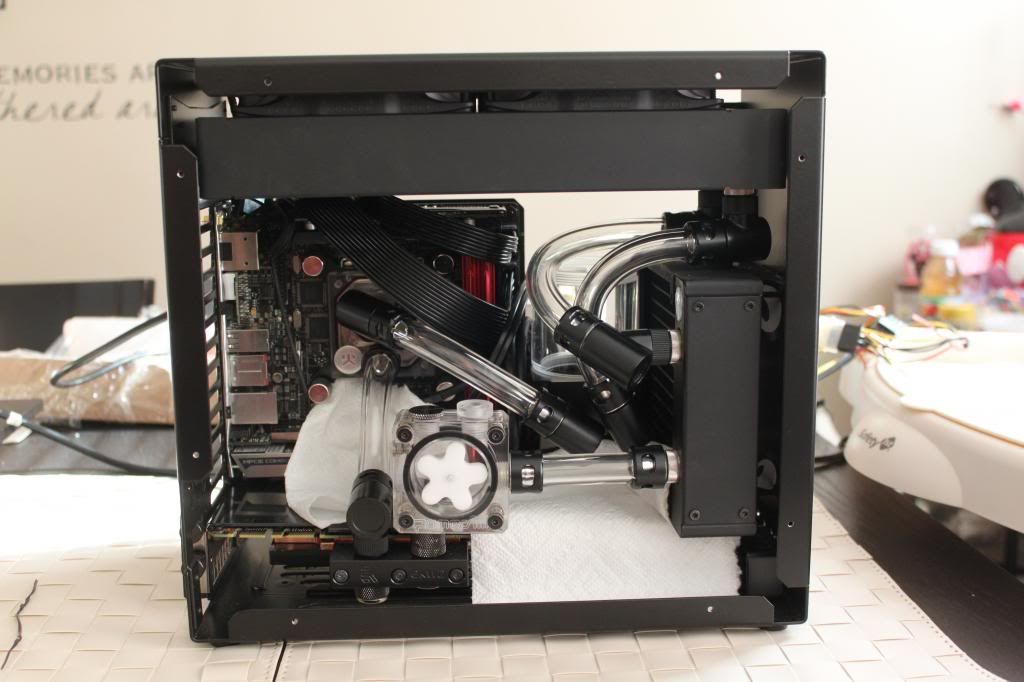
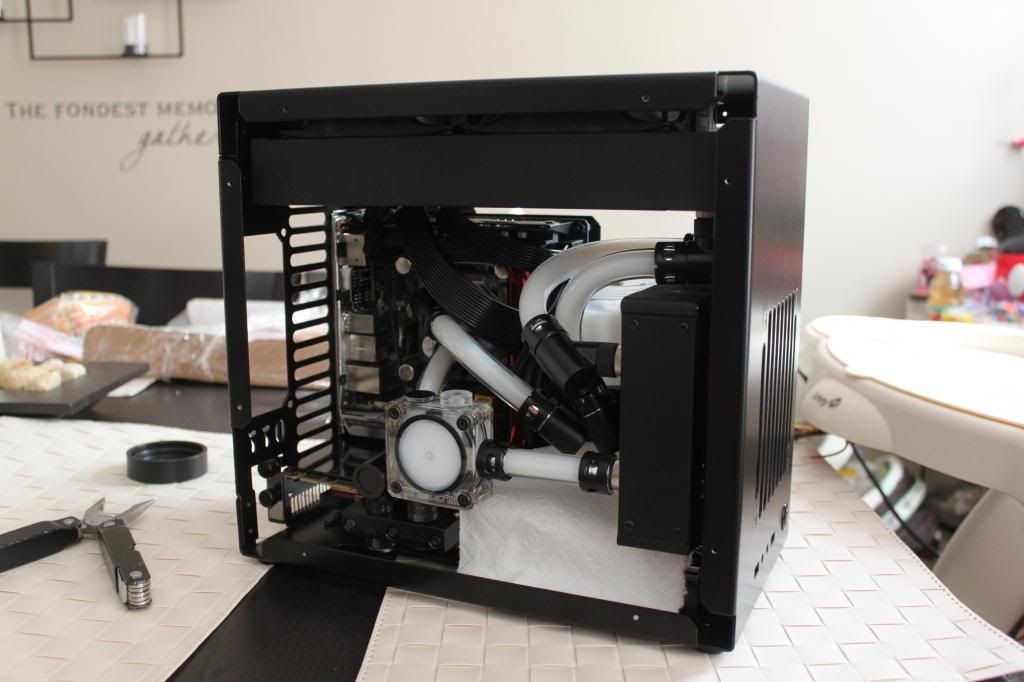
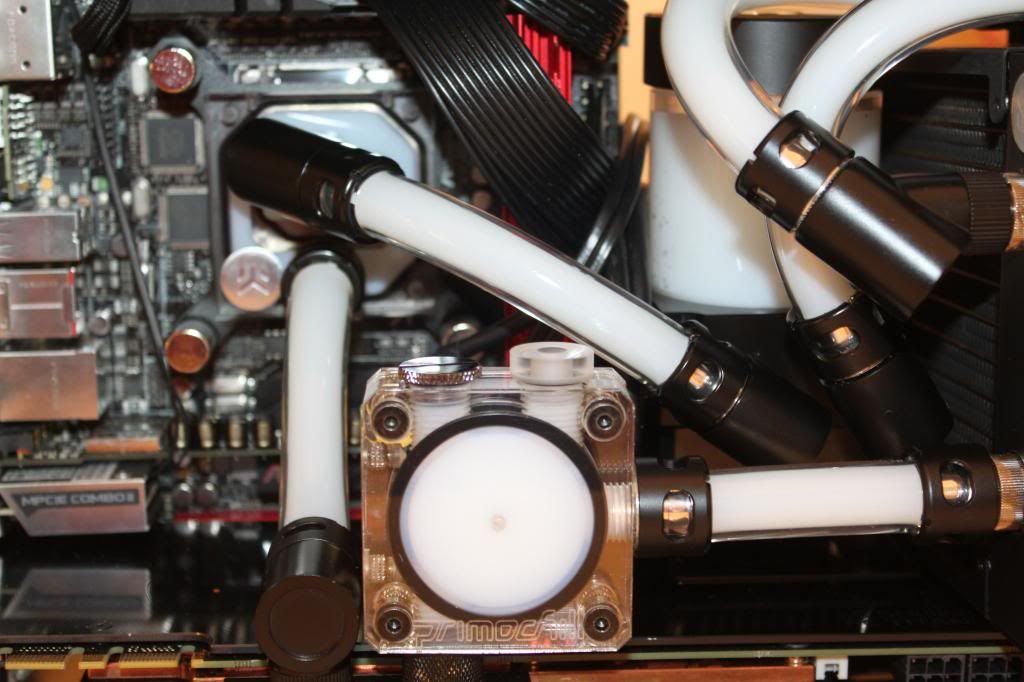
Damn that is one sexy water block for the CPU, nice build man I will defiantly be following this thread, you've also given me some ideas for my upcoming M1 build with all the liquid cooling stuff the only thing I'm not sure about is the backplate for the CPU looks terrible but I doubt it matters since no one will see it

The backplate came with the EK Supremacy but I agree, they could have at least painted it black.

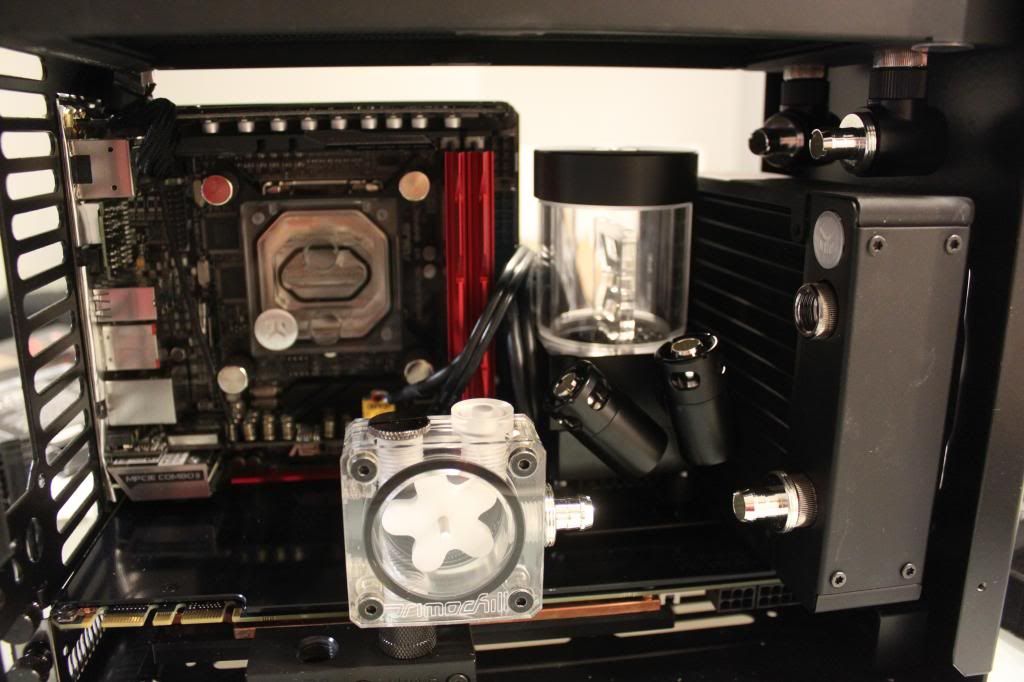
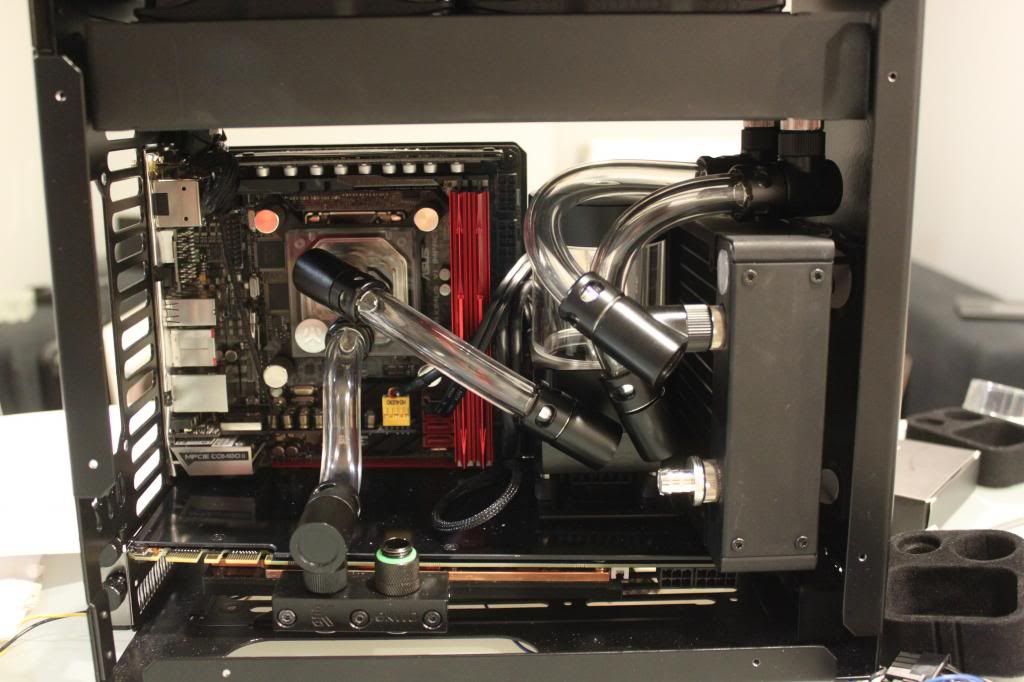
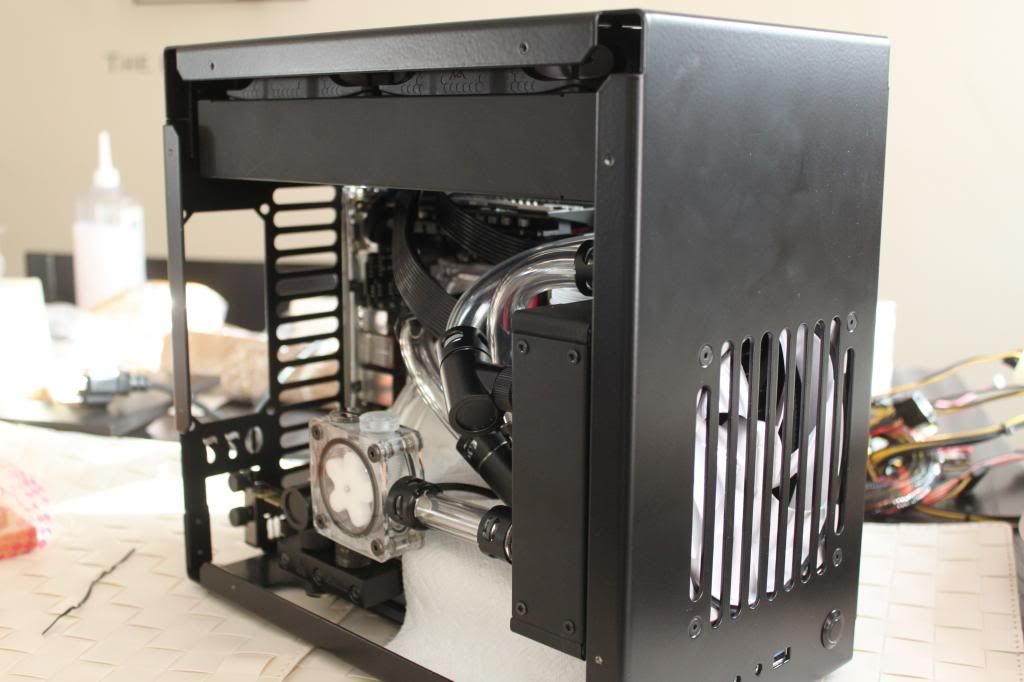
Why didnt you go with the full cover block?

I'm probably going to upgrade cpu/mobo in a year or 2 and would like to reuse the block so a universal is ideal.
 
Ok,
this build was so far one of the best I have ever seen. Where is the rest of the pictures?
 
It's a build in progress it might take more than 5 days for something new to happen.
I was wondering since I am planning a build vaguely similar what's the fan control like on the Asus MOBO?
And what's the noise like on those eloops
 
Last edited:
Ok,
this build was so far one of the best I have ever seen. Where is the rest of the pictures?

Thanks, this is my first build so I tried to make sure it was done right. I've been extremely busy with work and with my 2 daughters (newborn and 2 years old) so it's been pretty hectic. I'm also waiting on new parts being delivered tomorrow.

It's a build in progress it might take more than 5 days for something new to happen.
I was wondering since I am planning a build vaguely similar what's the fan control like on the Asus MOBO?
And what's the noise like on those eloops

I've had limited experience using the fan headers on the Asus Impact but so far, it has met my expectations and then some. As for the eloops, sure enough, they are extremely quiet while moving a decent amount of air and I'm glad I went with them. I wish I could say the same about the other components of my water cooling build.

MOOOREEEE

I ran into some problems but I'll throw in some more teaser shots.
 
Here it is installed in the case. Honestly, it was a damn bitch to install the mobo thanks to the I/O shield having some foam padding that sits between them. Asus, I'm looking at you, remove that god awful foam padding as you already have a lot of complaints on the ROG forums about it.

IMG_2345.jpg


GPU installed. It's all finally starting to come together.:D

IMG_2413.jpg


Teaser. I love the look of this combo.

IMG_2416.jpg
 
^ me too, I love the look of that fan up against the rads :)

I wish I could say the same about the other components of my water cooling build.
+
I ran into some problems but I'll throw in some more teaser shots.
It'd be good if you could state them :D
 
I actually finished the loop and started leak testing and ran into 2 problems:

1. The MCP355 is too loud/whiney in such a small case. I ordered a new MCP35x as a replacement from sidewinders which should be arriving later today.

2. The Primochill Vortex flow indicator is making loud clicking noises. I've narrowed it down to the sprocket which I would say is such a poor design choice. The noise is actually very common for all owners and I should have done more research before I bought it. I'm thinking about either removing the entire indicator or just the sprocket since it still looks so badass installed. The sprocket is not visible anyway since I'm using Pastel Ice white.
 
Indeed. IMHO get the EK replacement housing, it comes with vibration damping screws.
 
I already have the EK aluminum heatsink housing installed. It makes no difference. The MCP355 at full speed is just too loud for a small ITX case.
 
Well, you've ordered the -X now so all will be good.

Only, we've just discovered in the NCase thread that the ROG Impact only has PWM on the CPU fan header, and the other 3 fan headers are voltage controlled. Not sure how well those eLoops work with voltage. So if you need another PWM fan header for the pump you can use the GPU, with an adapter. I do this on my FT03-mini build.

Just had another look at your pics - GPU backplate looks very nice. Does it fit well with the PE120 rad?
 
Wait a minute, didn't Raja from Asus say that the fan headers were all PWM... ?!?!?!
 
They are all 4 pin but the PWM signal remains at full power and the fans are then just voltage controlled I think. I was just wondering if you had a fan splitter like the one that comes with the swiftech H220 connected to the GPU or the CPU slot so it used true PWM would that then work properly?
 
Yes, you could connect the pump to CPU fan header on the motherboard, and an adapter to the Swiftech 8-way PWM on the GPU fan header, and control all three fans by GPU temperature. Or the other way around: pump on GPU and fans by CPU temp.
 
For now, I'm going to run the pump through the CPU header. I'll think about getting the Swiftech PWM splitters.

Updates:

The 2 eLoops paired with the PE 240mm Rad.

IMG_2429.jpg


The Primochill flow indicator breakdown. The white sprocket is the main culprit for the clicking noise. Too bad I found out about it after leak testing.:mad:

IMG_2437.jpg


The fans/radiators installed. It's getting might cramped in there.

IMG_2439.jpg


Top view. I'm really glad I went with the eloops. The Splash has large radiator grilles and the fans complement them pretty well.

IMG_2440.jpg


IMG_2441.jpg


Rear view.

IMG_2442.jpg
 
Started planning the tube runs. Best place for the flow indicator and it negate the need for another 45 or 90 degree rotary.

IMG_2445.jpg


Finally, the res/pump doesn't feel so lonely.

IMG_2446.jpg


IMG_2452.jpg


IMG_2454.jpg


First tube in. Advanced LRT was more difficult to bend than I thought but I guess that's the benefit as well as it's less likely to kink.

IMG_2460.jpg


This seemed to be the only way for me to install the tubing since the PSU will get in the way.

IMG_2458.jpg
 
I finally figured out the loop order. It turned out pretty well I think.

IMG_2463.jpg


IMG_2465.jpg


IMG_2467.jpg


IMG_2468.jpg


I love the look of clear tubing. Hopefully it won't cloud too much as time goes by.

IMG_2469.jpg


Ready to be leak tested!!!:D

IMG_2480.jpg
 
Great update, nice to see your progress! :)

The GPU card looks really warped - that is a little bit of fisheye from your camera of course, but have to checked with spirit level to see what the angle is? How much space is under your front rad to the backplate of the card?

A tip with Advanced LRT: you can dunk it in boiling water, and then in ice water to help it form curves better. You need to put something solid inside the tubes though to stop it collapsing.
 
I'd personally go with another rotary angled fitting on the CPU block. I believe the GPU block is put under pressure by that bent tube from the CPU block.

Nice update nontheless as this is looking kewl! :)
 
Looks great so far.
But the looks is decieving when there is no cables in the system.

I think you should throw out that samsung ssd and take an M.2. A bit more cluttered mobo but you'll loose so much cable.
 
I thought so too so I actually removed the tubing but it didn't do much. Apparently my card just sags a bit. I cut the tubing shorter and put it back.
 
I had baby sitting duty so while the newborn was napping, I turned on Mickey Mouse Clubhouse for my 2 year old and started leak testing. Thank you Disney Jr.:p

Getting the coolant ready.

IMG_2483.jpg


I was thinking ice pastel would be odorless but it has a nice pleasant fruity smell to it.

IMG_2485.jpg


Insured through bounty.

IMG_2488.jpg


IMG_2489.jpg


IMG_2491.jpg


IMG_2490.jpg
 
Nail biting-ly close to the finish line :D

+ how're the kids and the family? :)
 
Looks great so far.
But the looks is decieving when there is no cables in the system.

I think you should throw out that samsung ssd and take an M.2. A bit more cluttered mobo but you'll loose so much cable.

The most clutter will be from the PSU cables. I was able to install the SSD underneath the GPU and route the SATA and power cable through the back of the motherboard.
 
Nail biting-ly close to the finish line :D

+ how're the kids and the family? :)

I wish. I always seem to change my mind at the last second.

My daughters are great but my wife got grumpier. Double the workload I guess. I've been crazy busyas well. Normally for a pc build, it would take me a week at most to complete. I can't seem to finish this one.
 
Time to break out the donor/leak tester PSU. This PSU's fan is loud and possibly dying so it gets relegated to leak testing duty only.

IMG_2492.jpg


All filled up. I had a minor leak from the 90 degree rotary connecting the CPU to GPU but after I tightened it some more, it stopped.

IMG_2495.jpg


IMG_2501.jpg


IMG_2511.jpg


IMG_2512.jpg


IMG_2515.jpg


At this point I was pretty happy with it. No leaks after 8 hours.

IMG_2517.jpg


I slapped in my NZXT LED kit to see how it would look. Not bad, but when I put back the smoked acrylic side panel, it wasn't really visible.

IMG_2521.jpg
 
When I swapped the PSU to the Silverstone SFX 450w, I then noticed the 2 problems I had mentioned before. The MCP355 pump and Primochill flow indicator was making too much noise. So this is when I broke down and ordered a MCP35X from sidewinder computers.
 
Does the croissant help in connecting the PSU :D ? Love that milk flowing inside your case :) however I think you could experiment with the lighting inside the case since it looks dull. Maybe its the metering on your camera but the background seems to negate the illumination inside the Splash.
 
Really like this build it's coming along nicely, I was just wondering why you put your fans next to the grille is it just for the aesthetics from the outside? I also really like that white coolant :)
 
Does the croissant help in connecting the PSU :D ? Love that milk flowing inside your case :) however I think you could experiment with the lighting inside the case since it looks dull. Maybe its the metering on your camera but the background seems to negate the illumination inside the Splash.

Of course it does. Who wants to leak test on an empty stomach?;) The LED's are bright but not bright enough to seep through the smoke acrylic so I'm changing the lighting scheme a little bit. I want more evenly distributed lighting.


Thanks!:) I'm not done yet though.

Really like this build it's coming along nicely, I was just wondering why you put your fans next to the grille is it just for the aesthetics from the outside? I also really like that white coolant :)

I'm doing a push configuration because the case designer (Kyle) found that drawing cool air from outside the case and using the positive airflow to expel the warm air out has the best results. Plus is also looks BAD ASS.:D
 
:D lol, yeah I didn't think of that :) Hefner over on OCN will be going with a glass side panel - you think you are upto doing the same thing?

Someone on the bitfenix thread also did a mirror window finish from a pane of glass so that would be worth checking out... ?:no? :) I think the build log was dubbed Bitfenix Mirror by Artx

I like the smoked acrylic side panel so I think I'm changing the color scheme a bit. I saw the mirror window finish and it looks insane but I won't be going to that length on the side panel.

Looks so good! double omfg :D

Thanks, it's still not done yet though.
 
Back
Top