sniperbob151
Limp Gawd
- Joined
- Aug 17, 2008
- Messages
- 383
sNiPeRbOb's Boom-Box
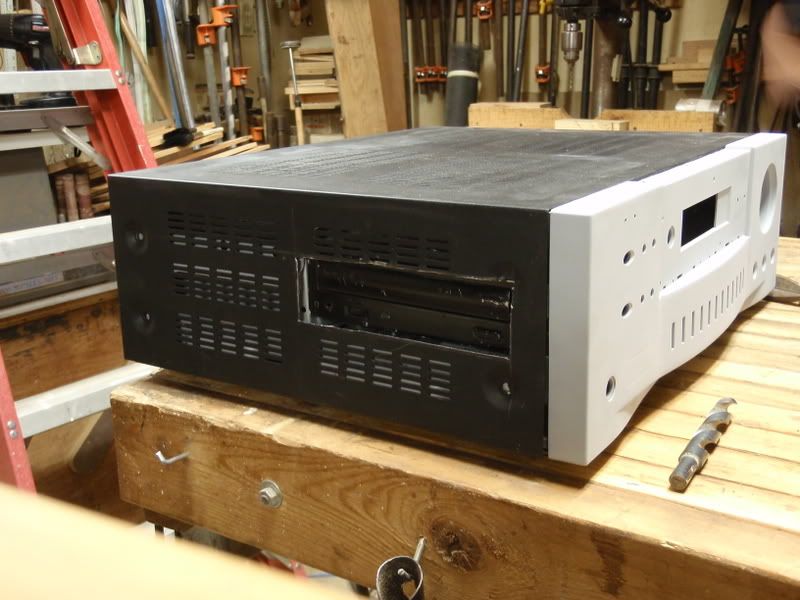
Well, I have been searching for quite some time for a mATX desktop case that wasn't too big, but would actually fit the hardware I had to put in it. Seeing as I'm a poor college student (those three words go together all too well...) I also wanted to find something that wasn't going to break the bank. After sitting around my house this afternoon, the Idea hit me.
KLH Stereo Receiver

(image ripped from ebay)
I bought a KLH 2-channel stereo receiver from Best Buy when I was 16, and then a year after, It died on me (blown resistors, damaged PCB). It sat under my bed for a couple of years. Today, it began its new life as something much more powerful.
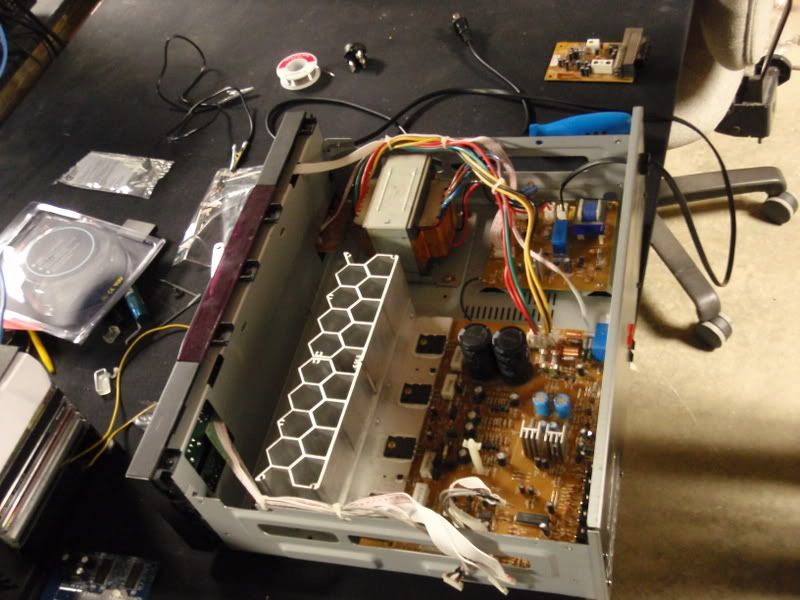
I stripped down the case, starting with removing the cover, then the internals
My brother helping strip the case

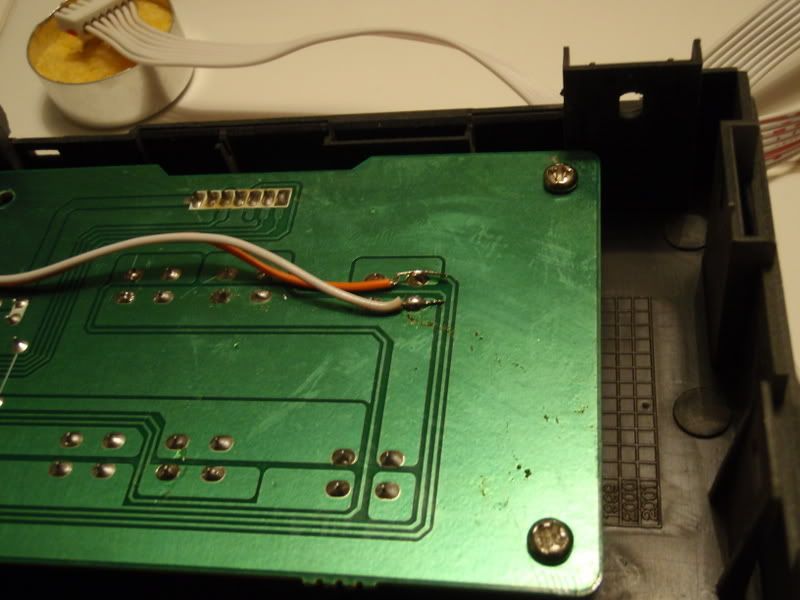
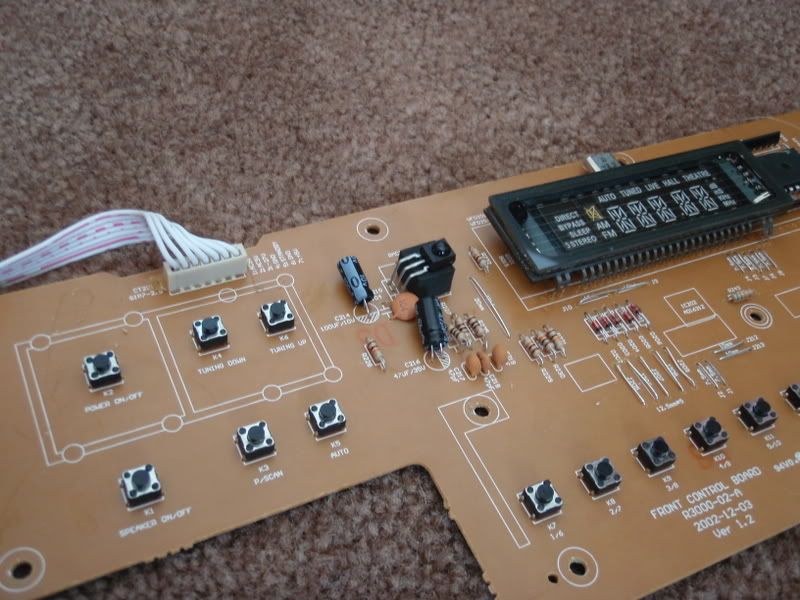
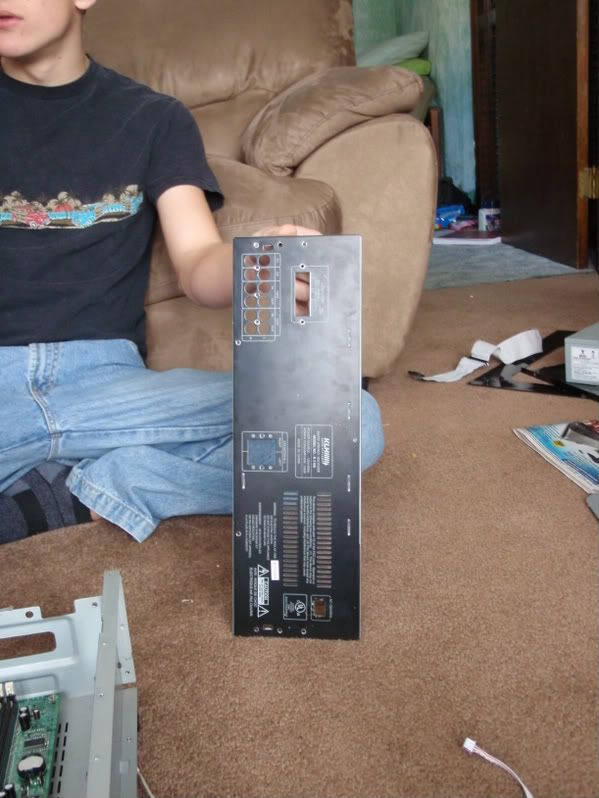
The front panel PCB. I will be soldering the power and reset headers to the two left-most switches on the PCB, maintaining the stock appearance.
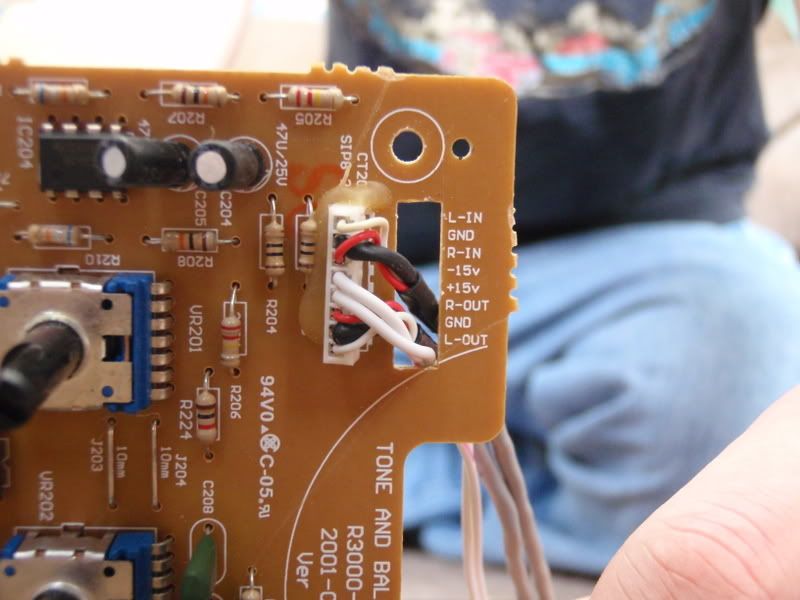
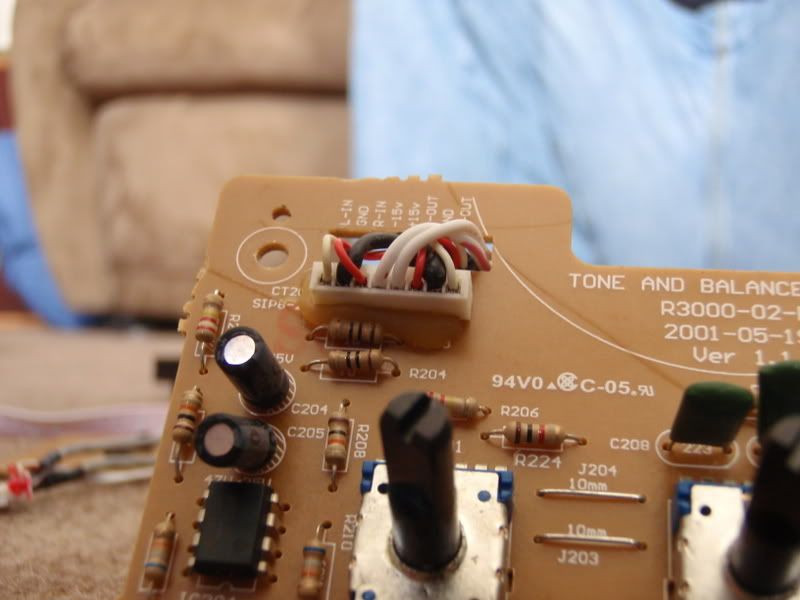
There was also a seperate board for Balance, Bass, and Treble control. Not sure if it is possible, due to the variance in circuit types, but would it be cool to make it a fan controller!
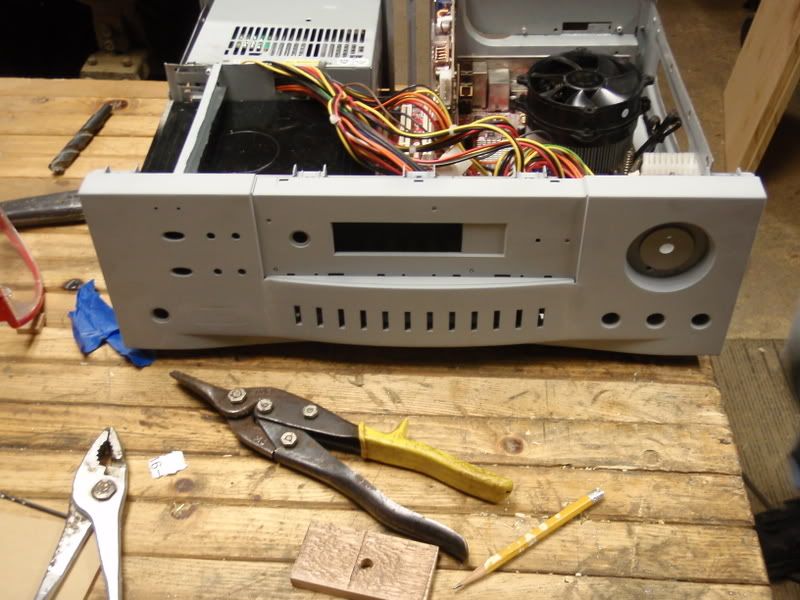
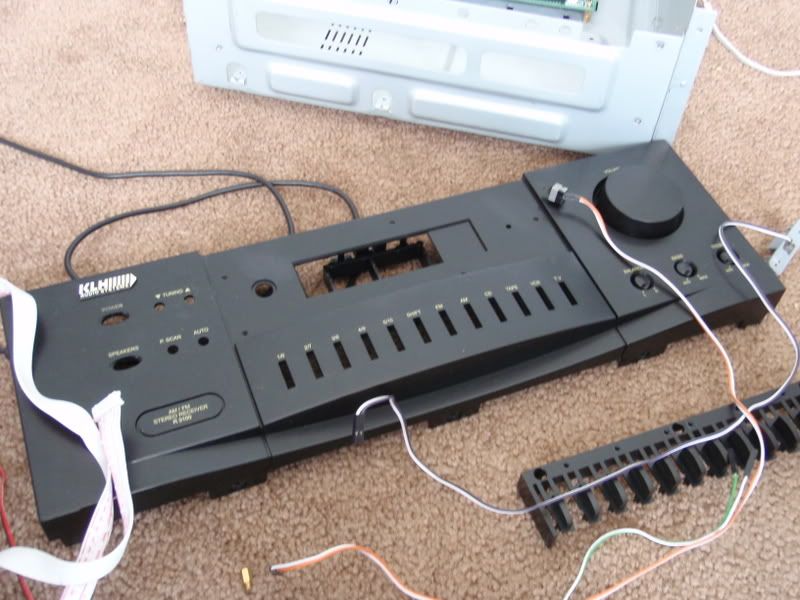
Front Panel Stripped of buttons and LCD quartz display cover. The front will be all bondo'd smooth with only two switches and two LED holes present. It would also be neat to figure out how to wire up the display to run system temps etc. Any ideas/suggestions?
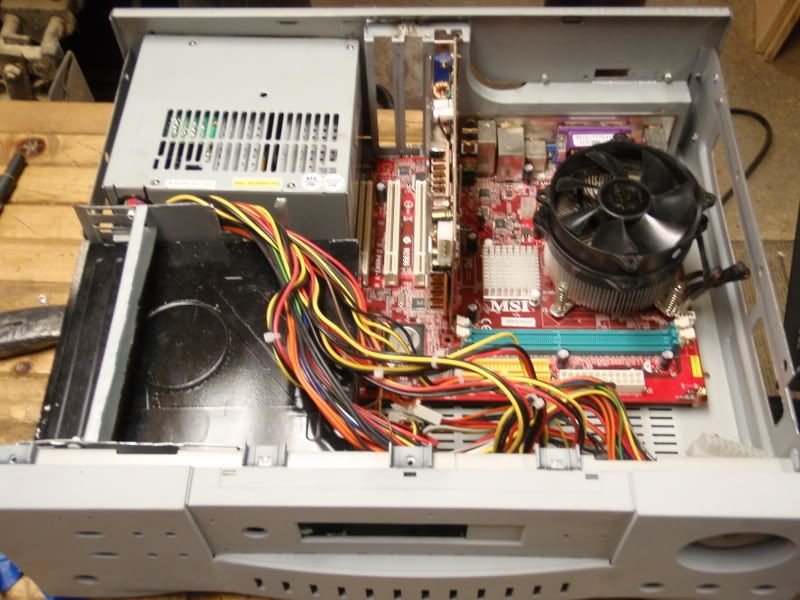
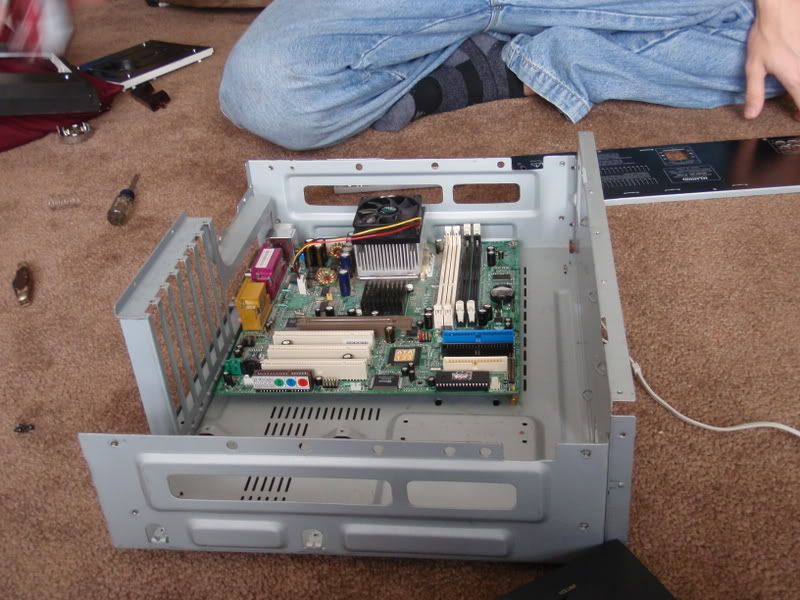
Test fitting a spare mATX board
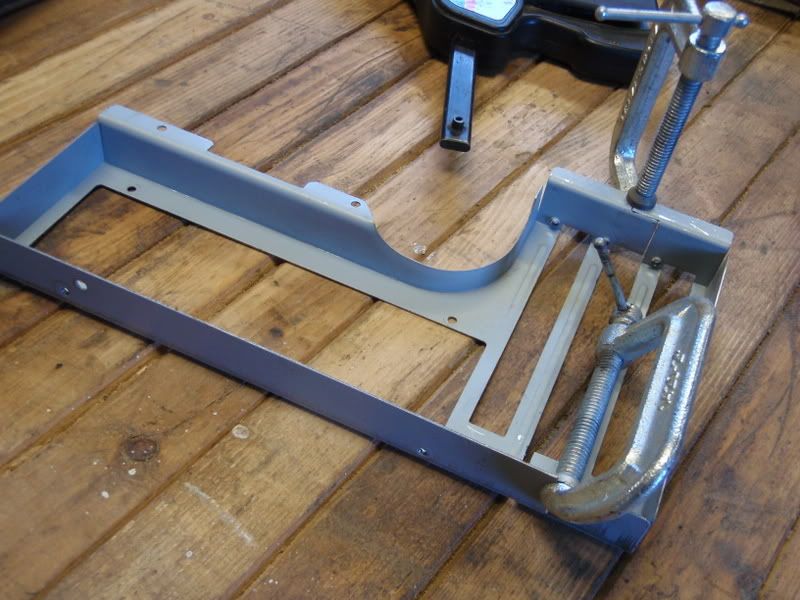
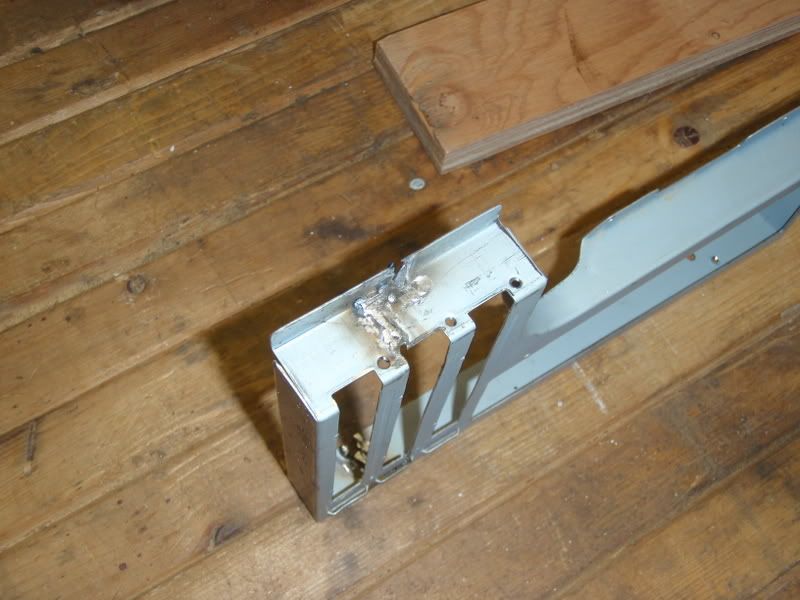
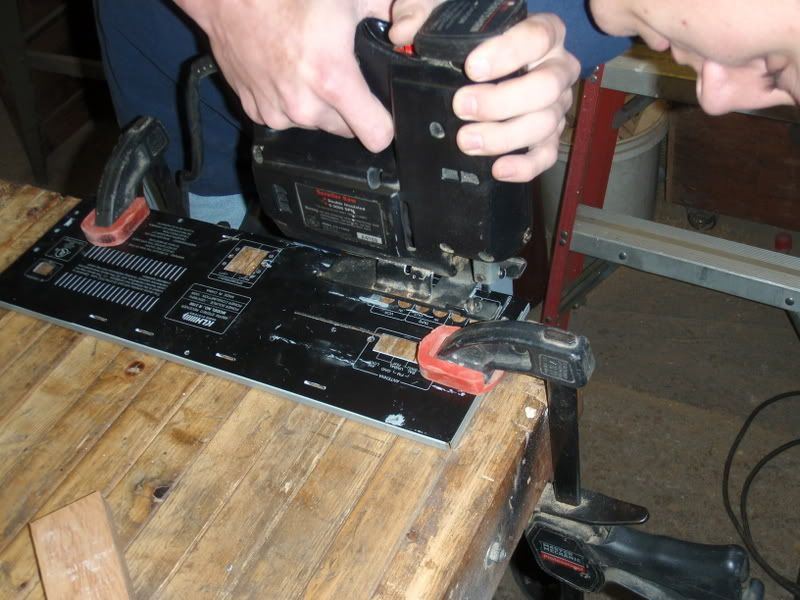
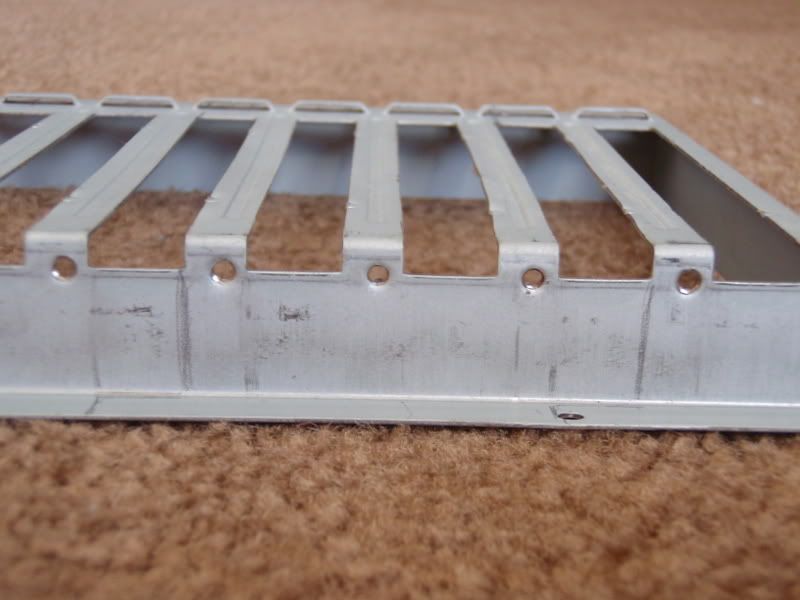
This is the panel that a Motherboard backplate will be modded onto
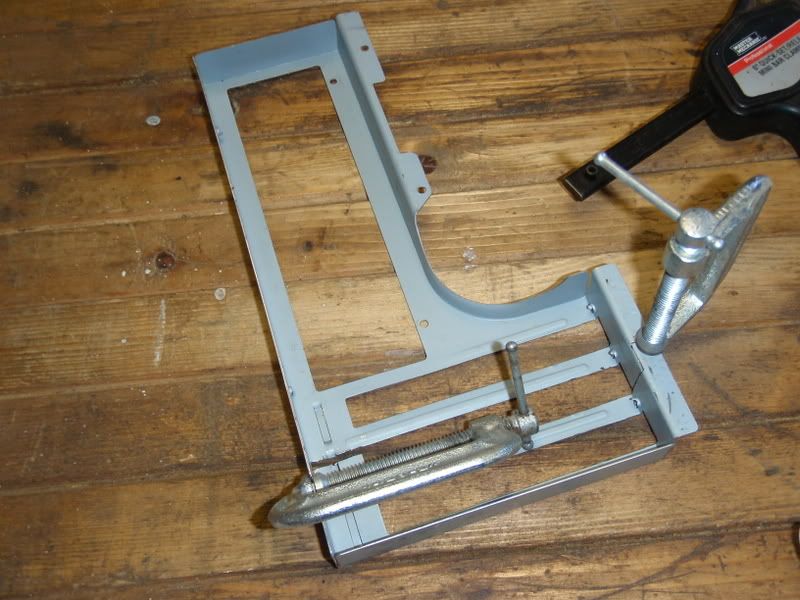
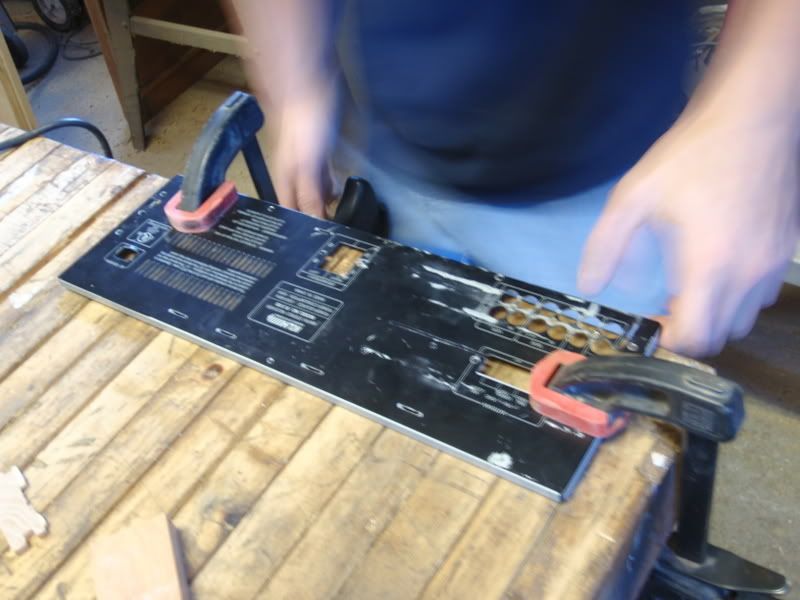
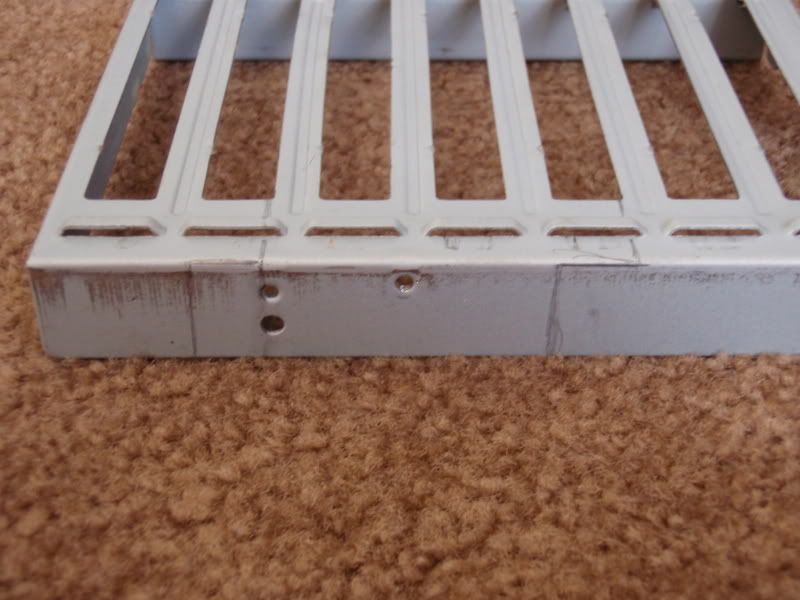
Backplate:
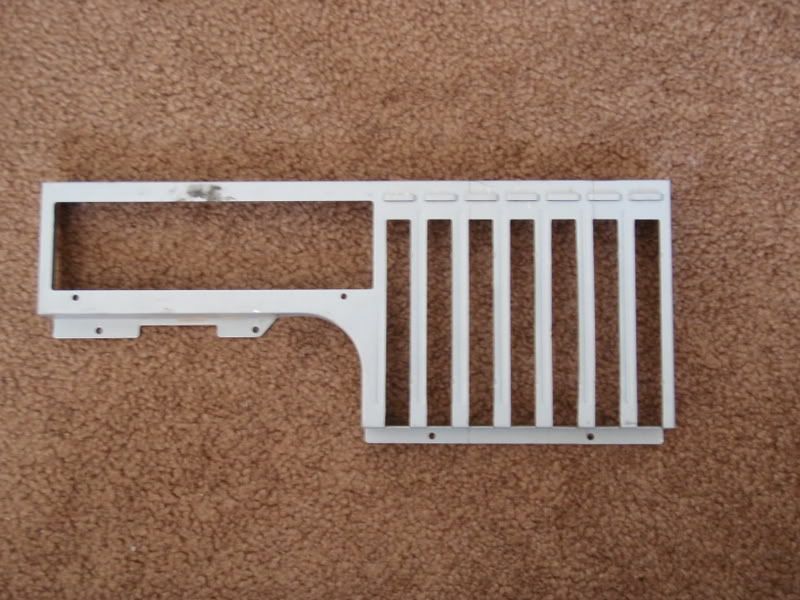
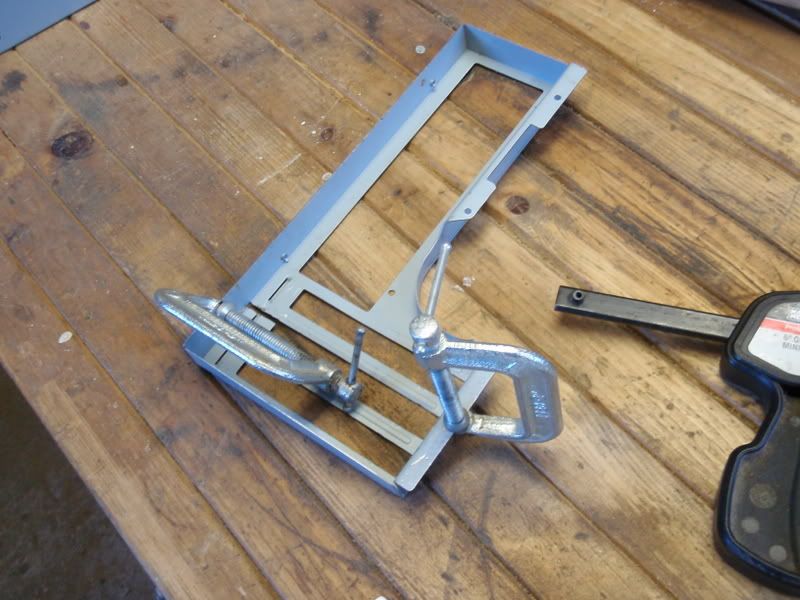
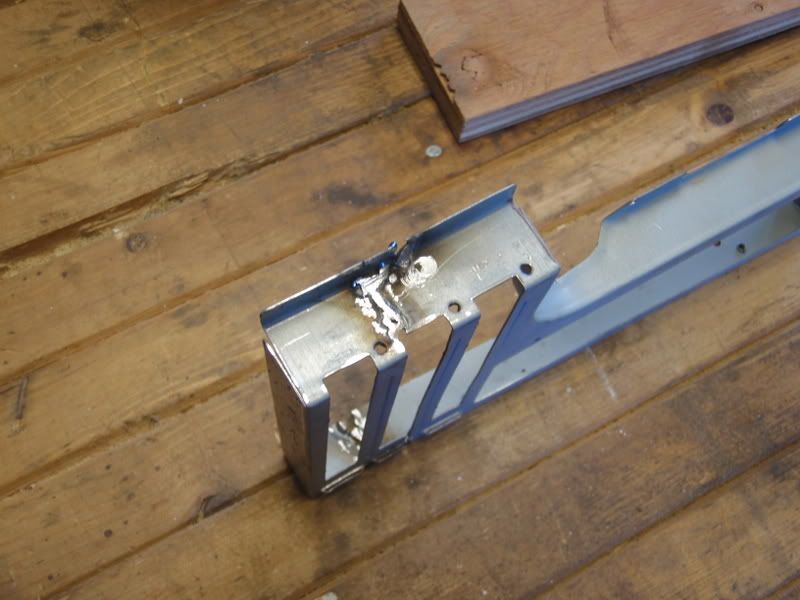
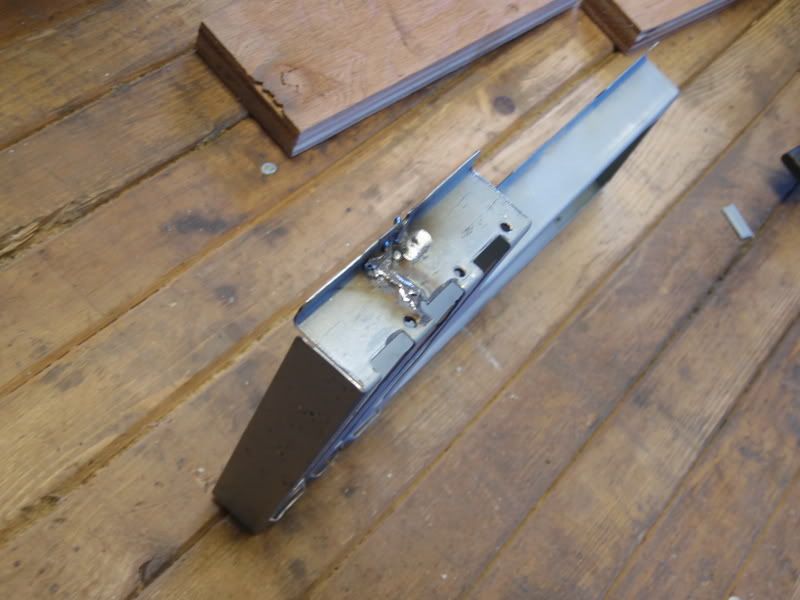
The backplate I have has 7 expansion slots, but I only need four. We will be sectioning the panel to shorten its length. Plan of attack:
Feedback/Comments/Ideas Welcome!
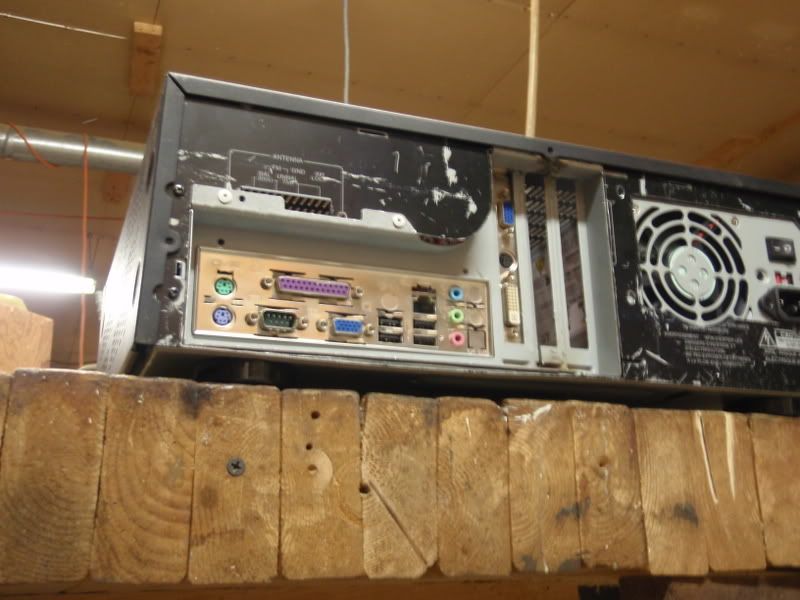
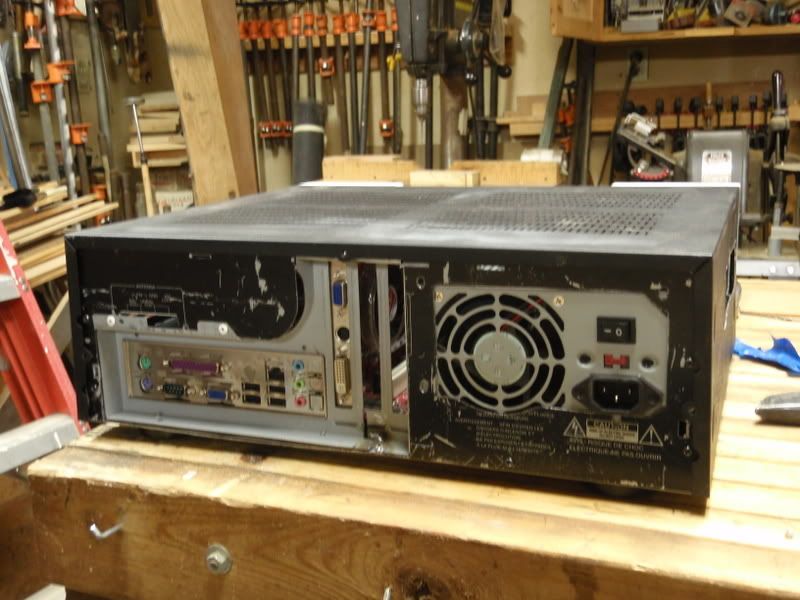
Should have the backplate cut in tommorow as well as the power supply hole.
Well, I have been searching for quite some time for a mATX desktop case that wasn't too big, but would actually fit the hardware I had to put in it. Seeing as I'm a poor college student (those three words go together all too well...) I also wanted to find something that wasn't going to break the bank. After sitting around my house this afternoon, the Idea hit me.
KLH Stereo Receiver
(image ripped from ebay)
I bought a KLH 2-channel stereo receiver from Best Buy when I was 16, and then a year after, It died on me (blown resistors, damaged PCB). It sat under my bed for a couple of years. Today, it began its new life as something much more powerful.
I stripped down the case, starting with removing the cover, then the internals
My brother helping strip the case
The front panel PCB. I will be soldering the power and reset headers to the two left-most switches on the PCB, maintaining the stock appearance.
There was also a seperate board for Balance, Bass, and Treble control. Not sure if it is possible, due to the variance in circuit types, but would it be cool to make it a fan controller!
Front Panel Stripped of buttons and LCD quartz display cover. The front will be all bondo'd smooth with only two switches and two LED holes present. It would also be neat to figure out how to wire up the display to run system temps etc. Any ideas/suggestions?
Test fitting a spare mATX board
This is the panel that a Motherboard backplate will be modded onto
Backplate:
The backplate I have has 7 expansion slots, but I only need four. We will be sectioning the panel to shorten its length. Plan of attack:
Feedback/Comments/Ideas Welcome!
Should have the backplate cut in tommorow as well as the power supply hole.