ASA filament with acetone smoothing is awesome

sed8em

2[H]4U
Joined
Apr 2, 2007
Messages
2,678
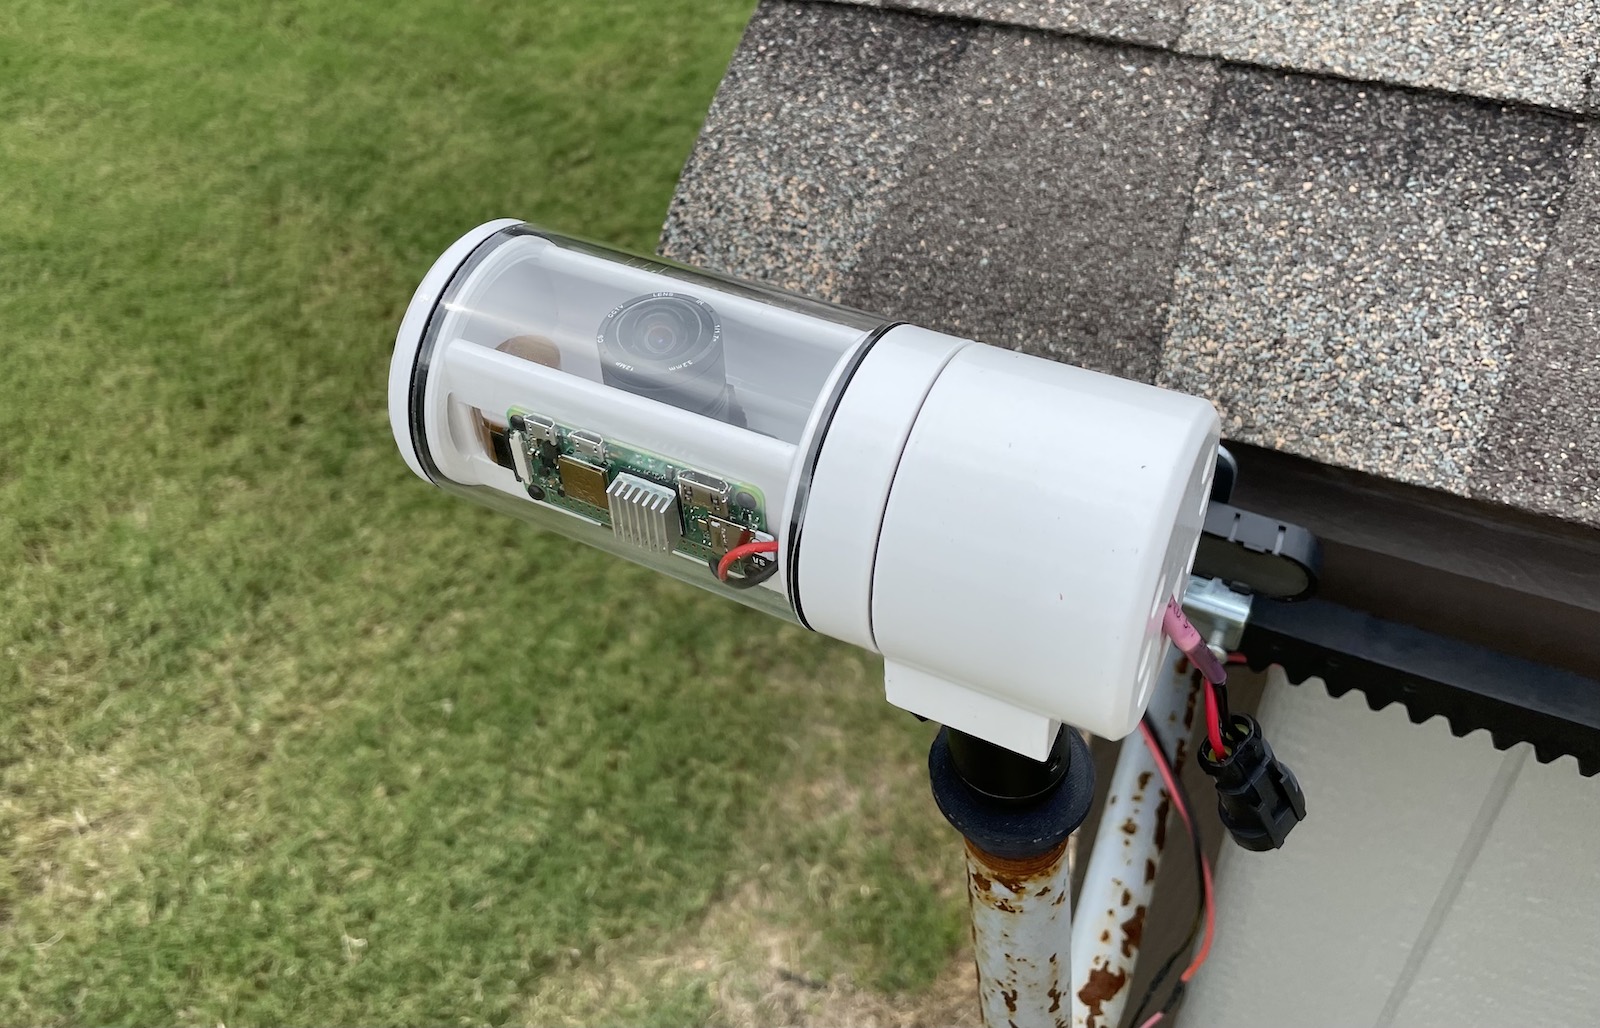
Just finished printing this AllSky Raspberry Pi mount in Inland natural color ASA filament. Smoothed it with acetone. The results are incredible, you can't even tell its 3D printed with how smooth the parts turned out.
Probably makes it more waterproof for outdoor use now that the layer lines have disappeared.
allsky.jpg
 
What's the print temps like for ASA? Somewhere abouts PETG levels?

Any wonky printer mods to print it?
 
You can't even tell that's printed holy crap. Nice looking project!
 
What's the print temps like for ASA? Somewhere abouts PETG levels?

Any wonky printer mods to print it?
Nothing crazy. I printed it on a bone stock MK3S+ inside a el cheapo enclosure off Amazon in my garage.
I think its around 260/105 for temps.
It prints like PLA, really, really nice and smooth. I print it with a brim so it sticks to the build plate as it can warp pretty easily.
Compared to PETG, a little more work due to the enclosure, but it isn't as sticky as PETG so I think it lays down nicer, no stringing that I've noticed, and supports just fall off.

You can't even tell that's printed holy crap. Nice looking project!
Thanks! I think ASA and acetone is my new favorite.
 
I do worry about the electronics while printing at such extreme temps in an enclosure. I think if I keep printing ASA and using these temps, I may look into a more permanent enclosure and a way to get all the electronics besides the steppers out of the enclosure. I'm in the process of troubleshooting, but I may have fried my RPi 4 running it in the enclosure. It keeps flaking out and disconnecting and in general unreliable ever since I used it in the enclosure. I'm sure the MK3S board was designed to some degree to handle those temps, but I'd rather not risk it.
The new Prusa enclosure with the outside PSU and a PSU quick disconnect built into the wall is intriguing. Just expensive as heck, as Prusa tends to be.
 
Tupperware that can be sealed, used a little stand in the bottom of it, and some acetone in the bottom of the Tupperware with a paper towel to wick the acetone up and help vaporize it.
I also wiped the part down with acetone with a paper towel before placing it in the Tupperware to speed it up.

A guy on a YouTube video used a metal pot with a lid and placed it on his 3D printer heatbed and warmed it up to vaporize the acetone.
 
Back
Top