Arcygenical's Fractal Iteration

Arcygenical

Fully [H]
Joined
Jun 10, 2005
Messages
25,066
Arcygenical00 Fractal Iteration

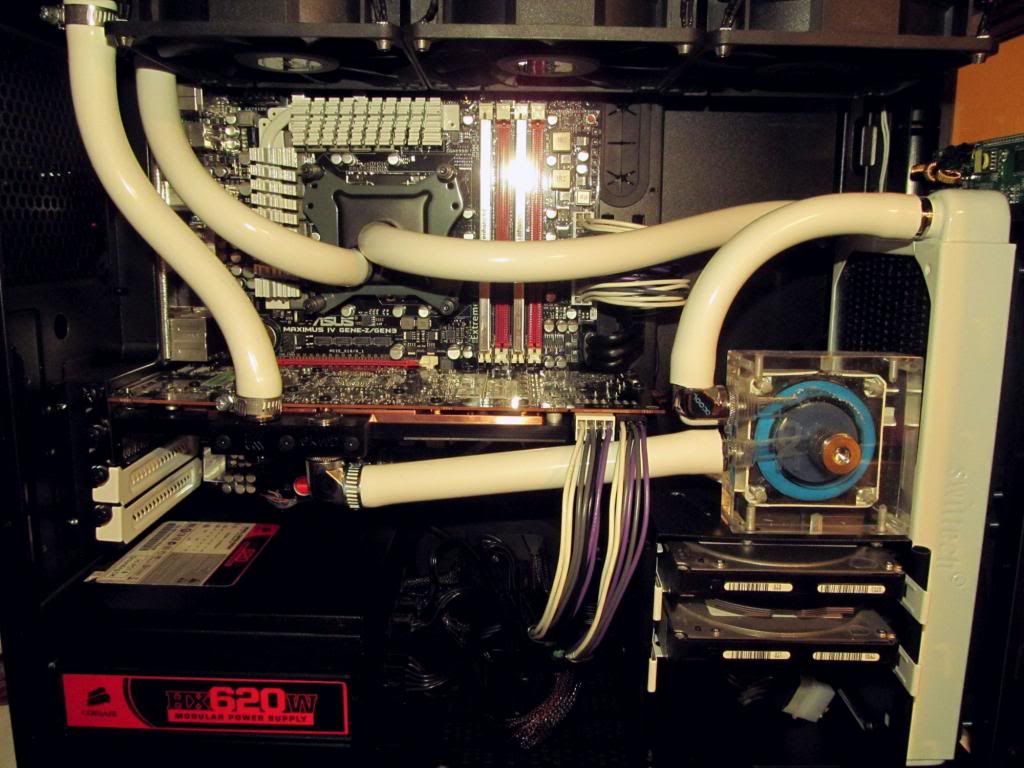
Continuing my obsession with the Micro ATX form factor, I wanted to pick up a case that finally fulfilled all my cooling desires while being relatively compact and quiet. Though I loved my Lian Li A04, and really did enjoy the extra-small form factor, I found myself quite limited in the cooling department.

21OldSystem_zps79a21634.jpg


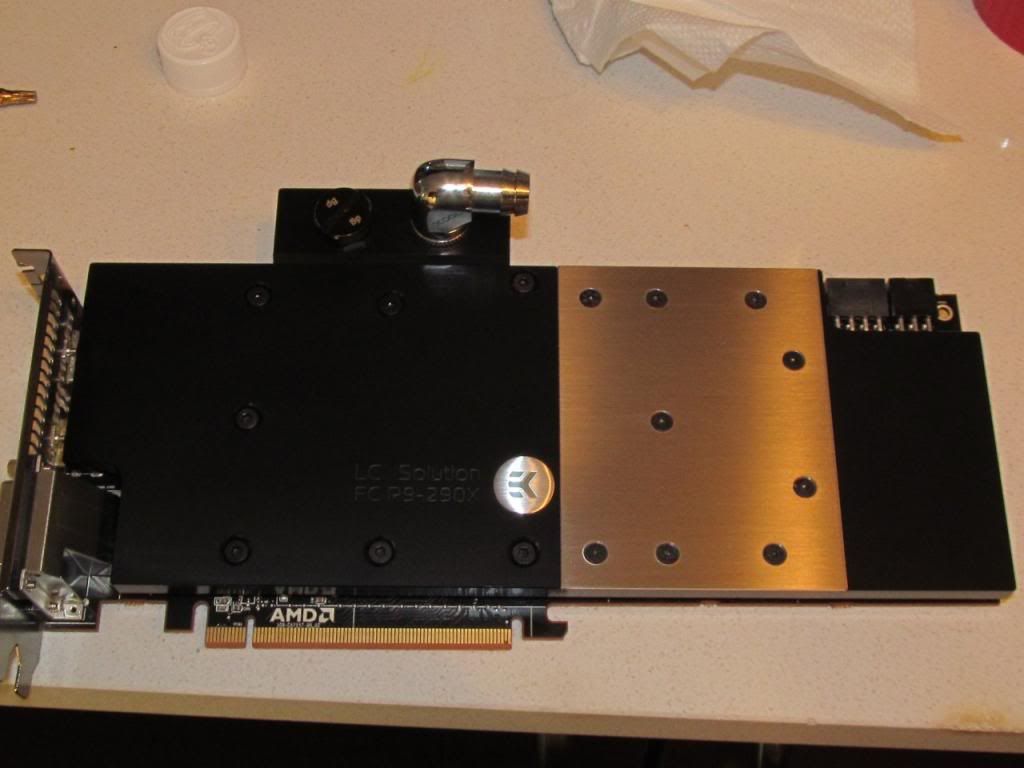
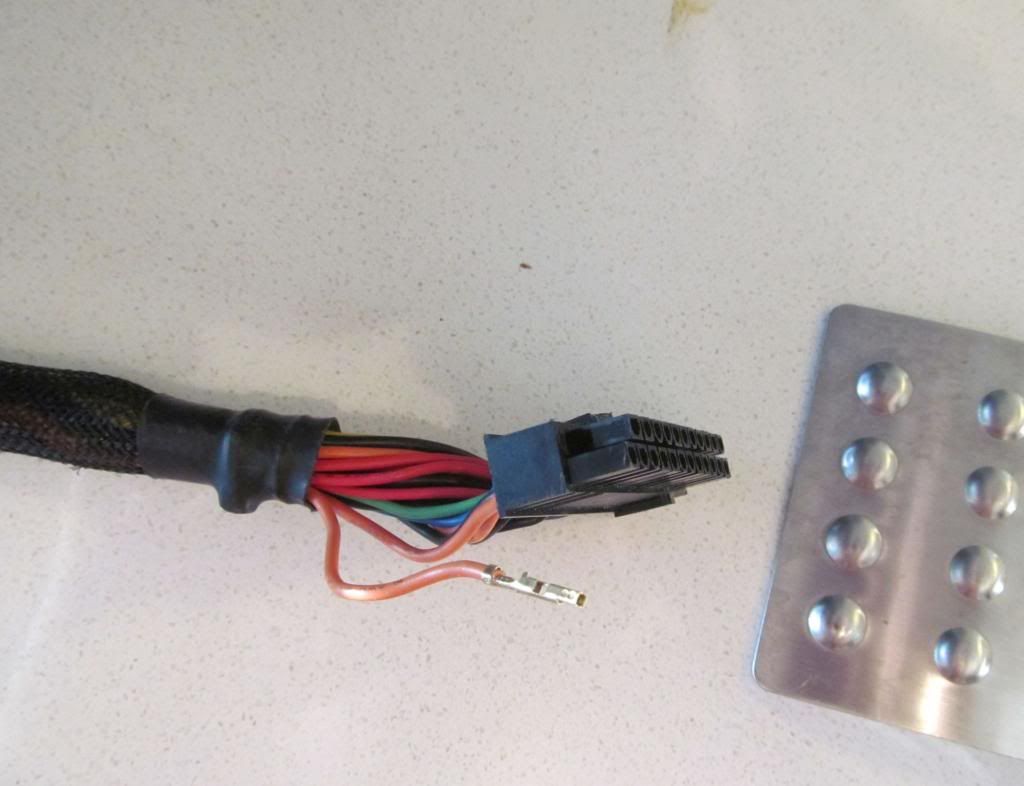
I was stuck with a single GPU loop and double radiator, and had no control over pump or fan speeds beyond basic BIOS settings. She wasn't a quiet case... Not to mention that the years were not kind to the setup's internals. Hardware swaps, and RMA's ruined my custom cabling, and I was forced to return to my stock corsair cables to accomodate my new Sapphire 290.

I want to emphasize that I am a modder, not a photographer. The only camera I have in my house, is an ipad mini, so until this case is completed, the glam shots will have to wait :)


Enter the Fractal Mini :)

First and foremost, I wanted to specify the starting colour scheme. Grey and Black :)
00Grill_zps83b4004b.jpg


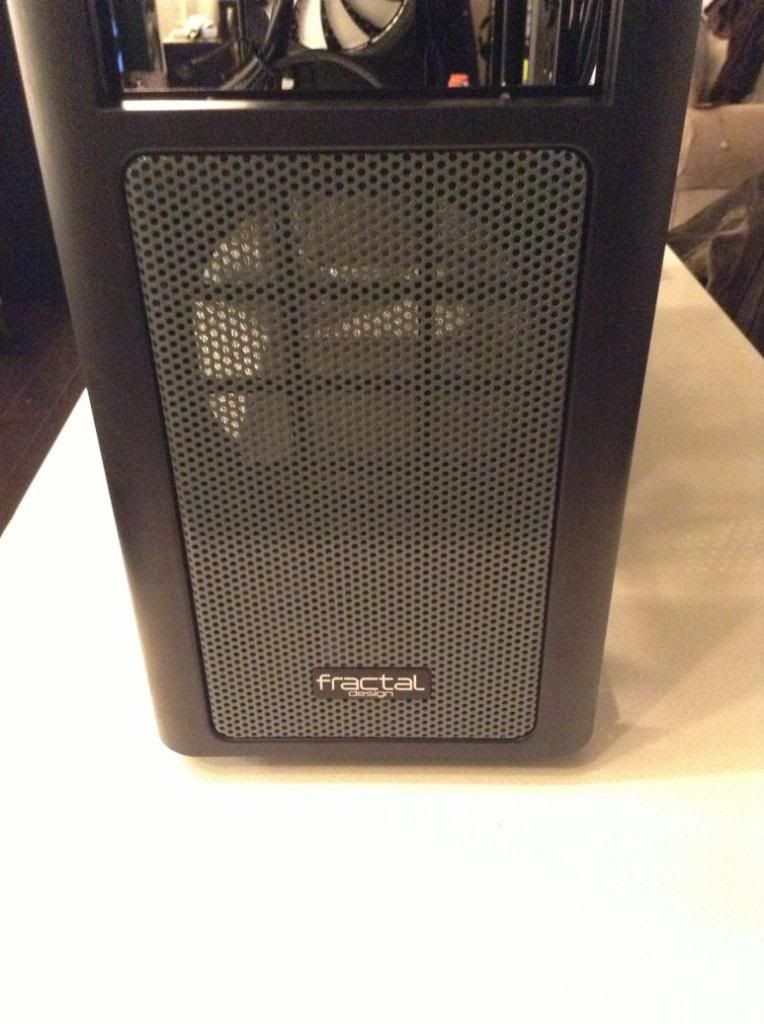
High gloss grey for the grills
01Grill2_zps1c27eb33.jpg


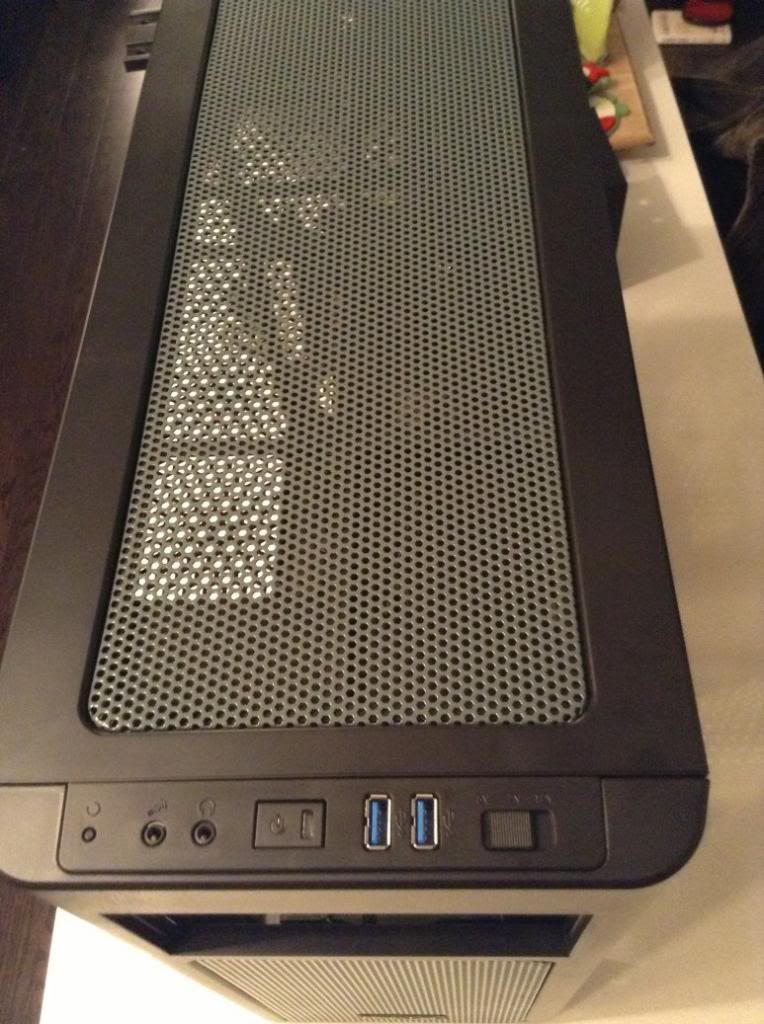
Now we need to fill that pesky front hole...
03AcrylicFront_zps862b8405.jpg


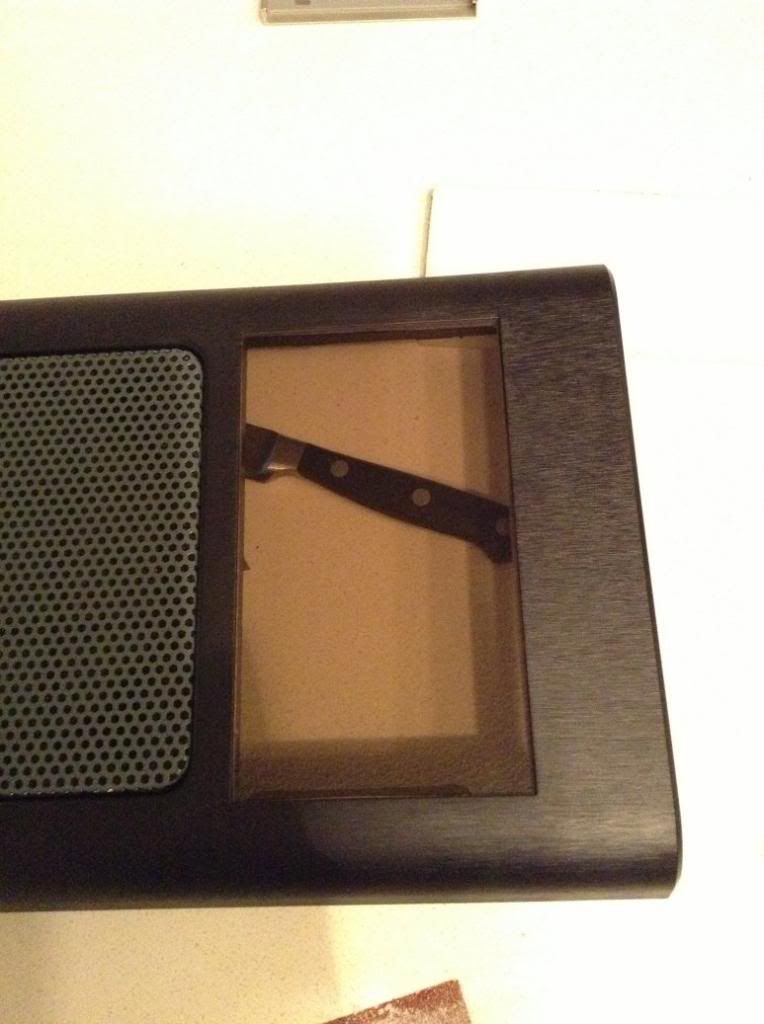
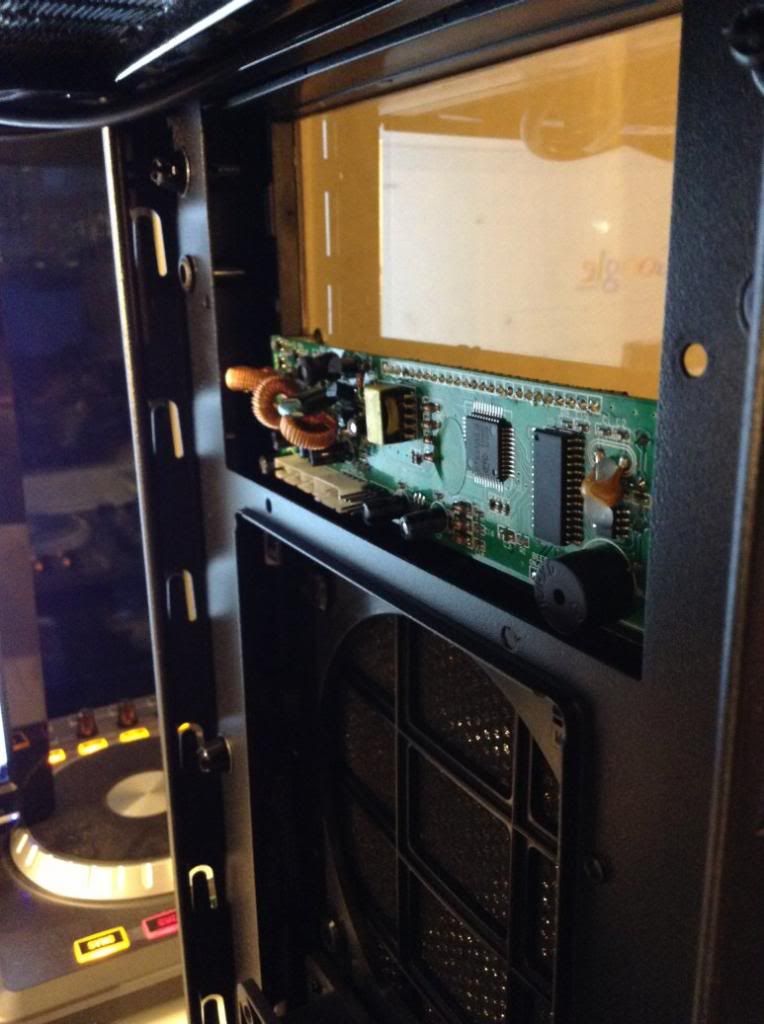
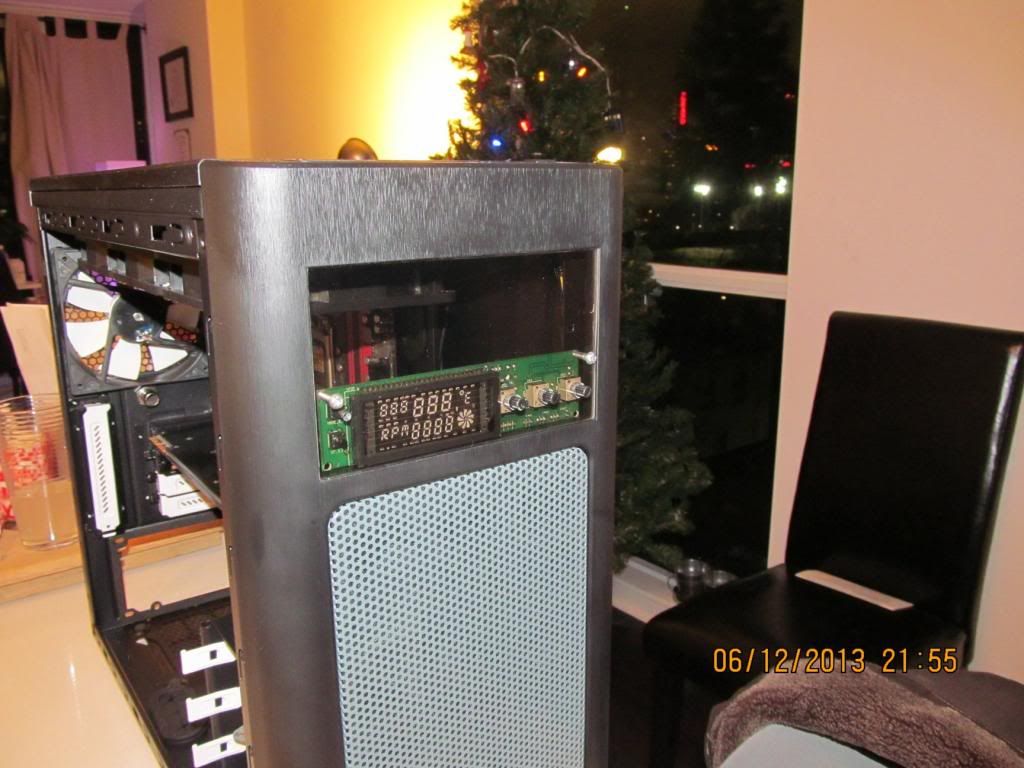
And then mount our nice VFD fan controller by Akasa. 30w channels :)
05FrontAcrylicRheobus_zps50a68df3.jpg


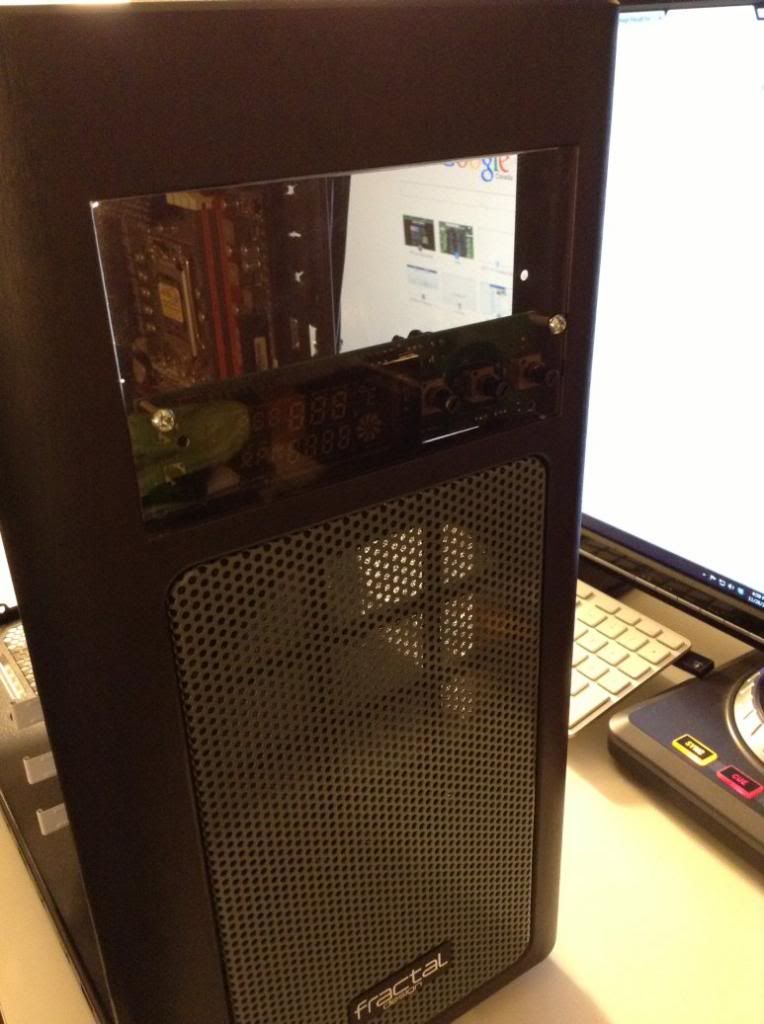
Howabout another angle?
08Rheoback_zps843cbfc8.jpg


Time to mount the top 3.120mm radiator. The re-sweat of the closest barb is ALMOST invisible (the fitting got sheared off in my move)
09TopRadBarbs_zpsd904b226.jpg


Quick shot while the radiator was being flushed (you can see the glass of gross HCL to the left
20FrontHQ_zps642ceba2.jpg


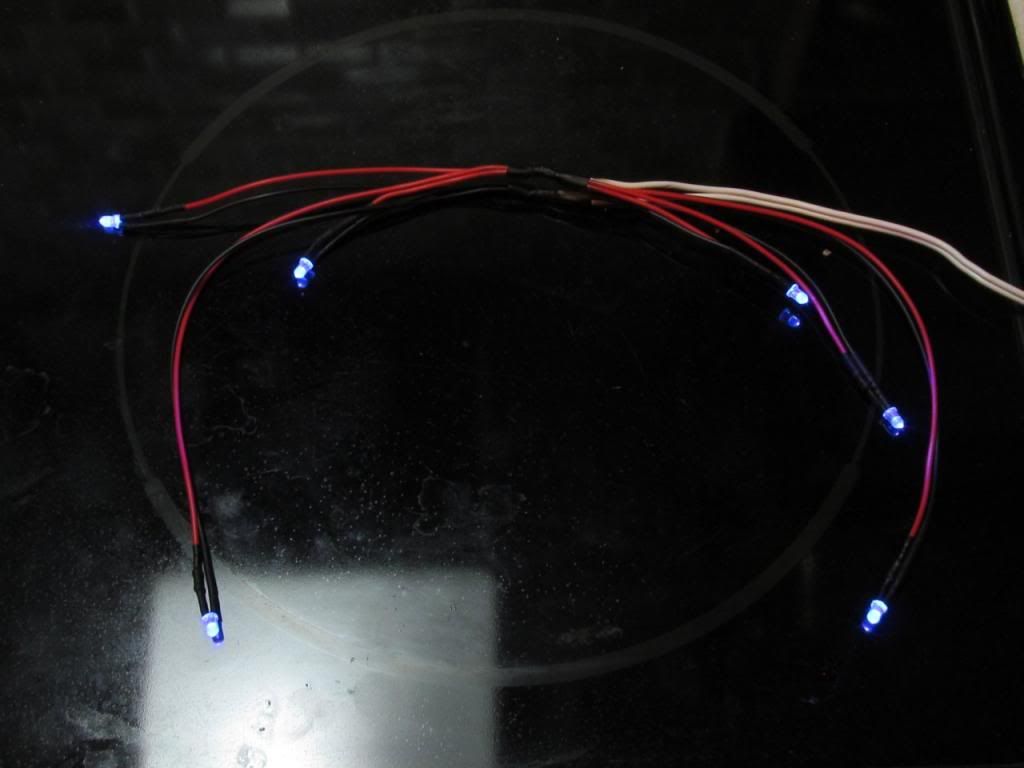
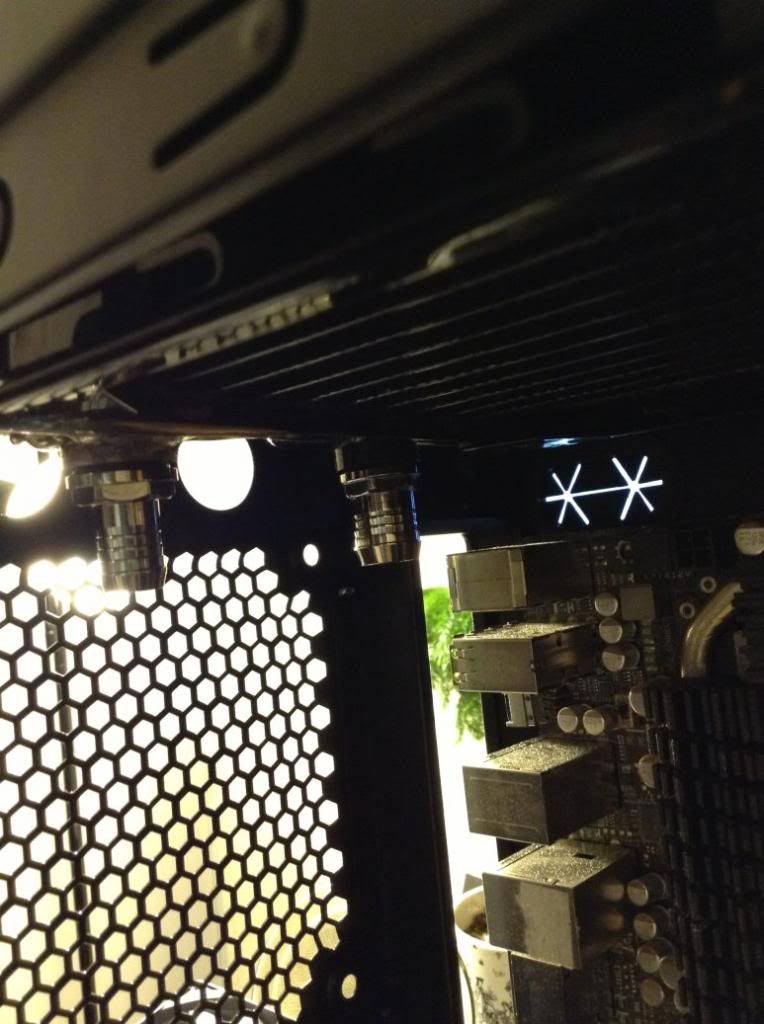
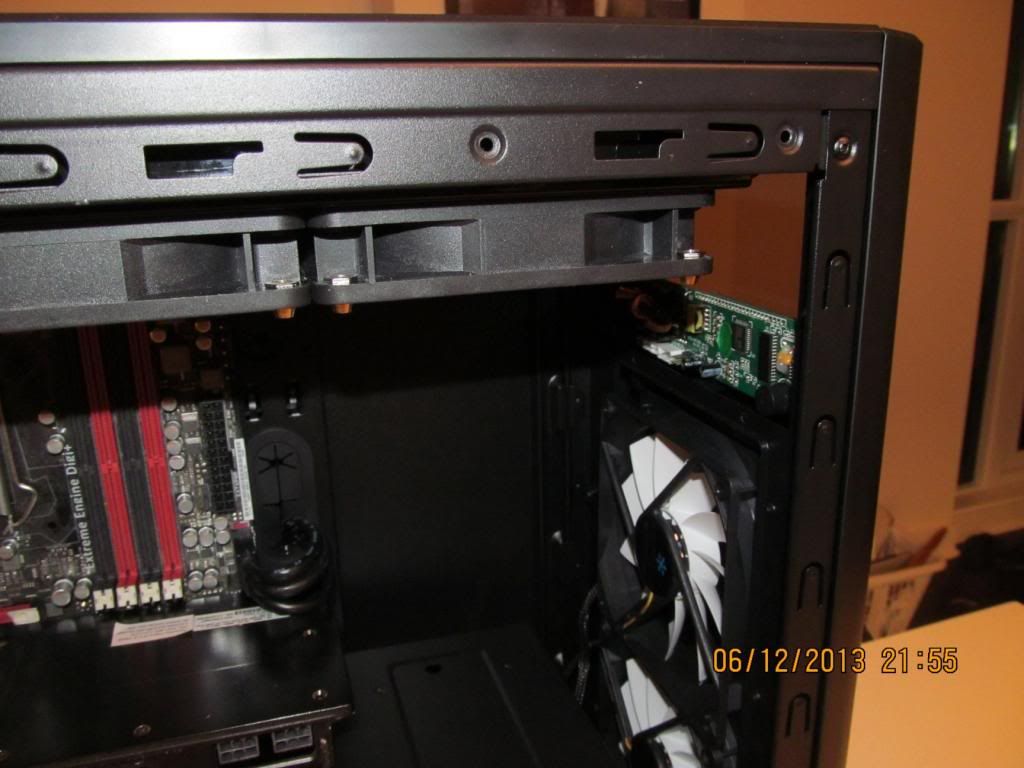
Let's drill out the fan holes and screw in the 3mm LED holders.
13FanSetup_zps1d31bb64.jpg


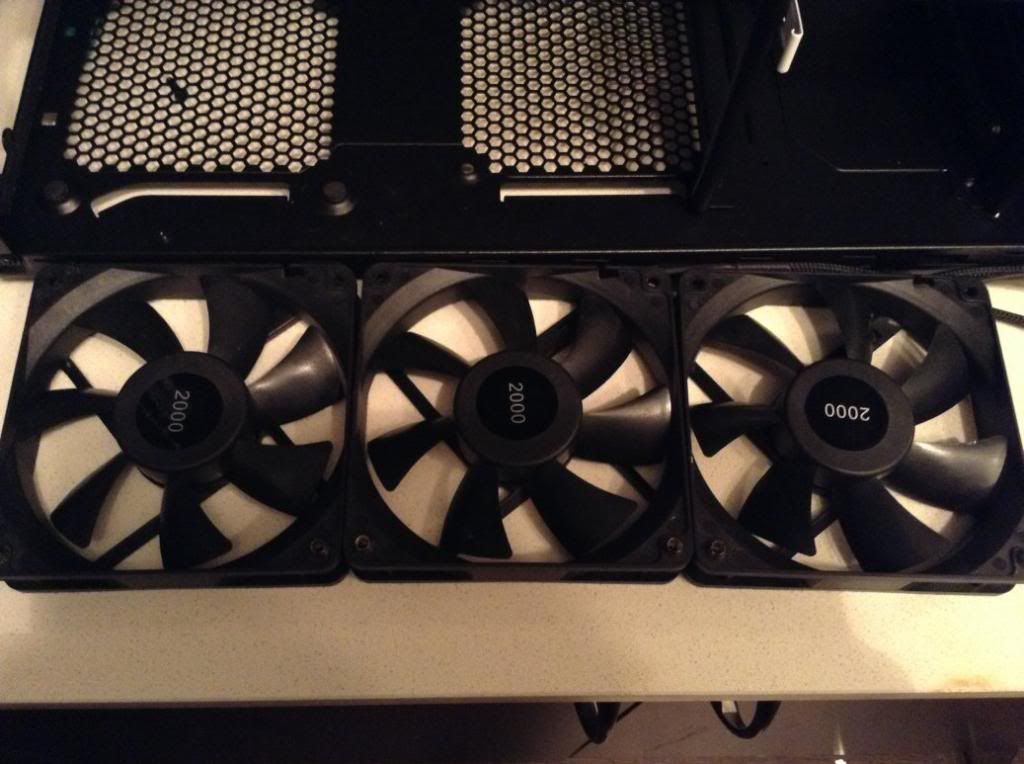
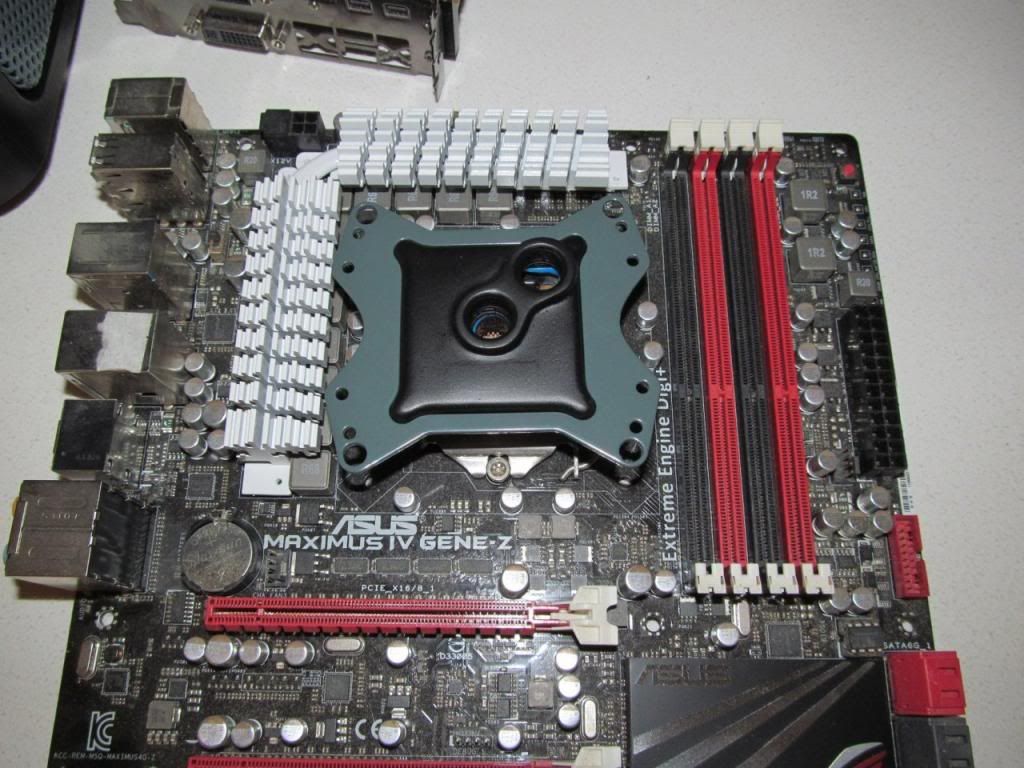
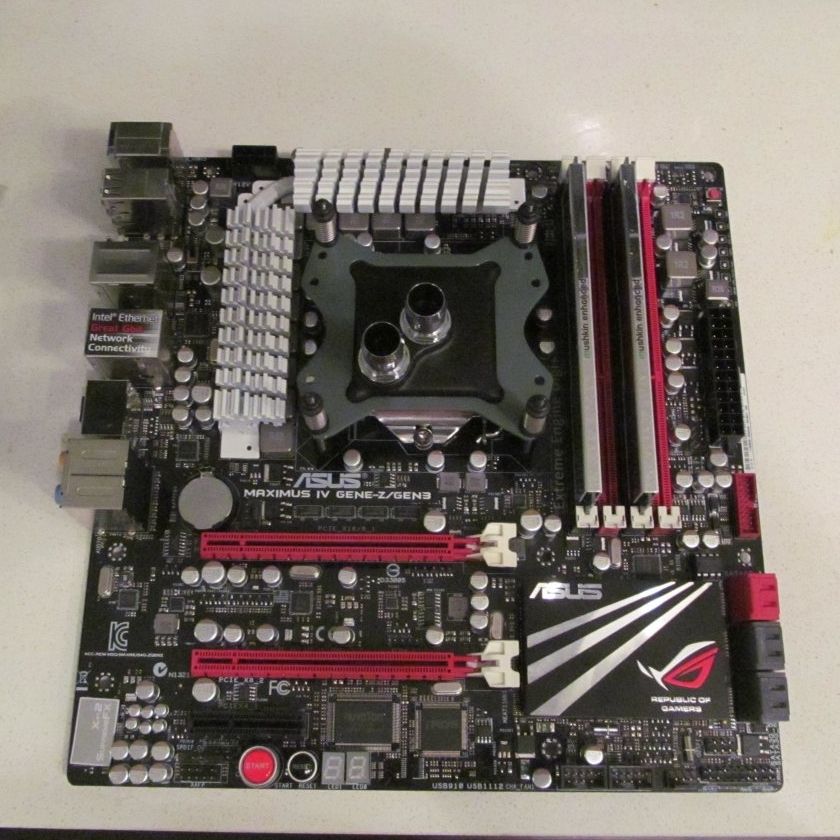
Mount via buttonhead hex 6-32s and an allen key. Mock fitup with a dead Asus Gene IV
14FansInstalled_zpsd1c918c9.jpg


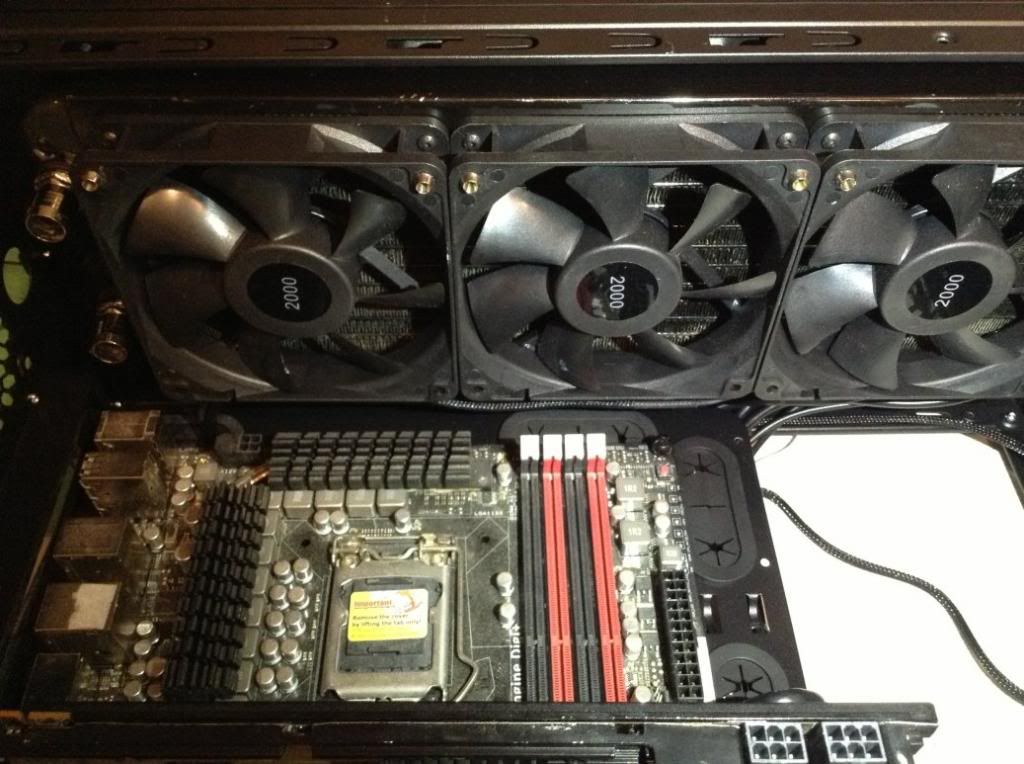
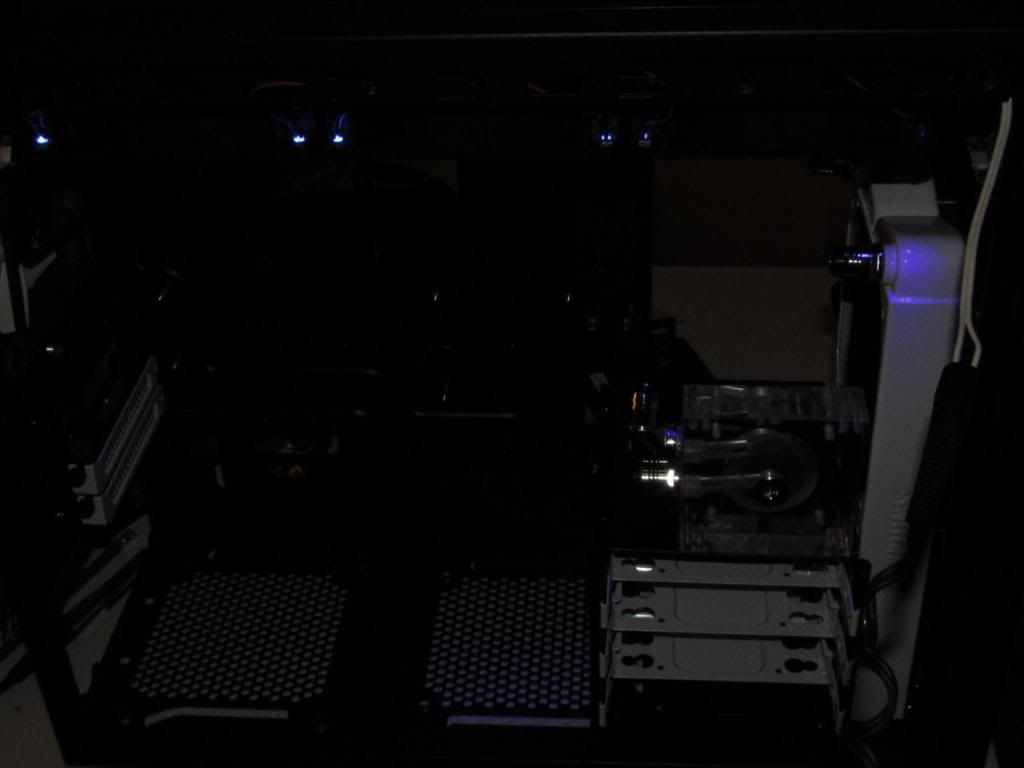
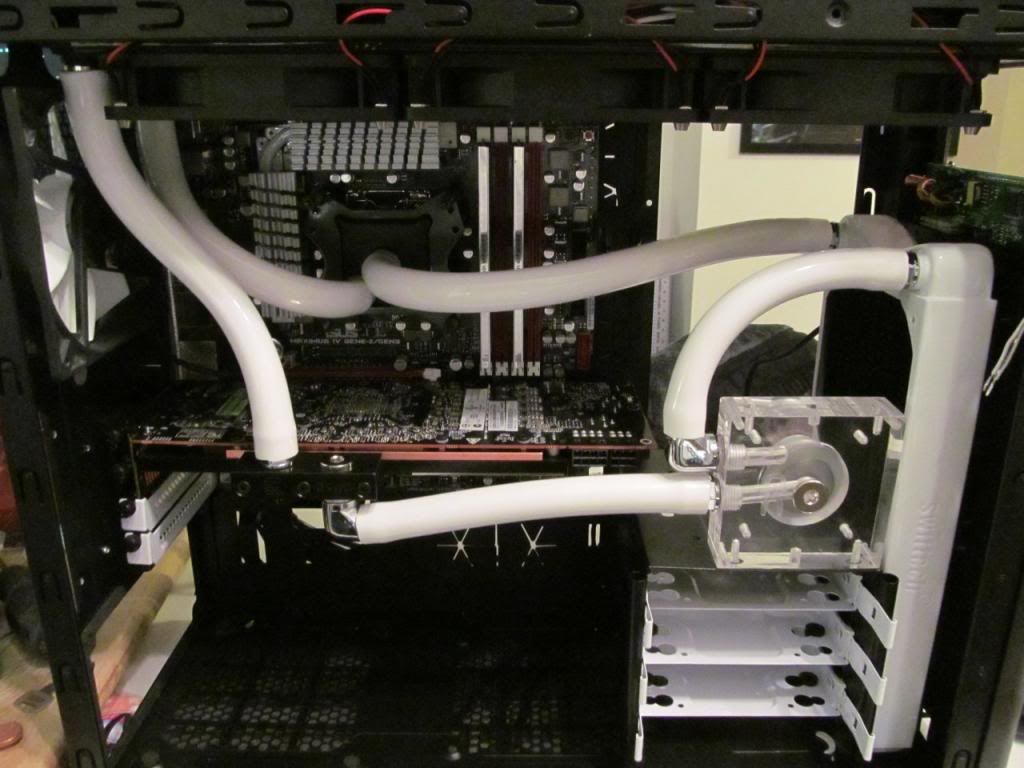
A view with some temporary fans installed.
16FrontTripleTop_zps3cf9b669.jpg


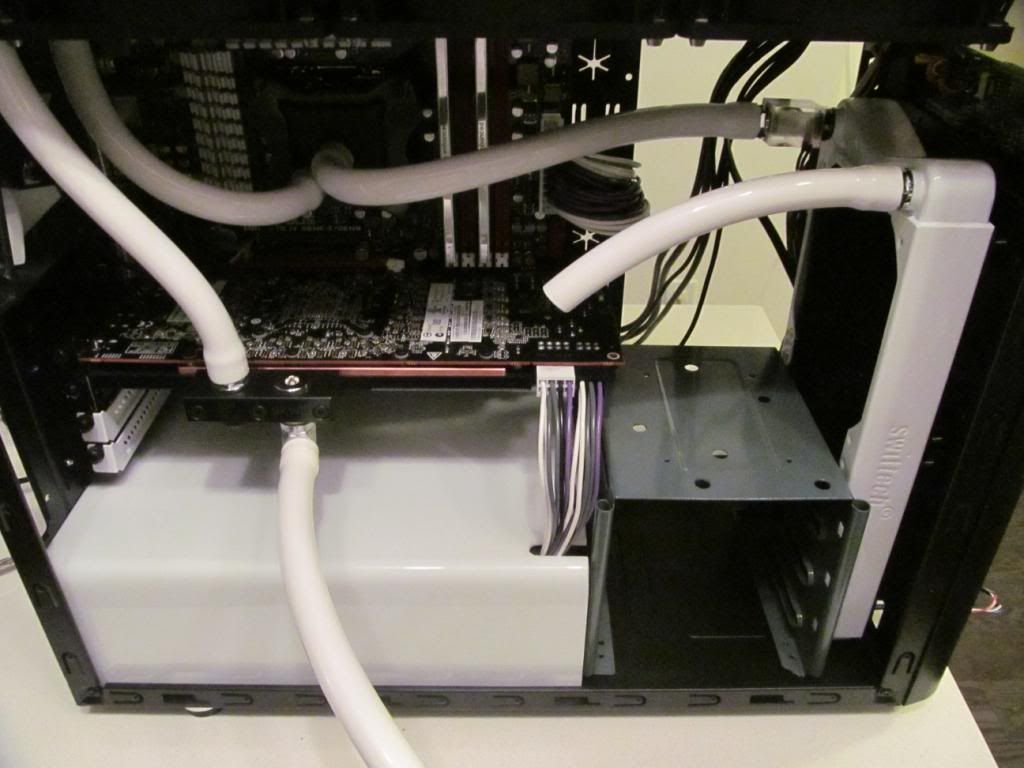
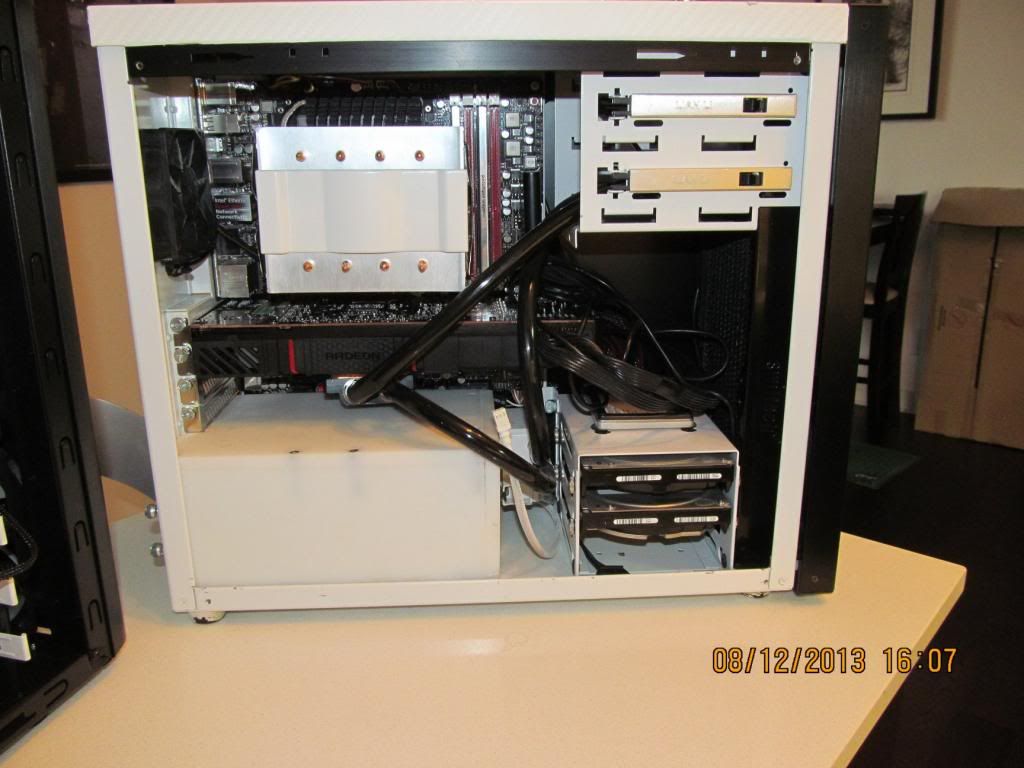
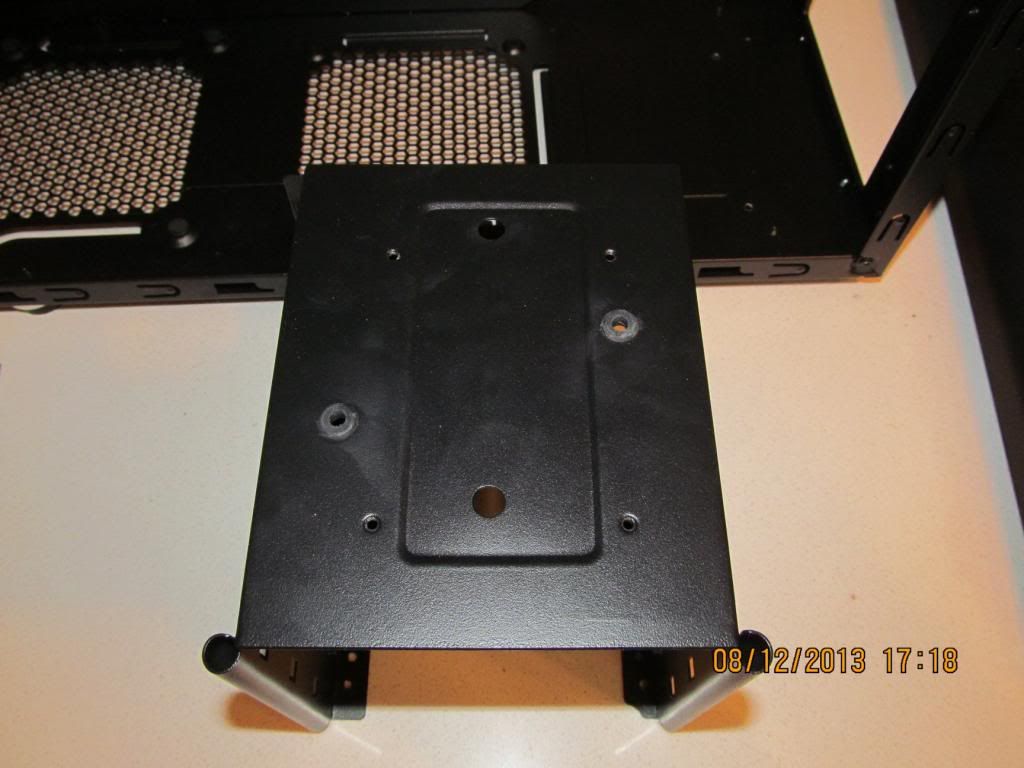
One of the more important structural changes... Move the drive cage left 1"
04MoveCage_zpsd986ca36.jpg


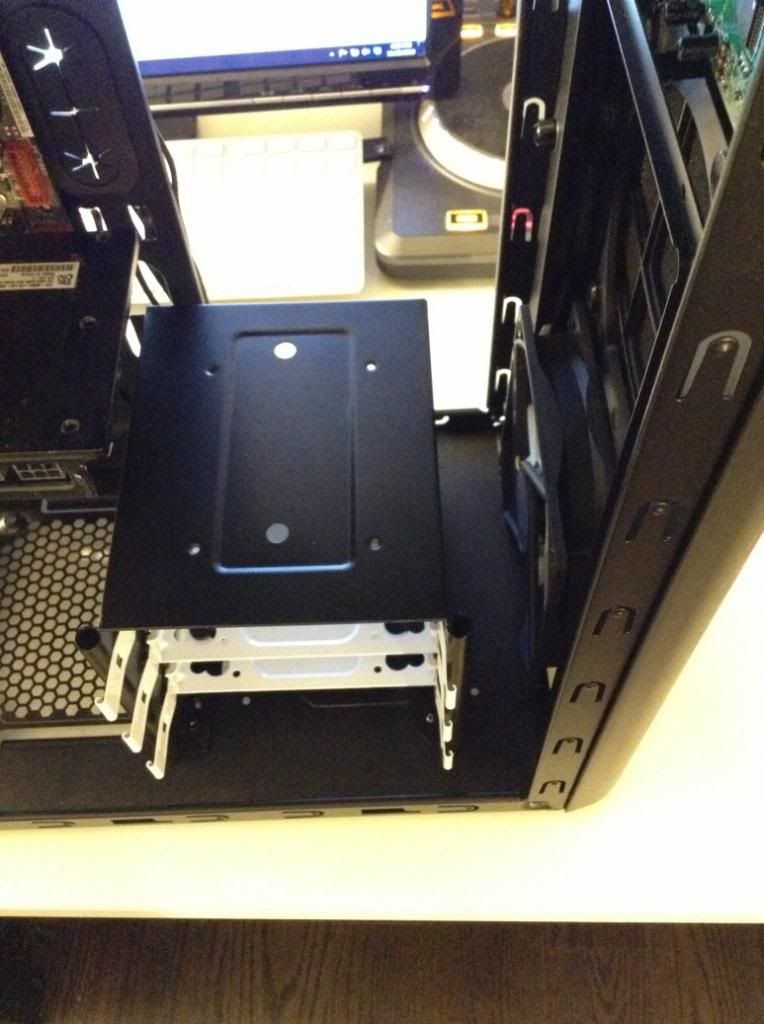
Drilled some holes to soft mount the pump... Something I ended up not using since I was forced to make a change.
23Grommets_zpsb452c778.jpg


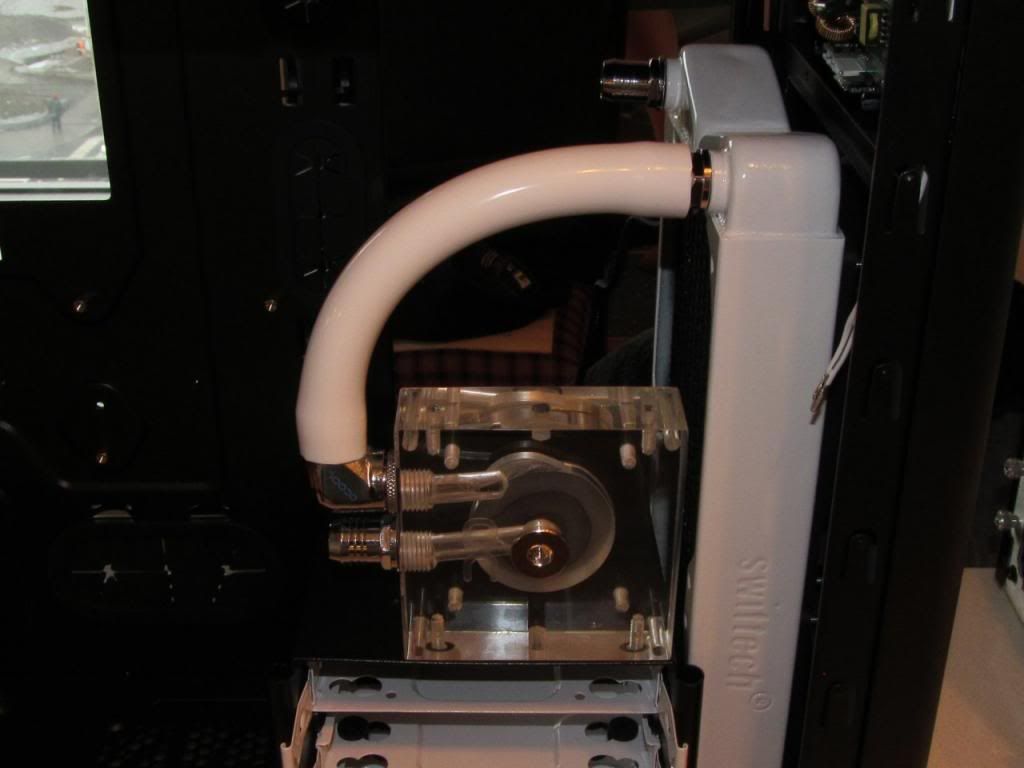
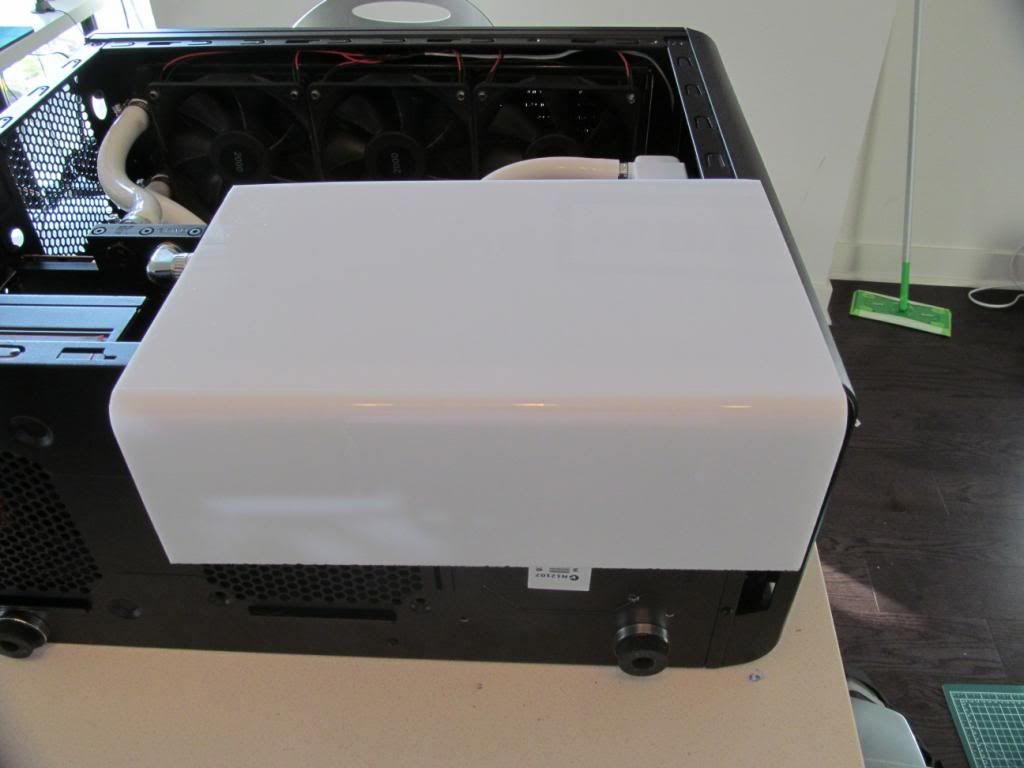
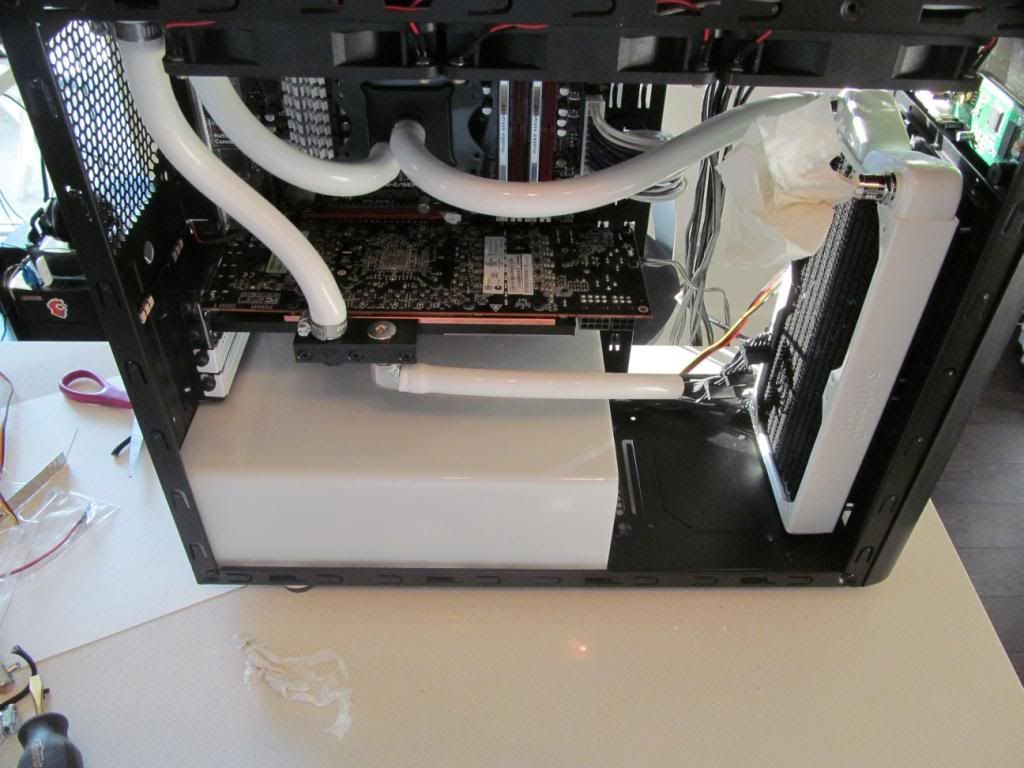
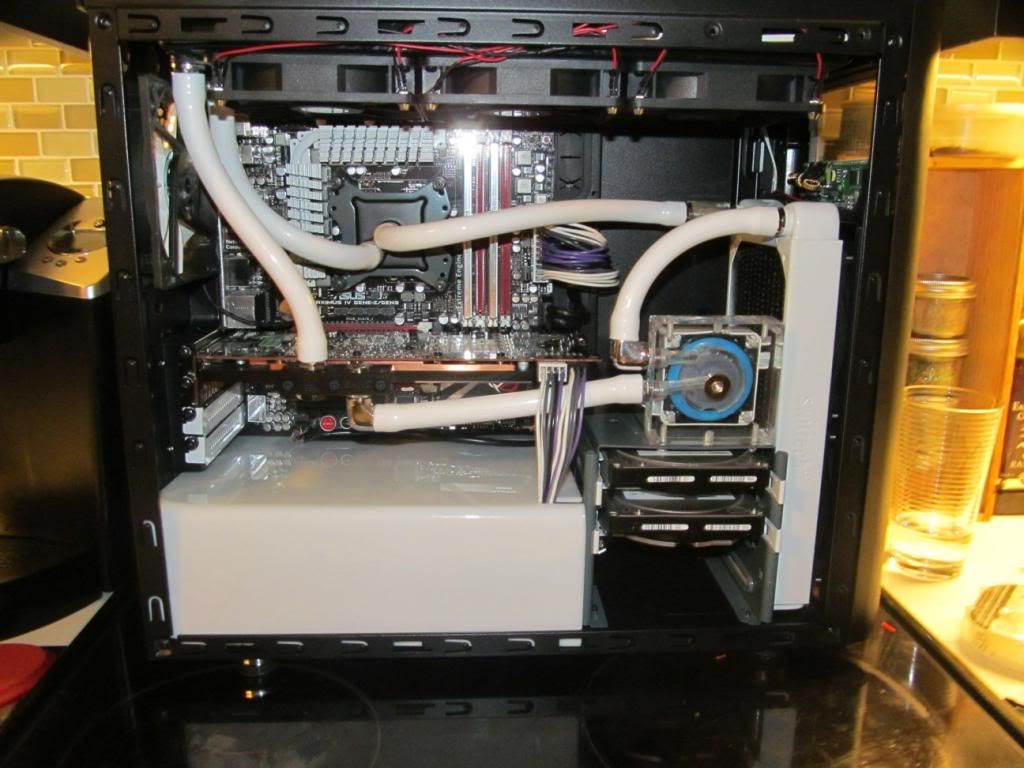
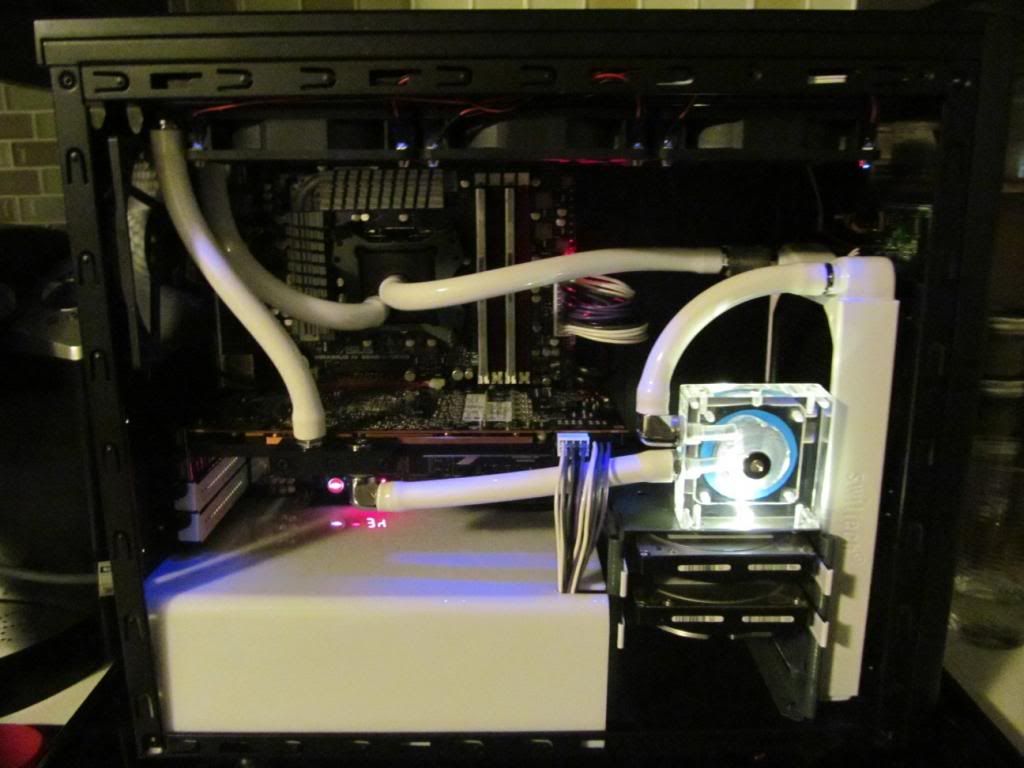
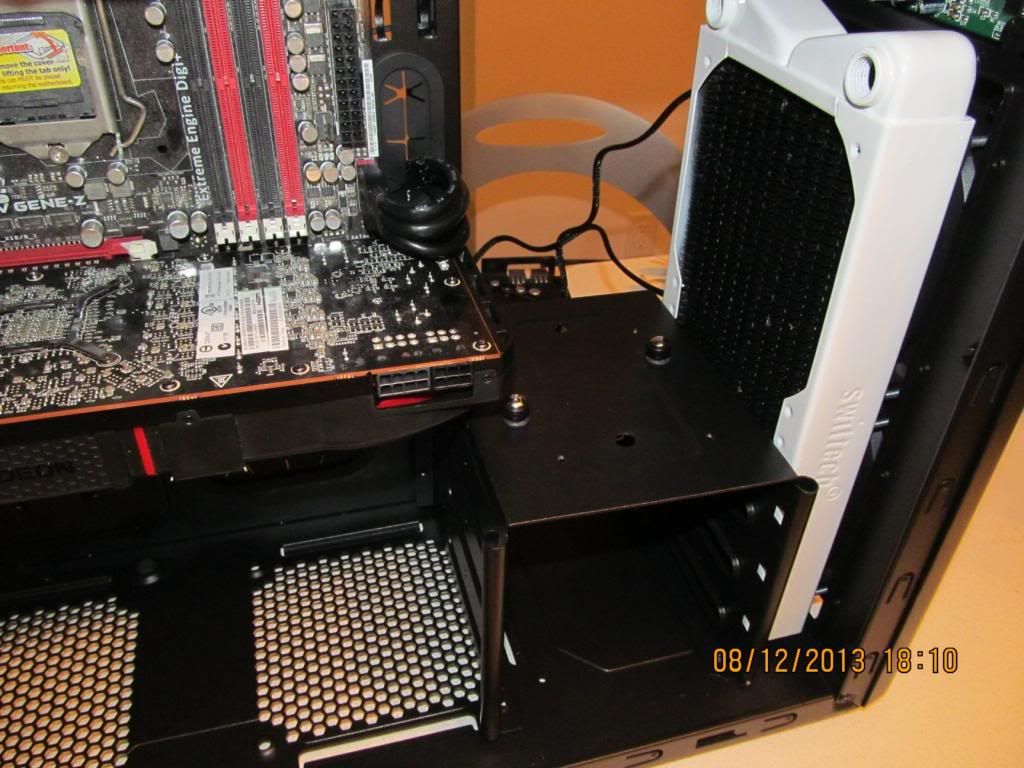
Let's paint and mount that swiftech 2.120!
24FrontRadWhite_zps7587b48f.jpg


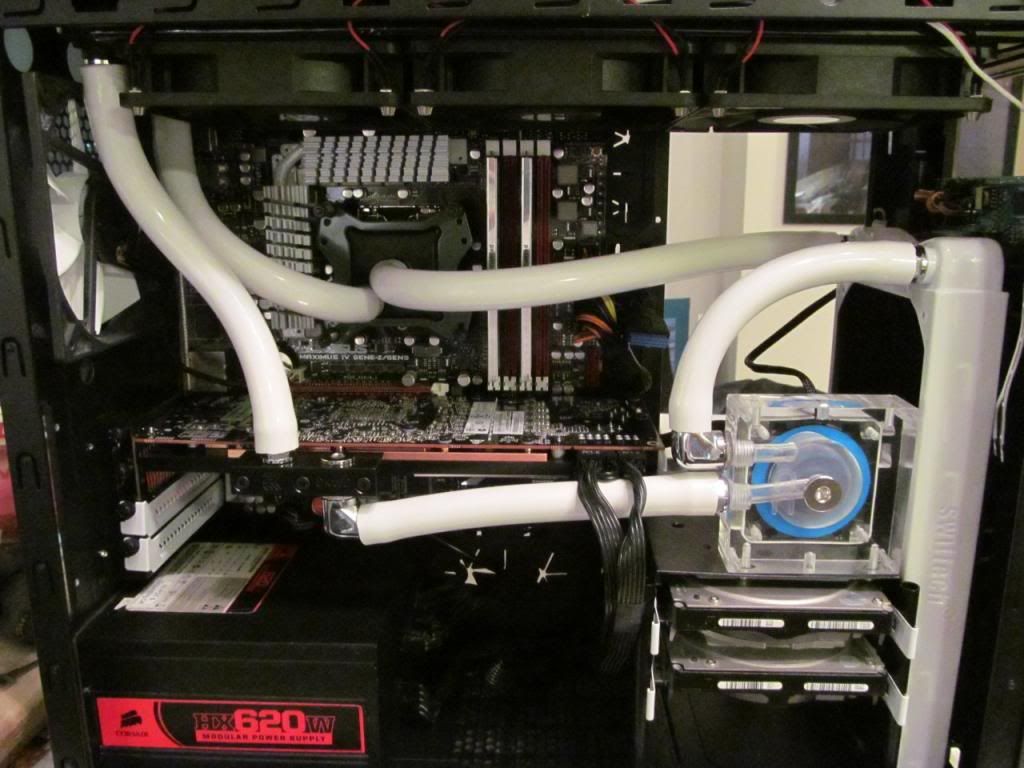
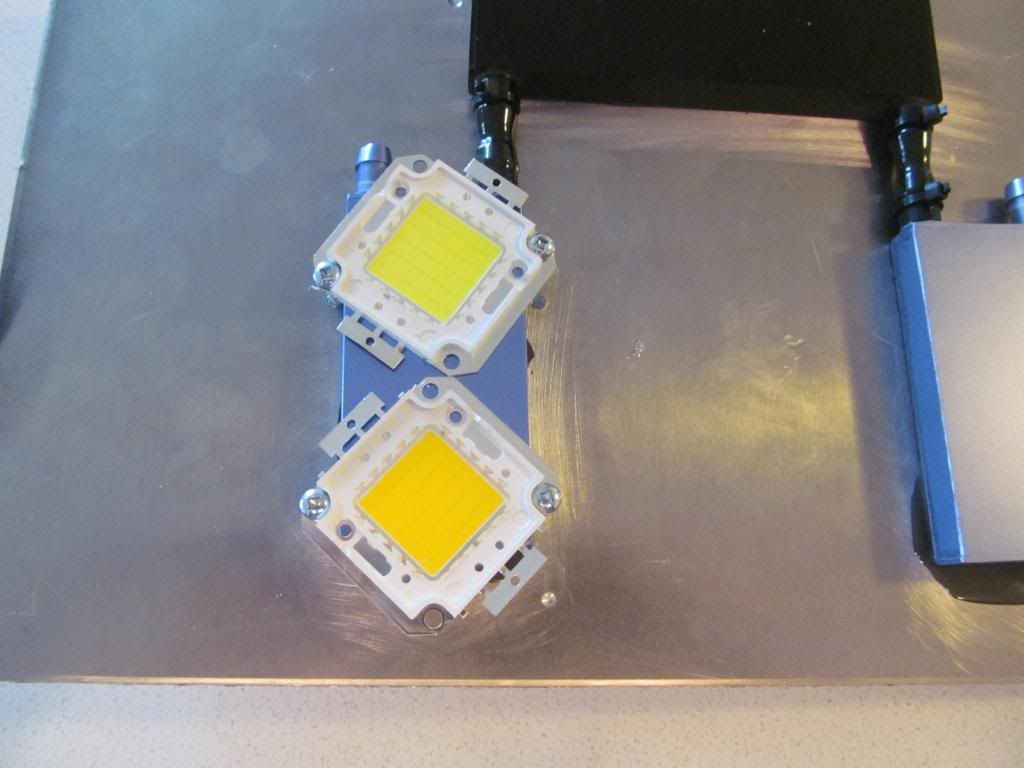
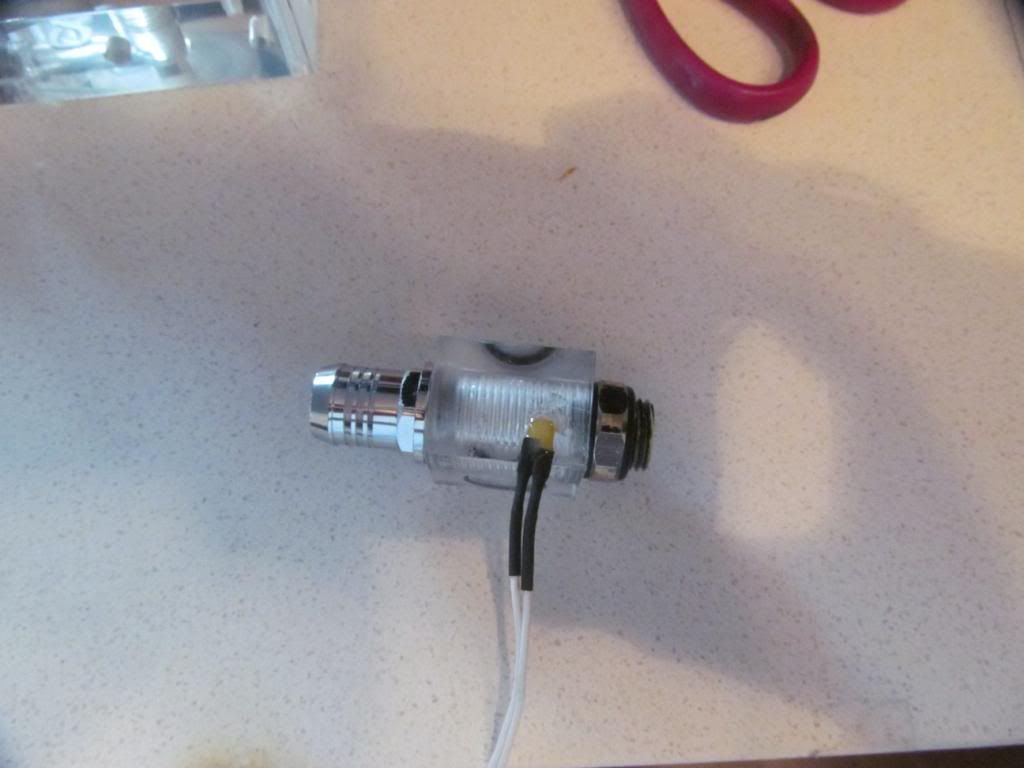
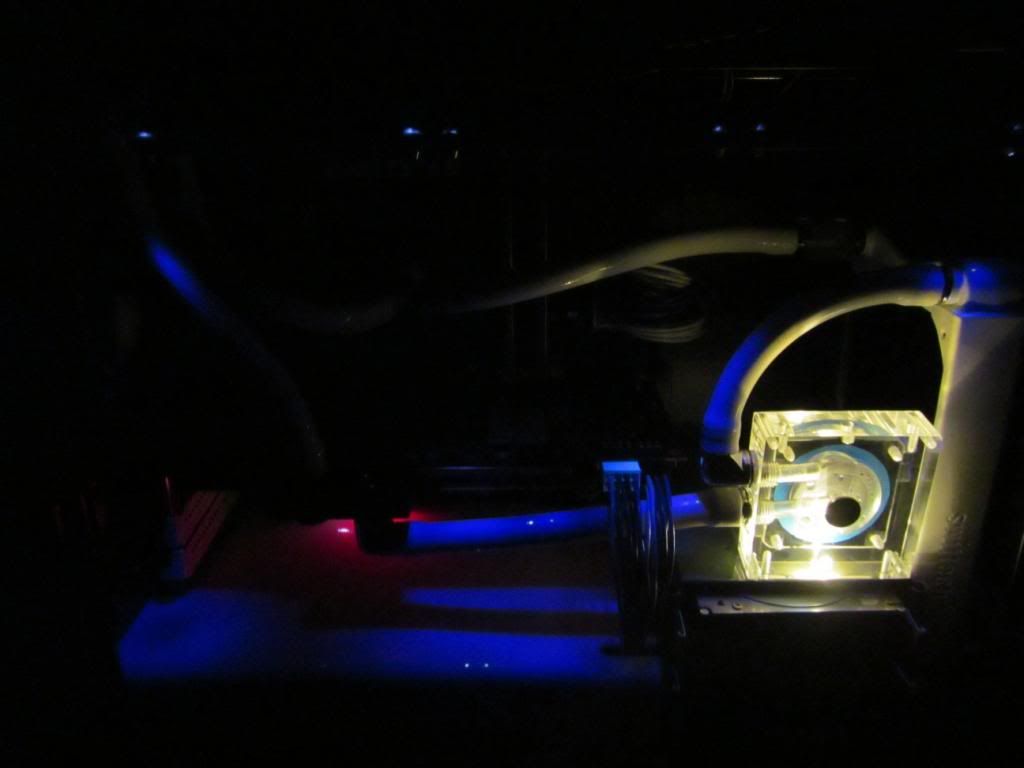
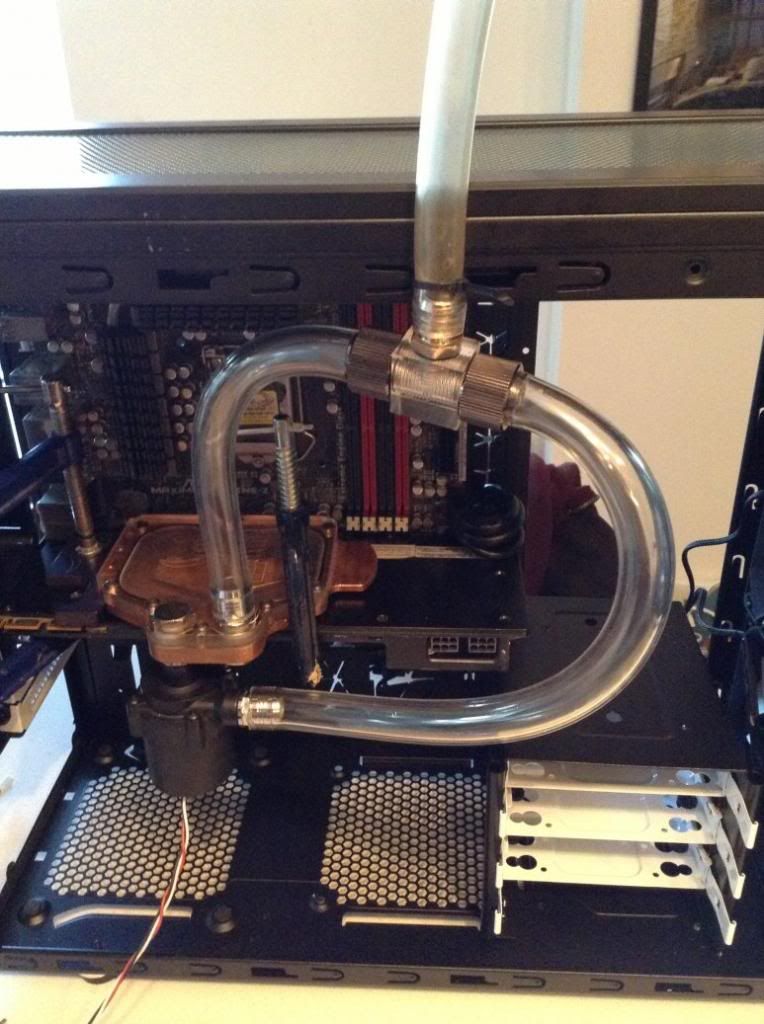
Testing what a 9$ ebay 12v pump can do. Highly impressive TBH. Research for my next project, 500w of watercooled LEDs :)
11PumpTest_zps63ec8ea8.jpg
 
I wanted to refurbish my favorite block of all time... The d-tek fuzion which I've modded to have a very convex base 2mm thinner than normal (through heavy surface lapping and refinishing). The seals had blown after two years in the garage.

Let's mix up some Silicone rubber The ring in the middle bends the base convex
00Dtek1_zpsc186a93a.jpg


Let's remove all the powdercoat from the top...
01Dtek2_zps8ce4f7af.jpg


Paint the bracket the same gloss grey as the grills. Layer 1 of high build black primer applied to the block
02Dtek03_zpscf529018.jpg


Pieces before cleaning.
03DtekSeals_zps97cae794.jpg


Let's see how flat that base is after forcing it convex. Very convex.
05DtekLap2_zpsf379c9e3.jpg


Getting a bit smoother while still not ruining the bow
06DtekLap3_zps03ba67e9.jpg


Final lapping before polishing @ 1500g
08DtekLap5_zpsc4bbc3c4.jpg


Glory restored!
09DtekFinalPaint_zps91be538a.jpg


Did a test-fit with the block before final filling and painting, to see how the board HSF looked gloss white.
IMG_1327_zpsbed2da41.jpg
 
Last edited:
Those painted grills look good. Nice contrast. Leans me a little closer to getting an Arc Midi.
 
Wired up some of my LED point source lighting. UV Led's will be mixed with Purple for a very nice purple glow.
IMG_1364_zpsb4ef513b.jpg


Preview lighting. Camera has serious issues with UV lighting. In actuality, the LED's are about twice as bright as this. Still not bright enough though.
IMG_1369_zpsbbd6e2dc.jpg


Time to drown my 290.
IMG_1370_zpsdbdebd13.jpg


Sex as hell.
IMG_1371_zps58bd4b5f.jpg


Decided to lap my CPU as well. Mmm. Such concave. Very suck. Wow.
IMG_1376_zps882f3740.jpg


Final grit (600) before a light polish @ 1000g.
IMG_1380_zpse003a1c0.jpg


One of those things is not like the other! Can you spot the Asus RMA defect? Only took them 4 weeks to bend a socket pin... WOO.
IMG_1384_zps8235bcba.jpg


Errything installed.
IMG_1386_zpsa4c72571.jpg


Begin plumbing.
IMG_1372_zps6bdb1cde.jpg


Finish plumbing. Man I hate that huge tubing...
IMG_1389_zpsfe5971cf.jpg


Got the pump in, and test bleeding. I'll be swapping a bit of the WC shit out later, so...
IMG_1391_zps50c7b55e.jpg
 
looks nice! in case you find that those UV LEDs aren't giving you the glow that you want, you can get UV LED strips on ebay much cheaper now, even with black PCBs. They'll be bright enough that you probably wont need to mix in purple LEDs for colour.
 
Thanks for the heads up! Yeah I have around 500 m of various led strips, RGB and single colours. Bought em All and they're in storage, I one day plan to use them to light my house... But I bought a condo instead hah :( . My last case had RGB lighting and an ir controller, but I'm dead set on low brightness point source lighting this time.

I also want to mix colours to get the 420-460 nanometer mixed deep purple. It's my favourite colour :)

Gonna take a brief interlude and post up some watercooled HID LEDs when my blocks come in too :)
 
Small but huge update lol.

This took me about 4 hours to do properly, but some of the pins had been breaking off my ATX, PCIe and PCI ports. Ugh.
IMG_1504_zps5711909f.jpg


So I cut all the wires, soldered new colour coordinated and crimped + soldered the pins on properly. These should last through the end of this PSU's service life...
IMG_1509_zpscbe95197.jpg


All I got, I need this PC for classes, so there's no way to take it out of service for too long...

Up next is getting some aluminum and making a nice lit PSU shroud, a GPU backplate, some white RAM slot covers... Fab a radiator shroud and finish up the case lighting. Oh, and wiring up my analog spectrum analyzer for the front. It's frustrating building about 16 different bandwidth filters without a voltage drop high enough to ruin my audio chain. Should take me a month or two to get around to it :p

Got some more stuff coming in soon. Like proper sized tubes.... (5/8" od)

And now for something entirely different... Thermal epoxied some aluminum blocks to a sheet of cut-off aluminum.
IMG_1512_zps03005da3.jpg


The amount of heat transfer between the two is actually cool. Running 50c water through the radiator for a few minutes resulted in raising both block and aluminum sheet temp to 48c!
Mounted the first 2 LED's. One 3700K, One 6700K. 50w each.
IMG_1513_zps98e02427.jpg


I'll be mounting two more of these, along with 1 100w 3700K and 1 50w 14000K on the back for a very balanced white output, albeit a slightly warmer one.
 
Last edited:
Nice work!

Which Ebay pump are you using and are you still using it?
 
Nice! Also where did you get the 50 watt 3700k and how much? I would love a 4300k 50w flashlight....:D
 
Nice work!

Which Ebay pump are you using and are you still using it?

Just any of the random 9-12$ 12v pumps on ebay. I'm using it for the LED project. My main build has a MCP355.

Nice! Also where did you get the 50 watt 3700k and how much? I would love a 4300k 50w flashlight....:D

eBay, hah. They're 18$ with drivers... 36v @ 1.5a. You'll want to build your own buck driver IMHO.
 
In an effort to reduce costs, I wanted to fabricate my own metal bracket... Using the old bracket from my broken 6950... But of course it won't fit, nor is it electrically safe so... Let's cast it in epoxy!

Cover The holes and surround the piece in masking tape
IMG_1522_zps69536c56.jpg


Pour the first layer...
IMG_1524_zpsebe037cb.jpg


And then a second, thicker coat. Let it gel, remove tape.... And, well, you'll see tomorrow because the stuff needs to heat cure.
 
Yeah, so, this project is on hold until Lutr0 get's his shit in order. I need some cable separators :D

Oh well. Just making sure people don't think I've died or anything.
 
Well I've realized that Lutr0's items that I need (the cable spacers) likely aren't coming in stock for awhile - so I'm going to make my own eventually.

In the meantime, we've got a few updates :)

First and foremost... The 21cm x 28cm piece of white acrylic I ordered... was shipped to me as 21 inches by 28 inches! Agh. Time to score and snap!
IMG_1640_zps13e4e09b.jpg


Scored, snapped, and bent!
IMG_1641_zpsa82ff7d5.jpg


Lets start replacing the 3/4" OD tubing with 5/8" OD tubing (so much more elegant)
IMG_1642_zps02947d3e.jpg


Let's epoxy and waterproof a thermal probe in the T-line Fitting between the two radiators.
IMG_1644_zpsafa5c9d6.jpg


Loop Order:
Pump > 2.120mm Rad > T Line/Probe > CPU > 3.120mm Rad > R9 290 > Pump.

Paint and place the Hard Drive rack
IMG_1648_zps7644fab6.jpg


STARTING to do some cable management....Long way to go
IMG_1650_zps1f2ffbe7.jpg


Build mainly done. Tubing all replaced. Rear 120mm Intake installed.
IMG_1651_zpse87ddba3.jpg


Lighting. Yep, warm white and purple :)
IMG_1654_zps2e6f0c6b.jpg

IMG_1652_zps1dc4e115.jpg


Camera does *not* like UV light (makes it blue) and warm-white LED's... Will take some final pics with the DSLR when things are all finished.

All that's left is to do a wire-shroud for the top radiator (to hide the UV LED wiring)... And wire up the 420nm non-UV purple LED spot lighting... And wire the LED's up to the third channel of my fan controller.
 
Back
Top