6 on one hand...

notarat

2[H]4U
Joined
Mar 28, 2010
Messages
2,501
Half a dozen 3D Printers on the other.

*sigh*

Just ordered a CR-10 Creality 3D Printer, bringing my total to 6. WTF was I thinking?!

Replicator 2
Rostock Max V2
Mono Select Mini
Creator X
Creator Pro
CR-10

/me dumb.


That guy can totally give someone THREE middle fingers!

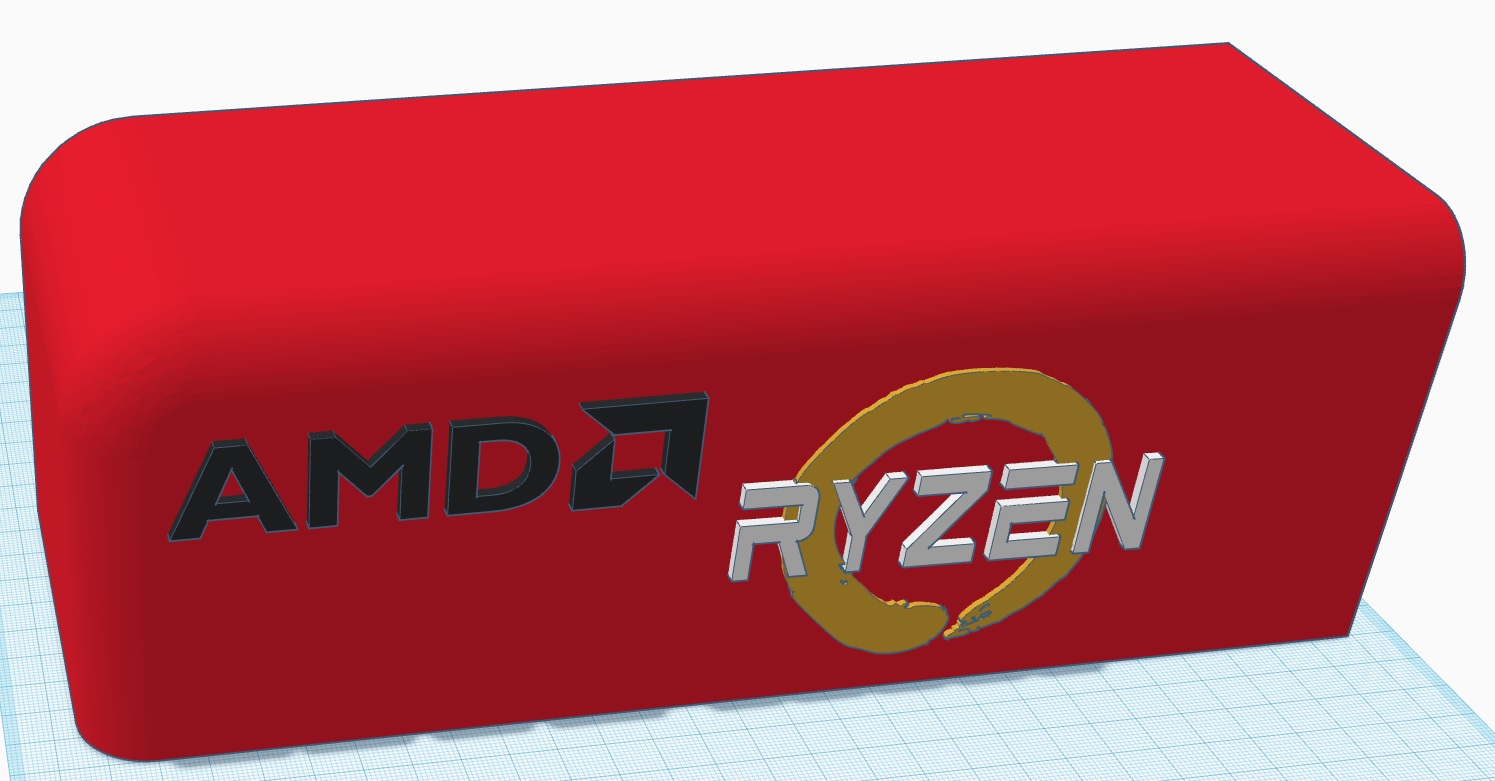
I had to get a larger 3D Printer so I could print

Shroud.jpg
 
Some notes about the HICTOP Creality 10:

Unit arrived very well packed and with no damage. The documentation for assembly/use/etc is included on a San Disk 8GB SDXC Card. Videos show how to perform the steps and there are PDF Files which explain in pretty decent english how the assembly goes. There are steps, however, they do not mention. When you attach the X-Axis assembly to the Y Axis you need to ensure that not only is it connected securely, you also want to use a square to ensure the tower assembly is plumb (90° perpendicular) to the Y Axis frame assembly. IF it is not, you can loosen the nuts on the T Bracket for that side, loosen the 2 allen head screws which secure the Extruder assembly, then insert a square to get them lined up at 90° and re-tighten the bolts. (it was something I encountered when assembling my Rostock that I happened to remember and it was a giood thing I did because the CR-10 was initially not plumb so I had to do these steps to fix the issue)

Other than that, I ran into no problems.

The essential parts I printed today are:
1 - gigantic thumbscrews for leveling the bed
2 - small part cooling blower duct which re-directs the cooling air at the part being printed rather than at the heat block (the OEM part has the wrong angle)
3 - Clips which secure the bowden tube to the power wires for the hot end (helps increase lifespan of the hot end wiring by adding some strain reief to them so they don't break over time)
4 - Filament guide which prevents the filament from rubbing up against the Z-end threaded rod.
5 - Z axis threaded rod end cap which prevents the threaded rod from wobbling which should tighten tolerances of printed parts. (not really essential but I thought I'd print it to see how it helps)
 
Just got done printing the RMA Label to send the CR-10 back to Amazon. Could not get the Z Axis motor to work properly then discovered upon closer inspection there were some assembly errors in the portions of the printer that came pre-assembled.)

The errors in assembly are in the portions of the unit that were pre-assembled...think of it as you buy a car but have to install the wheels yourself. You know how to install the wheels, and you do that properly, but there are no connecting rods in the engine.

In this case, it looks fine but the Z Axis motor cannot work because the lead screw is binding along its mounting path. It's a relatively easy fix (remove the Z Axis motor, lead screw, and all mount points for it up the left-side gantry arm, reinstall the motor, attach the guide points one at a time, verifying there is no binding occurring) then it should work.

Frankly, for what I paid, I expect this to not happen.
 
  • Like
Reactions: WhoMe
like this
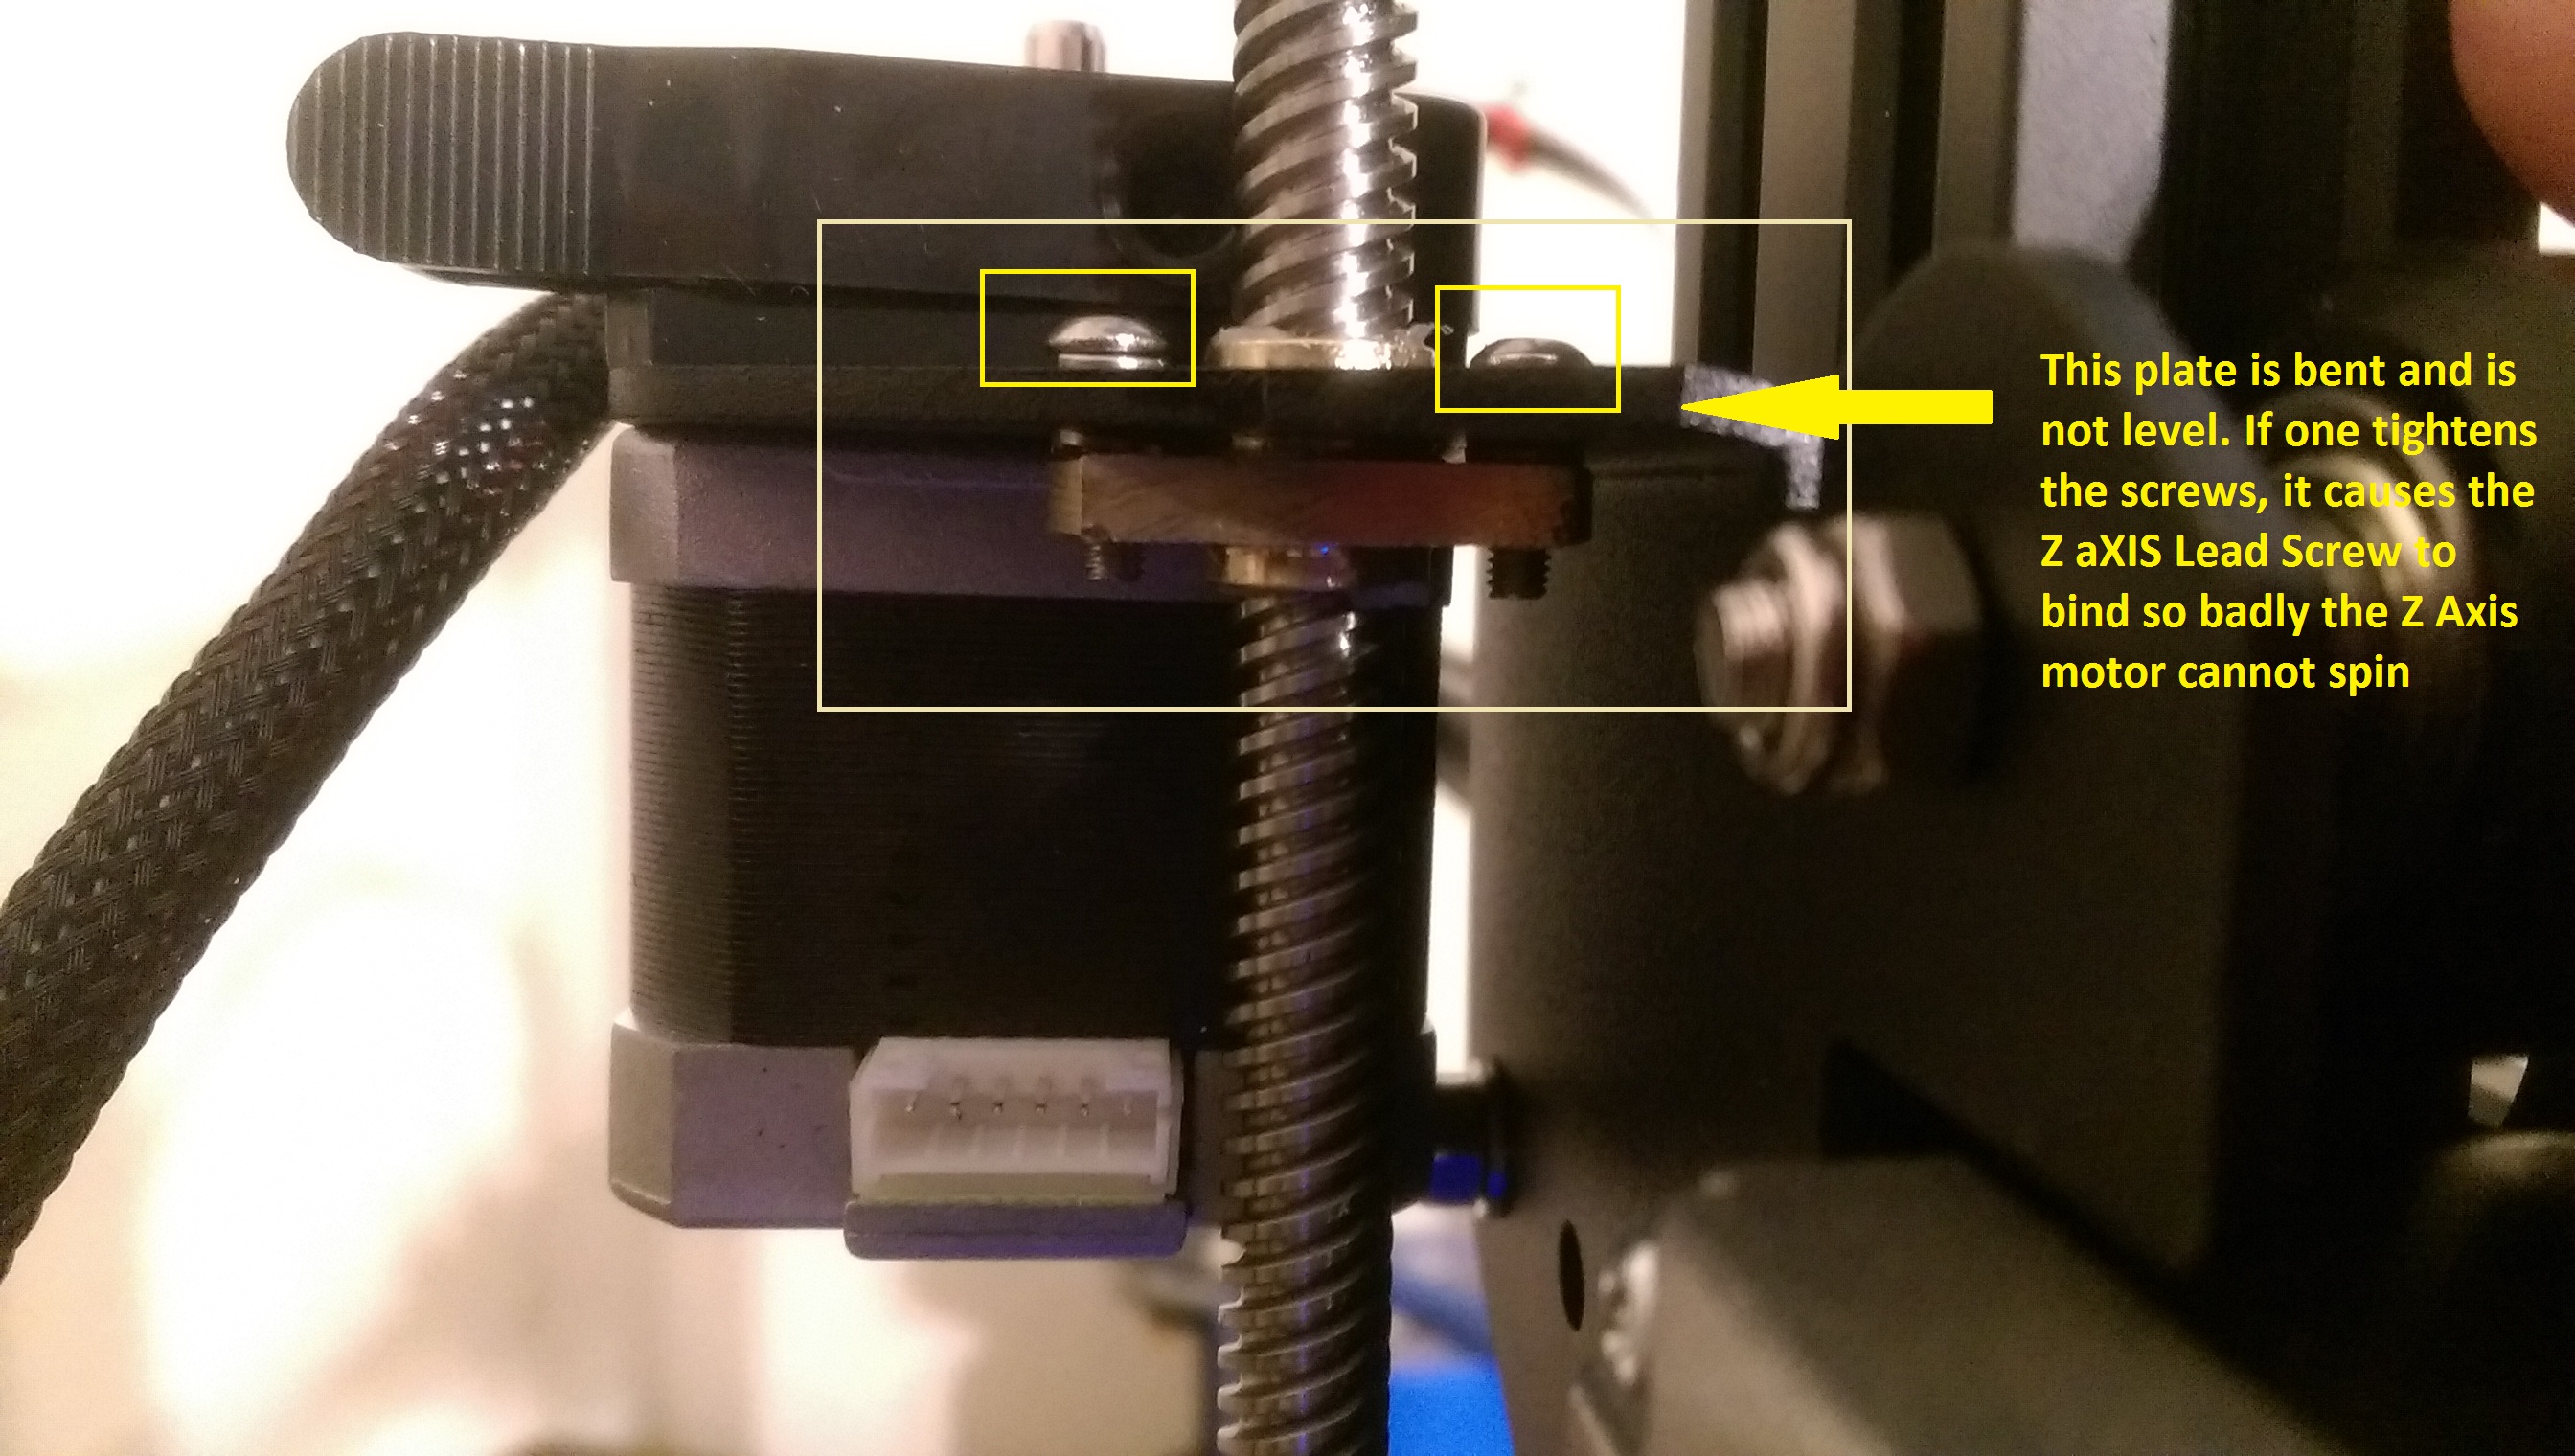
Here's the defect on the CR-10 I received. It's a full bubble out of level. If I loosen those 2 screws in the yellow boxes it works fine, but you cannot run it with loose screws. You'd have to have a couple screws loose to run it with loose screws.

IMAG0338.jpg
 
Back
Top