Hello Guys,
Pretty excited about this one.
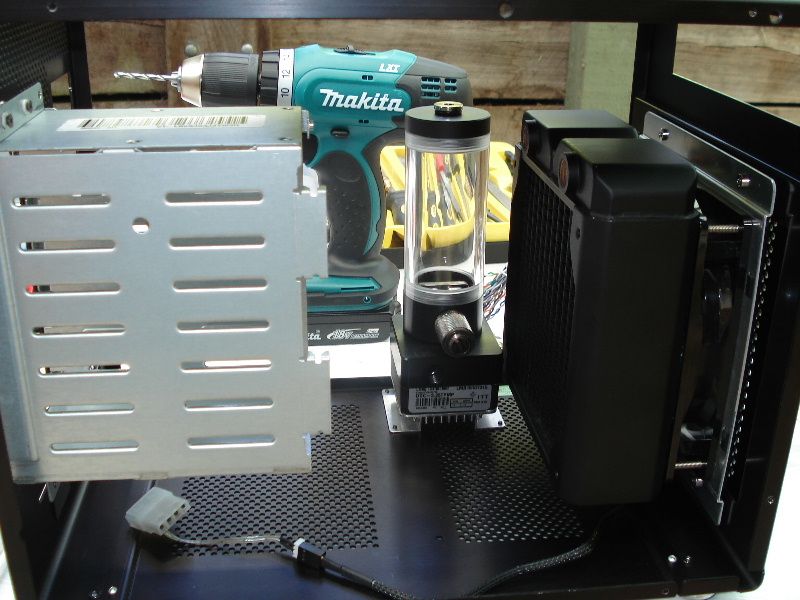
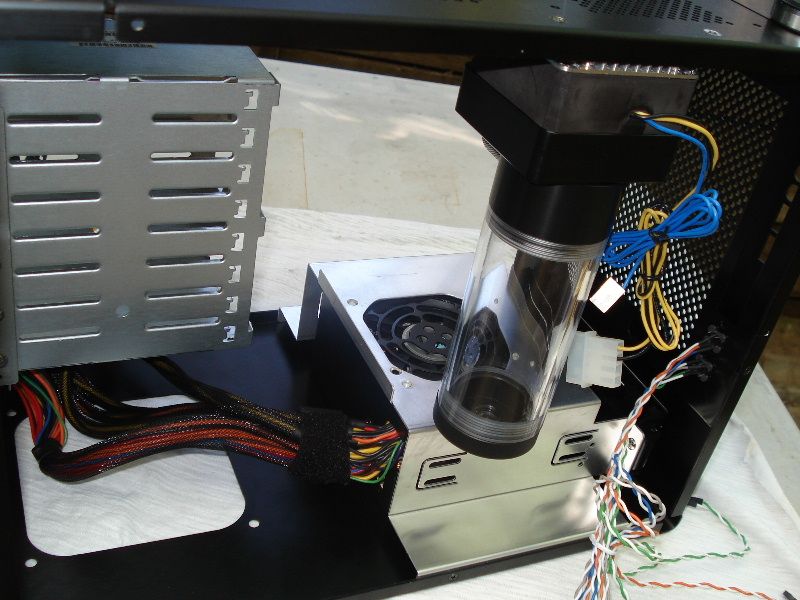
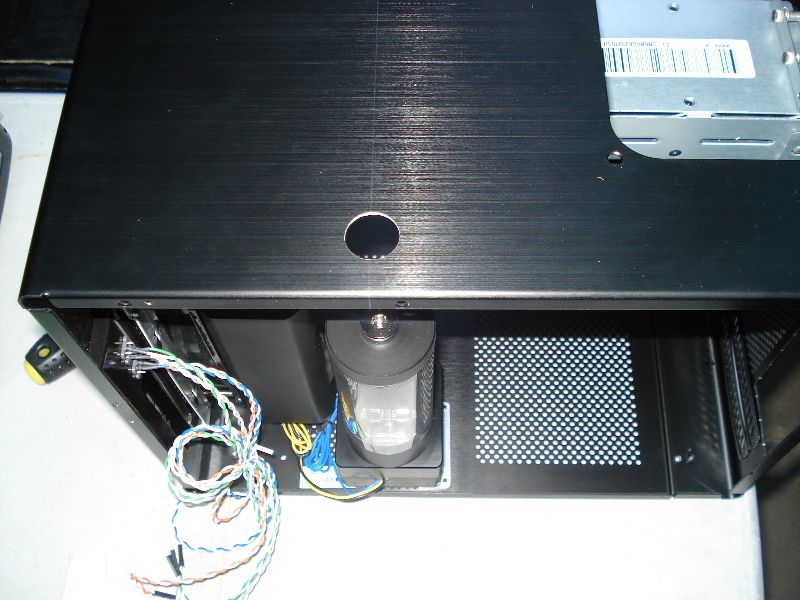
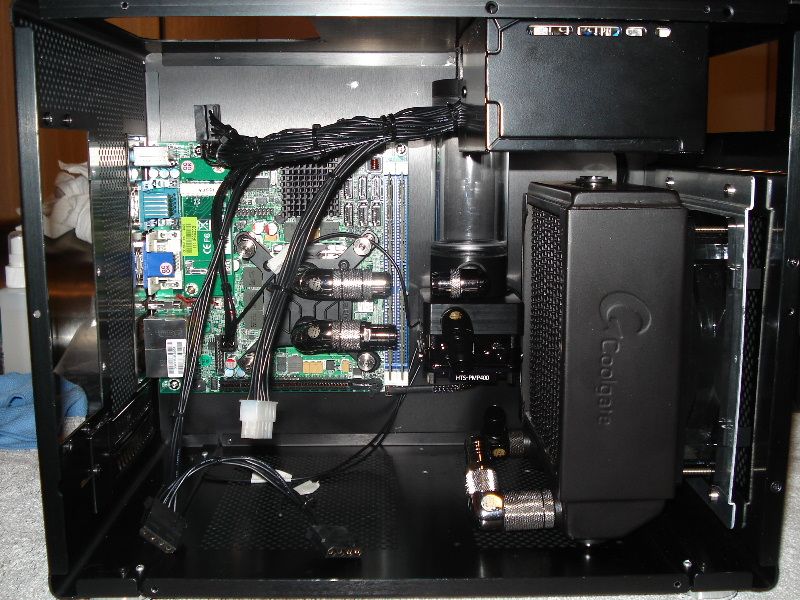
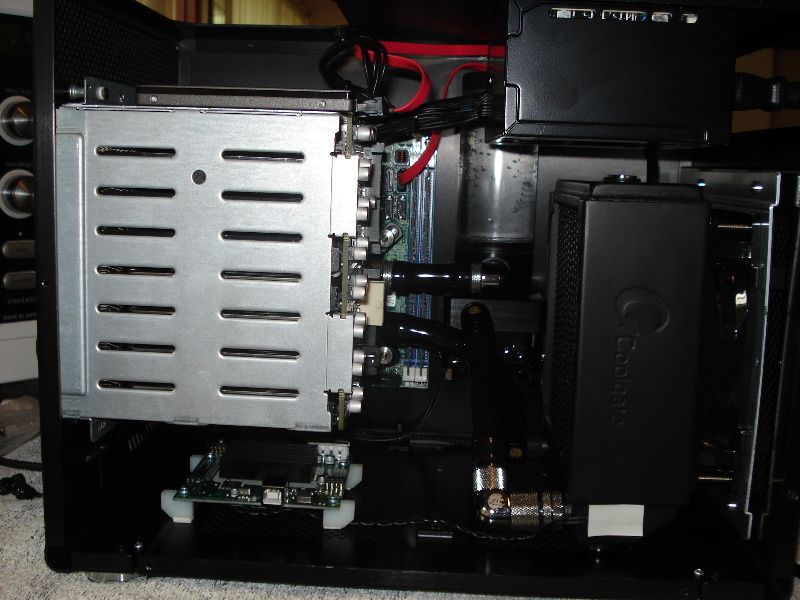
How would you go fitting 8x hard-drives + a Crucial M4 SSD, a 140mm radiator, DDC pump, res, 450W PSU and Wade-8011 mini-itx into a Lian-Li PC-Q08?
Easy, I would reckon.
Check this space.
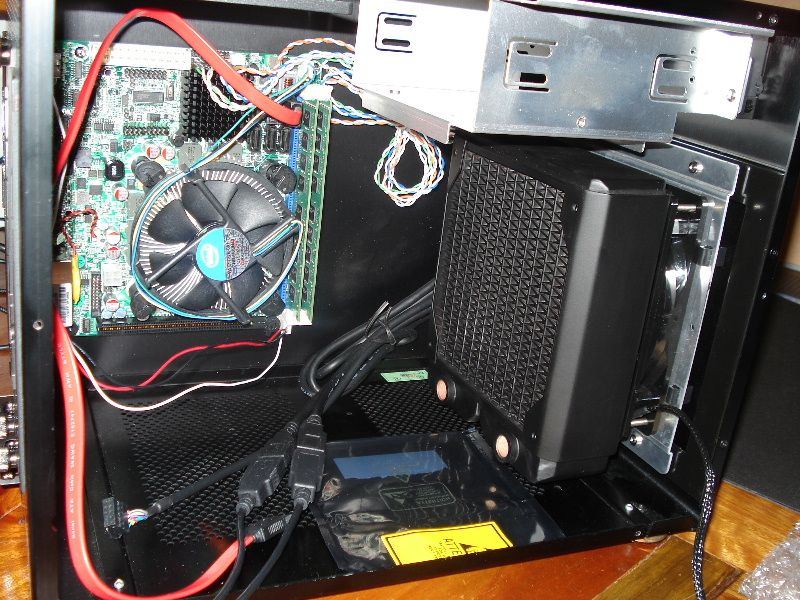
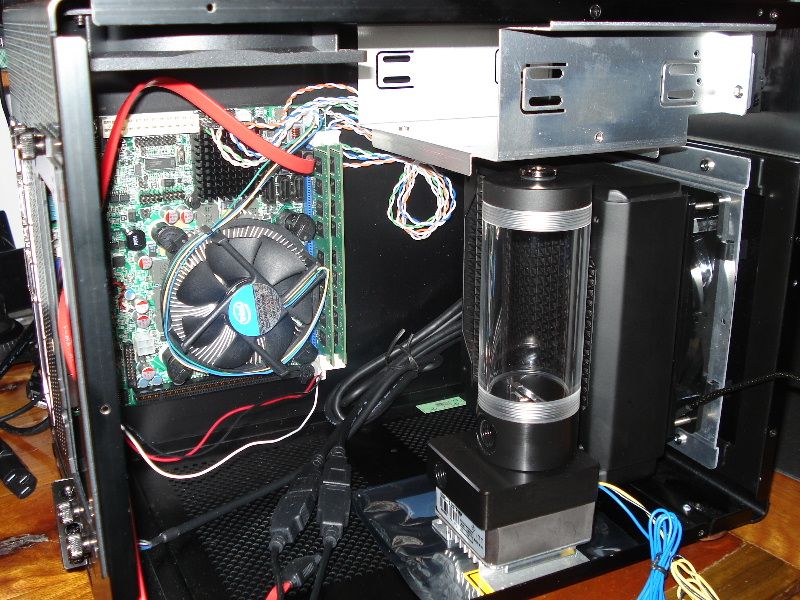
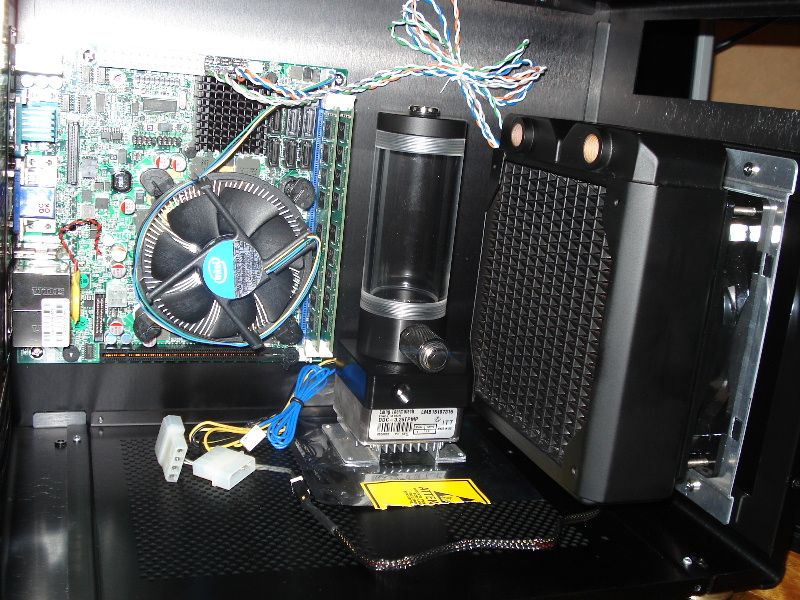
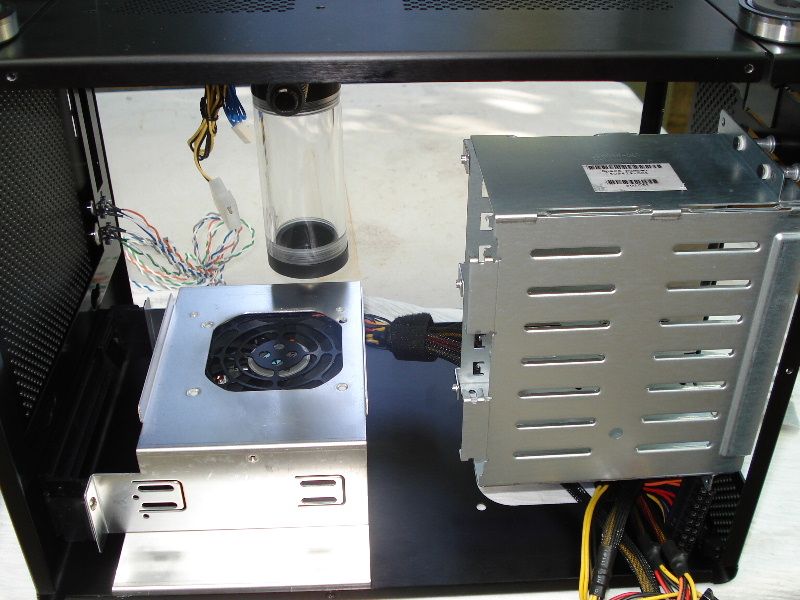
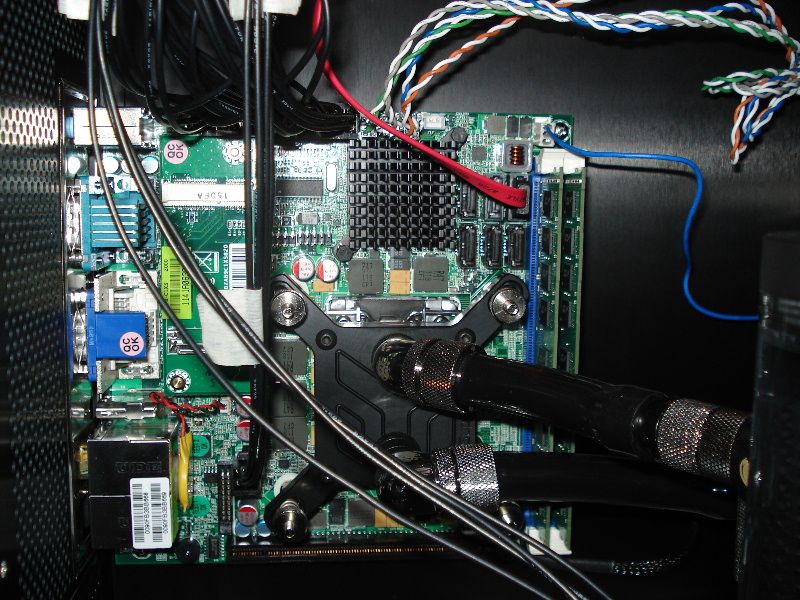
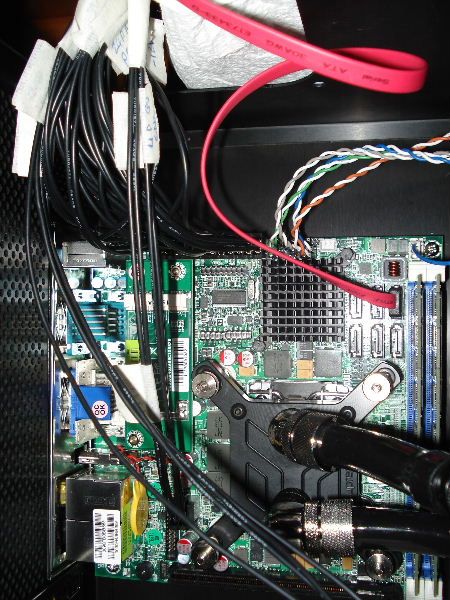
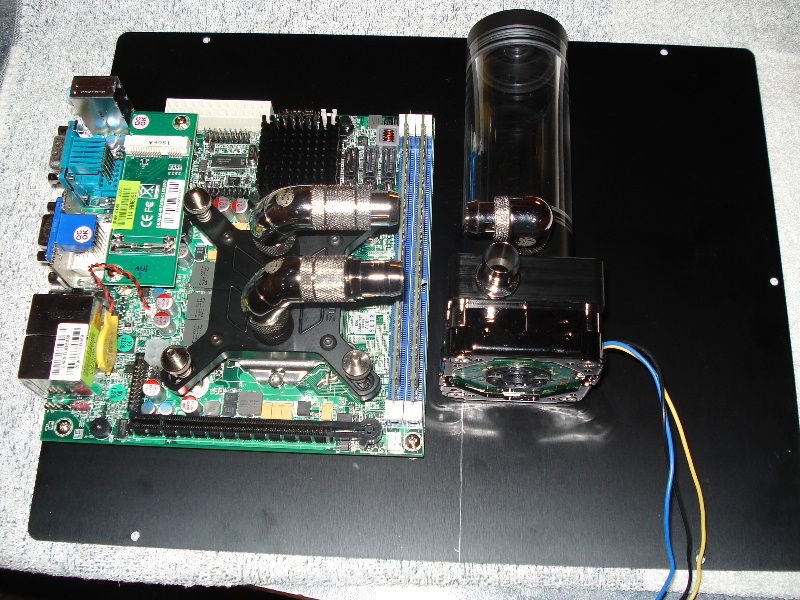
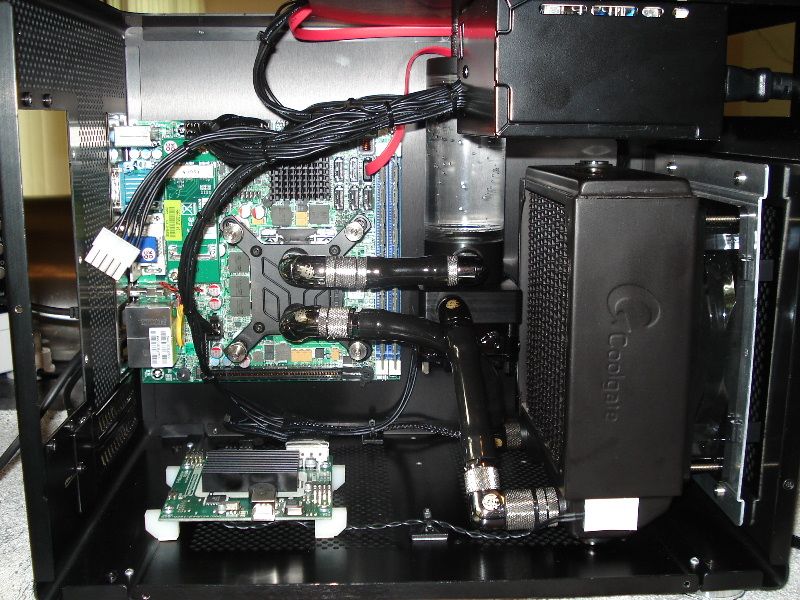
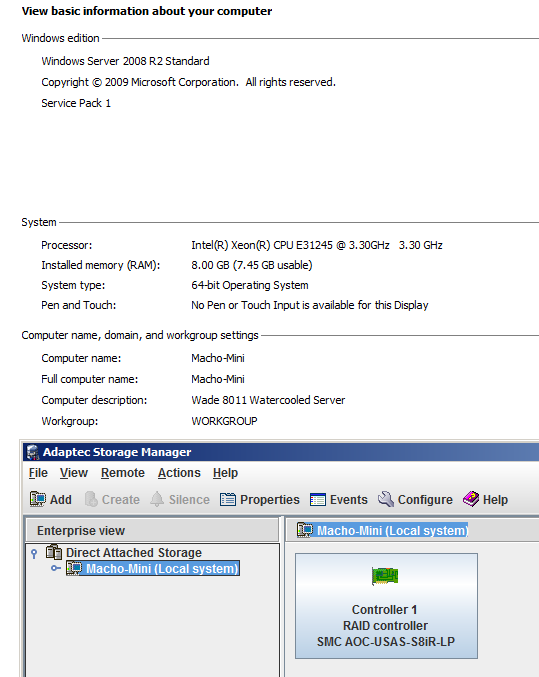
As a teaser, the following components have been acquired, and running in test-setup mode in the box, aircooled, with Server 2008 R2 installed:
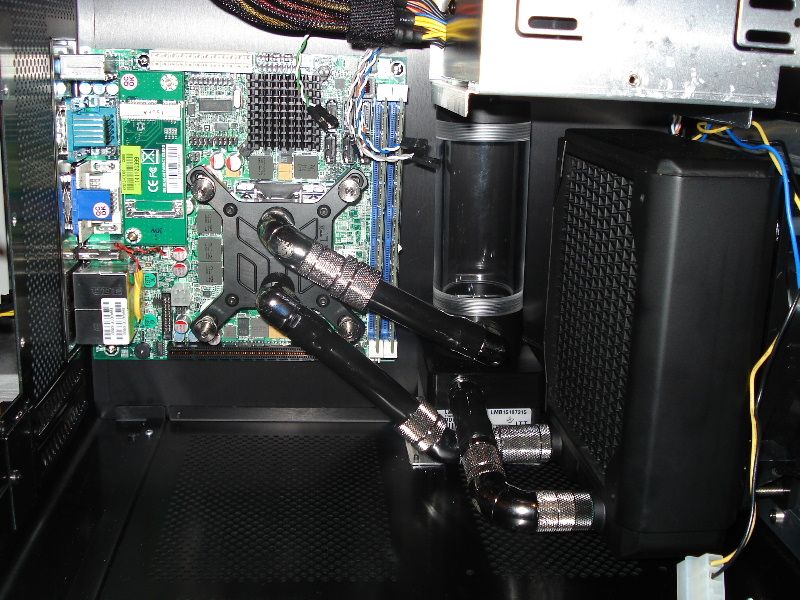
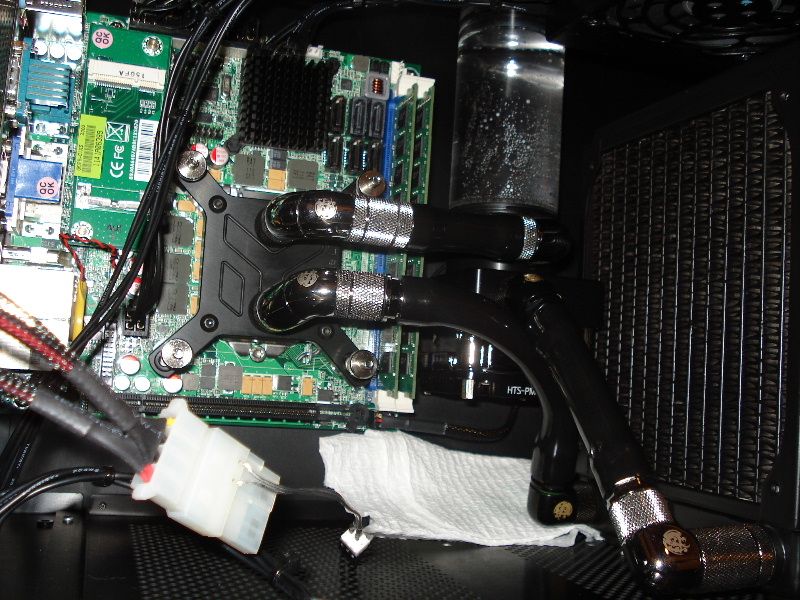
Portwell Wade-8011 C206-based Mini-ITX board
Xeon E3 1245 (3.30hz)
2x 4GB Crucial ECC Ram
1x Crucial M4 128GB SSD (for OS)
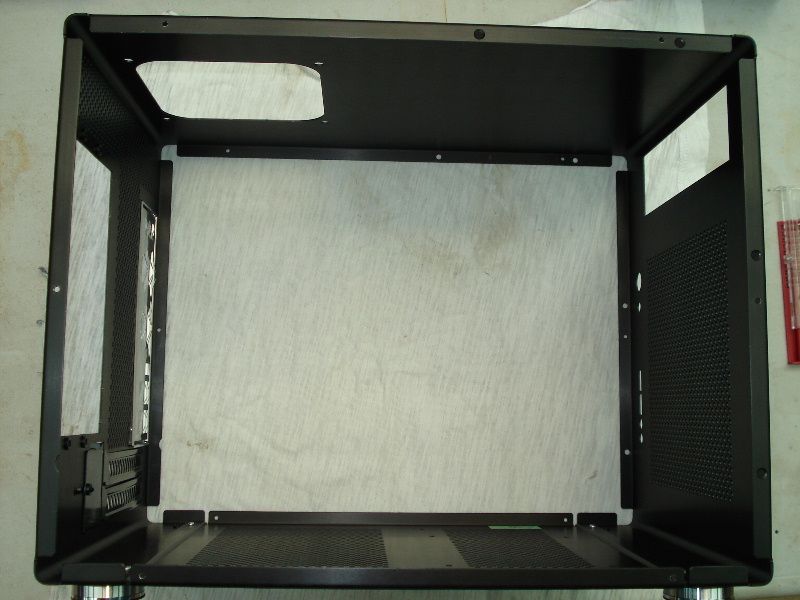
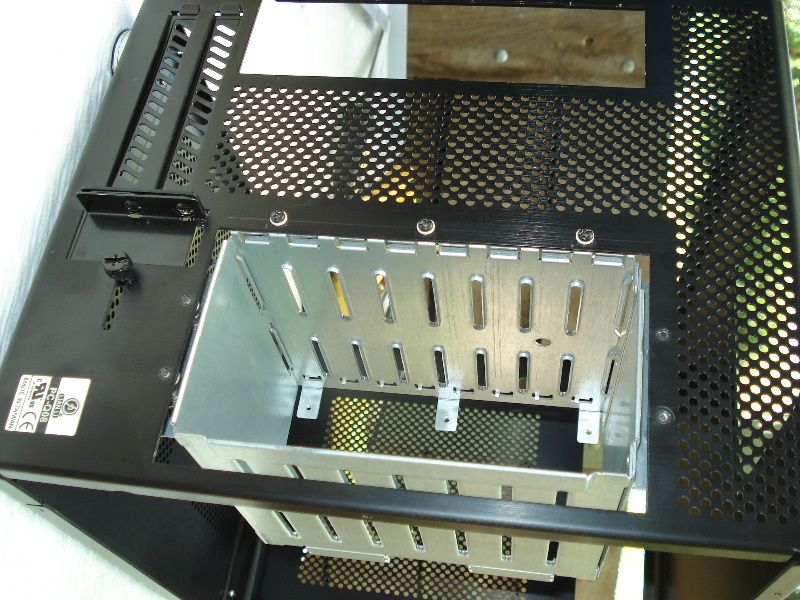
1x Lian-Li PC-Q08(black)
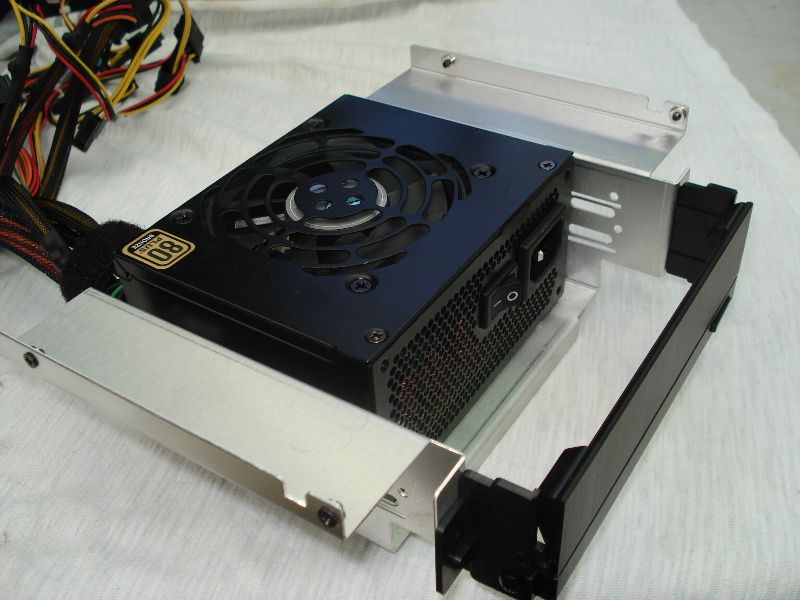
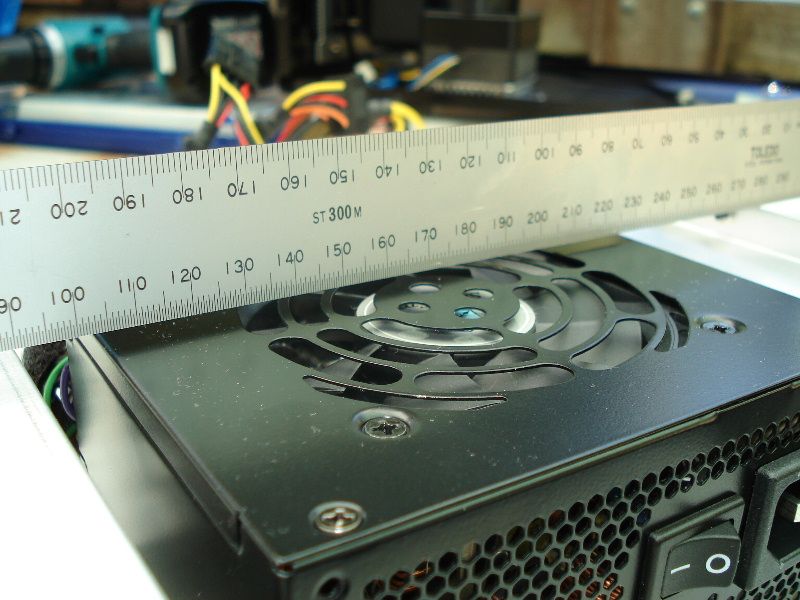
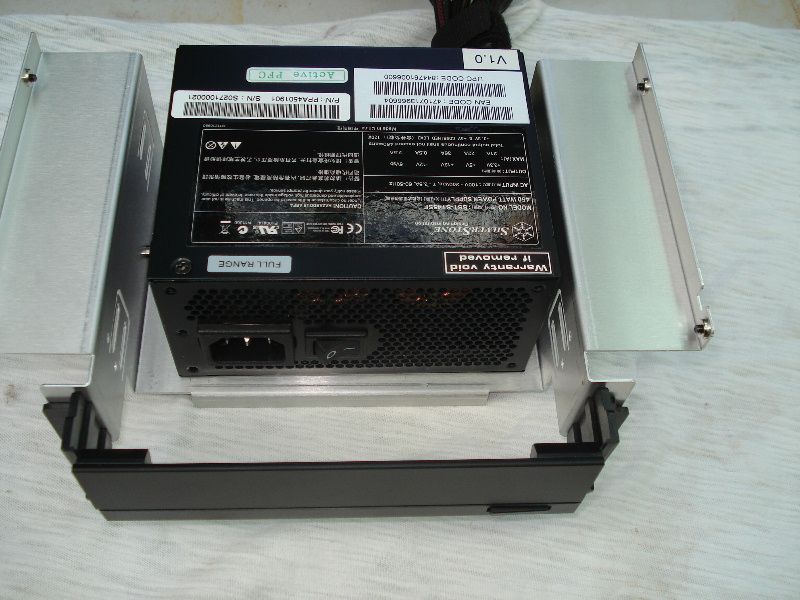
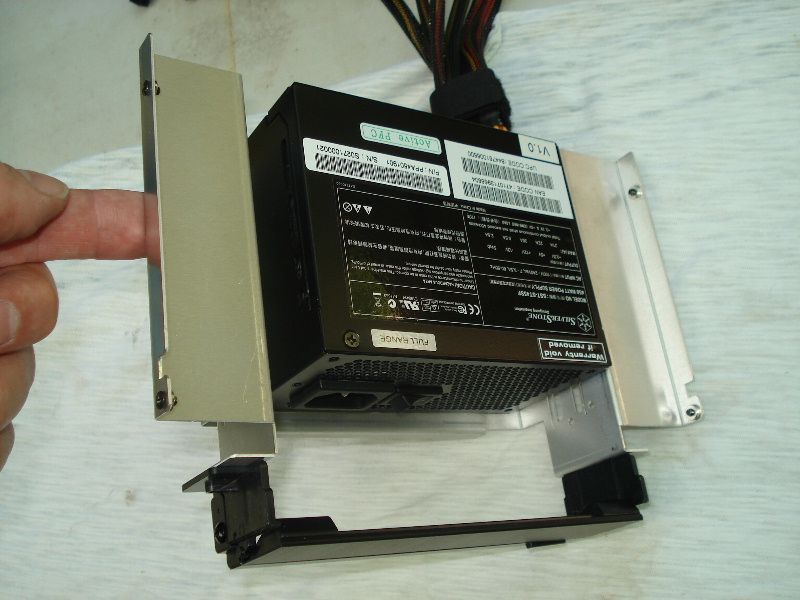
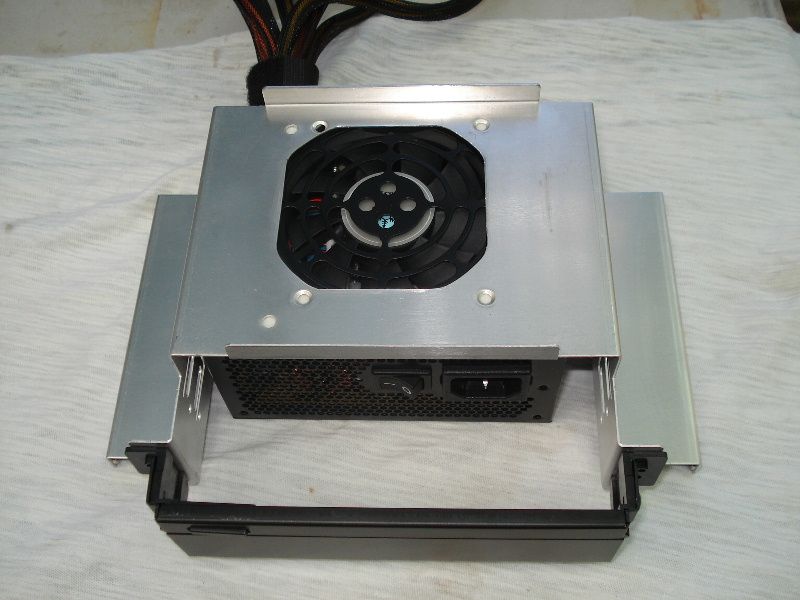
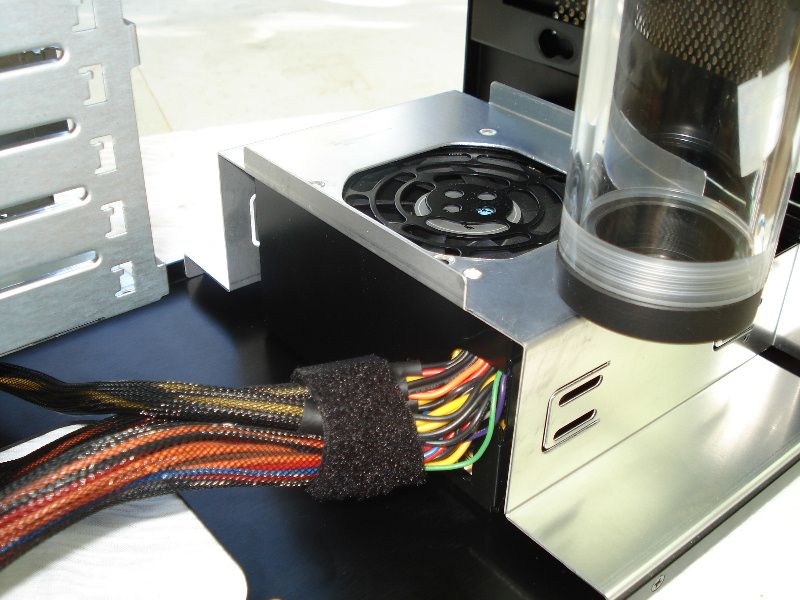
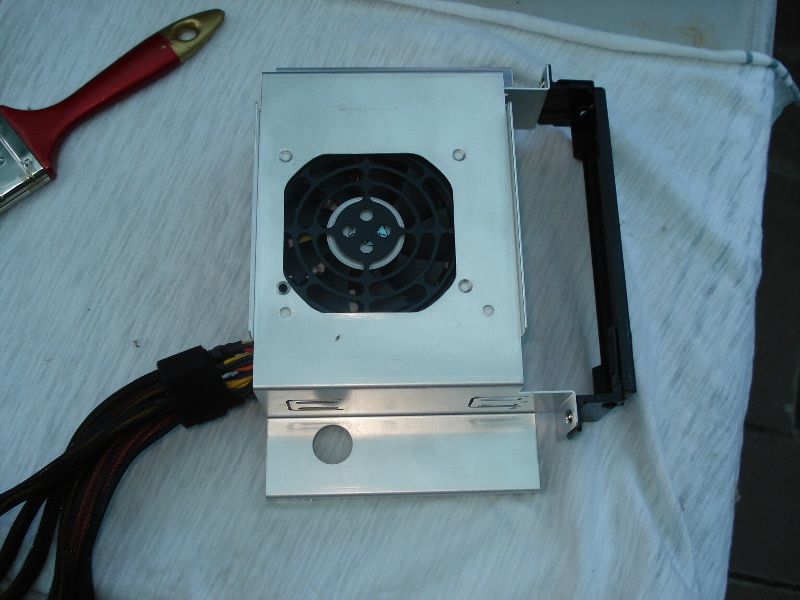
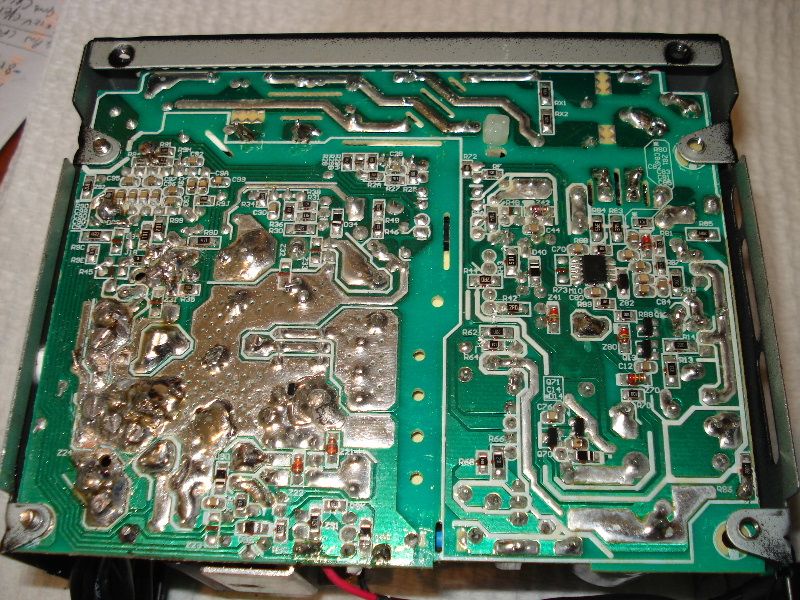
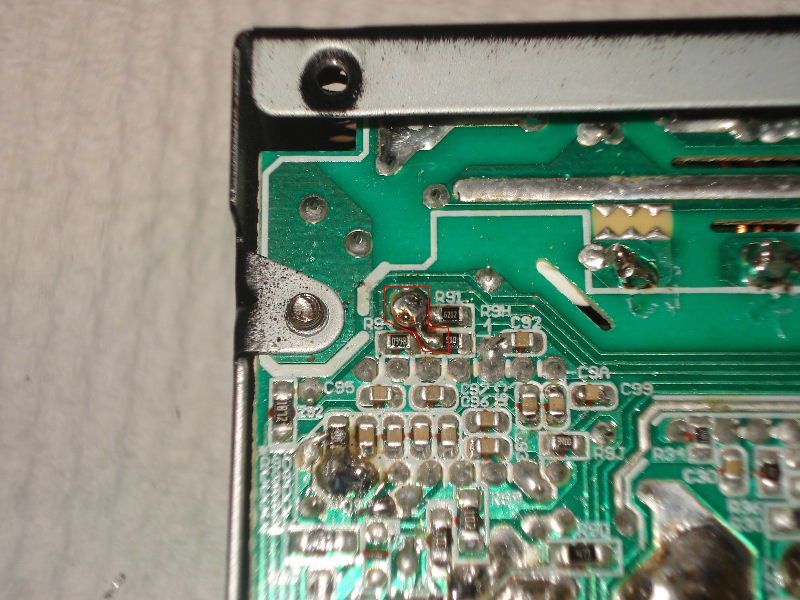
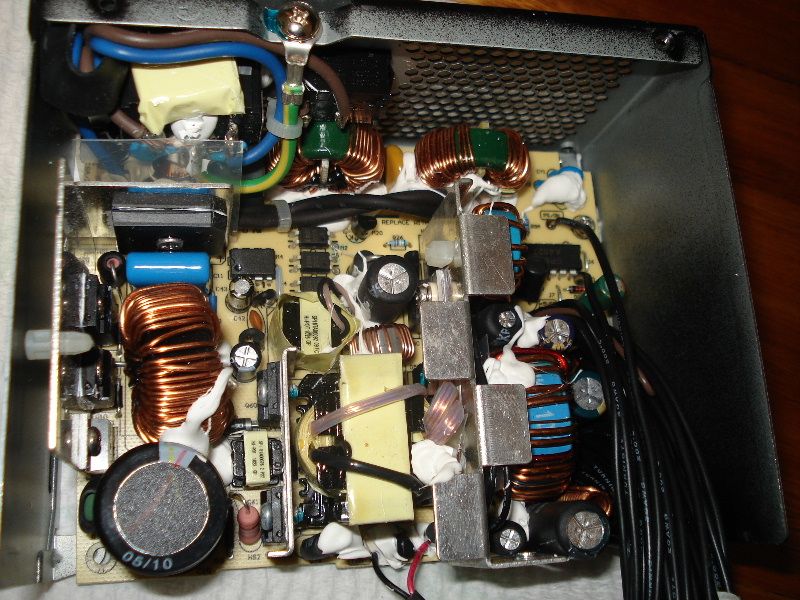
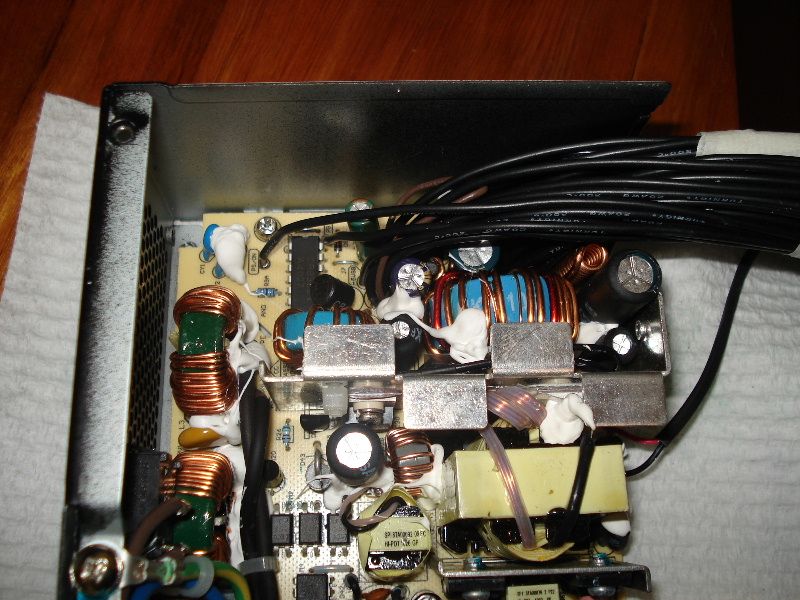
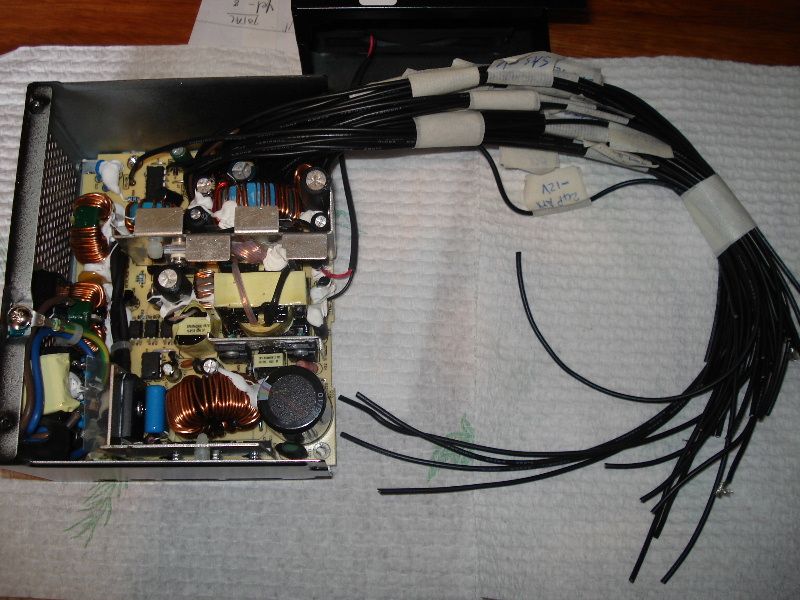
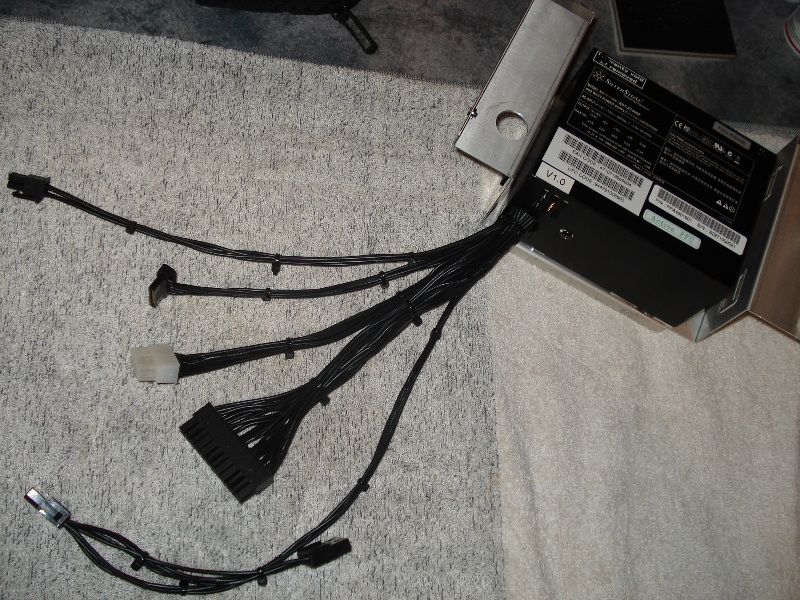
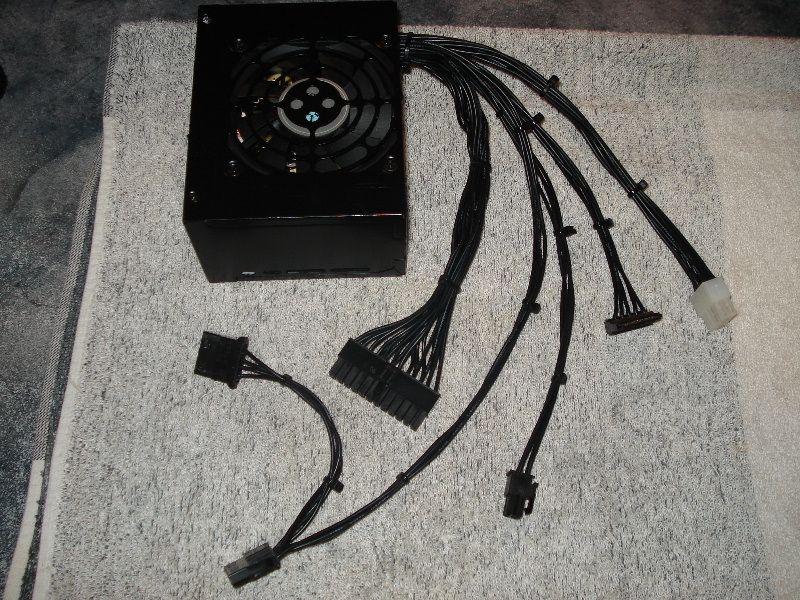
450W SFF PSU
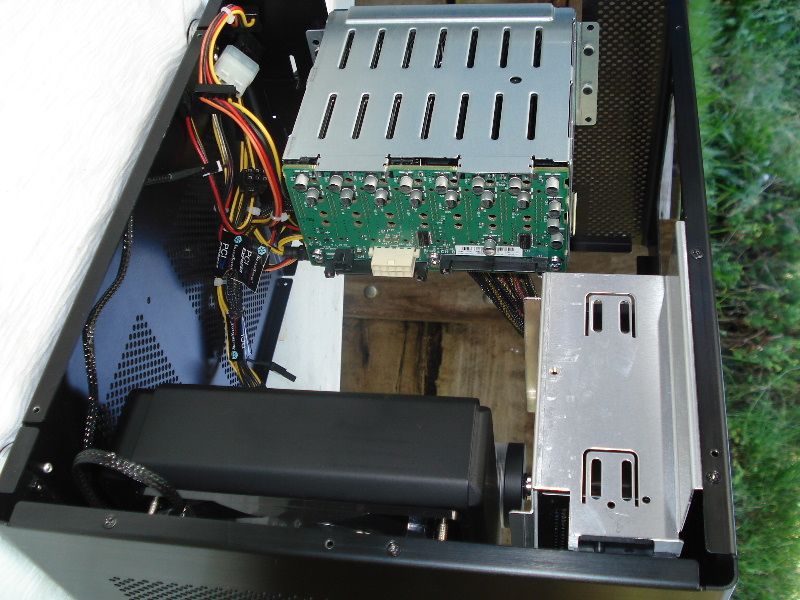
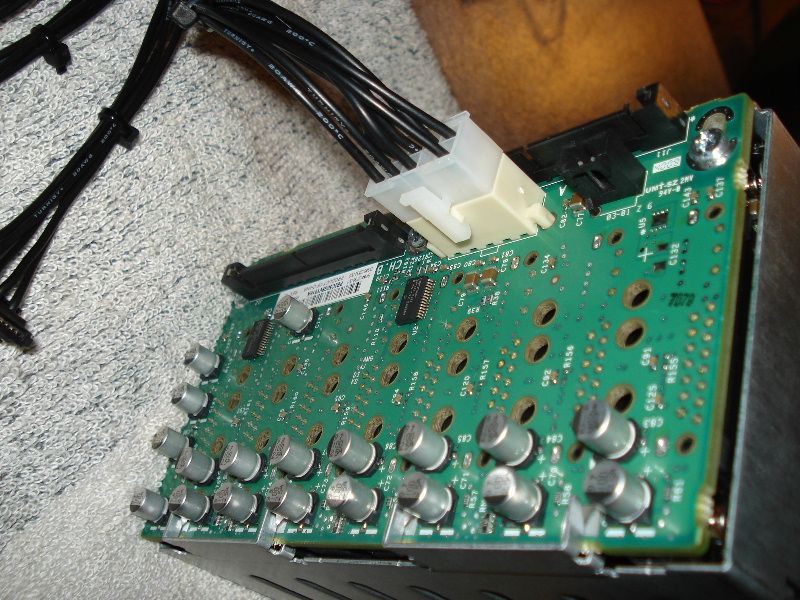
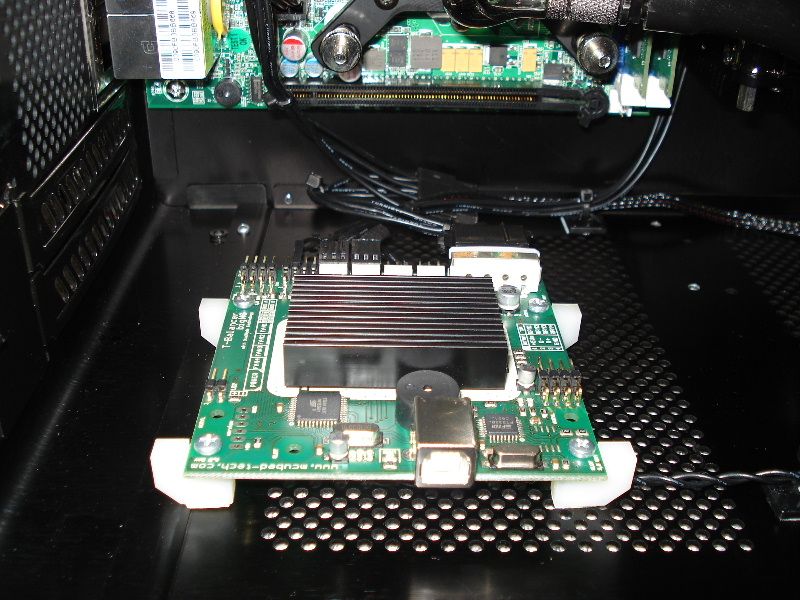
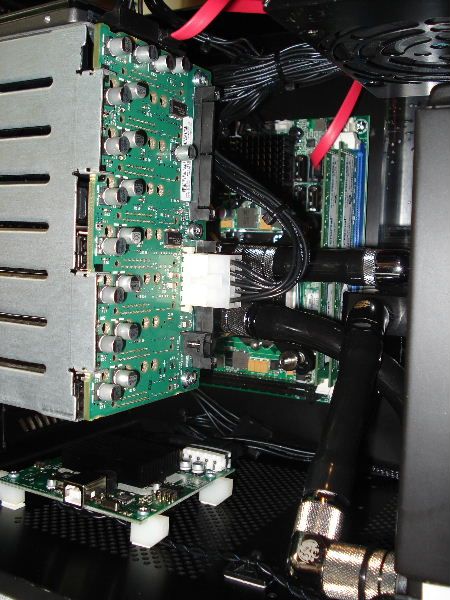
1x SuperMicro USAS-S8iR SAS Controller (to check operability in Server 2008)
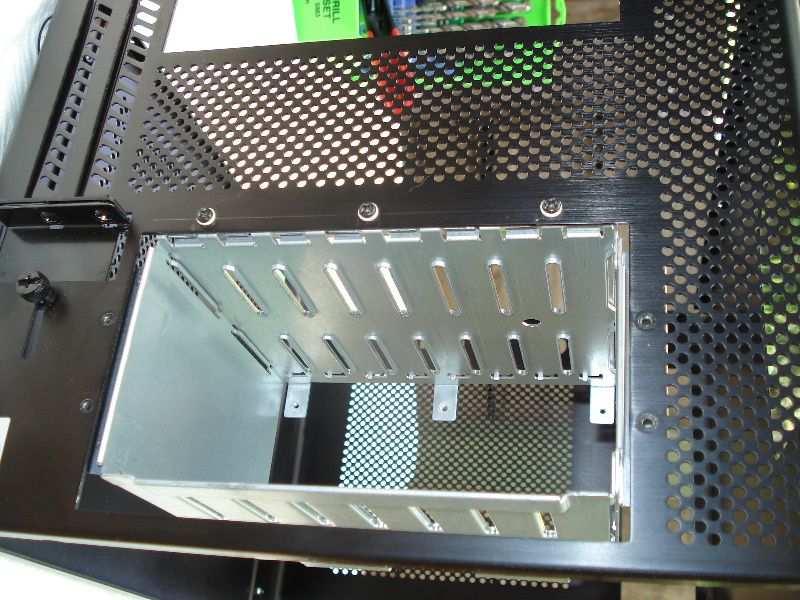
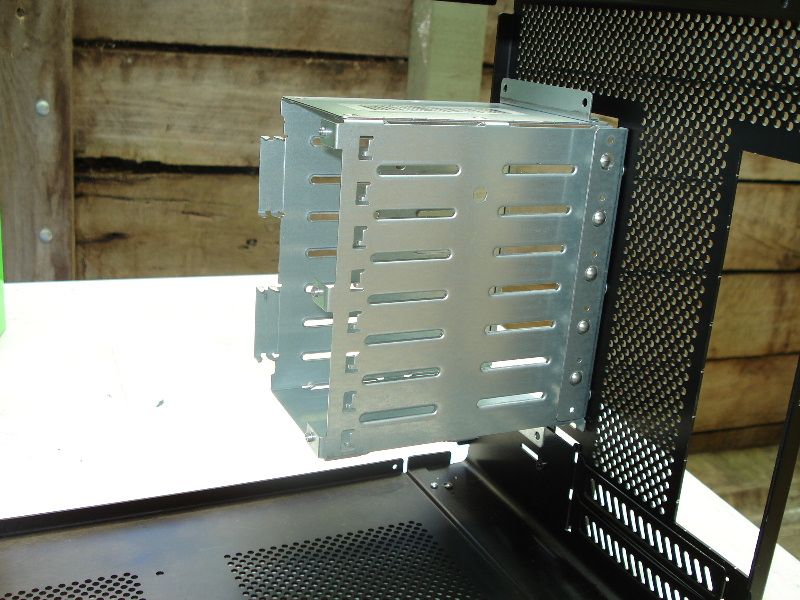
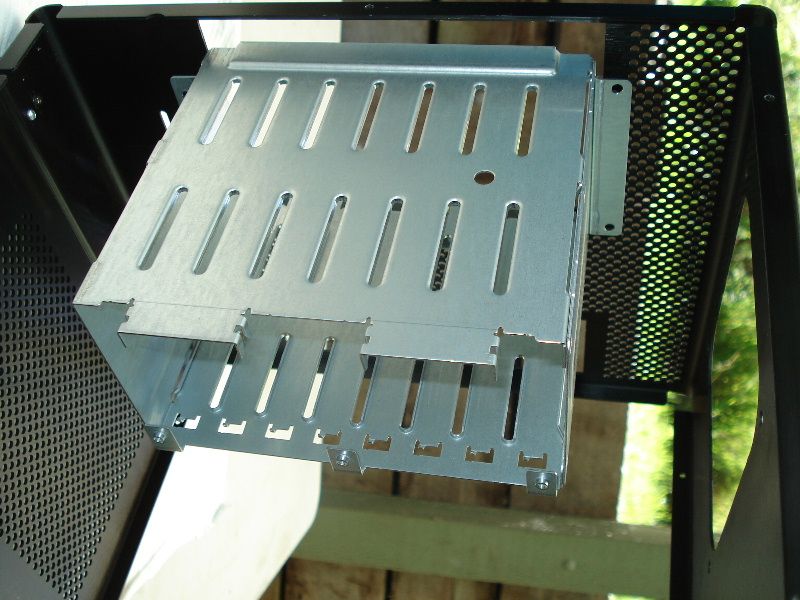
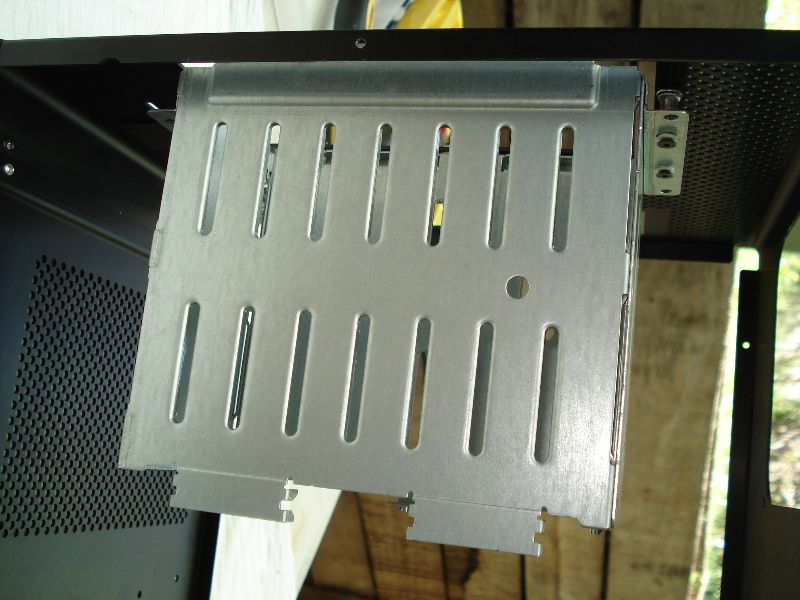
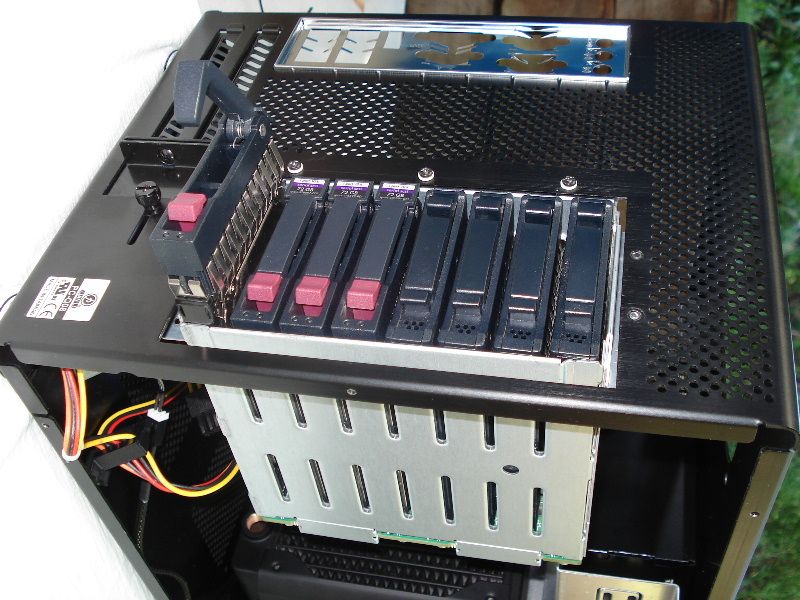
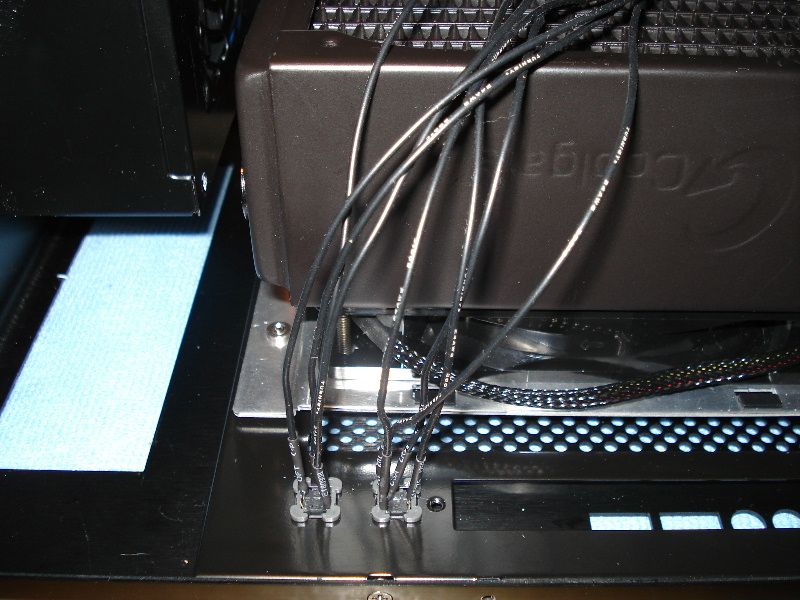
1x HP 8x SAS SFF Drive-cage, yes, the same as in Project Blackbird
4x 74GB SAS Drives - this will make way for 8x 146GB drives in the not-so-distant future
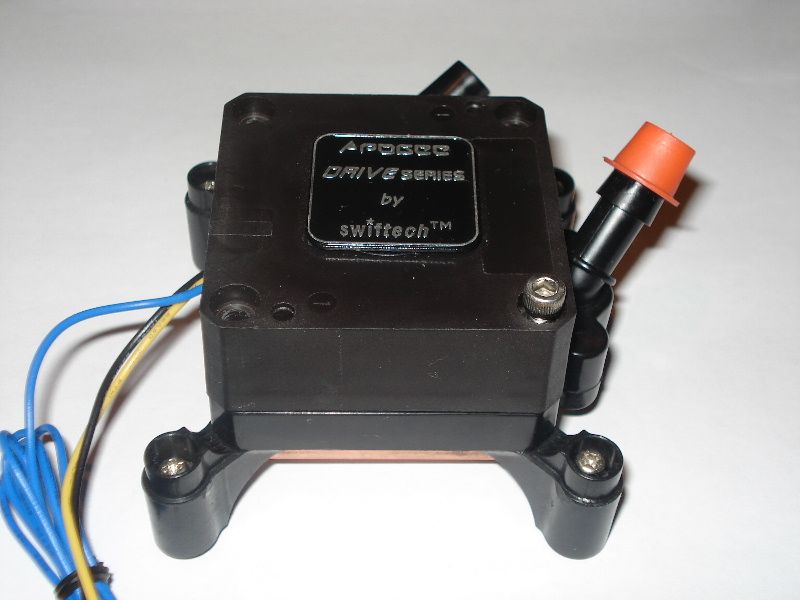
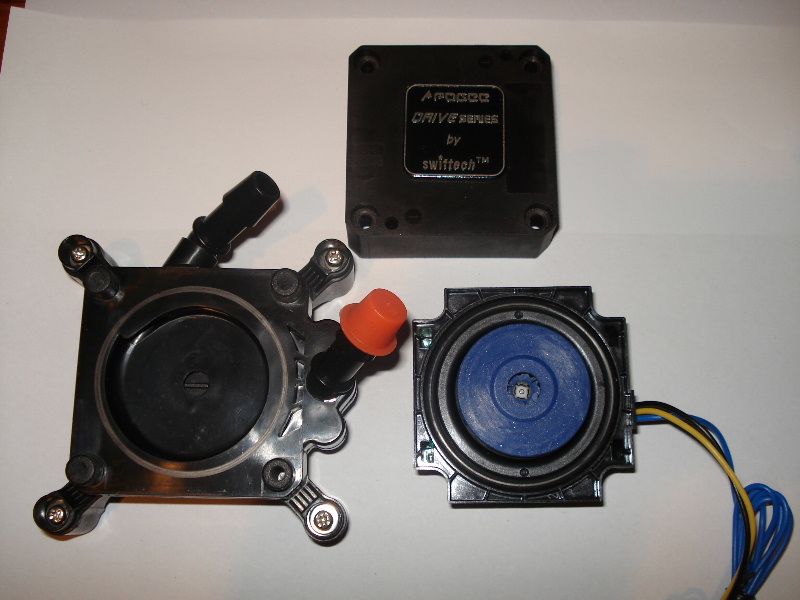
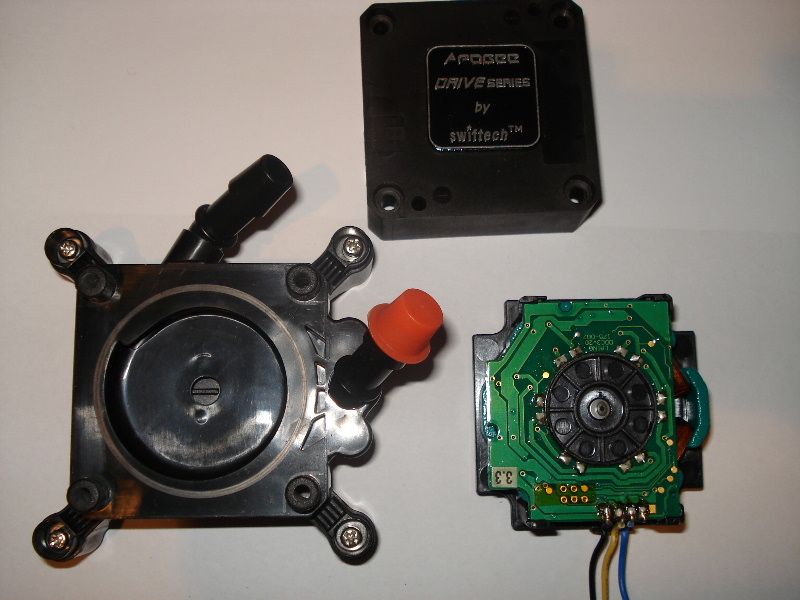
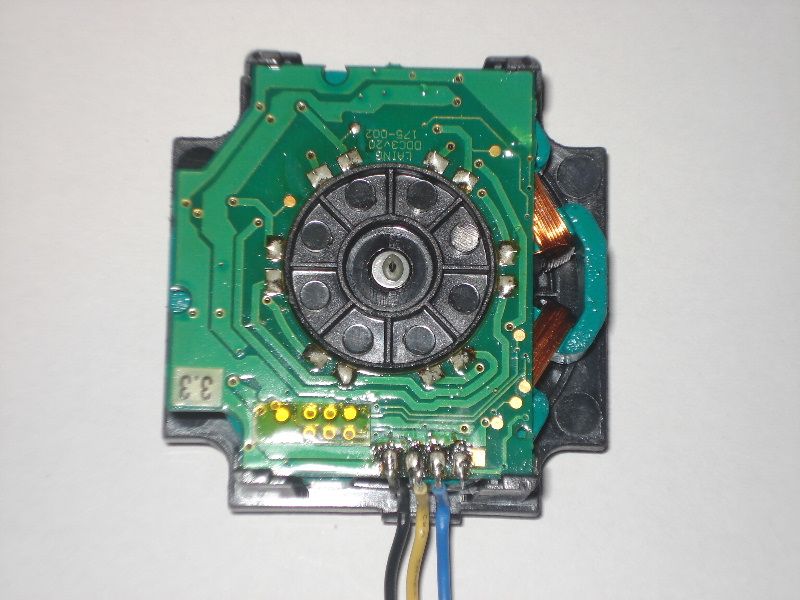
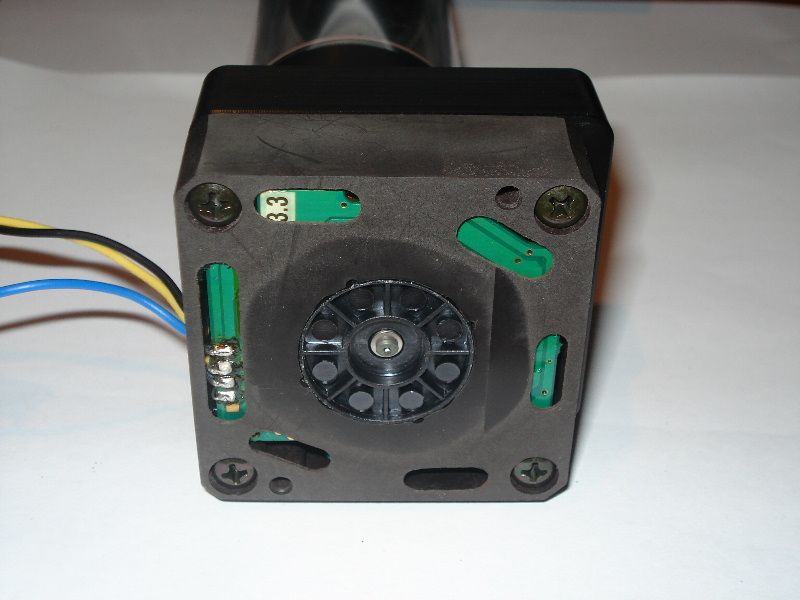
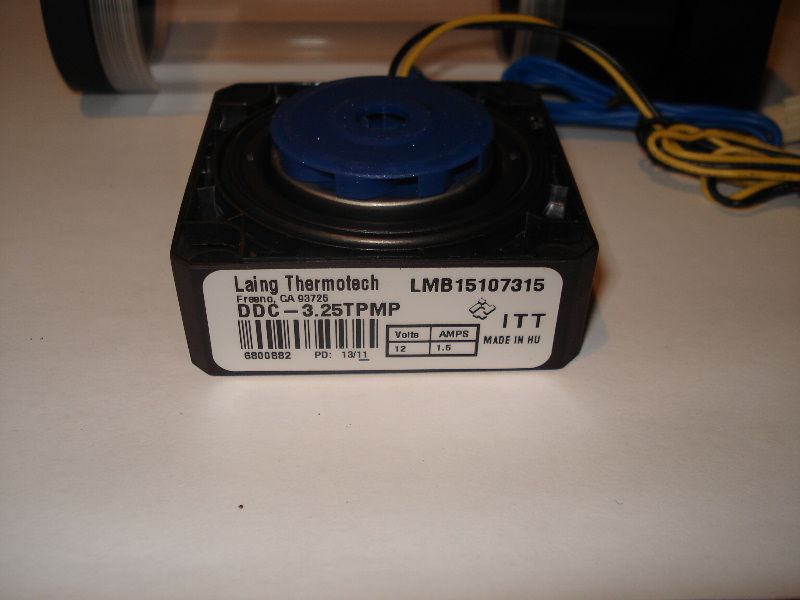
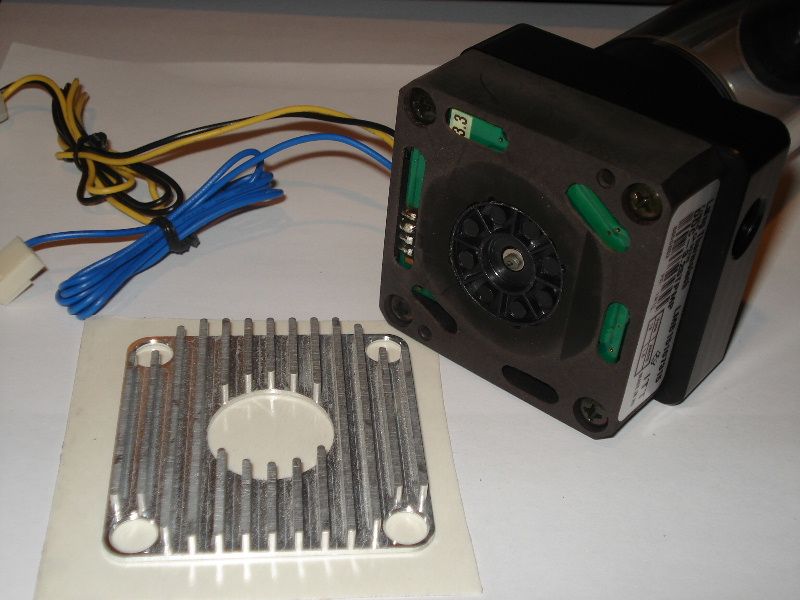
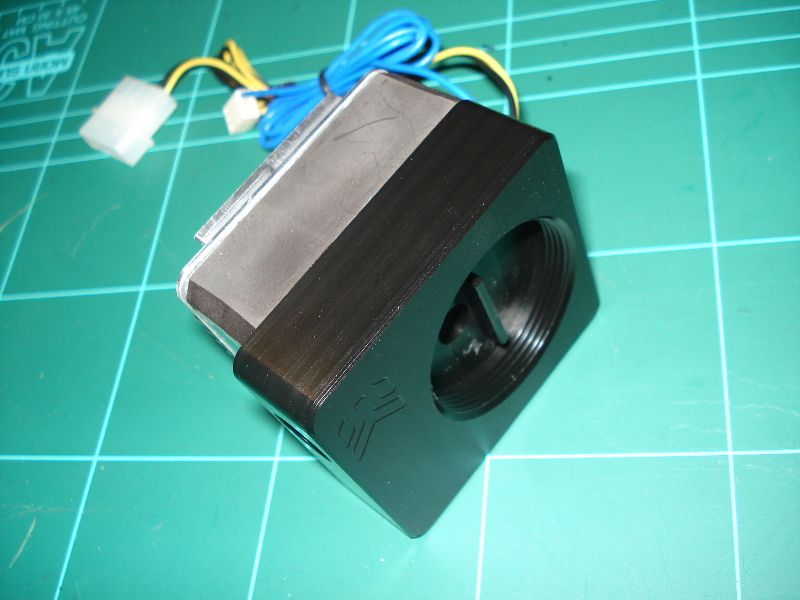
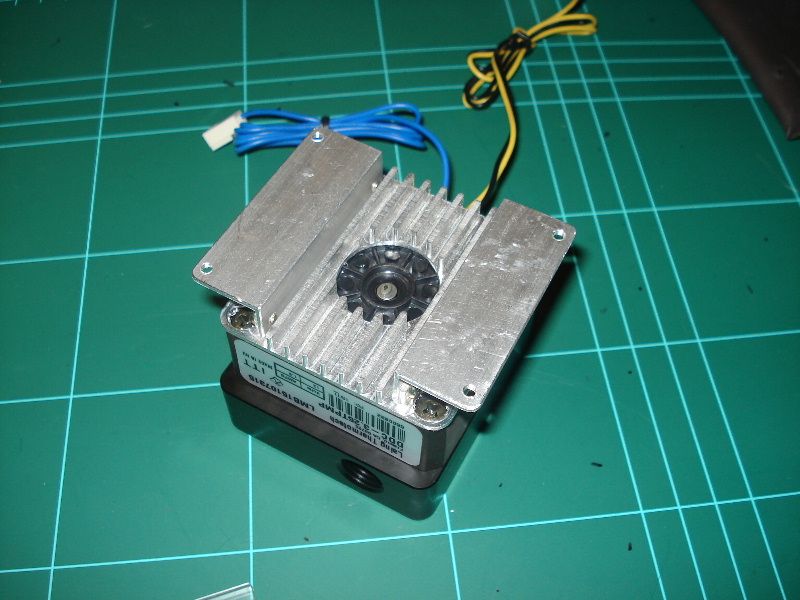
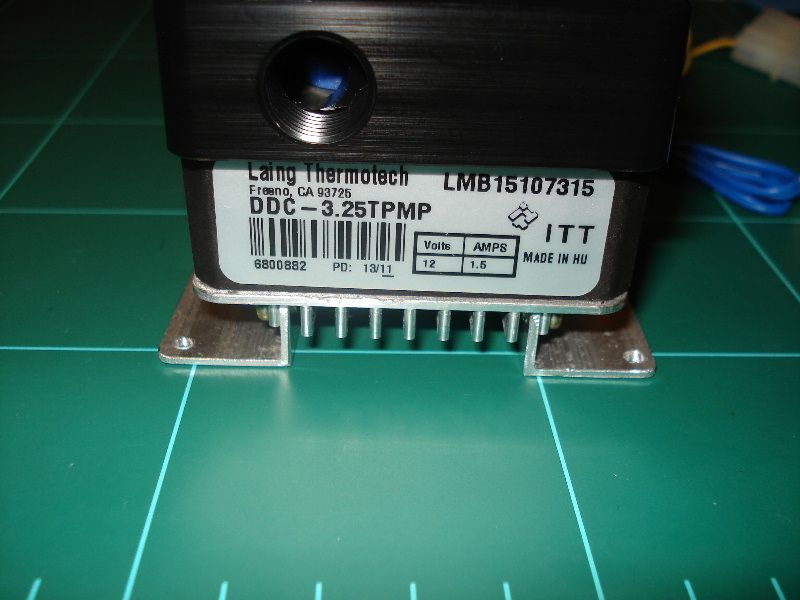
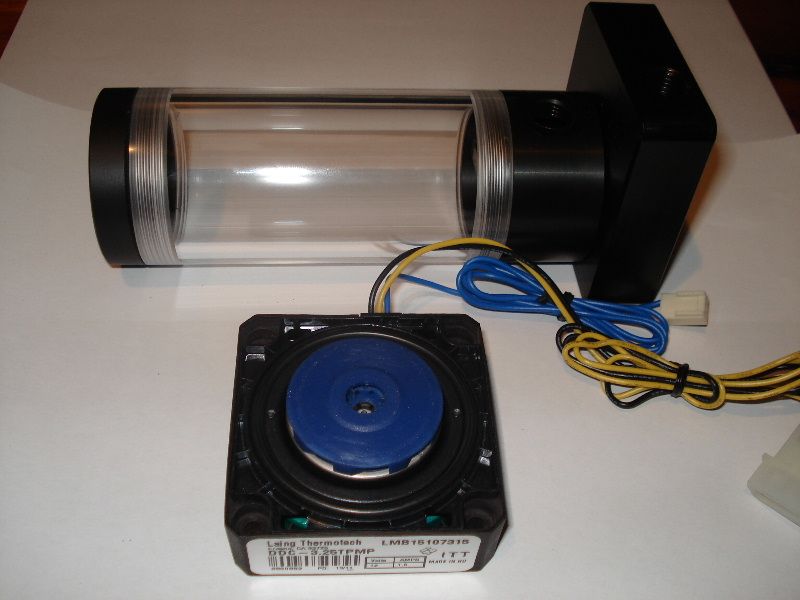
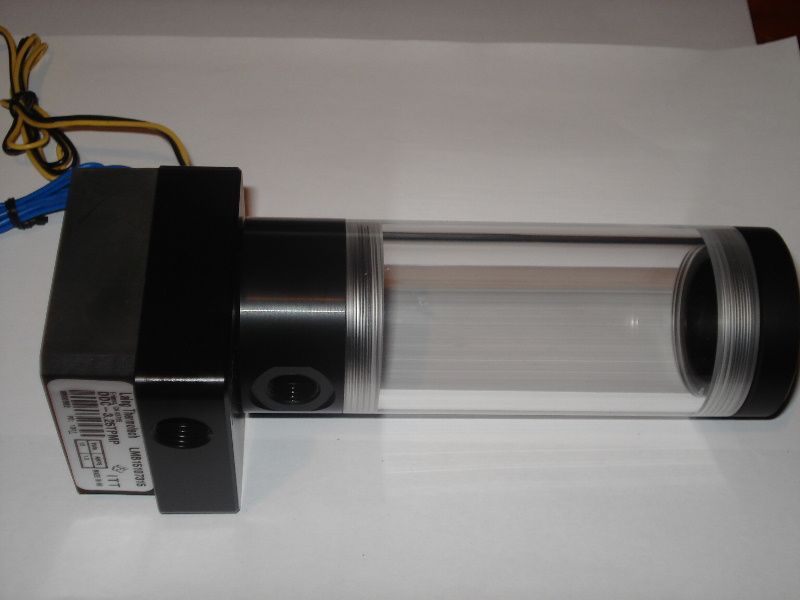
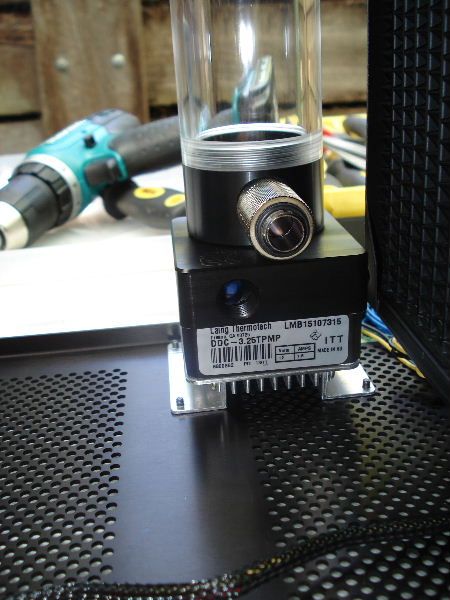
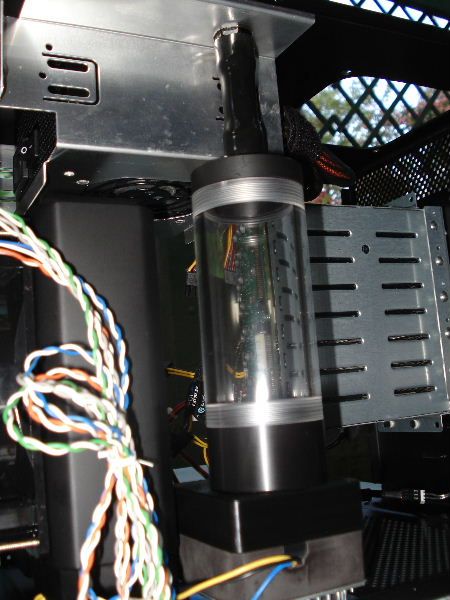
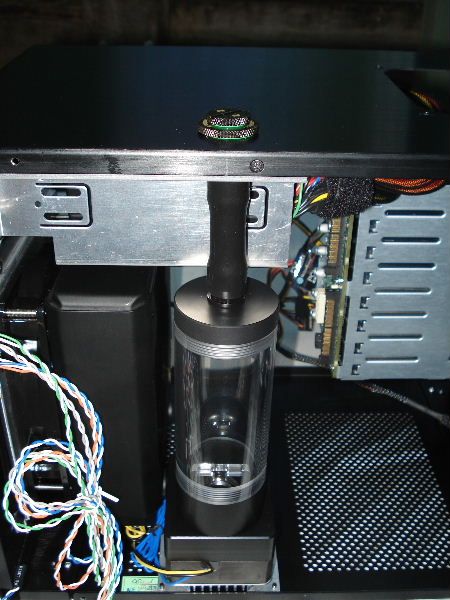
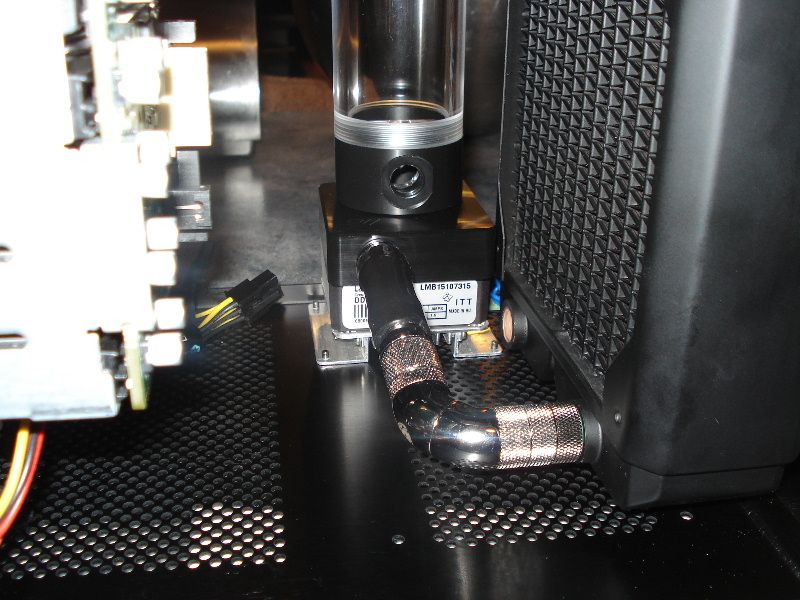
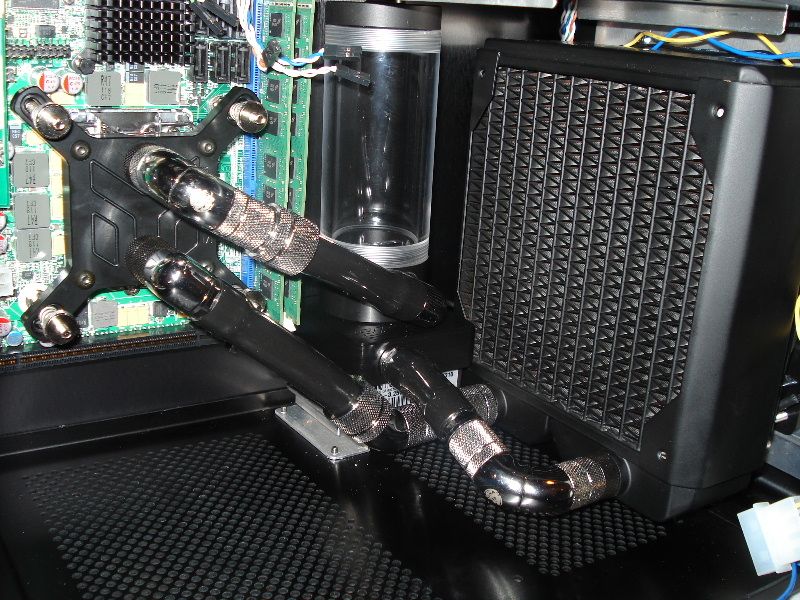
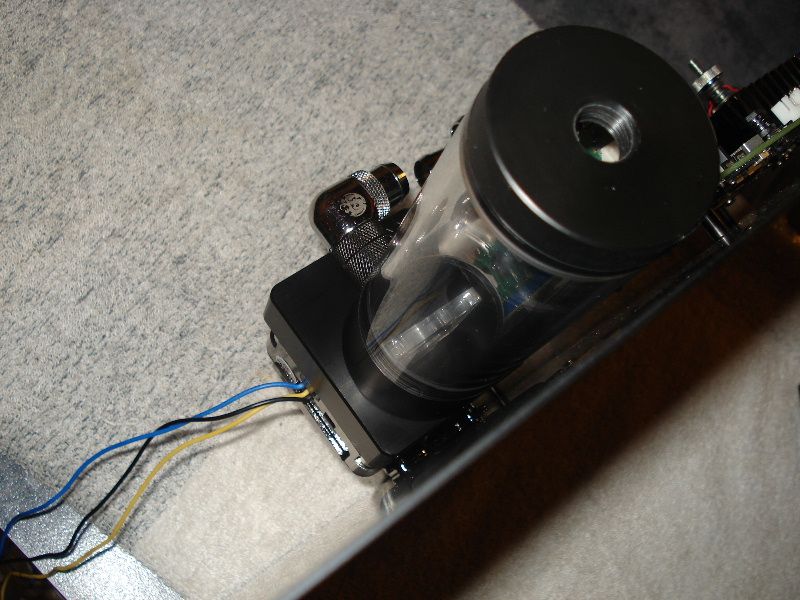
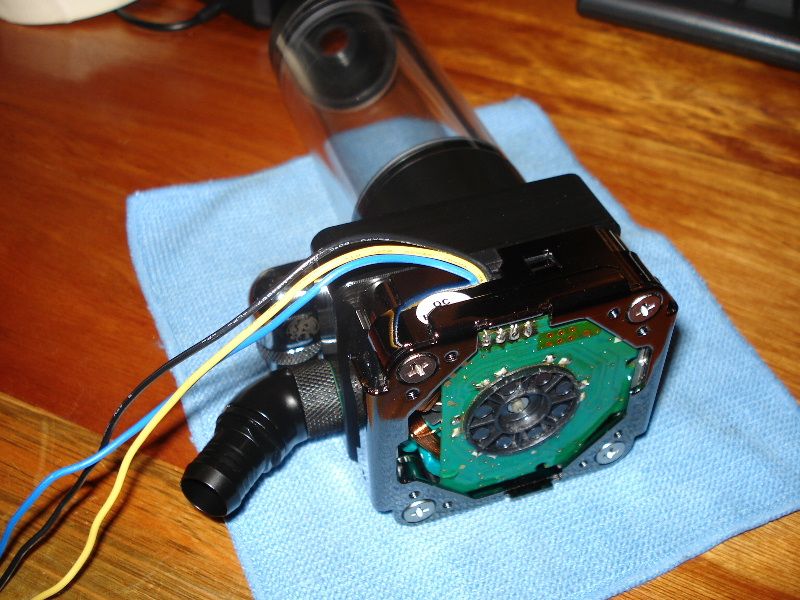
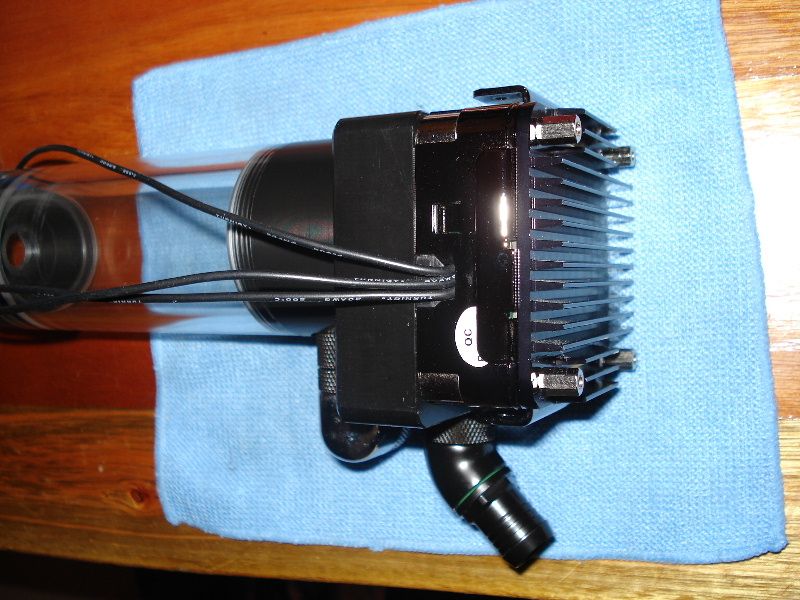
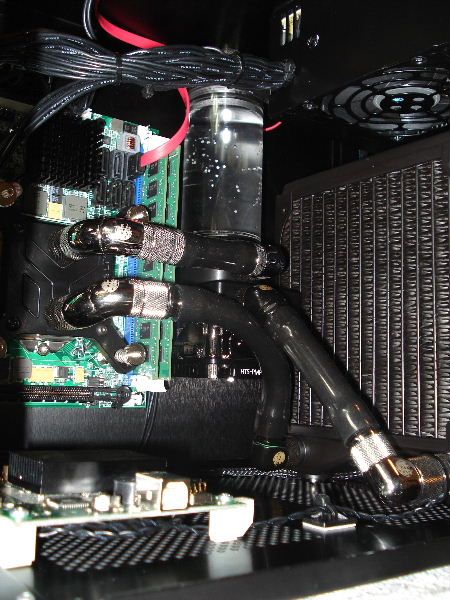
1x DDC 3.25 Pump
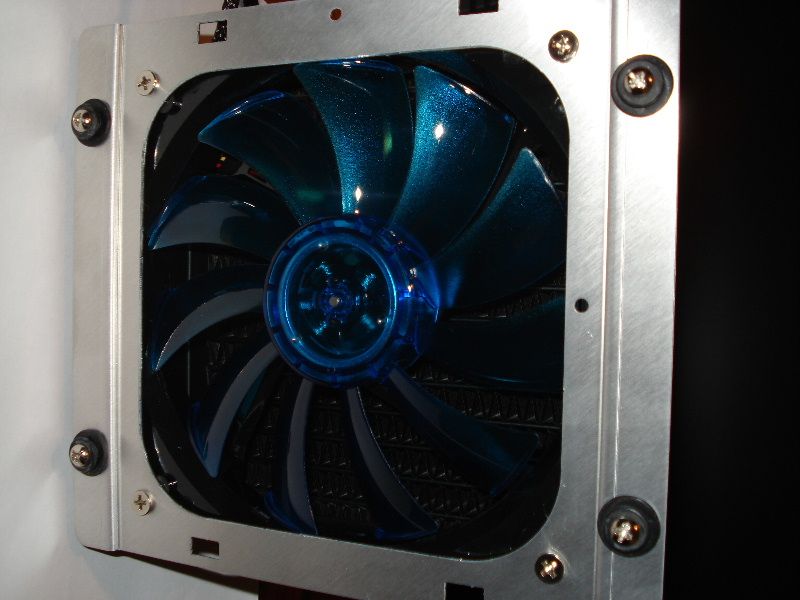
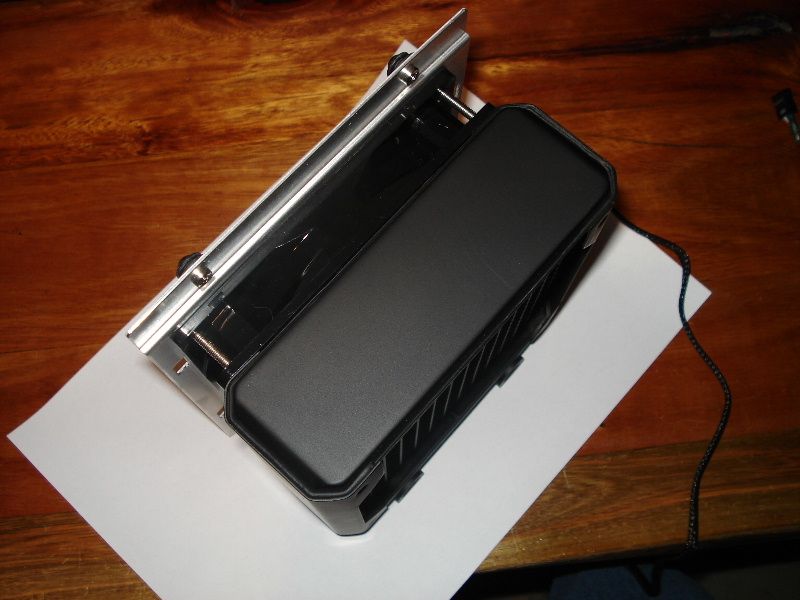
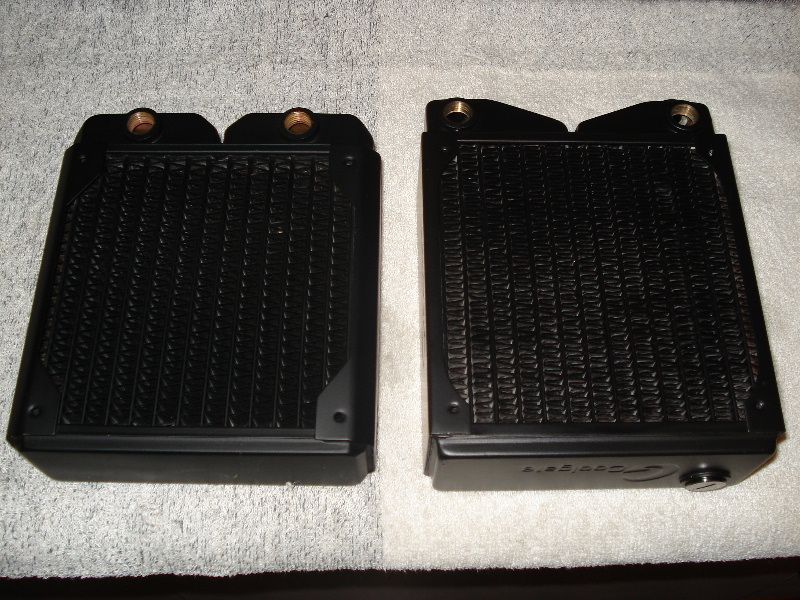
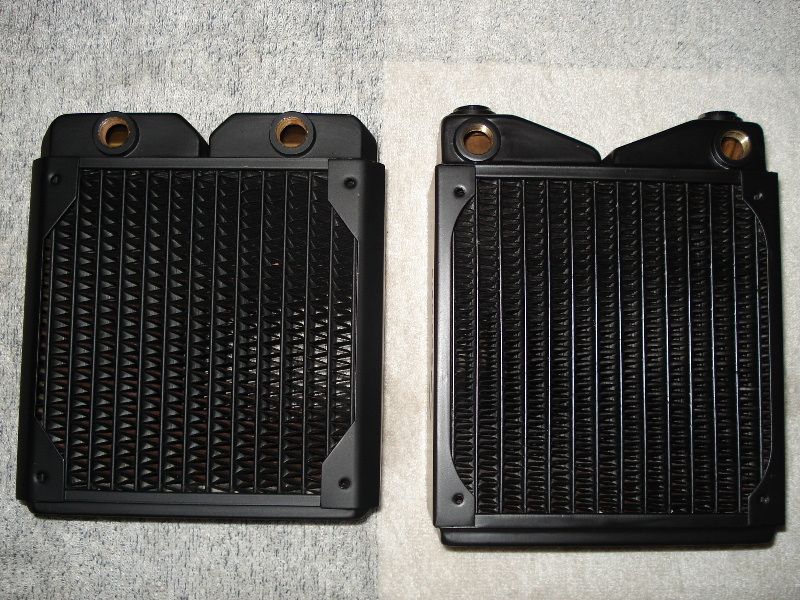
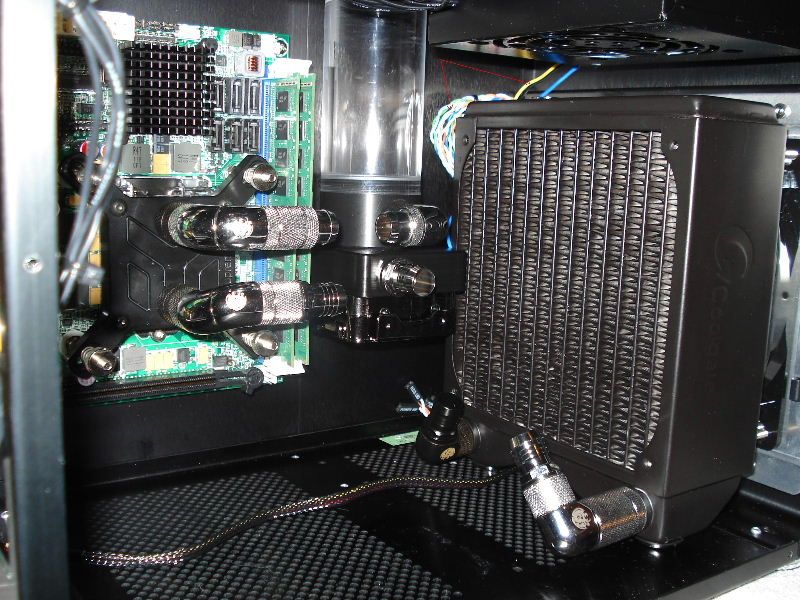
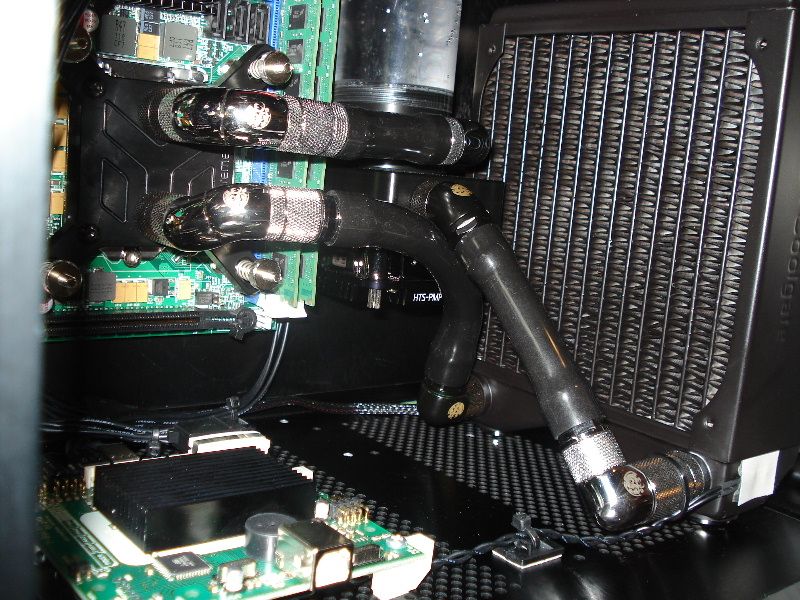
1x SR1 140mm Rad
Ek Supreme LTX CPU Block
Various BP fittings
7/16" Tygon tubing
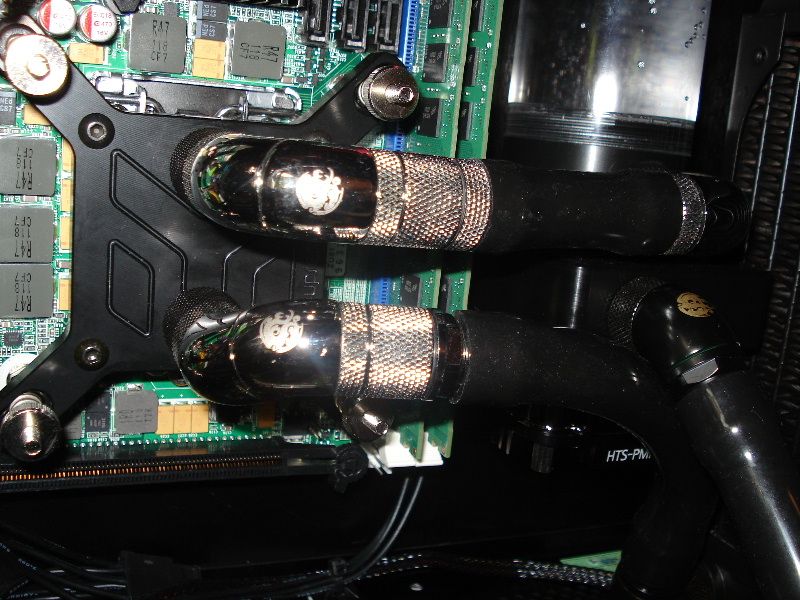
Will assemble with Watercooling components on the weekend, and post pics - won't take long on this one at all, everthing ready to assemble one mean mofo of a Xeon-based mini-itx FileServer")
Pretty excited about this one.
How would you go fitting 8x hard-drives + a Crucial M4 SSD, a 140mm radiator, DDC pump, res, 450W PSU and Wade-8011 mini-itx into a Lian-Li PC-Q08?
Easy, I would reckon.
Check this space.
As a teaser, the following components have been acquired, and running in test-setup mode in the box, aircooled, with Server 2008 R2 installed:
Portwell Wade-8011 C206-based Mini-ITX board
Xeon E3 1245 (3.30hz)
2x 4GB Crucial ECC Ram
1x Crucial M4 128GB SSD (for OS)
1x Lian-Li PC-Q08(black)
450W SFF PSU
1x SuperMicro USAS-S8iR SAS Controller (to check operability in Server 2008)
1x HP 8x SAS SFF Drive-cage, yes, the same as in Project Blackbird
4x 74GB SAS Drives - this will make way for 8x 146GB drives in the not-so-distant future
1x DDC 3.25 Pump
1x SR1 140mm Rad
Ek Supreme LTX CPU Block
Various BP fittings
7/16" Tygon tubing
Will assemble with Watercooling components on the weekend, and post pics - won't take long on this one at all, everthing ready to assemble one mean mofo of a Xeon-based mini-itx FileServer
Last edited: