NOTE: some people may have issues viewing the pics in this thread with Firefox (tested with version 11). Chrome doesn't seem to be a problem however...
NOTE2: nope just me with FF issue. had image hosting service in my 'exception list' under 'Load images automatically'.
howdy all
this will be my first decent mod of a pc case. sure i've cut fan hole or two and slapped on a couple of coats paint on a few cases but nothing that'll soak up the amount of man hours this one will take.
i've been planning and picking up hardware, tools in equipment for the last few months. ultimately i was waiting for AMD to release BD to start, but i got a little impatient when i saw Asus's Crosshair V selling locally.
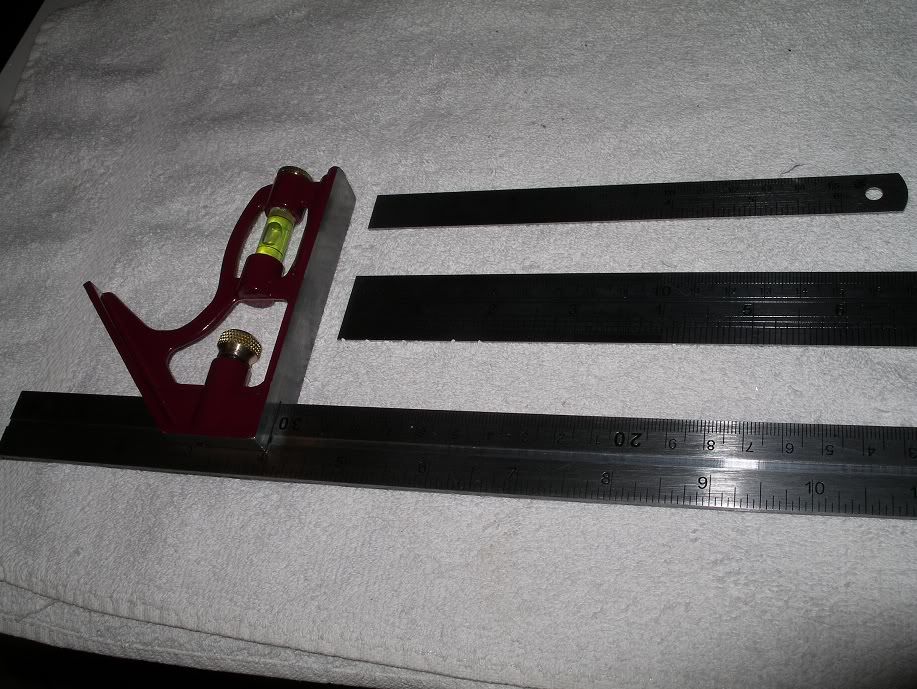
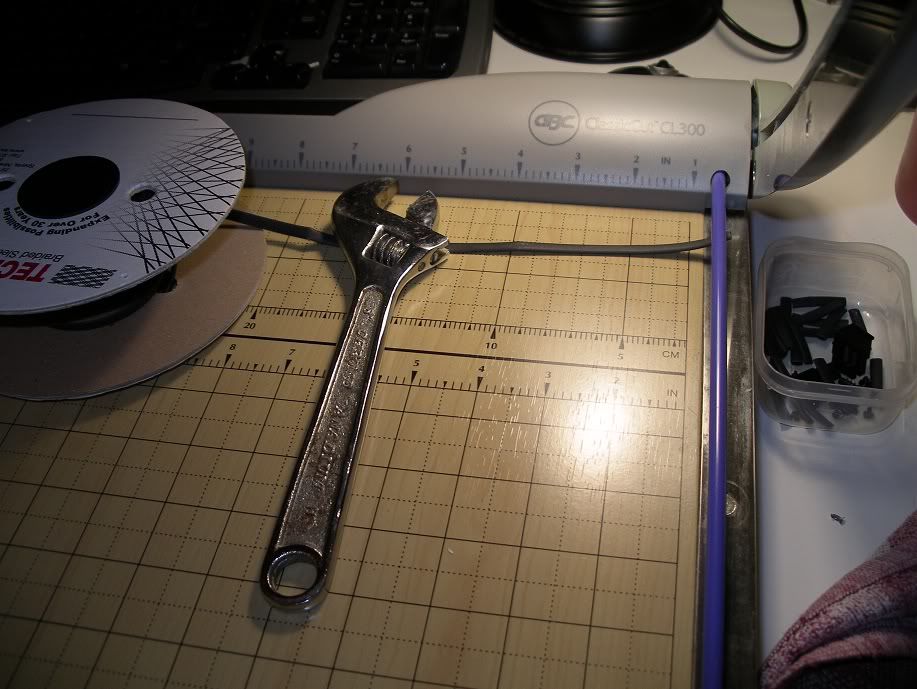
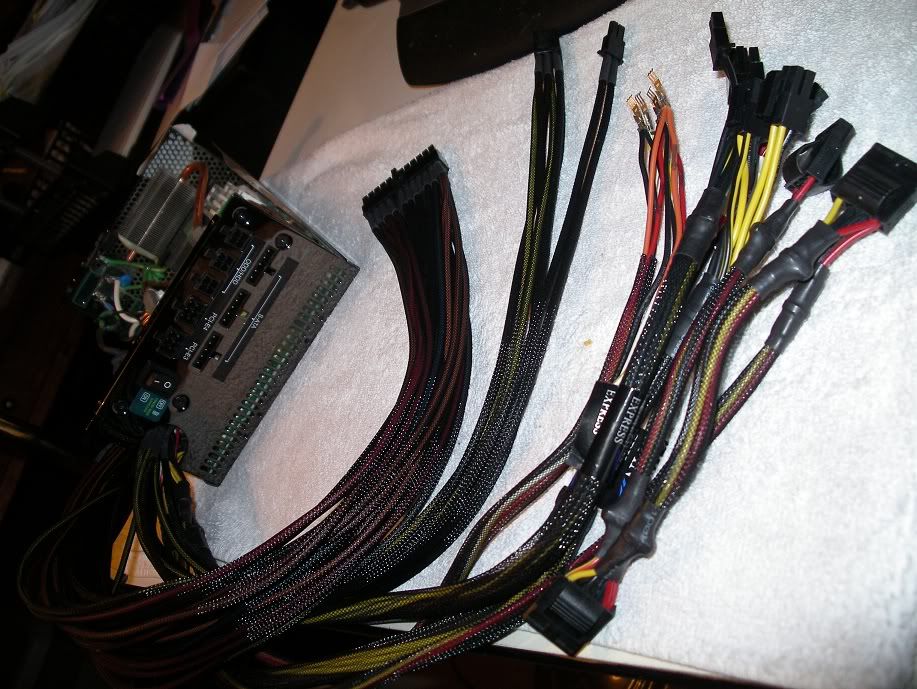
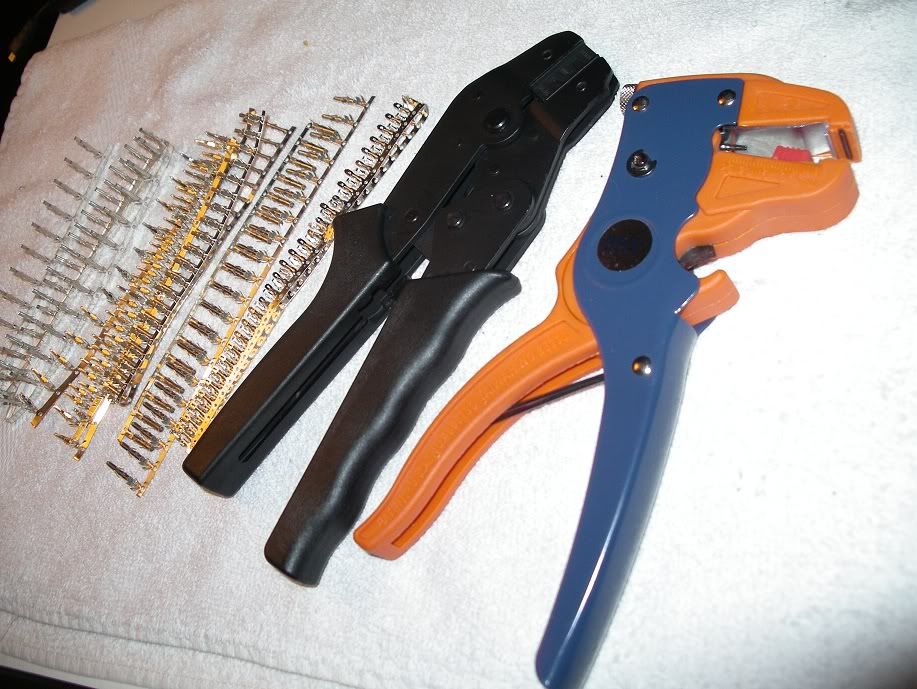
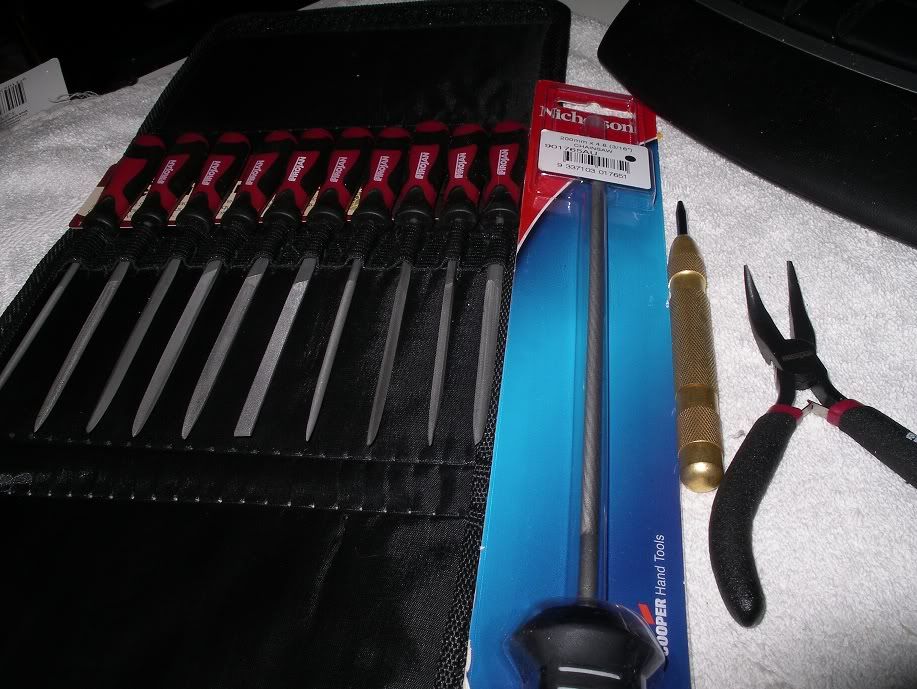
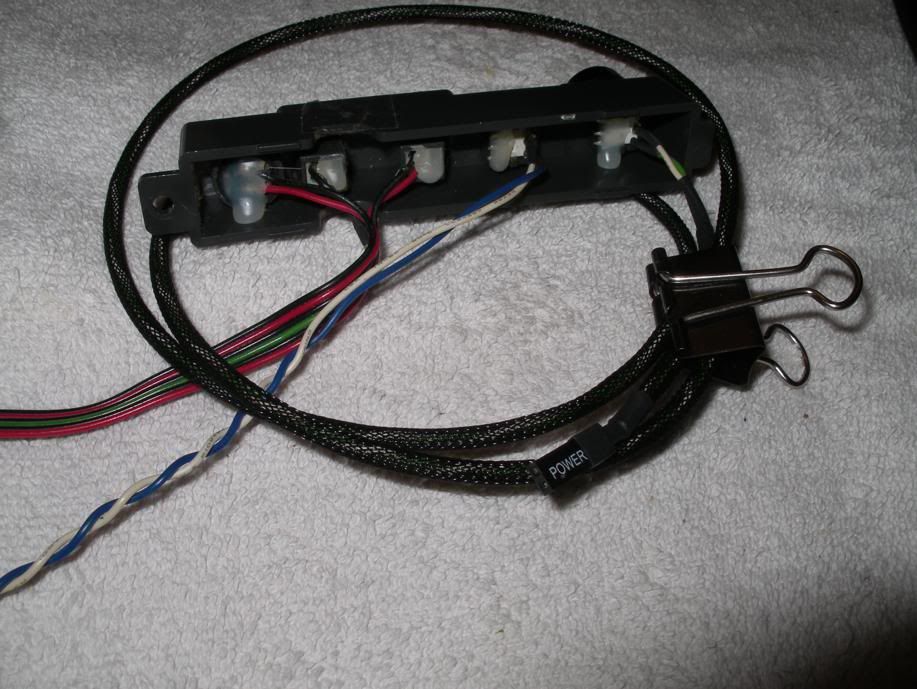
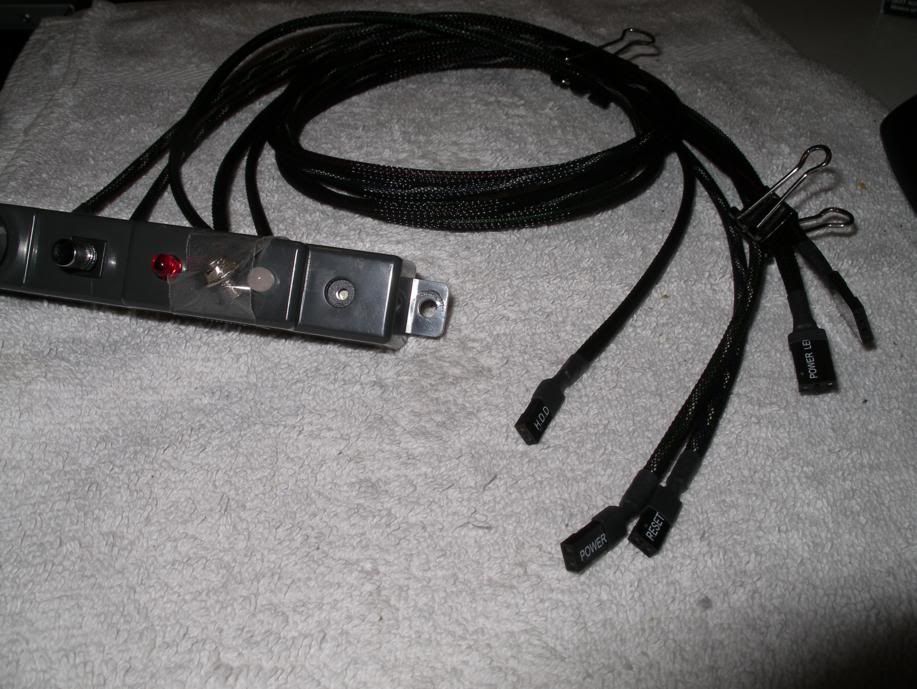
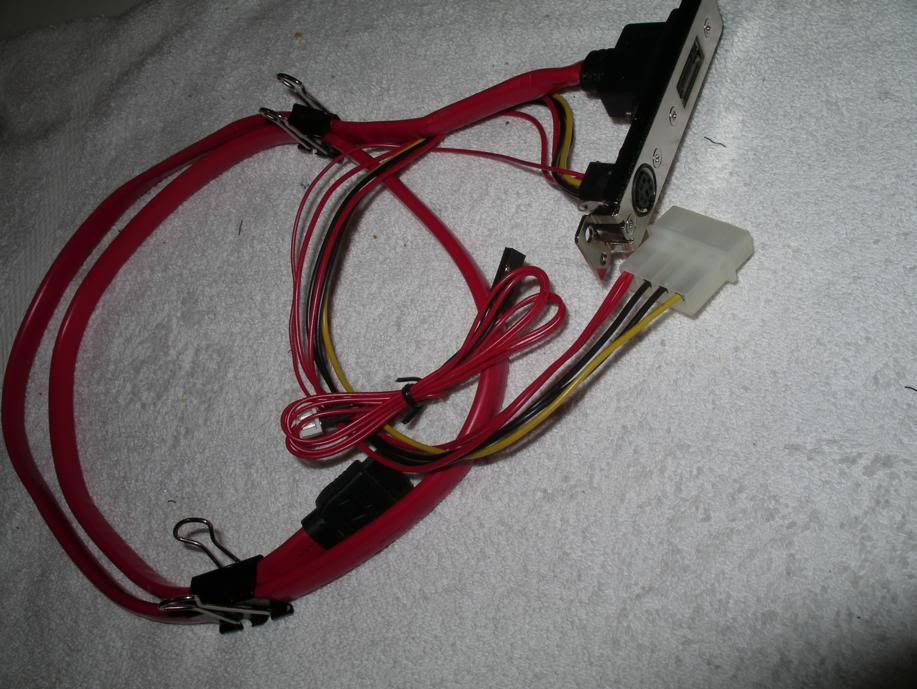
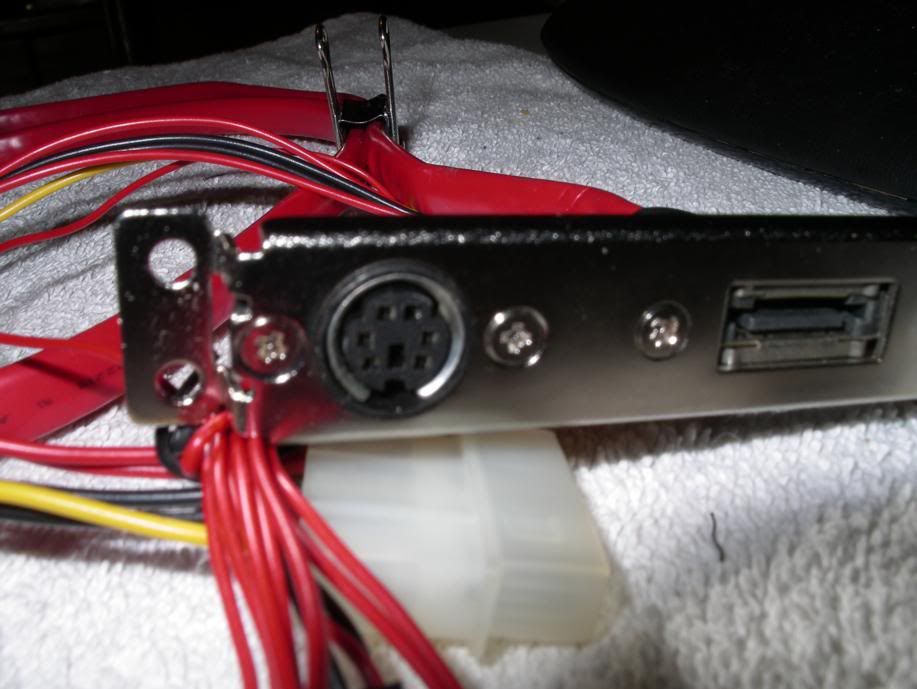
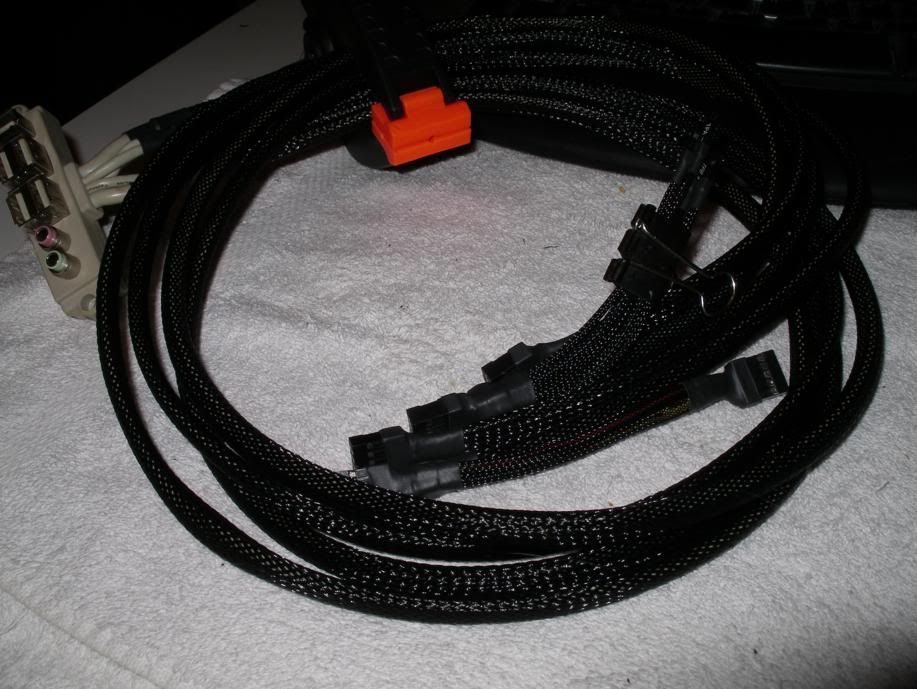
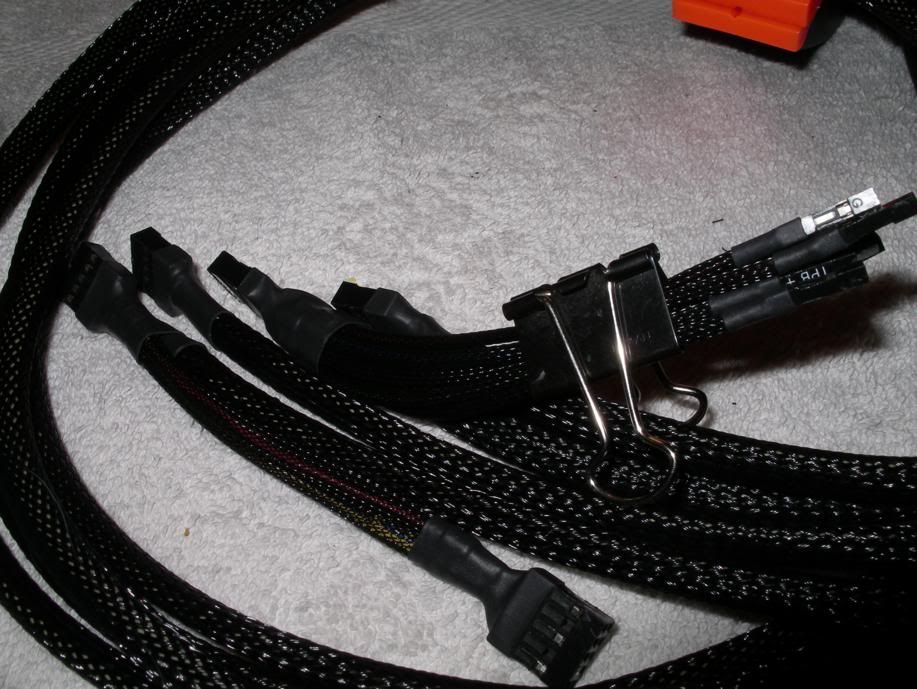
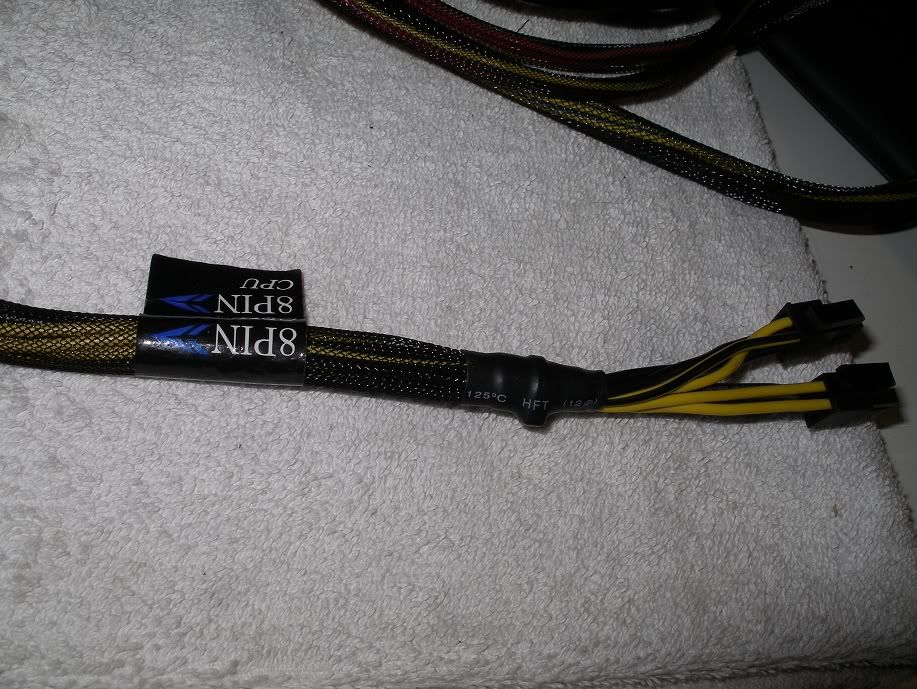
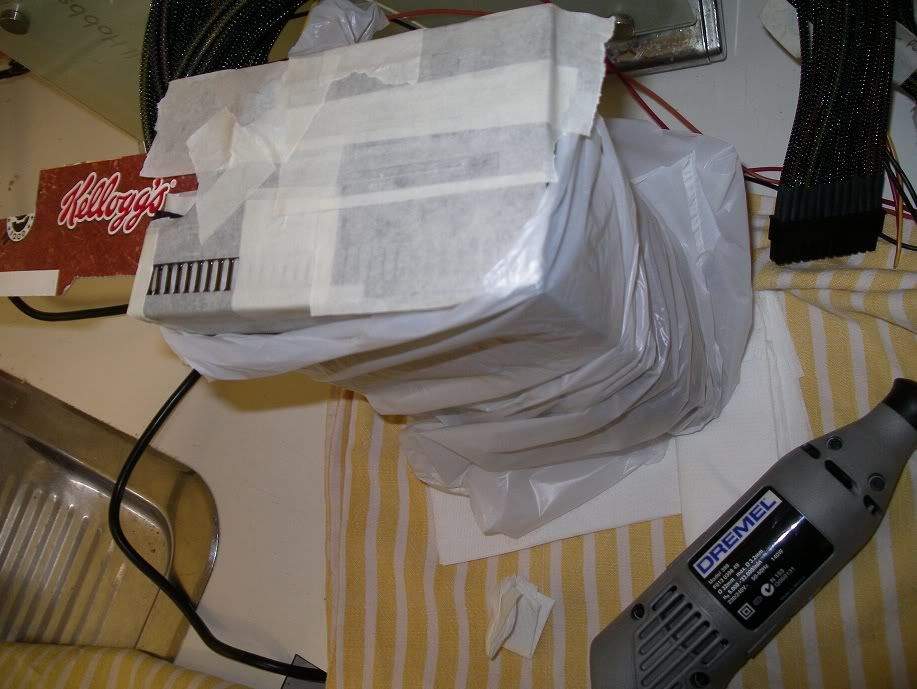
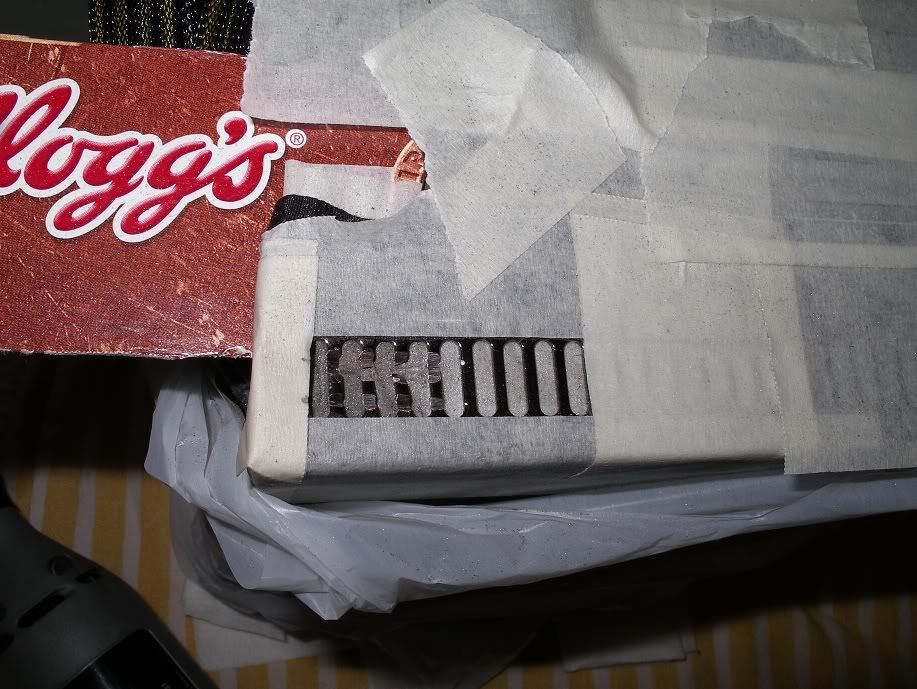
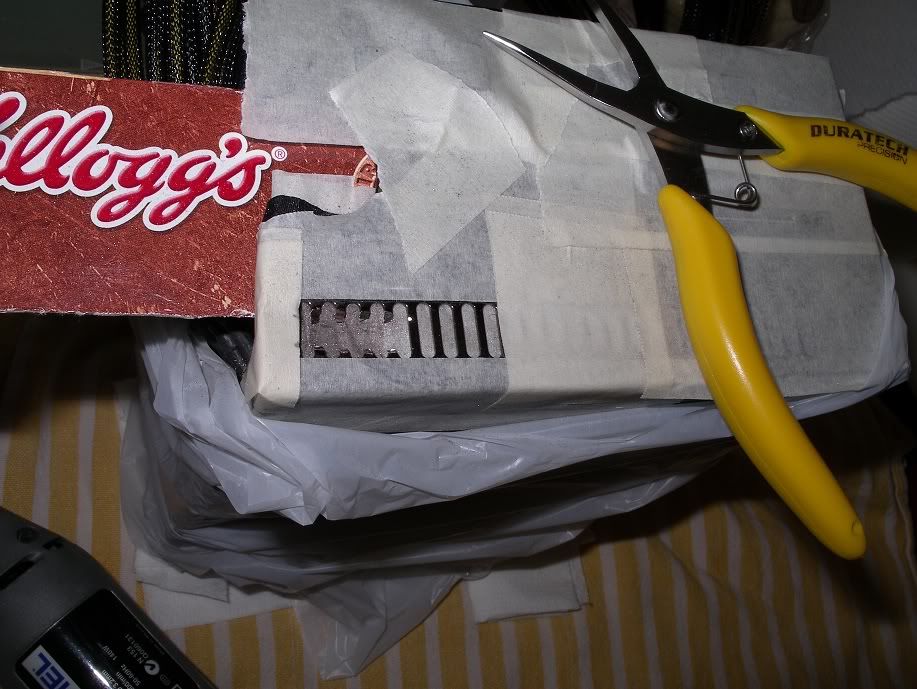
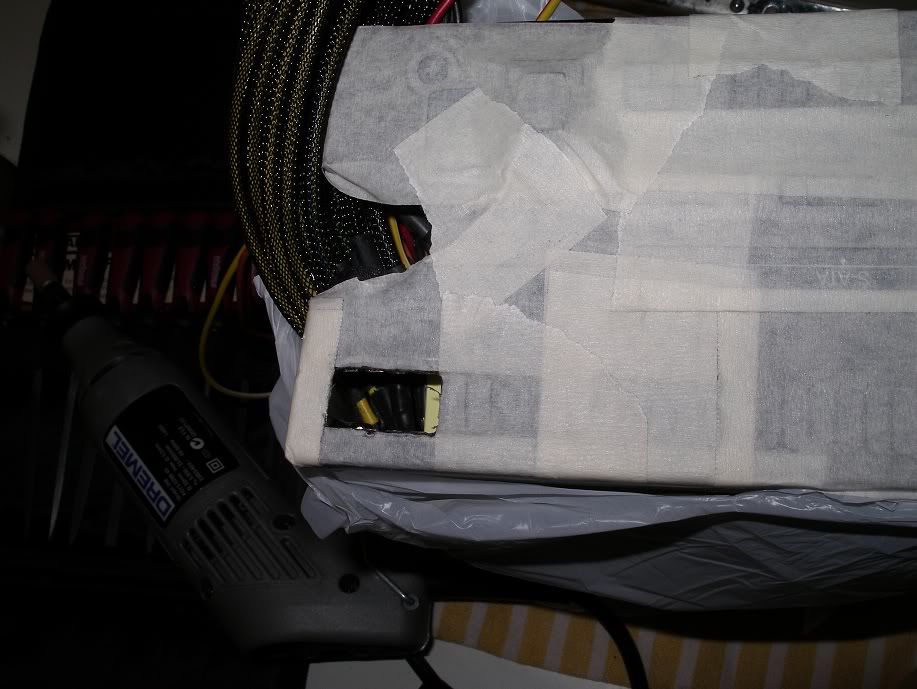
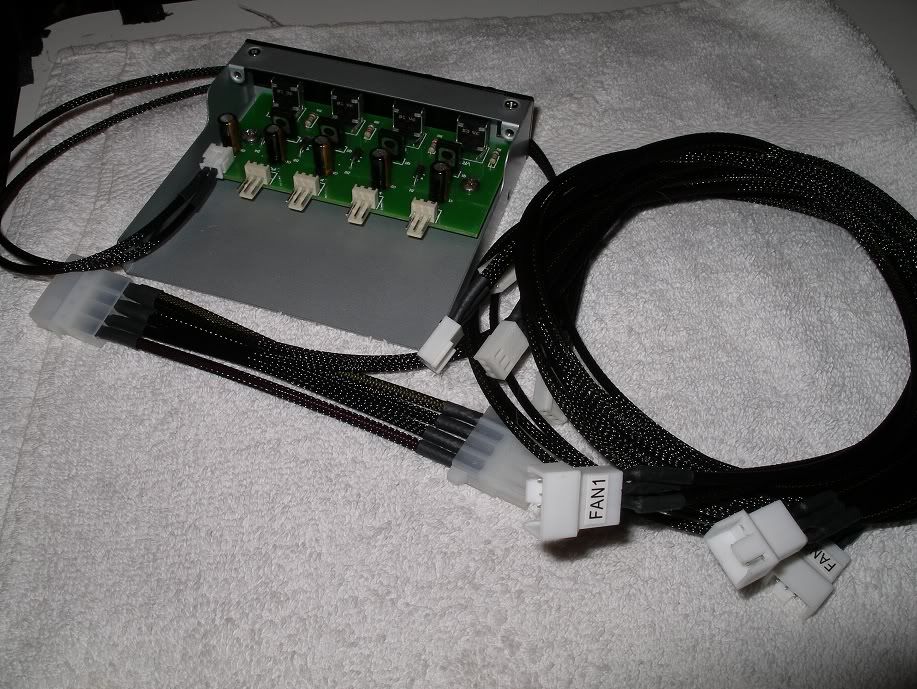
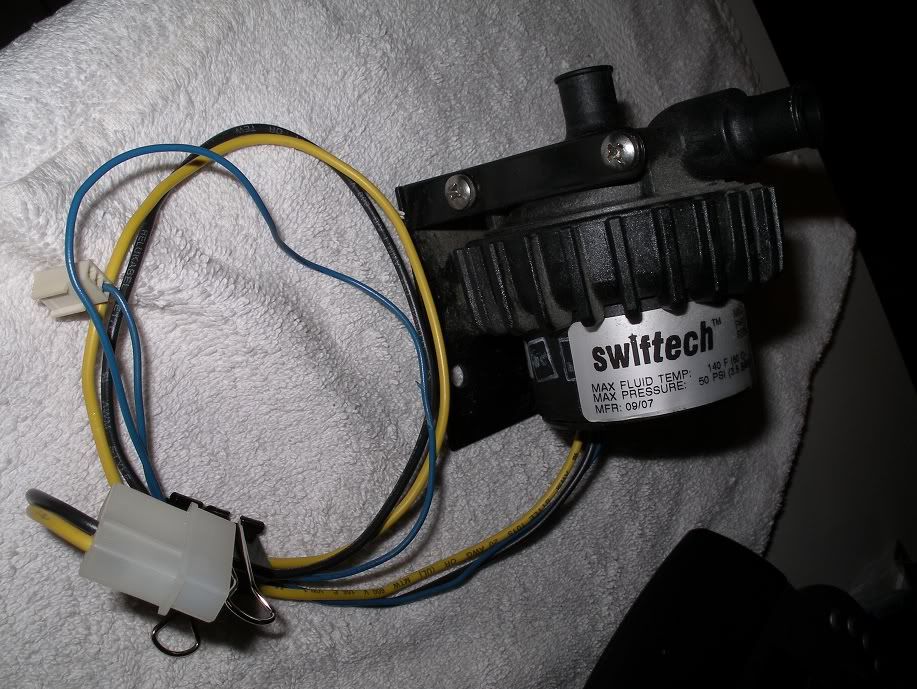
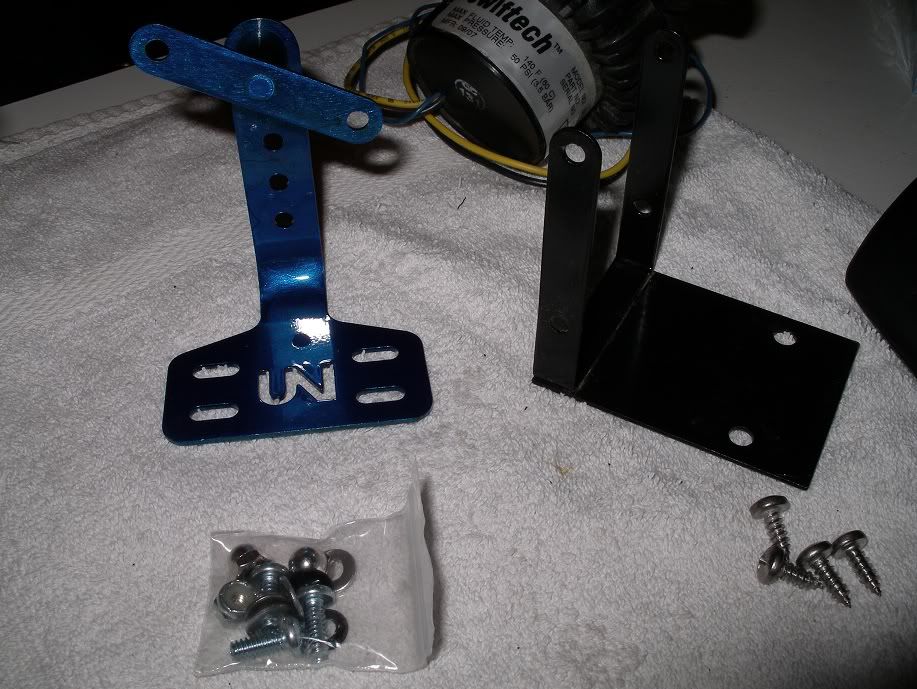
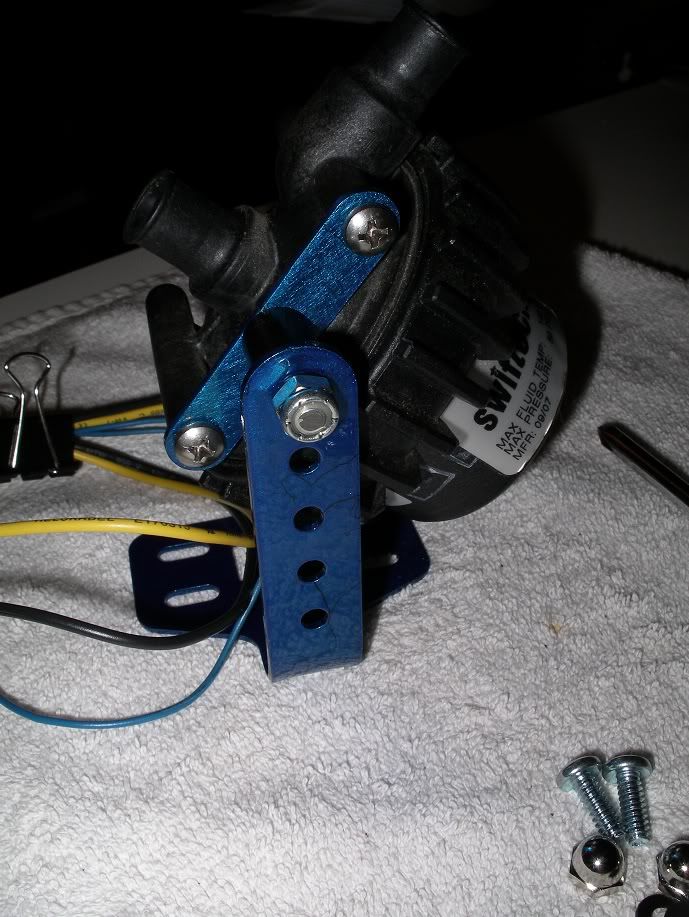
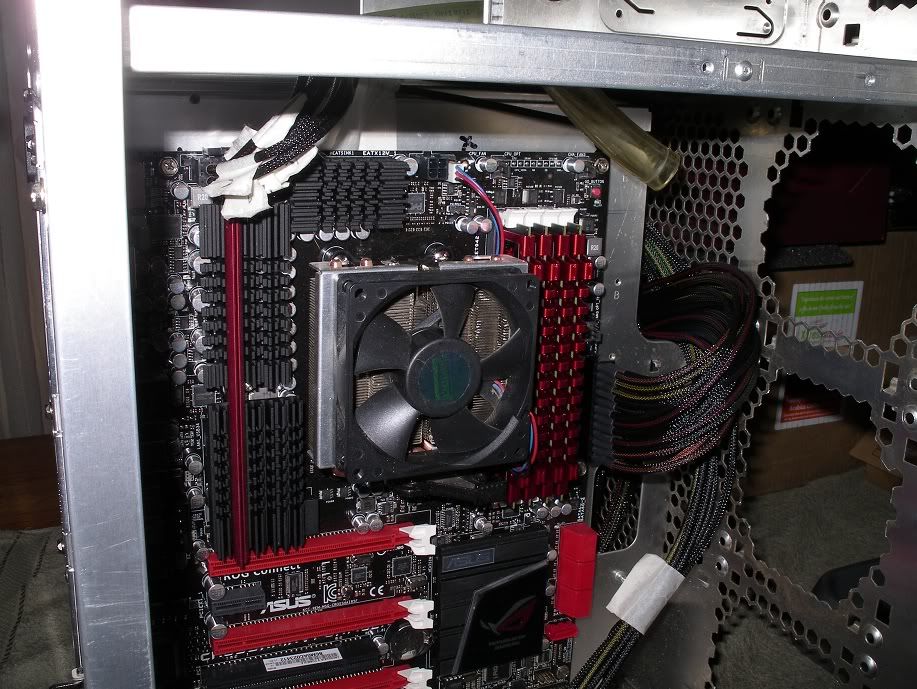
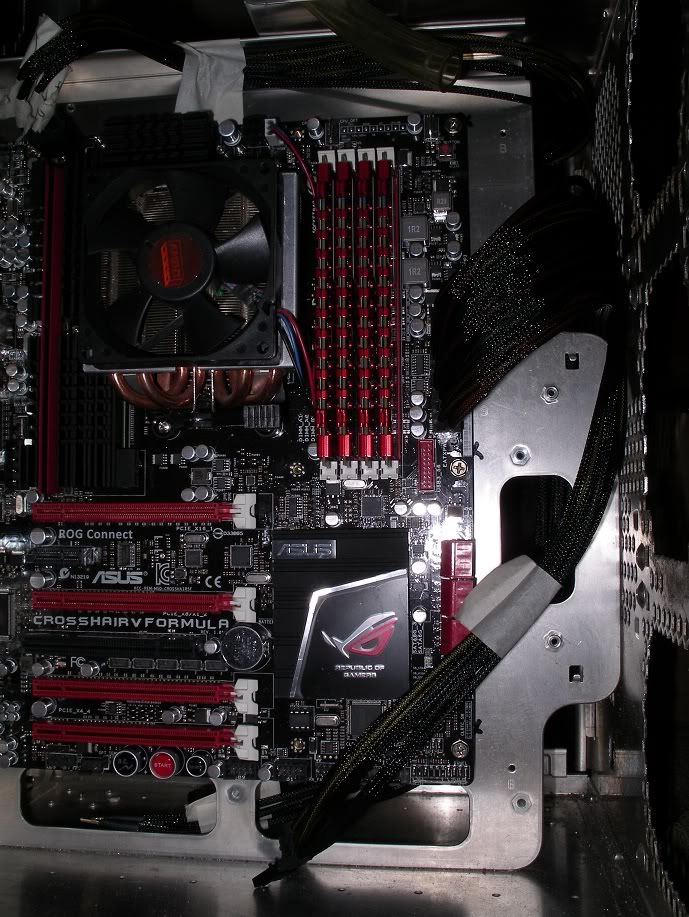
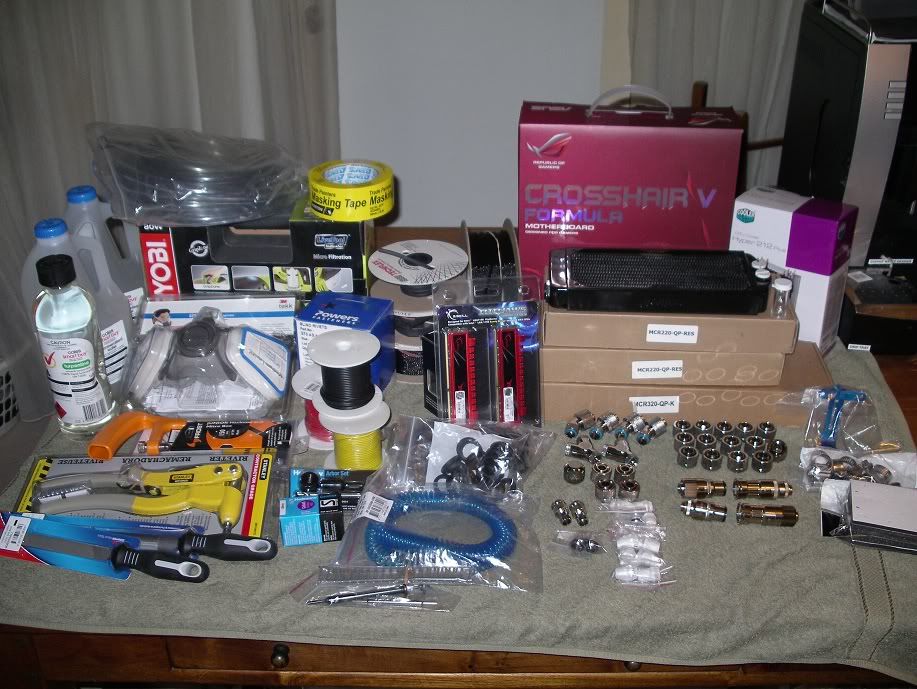
collection of goodies already assembled;
so i picked one (Crosshair V) up with 16GB ram and a cheap Phenom II 555 to get things started. admittedly i've jumped the gun and considering some official numbers on performance will be released in the coming days, i may shot myself in the foot.
oh well caution to the wind and all that, i got bored and wanted something to do.
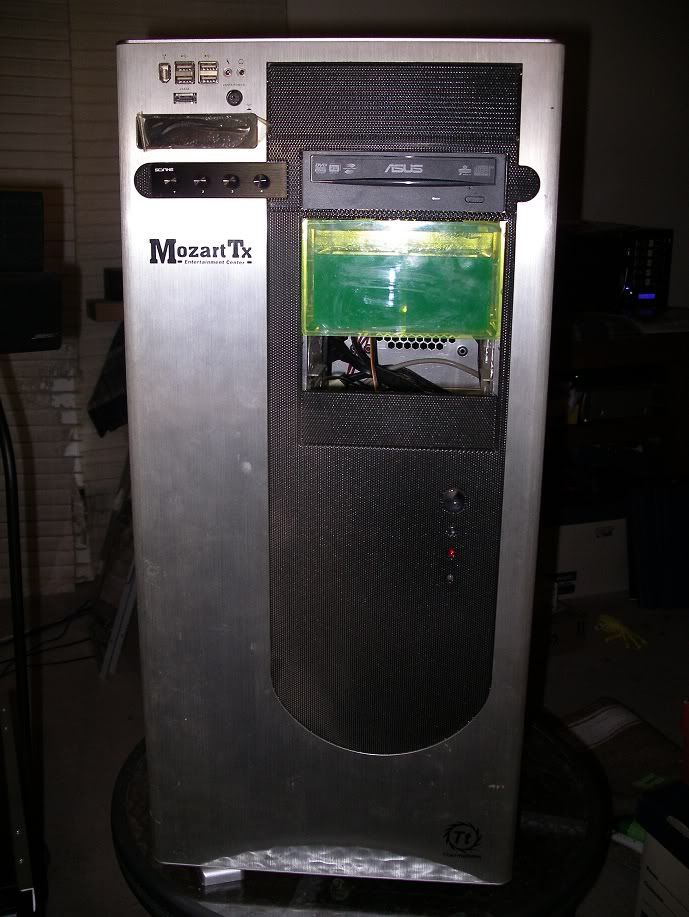
the victim for my mod work is my old Thermaltake Mozart TX case.
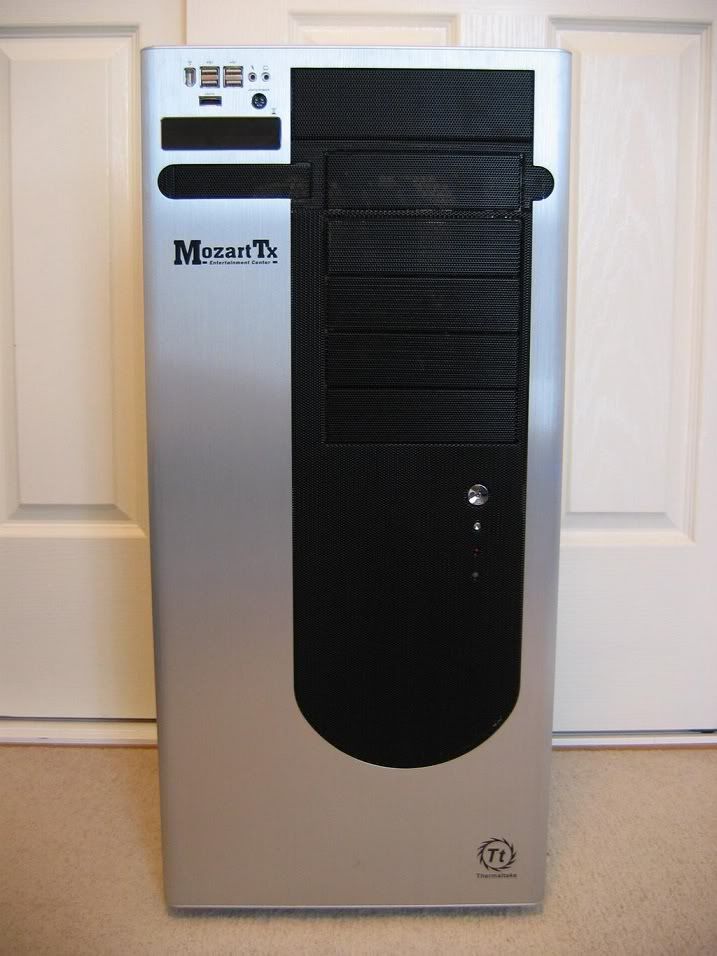
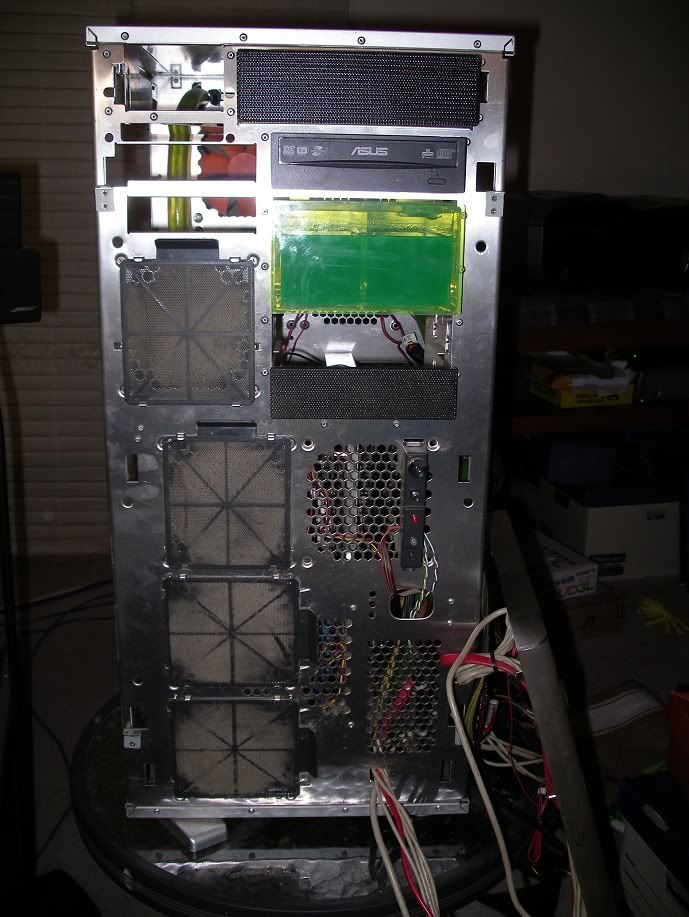
this pic is of a stock unit. not particularly pretty, but that's not why i bought the case a few years ago. it was big, you could stuff a lot of shit into it, wasn't covered in silly 'bling' and is all aluminium.
as the name of the thread suggests, the case is going to be getting a healthy dose of 'blackness'. interestingly TT did sell a back version (sort of) but you had to settle for a steel. i haven't used a steel case in a decade an wasn't going to start with a case this size. also TT's black version, for some reason didn't come with a black bezel.
i was a little hesitant in breaking down my case, partly b/c the q6600 system inside had functioned so well for several years. the other being i'm a bit lazy, however i was glad i did and you see why later. however the excitement over new hardware being released and seeing some of the great mods here on forums spurred me into action.
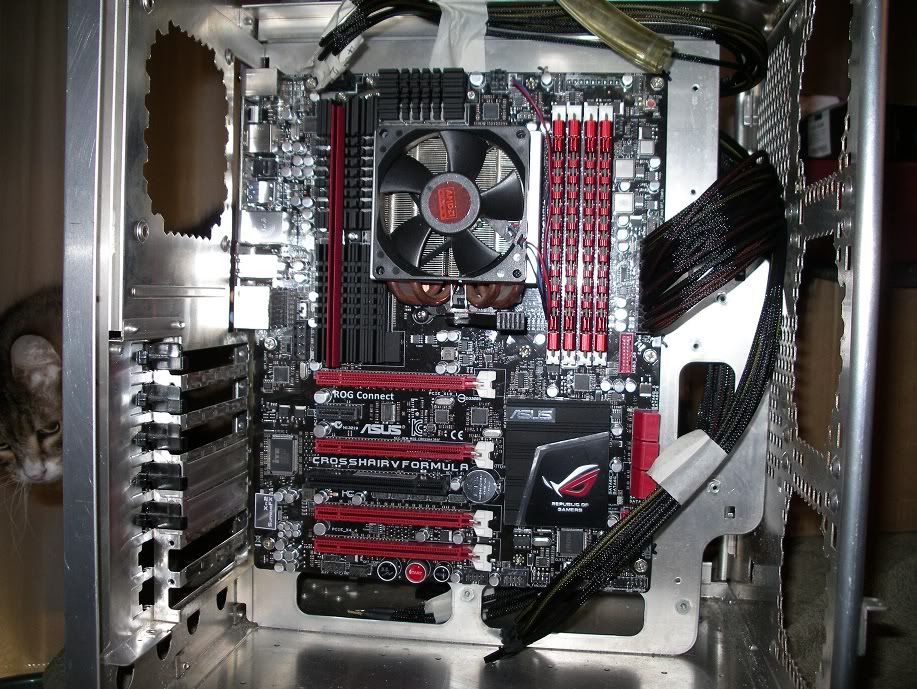
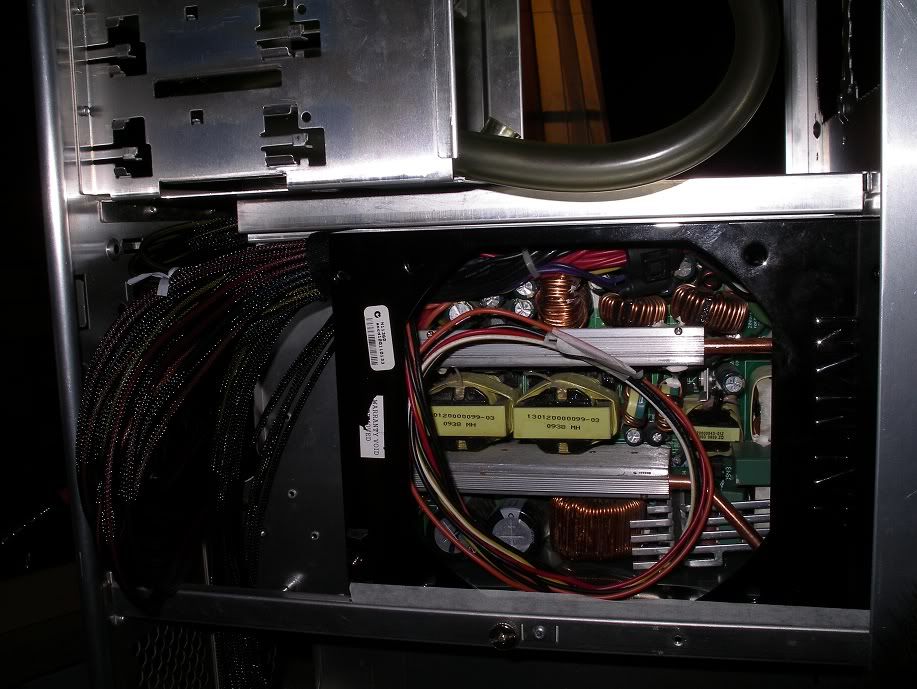
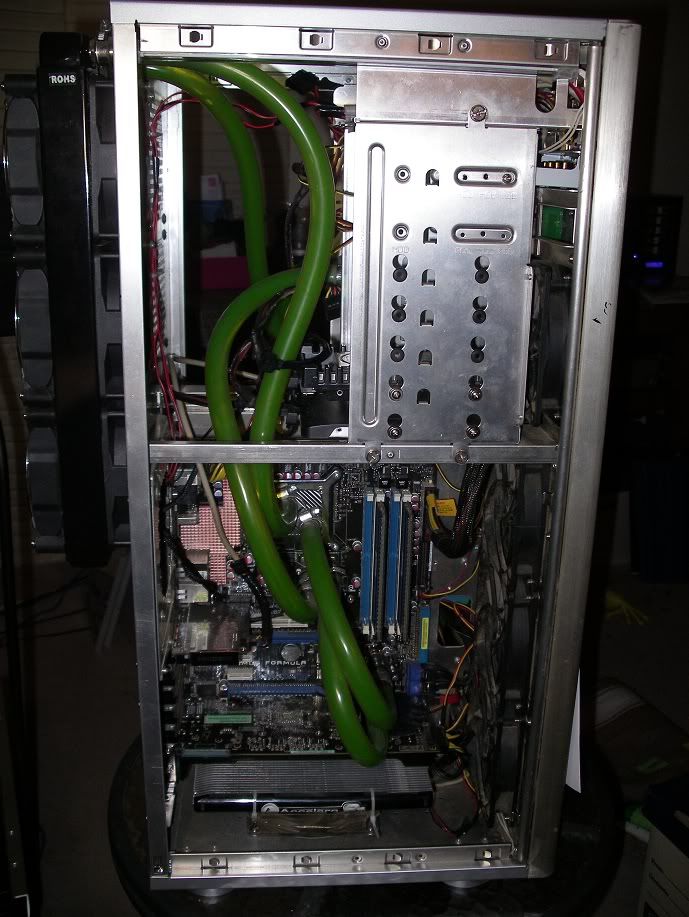
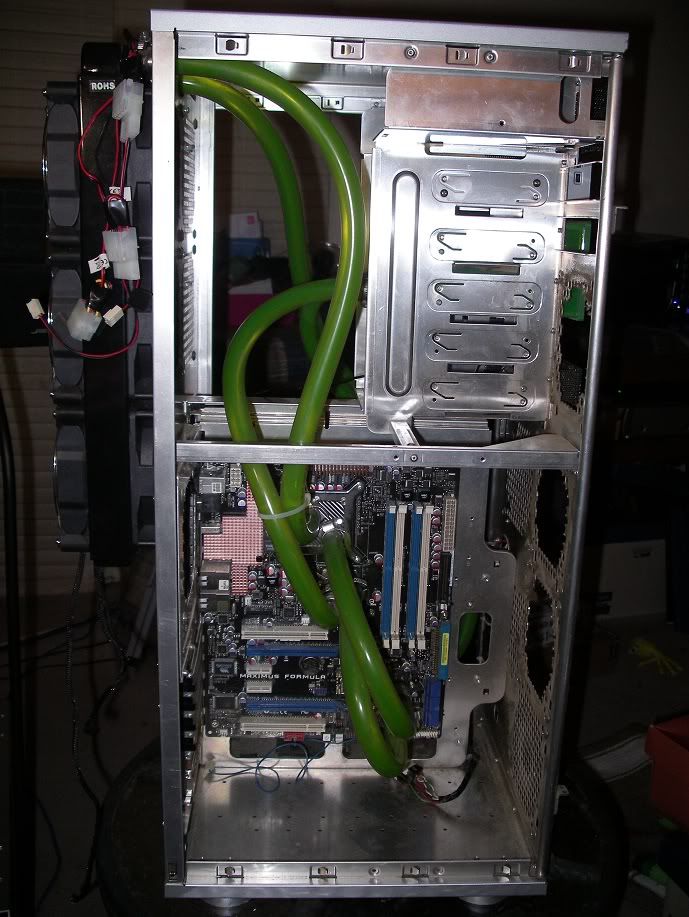
as this case is the home of my primary pc, it required a teardown. here are the internals before breaking it down;
now granted as the pics above show, she wasn't exactly pretty on the inside either, this 'should' be addressed in the coming weeks. hopefully it won't be as jeremy clarkson would say "ambitious but rubbish". if you aren't a fan of 'Top Gear', regardless if you're a car nut or not, you don't have a heart. anyway, onward.
off with the rather large front facia. bit dusty but that's due to my inattention.
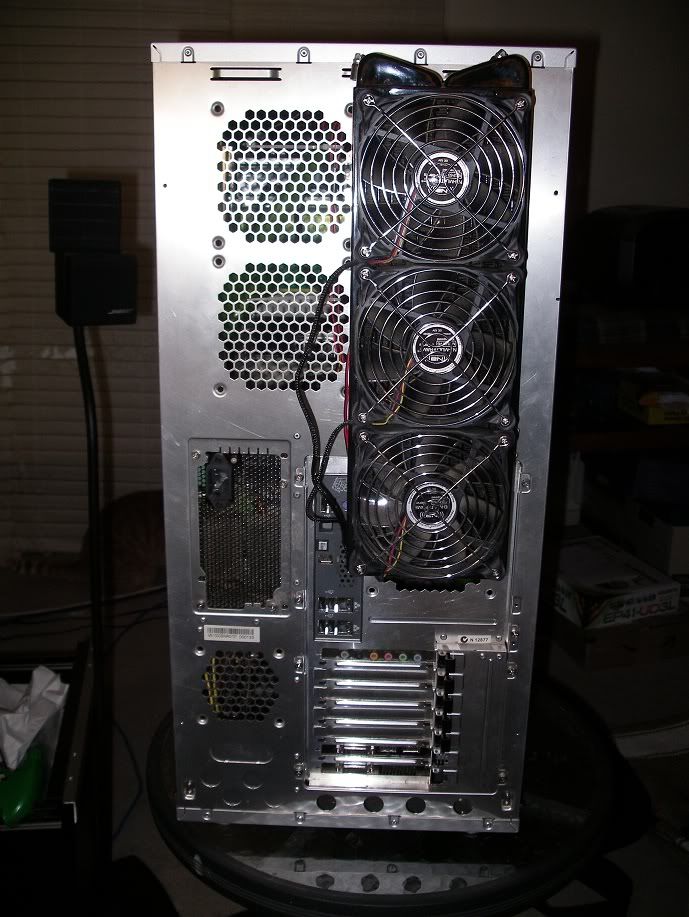
this should give you an idea of size as there are grill opening for 5 120mm fans.
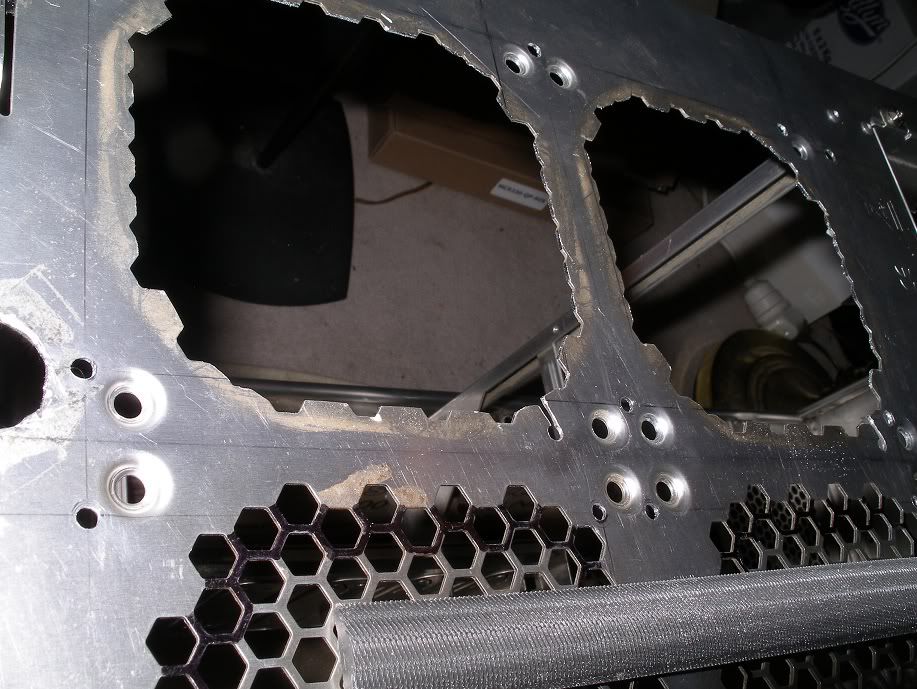
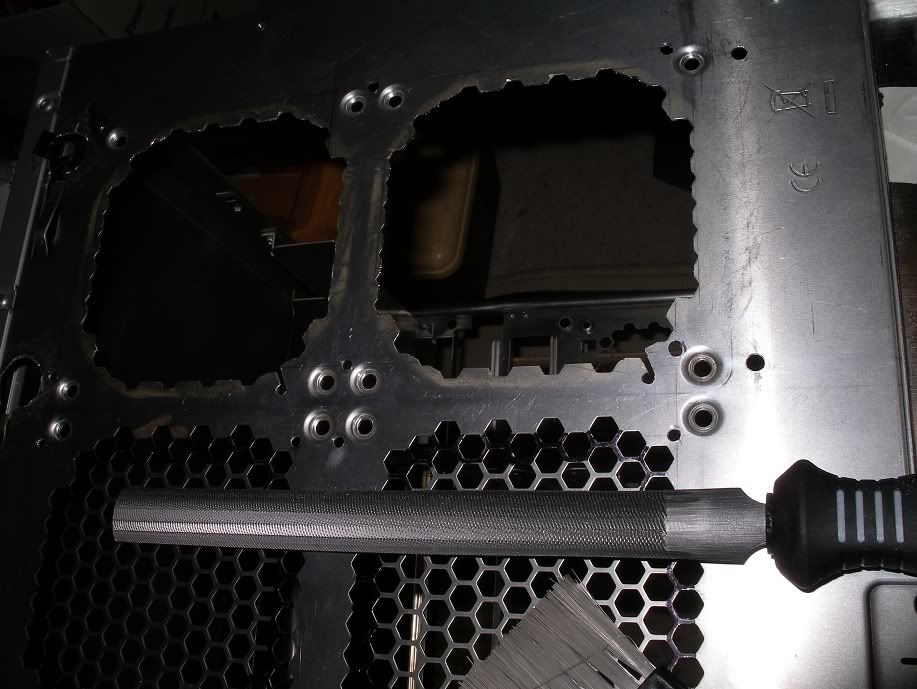
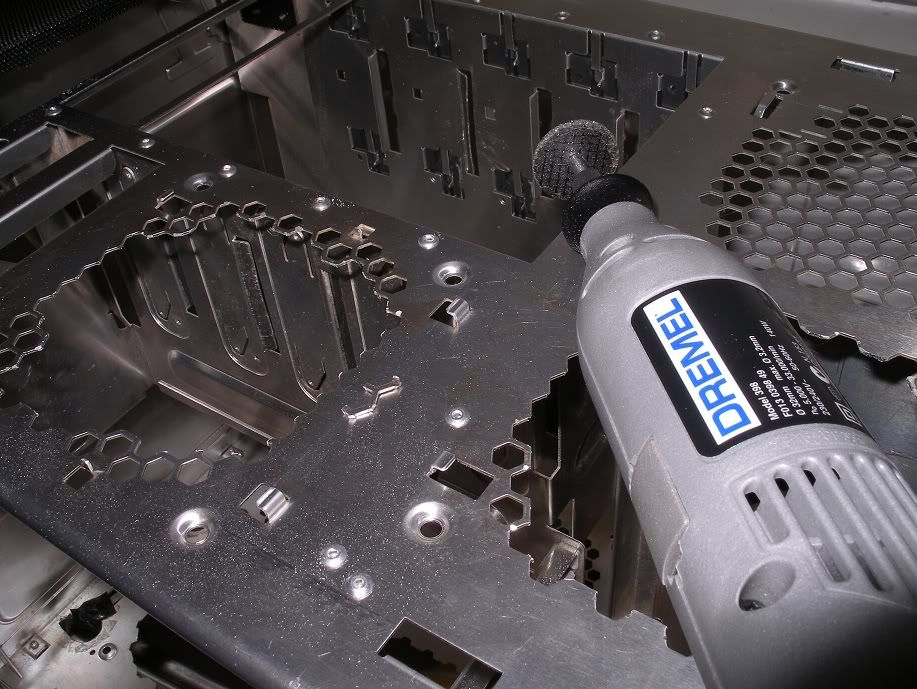
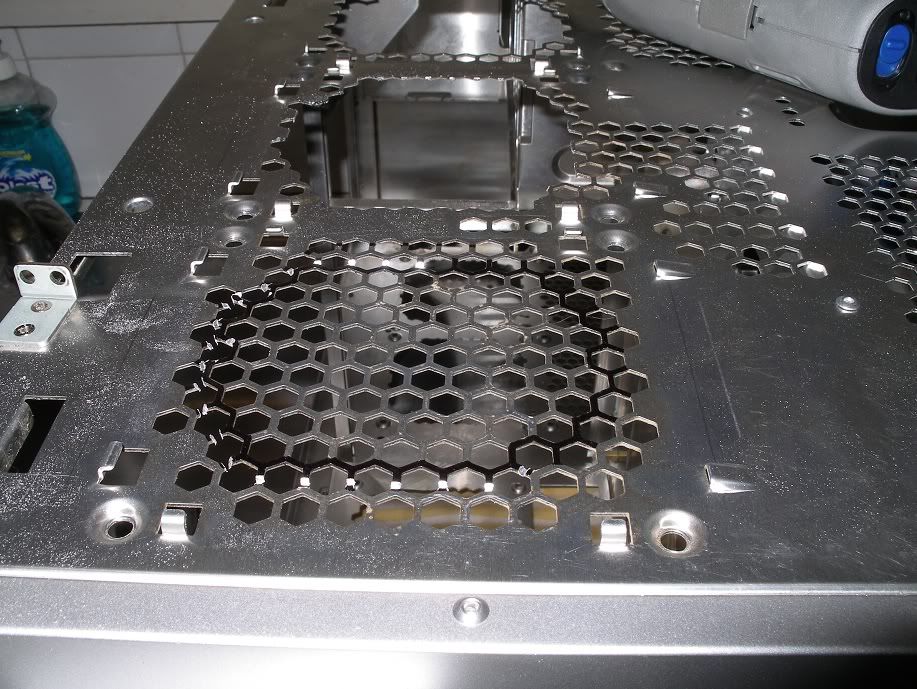
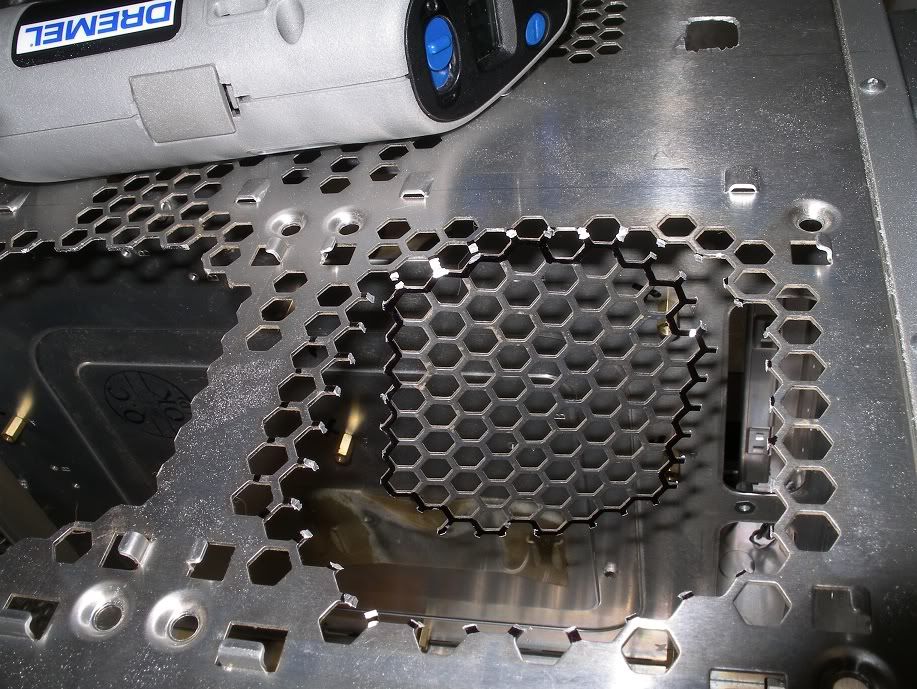
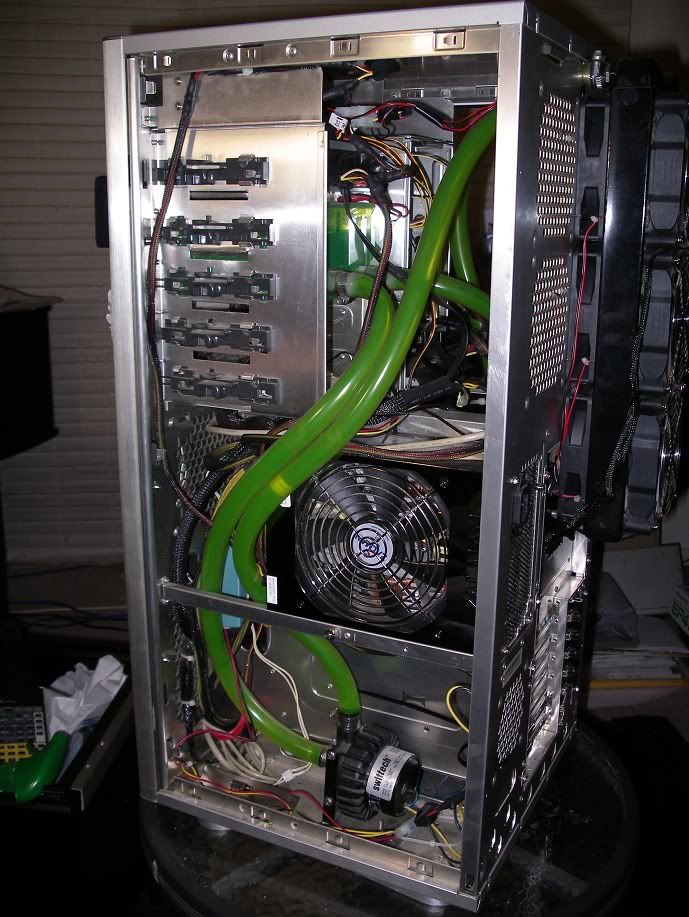
the HD cage removed as well as the front 120mm fans. you can see some of my earlier butchering on the fan grills with a dremel. definitely could of done a better job cleaning up the cuts, but it was my first time using the tool. i kept envisioning what a 33k rpm tool would do to my fingers and was plotting in my head how to get hospital with bloody stumps for hands.
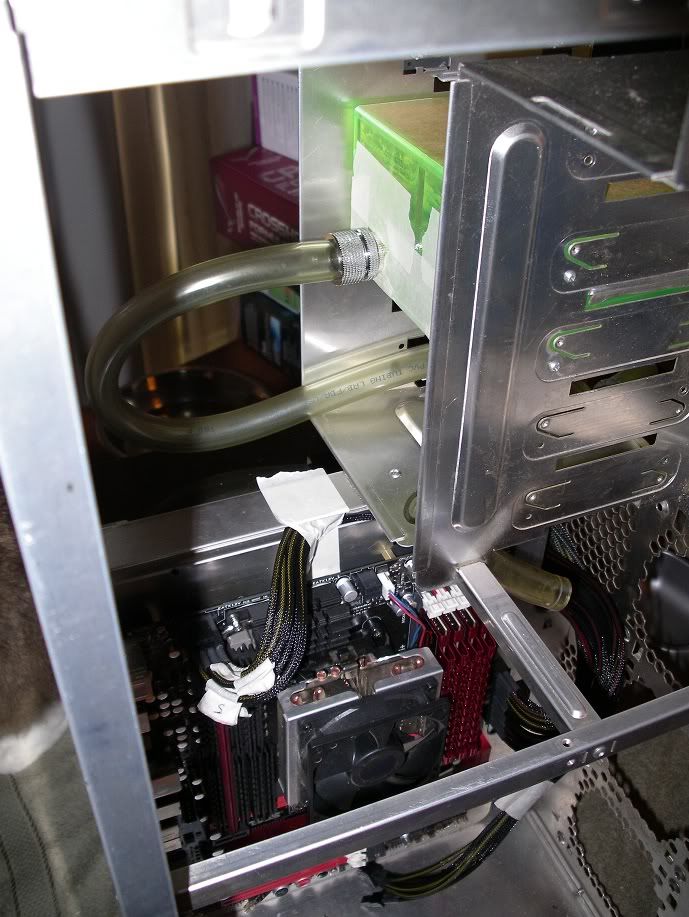
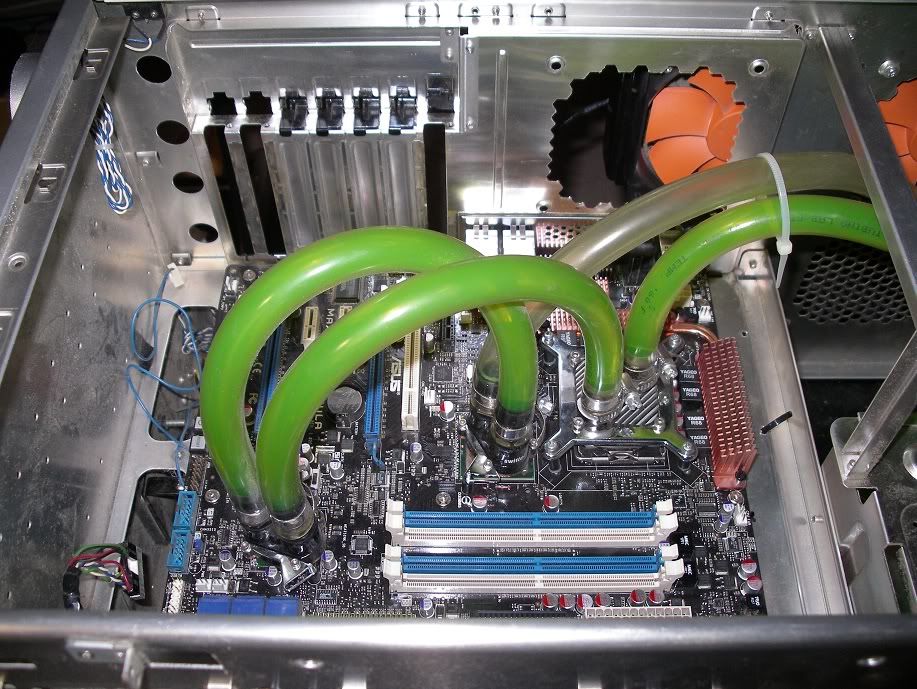
the old cooling loop from the side. the NB i have rediscovered on the X38 is a toasty bastard. while under water, NB temps would range between 30 to 40C (with high volts and high fsb, 400+) . since reattaching the original Asus NB/SB heatpipe cooling, the NB temps would hit 50C+, and that's at stock volts no OC. the heatpipe solution did look impressive tho it's kinda like reality tv stars, sometimes pretty, usually interesting but mostly useless.
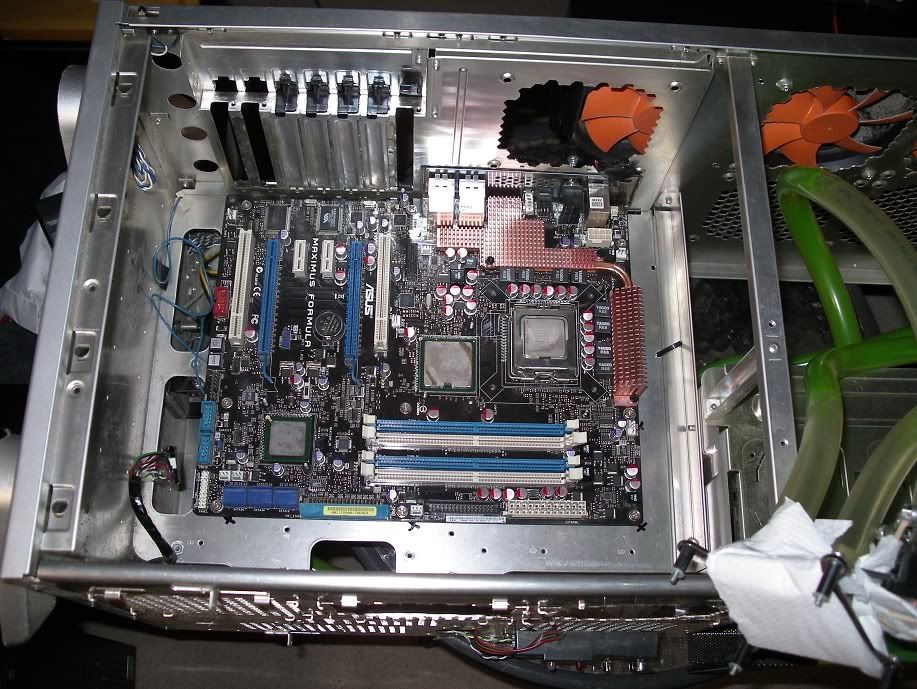
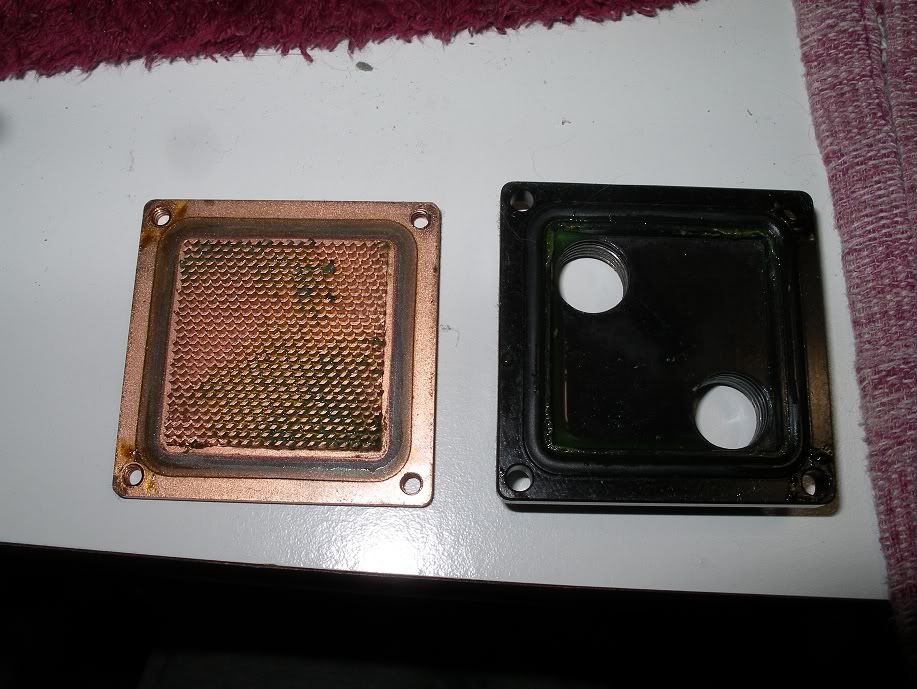
all the water blocks off, notice the size of the NB, its bigger than the CPU, at least the heatspreader is.
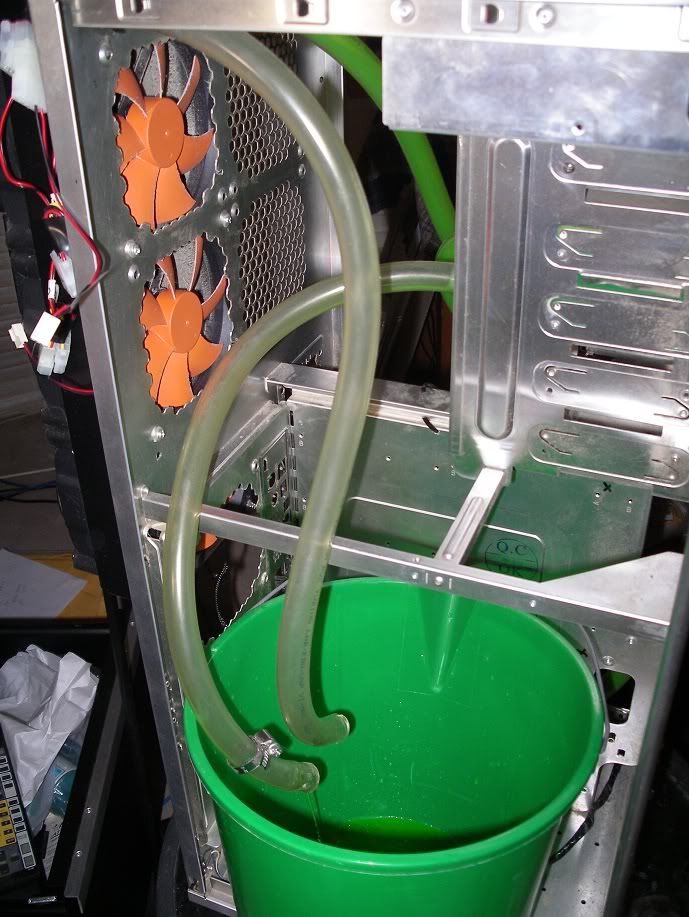
MAÎTRE D - "how are you feeling today mr creosote"
mr creosote - "better"
MAÎTRE D - "better?"
mr creosote - "better get a bucket, i'm going to throw up"
MAÎTRE D - "Uh, Gaston! A bucket for monsieur"
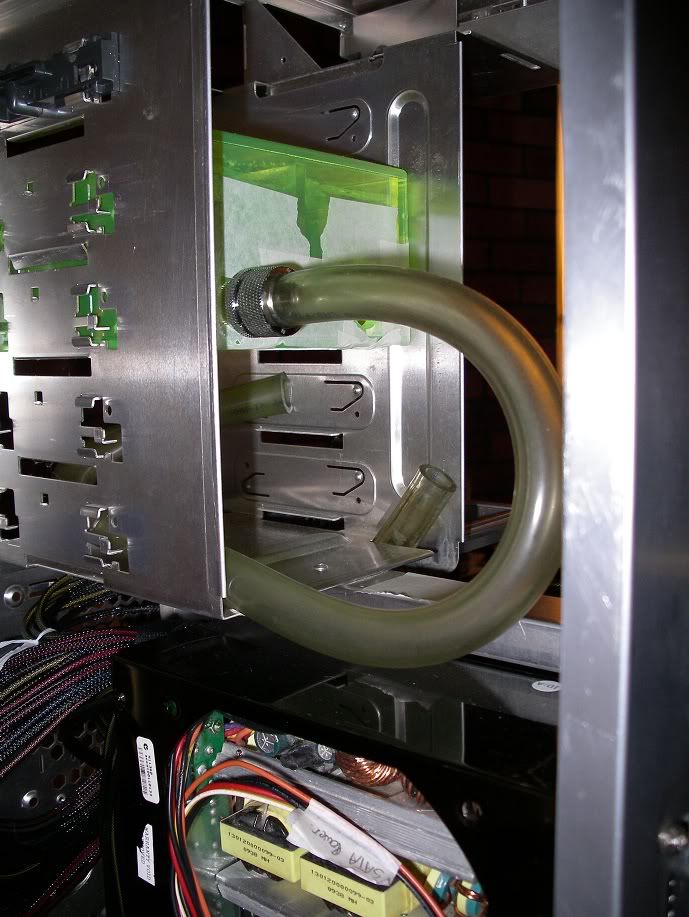
this is definitely one area i'll be improving on. dedicated fill & bleed ports.
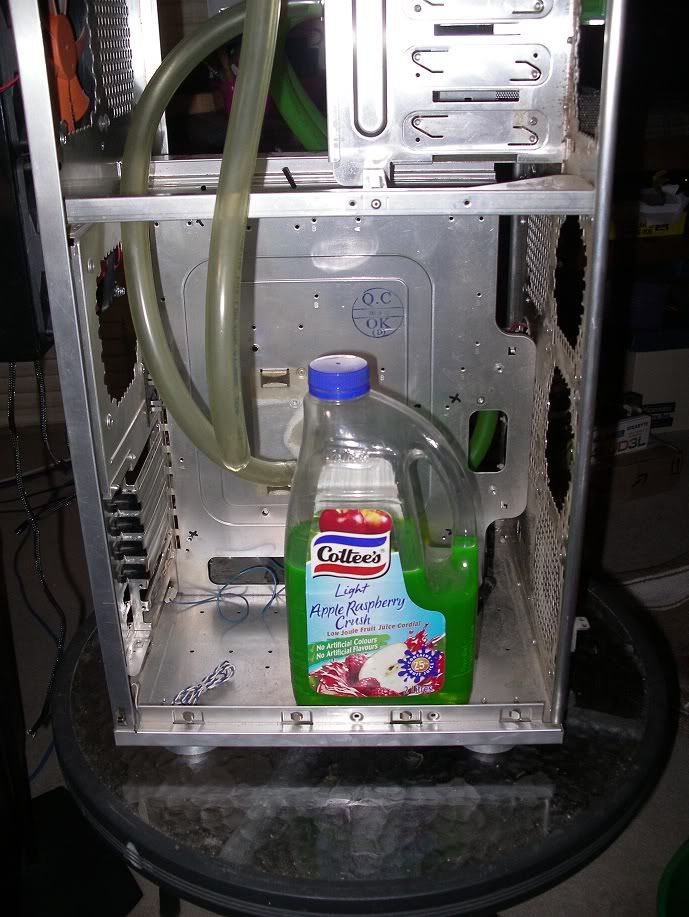
hmmm, fancy some tasty cordial. comes in green flavour with a pinch of biocide and a dash of corrosion inhibitor...
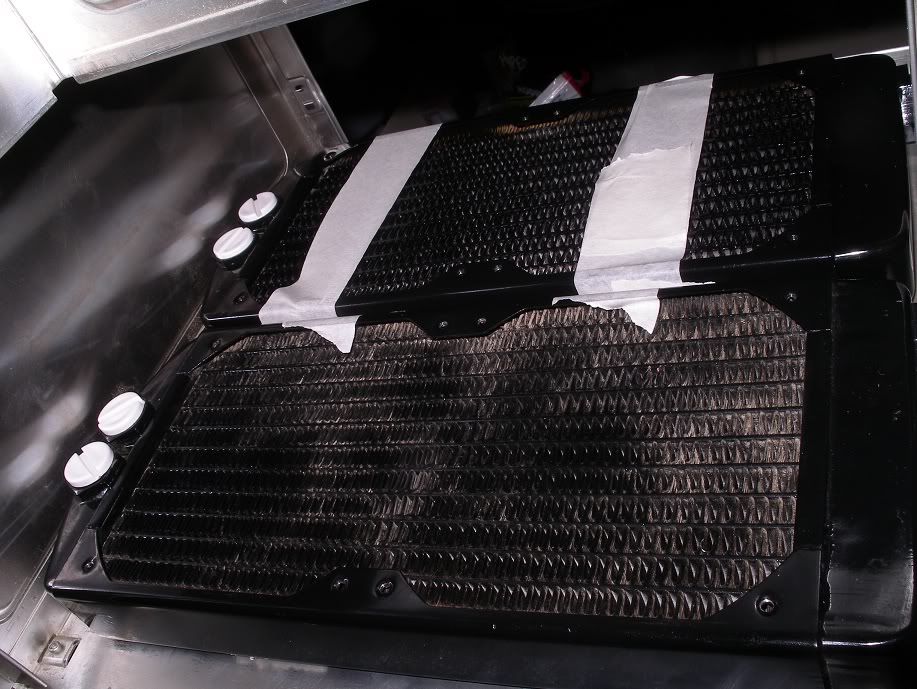
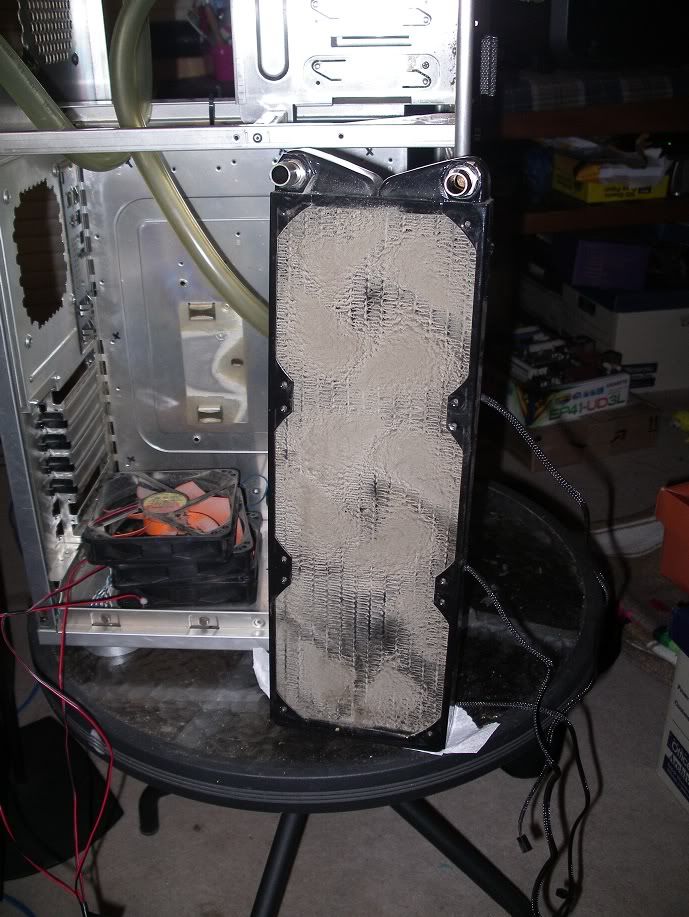
my cooling temps were getting a bit high.
well there's your problem...
the dust bunnies were obviously quite taken with their domicile in the radiator. they took up residence and multiplied like a family of, ah.. fuck-happy rabbits.
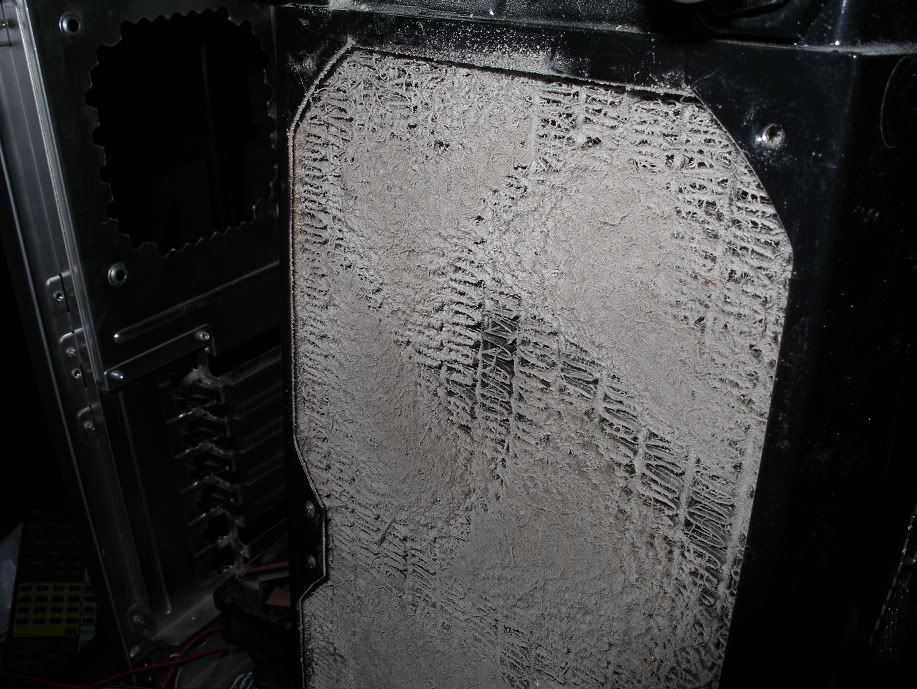
nice and soft, could serve as a excellent floor covering, one problem tho, only comes in grey.
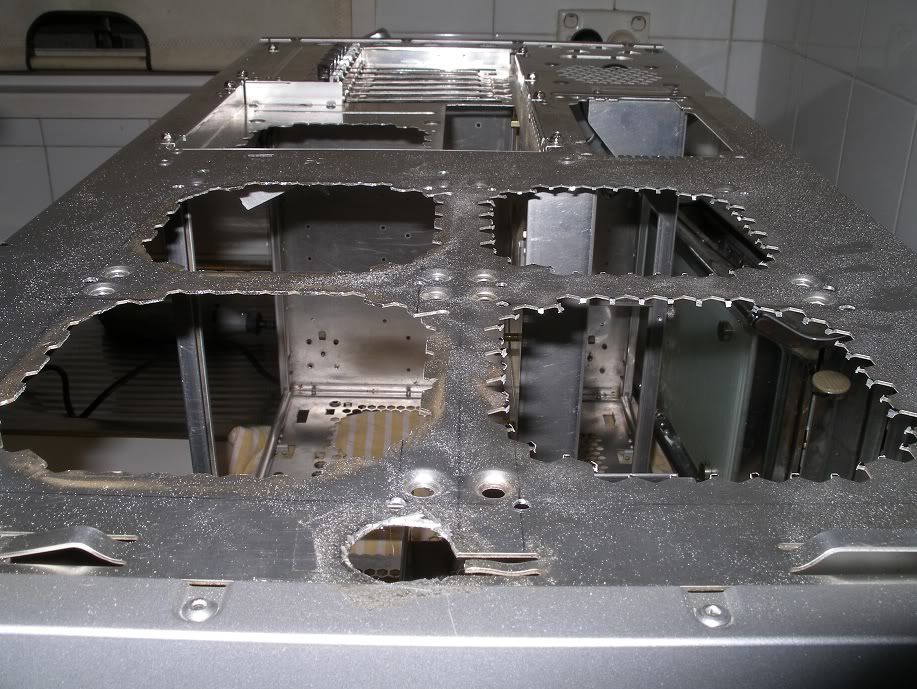
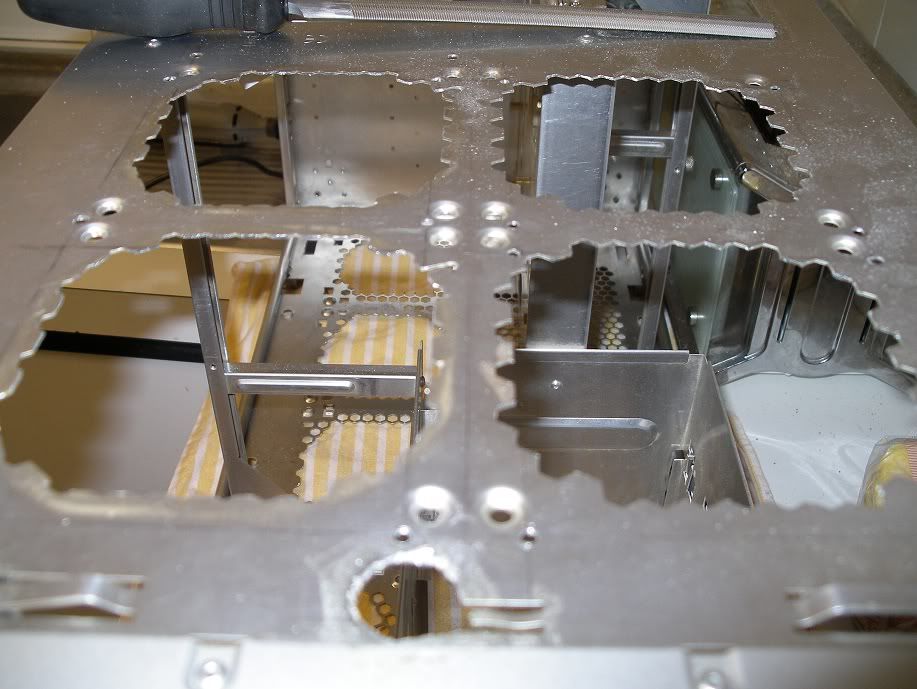
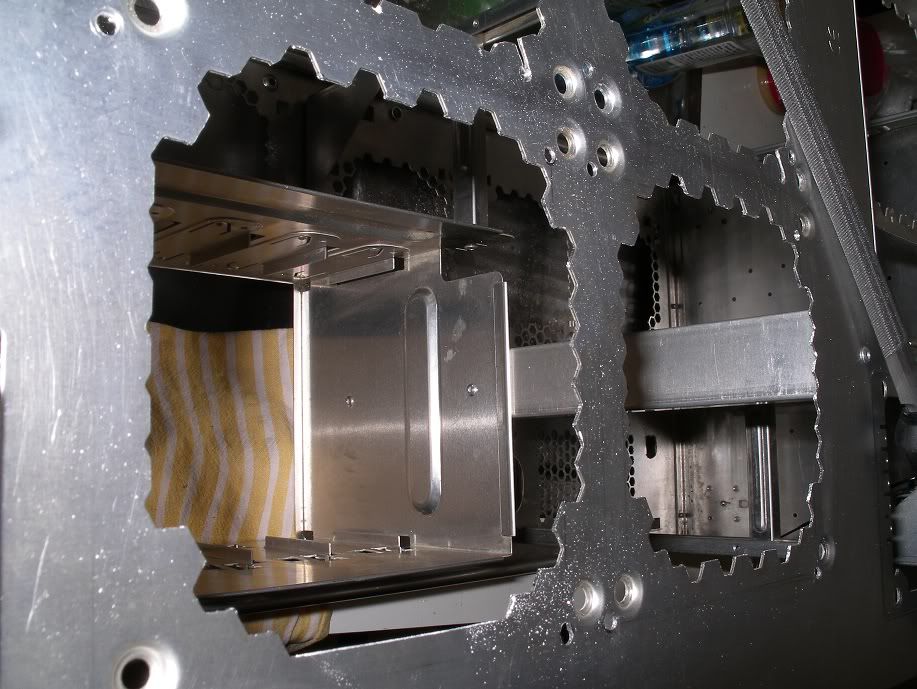
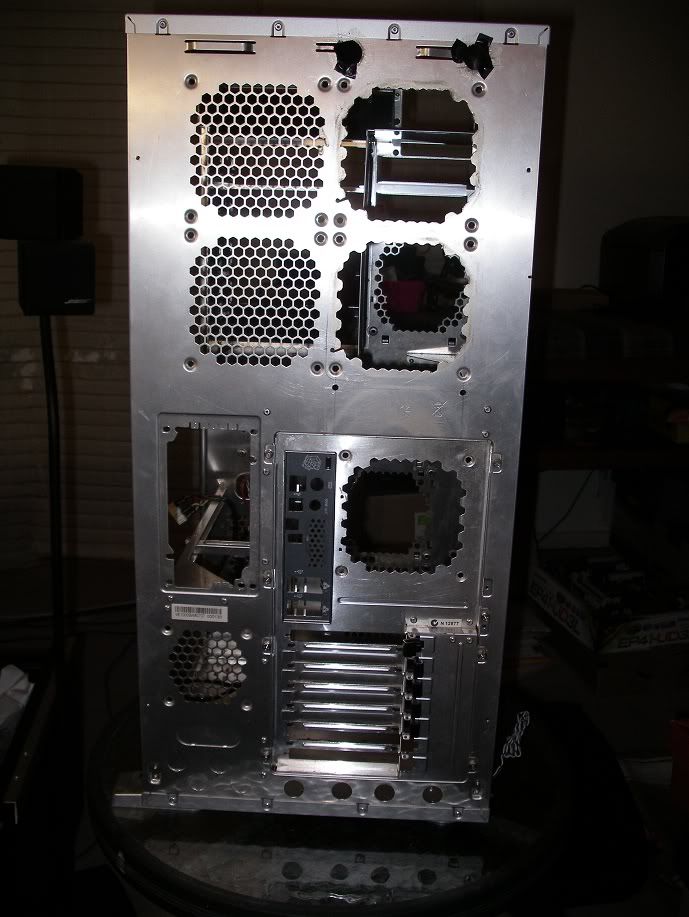
completely gutted and ready to mod.
the water block got a little 'gunged up' with the swiftech 'Hydra X'. not too bad for a loop that's run for 2+ years without being flushed.
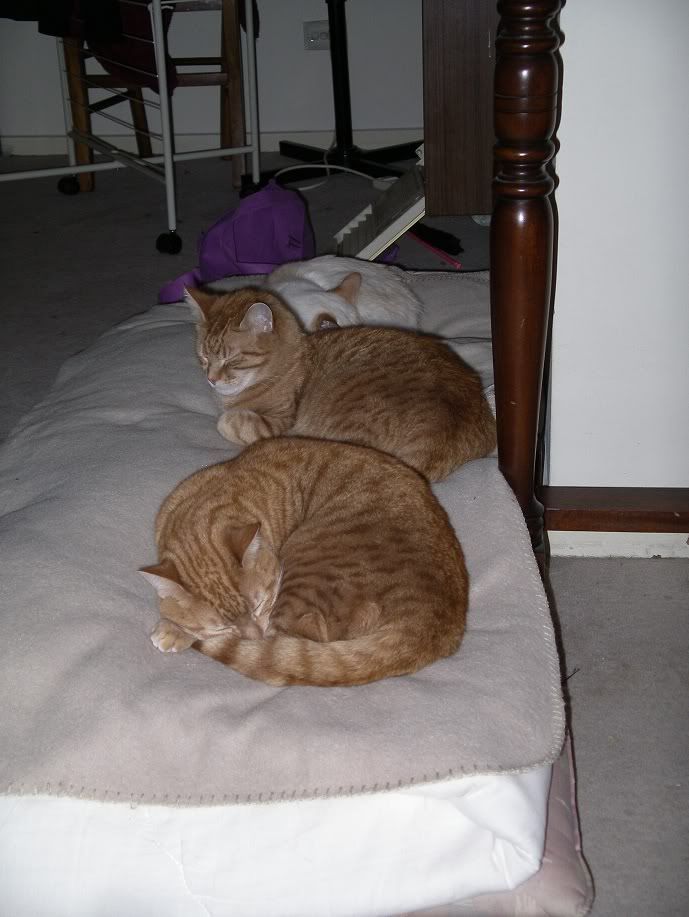
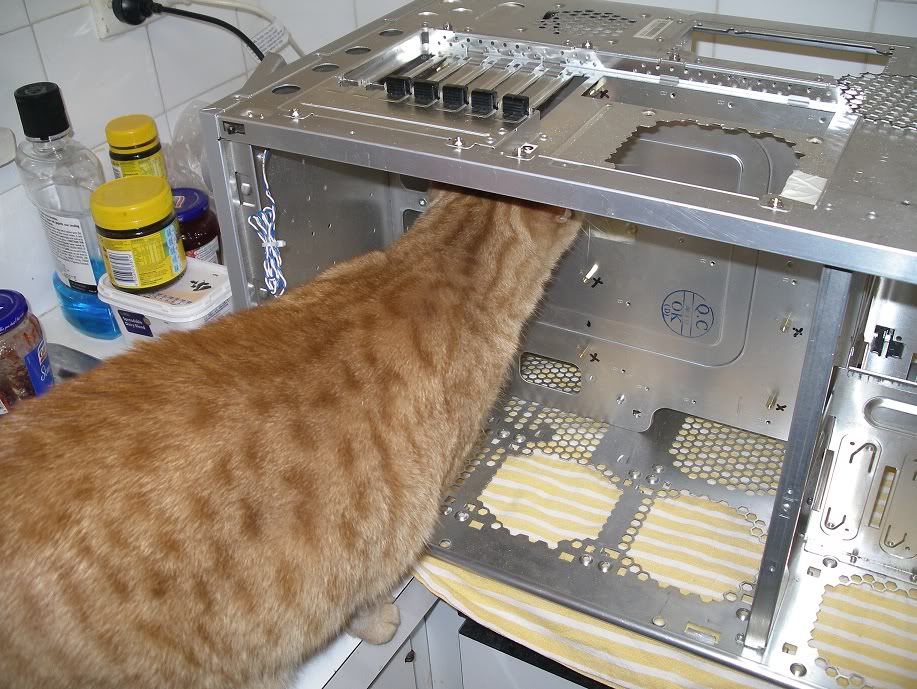
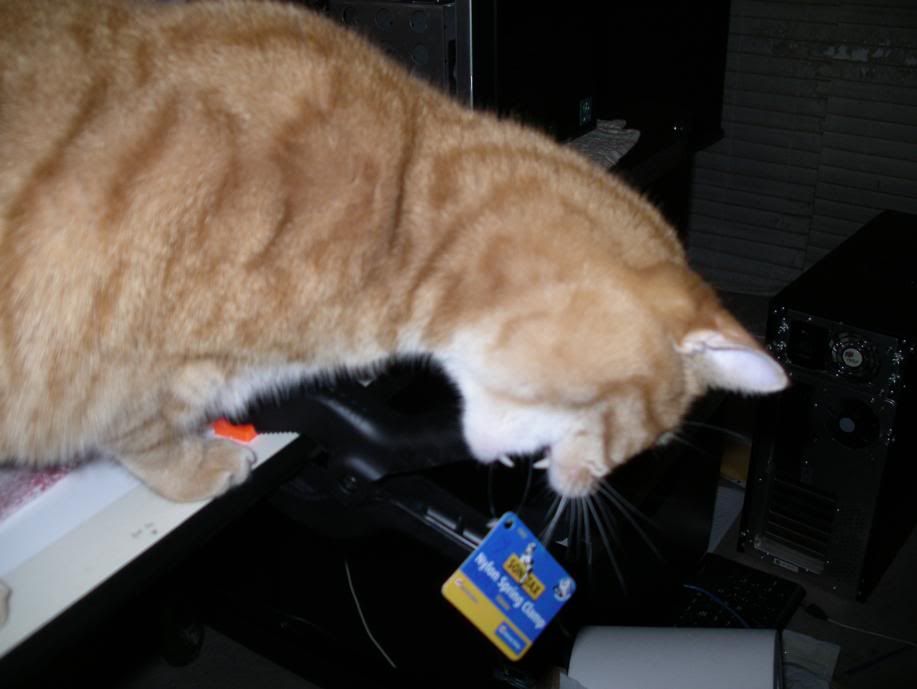
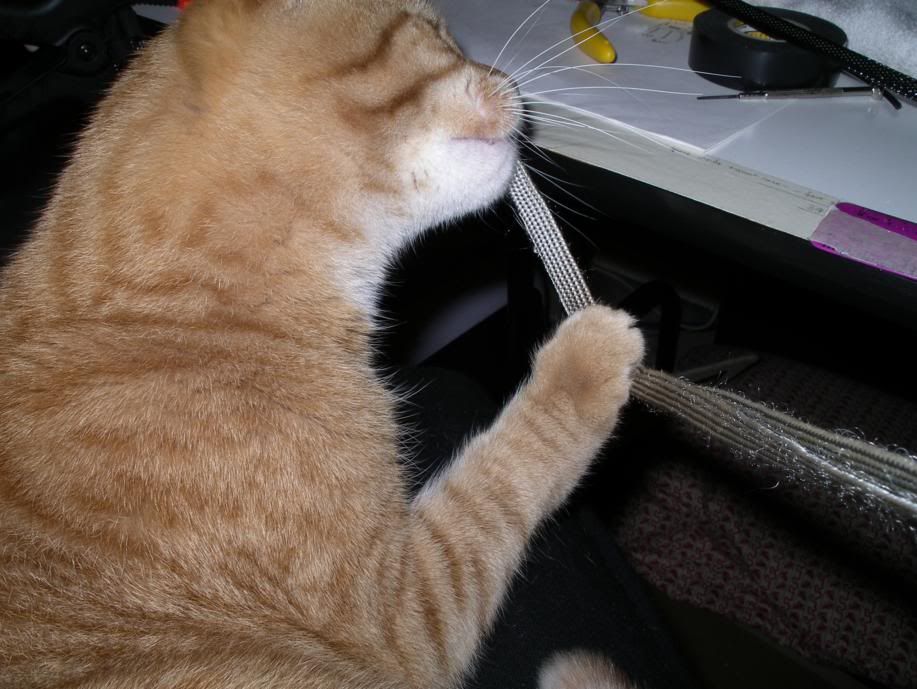
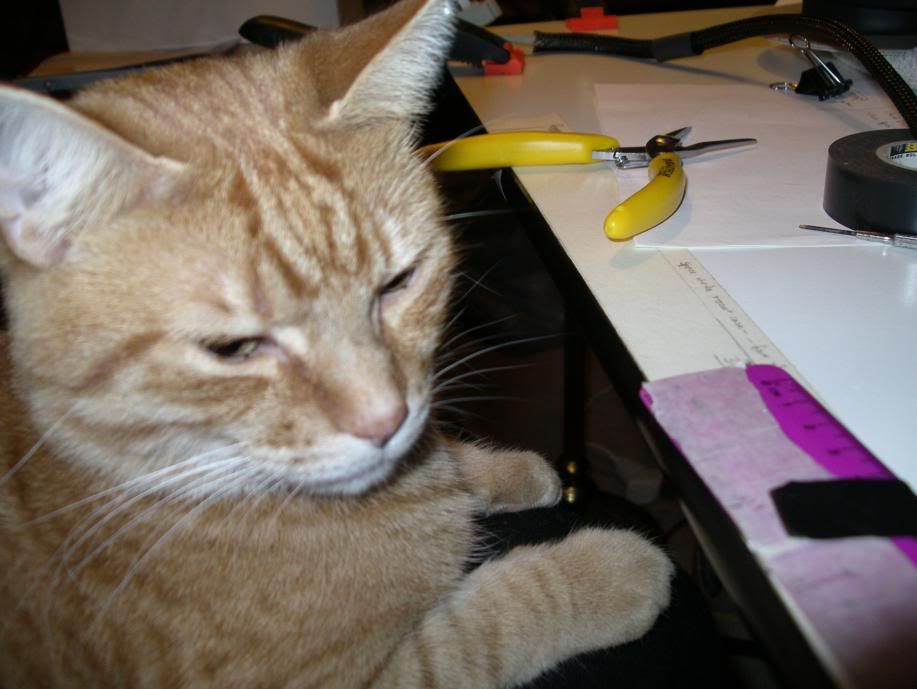
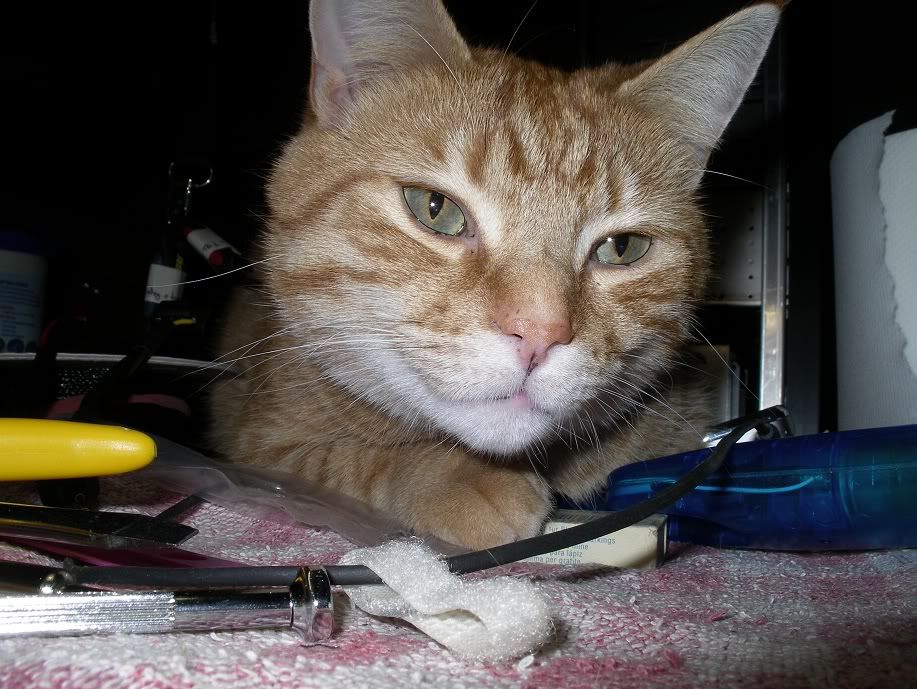
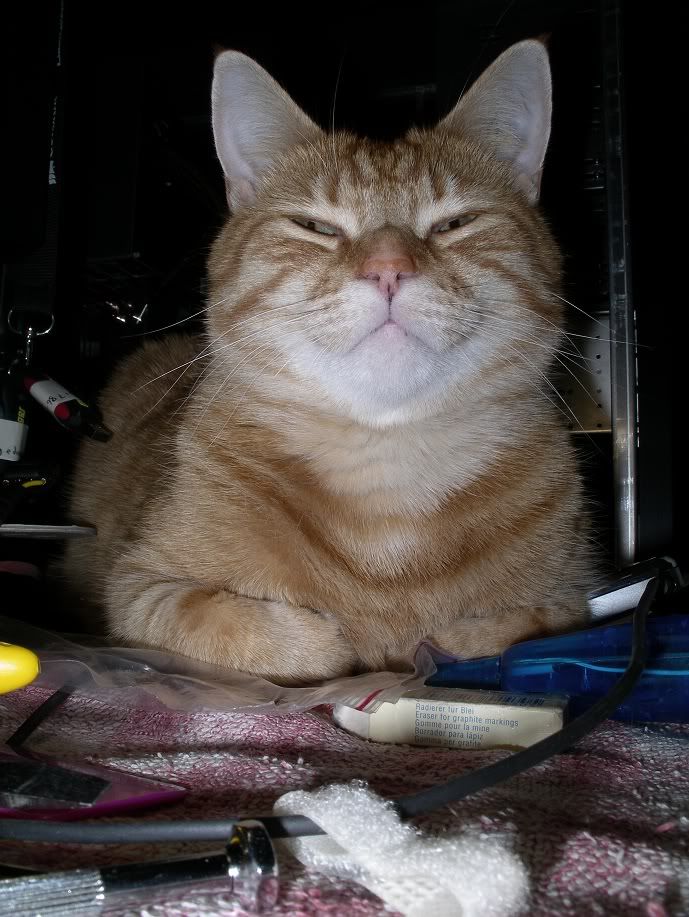
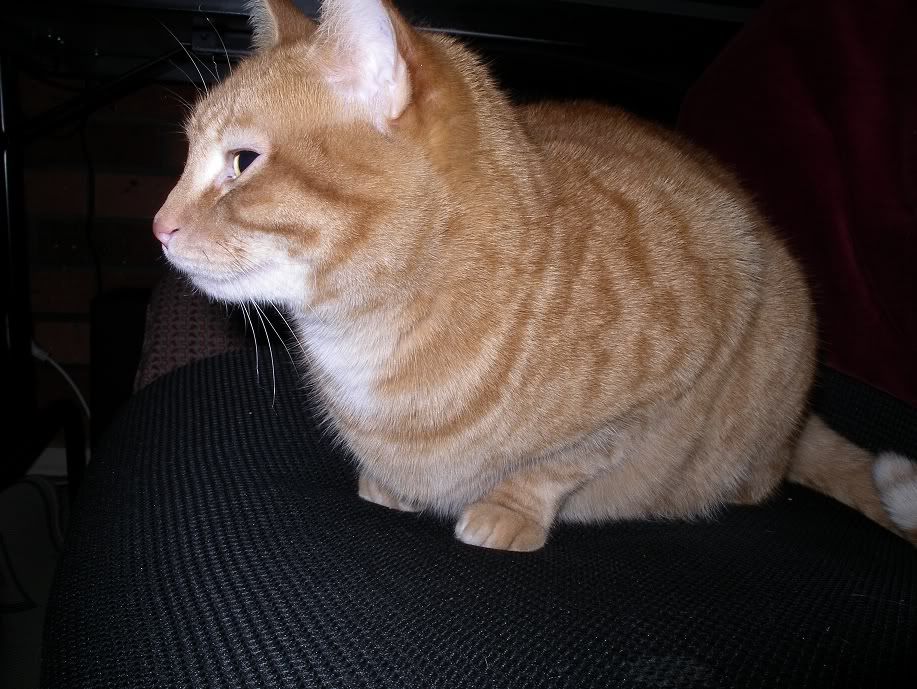
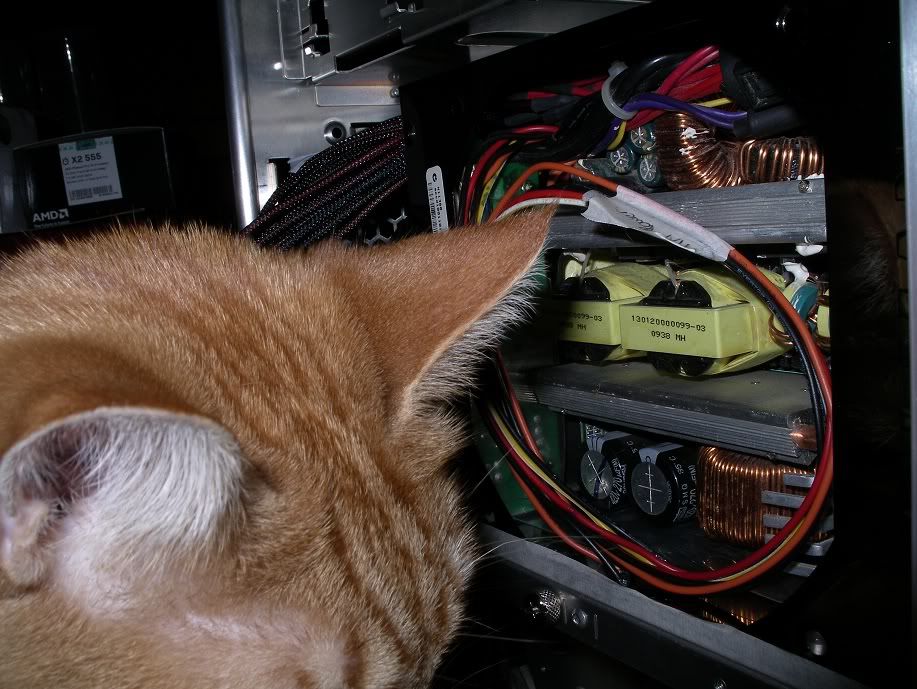
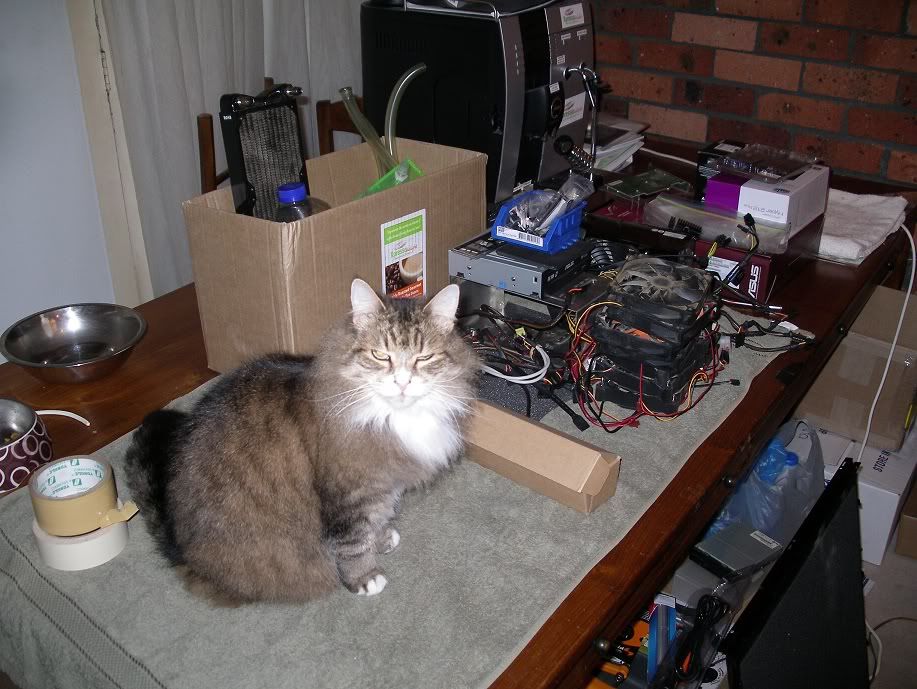
kitten minding the gutted contents of the case minus the MB, CPU and RAM which was transplanted into an old Lian Li PC70 (which i'm currently using)
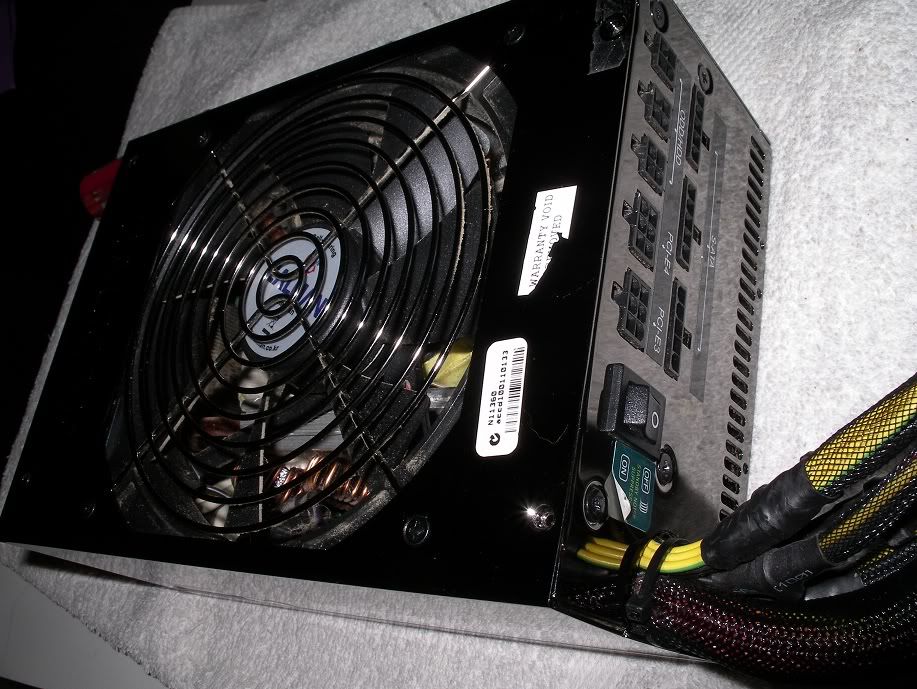
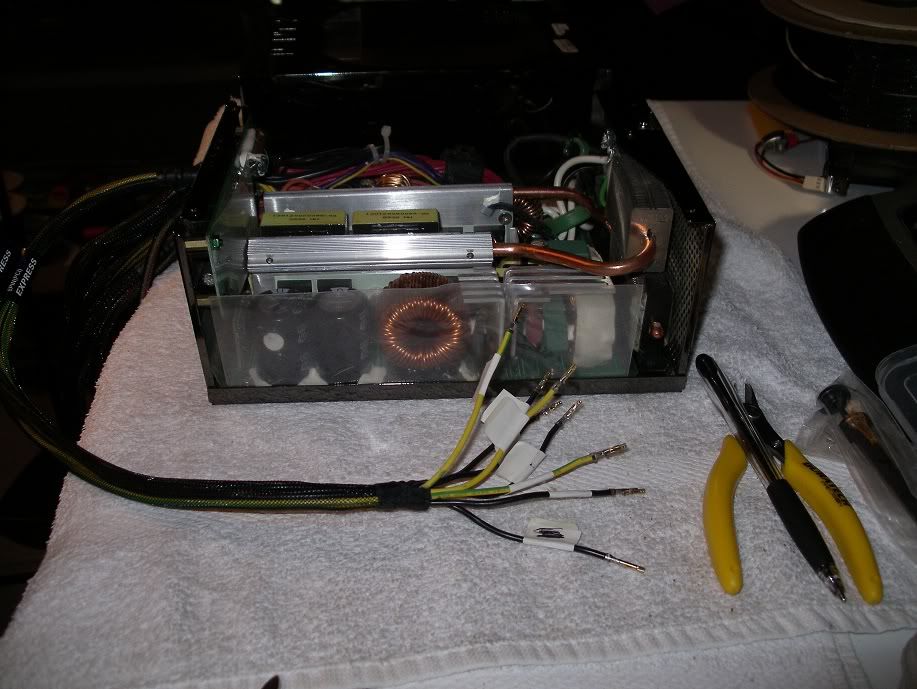
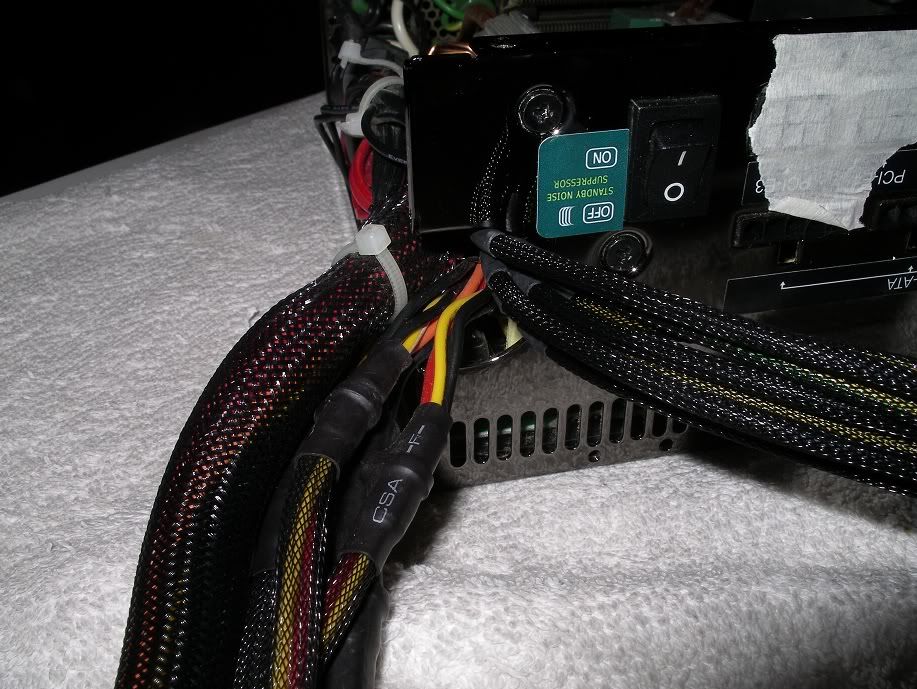
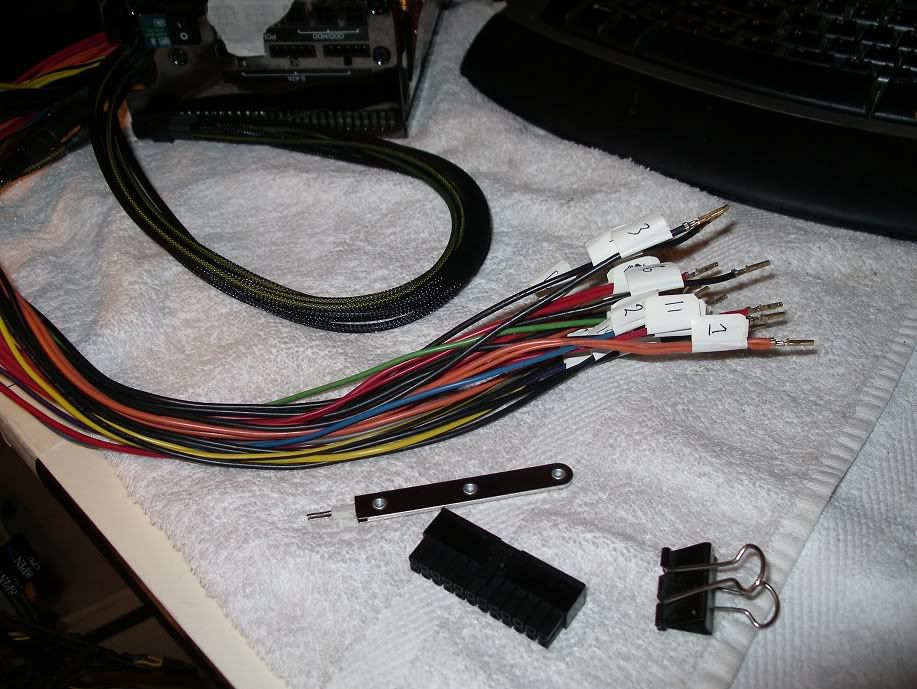
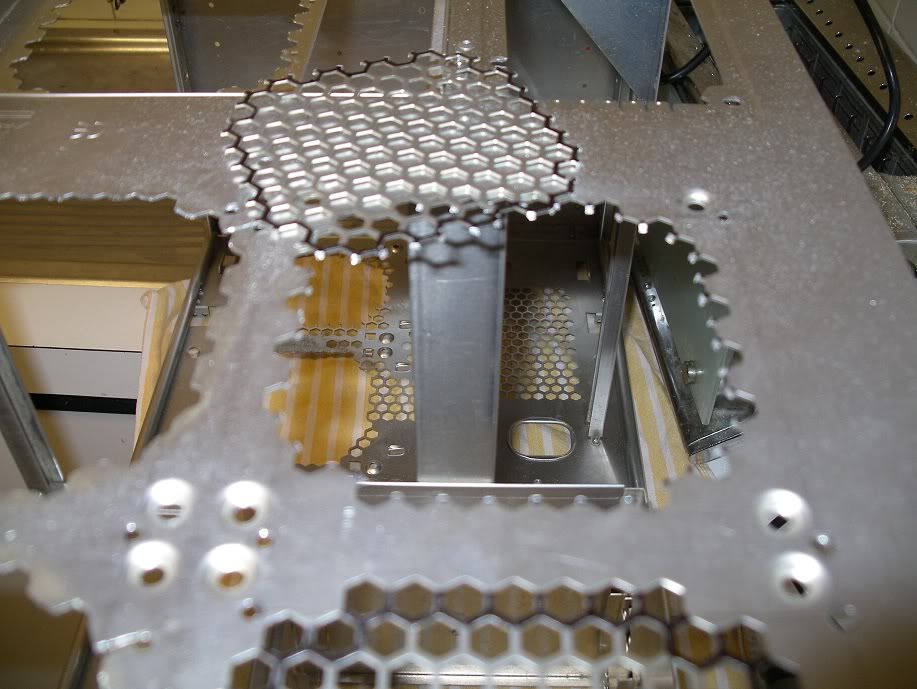
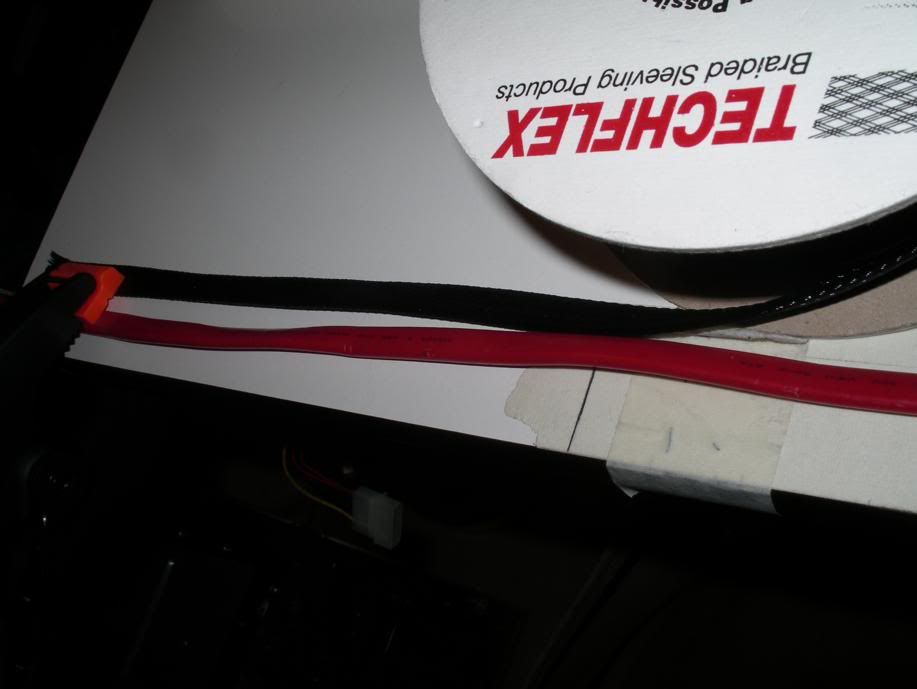
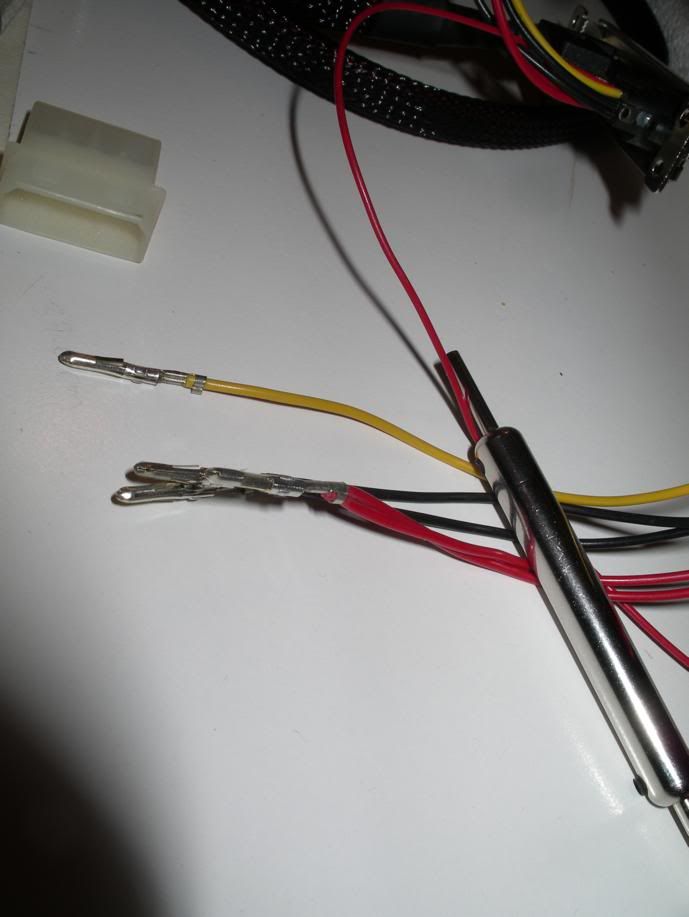
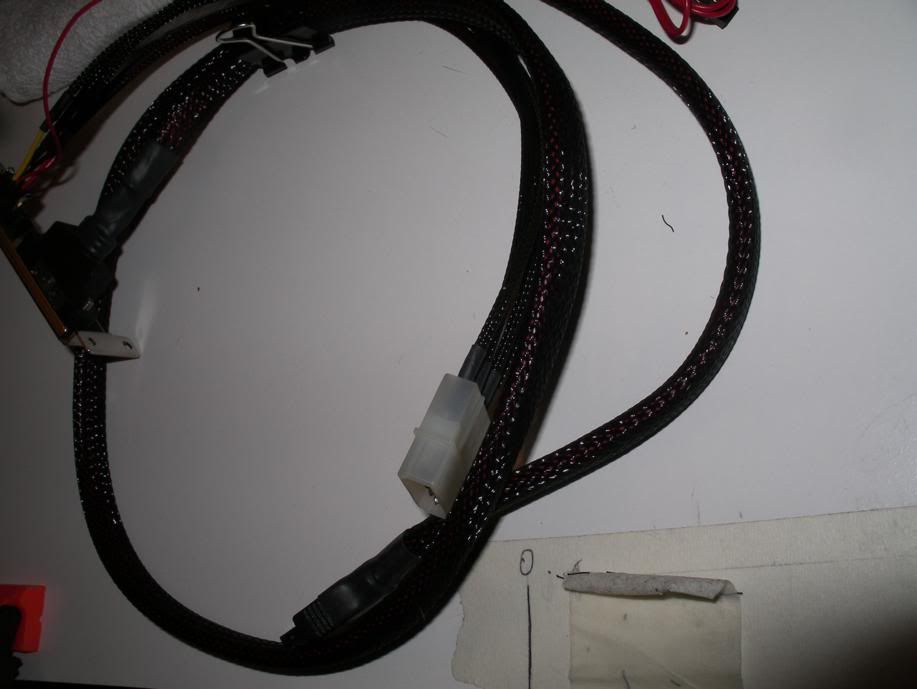
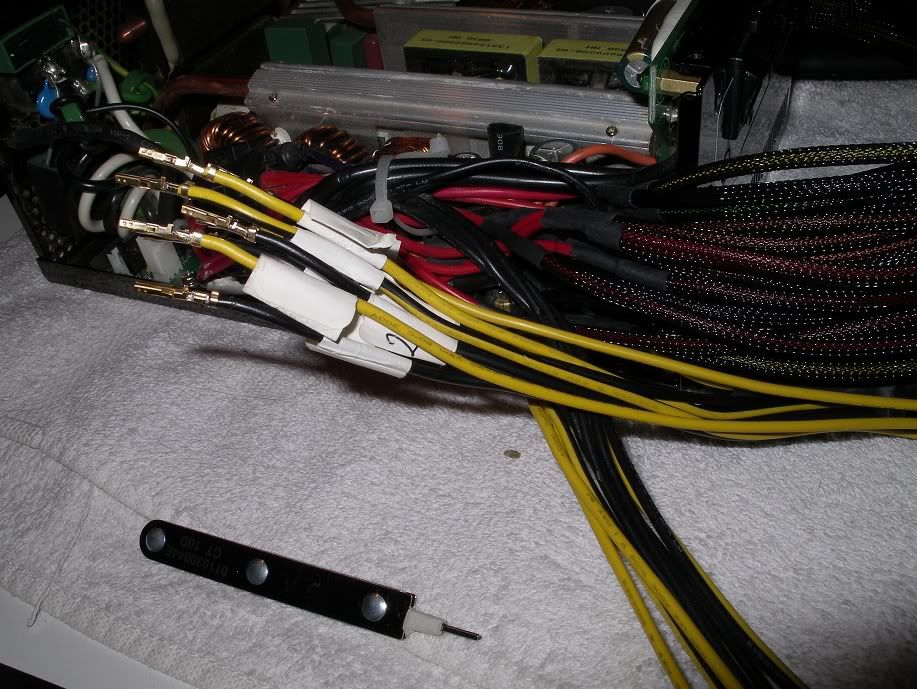
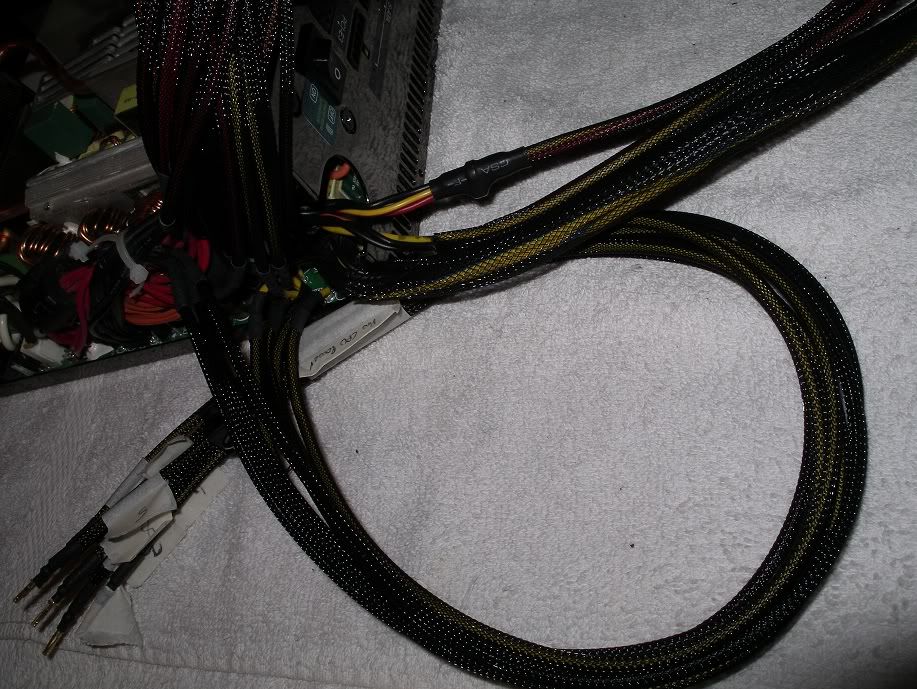
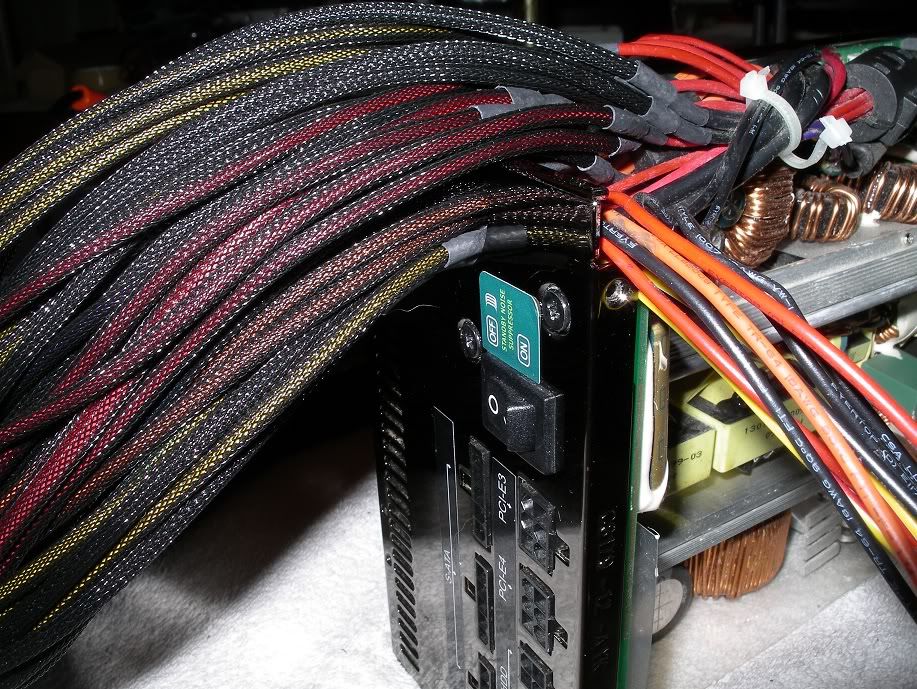
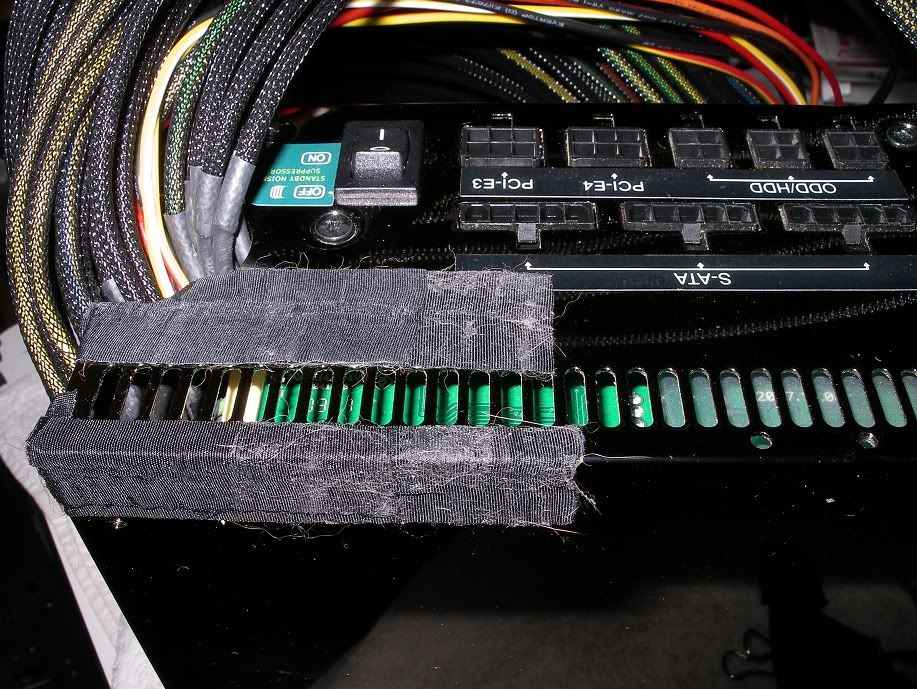
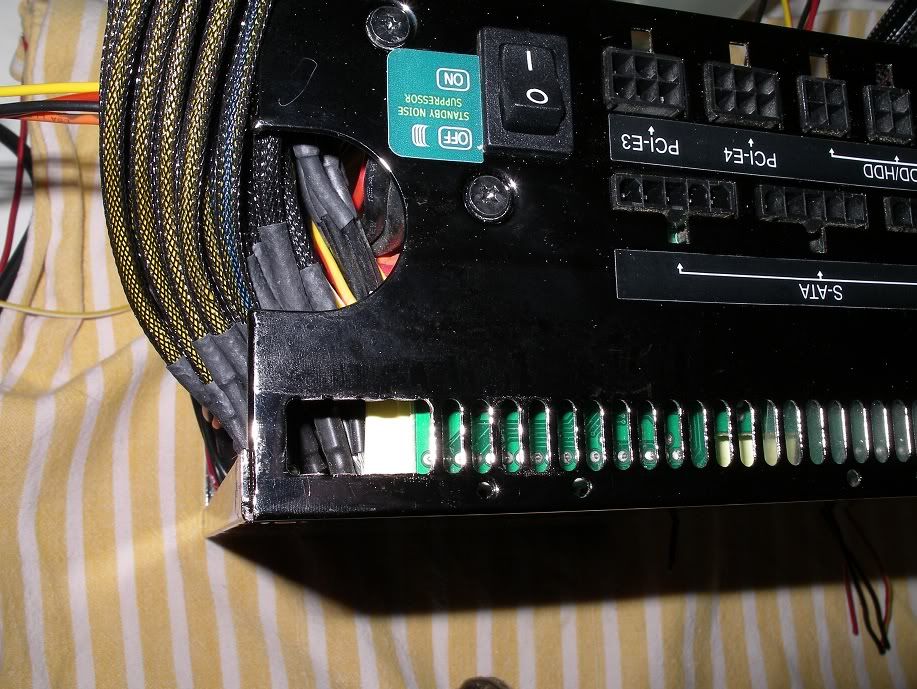
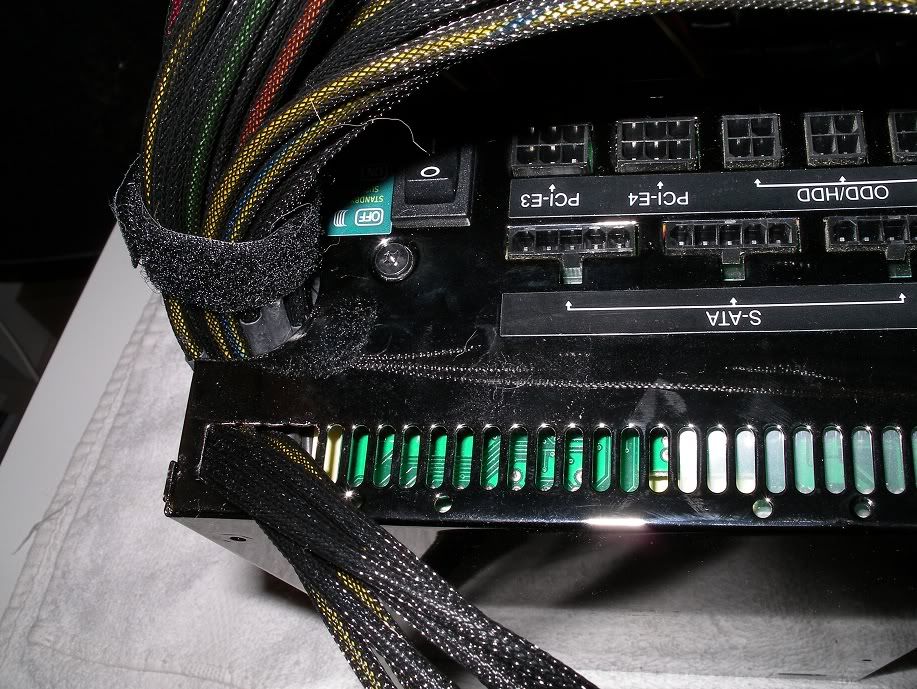
hopefully my next lot of work will be centred around modding the front 3 120mm fan slots to accept a 3.120 Rad. a bit of a squeeze and some cutting and shaping required. while i'm there i'll probably remove the remaining 120mm grill holes and cleanup the cuts on the earlier ones. if i can't be arsed, i'll just sleeve my PSU.
cheers.
NOTE2: nope just me with FF issue. had image hosting service in my 'exception list' under 'Load images automatically'.
howdy all
this will be my first decent mod of a pc case. sure i've cut fan hole or two and slapped on a couple of coats paint on a few cases but nothing that'll soak up the amount of man hours this one will take.
i've been planning and picking up hardware, tools in equipment for the last few months. ultimately i was waiting for AMD to release BD to start, but i got a little impatient when i saw Asus's Crosshair V selling locally.
collection of goodies already assembled;
so i picked one (Crosshair V) up with 16GB ram and a cheap Phenom II 555 to get things started. admittedly i've jumped the gun and considering some official numbers on performance will be released in the coming days, i may shot myself in the foot.
oh well caution to the wind and all that, i got bored and wanted something to do.
the victim for my mod work is my old Thermaltake Mozart TX case.
this pic is of a stock unit. not particularly pretty, but that's not why i bought the case a few years ago. it was big, you could stuff a lot of shit into it, wasn't covered in silly 'bling' and is all aluminium.
as the name of the thread suggests, the case is going to be getting a healthy dose of 'blackness'. interestingly TT did sell a back version (sort of) but you had to settle for a steel. i haven't used a steel case in a decade an wasn't going to start with a case this size. also TT's black version, for some reason didn't come with a black bezel.
i was a little hesitant in breaking down my case, partly b/c the q6600 system inside had functioned so well for several years. the other being i'm a bit lazy, however i was glad i did and you see why later. however the excitement over new hardware being released and seeing some of the great mods here on forums spurred me into action.
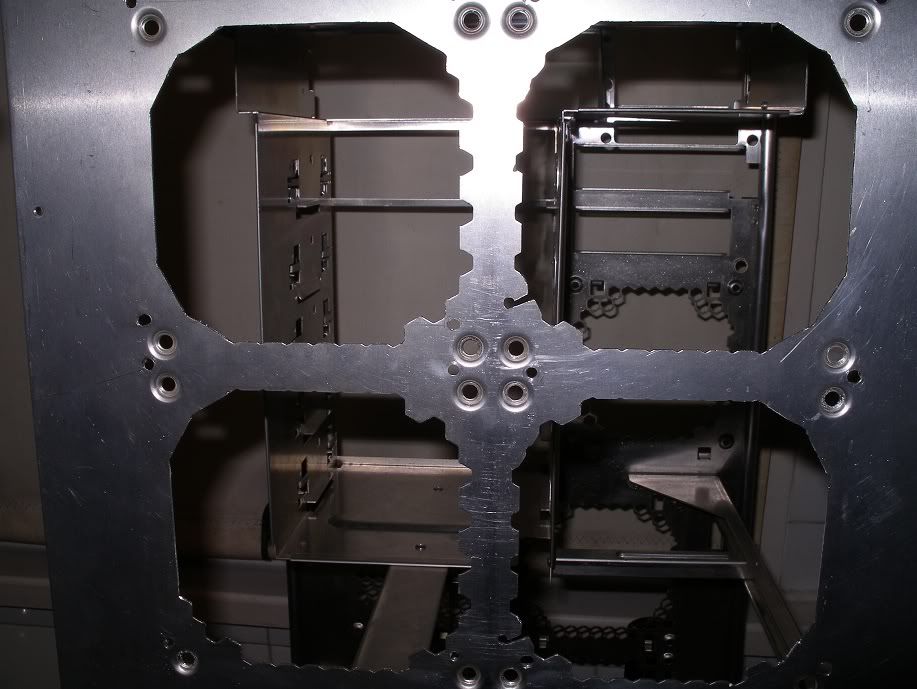
as this case is the home of my primary pc, it required a teardown. here are the internals before breaking it down;
now granted as the pics above show, she wasn't exactly pretty on the inside either, this 'should' be addressed in the coming weeks. hopefully it won't be as jeremy clarkson would say "ambitious but rubbish". if you aren't a fan of 'Top Gear', regardless if you're a car nut or not, you don't have a heart. anyway, onward.
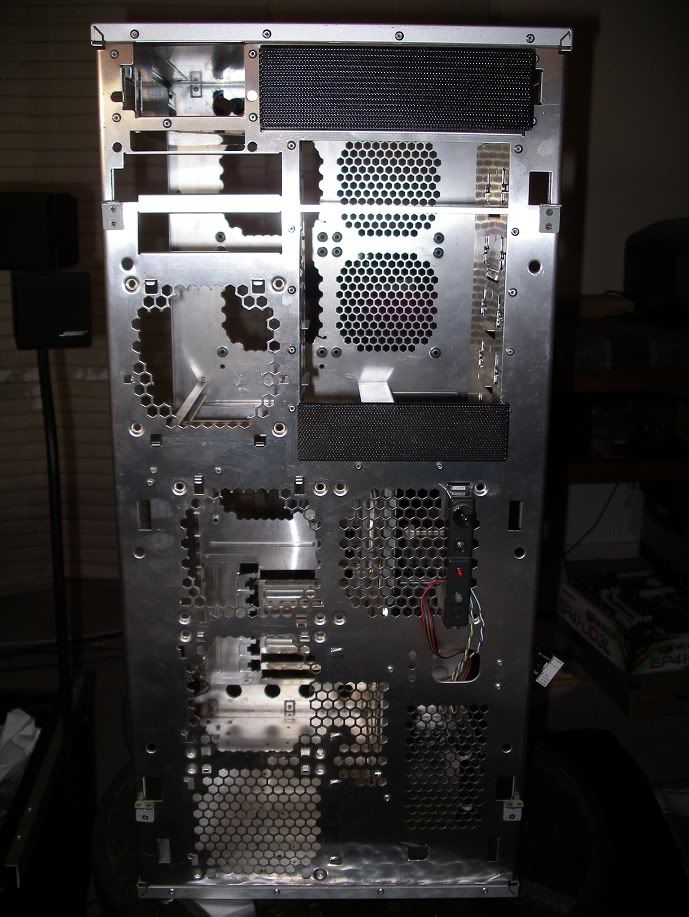
off with the rather large front facia. bit dusty but that's due to my inattention.
this should give you an idea of size as there are grill opening for 5 120mm fans.
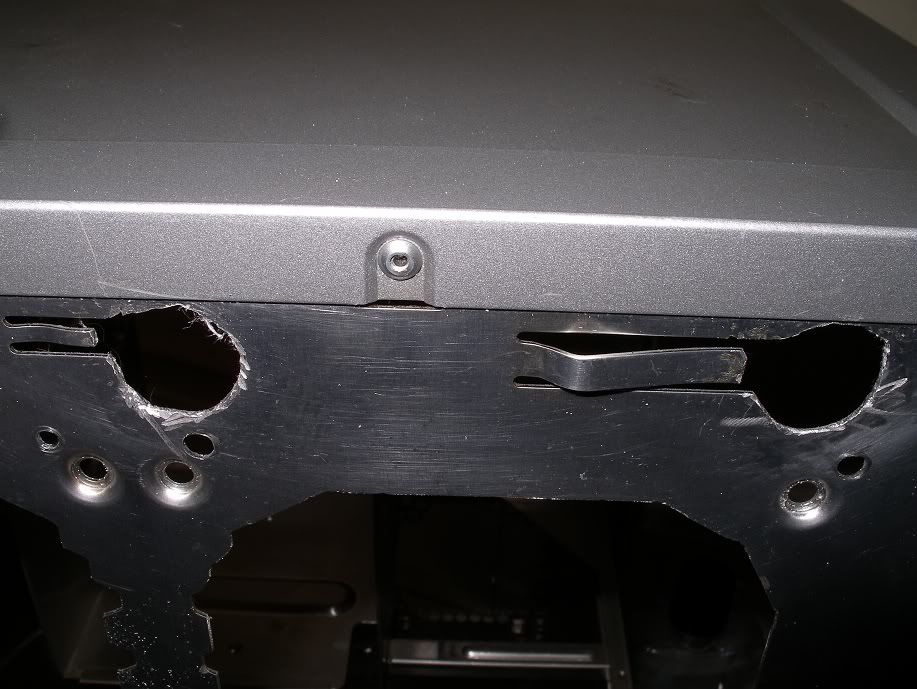
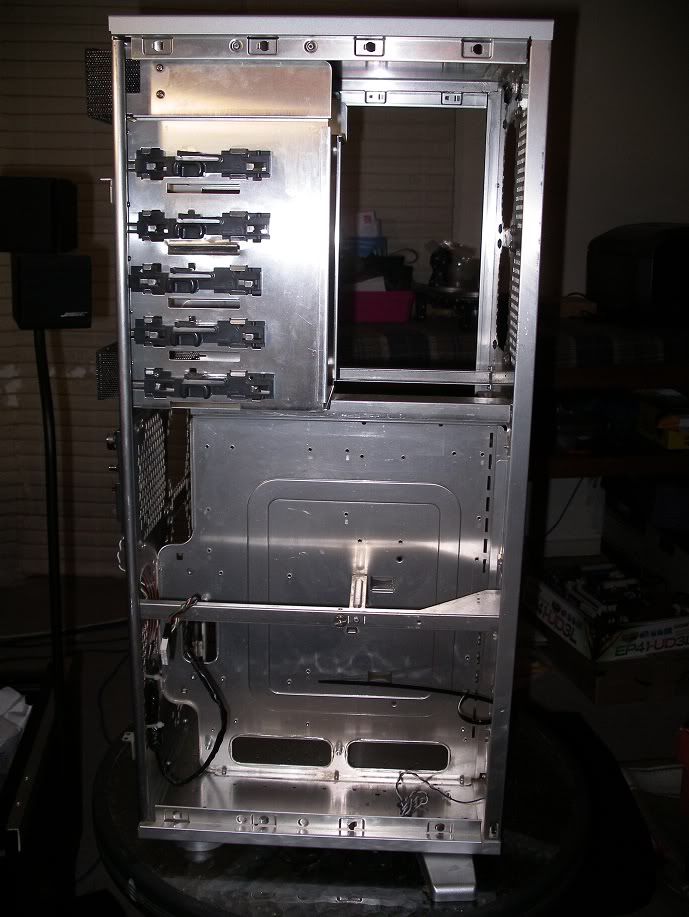
the HD cage removed as well as the front 120mm fans. you can see some of my earlier butchering on the fan grills with a dremel. definitely could of done a better job cleaning up the cuts, but it was my first time using the tool. i kept envisioning what a 33k rpm tool would do to my fingers and was plotting in my head how to get hospital with bloody stumps for hands.
the old cooling loop from the side. the NB i have rediscovered on the X38 is a toasty bastard. while under water, NB temps would range between 30 to 40C (with high volts and high fsb, 400+) . since reattaching the original Asus NB/SB heatpipe cooling, the NB temps would hit 50C+, and that's at stock volts no OC. the heatpipe solution did look impressive tho it's kinda like reality tv stars, sometimes pretty, usually interesting but mostly useless.
all the water blocks off, notice the size of the NB, its bigger than the CPU, at least the heatspreader is.
MAÎTRE D - "how are you feeling today mr creosote"
mr creosote - "better"
MAÎTRE D - "better?"
mr creosote - "better get a bucket, i'm going to throw up"
MAÎTRE D - "Uh, Gaston! A bucket for monsieur"
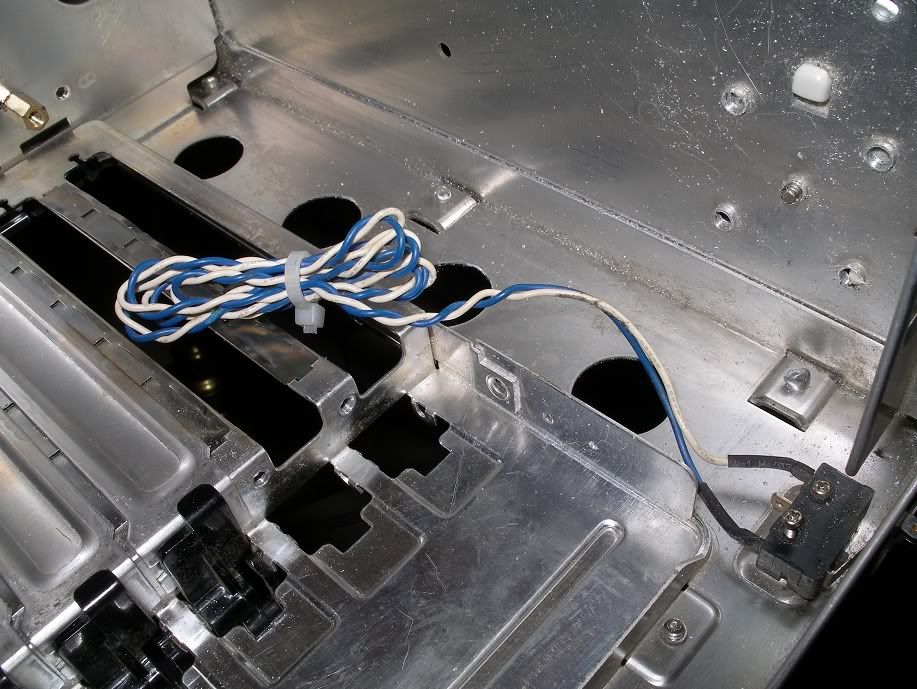
this is definitely one area i'll be improving on. dedicated fill & bleed ports.
hmmm, fancy some tasty cordial. comes in green flavour with a pinch of biocide and a dash of corrosion inhibitor...
my cooling temps were getting a bit high.
well there's your problem...
the dust bunnies were obviously quite taken with their domicile in the radiator. they took up residence and multiplied like a family of, ah.. fuck-happy rabbits.
nice and soft, could serve as a excellent floor covering, one problem tho, only comes in grey.
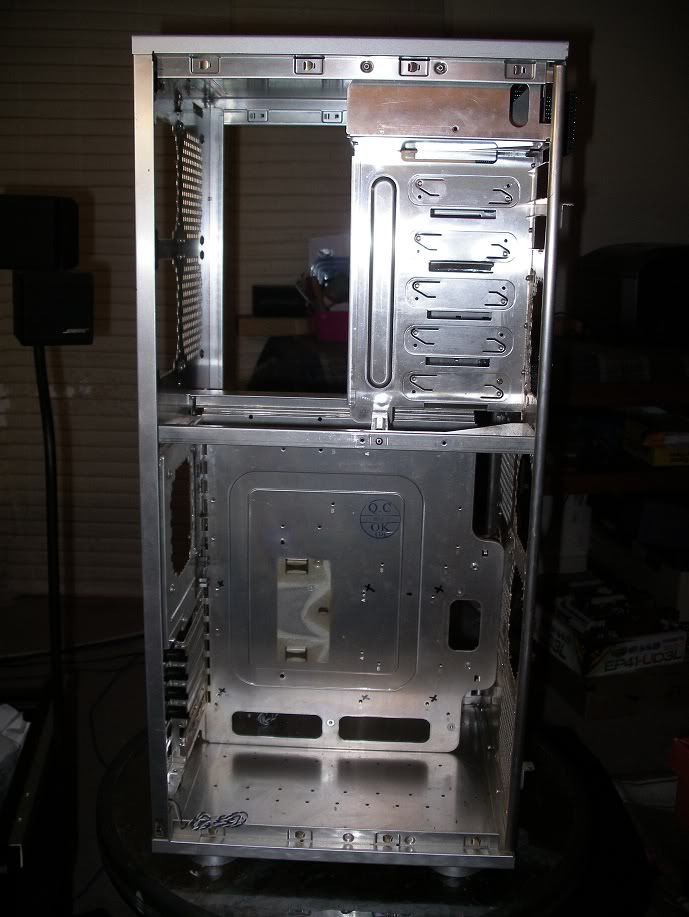
completely gutted and ready to mod.
the water block got a little 'gunged up' with the swiftech 'Hydra X'. not too bad for a loop that's run for 2+ years without being flushed.
kitten minding the gutted contents of the case minus the MB, CPU and RAM which was transplanted into an old Lian Li PC70 (which i'm currently using)
hopefully my next lot of work will be centred around modding the front 3 120mm fan slots to accept a 3.120 Rad. a bit of a squeeze and some cutting and shaping required. while i'm there i'll probably remove the remaining 120mm grill holes and cleanup the cuts on the earlier ones. if i can't be arsed, i'll just sleeve my PSU.
cheers.
Last edited: