My first watercooling loop (Not the usual, I suspect)

I have the lines running outside of the case so I can separate them if I need to. I can take the GPU off the loop, drain just the GPU section, remove the GPU and I'll be able to still use the computer as the CPU would still be on the loop cooled.
 
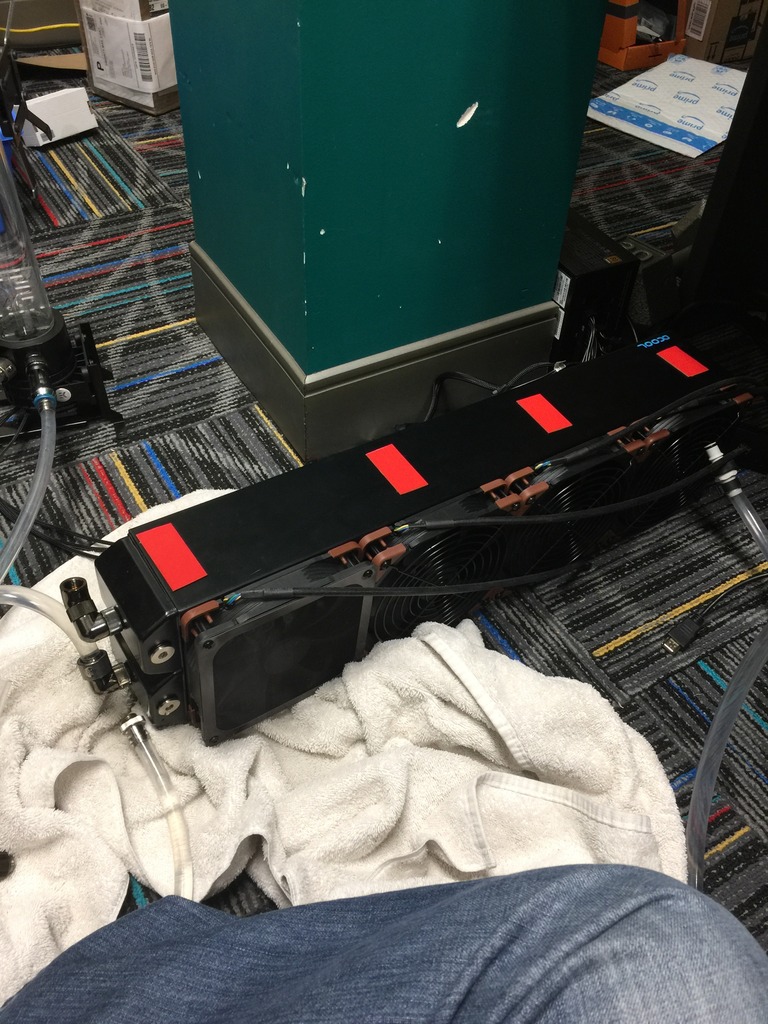
So I decided it was a good time to do it. Instead of what I was planning on doing - a whole big ordeal. I just decided to use my double-sided tape and tape everything together. If it's good enough for autos. It's good enough for these.

IMG_4522_zps8pdcmjnl.jpg


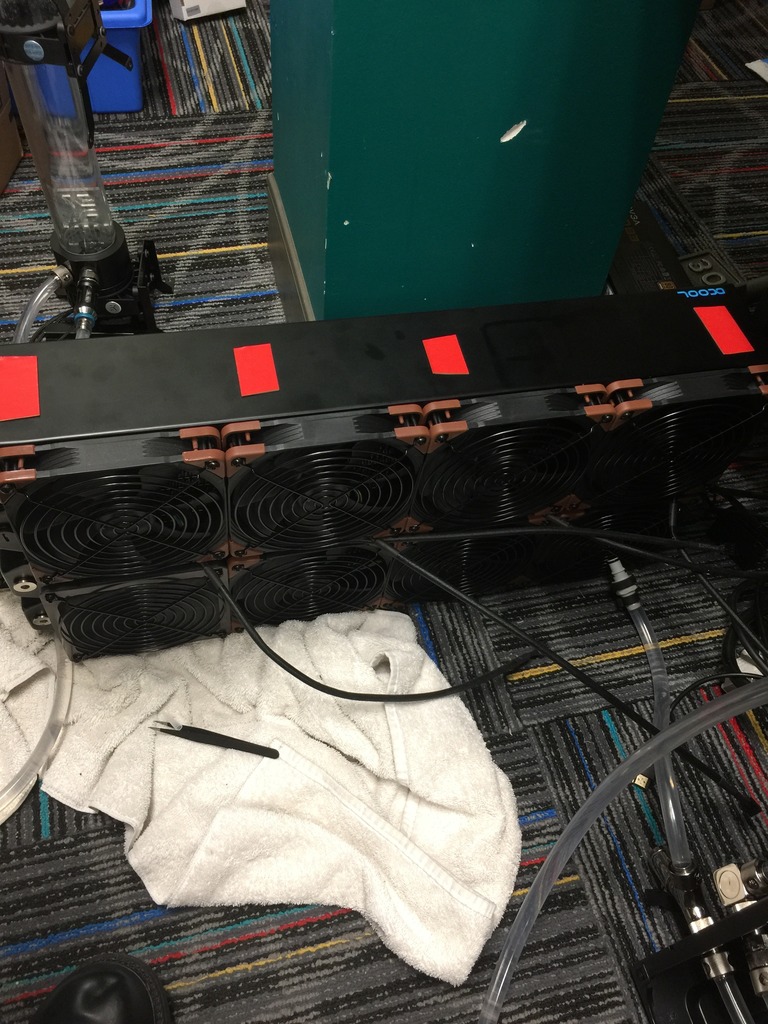
Second Layer:
IMG_4523_zpsxwtp5kas.jpg


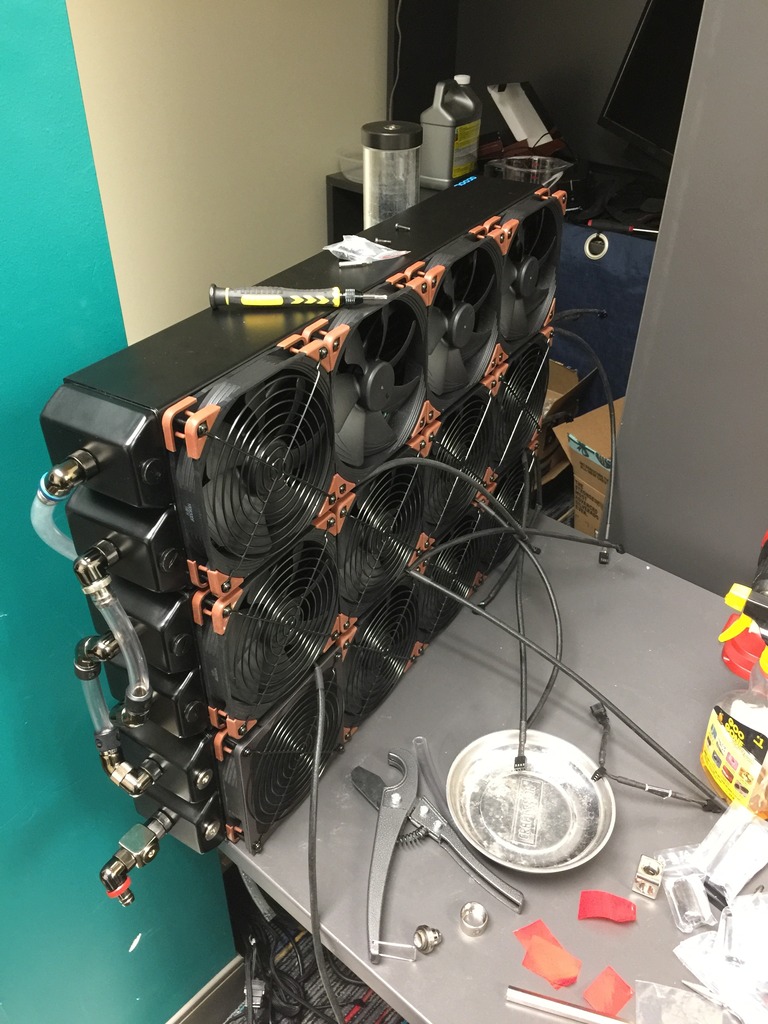
Third Layer:
IMG_4525_zpsczqyevum.jpg


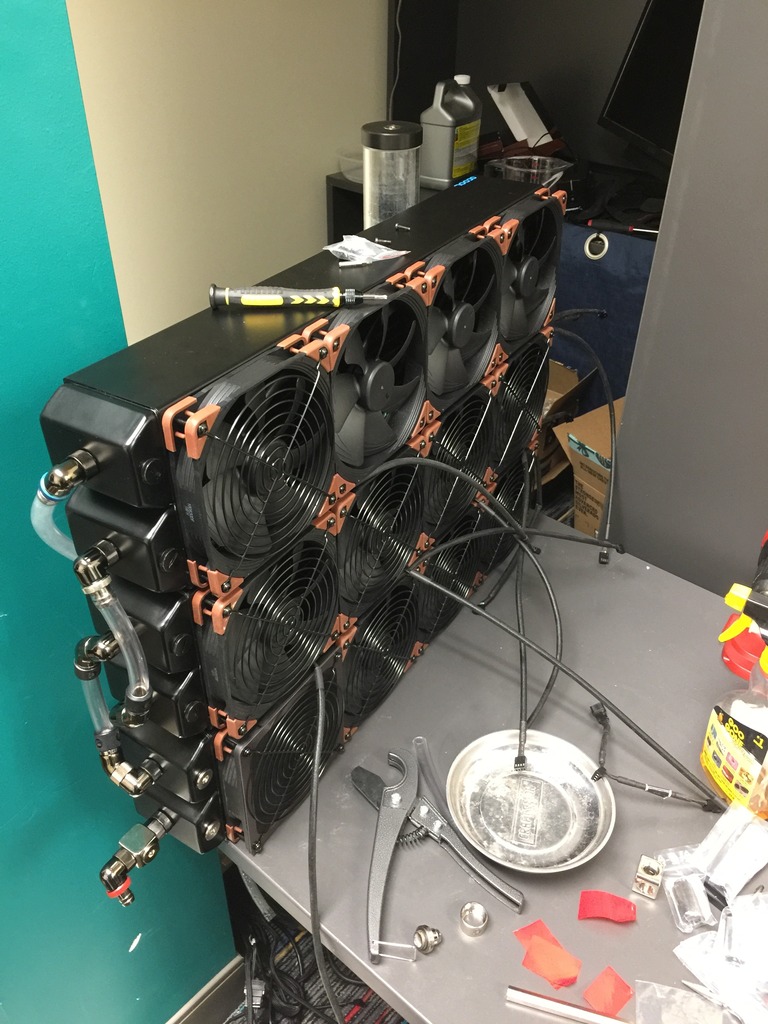
Behind:
IMG_4525_zpsczqyevum.jpg

I ran out of Grills.

Stable Overclocks:
1080 ti: 2 Ghz. -- (+144 Core Clock)
i7 8700k: 4.5 Ghz. I'd rather have more rock solid performance instead of my computer locking up which happened while doing the mundane tasks.

Ingame (4k Resolution, Max Settings):
DEAD%20OR%20ALIVE%206%203_19_2019%202_57_40%20AM_zps8m2s9qvq.png


I'm pretty happy with the results. My components are happy and cooled at 102ish degrees all while being overclocked.
 
Honestly I don’t think you need to build a holder/mount. You could prob get away with that or an xspc universal mount and secure the bottom rad into something.

Love the pics btw.

Nexxos Monstas 480 or 560?
 
Monstas 560. Alphacool's radiators are just amazing to work with and I'll probably only work with theirs from this point forward. I don't like how it's not "boxy" like EK's - harder to build a frame for but the quality is just gorgeous. I could get away with adding another 4 fans and one radiator without adding adding Y connectors to the power supply. But as the cooling is right now, I'm quite content and I'm sure I wouldn't see too big of a cooling improvement..

I'd really like to up them upright with the fittings pointed up. In my mind, it would help flow and less dead spots. I'm worried that only half the radiator is being used even though I've shaken all the air out of them initially.

Here's what I learned through this:
1. Prepare to spend money.

2. You don't have the tools you need to loosen/tighten the fittings without damaging them.

3. Rotary extensions are very useful to make sure you don't overtighten. If you want something pointing a specific way, you'll need one of these to help you get it there. Don't try to force it. I've ripped a plastic G1/4 hole because I wanted a T connector pointing a specific way.

4. Buy a fitting of various types. This way you can get a better grasp on what you'll need to bulk buy. Just because you think it should fit doesn't mean it will. It was a lot easier for me to build when I had fittings to "play" with.

5. Hand Tighten. Don't tighten with tools.

6. Quick disconnects are really handy but expensive. Worth every cent.

7. Keep track of all your fittings. Keep track of all the screws and keep them in the same place.

8. You'll end up with a small zip lock bag for each fitting you purchase. Reuse them for screws.

9. Write down a plan. How many of what fittings you'll use.

10. G 1/4 is the main hole that various fittings of whatever sizes will fit.

11. Prepare for what you planned to go out the window.

12. Physics is a cold mistress.

13. It's a leak! Prepare yourself with a bowl with large opening. A large towel. Work on your watercooling above on a table.

This is what you should buy. No ifs and or buts.
- A power supply with a switch jumper. You don't want a leak in your system when it's turned on. If you're building a system that you want to watercool, you probably want it to work afterwards. Simple.
- Hex tools of various sizes.
- Electronic Screwdriver set with various Torx bits. T8 & T10. It makes screwing fans and various other components less of a chore.
 
Last edited:
Back
Top