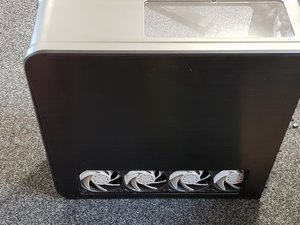
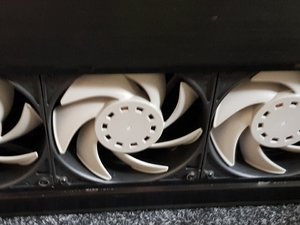
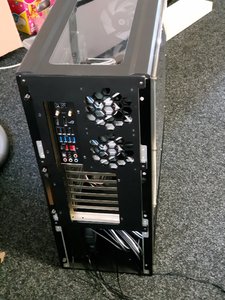
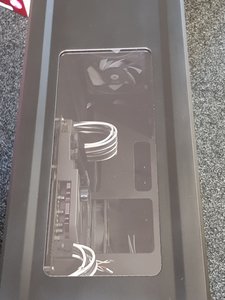
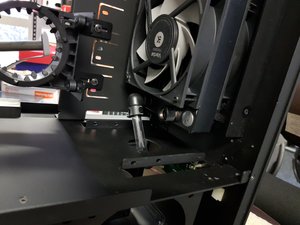
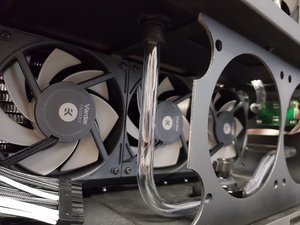
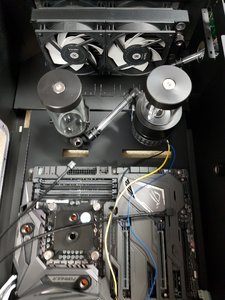
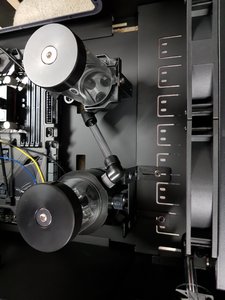
Silverstone TJ07 Horizontal case mod

Deimos

[H]ard|Gawd
Joined
Aug 10, 2004
Messages
1,166
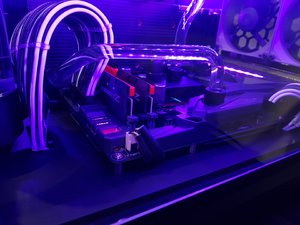
I just got finished moving my X99 system in to the Phanteks Enthoo Elite which you can see here.

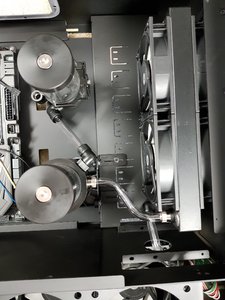
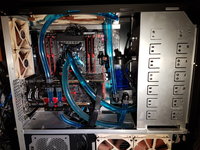
Here is the original TJ07 build running a dual loop. Yep, two pumps, and three, yes three radiators. Cramming it all in there was no mean feat.
20170124_225754.jpg

I'm not one for letting $800 cases go to waste, especially the all aluminium masterpiece that is the TJ07, the only issue is, what can I use it for?

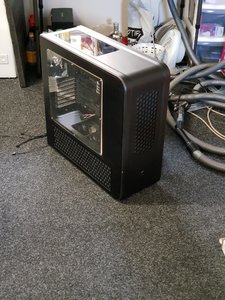
What about a home theater PC? just one problem though, the case is massive when standing. I already dislike my, rather demure, FT03 and I wanted something that suits my home entertainment setup, like a horizontal case. I don't particularly like the cases available so I decided to mod my TJ07 in to a horizontal case.

Let the build log commence!

I'll be transferring my current HTPC build in to this, specs are:
i7 7700k
Asus Maximus VIII Gene (Z170)
32GB G.Skill TridentZ 3333
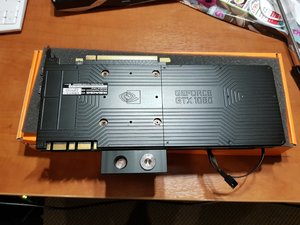
Nvidia GeForce GTX 1080 FE
Samsung 950 Pro M.2 500GB
Samsung 950EVO 1TB
Seasonic Platinum-1000

Updated specs:
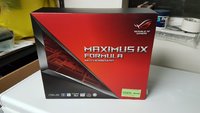
Asus Maximus IX Formula
Samsung 960 Pro 500GB
EKWB Custom loop;
EK-Supremacy EVO - Acetal
EK-FC1080 GTX full cover GPU block - Acetal
EK-CoolStream SE 480 (slim quad)
EK-CoolStream SE 240 (slim dual)
EK-Vardar F4-120ER Type P042
EK-HD PETG Tube (10/12mm)
EK-HDC Fitting (12mm)
EK-RES X3 100
EX-XRES 100 Revo D5 Acetal
I may decide to go for a full ATX board but I am very tempted to stick with mATX and using the extra space on the 'bottom' to mount a decent sized res.

I will approach coldzero for case parts to dress it all up. The plan is to have a quad radiator in the 'bottom', possibly another dual radiator in the front and a window on the top and side. Also, after recently building with hardline tubing and seeing how drastic the difference visualy is, I am going to do another hardline build. I have already got the EKWB Evo CPU block and full cover 1080 block.

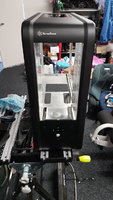
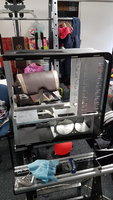
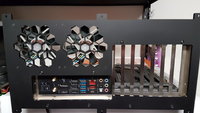
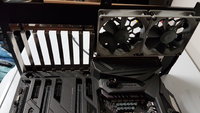
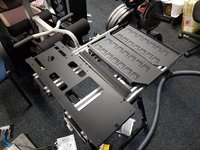
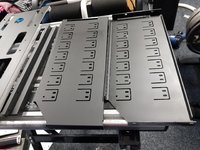
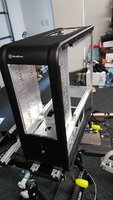
First step is to take it all apart and clean it up, I'm not quite there yet...
20170803_104557.jpg 20170803_104554.jpg20170803_104536.jpg
20170803_104547.jpg20170803_104543.jpg
 
Last edited:
Update time.

This build is taking much longer than I anticipated. Too busy with work to really spend time on it. I pretty much have everything I need to finish it, I just need to clean up a few bits here and there and decide on the build order to make sure it goes as smoothly as possible.

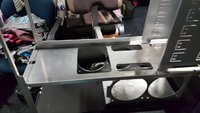
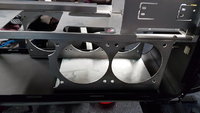
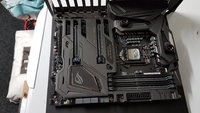
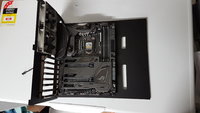
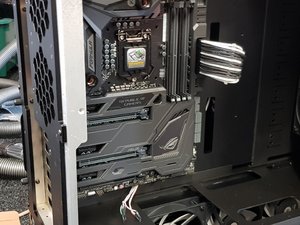
First order of business, the order from ColdZero arrived. Here is the motherboard tray with new board installed.

20170830_225842.jpg 20170830_225918.jpg 20170830_225914.jpg 20170830_225909.jpg 20170830_230018.jpg

Painted some parts as well even though they will not be seen, just wanted to make sure everything looks clean.

20171007_125232.jpg 20171007_125248.jpg

The outside of the case has also had a coat of paint to cover up blemishes and looks OK, although I'm not too happy with my hole filling job, I might have another crack at it. More pics to come.
 
Last edited:
Update time.

This build is taking a very long time. We have a new employee starting sometime in the next few weeks which means I have to progress this build, otherwise we are a PC short in the office.

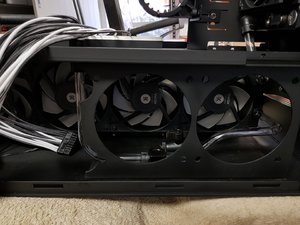
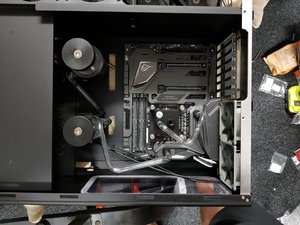
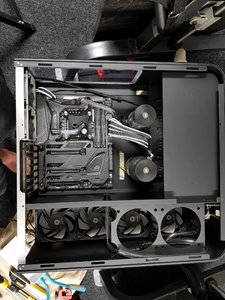
Painting is complete and I have started to install various bits and pieces in to the case.

20180221_141714.jpg 20180221_141732.jpg 20180221_141737.jpg 20180221_141745.jpg 20180221_141750.jpg 20180221_141811.jpg 20180221_141814.jpg

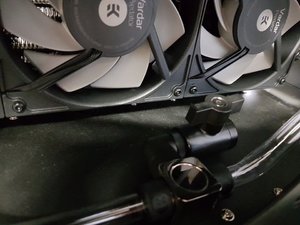
Next stage will be to install the pump and res, the mounting parts have been ordered and are in transit. Then on to PETG bending.

There are still some parts from Coldzero that need to go in such as the side panel and bottom plate covers and PSU mounting plate but at this stage it's looking very nice.
 
Last edited:
Update time.

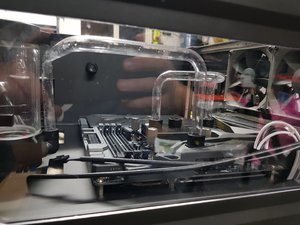
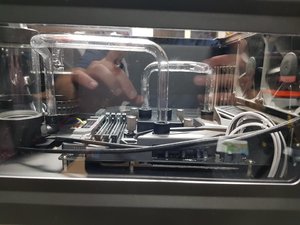
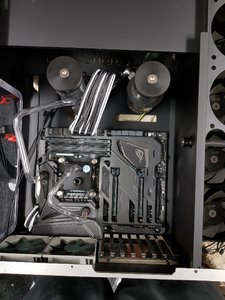
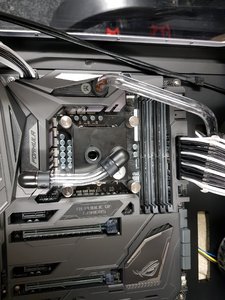
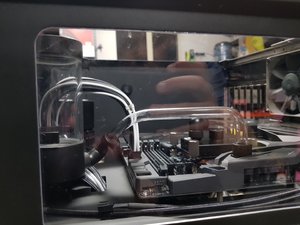
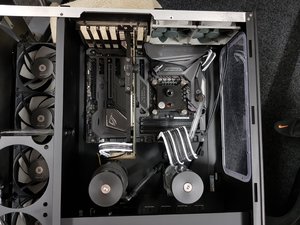
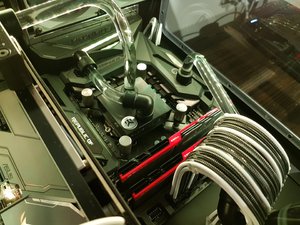
I threw in a temporary CPU so I could get the majority of the tubing done before the final push to get it finished so the tubing is more or less done minus the GPU block.

I may redo the motherboard, res and CPU bends as I'm not sure the look is what I really wanted.

Its starting to shape up pretty nicely.

20180224_164129.jpg 20180224_164136.jpg 20180224_164145.jpg 20180224_164152.jpg 20180224_170858.jpg 20180224_170903.jpg 20180224_172915.jpg 20180224_224000.jpg 20180224_224009.jpg 20180224_224017.jpg
 
I'm also contemplating doing the power cable as pictured but I haven't decided yet.

20180224_224359.jpg
 
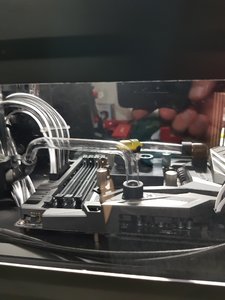
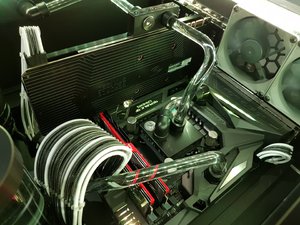
Redid the bends, I think this looks a lot cleaner. Still not what I wanted but close enough.

20180225_232637.jpg 20180225_232641.jpg 20180225_232649.jpg 20180225_232702.jpg
 
I can feel it getting really close to completion. That sounds dirty somehow...

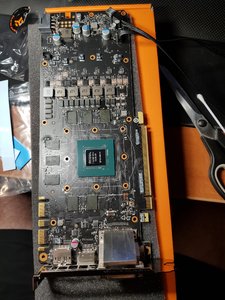
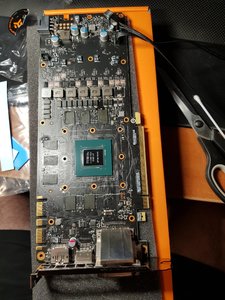
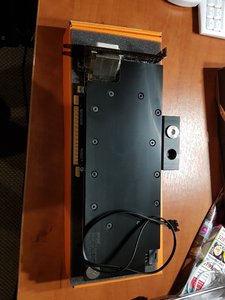
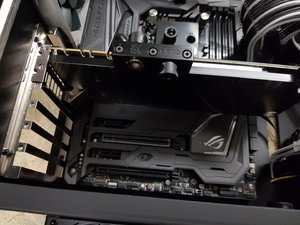
Pulled the old system out and removed the Geforce 1080, installed the waterblock. The system is ready for the final two bends, than all that remains is to swap out the temp CPU for the 7700K, , install the SSD and a small cable tidy up, leak testing and windows installing. Should be able to finish it tomorrow.

20180228_215104.jpg 20180228_215106.jpg 20180228_225909.jpg 20180228_225938.jpg
 
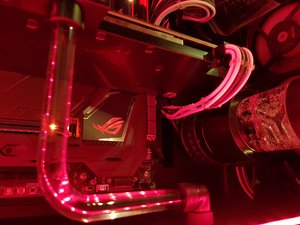
Little bit of cable tidying. Looking pretty close to the finished project...
20180228_235100.jpg 20180228_235123.jpg 20180228_235128.jpg 20180228_235133.jpg 20180228_235138.jpg 20180228_235140.jpg
 
Final push and this is almost done!

I had a few issues; the cables I got from cablemod were for the wrong type of PSU, it seems they don't have my older Seasonic on there :( I just assumed that the one I picked would be the same pin out, WRONG!

Had to jimmy up a pin extractor tool from one of my daughter's hairpins and repin a whole bunch of cables. I was shitting bricks when I turned it on, worried I might have cabled it wrong, even the 8 Pin CPU cable was inverted and I only found out because I thought to myself "I better check this with a multi-meter, just in case". Everything went fine, except one of the Vardar fans was rubbing on something, turns out it was rubbing on itself. Had to give the motor a slight nudge in one particular direction and it came right.

One final issue, one of the fan controllers I bought for this thing is DOA so I'll have to go back and get another one so at this stage 6 f the 14 fans are not functional. All fans will be controlled by the graphics card since this thing will be warmed up mainly from gaming/VR.

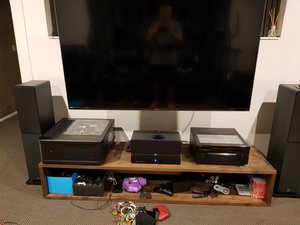
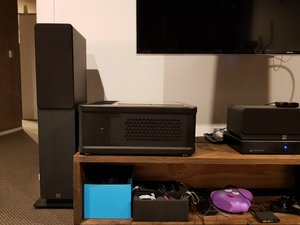
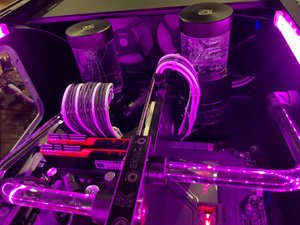
Still need to give the case a clean up and polish the windows but this is pretty much it. I'll post more pics later with the RGB all lit up. It looks incredible, really looks like a piece of the home theater.

20180304_003138.jpg 20180304_003146.jpg 20180304_003152.jpg 20180304_003201.jpg
 
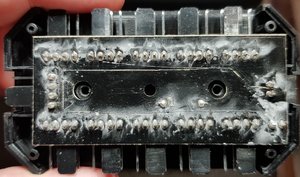
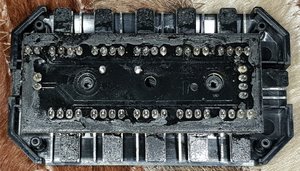
Wow, OK so I am having ongoing issues with the Deepcool FH-10s I bought. As I mentioned, one of them just didn't work at all powering a measly 4 fans. The other one just refused to pass the fan speed to the motherboard for fan one no matter what I tried and at least one fan would not spin up, not an issue with the fan as I swapped some around and the issue followed the connector on the fan hub.

I popped them open for shits and giggles to see how complex these things are and to see if I can figure out what is wrong and holy shit, let this serve as a warning, these things are very badly put together.

Here is the first one which failed to power just 4 fans

20180304_190855.jpg

And the second one that wouldn't pass fan speed to the motherboard

20180304_191331.jpg

What the hell is all that gunk? And it looks like one of the PCB tracks is broken, the soldiering work on these is shockingly bad, even for an amatuer such as myself.

Well, this is frankly the shittest product I have ever had the 'pleasure' of owning. At $27 (about $20 USD) each I expect WAY better and I'm super pissed.
 
I went back to the retailer and we opened a couple more and they were no better so I got my money back. Looks like I'll have to make my own fan hub which is super disappointing as this project was very nearly finished.
 
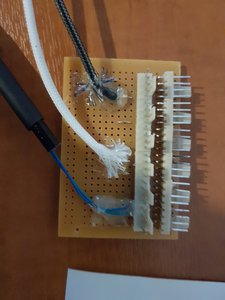
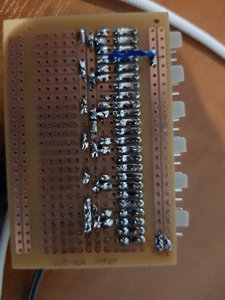
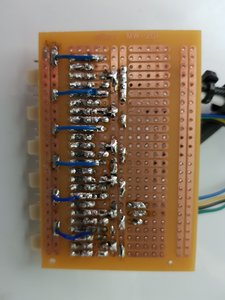
Bought some strip board and threw this together in a few hours. I think my iron was a little too hot as it's not particularly tidy looking.

I still have a few wires to solder on for PWM control but it should only take me a few minutes then I'll have to figure out what to use to make it look OKish. Tested with a multimeter and as far as I can see it should be functional which is more than I can say for the Deepcool fan hubs.

I'm considering hot-gluing an old aluminium 5.25" bay cover on to the bottom to keep it tidy looking, I don't think I have anything else lying around that would look any good.
20180306_192841.jpg 20180306_192850.jpg
 
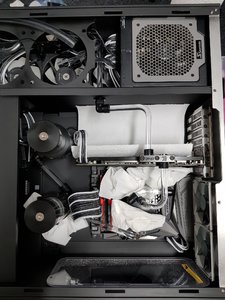
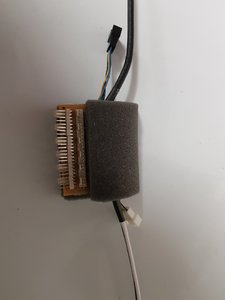
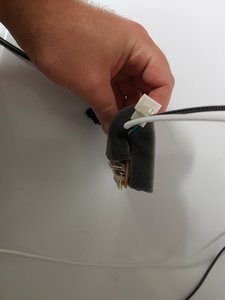
All finished. The fan hub I built worked first try so I'm very happy with that. I glued some foam on there to make it look tidyish.
20180306_220908.jpg 20180307_001519.jpg 20180307_001526.jpg

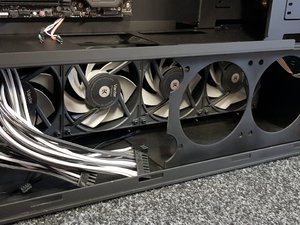
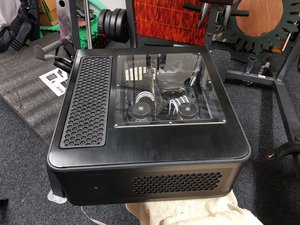
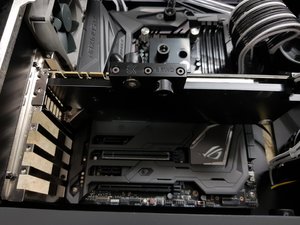
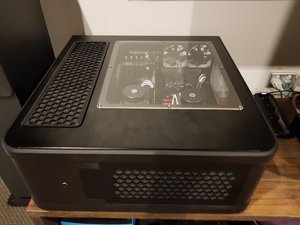
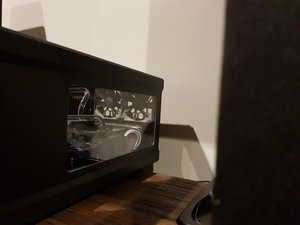
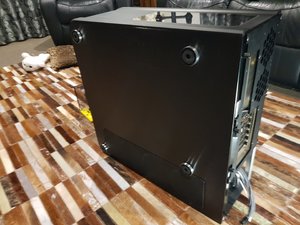
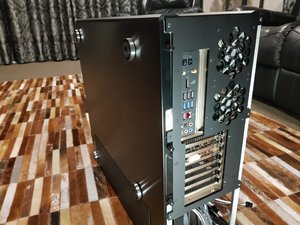
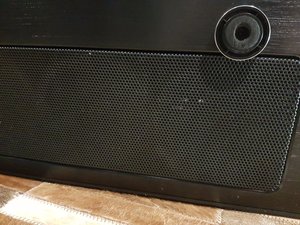
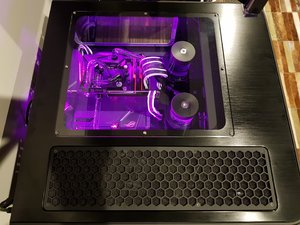
And here is the completed build. First, a shot of the bottom and back with feet installed.

20180307_223206.jpg 20180307_223210.jpg 20180307_223215.jpg

And finally, a short video to show it in action.


With it all complete it is fairly obvious that this level of watercooling is WAY overkill for a simple quad core, single GPU setup. I've only had time to do some very brief testing; the CPU is in the low 50C running prime95 and the GPU is cracking a rediculously low 30C while benchmarking Batman AK and overclocked to 2Ghz core, 10800Mhz mem. All while the fans are running around 350rpm. Nuts.
 
20180308_013247.jpg 20180308_013300.jpg 20180308_013314.jpg 20180308_013332.jpg 20180308_013342.jpg 20180308_013429.jpg

Final specs:
Intel i7-7700k
Asus Maximus IX Formula
Samsung 960 Pro 500GB
Samsung 950EVO 1TB
32GB G.Skill TridentZ 3333
Nvidia GeForce GTX 1080 FE @ 2000/10800
Seasonic Platinum-1000
Silverstone TJ07 with parts from Coldzero
Cablemod custom sleeved PSU cables
EKWB Custom loop;
EK-Supremacy EVO - Acetal
EK-FC1080 GTX full cover GPU block - Acetal
EK-CoolStream SE 480 (slim quad)
EK-CoolStream SE 240 (slim dual)
EK-Vardar F4-120ER Type P042 (12 total in push/pull config)
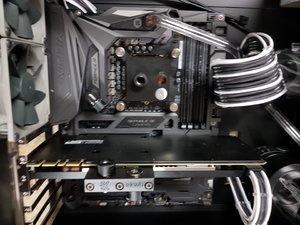
EK-HD PETG Tube (10/12mm)
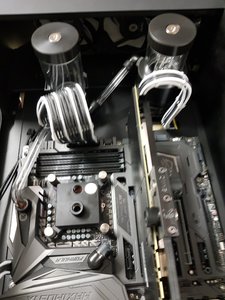
EK-HDC Fitting (12mm)
EK-RES X3 100
EX-XRES 100 Revo D5 Acetal​
 
Last edited:
Wow, those tubing bends look great! Really wanting to do Hardline myself, not sure if it would be worth the time for me however
 
Back
Top