**Also posted over at Overclock.net- [Build Log] Fat guy in a little coat; water cooled Node 304 - Page 5
This is my first real attempt at having a build log. Usually I would just use the components as is when I build them. I'm definitely a noob when it comes to this type of modding. I did post other pics over at OC.net but thought I would share here.
OBJECTIVE;
Water cool and clean up cabling.
SPECS;
CPU; Intel i7-4770K
RAM; G-Skill Ripjaws DDR3 1600 2x4GB
HDD; Western Digital 500GB RE3
GPU; EVGA GTX 660 SC
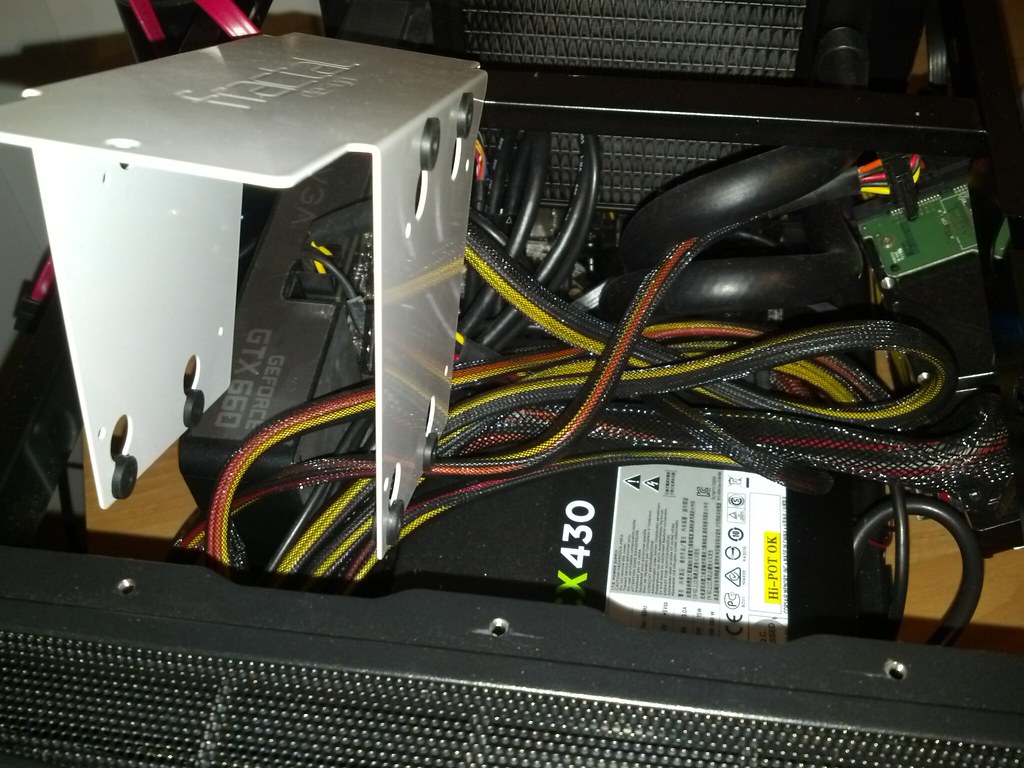
PSU; Corsair CX430W PSU
CASE; Fractal Node 304
LOOP SPECS;
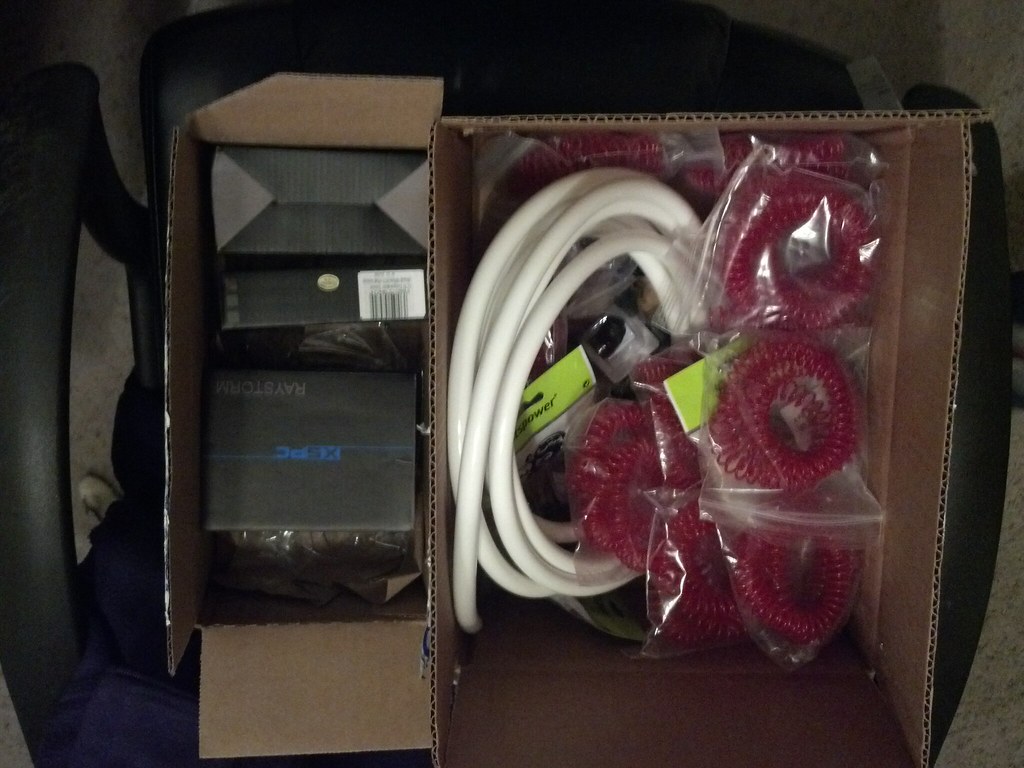
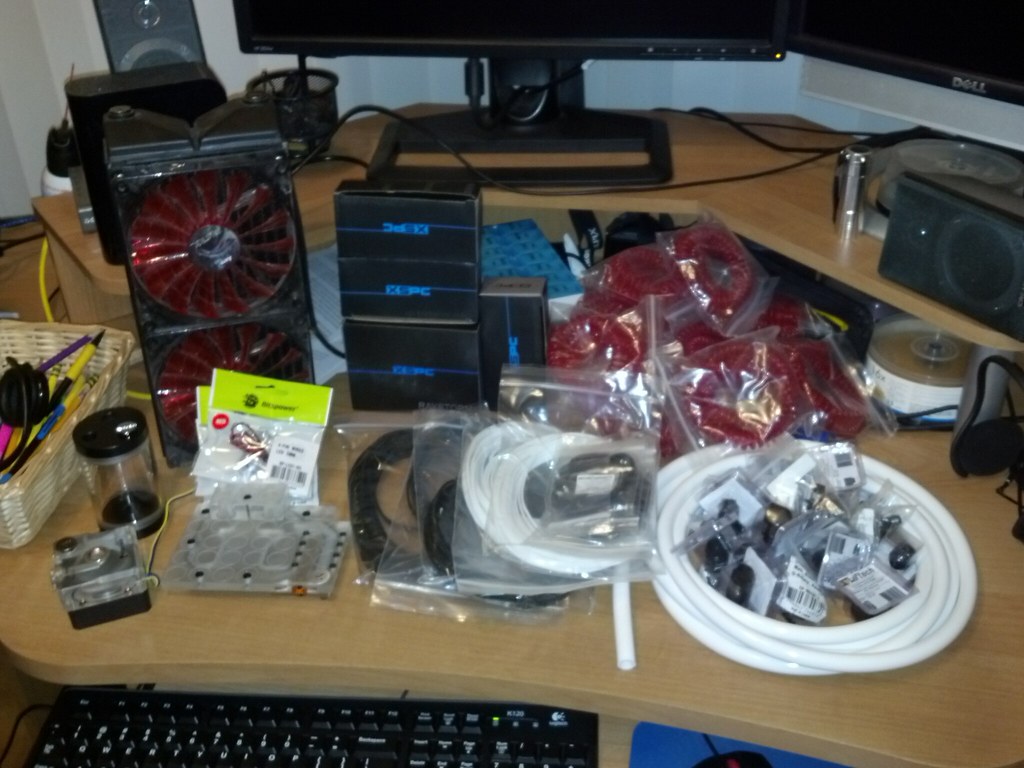
RAD; Coolgate 280 (2x140mm)
CPU; XSPC Raystorm
GPU; EK Full cover
PMP; MCP355 w/ Koolance top
RES; Bitspower 80ml
ADDONS;
30x Bitspower Super Tight Weave 1/16 Black
30x Bitspower Super Tight Weave 1/16 White
20x Bitspower Super Tight Weave 1/4 Black
20x Bitspower Super Tight Weave 1/4 White
10x Bitspower Super Tight Weave 1/8 Black
3x Red and White LEDs
1x XSPC LCD Temperature Sensor V2 w/ sensor plug
2x XSPC LCD Temperature Sensor w/ sensor prob
1x Bitspower G1/4" Matt Black Q-Rotary Adapter
2x Swiftech 15mm Lok-Seal Male/Female extension
3x Swiftech 3/8" Barb (2pack)
5x Swiftech 45° Swivel Elbow
4x Swiftech 90° Swivel Elbow (will not be used due to leaking)
12x Primoflex Advanced LRT tube White 3/8 x 5/8
12x PrimoChill Anti-Kink Coils 5/8" Red
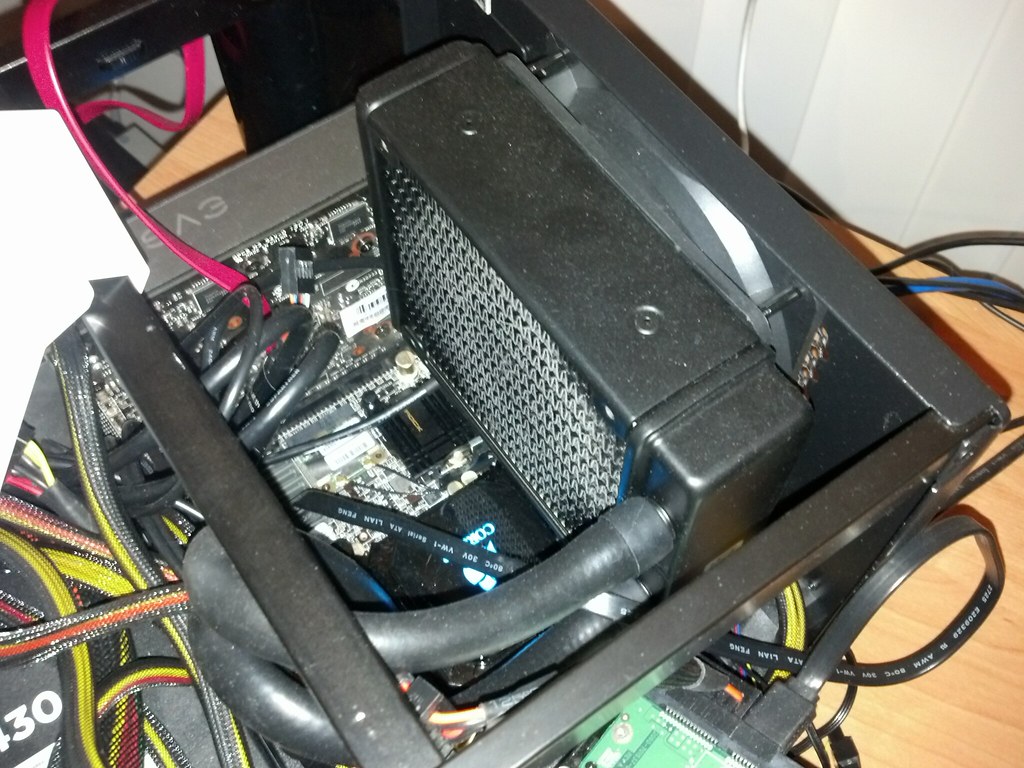
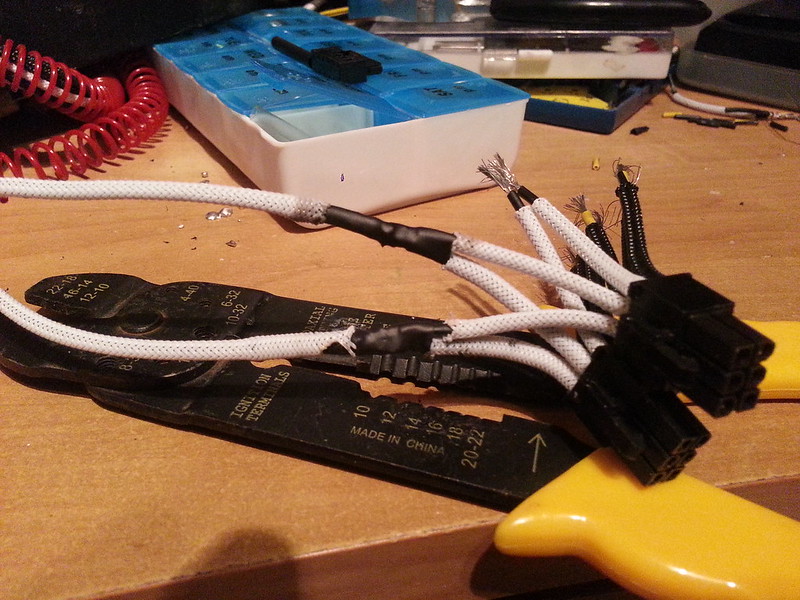
Pre-build... We're going to have to do something about that cabling!
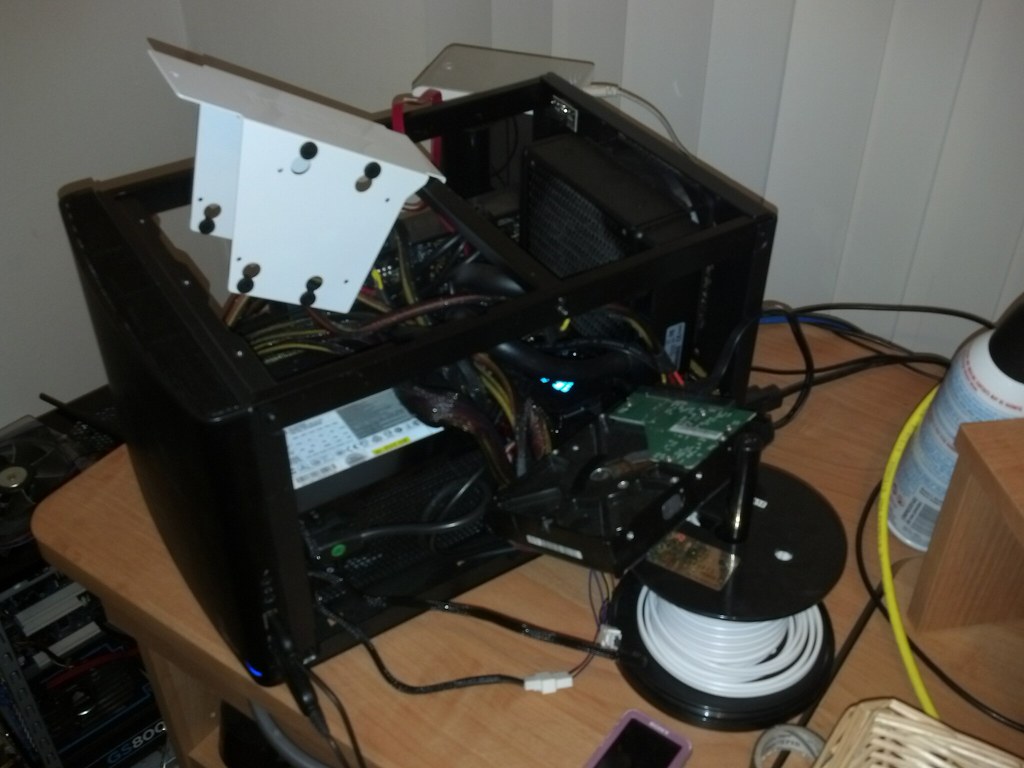
Pre-build, HDD cage hitting GFX card
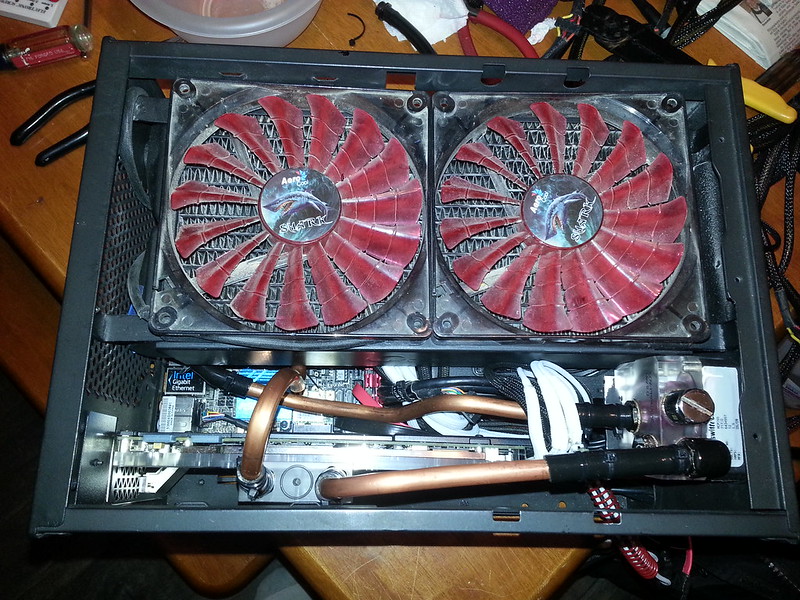
H80i
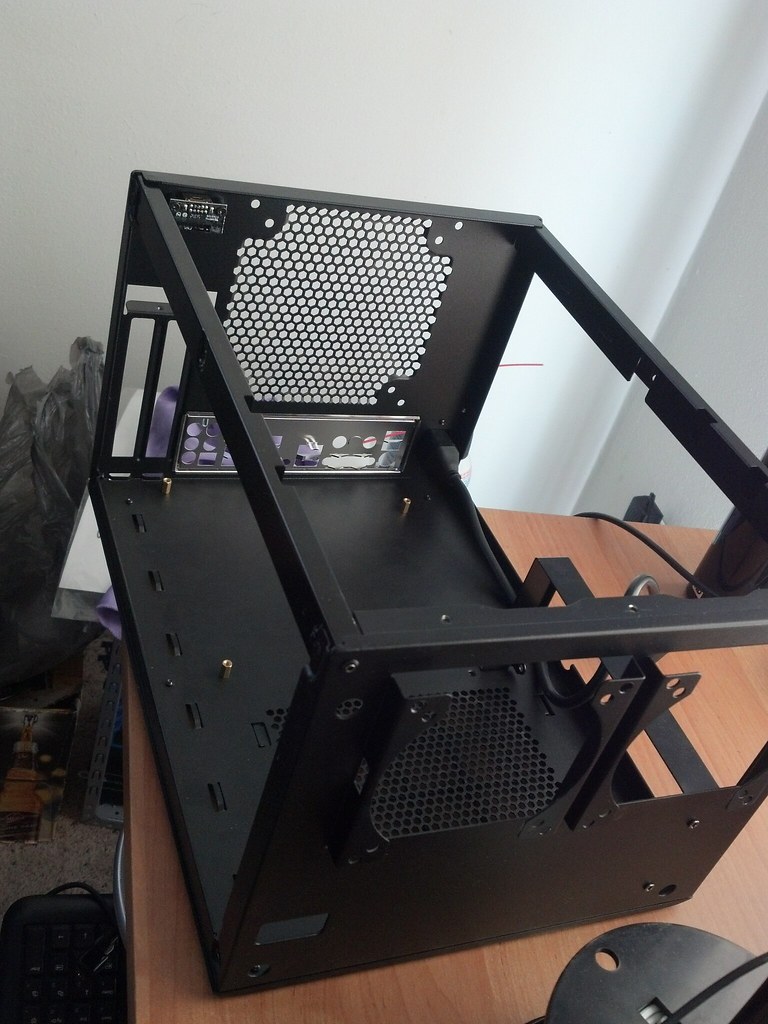
No disassemble!
Pure nakedness
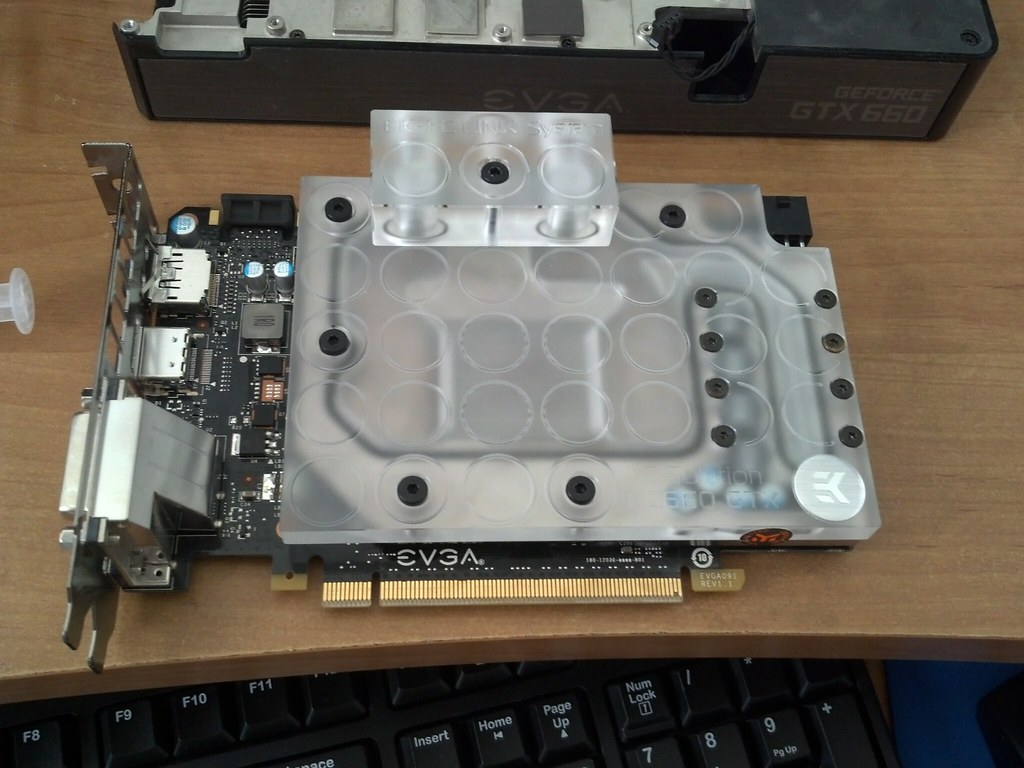
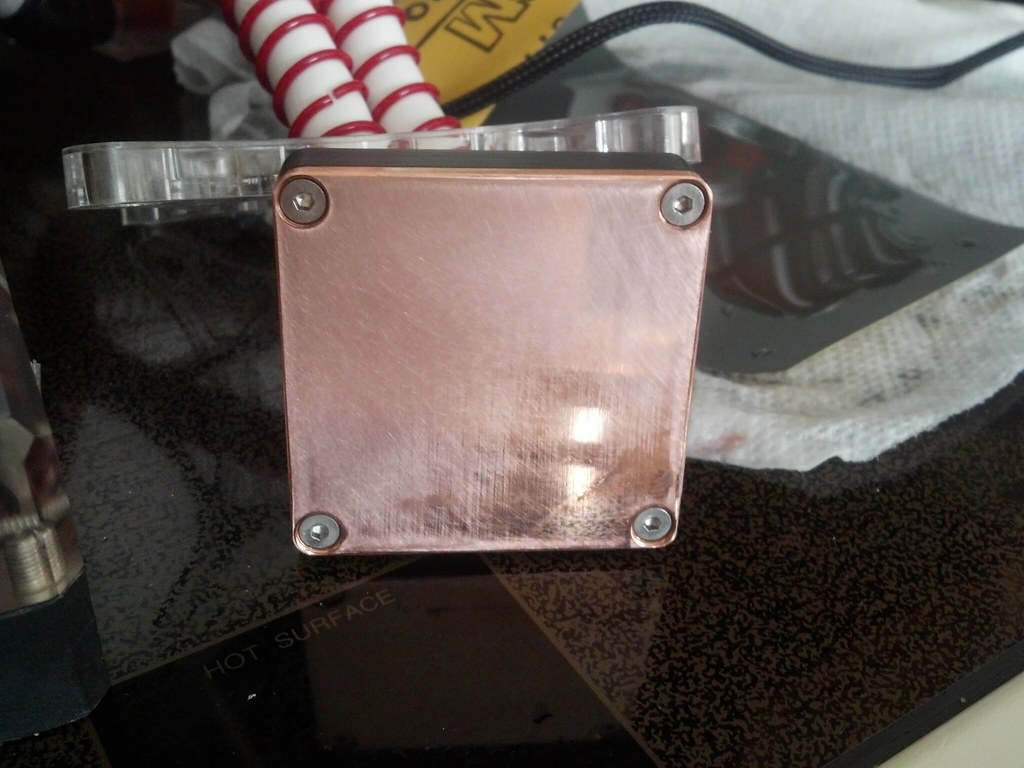
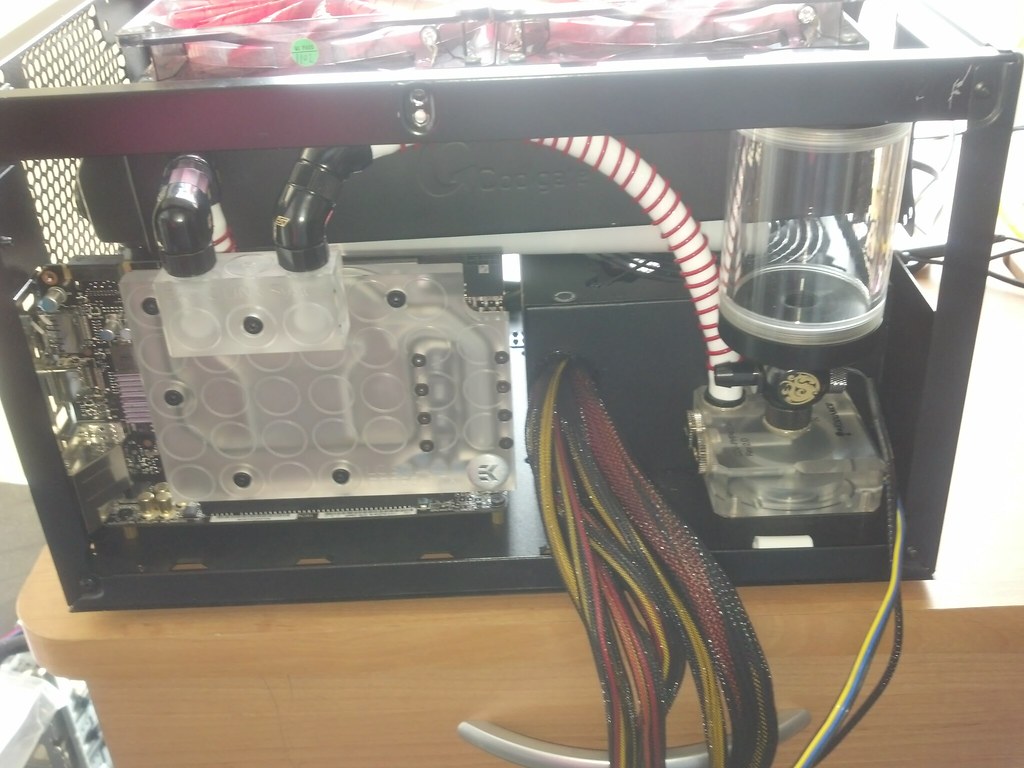
GFX card block addition
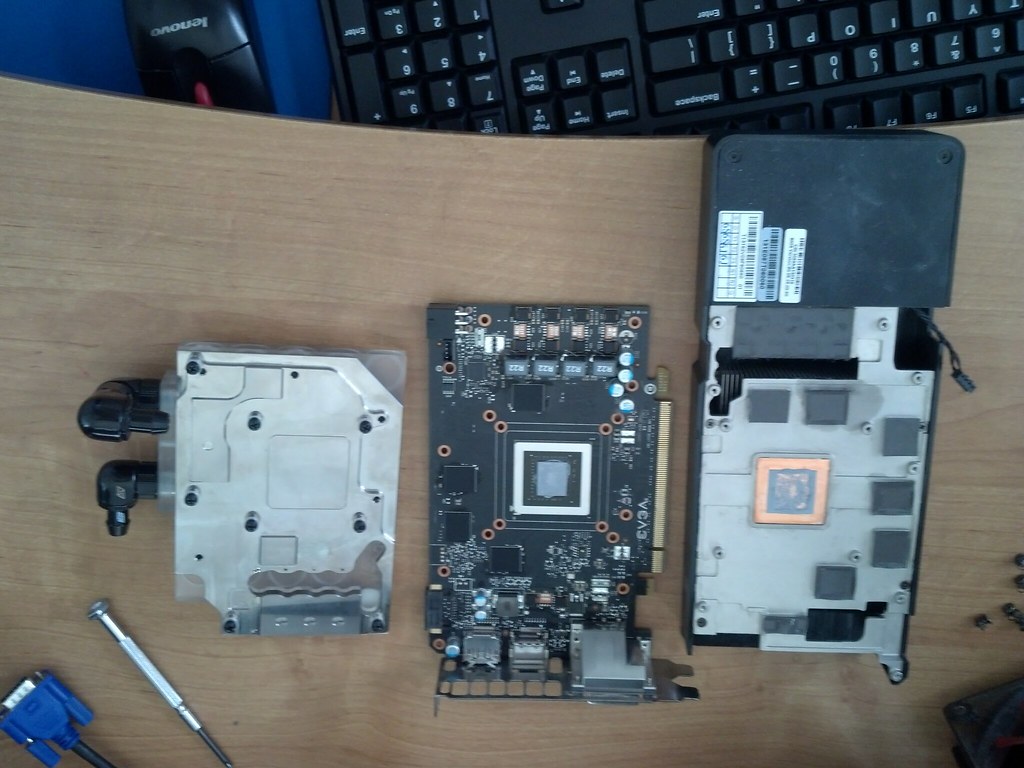
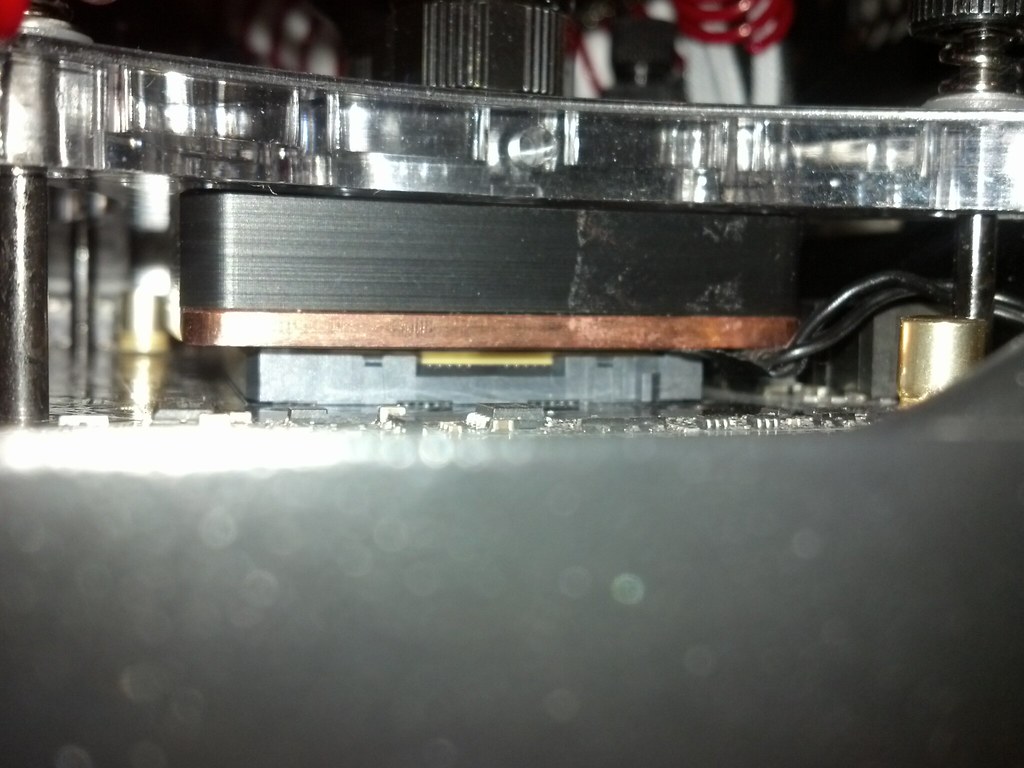
GFX card block installed
CPU block installed
Looks like clearance is very slim or it's hitting the cpu locking bracket
Let's remove that...
What the...
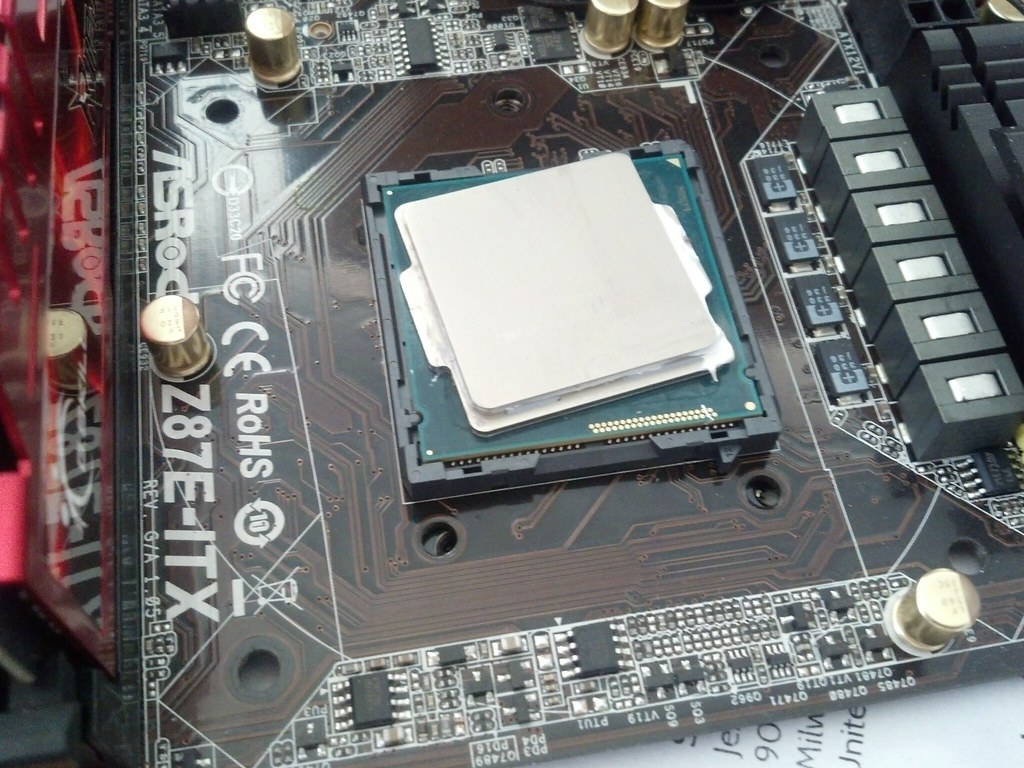
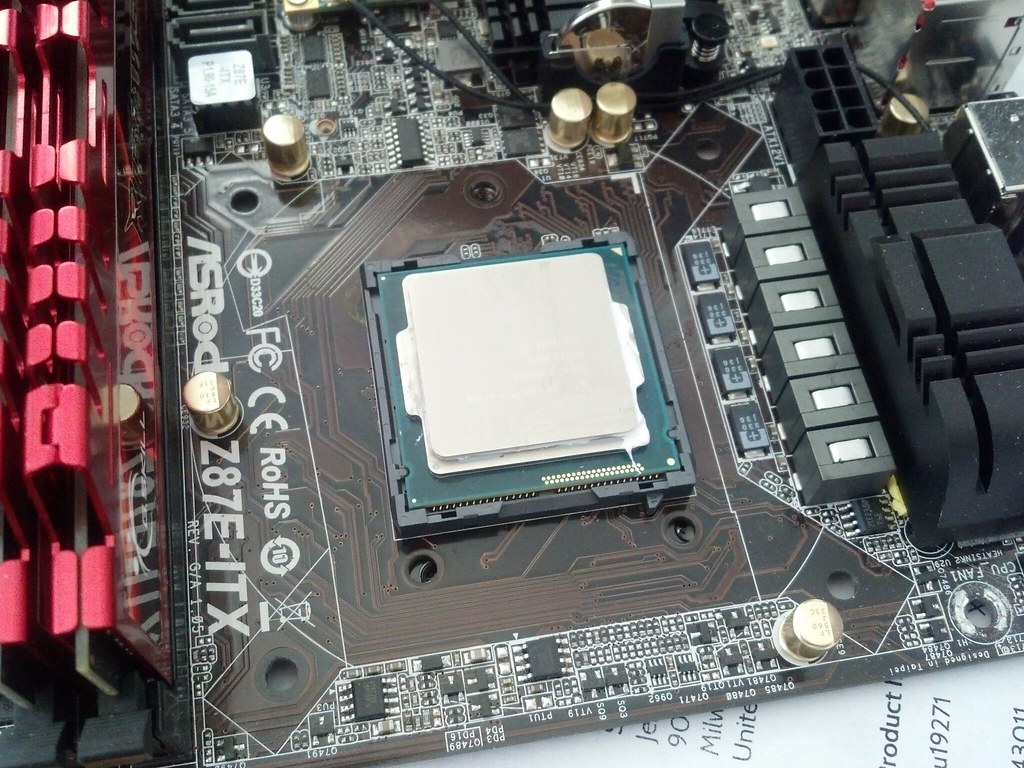
HEY!!! Easiest delid FTW!! (bought used, did not realize it had been delided)
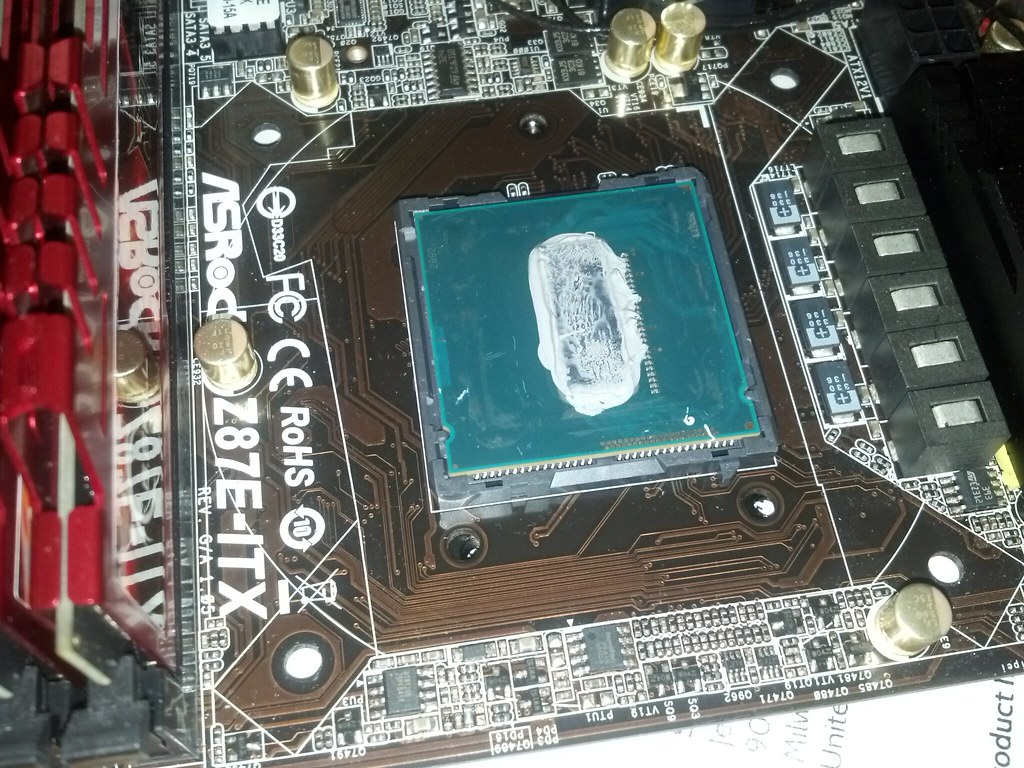
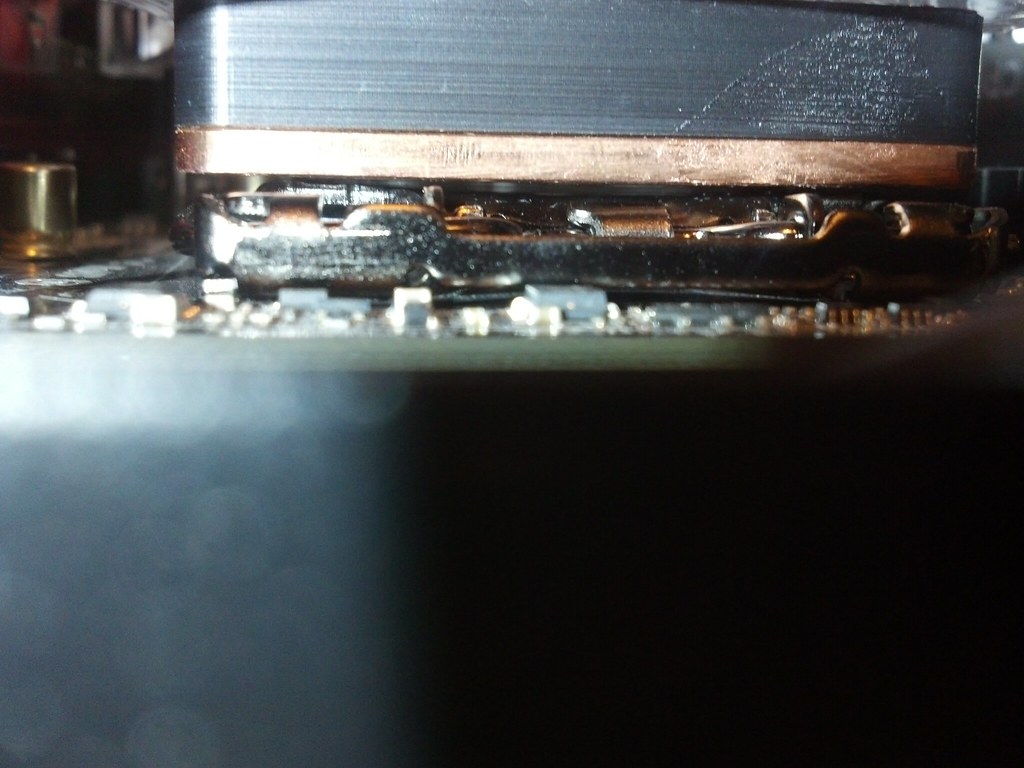
Cleaning up WB for even seat on CPU die (unfortunately, I did not get finished shot)
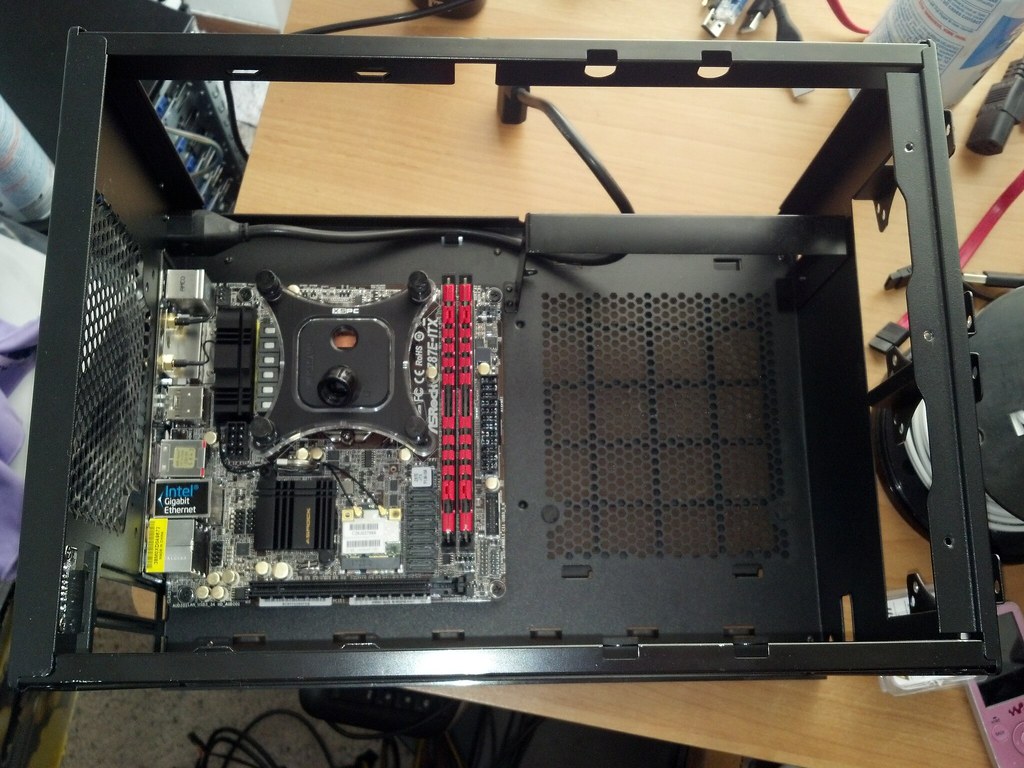
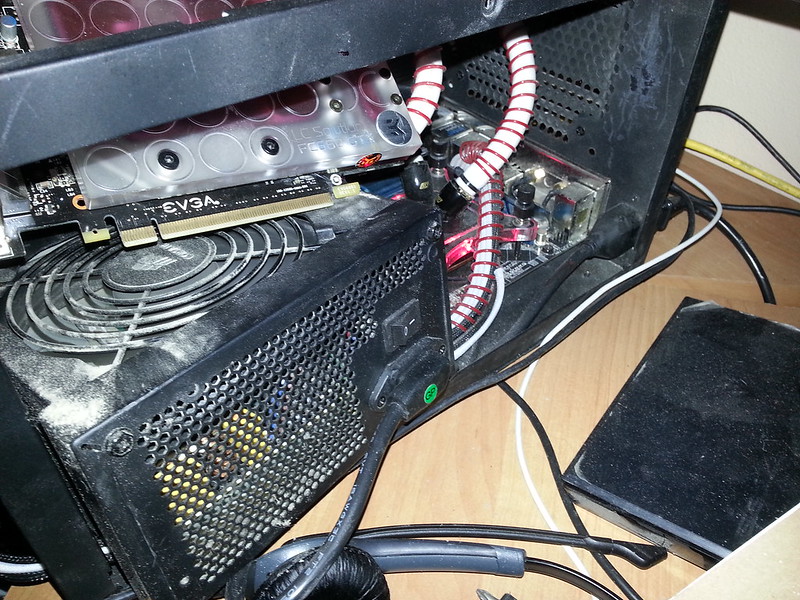
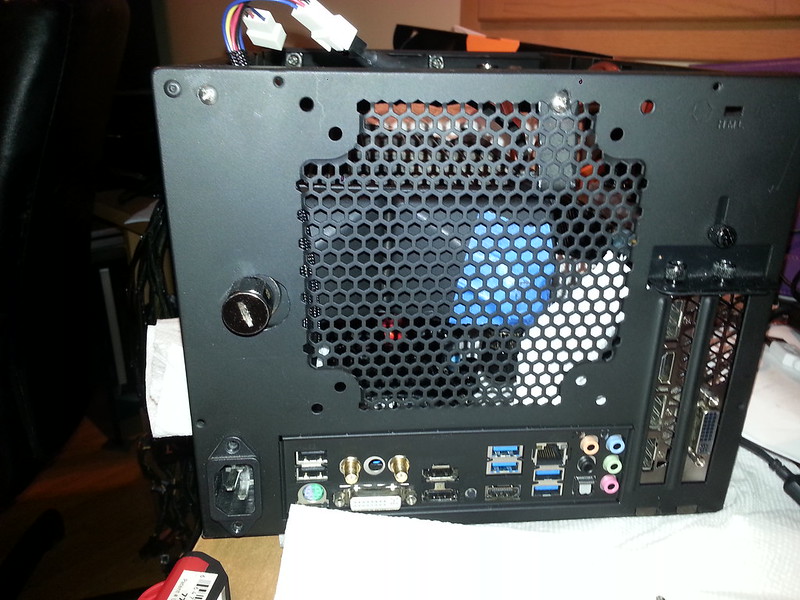
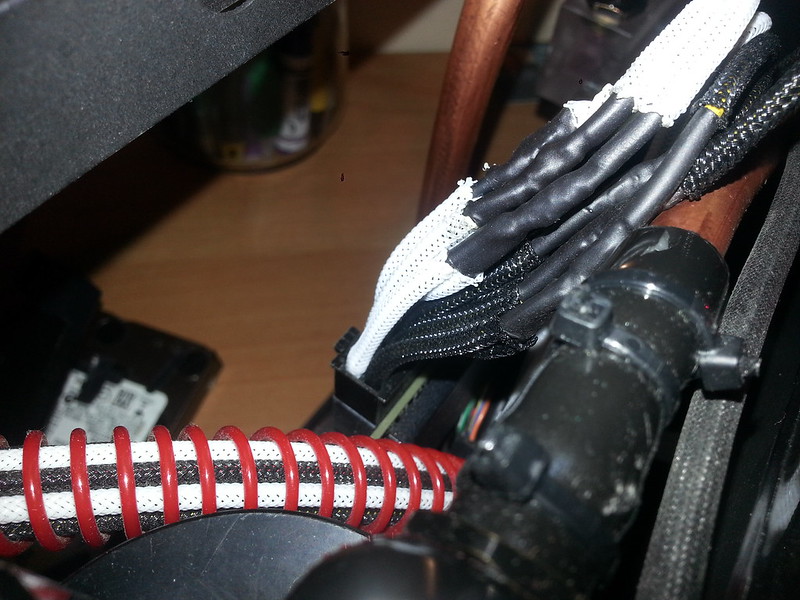
No more clearance issues (wires are for temp prob)
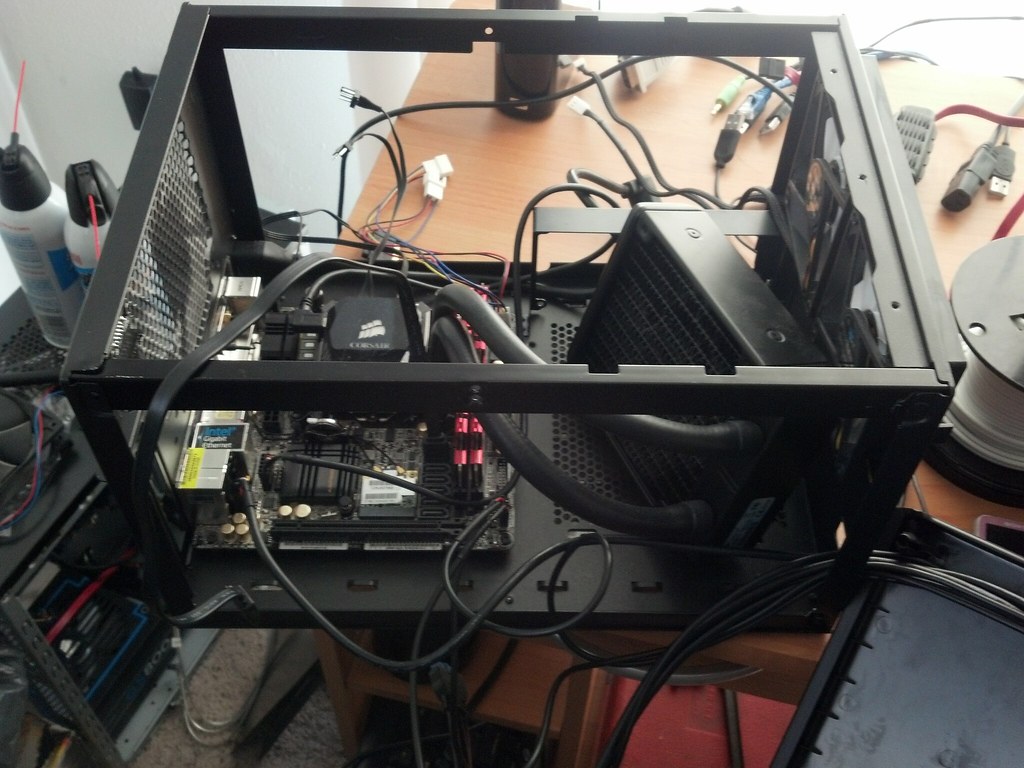
Running plumbing and checking tubing clearances (I changed out 90deg for 45deg)
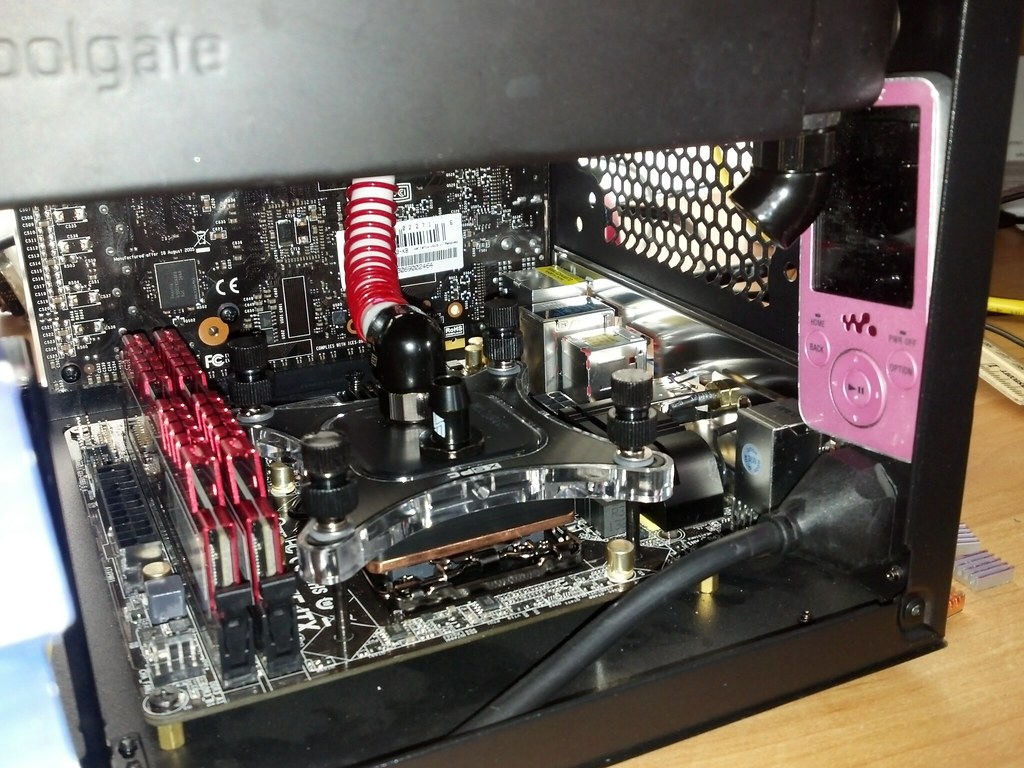
More tubing running and checking of clearances
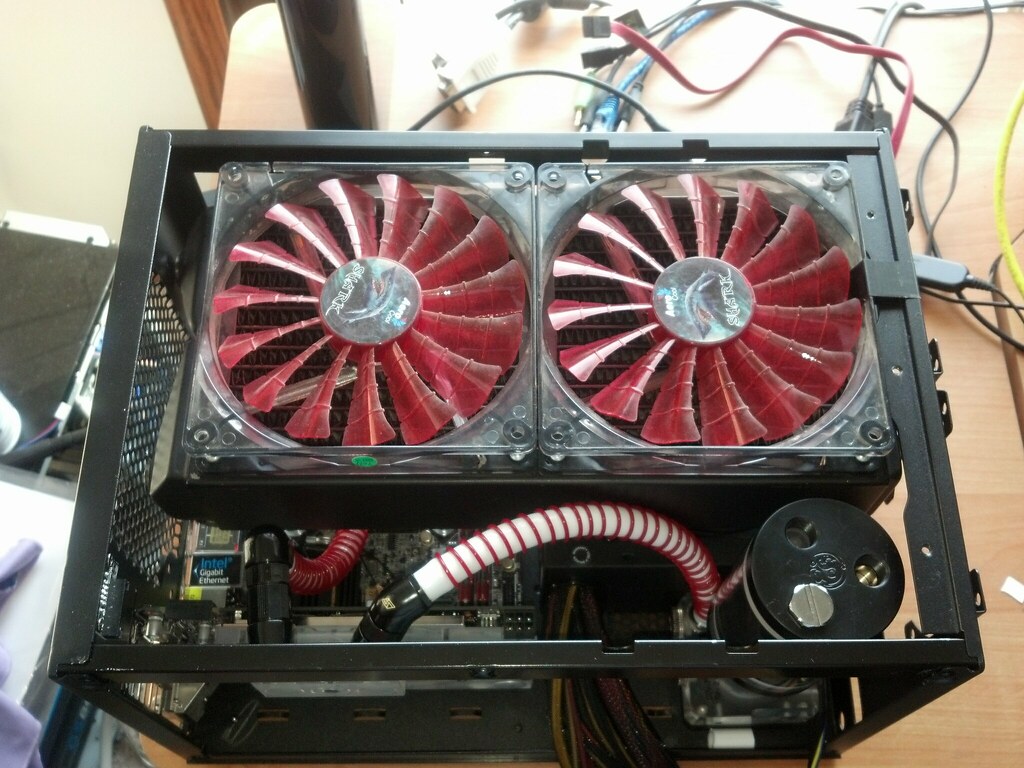
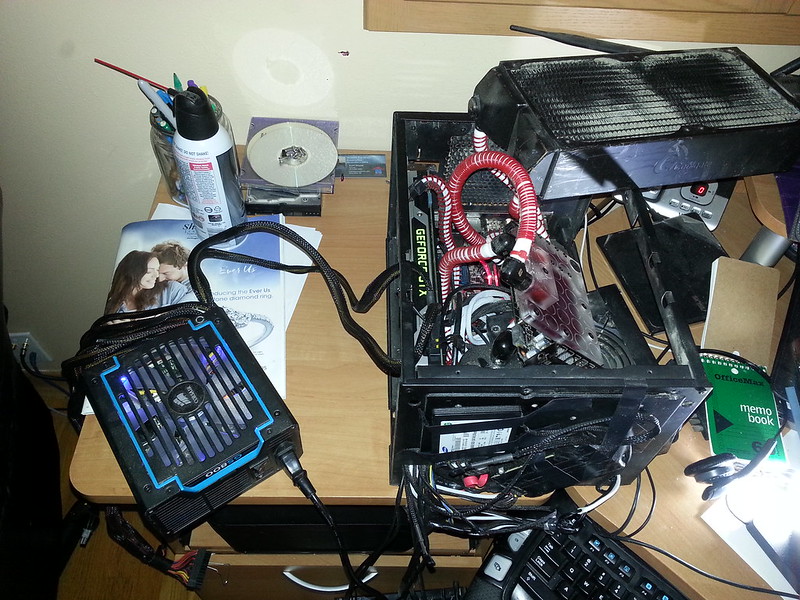
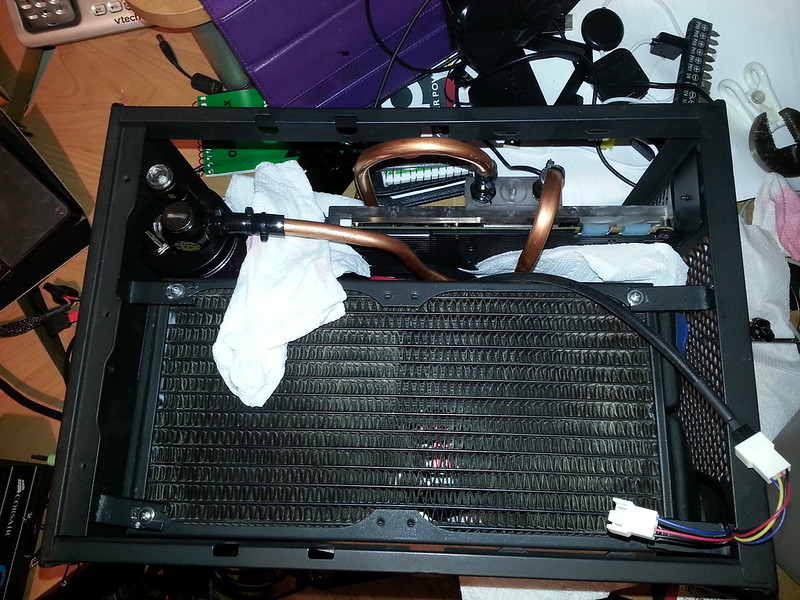
Clearance check from the top
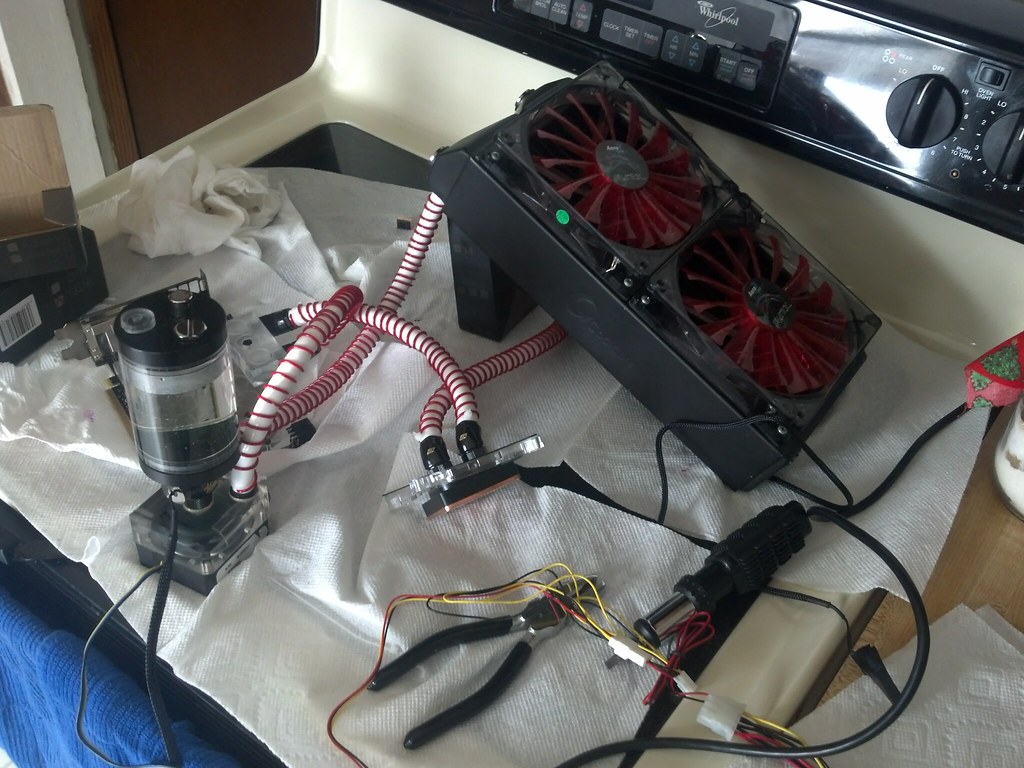
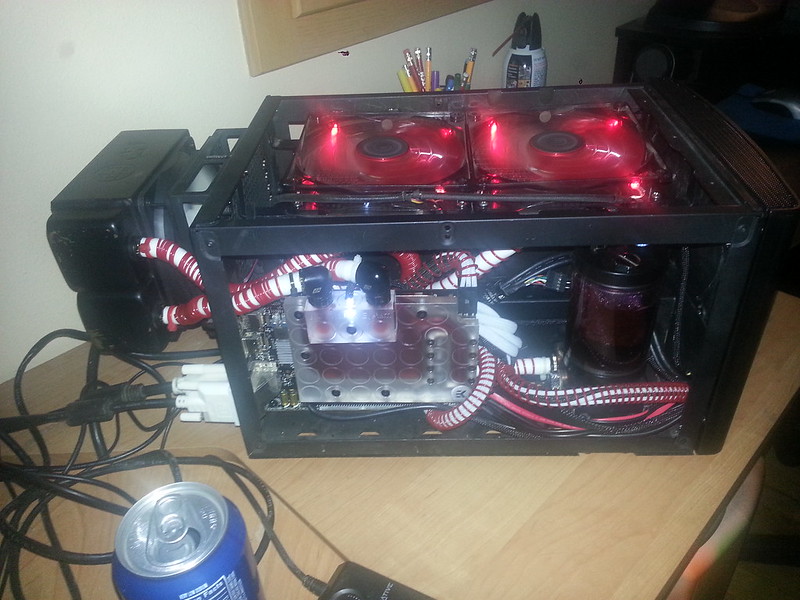
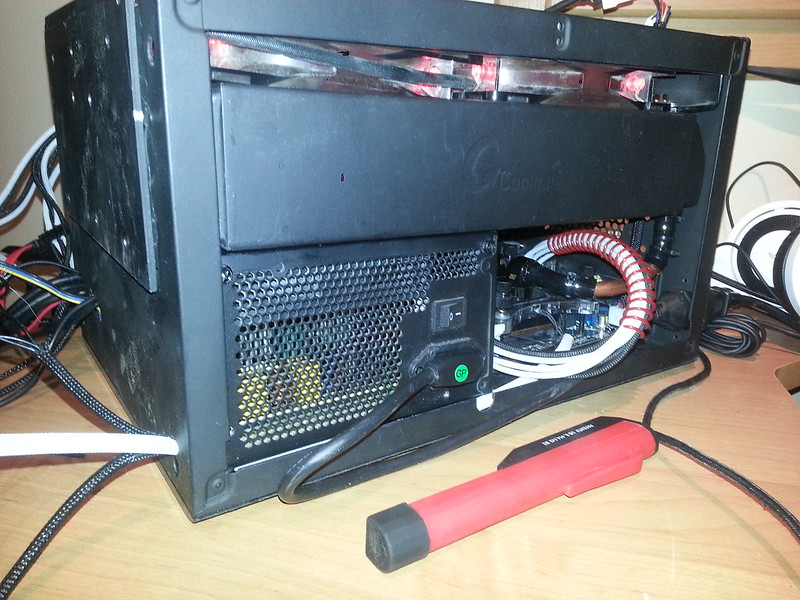
Leak testing and air removal (90deg already removed)
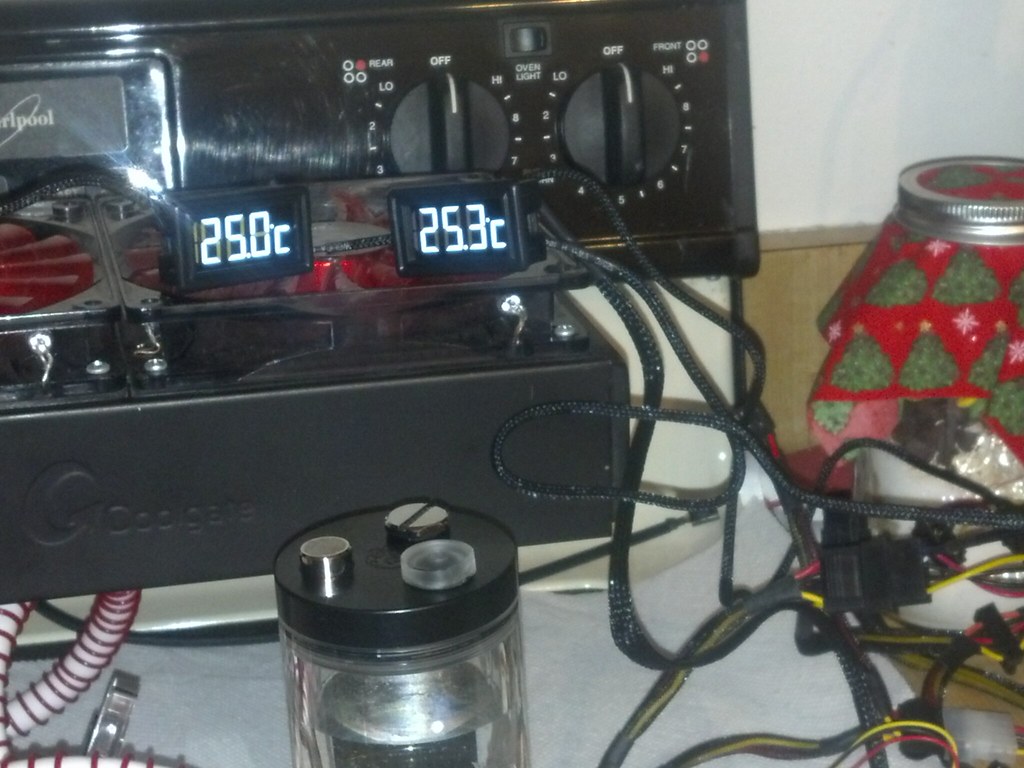
Testing temp lcd's (2 shown; 3 in total)
More to come
This is my first real attempt at having a build log. Usually I would just use the components as is when I build them. I'm definitely a noob when it comes to this type of modding. I did post other pics over at OC.net but thought I would share here.
OBJECTIVE;
Water cool and clean up cabling.
SPECS;
CPU; Intel i7-4770K
RAM; G-Skill Ripjaws DDR3 1600 2x4GB
HDD; Western Digital 500GB RE3
GPU; EVGA GTX 660 SC
PSU; Corsair CX430W PSU
CASE; Fractal Node 304
LOOP SPECS;
RAD; Coolgate 280 (2x140mm)
CPU; XSPC Raystorm
GPU; EK Full cover
PMP; MCP355 w/ Koolance top
RES; Bitspower 80ml
ADDONS;
30x Bitspower Super Tight Weave 1/16 Black
30x Bitspower Super Tight Weave 1/16 White
20x Bitspower Super Tight Weave 1/4 Black
20x Bitspower Super Tight Weave 1/4 White
10x Bitspower Super Tight Weave 1/8 Black
3x Red and White LEDs
1x XSPC LCD Temperature Sensor V2 w/ sensor plug
2x XSPC LCD Temperature Sensor w/ sensor prob
1x Bitspower G1/4" Matt Black Q-Rotary Adapter
2x Swiftech 15mm Lok-Seal Male/Female extension
3x Swiftech 3/8" Barb (2pack)
5x Swiftech 45° Swivel Elbow
4x Swiftech 90° Swivel Elbow (will not be used due to leaking)
12x Primoflex Advanced LRT tube White 3/8 x 5/8
12x PrimoChill Anti-Kink Coils 5/8" Red
Pre-build... We're going to have to do something about that cabling!
Pre-build, HDD cage hitting GFX card
H80i
No disassemble!
Pure nakedness
GFX card block addition
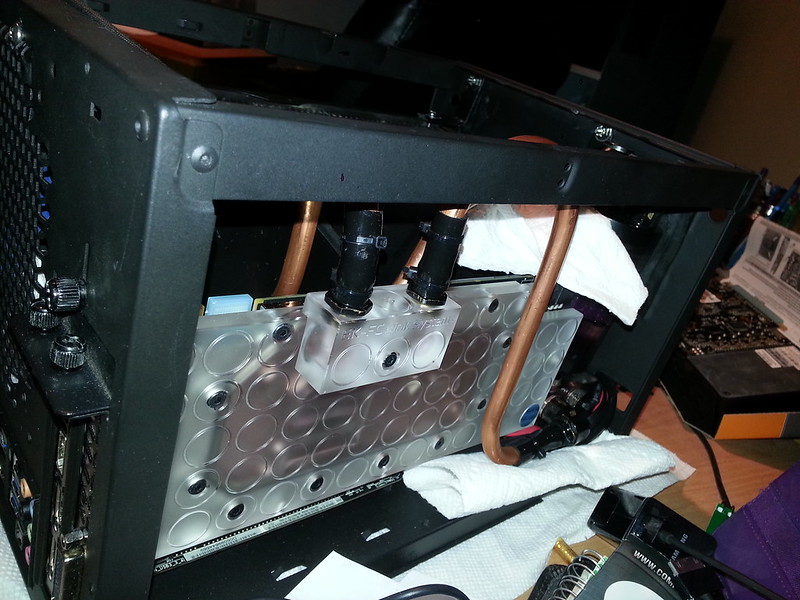
GFX card block installed
CPU block installed
Looks like clearance is very slim or it's hitting the cpu locking bracket
Let's remove that...
What the...
HEY!!! Easiest delid FTW!! (bought used, did not realize it had been delided)
Cleaning up WB for even seat on CPU die (unfortunately, I did not get finished shot)
No more clearance issues (wires are for temp prob)
Running plumbing and checking tubing clearances (I changed out 90deg for 45deg)
More tubing running and checking of clearances
Clearance check from the top
Leak testing and air removal (90deg already removed)
Testing temp lcd's (2 shown; 3 in total)
More to come
Last edited:

 , and far from the cutting edge
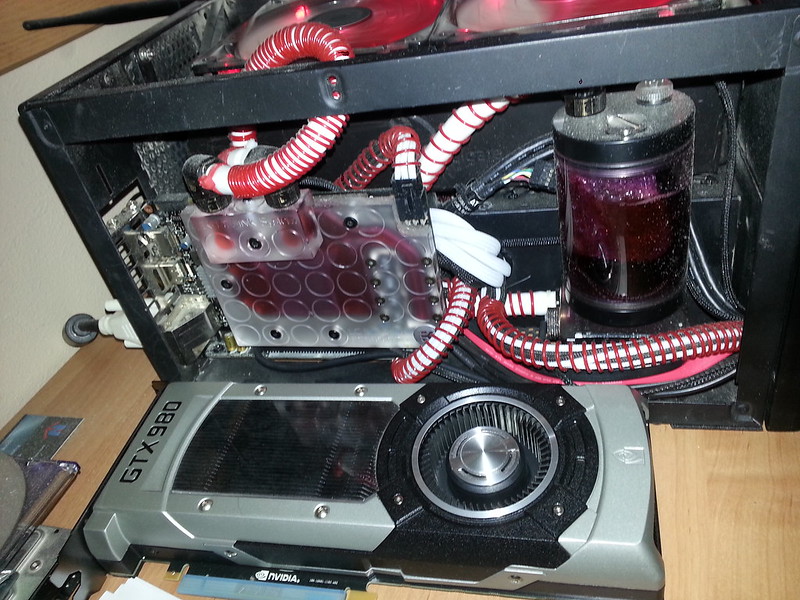


 20160217_202855
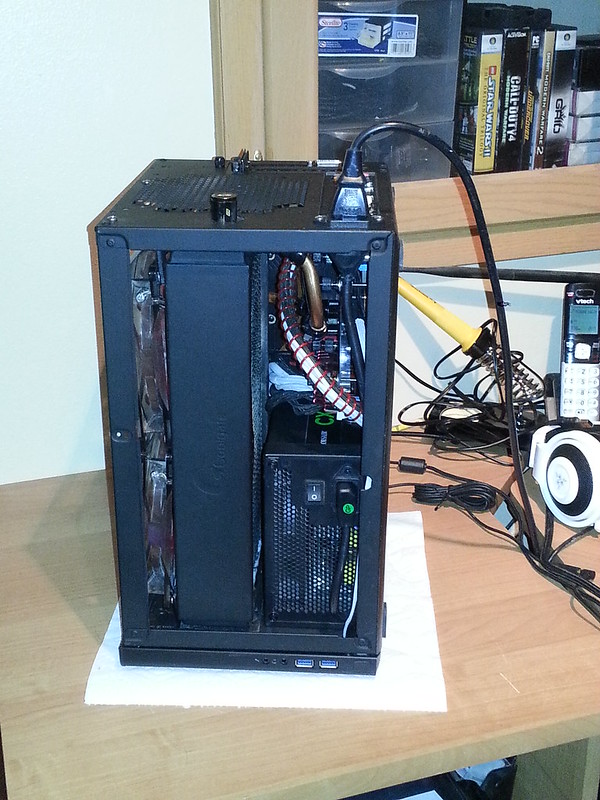 20160217_215008
 20160217_215220
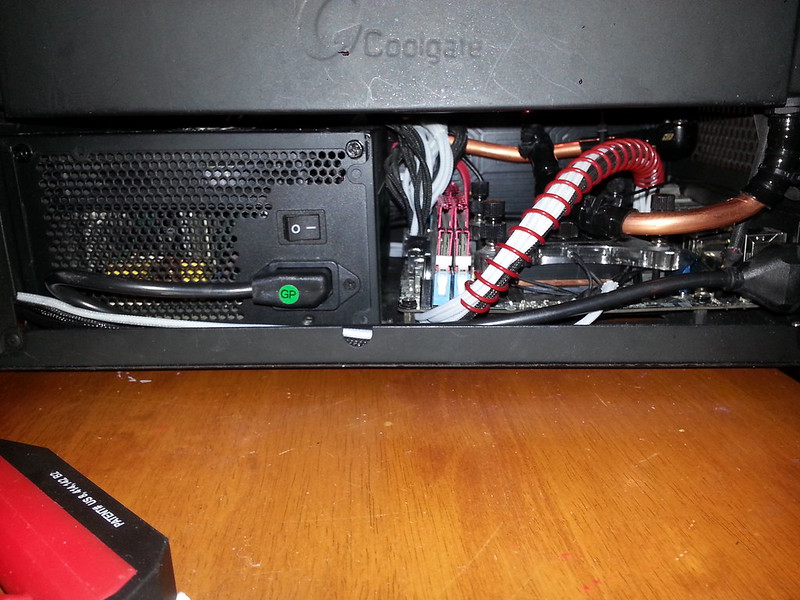 20160217_202906
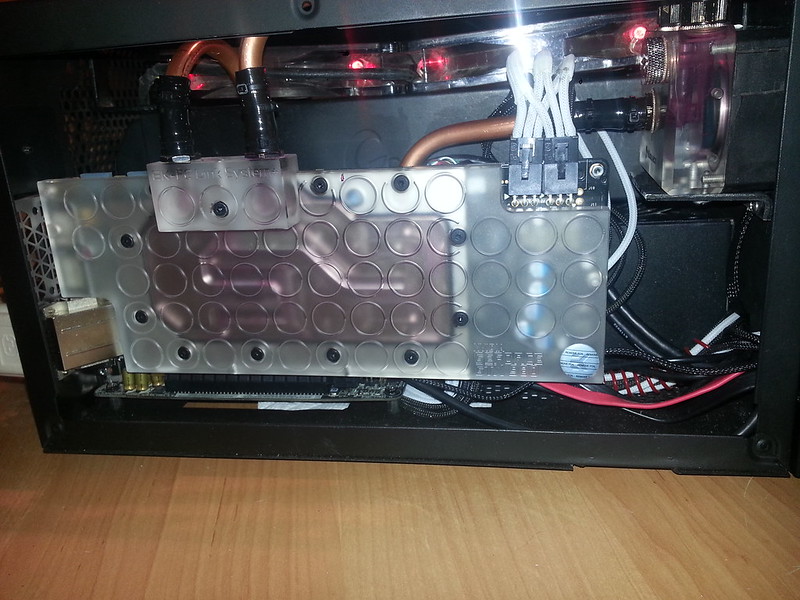 20160218_190350
 20160218_190400