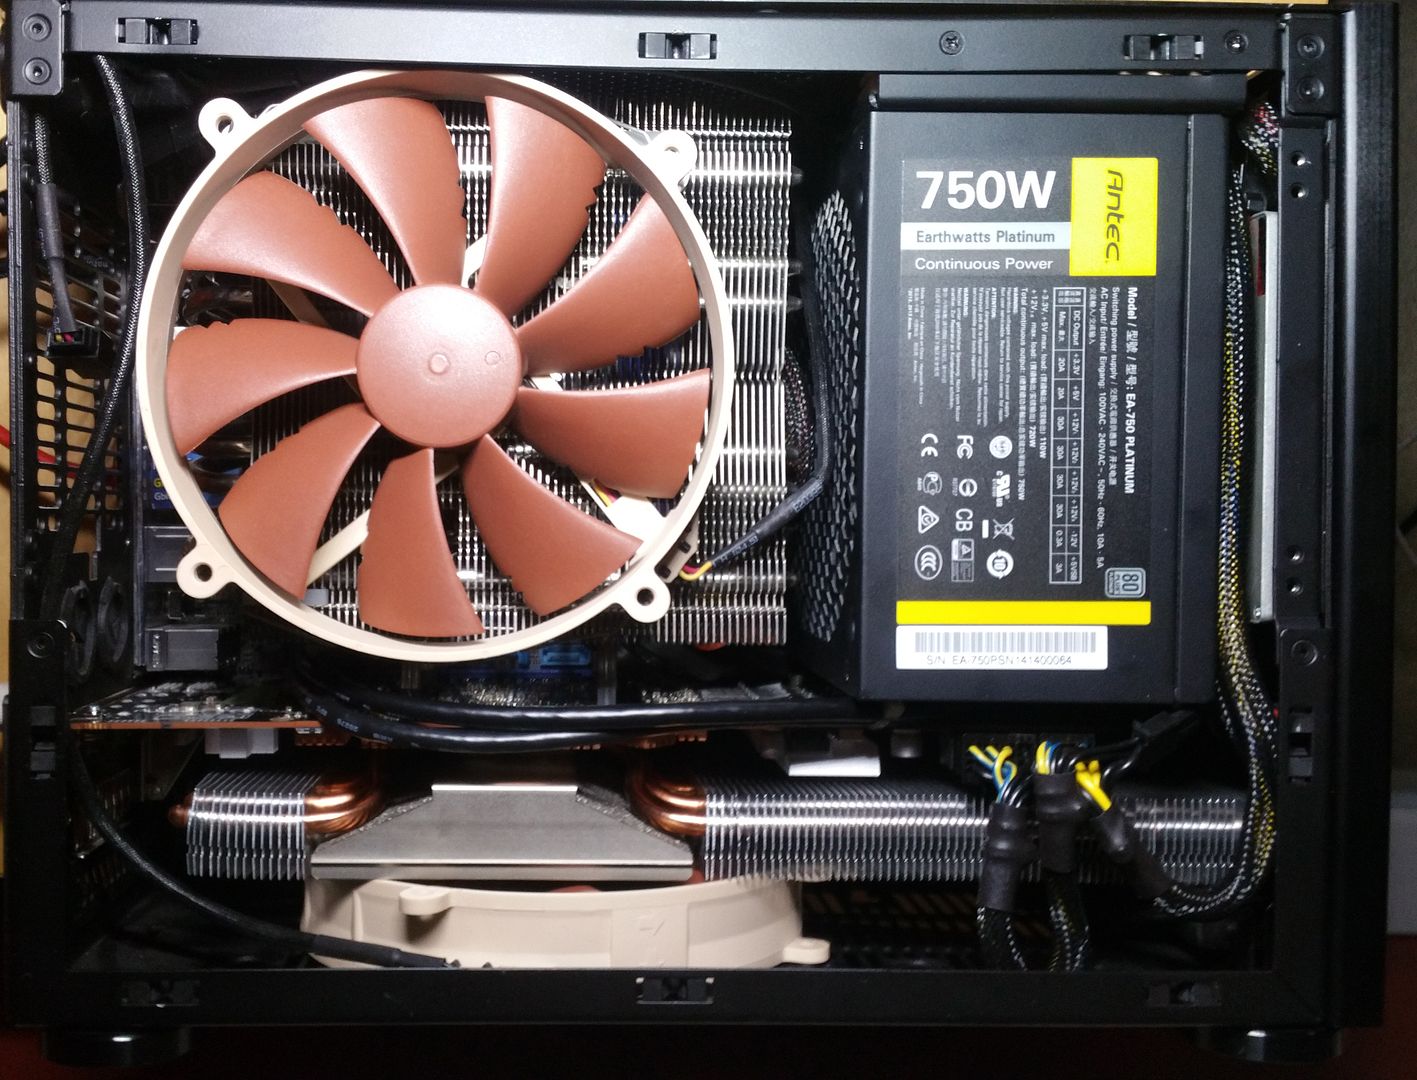
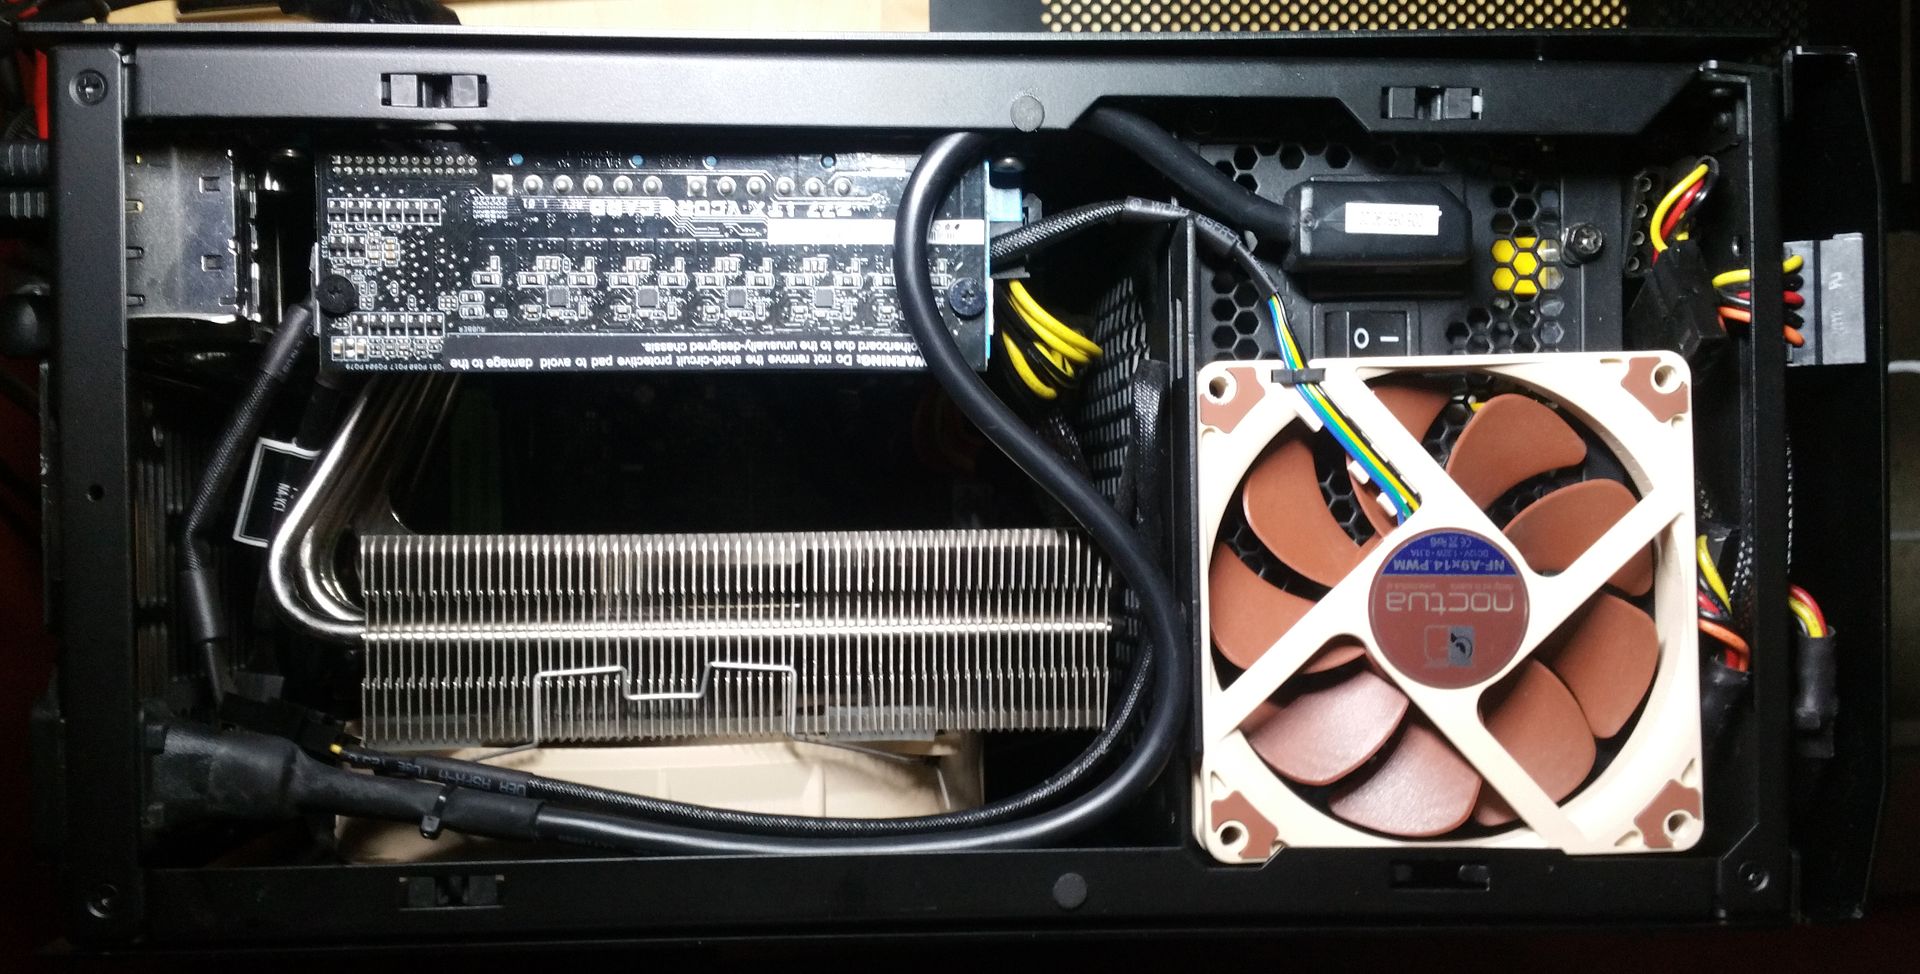
NCASE M1: a crowdfunded Mini-ITX case (updates in first post)

So I've been looking to upgrade to an M.2 SSD solely because it will allow me to remove the SATA power connectors from my power supply. Has anyone had any issues with having an M.2 SSD that's on the back side of the motherboard (Asus Z97i-Plus) in terms of heat? I haven't done a ton of research into how hot these drives can get but I am a little concerned about the fact that there is no air flow on the backside of the motherboard.

I'm running the Samsung 850 Evo 500GB M.2 on the back of the Z170N Gigabyte Gaming 5 in my M1 V4 and temps are perfectly fine. It's sitting next to the airholes on the side of the case and vents well. Temps typically hover around 41C in use.

Granted it's not one of the super fast versions which generate a bit more heat, but it's more than fast enough for my use (typical SSD speeds) and only commanded a $10 premium over the standard version at time of purchase. No need for sata cables in my build thanks to it. :)
 
As an Amazon Associate, HardForum may earn from qualifying purchases.
The worst that can happen to you, is that the M.2 drive will throttle its speed if it gets too hot. This wont happen under normal circumstances and only if you stress your drive. This does not only apply for drives that are mounted on the backside. Without a heatsink airflow does not help that much with temps because of the low amount of surface area.

You can also place a thermal pad on the rear of the m.2 to couple it to the chassis, which is more than enough heatsinking for a <10W SSD.

No problem so far with my M.2 SSD on an ASUS Z97i-plus in my MiniCube build.
Temp of the M.2 rises up till around 70°C when transfering files.

I'm running the Samsung 850 Evo 500GB M.2 on the back of the Z170N Gigabyte Gaming 5 in my M1 V4 and temps are perfectly fine. It's sitting next to the airholes on the side of the case and vents well. Temps typically hover around 41C in use.

Granted it's not one of the super fast versions which generate a bit more heat, but it's more than fast enough for my use (typical SSD speeds) and only commanded a $10 premium over the standard version at time of purchase. No need for sata cables in my build thanks to it. :)

Thanks everyone, looks like I'll be picking up an M.2 SSD in a couple of weeks!
 
As an Amazon Associate, HardForum may earn from qualifying purchases.
I just want to say I've had my ncase m1 for quite a while and I love it. I moved from the Florida Keys to Alaska and it was pretty cheap to ship.

I am watching and waiting for the next release so I can build another one. I'd like to build one for my HTPC because I think it's a super classy design and it'll look good in my house by my TV.

This is by far the best case I've ever found. The price is on point as far as I'm concerned based on quality and design.

Keep it up you guys, i'll be ordering the next version when it's available.
Thanks for the kind words, I'm glad you're enjoying the case.

will be getting my hands on a ncase m1 v2. anything i need to know?
The differences between versions are pretty minor for the most part. Biggest changes that came after V2 are the improved SFX-L compatibility (V3) and magnetic filter (V4). The list of changes is here.

Did someone forget to renew the SSL certificate for ncases.com?
I spoke to w360 earlier and he's aware of the issue. Not ETA on a fix, though.
 
Hi,

I am finally mounting my Ncase and it seems that there is some issue with my DDR4 memory and my mobo (I'll put some pics later) :

2x8GB Corsair CMD16GX4M4B3200C16
Gygabyte GA-Z170N-WIFI (rev. 1.0)

With 2x8GB, the computer doesnt boot : no screen, auto-shut down after 15sec.
With 1x8GB, the computer boot normally.

Any solution?

Does any of the two ram sticks work by themselves?
It's probablyeither a DOA RAM stick or a problem with the MB. This should work out of the box from what i can see.
 
Do both modules work in the same slot? If yes, then the problem is not the RAM. Examine the other slot for debris or damage. If none is found then the motherboard is defective.
 
Hi all!

I&#8217;m Parge, I&#8217;m a mod over at the Bit Tech forums so I can usually be found there. However, since Hardforum has such a vibrant NCase M1 community, I thought you guys might like to read my build log too.

Hope you enjoy it!

For the past 18 months I&#8217;ve been rocking a gorgeous custom Parvum ITX. However a few things have left me wanting a change.

Firstly, size. As you may or may not know, I&#8217;m a SFF obsessive, and the Parvum is small, but with London apartments being the size hey are, I really would like to go smaller still. Being 30 too, I&#8217;ve started craving something a little less bling - none of the 48 supermodels I&#8217;ve brought back to mine this year have liked the Parvum ;)

Next up; cooling. The Parvum provides a single 120mm AIO mount for the CPU, and the GPU draws air in directly from the outside. It&#8217;s a system that works pretty well, but my GPU often gets thermally throttled (if you read reviews of the GTX 980 you'll see that NVidia decided quiet but warm was the way to go with this, and I can't fault them for it). Sure I could whack the fan curve up to 100% but screaming fans are just not something I&#8217;m prepared to live with nowadays. Also, the Parvum really only fits under my desk (unless I have it on a shelf above) and the poor thing gets seriously HOT under there.

I toyed with full loop watercooling the Parvum, but I&#8217;d prefer more cooling than a single 120mm rad, and getting a pump to fit proved to be a right pain. More than that though, as well as being expensive, full loop watercooling is a massive ballache. Upgrading is suddenly a huge physical effort, there&#8217;s twice as much maintenance and moving the system about is harder, and a huge risk.

I previously toyed with the idea of picking up a Kimera Industries Nova in their crowd funding run later this year and with that in mind whilst trawling ebay, I found a guy selling two H55s, two premium Silverstone 92mm fans, and two NZXT G10 brackets for £65 all in and couldn&#8217;t resist jumping on it. At the time, the plan was to use them both on GPUs in the Kimera, but. but with SLI being the difficult dog it is (especially for VR), I went off the idea. I then looked at the Dan A4 SFX but the lack of CPU cooling options put me off that. I&#8217;d also be looking at between $200-$250 for either of those cases, as well as a long wait (Q1 2016).

There is of course one more crowd funded SFF case out there - the NCase M1. I&#8217;d ALWAYS wanted one, ever since (missing) the original IndieGoGo campaign. Same problem though, they run to about $265 delivered; which is a serious wedge to spend on a case for just about anyone. Ebay to the rescue again, and while I missed one for sale back in July, I just happened to look this weekend, and struck a deal for a V2 for £120 delivered, which I was more than happy with.

Those that know the NCase, will already be aware that one of its main selling points is that it is one of very few small ITX cases that supports 240mm radiators in the side despite being only 12.5L in size. Some people have even done full watercooling loops in the chassis, but having retired from watercooling you won&#8217;t see that here&#8230;.. kinda.

So, what I&#8217;m trying to achieve with this build over my current setup, is the temps of watercooling for both CPU and GPU, but with the ease of use of an air cooled setup. The way I&#8217;m going to do this is to mount the H55s side by side along the side 240mm mount, with one cooling the CPU and the other attached to a NZXT G10, cooling the GPU. Hopefully that will make this NCase build stand out a bit from the others out there.. All other components will remain the same as my current build - the 3570k remains a top CPU, 16GB of RAM is more than enough, and I still haven&#8217;t found a cooler motherboard than the P8Z77-I Deluxe (I will however, be upgrading my GPU next year for VR).
Obligatory new bits and pieces shot.


New GPU cooling setup


First job was removing the GPU backplate. Nvidia sure does like it to be firmly secured!


One thing I didn't realise, is that the backplate is actually metal. It looks entirely plastic from the outside, but its not at all.

Kids, look away - this GPU is now naked!


PCBs sometimes remind me of a futuristic city a bit. I'm sure with a bit of photoshop you could make it look like one.


Fitting the 92mm fans to the G10 bracket. These are actually aftermarket Silverstone SST-F93s that the seller obviously bought to replace the stock fans. I'm assuming they are better than the default fans since they are pretty spenny (were originally £10 each, but now £7 on Scan) - but I haven't done any testing or research to confirm. What I will say is that they have a seriously nice 1200 - 3000rpm range. A good fan here is indeed super important since there was initially some concern about the VRMs running hot with the G10. The Nvidia cooler has an open hole directly below the axial fan, which concentrates air right onto them, although I was surprised to find they didn't have a dedicated heatsink. Anyway, Hopefully this fan will do a similar job.


And now fitted. No braided cable with these, which is disappointing for a relatively expensive 92mm fan. All about performance though and luckily this case isn't windowed. The AIO mounting was very straight forward indeed to mount. Just popped it right on there. The tubing tucks nicely in between the fan and the metal exterior of the G10. Easy peasy. Of course, its not quite as easy as buying a 'Hybrid edition' of whatever GPU it you want, but my god, don't they charge a premium for it! In the case of the EVGA 980 its an extra £100 - vs this solution which has cost £35.


Just another shot for you from the top


And now for the Ncase!


Unfortunately for you guys, I'm rubbish at photography and also just use my smartphone.


All the panels just pop off without any screws or locking clips. Its AMAZING!


And you are left with just a naked frame. Super easy to work with - just as well with ITX.


This model looks like it was from a batch in July 2014.


First job was switching these two about - pro tip: not everyone knows, but they are interchangable - it makes installing rads much easier as the power cable no longer gets fouled.


Much better.... oh and I installed the SX600-G.


Ok, so finally got time to write up Part II.

First of all, the NCase has so many cool features that you kind of discover as you go along. There are simple things like the fact that the side fan/rad mount has two sets of holes drilled so its height is adjustable, and some are ingenious like these SSD mounting screws:


You just screw them onto the bottom of your drive and then slide it into the oversize slots and drag down into the smaller part to secure.


Of course, being rubber they also serve as anti vibration pads too.

The NCase allows comes with double SSD mounting rails for any of its SSD mounts. Simply screw two drives together, stick the mounting screws to the rear of the bottom most drive and you are away.


I now have a single Boot drive under the front panel (256GB) and two (500GB) Games and Media drives on the other side of that panel, but inside the case. This is the first time I've gone 100% mechanical drive free. The future has arrived!

Next up, lets get that motherboard in!


Secondly the GPU that we assembled earlier


Quick pause to let you know two things here; first of all, at this stage I didn't realise but I'd put the GPU VRM fan in the wrong way around. DERP! Secondly it was about this time that I realised that there was absolutely no way way I was going to be able to bring this build up to my usual standards of tidiness without custom cabling. I'll do my best in any case and no window, no problem. Our little secret right?

It was about now I had to decide where to put the NZXT GRID+ (V2) fan controller. I considered the bottom, under the GPU, but thought up against the PSU would give it some free active airflow so ended up putting it there instead.


Additionally, it was now time to install the second H55 onto the CPU. I still use Arctic Silver because its always served me well.


As you can see, things are getting pretty messy at this point. Just across the motherboard I have the USB3.0 cable, two pump cables on the board fan headers, three fan cables into the GRID as well as its power and the USB2.0 cable that attaches to the motherboard.

I then mounted both the H55s to the side radiator mount. Strangely enough, I mounted the GPU rad directly over the CPU and the CPU rad over the PSU. The H55 has relatively short tubing and running it from the GPU core to the far side of the case was a stretch and the having the CPU rad over the PSU meant that I didn't have to coil it around itself. The fans are Noctua Industrial PPCs. However, I actually ended up swapping these out for non PWM Corsair SP120s due to a GRID compatibility issue (more on that later). These are made specifically for radiators and have a pretty nice sound profile (they whoosh rather than whine).


And in we all go!


Definitely a cosy fit but that is what ITX is all about - efficient use of space.

That H55 block on the GPU looks badass.


And from the top!


You can see here, that I've swapped out the Noctuas for the Corsairs. For some reason when being controlled by the GRID they would ramp up and down constantly. I think it has something to do with them being PWM, because it was almost like they were being pulsed with power which would then drop off. Swapping them for the 3 pin Corsairs solved this entirely. I've submitted a ticket to NZXT, will be interested to see if they get back to me.

The above issue aside, big shout out to the guys at NZXT for the GRID+ and CAM - it really is brilliant, and I thoroughly recommend every Bit Techer get one. I've customised my fan profiles so they run at 25% (~600rpm) all the way up to 45C on the CPU and 35C on my GPU. It is almost silent at idle, and then, as then ramps up nicely during gaming - that said, with the H55, the highest temp it ever gets is around 47C, which equates to 65% speed (1500rpm) on my fan curve. At 65% it is still a soft whoosh rather, than the roar of the axial fans you find on the stock cooler (which is still pretty quiet, in fairness). Overall, unsurprisingly, it is much much quieter than my old setup and the GPU around 34C cooler. I can't explain it, but the CPU also seems slightly cooler too, hitting around 73C max load instead of the 77C that I got with the TD03 (which has a thicker rad).


picture.php


Pretty much tops out at 47C - a 34C drop. Amazing!

Overall the NCase is a fairly challenging build due to its size. The creators though, should be lauded for intelligent design throughout. As should the guys at NZXT. They've got two innovative products here, in the G10 and the GRID+ (check out the 96% score Tweaktown gave it here). There just doesn't seem to be any downsides to this setup. Its literally tiny, good looking, silent, low maintenance but with amazing cooling! What's not to like! :thumb:
 
Nice, but i'm not sure that's a good idea to put hardware on a potentially electrostatic mat.
 
Nice, but i'm not sure that's a good idea to put hardware on a potentially electrostatic mat.

I always use a towel. It stops screws flying off if you drop them, allows you to spin the rig round easily AND prevents damage etc to the paint.

I'd be really surprised if it actually caused any electrostatic problems.
 
Hi guys. What model of the GTX 980ti do you think it will be the best fit for my ncase v2? I got a 600w silverstone sfx psu.

Thanks a lot.
 
2x8GB Corsair CMD16GX4M4B3200C16
Gygabyte GA-Z170N-WIFI (rev. 1.0)

With 2x8GB, the computer doesnt boot : no screen, auto-shut down after 15sec.
With 1x8GB, the computer boot normally.

I tried each memory stick alone, and both are working in single slot.
After search about compatibility on this Gigabyte mobo, I found this :

http://download.gigabyte.eu/FileList/Memory/mb_memory_ga-z170n-wifi.pdf

So, it seems to be a limitation of the mobo, only single slot of ram does work with this model... Dont you think so?

Do both modules work, but only one at a time, in both slots? If they both work, but only in one of the two slots, then the motherboard is likely defective unless the user guide specifically states that with only one module installed you have to use a specific slot.

I looked up your RAM model number on the Corsair website and it is for a 16GB kit that contains 4 modules of 4GB each. This serial number is marked as compatible in the Gigabyte document. Corsair does make a 2x 8GB kit with almost the same model number: CMK16GX4M2B3200C16, but this 8GB kit is not listed in the Gigabyte document.

Is there an updated BIOS available for that motherboard? That might expand its compatibility with your RAM. Another option would be if the BIOS (OK, UEFI) menus have a special setting that guarantees compatibility with most memory modules. Or you could try loading the XMP profile, if there is one in your RAM. Good luck.
 
@Urelure and Qrash :Thanks for answer.

I tried each memory stick alone, and both are working in single slot.
After search about compatibility on this Gigabyte mobo, I found this :

http://download.gigabyte.eu/FileList/Memory/mb_memory_ga-z170n-wifi.pdf

So, it seems to be a limitation of the mobo, only single slot of ram does work with this model... Dont you think so?

I can't see a reason why this would not work at all. The compatibility list is just stuff they have physically tested. I would contact Gigabyte. There is a Tech Support Ticket system on their website. Good place to start I'd think.

You don't happen to know anyone who owns another pair of DDR4 sticks you can try out? If not, I've gone down to a local PC repair shop to borrow components whenever i need to do trobleshooting.
 
Do both modules work, but only one at a time, in both slots? If they both work, but only in one of the two slots, then the motherboard is likely defective unless the user guide specifically states that with only one module installed you have to use a specific slot.

I looked up your RAM model number on the Corsair website and it is for a 16GB kit that contains 4 modules of 4GB each. This serial number is marked as compatible in the Gigabyte document. Corsair does make a 2x 8GB kit with almost the same model number: CMK16GX4M2B3200C16, but this 8GB kit is not listed in the Gigabyte document.

Is there an updated BIOS available for that motherboard? That might expand its compatibility with your RAM. Another option would be if the BIOS (OK, UEFI) menus have a special setting that guarantees compatibility with most memory modules. Or you could try loading the XMP profile, if there is one in your RAM. Good luck.

You are exactly right, mine are the CMK16GX4M2B3200C16 which are the 2x8GB, not In the compatibility list.
My BIOS version is the F4 which is the 1st and only revision : http://www.gigabyte.com/products/product-page.aspx?pid=5518&kw=GA-Z170N-WIFI1.0#bios
I tried to switch the XMP profile on, when I was able to boot with slot 1 only, but it doesnt solve the problem when I switch again to the 2nd slot.

Meanwhile, I wrote at Gigabyte support to get a solution.

My only concern is : do I wait until an updated BIOS to put the 2nd memory stick on, or is the 2nd memory slot broken?
 
I can't see a reason why this would not work at all. The compatibility list is just stuff they have physically tested. I would contact Gigabyte. There is a Tech Support Ticket system on their website. Good place to start I'd think.

You don't happen to know anyone who owns another pair of DDR4 sticks you can try out? If not, I've gone down to a local PC repair shop to borrow components whenever i need to do trobleshooting.

Thanks for advise. I'll try to get another pair of DDR4 sticks for testing slot and wait for Gigabyte answer.

I'll keep you informed.
 
Seems like the slot is broken/undetected.

Try another pair of memory stick from another brand if you can.
I would personally open an RMA right away as this seems to be an issue. There's nothing you have to enable. I've read the manual and Dual Channel should be detected right away.
 
If both RAM modules work in one slot, but not in the other, then I'd say the motherboard is defective. Unless you can get another set of DDR4 RAM to test with right away, I'd return the motherboard immediately. It was DOA and there should be no problem having the seller replace it. You just got unlucky.
 
Last edited:
Hi guys. What model of the GTX 980ti do you think it will be the best fit for my ncase v2? I got a 600w silverstone sfx psu.

Thanks a lot.

The EVGA Hybrid models work well to keep things cool and quiet, love mine in the M1. They're reference size PCB's so no issue with case fit, you just need to route the tubes appropriately above the backplate.
 
I sent you a PM but I figured it's better to post here so other people with the same problem with 290X reference temperature can see it too. What's your temperature on this set-up and what's your side fan set-up like? I'm curious how you exhaust the hot air. I realized it might get bad on my case since I use ATX psu (outtake), Noctua CH14 (intake), 92mm thin rear fan (outtake).


EDIT: I did some stalking and saw this post of yours

https://smallformfactor.net/forum/threads/my-ever-changing-main-pc-ncase-m1.47/

That pretty much answers all my questions. I was suspecting you had the gpu fans on exhaust. I assumed correctly. Now I'm wondering if it's worth investing $80 + $15 VRAM heatsinks on a used $210 290X. I also have to check at home whether the 290x heatsink screws would hit my Noctua CH14.

EDIT2: Do you use 3DMark 11? I'm not familiar using benchmarks. I got ~15900 at 67F room temp. My score does go down when room temp goes higher due to thermal throttling (maxes at 94C). I wonder how much you would score with your set-up.

Update. It works !!!

It was PITA to install. Had to remove my CPU fan. I thought I had to remove my PSU but I was able to fit be removing the rear bracket of the video card and then reinstalling it after fitting the card in. The heatsink barely fit on the front.

I ran 3DMark 11 and finished with 78C with 29C ambient. With reference cooler I get 94C. I'm using one Noctua 140mm as outtake (yes, 140 mm fits at the bottom!!) and can fit another, but I'm happy with the temps so no need to add another one.

Here's my updated build. Added specs in my signature.

20151014_225935.jpg


92mm slim fan on top of the PSU since it gets hot due to hot air from CPU.
20151014_230146.jpg
 
Nicely done ! How is the noise ?

I wish the 140mm Noctuas have 4 pins. I'm still trying to figure out how to control them besides using the cables with resistors on them (will need to get another one from another case). There is noise and not quiet enough to my liking. But at full loads it is definitely quieter and cooler than the reference jet fan.

I will test again on Friday when I get the mini gpu 4 pin to regular 4 pin adapter. I also need to add some sort of barrier at the bottom so hot air doesnt get recycled because of that open spot. It got up to 90C while playing Diablo with the case closed. The 140mm Noctuas are quite at 850 RPM. It is at 1200 RPM right now since I want to see how the temps are first. I will try with two 850 RPM.

List of tests:
Two 1200 RPM 140mm fans
Two 850 RPM 140mm fans
Two 4-pin 120mm fans
2 outtake or 1 intake 1 outtake
Overclock (never oc'd a gpu before)

What have you tested on your set-up?
 
I wish the 140mm Noctuas have 4 pins. I'm still trying to figure out how to control them besides using the cables with resistors on them (will need to get another one from another case). There is noise and not quiet enough to my liking. But at full loads it is definitely quieter and cooler than the reference jet fan.

Alright mate, here's how to possibly get 3-pin fan control on an ASUS board.
For any other users, if you have a modern high-end board like mine, set Q-fan control to Advanced/DC mode in the BIOS and any fan control software should work. If not:


  1. Install SpeedFan and uninstall whatever you already have if any (probably AI Suite).
  2. When you've installed it, try using it to control the fans. If they react, you're done.
  3. If not, follow this guide: http://www.silentpcreview.com/article1275-page2.html
    Check which chip controls the fans in the fan tab (it's probably not that particular Nuvoton chip) and follow the guide using that chip name instead. Is it working?
  4. If not, try disabling Q-fan control in the BIOS, under the 'Monitor' tab.

Another VERY cool option SpeedFan also has, is the ability to adjust any fan automatically based on GPU temperature. No messing around with adapter cables, just plug any old fan into the motherboard and off you go.
 
What have you tested on your set-up?
Two 120mm fans in the bottom as intake and as exhaust. Exhaust worked the best, it removes the heat immediately out of the case instead of blowing it all inside the case.

My load temps are way below 70°C in most scenarios but I do have 20-21°C ambient.
 
Another VERY cool option SpeedFan also has, is the ability to adjust any fan automatically based on GPU temperature. No messing around with adapter cables, just plug any old fan into the motherboard and off you go.

Heey THAT'S cool!!! Why did I not know this. Thank you:cool:
 
Alright mate, here's how to possibly get 3-pin fan control on an ASUS board.
For any other users, if you have a modern high-end board like mine, set Q-fan control to Advanced/DC mode in the BIOS and any fan control software should work. If not:


  1. Install SpeedFan and uninstall whatever you already have if any (probably AI Suite).
  2. When you've installed it, try using it to control the fans. If they react, you're done.
  3. If not, follow this guide: http://www.silentpcreview.com/article1275-page2.html
    Check which chip controls the fans in the fan tab (it's probably not that particular Nuvoton chip) and follow the guide using that chip name instead. Is it working?
  4. If not, try disabling Q-fan control in the BIOS, under the 'Monitor' tab.

Another VERY cool option SpeedFan also has, is the ability to adjust any fan automatically based on GPU temperature. No messing around with adapter cables, just plug any old fan into the motherboard and off you go.

Was having the Same problemen with my gigabyte board thanks for the tip.
I now have the low noise adapters installed.
Will try it tommorow
 
Two 120mm fans in the bottom as intake and as exhaust. Exhaust worked the best, it removes the heat immediately out of the case instead of blowing it all inside the case.

My load temps are way below 70°C in most scenarios but I do have 20-21°C ambient.

81C @ 27C ambient with two 140mm 850RPM as exhaust if I have my ncase sideways. 93C when facing upright :/ Looks like I need more clearance at the bottom.
 
Alright mate, here's how to possibly get 3-pin fan control on an ASUS board.
For any other users, if you have a modern high-end board like mine, set Q-fan control to Advanced/DC mode in the BIOS and any fan control software should work. If not:


  1. Install SpeedFan and uninstall whatever you already have if any (probably AI Suite).
  2. When you've installed it, try using it to control the fans. If they react, you're done.
  3. If not, follow this guide: http://www.silentpcreview.com/article1275-page2.html
    Check which chip controls the fans in the fan tab (it's probably not that particular Nuvoton chip) and follow the guide using that chip name instead. Is it working?
  4. If not, try disabling Q-fan control in the BIOS, under the 'Monitor' tab.

Another VERY cool option SpeedFan also has, is the ability to adjust any fan automatically based on GPU temperature. No messing around with adapter cables, just plug any old fan into the motherboard and off you go.

I tried changing the settings and turning off Q-fan in the bios. I'm able to adjust the 4 pin fan through speedfan, but none of the 3 pins. I followed the instructions and also changed it to PWM to DC mode. No luck :(
 
Does the NCase v4 no longer include any hardware for fan grill? I got mine last week, went to build my PC today and noticed I don't have the accessories the website shows.
 
Quick question for C14 owners, have any of you tried using a 140mm fan from another brand? The fan that comes with the cooler are 140mm, but use 120mm mounts, so I'm wondering if a fan with actual 140mm mounting holes would work.
 
Quick question for C14 owners, have any of you tried using a 140mm fan from another brand? The fan that comes with the cooler are 140mm, but use 120mm mounts, so I'm wondering if a fan with actual 140mm mounting holes would work.

You need 120mm mounts otherwise the metal clip wont work. Ive tried regular square 140mm and does not work.

Noctua will send you 140mm mounts, if you contact them and ask.
Was free when i did it, not even postage, did however need to show them a "proof of purchase" a copy of the receipt was fine in my case.
 
Last edited:
What's the best way to order a case? The website says out of stock. Anyplace else to buy these?
 
Back
Top