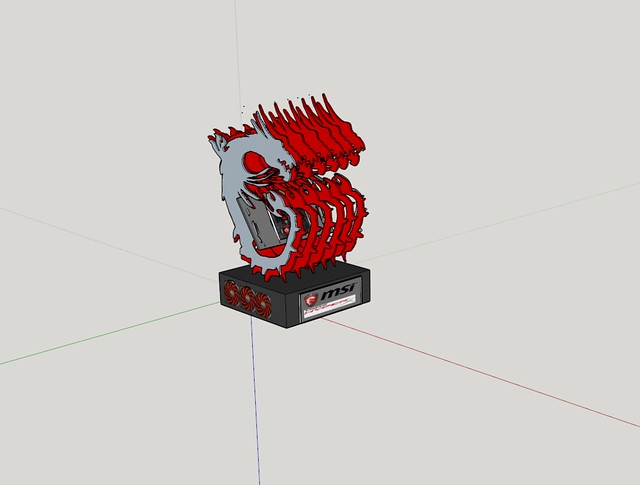
The Beginning:
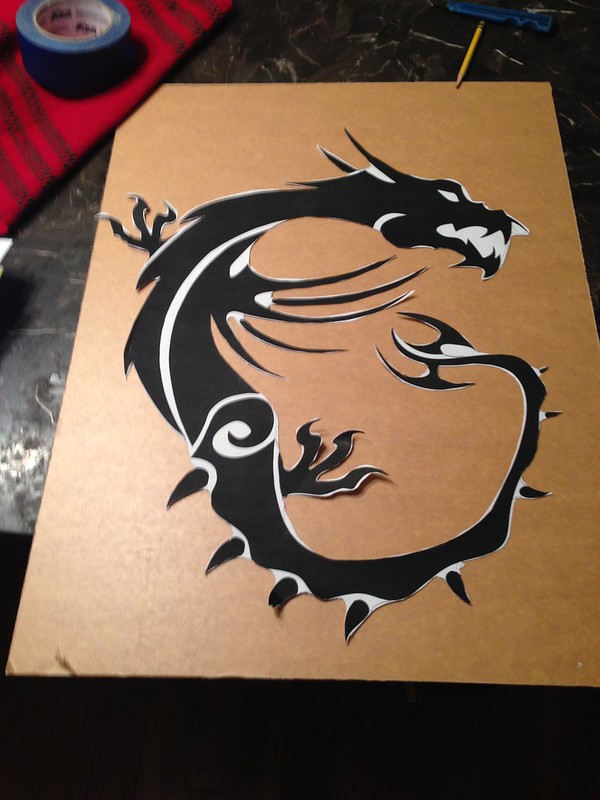
On a cold rainy day ( never happens in the summer) in Dallas Texas during Quakecon , I met Mark From MSI who really like my Quakelive Case Mod( Pc that actually lifts out of the case) and gave me his contact information about possibly working on a project. Not too long after Quakecon we started to talk about building a case for CES, I gave him 4 hand drawn designs and he pick one and I ended up not using the one he pick and sketchup of the one that I liked instead. I show him the design and we where all set.
For me to mod I have to get in the right mindset and focus. I get a lot of my inspiration by look at Darthbeavis, Bill Owen and Boddaker projects. 3 of the best in the business and all original modders, Nowadays so much is being out sourced it takes away from the originally of a MOD, Ship off to be lasered here ( Darth your good you laser cut your own) and paid to have it shipped here painted there and sleeved cables order here. If I don't create the case in my own garage I wouldnt feel like I made it and take credit when somebody else does the work.
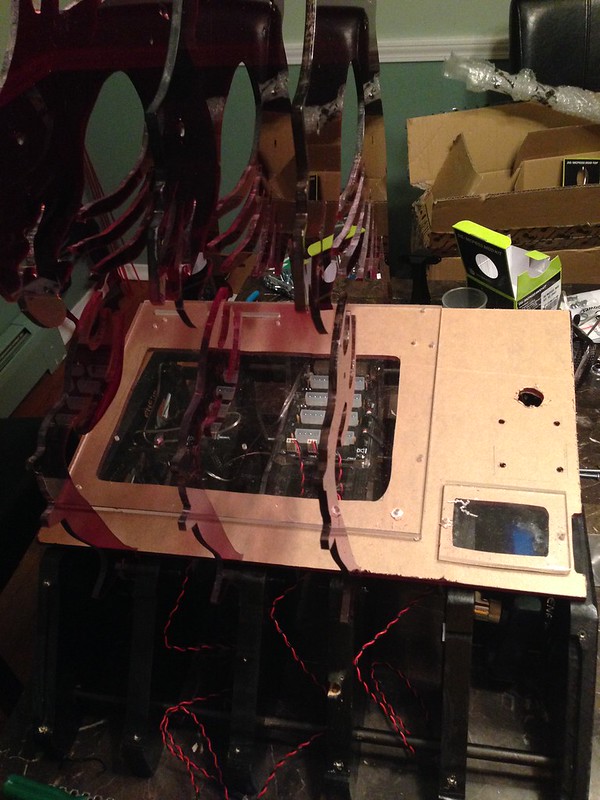
After waiting to find this modding motivation & changing the design of the base to give it a angle edge and having most of hardware in i was to begin after building over and over in my head.
A big Thank you to all the Sponsors Involved, They are a huge factor in helping me keep making these unique mods.


Specs:
CPU Intel® i7-5960X Haswell-E 8 Core
MB MSI X99S GAMING 9 ACK
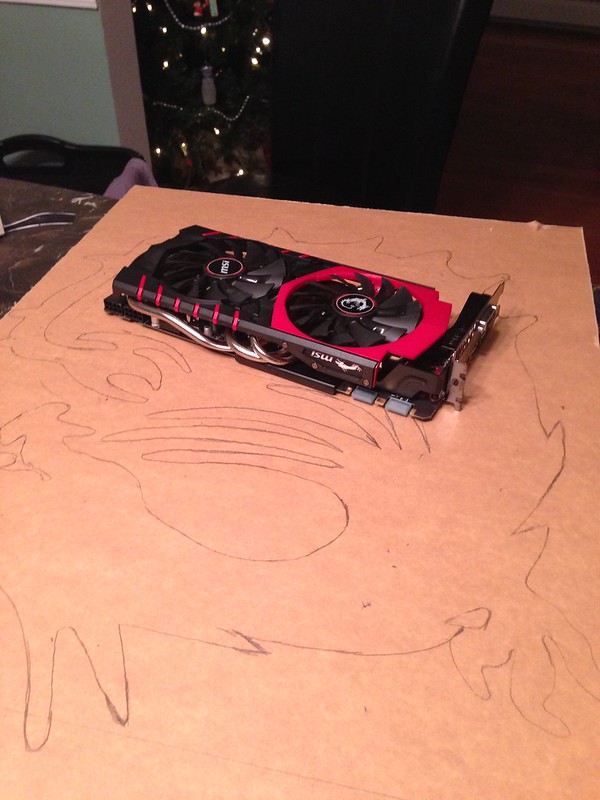
VGA 2x MSI GTX 980 GAMING 4G
Memory Kingston HyperX Predator DDR4 32GB Memory
HD Kingston HyperX 240GB SSD
PSU Lepa 1000watts (Enermax Vegas Fans)
CPU Cooler Bitspower Rez/Pump combo and radiator
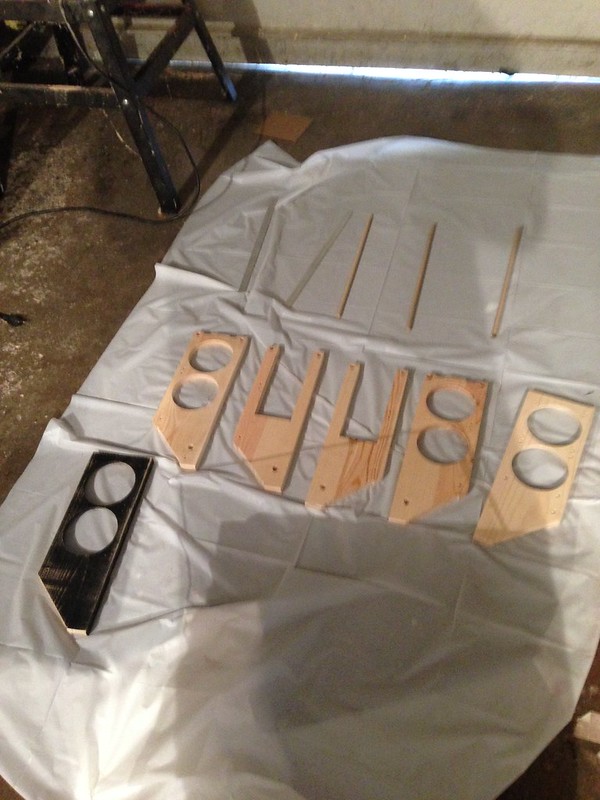
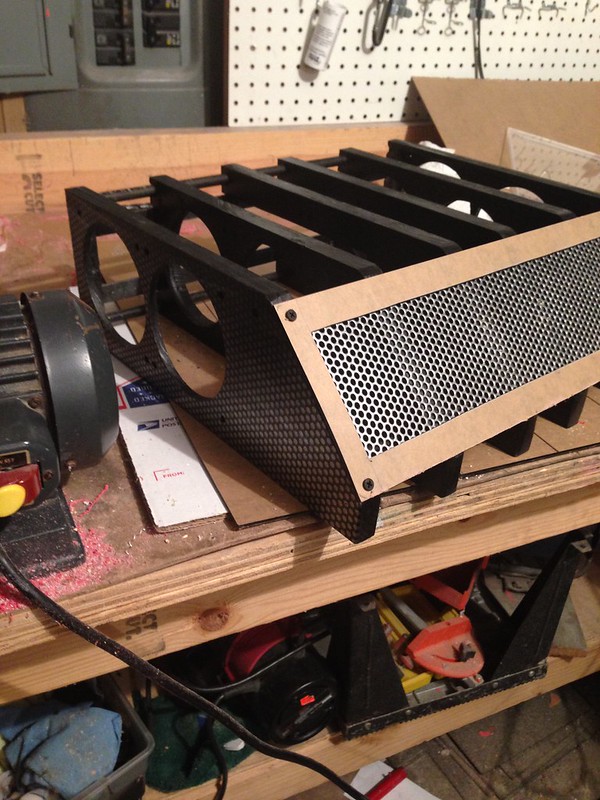
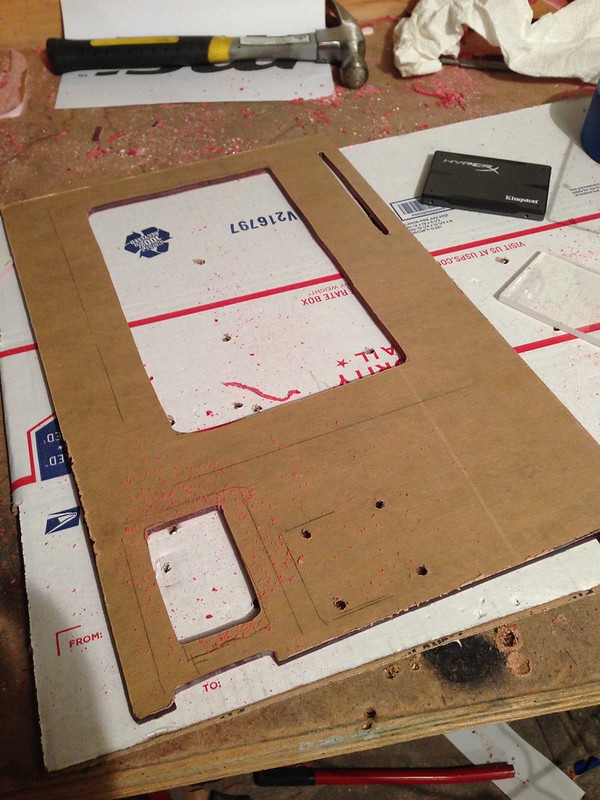
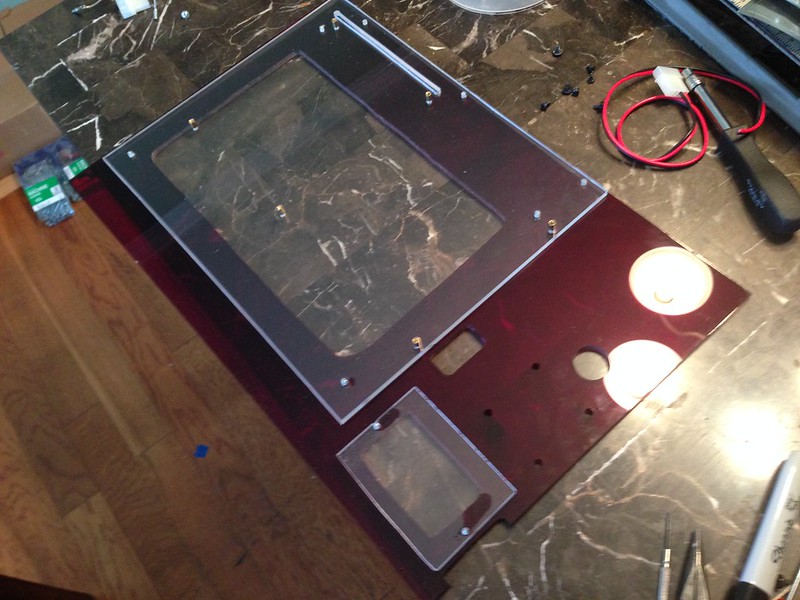
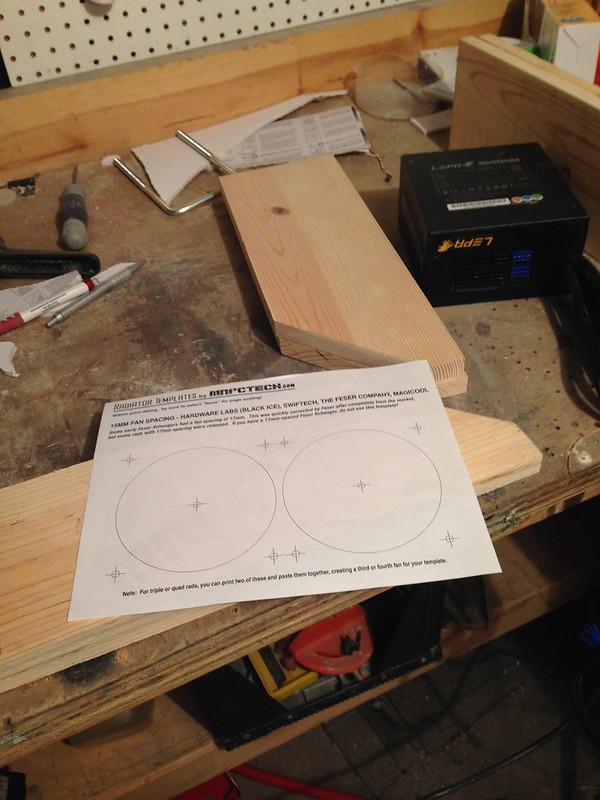
Material used :
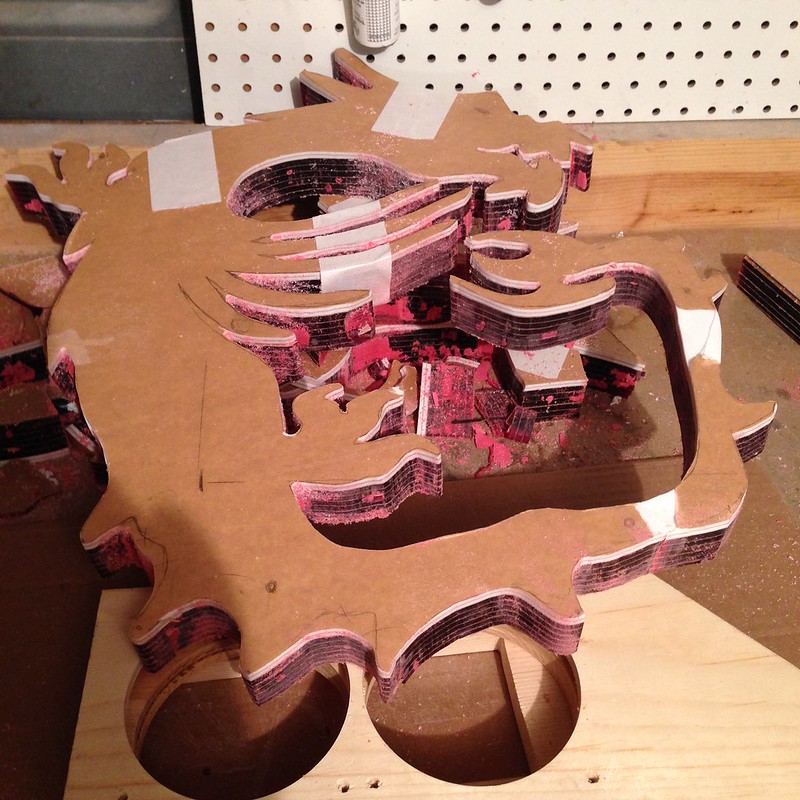
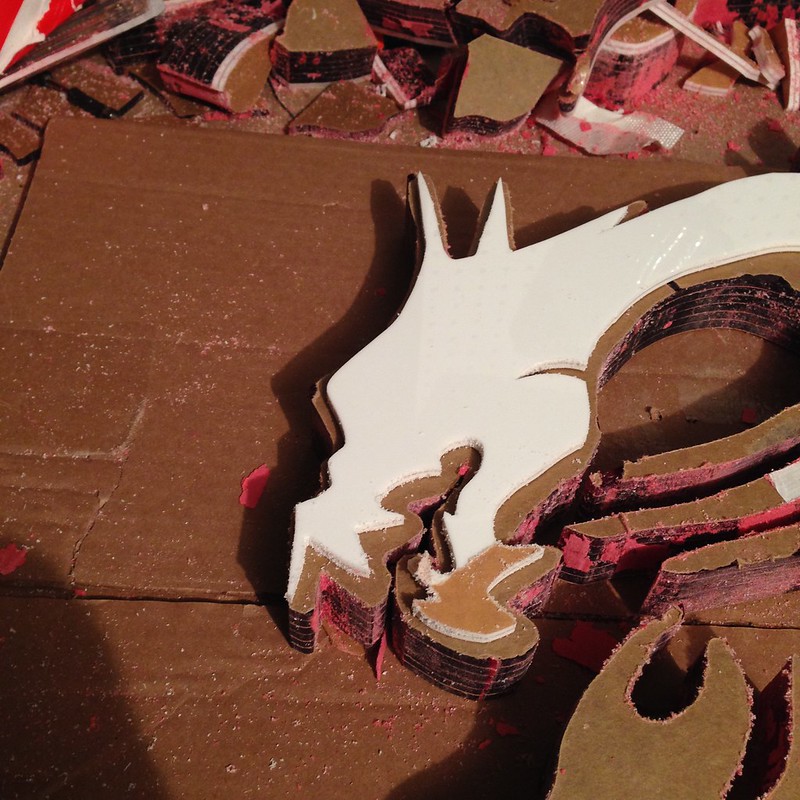
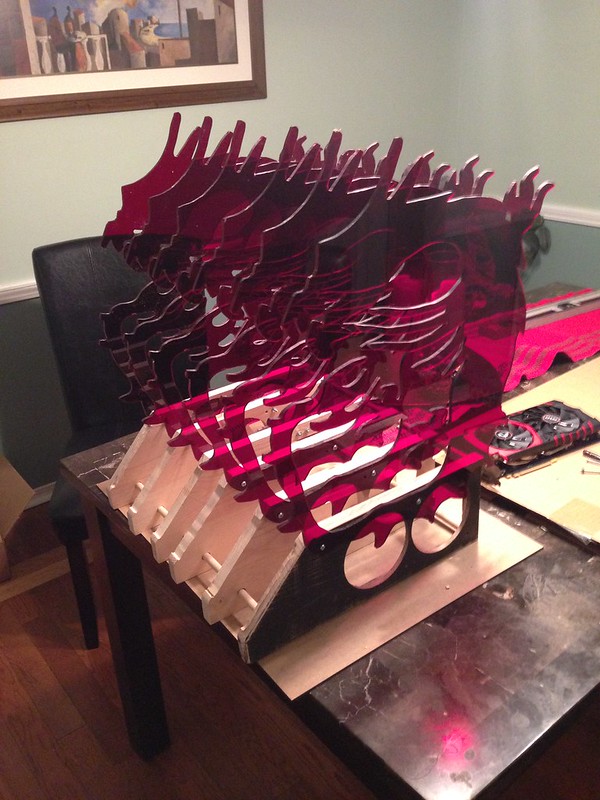
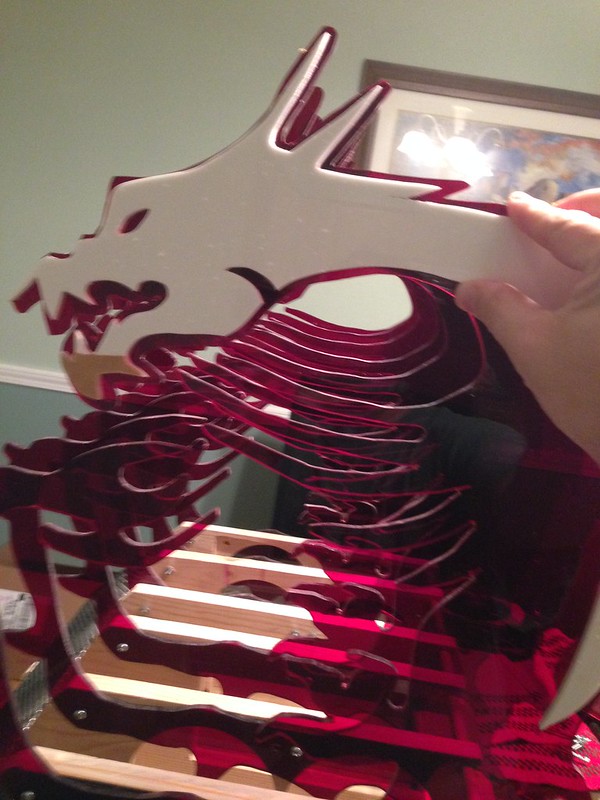
Wood, wooded dowel rods, Acrylic and rods, metal Mesh
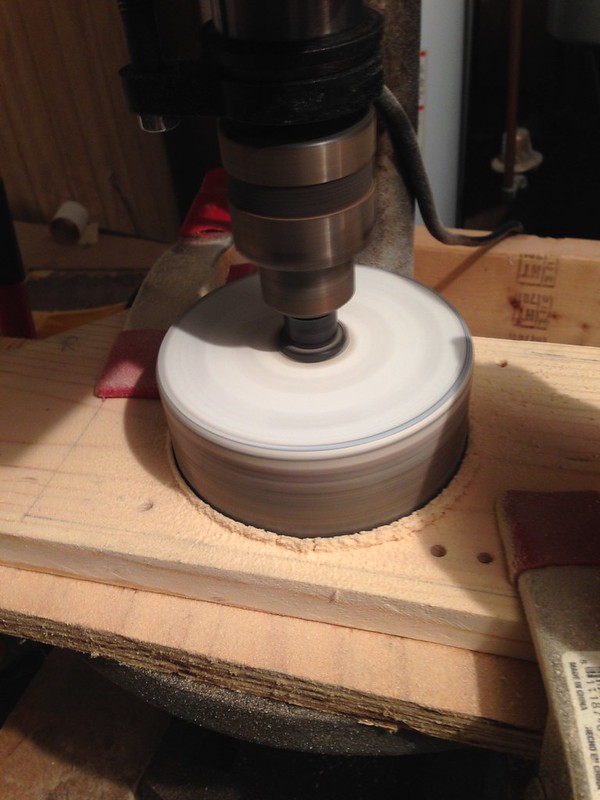
Tools:
Dremal, Table saw, Scroll Saw, Belt and palm Sander, Drill press, router
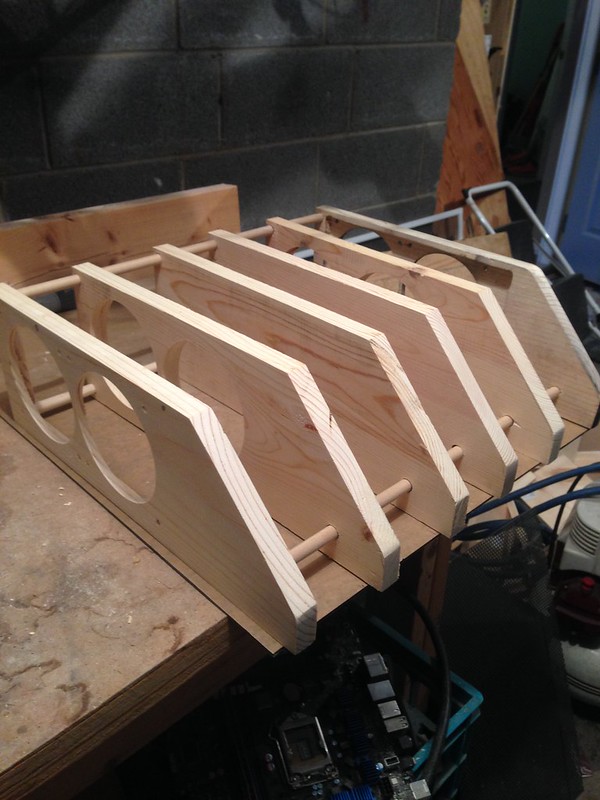
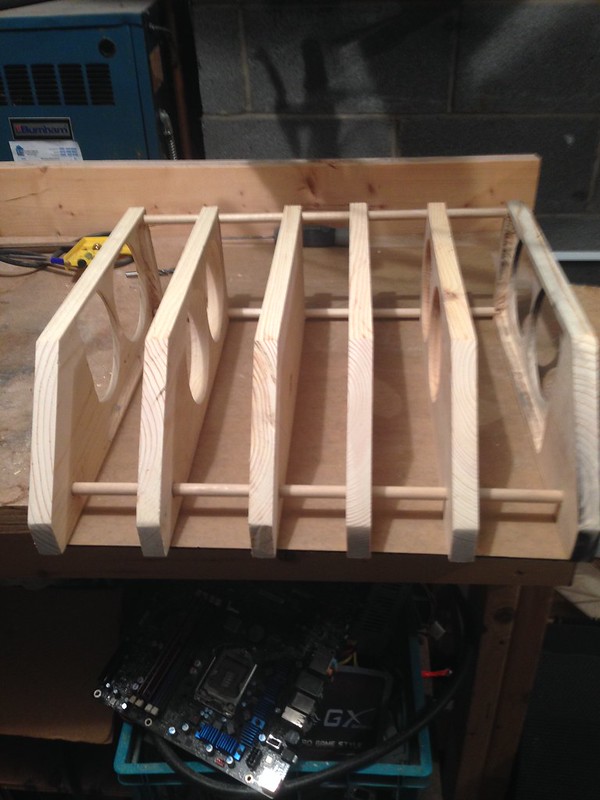
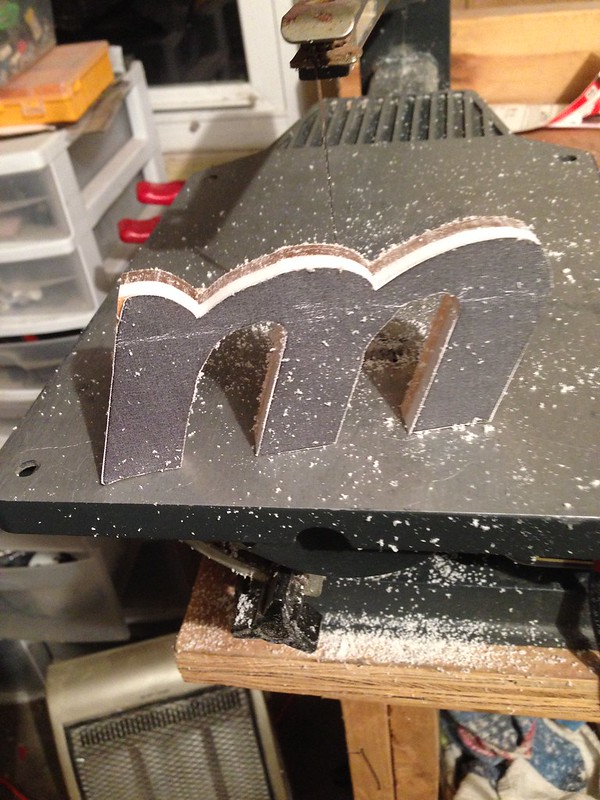
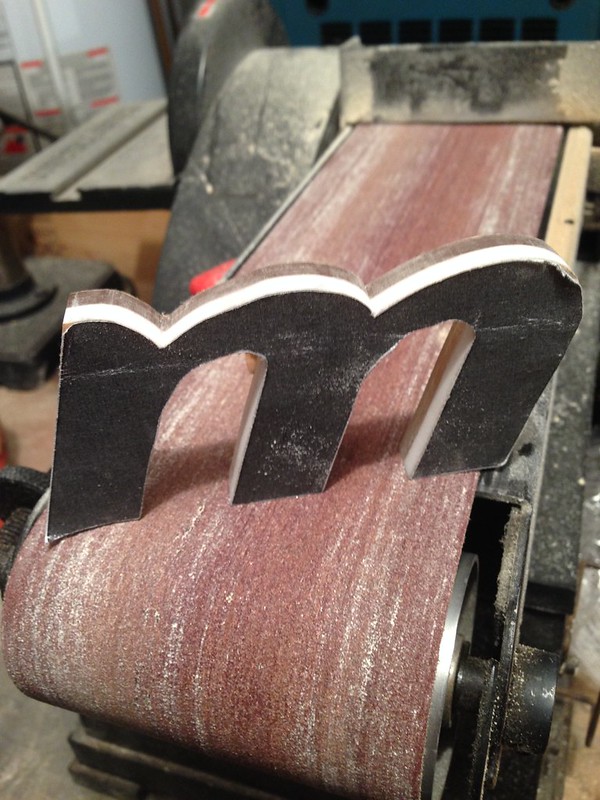
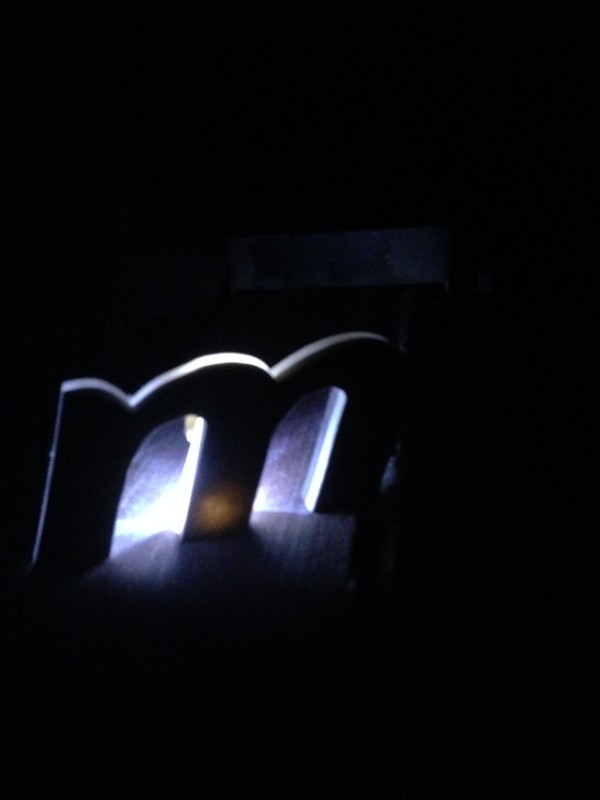
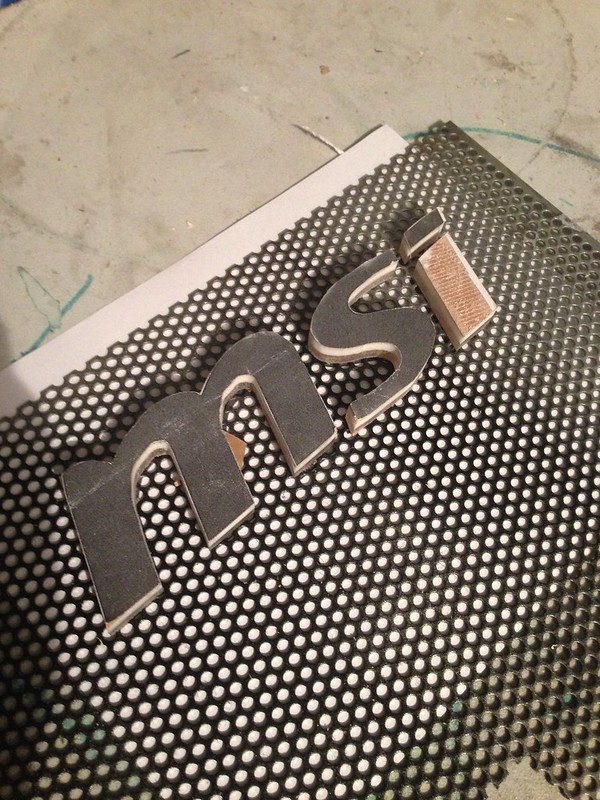
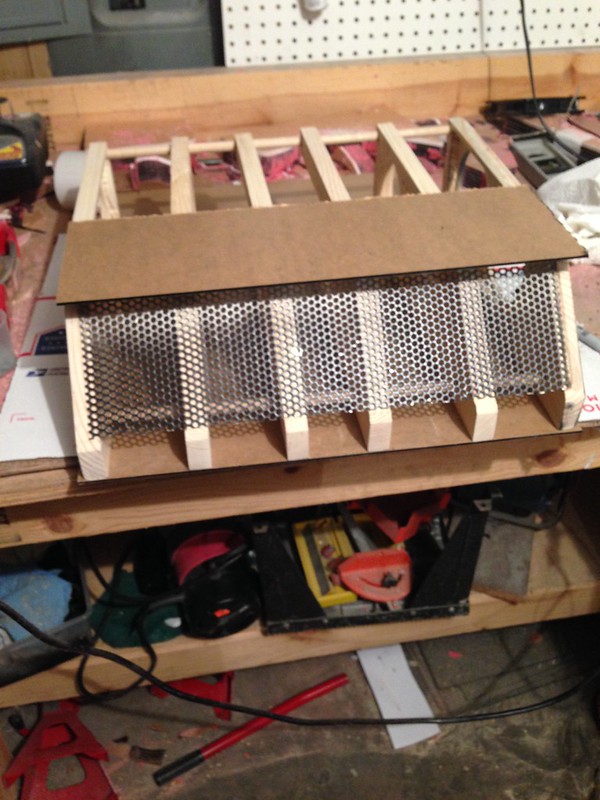
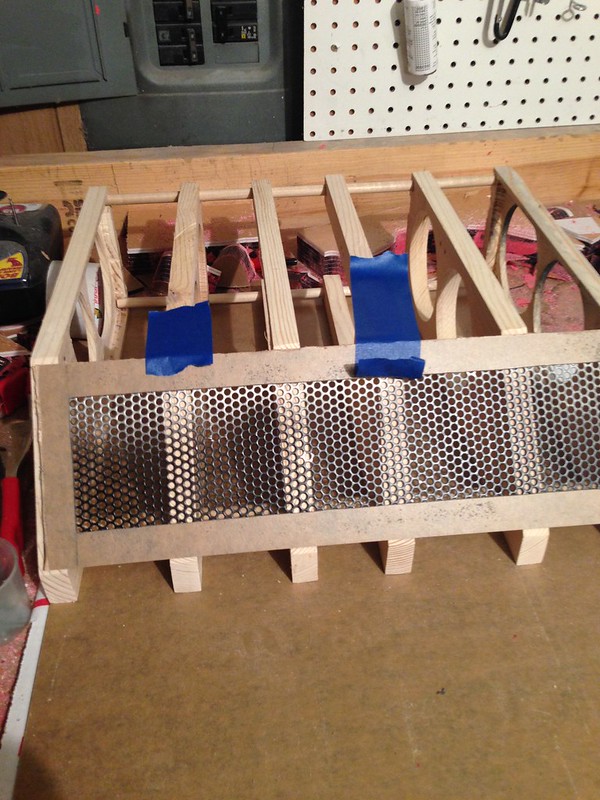
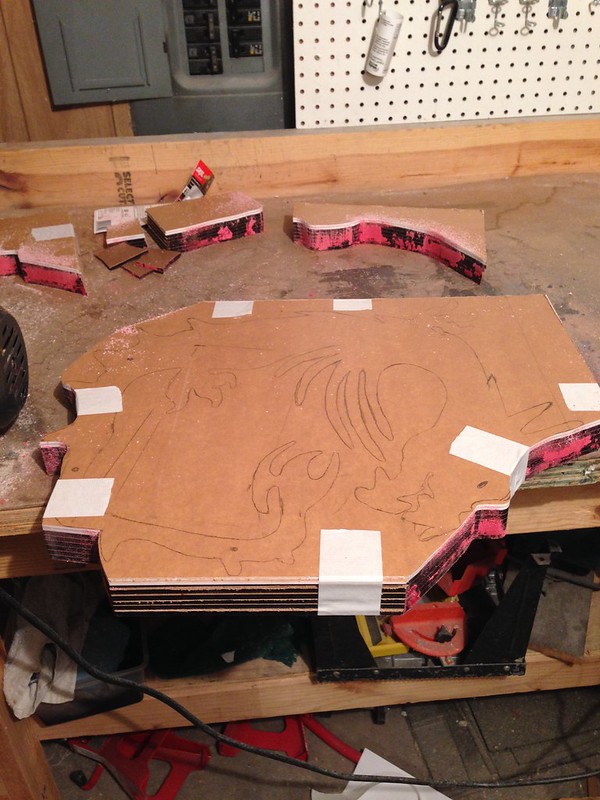
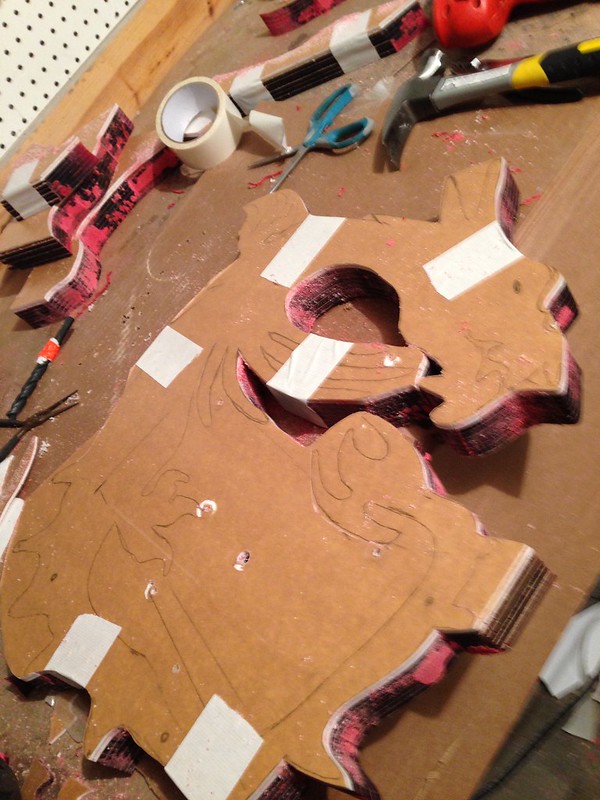
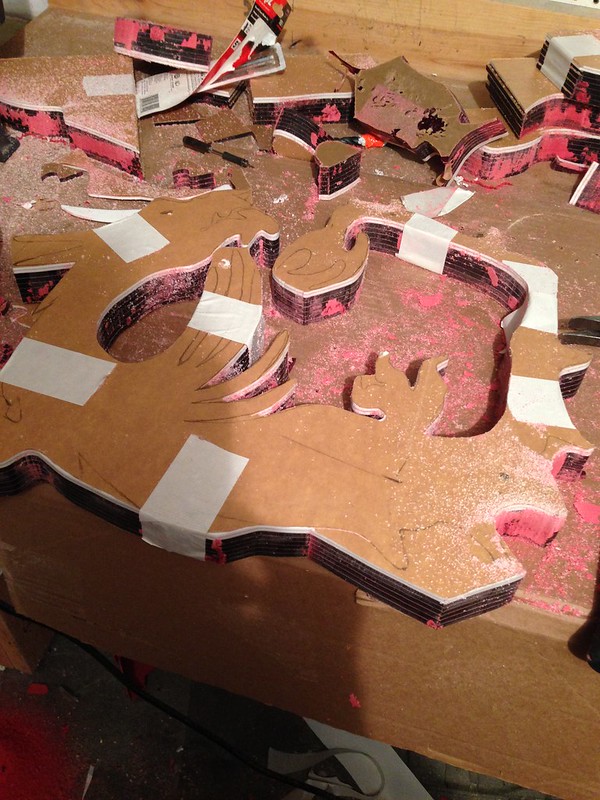
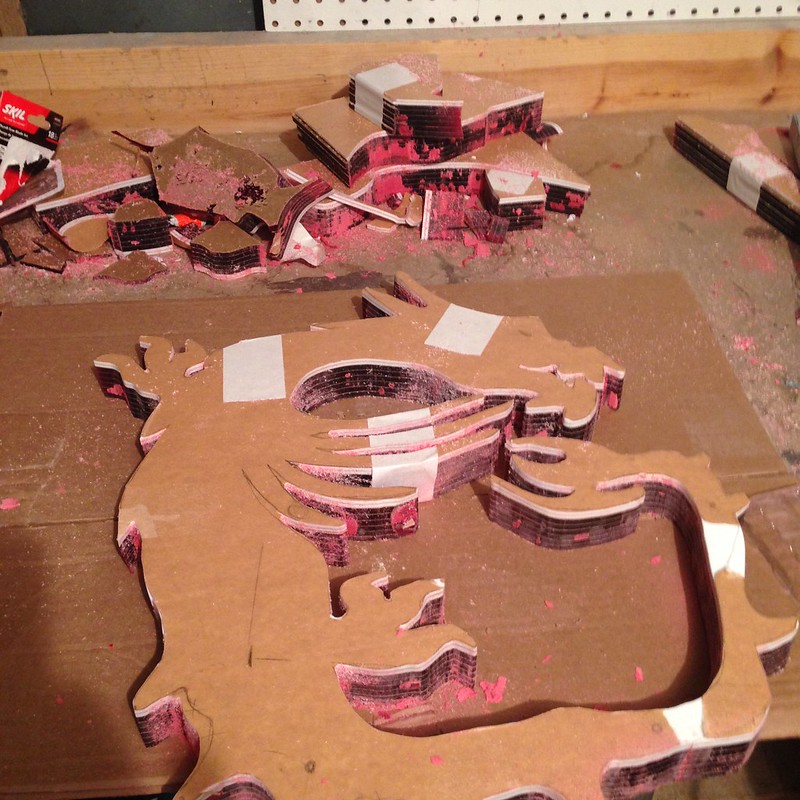
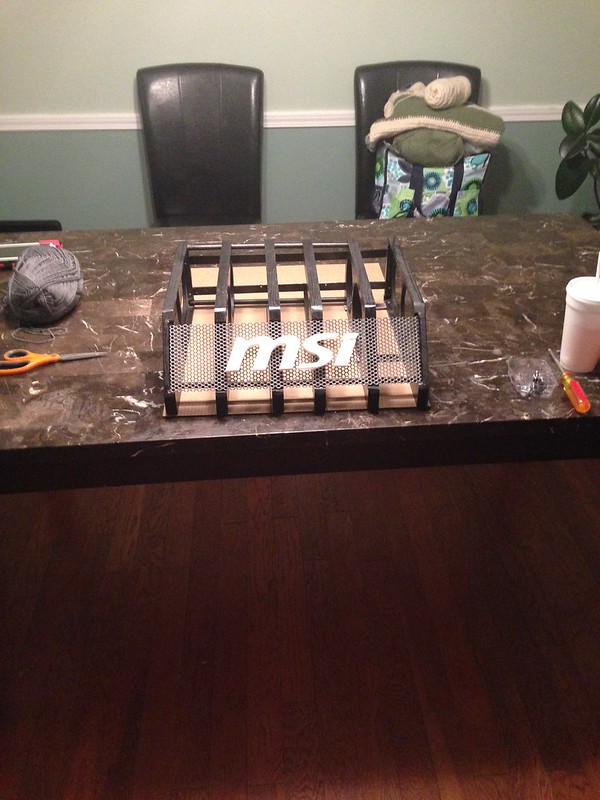
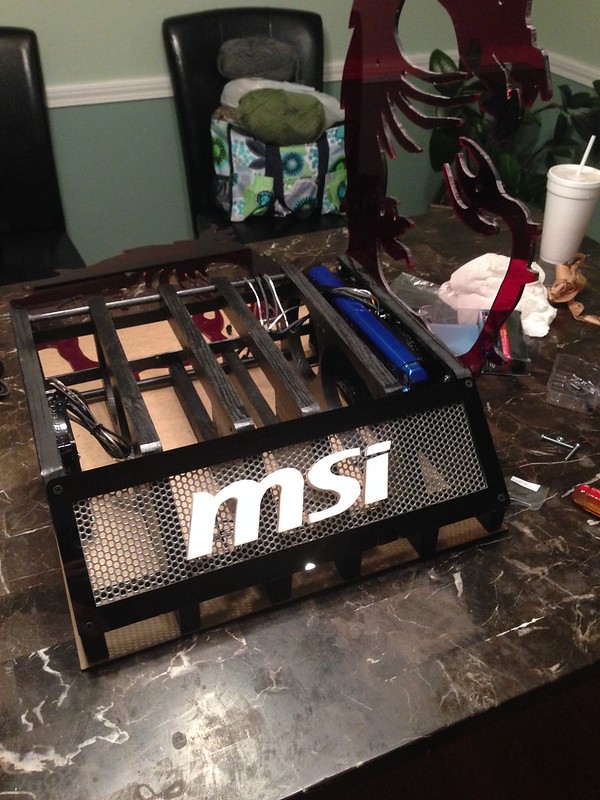
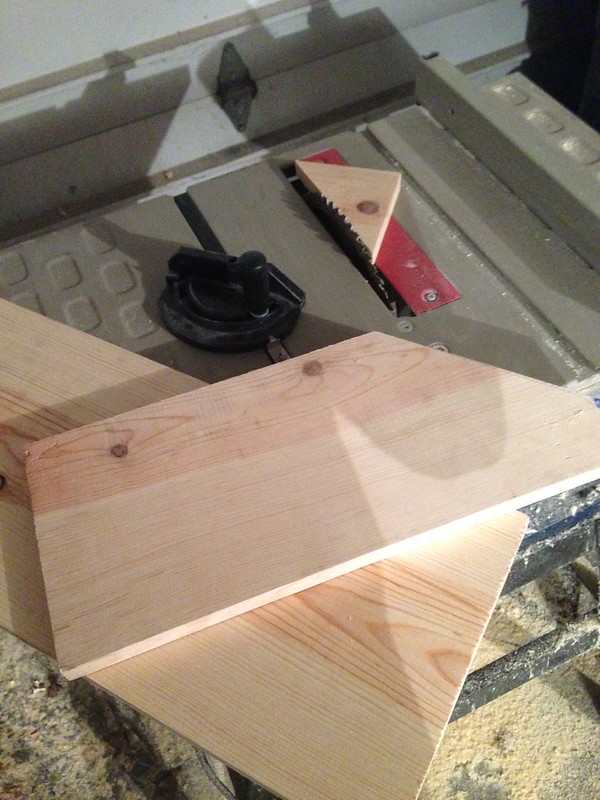
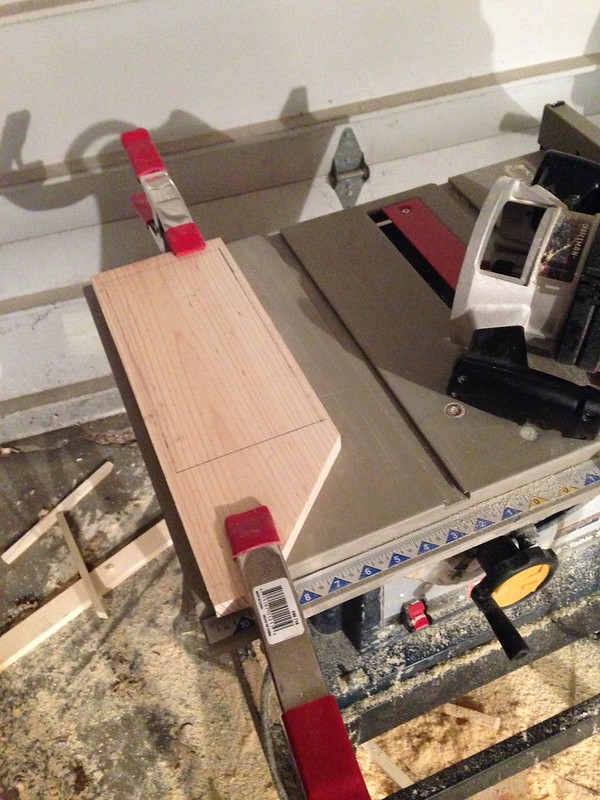
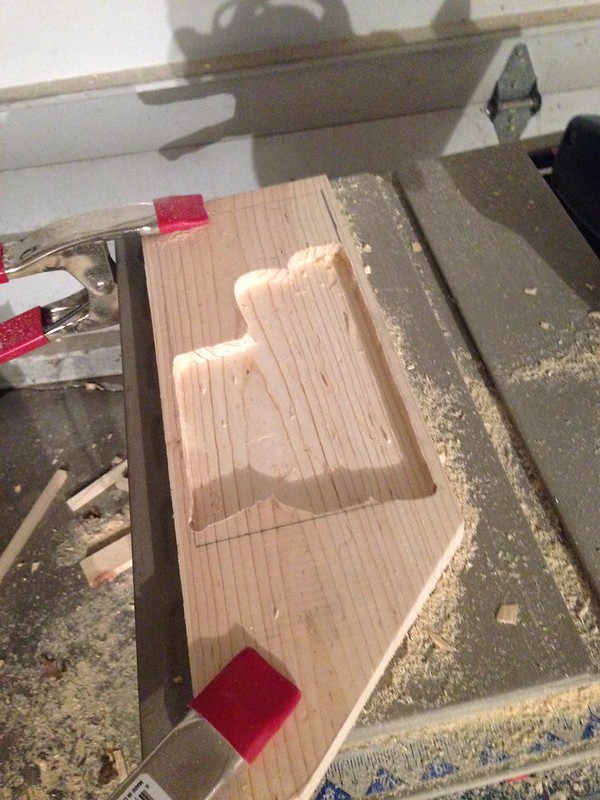
Creating the Base
On a cold rainy day ( never happens in the summer) in Dallas Texas during Quakecon , I met Mark From MSI who really like my Quakelive Case Mod( Pc that actually lifts out of the case) and gave me his contact information about possibly working on a project. Not too long after Quakecon we started to talk about building a case for CES, I gave him 4 hand drawn designs and he pick one and I ended up not using the one he pick and sketchup of the one that I liked instead. I show him the design and we where all set.
For me to mod I have to get in the right mindset and focus. I get a lot of my inspiration by look at Darthbeavis, Bill Owen and Boddaker projects. 3 of the best in the business and all original modders, Nowadays so much is being out sourced it takes away from the originally of a MOD, Ship off to be lasered here ( Darth your good you laser cut your own) and paid to have it shipped here painted there and sleeved cables order here. If I don't create the case in my own garage I wouldnt feel like I made it and take credit when somebody else does the work.
After waiting to find this modding motivation & changing the design of the base to give it a angle edge and having most of hardware in i was to begin after building over and over in my head.
A big Thank you to all the Sponsors Involved, They are a huge factor in helping me keep making these unique mods.
Specs:
CPU Intel® i7-5960X Haswell-E 8 Core
MB MSI X99S GAMING 9 ACK
VGA 2x MSI GTX 980 GAMING 4G
Memory Kingston HyperX Predator DDR4 32GB Memory
HD Kingston HyperX 240GB SSD
PSU Lepa 1000watts (Enermax Vegas Fans)
CPU Cooler Bitspower Rez/Pump combo and radiator
Material used :
Wood, wooded dowel rods, Acrylic and rods, metal Mesh
Tools:
Dremal, Table saw, Scroll Saw, Belt and palm Sander, Drill press, router
Creating the Base
Last edited:
")