Harmony

PixelsGC

Weaksauce
Joined
Nov 13, 2007
Messages
117
It's been three years since my last Mod ( http://hardforum.com/showthread.php?t=1473759&highlight=) The Little Black Box and I'm ready to step in the ring and build another custom rig.


Banner_zps79bc3435.jpg

I couldn't do it with out the help of the amazing people from all my sponsors!

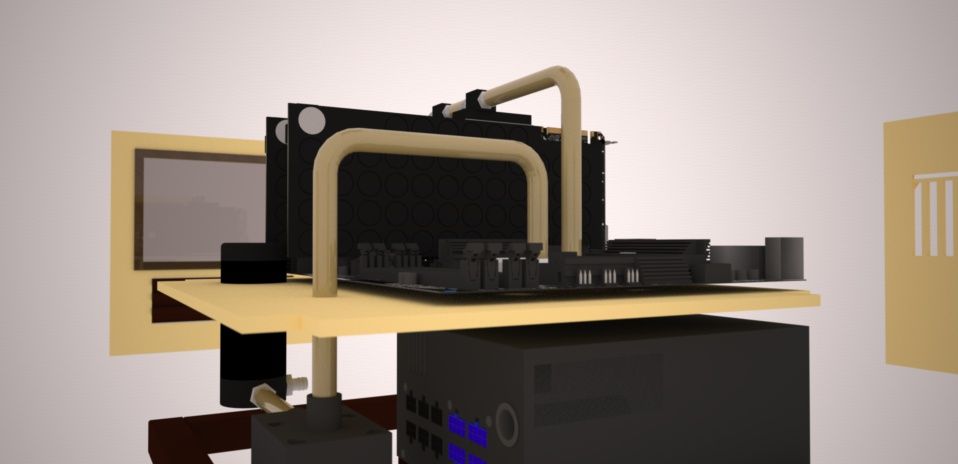
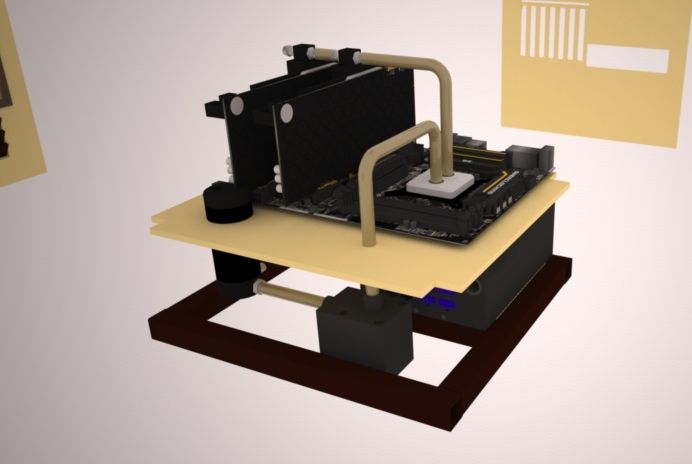
I wanted to step it up a notch with this portable LAN rig while still not compromising on performance, innovation, or appearance.

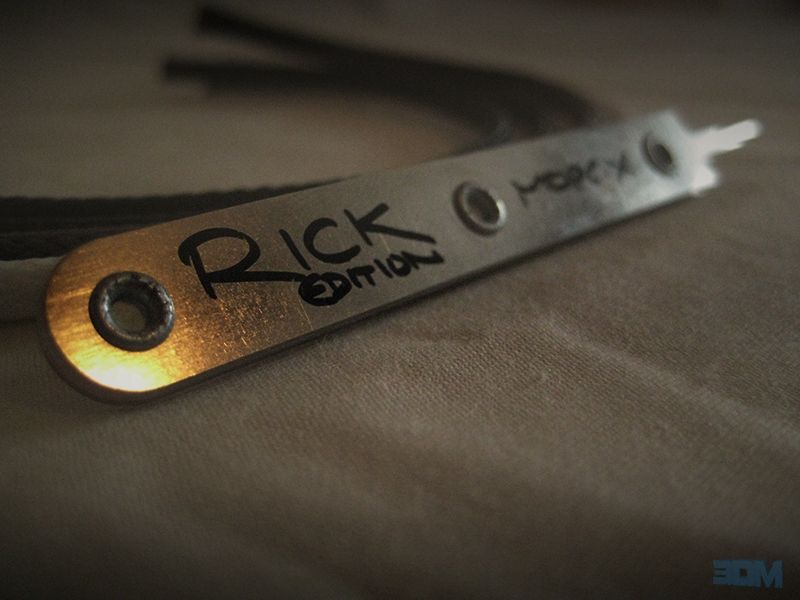
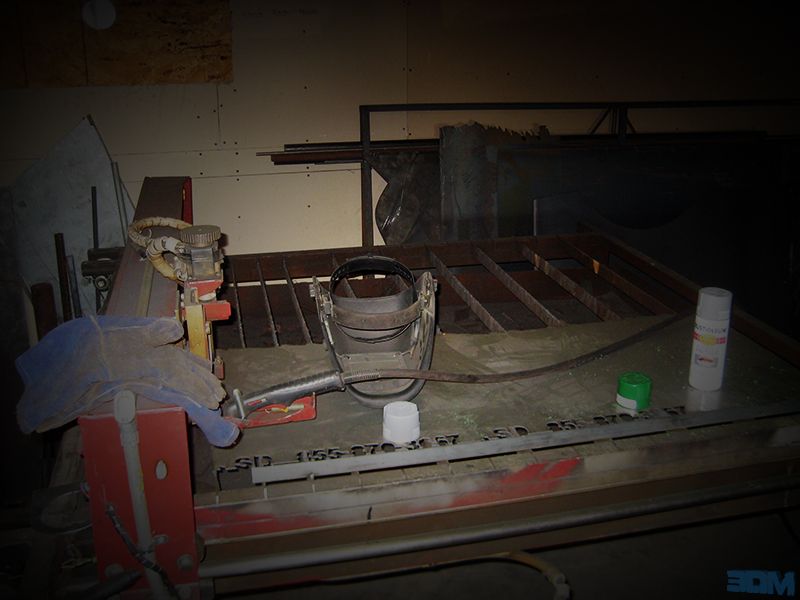
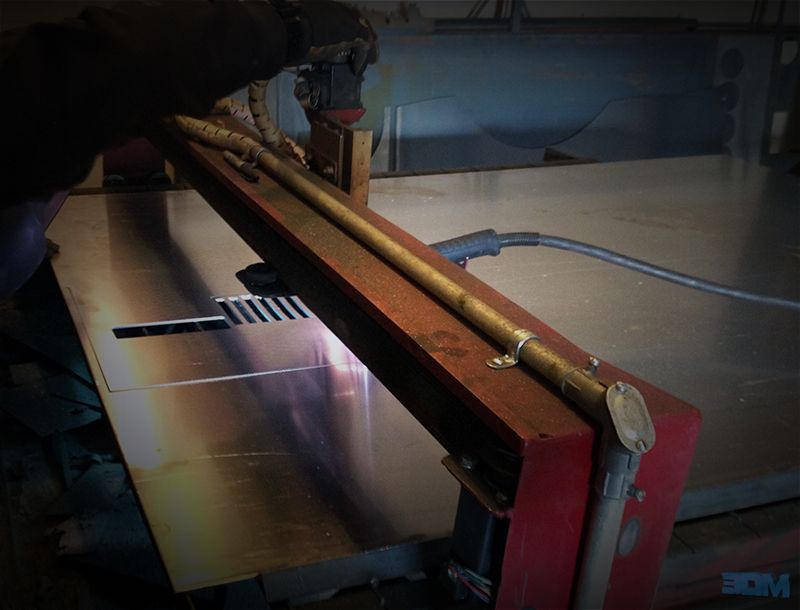
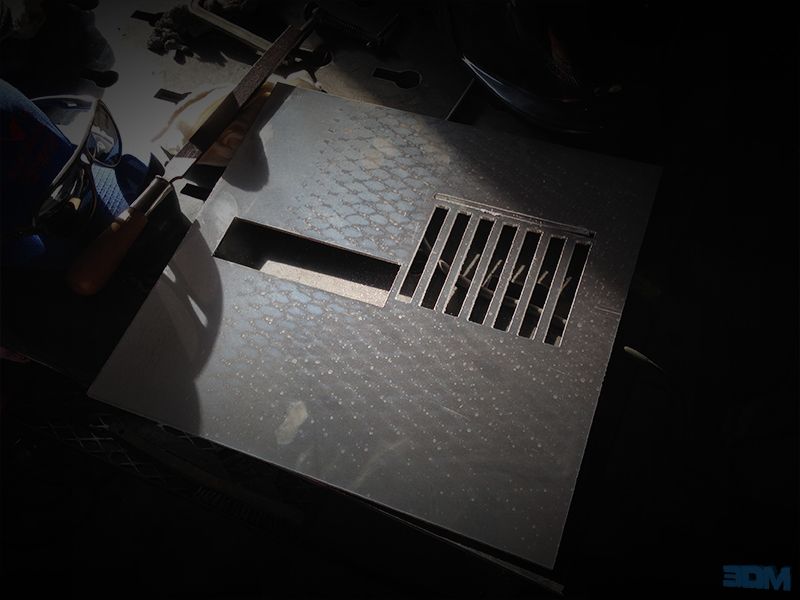
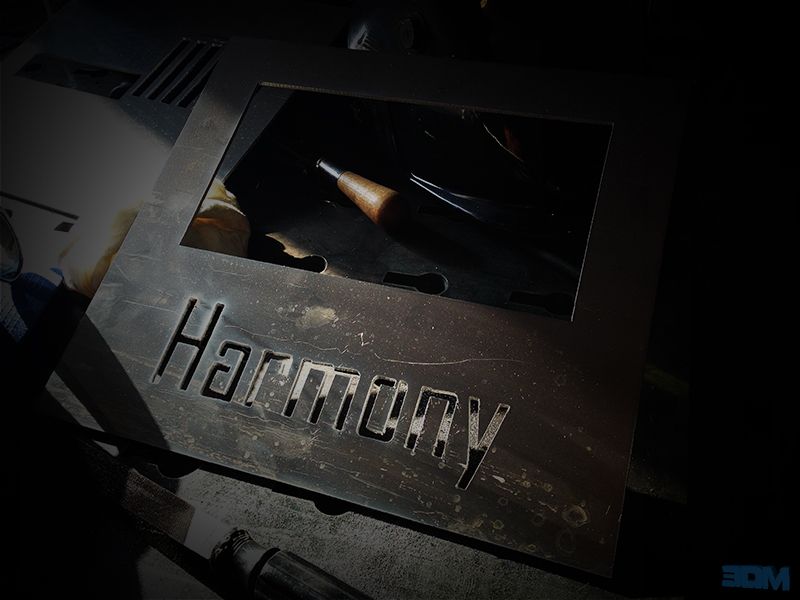
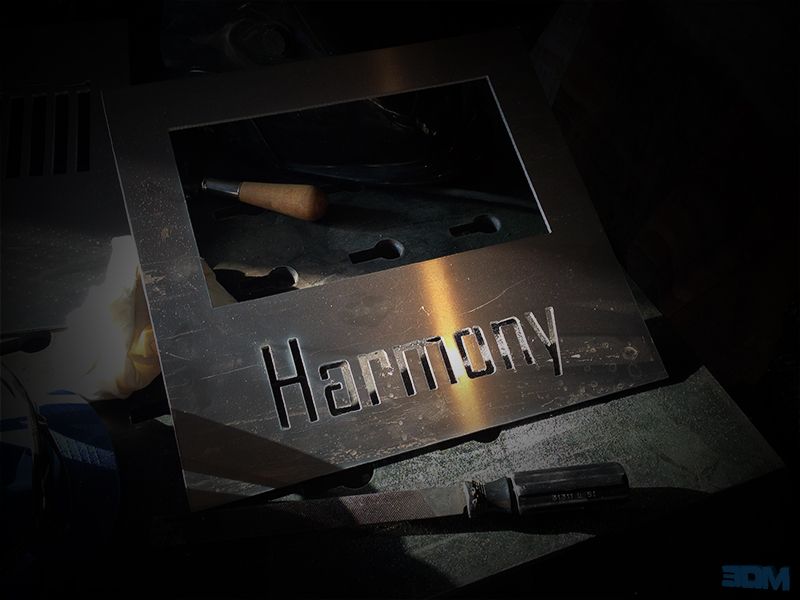
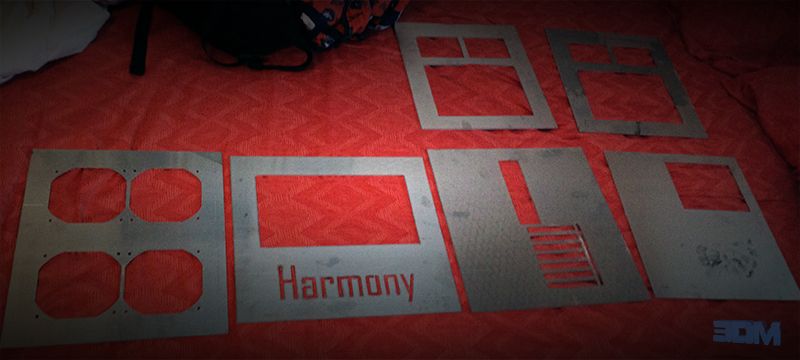
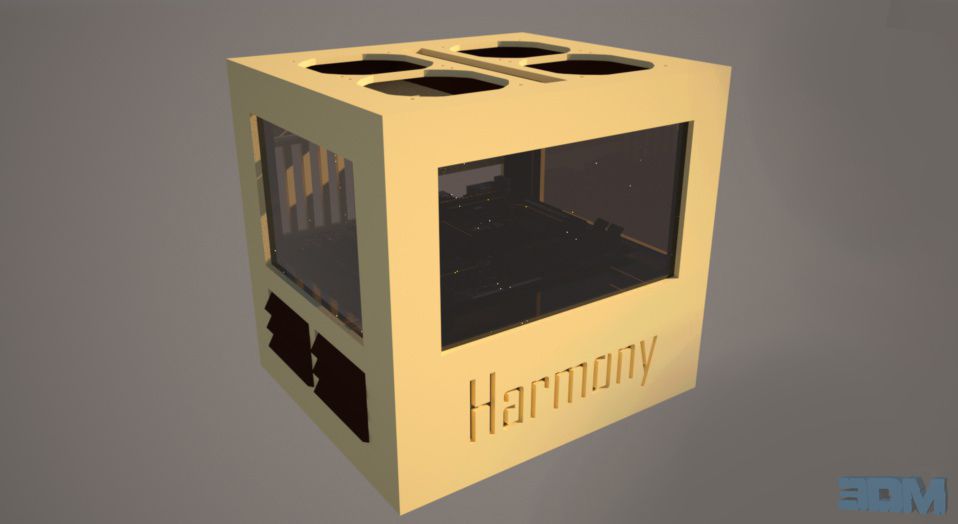
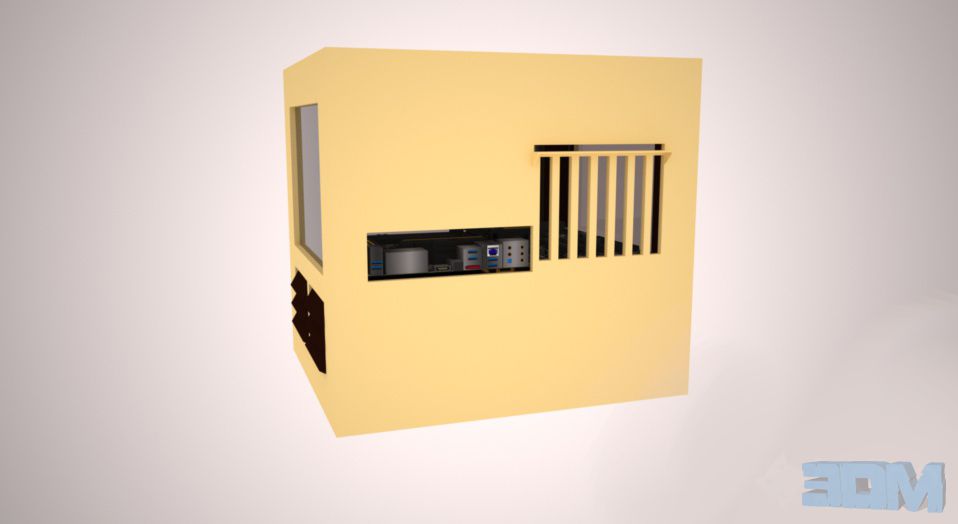
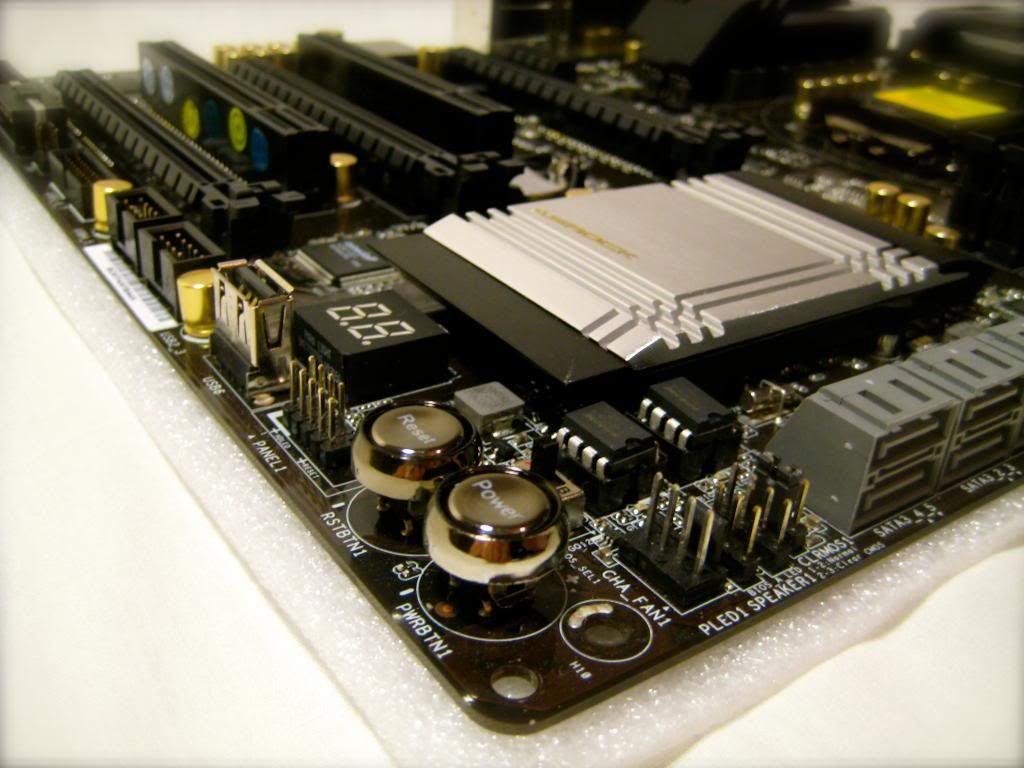
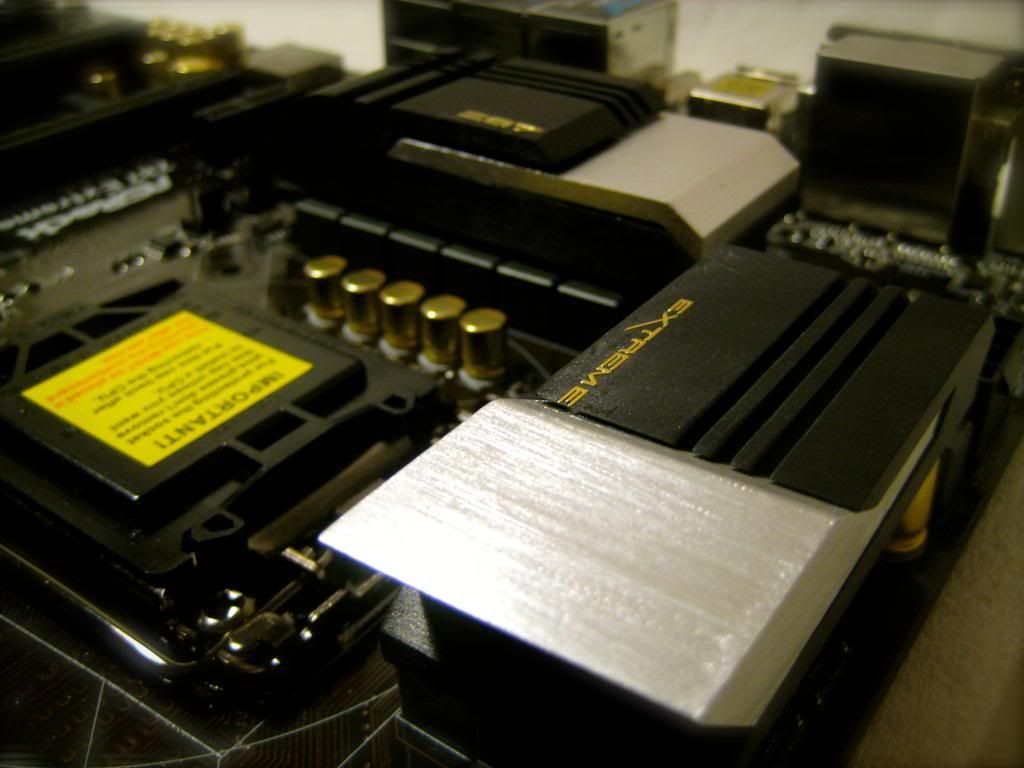
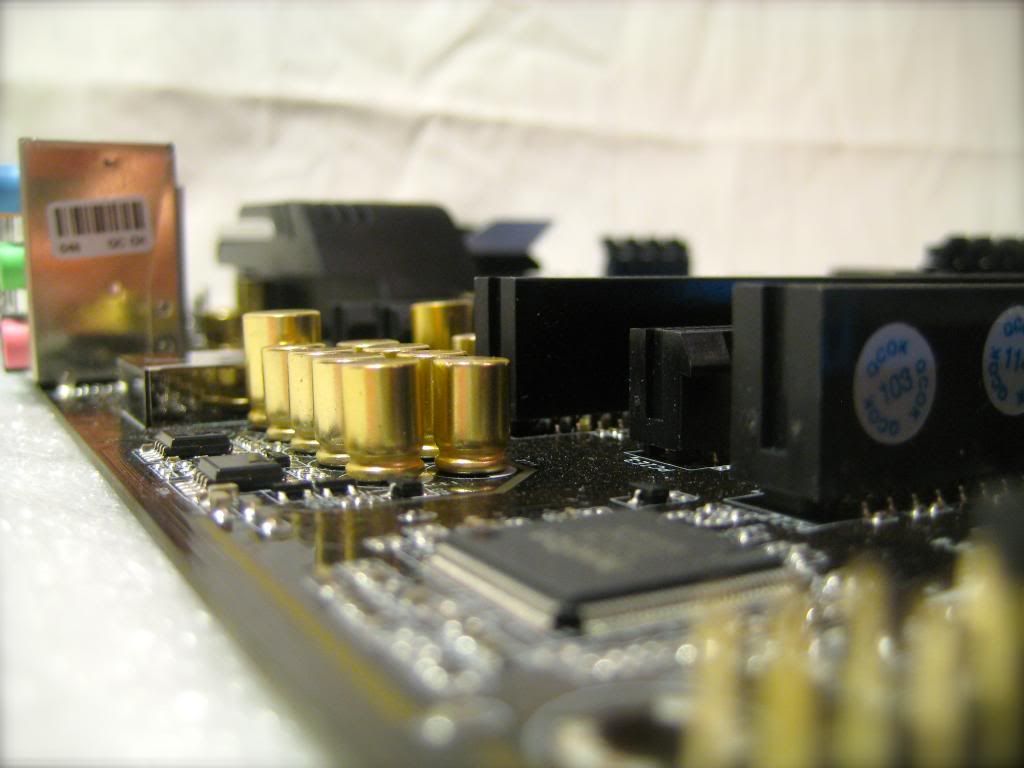
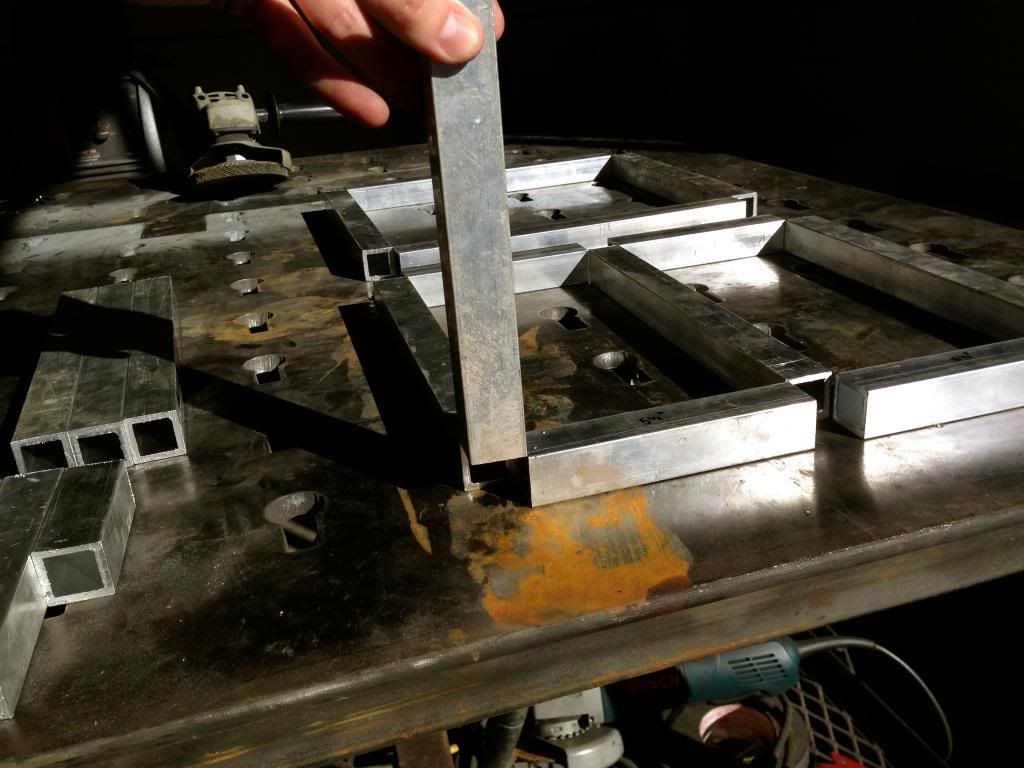
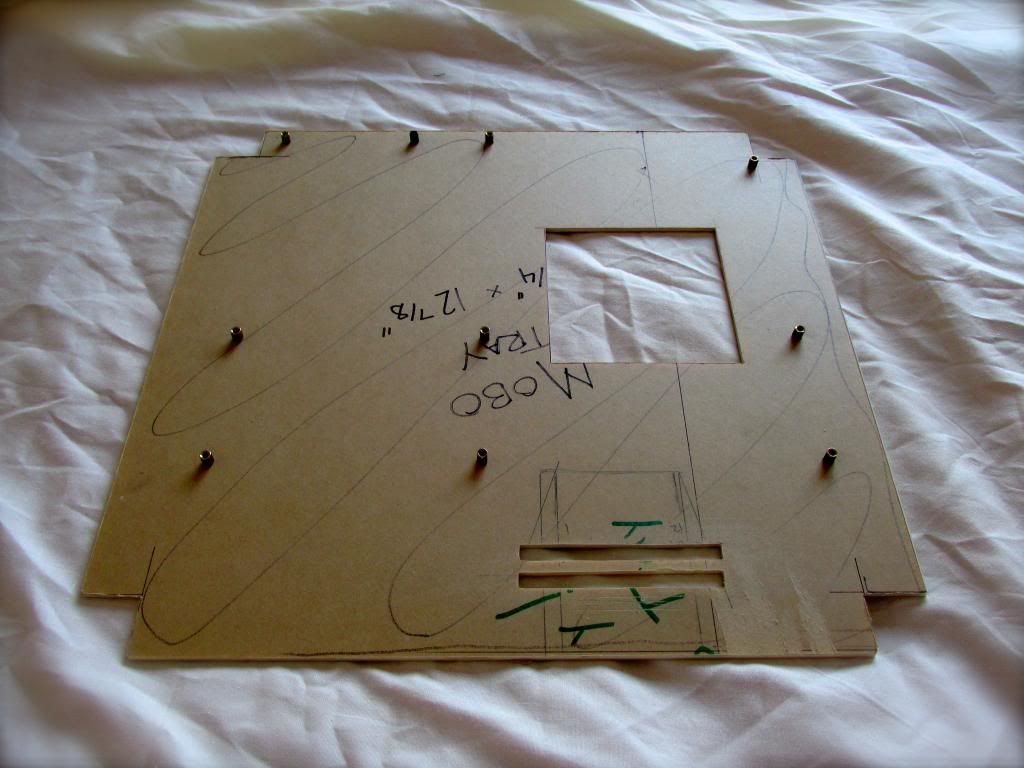
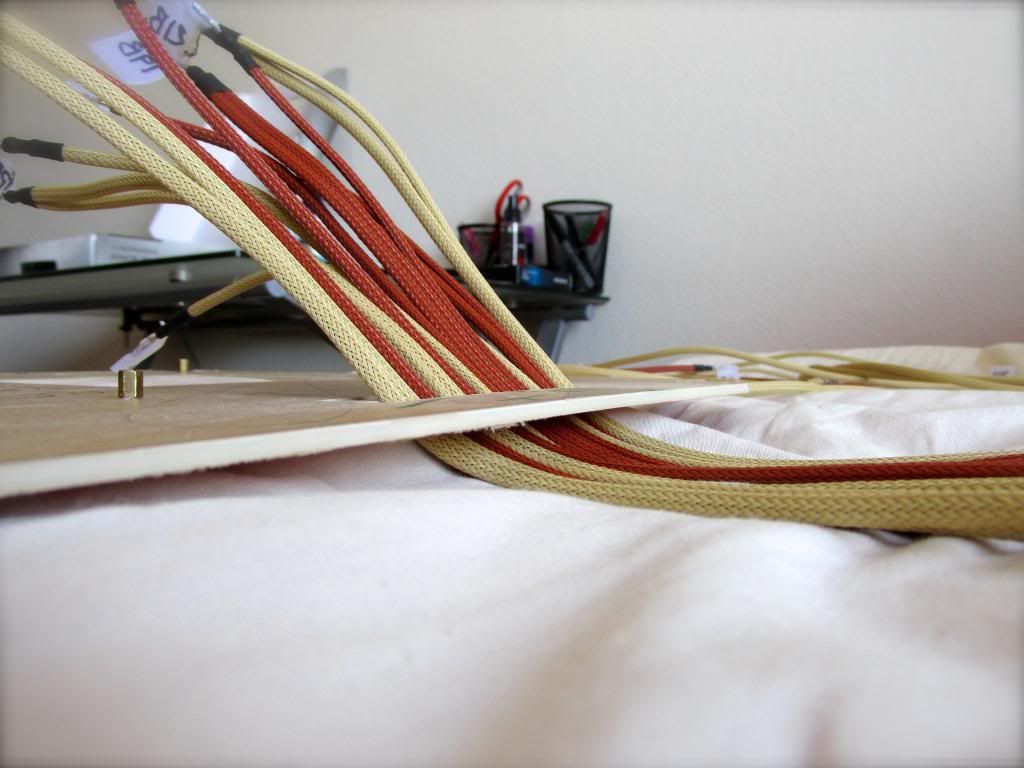
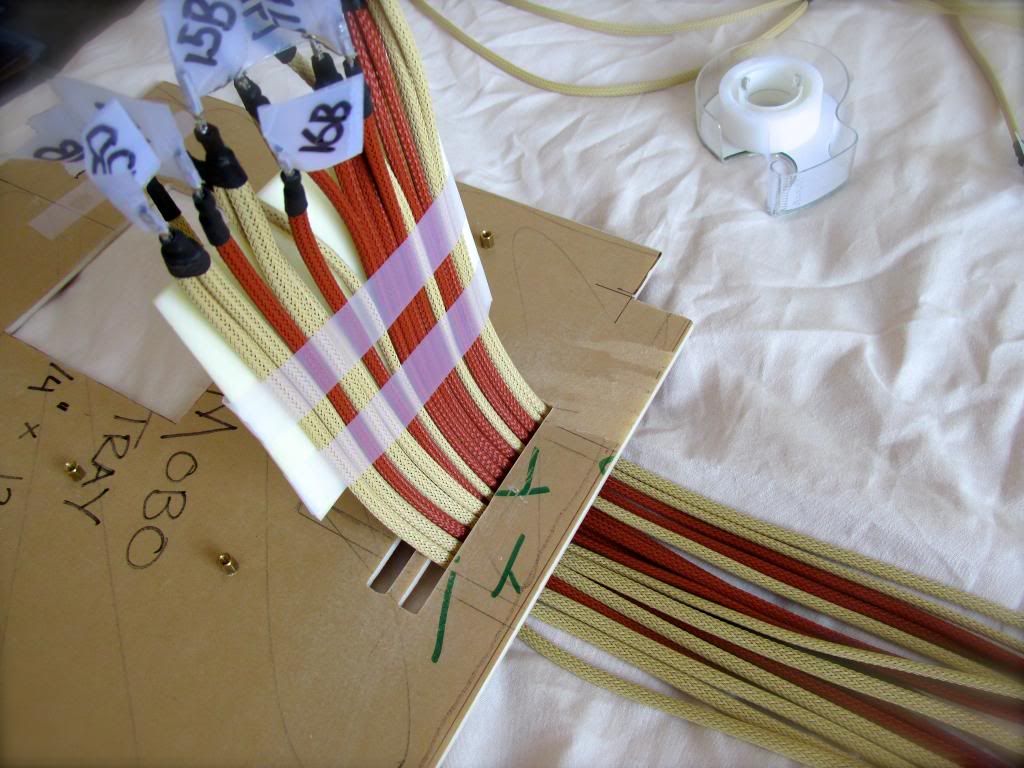
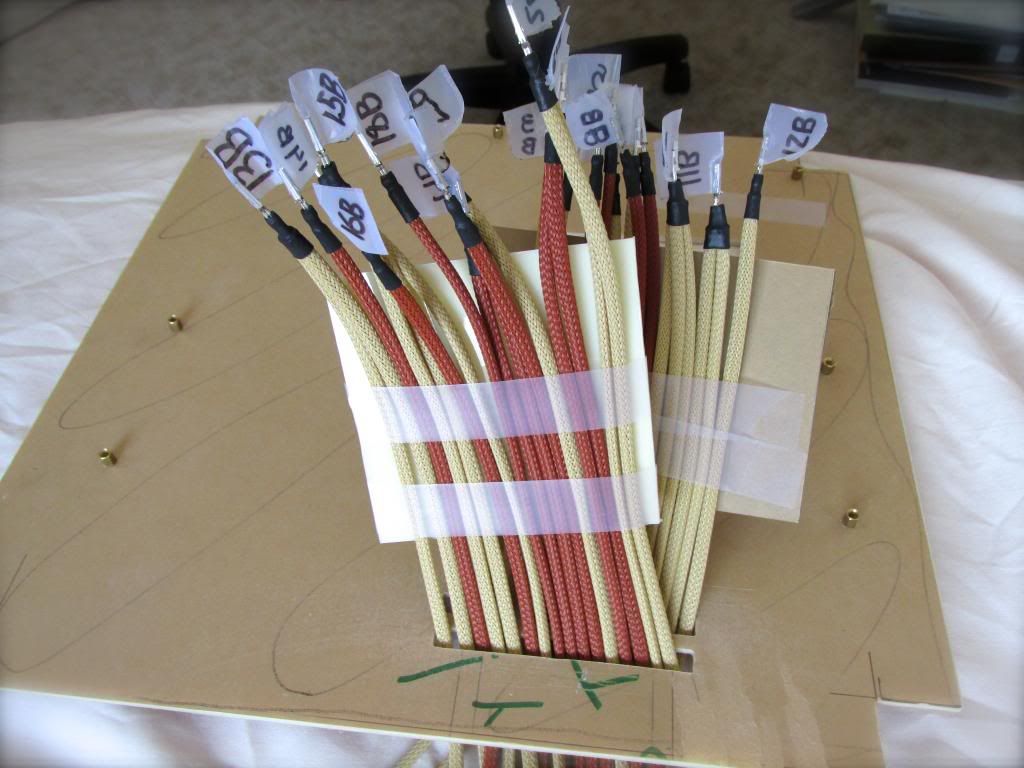
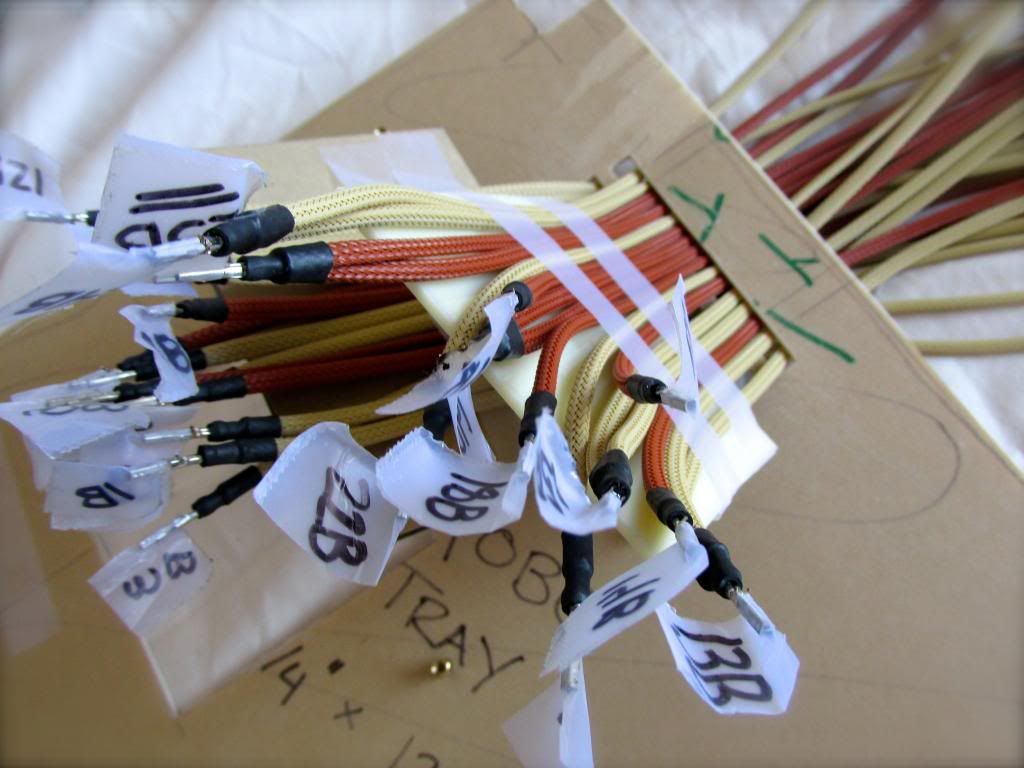
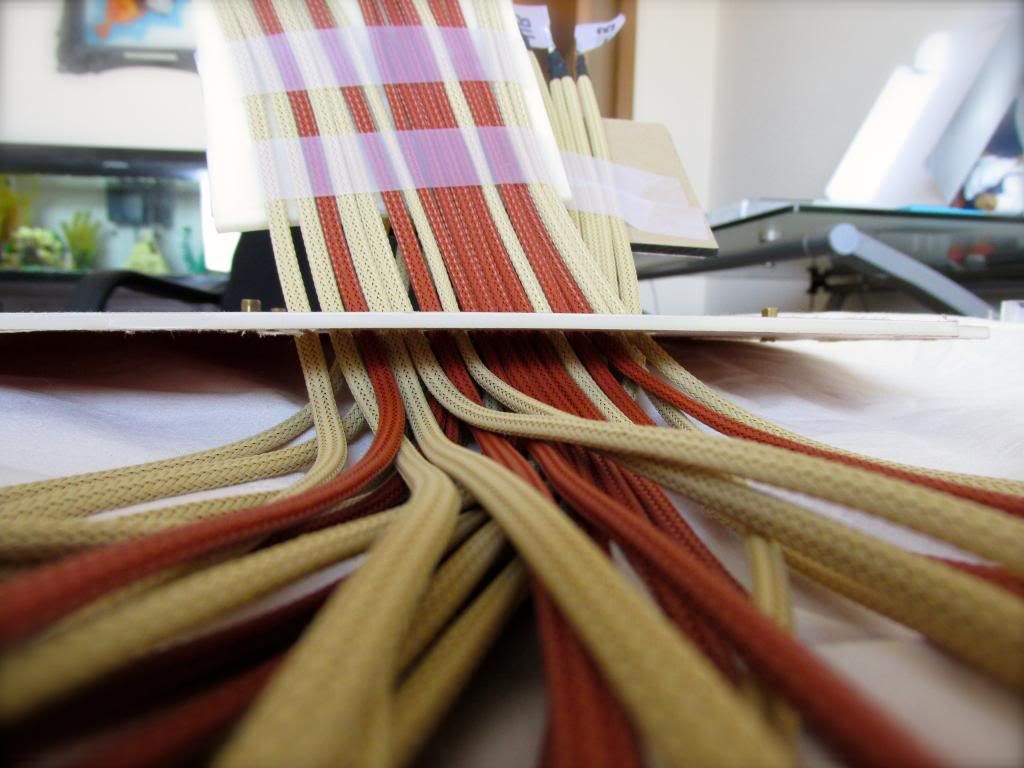
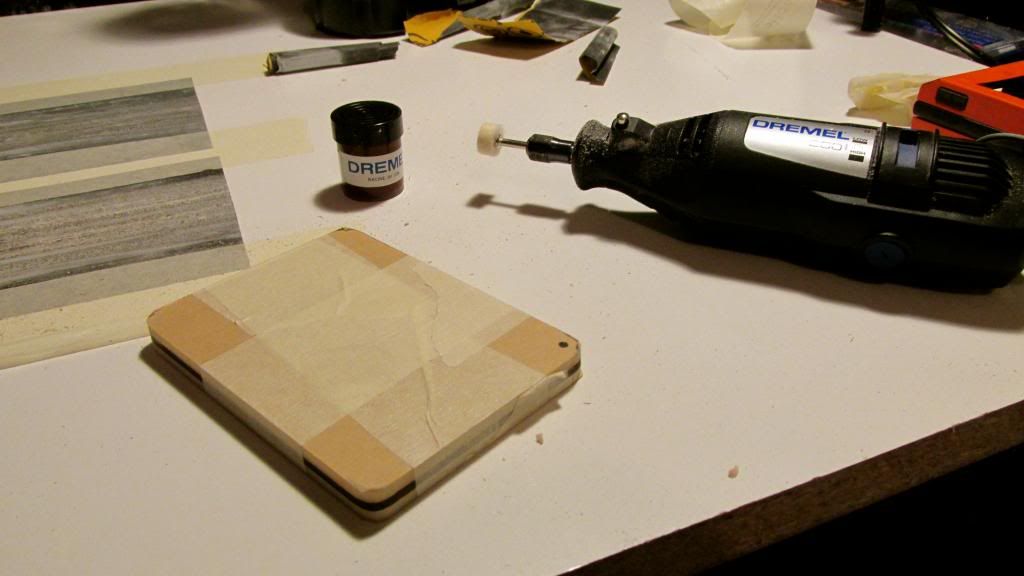
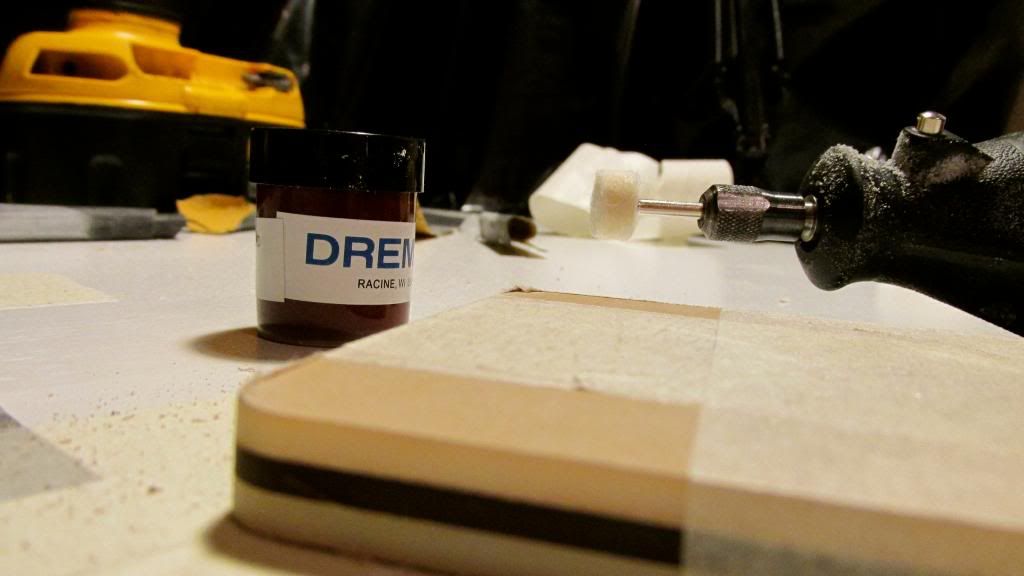
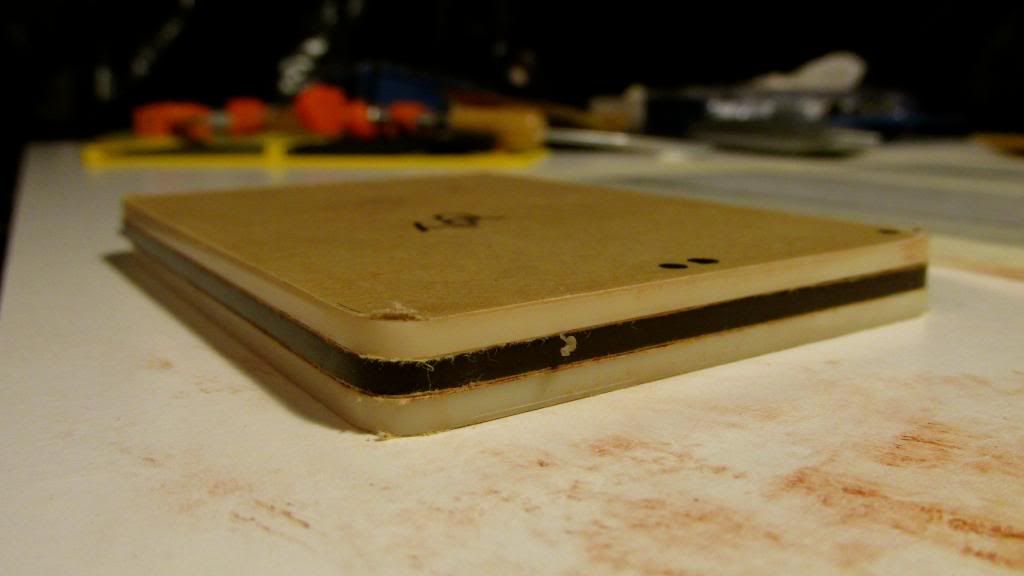
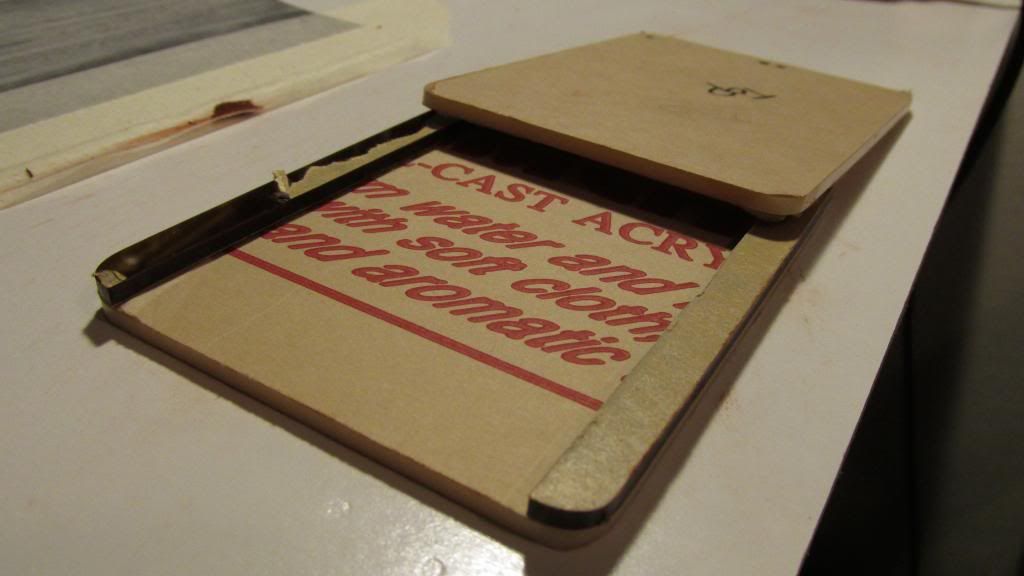
Sneak Peak of what is to come.
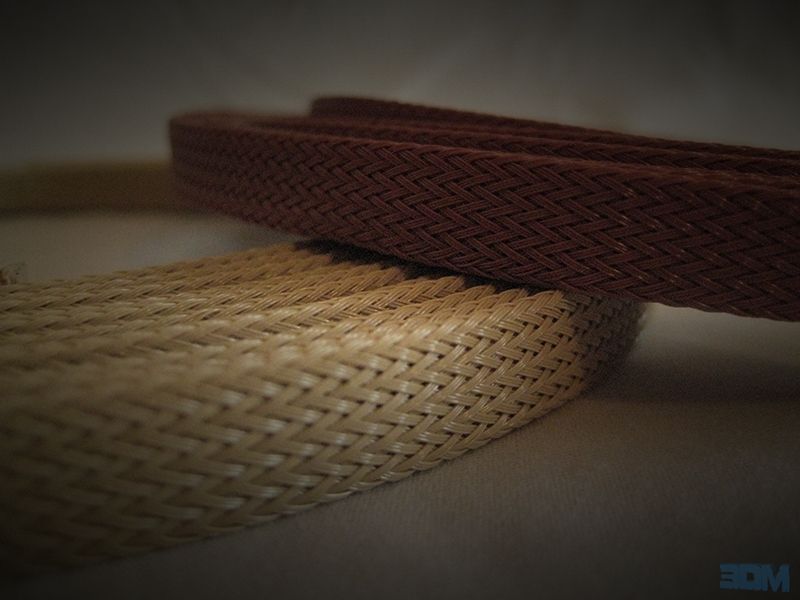
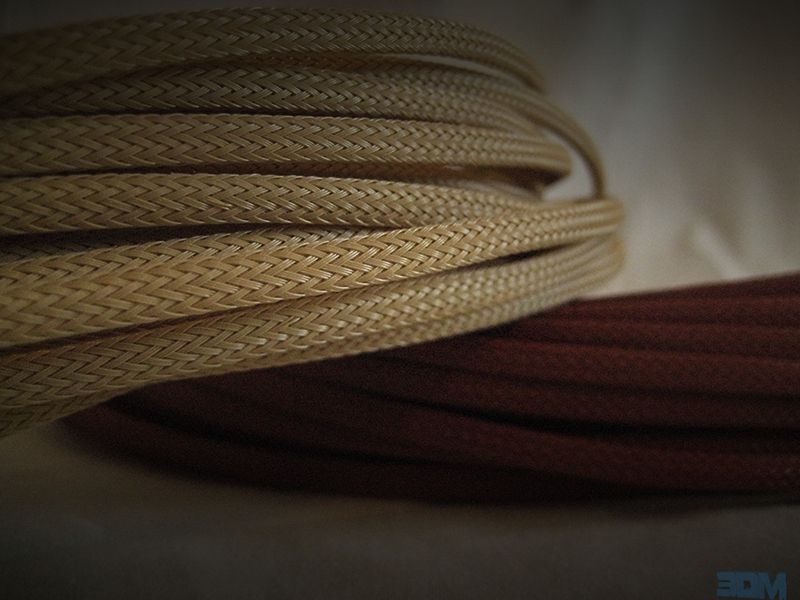
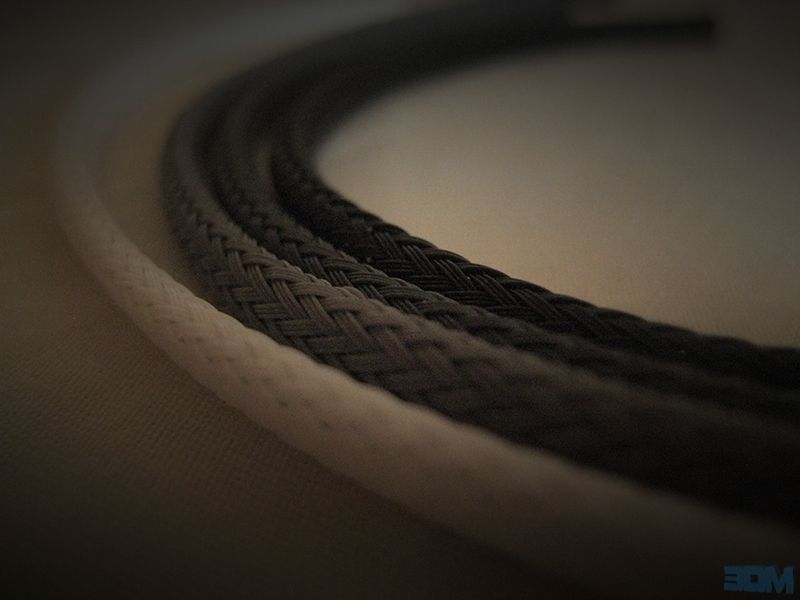
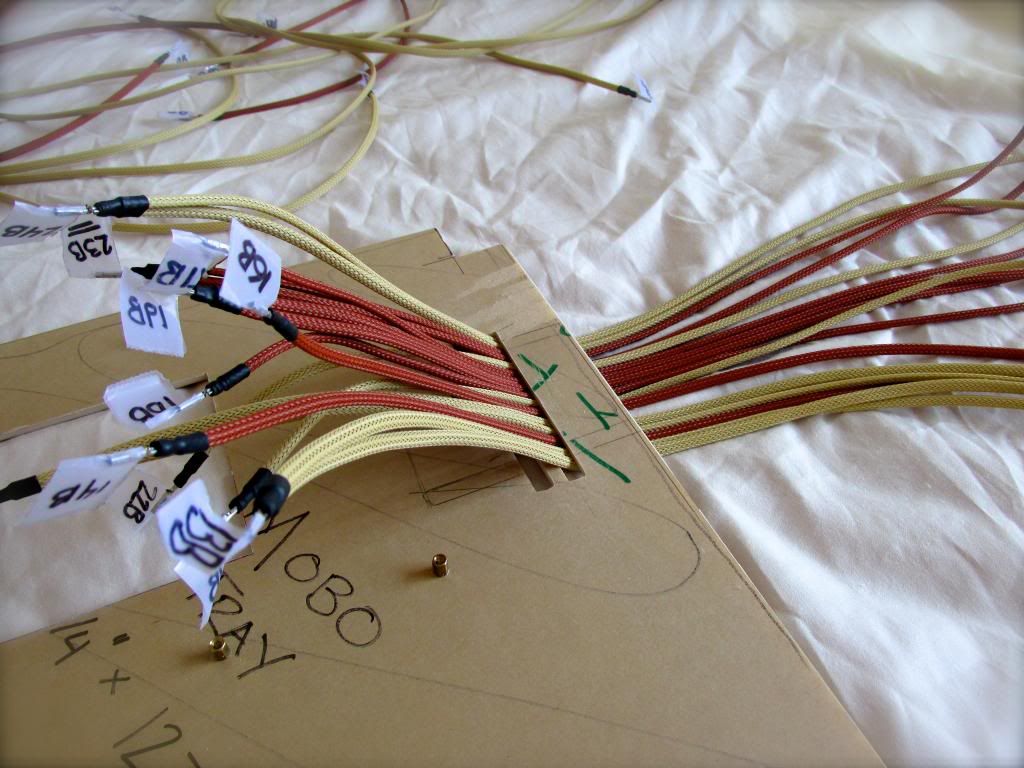
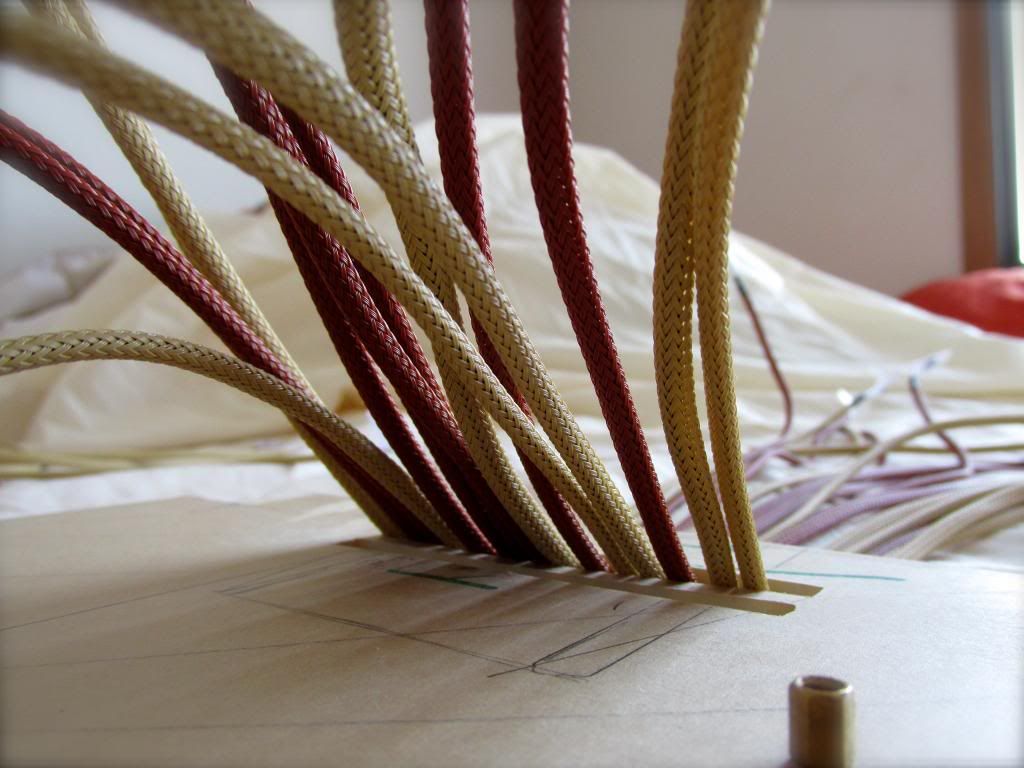
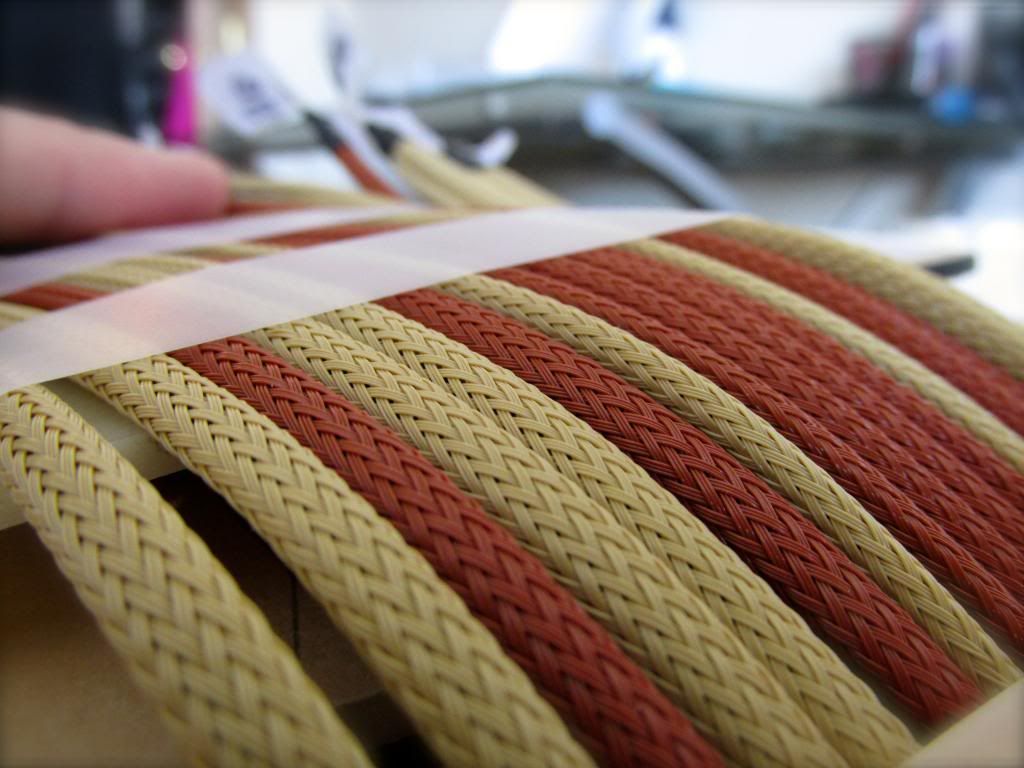


Main Colors
- Vanilla Sands
- Copper Brown
Accent Colors
- Dark Reds

Main Rig Features
- Interchangeable components
- Peak Performance Parts


Details to follow...
 
Last edited:
UPDATE: Exploded Views, Color Template and descriptions of each


This will be the back of the case, the back plate design will allow for a use of an I/O Shield. This will allow for future upgrades of motherboards and processors. The back plate also has 7 PCIe slots allowing for upgrades to GFX's and also making it possible to put cards in SLI ( Which is planned )


This is revealing the bottom of the case, The mesh grill adds character to the cooling tunnel for the PSU intake. This will allow my PSU to get fresh cool air from below and blow it out the back of the case.


The mobo tray will be made of a vanilla semi-translucent plexi and will be grounded. It will also have the a cutout below the cpu to allow for easier access to mount necessary coolers. It will also feature multiple atx and micro-atx screw patterns.


This view show the top of the case which will allow a carrying handle to be mounted to the frame for worry free transportation. There will be 4 120mm fans that will be available to be connected also.


Another exploded view showing the design


The front of the case will have the name laser cut out and will allow light to shine through allowing illumination.


The side plates will have angled grills allowing for air to be sucked through to keep the case and a reasonable temperature. Semi tinted brown plexi will allow the viewing of the interior components and wiring management.


More to follow...
 
Last edited:
Small update. I have gotten all the aluminum for this case build and will have time this coming Tuesday to begin building the frame.

I also received my sleeving from the notorious, MDPC-X!

Custom Pin Remover.
IMG_4415_zps30eaf27c.jpg


Sata Cable Sleeve.
IMG_4412_zps04939bcf.jpg


Single Wire Sleeve.
IMG_4409_zps043ba200.jpg


and some samples I received, great color scheme.
IMG_4414_zps9d70ce96.jpg


More updates to come very soon :)
 
Yup! the plan is to run 4 of them on the top of the case. I can't believe how well they match.
 
The case has finally begun the building phase.

My buddy has a home made plasma cutting machine and I was able to get all the panels of the case cut out. I used 1/8" Aluminum for all the side panels. The plasma cutter left a lot of rough edges but I knew this was going to happen. Luckily I have all of Christmas vacation to smooth them out. I will also sandblast them and get them ready for powder coating.

Here are the pictures, I can't wait to get the frame built and start getting some of the components for the build.

Enjoy.

Here is the home made plasma table.

IMG_4422_zps37509633.jpg


The back panel in the process of being cut.

2013-12-20-1325_zps0c121756.jpg


The completed back panel

2013-12-20-1329_zpsc367e881.jpg


The front panel turned out great, just gotta smooth the edges!

Front_zps32b4f8c2.jpg

2013-12-20-1333_zps2de26b3e.jpg


...and I leave you with a picture of all the pieces cut out.

2013-12-20-1601_zpsd660a4bb.jpg

Hope you enjoyed the update, more progress will be posted throughout the week so stay tuned.
 
No big updates yet, but I just got some rendering software that really takes the concept to a new level. Thought you'd enjoy them.

Front

HarmonyRenderFront_zps494a484e.jpg


Back

HarmonyRenderBack_zpsd8e7fc23.jpg
 
Damn, thats some plasma cuttin skills. That shit isnt easy.
 
STAGE 2: PARTS AND BUILDING : ASRock

Yesterday I received this all the way from Thailand and I can't be more excited! This thing is awesome!
Thanks again to ASRock for the sponsorship, and be sure to check out their line of awesome products!

I also finally got the 3DM official website up, make sure to check it out to follow all of our mods. (www.3rddawnmods.com)

Plans for the MOBO:
- Paint heatsinks to match color scheme
- Remove all stickers (Have too)
- Get creative on ways to paint the other pieces of the MOBO.

Now onto some awesome photos!

HarmonyCaseMod01_zpsc9465fca.jpg


HarmonyCaseMod04_zps0f9dc6cc.jpg


HarmonyCaseMod02_zpsb5dda4f3.jpg


HarmonyCaseMod03_zpsfa87100a.jpg


HarmonyCaseMod05_zps8a772655.jpg


HarmonyCaseMod06_zps15060a21.jpg


HarmonyCaseMod07_zpsd3ffafd4.jpg


HarmonyCaseMod09_zps933fedd4.jpg


HarmonyCaseMod10_zps39dc0699.jpg


HarmonyCaseMod11_zpsa37396db.jpg


Stay tuned for more to come!
 
I know exactly what you are saying. But being as a poor college kid right now, any help is greatly appreciated and I'll make it look the best I can!
 
I hear you, but all I can think about now is A&W Root beer and how badly I want an ice cold float. :D

You sure did pick some tasty colors.
 
Big update for today and another one coming tomorrow!

ADATA has entered the building!
I want to thank ADATA again for believing in this project and providing a fantastic SSD. Special shoutout to Cherry for making it happen!

Plans for SSD:
- Build a custom case to hold the SSD
- Sleeve SATA cables to match color scheme

Pictures!
Harmony1_zpse23b398e.jpg


The contents:

Harmony5_zps83a537fb.jpg


Harmony6_zps70f3c819.jpg


Bonus shots I really liked:

Harmony2_zps408c10b7.jpg


Harmony3_zpsc1590b2a.jpg


Harmony4_zps5c202182.jpg


Today I also got started working on the frame of the case. I grabbed my two 12ft pieces of square aluminum tubing and began measuring and cutting out the individual pieces for the frame.

My initial thought was to weld the frame pieces together, but I got to thinking and remembered some super nifty tubing connectors I had found on the web from previous years. These were the key to putting the frame pieces together. I have had a lot of experience in wire feed welding steel, but have had no experience in TIG welding aluminum, and I wanted this case to look perfect. These tubing connectors will give me the strength I need and the overall look I was going for.

100-308.jpg

EZTUBE Connector, images thanks to http://eztube.com/
I have ordered these and are awaiting there arrival.

Here are the pictures from today!

Harmony-2_zpsa477c75a.jpg


Harmony-4_zps45877c0d.jpg


Harmony-3_zpsad84919d.jpg


Here are all the pieces cut out and the burs removed, the picture is showing how the tubing was suppose to go. I will need to cut 2inches off of the 14inch pieces to allow for the connectors to be in place.

Harmony-1_zps3462a5a3.jpg


I will start on the motherboard tray the week and hope to have another update very soon for you!
and don't forget to check out 3RDDAWNMODS.com for even more updates!
 
Last edited:
Today I got a little more done on the frame. I got the newest dimensions cut for where the connectors are going to be and got all the pieces un-burred again. I also have begun working on the rendering of the water cooling setup, below are a couple of pictures of where I am right now.

This picture shows the rigid acrylic tubing bent to the correct angles, the tubing will go through the motherboard tray and so will the top 1/4 of the reservoir to give it a pretty distinct look.
TUBING2_zpsfe7e51bb.jpg


Here's a broader view of the tubing setup.The tubing will be clear with a color liquid that is closely matched to the overall cream color.
TUBING1_zps53dc7b36.jpg


Here is the latest cuts on the frame. The gaps are where the connectors will be placed.
IMG_0142_zps528a3f18.jpg


Another view, including the sides of the frame sitting in place.
IMG_0141_zpse192952b.jpg


This picture shows how the sides of the frame will be sitting, the connectors will go in all the corners and are 1" x 1" so a perfect fit.
IMG_0143_zps0a33642c.jpg


Just a picture of me screwing around working on the frame.
IMG_0144_zps0afc1290.jpg


This is the final shot of the frame pieces before they get powder coated. Can't wait to get them back a copper brown color!
Off to Minnesota!
IMG_4476_zps0844f038.jpg


Tomorrow I will begin working on the PSU that should be arriving today. Plans for that include, a custom acrylic case and also completely wiring sleeving it all!
 
This past week I've been finding time to build the Motherboard tray and finish sleeving the 24pin power cable. I got the 24pin fully sleeved, now I'm debating how I want to paint the connectors as there are no cream or copper brown 24 pins.

The Motherboard tray is almost completed. The next project is building a custom housing for the PSU, and SSD's. They should look pretty sweet when completely finished. I also plan on laser etching some of the pieces.

TO THE PICS!

Here is the latest design of the motherboard tray, it's made of cream colored plexi. I leave the protective layer on till I know I'm completely done with the piece.
LastImport-58_zpsec62a1b9.jpg


This angle shows the two slits for the 24pin cables to go through. The sleeving will be split by the top row and bottom row, pictures further down.
LastImport-59_zps08728573.jpg


A closeup of the cutout to allow easy access for back plate mountings.
LastImport-60_zps049d1156.jpg


Another angle of the entire mobo tray.
LastImport-61_zpsa5a6c21f.jpg


This is the top row of cables going into the first slit in the tray. This slit holds cables 13-24. Man I love those colors together.
LastImport-62_zpsecbedb18.jpg


A couple glamour shots.
LastImport-63_zps4982c5d7.jpg


LastImport-64_zps09f72647.jpg


I taped the cables to a scrap piece to help keep them where they are suppose to be in terms of order. Cables 13-24.
LastImport-65_zpsa2390223.jpg


Here are the second group of cables (1-12) through the bottom slit and taped in the same fashion as above.
LastImport-66_zpsd0b12502.jpg


Glamour Shots
LastImport-67_zpsf8d24124.jpg


LastImport-68_zps105cb2d5.jpg


My Favorite of them all.
LastImport-69_zps5de2e165.jpg


Thanks as always for reading! More to come in the upcoming week.
 
2nd post in one day, I'm on a roll!

Today I got a lot more done then what I thought I would.

I'm currently working on a custom housing for the Adata SSD. I've got a lot more shaving to be done on the pieces but I have gotten the basic body built.
Once the body is completed, I will figure out what screws/method I will use to hold it all together. I really want to be able to exchange out the SSD with ease.

Like everything with this build, I want to ability to constantly upgrade the computer unlike my previous build which was built around a certain component.

TO THE PICS!

Here are the basic pieces cut out and ready for sanding to even all the edges.
LastImport-01_zps5c0a713e.jpg


All the edges are sanded smooth.
LastImport-03_zps3ebc2a65.jpg


Another shot of all the edges sanded smooth and matching.
LastImport-05_zpsdc7e736b.jpg


...and another one
LastImport-06_zps5c09a59d.jpg


The edges are rounded to add a more appealing effect.
LastImport-07_zpsc65a5355.jpg


READY FOR POLISHING!
LastImport-08_zps56aee8d9.jpg


All outer edges fully polished, man this looks good.
LastImport-09_zpsa918b2de.jpg


The workings of the cage.
LastImport-11_zps12e9d2a3.jpg


LastImport-12_zps9df1446a.jpg


Test fitting the SSD board in the housing.
LastImport-10_zpsa931be7d.jpg


Needs a final trimming and holes drilled to put it together, but coming along very nicely.
LastImport-13_zps3ccf7cae.jpg


LAST SHOT
LastImport-14_zps2a784e18.jpg


More coming this week! Also it'd be great if you'd spread the word 3rddawnmods.com and like us on facebook!
 
Last edited:
Back
Top