SR-X

Hello! Progress has been steady but slow for the moment. I have been thinking alot lately about the internal styling of the components. I had an initial styling for the components at the beginning, though, with such a complex build I put this task off until the end, which, in turn has caused a slow-down.

IMG_4621.jpg


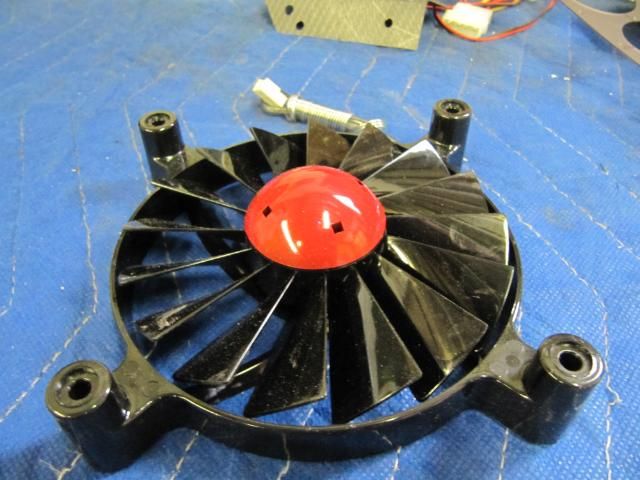
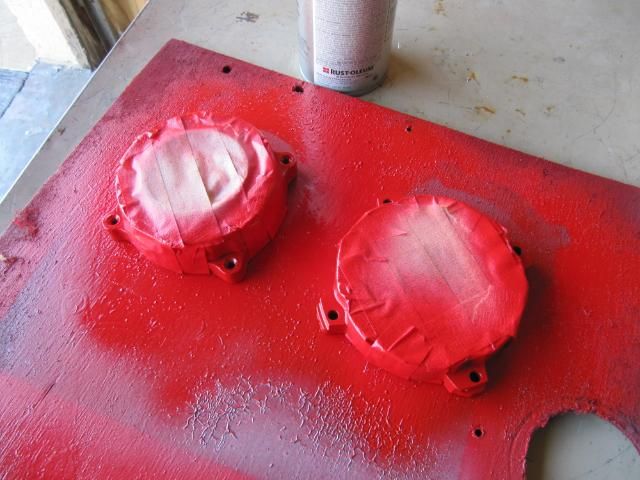
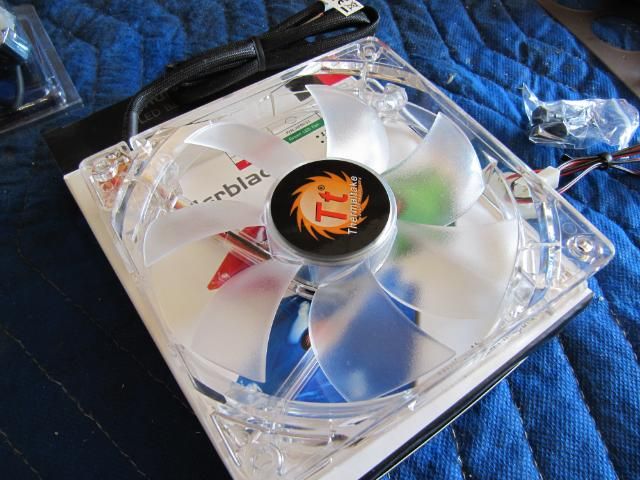
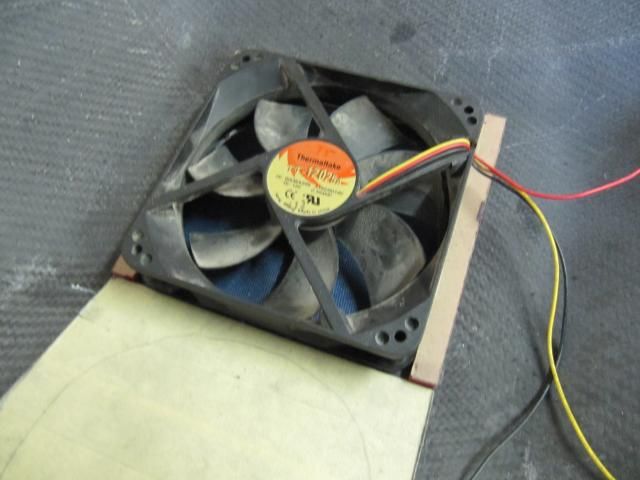
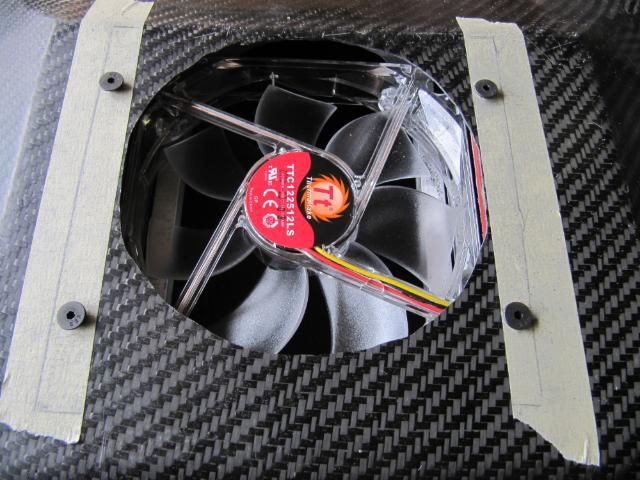
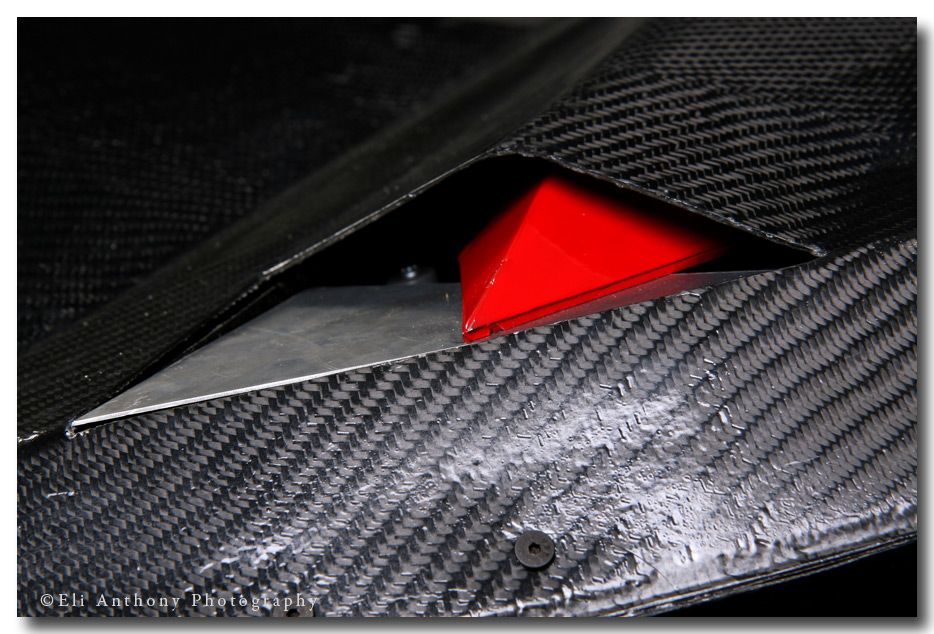
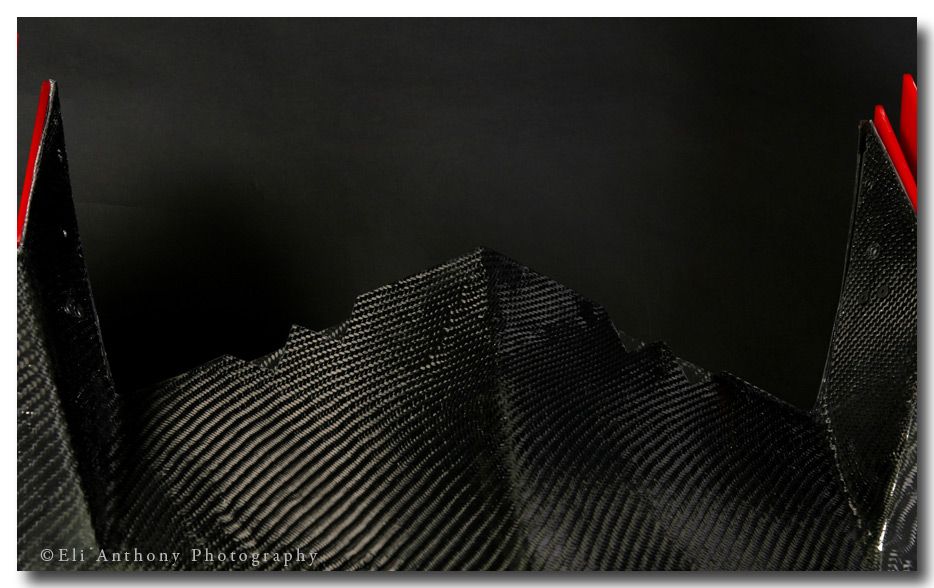
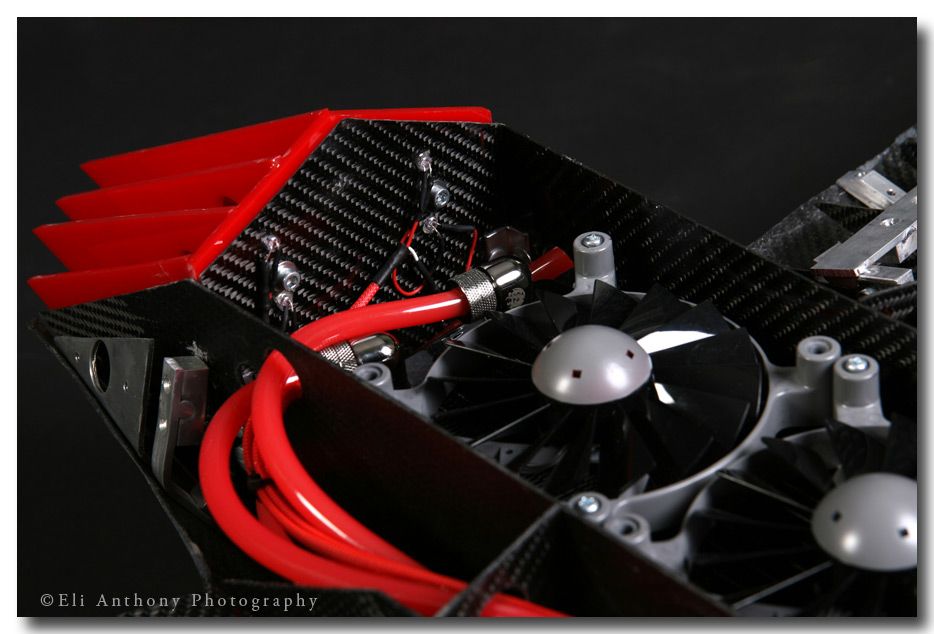
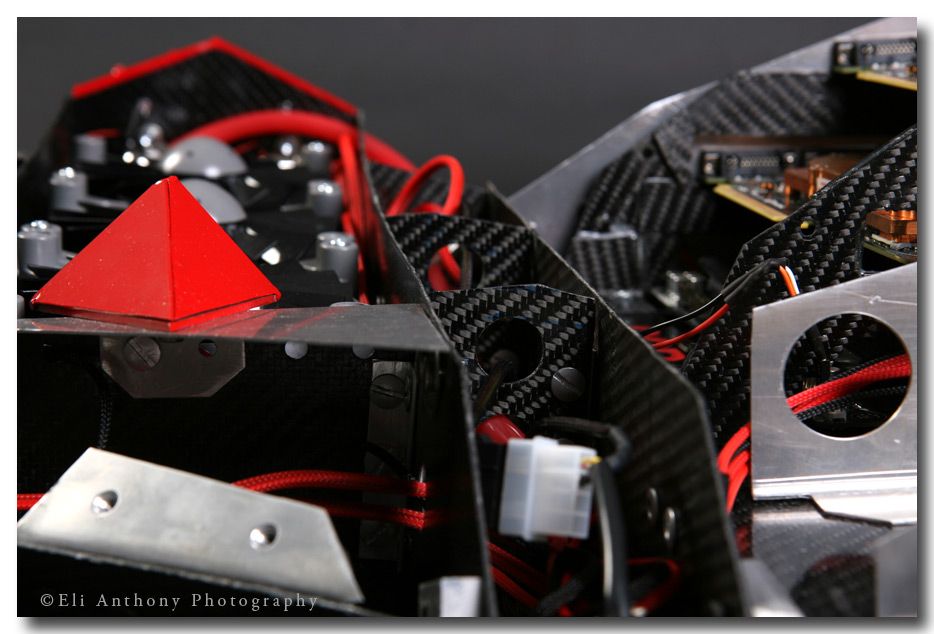
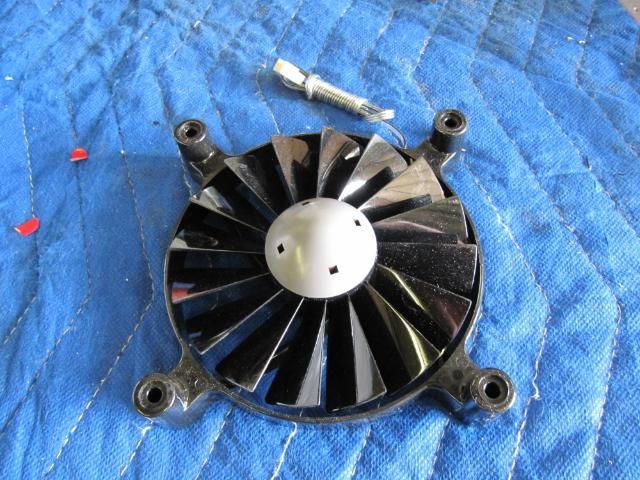
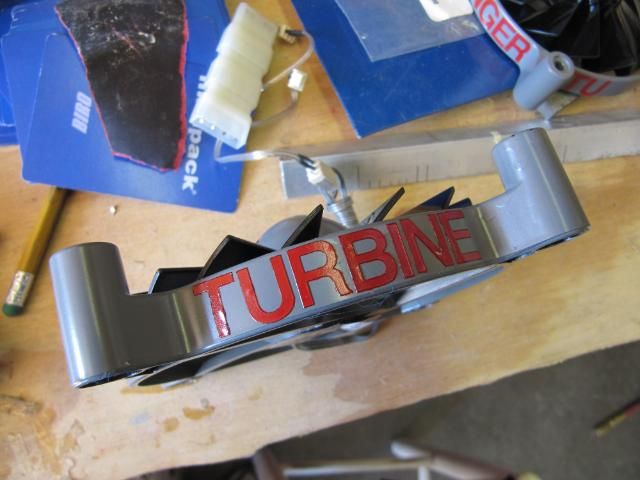
I took the fan out and wanted to give it the proper jet turbine feel, so I painted the nose cone red because I thought it would look great and..........

NO NO NO NO ARRRGGGHHH NO

IMG_4622.jpg


IMG_4626.jpg


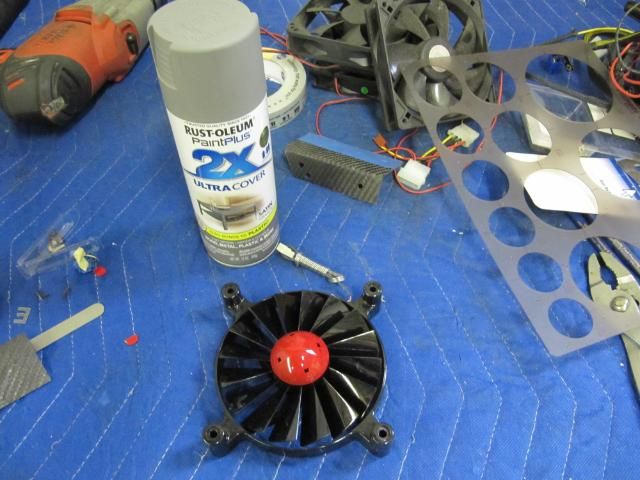
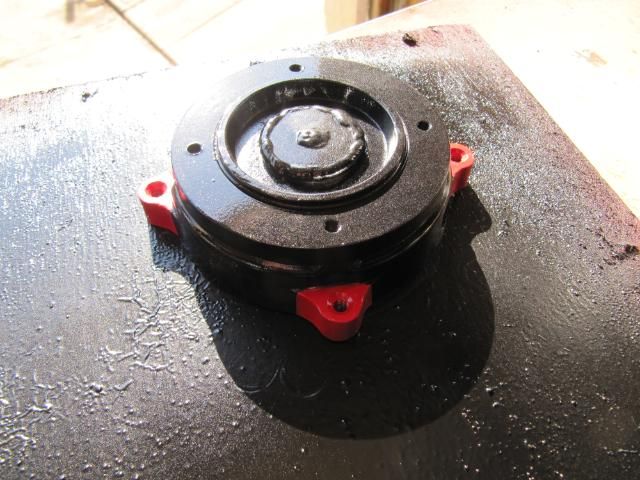
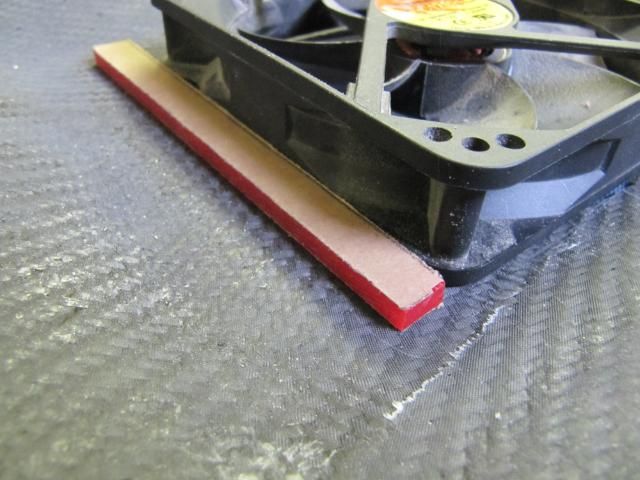
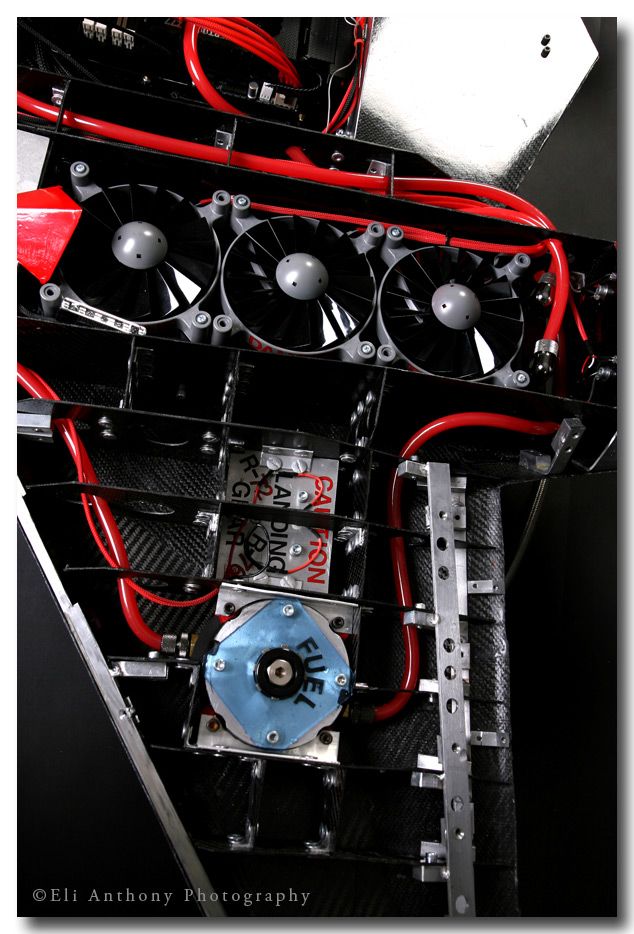
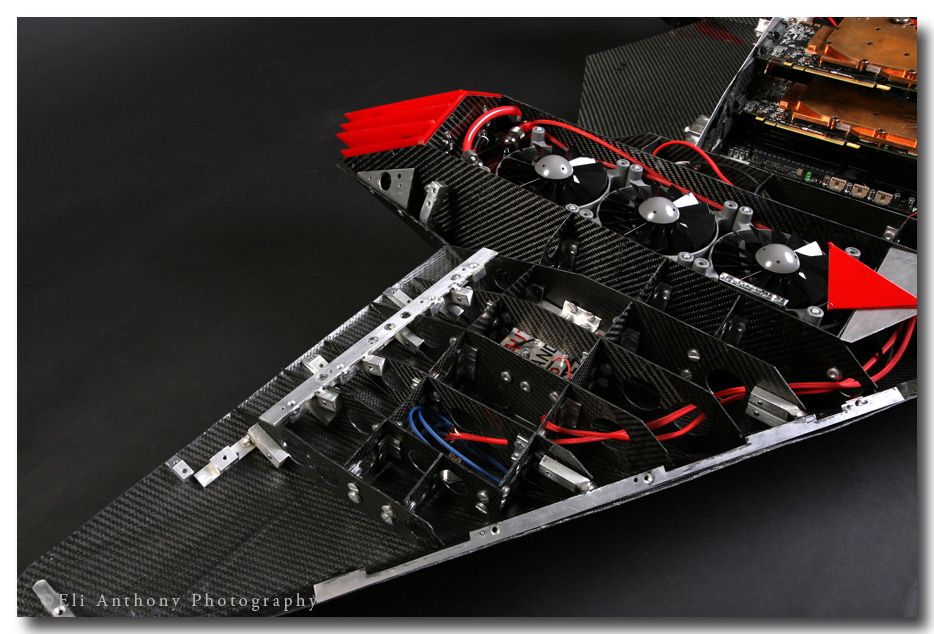
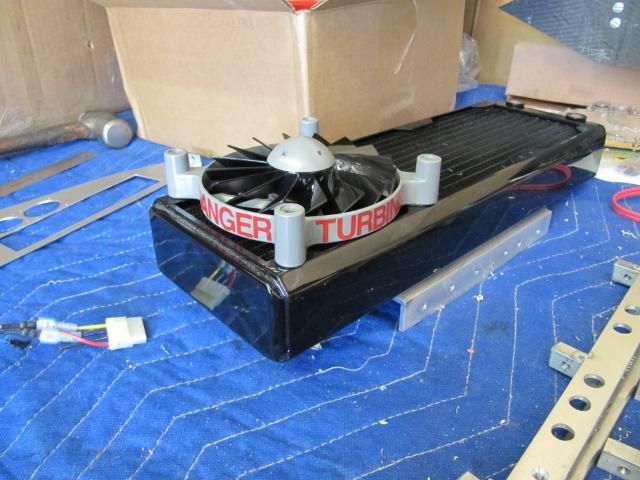
After the debacle, I went out and got some satin granite color spray paint because I wanted more of a hammered metal feel and a grey color best represents this.

It looks good though now I need to paint the underlying frame

IMG_4627.jpg


IMG_4628.jpg


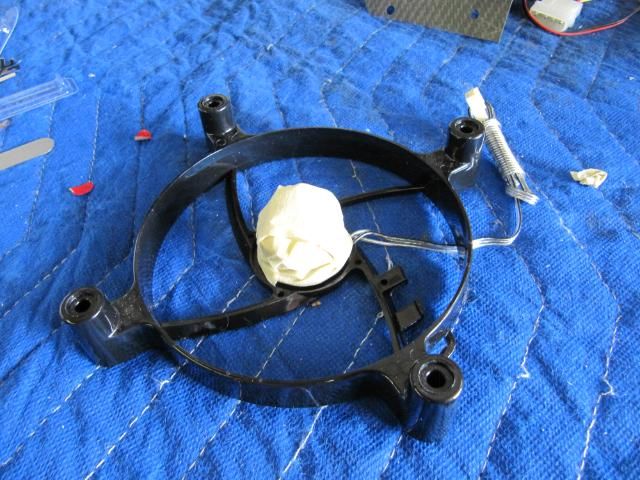
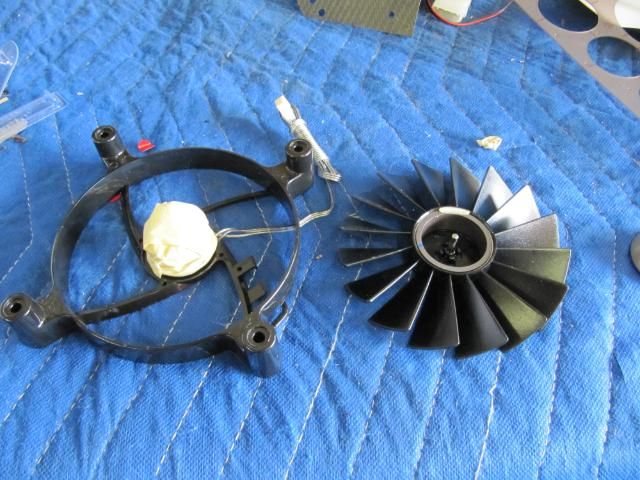
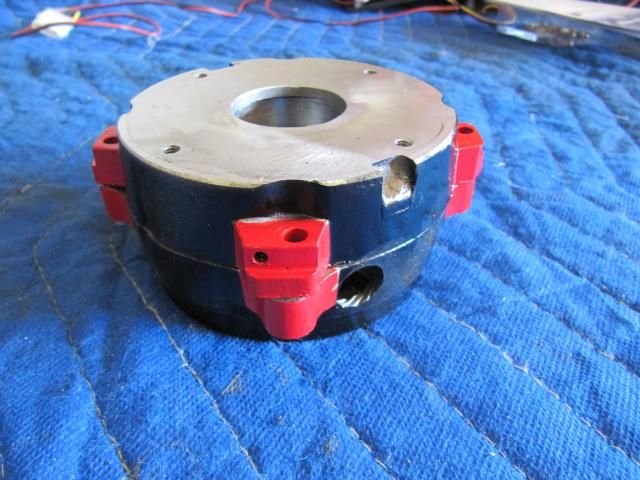
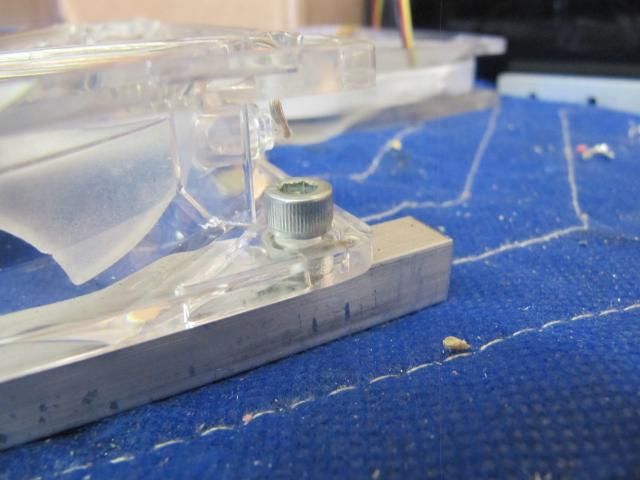
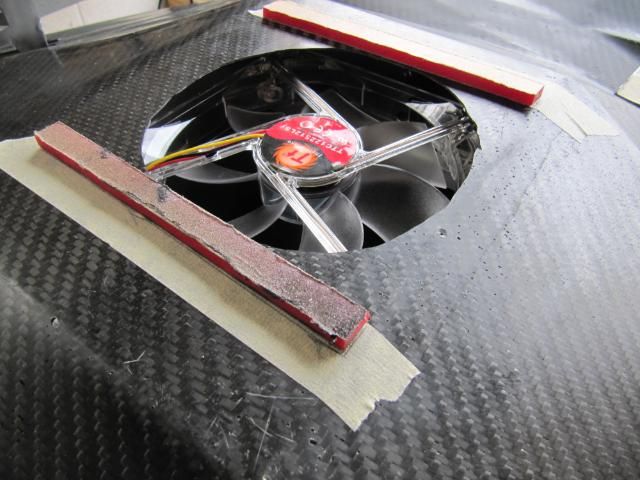
Took the fan blade assembly off

IMG_4630.jpg


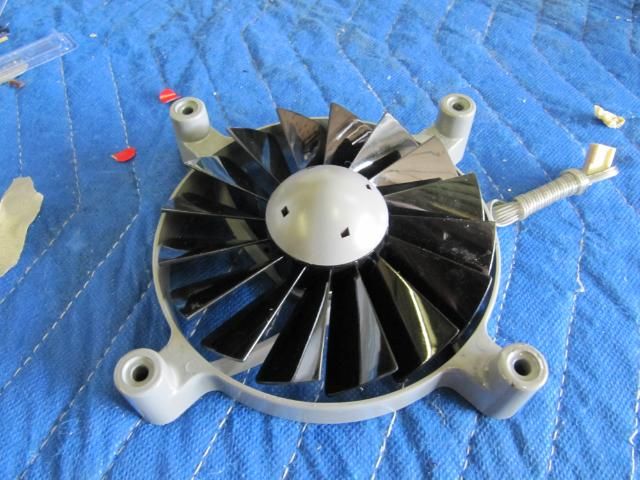
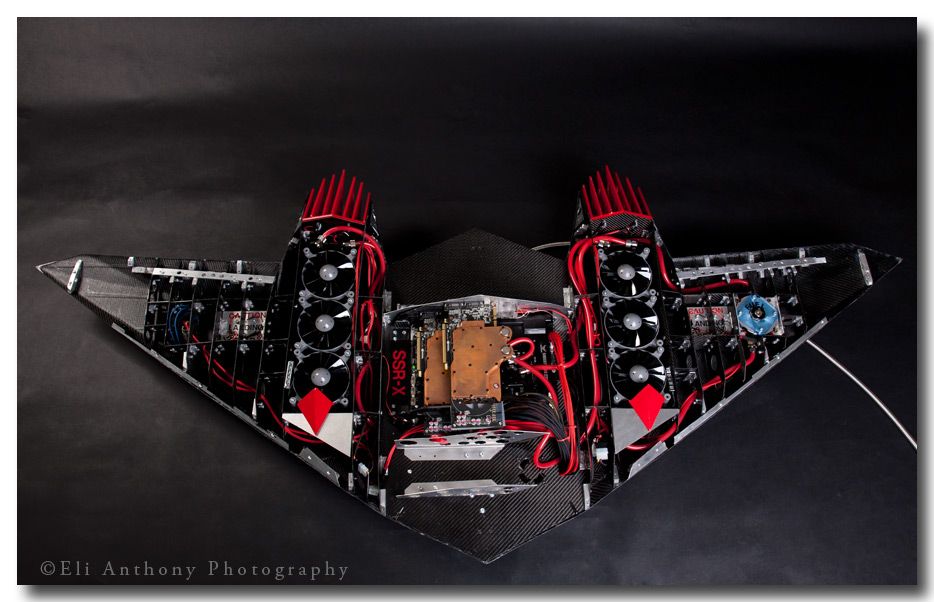
Way better feel and look to the case

IMG_4631.jpg


IMG_4634.jpg


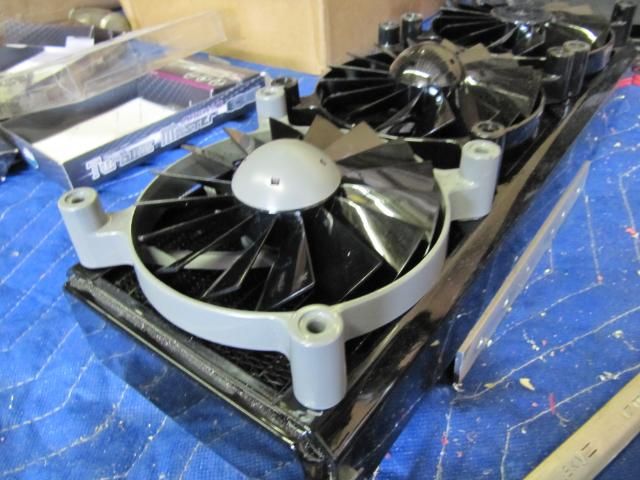
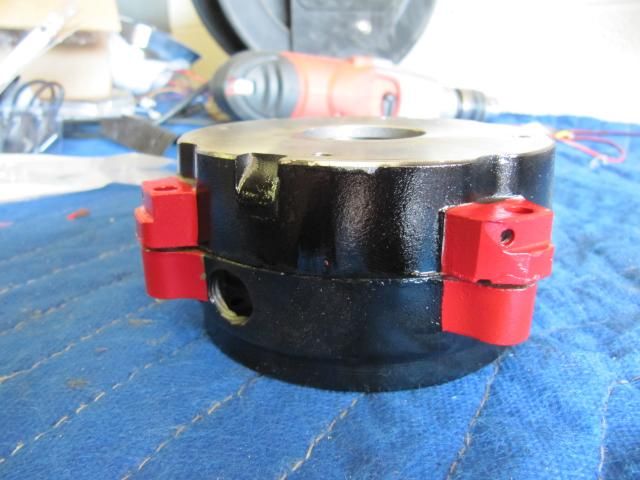
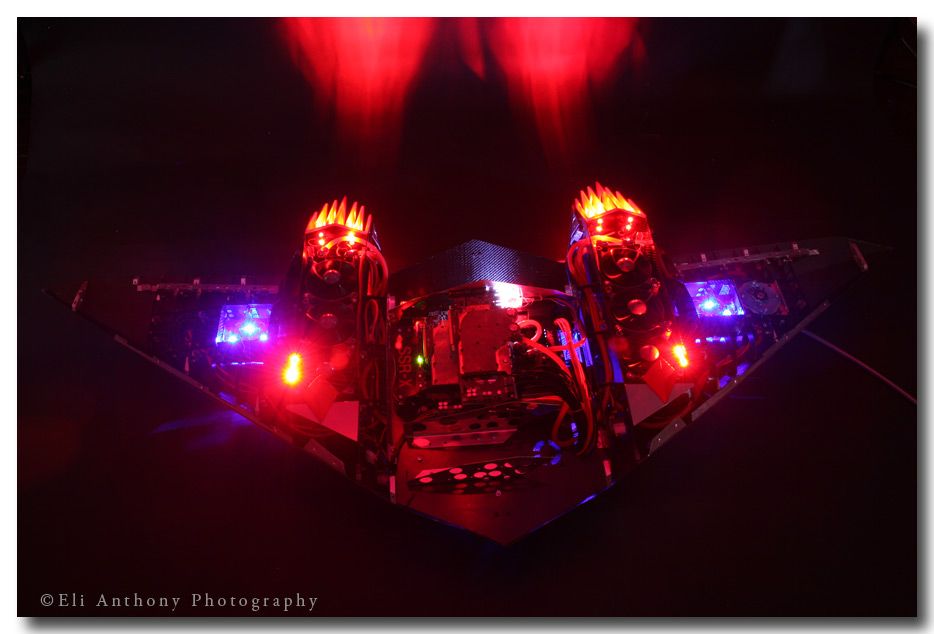
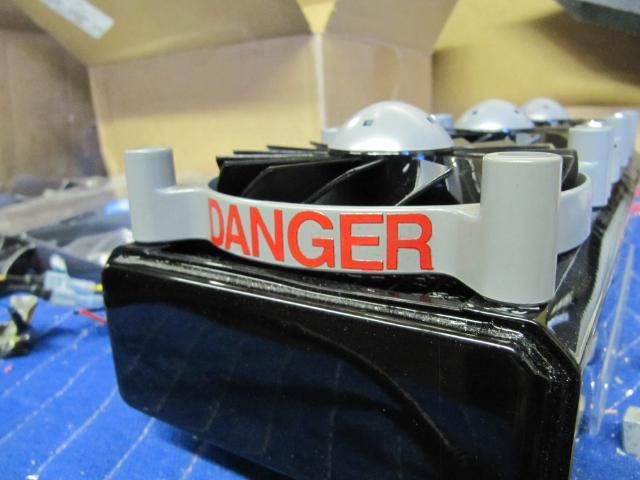
Compared to all black fans I believe this two tone color combo is the way to go.:dremel:

IMG_4636.jpg


IMG_4637.jpg


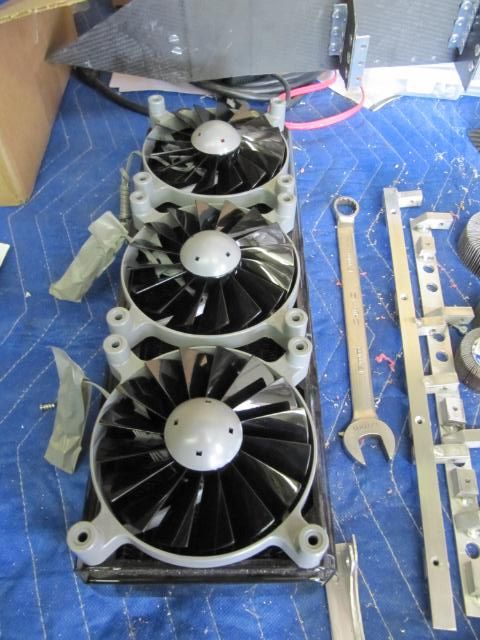
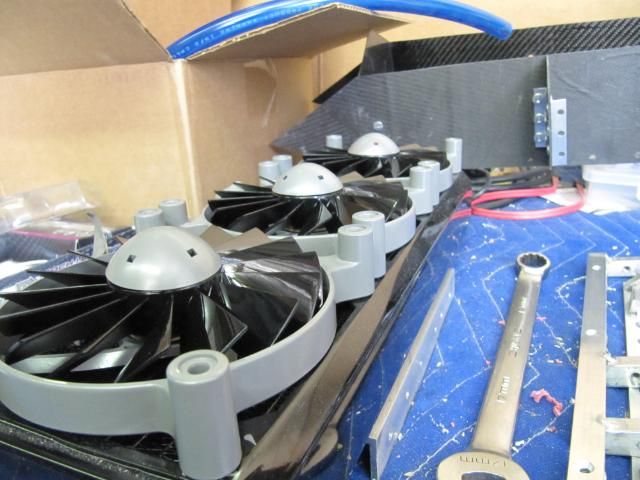
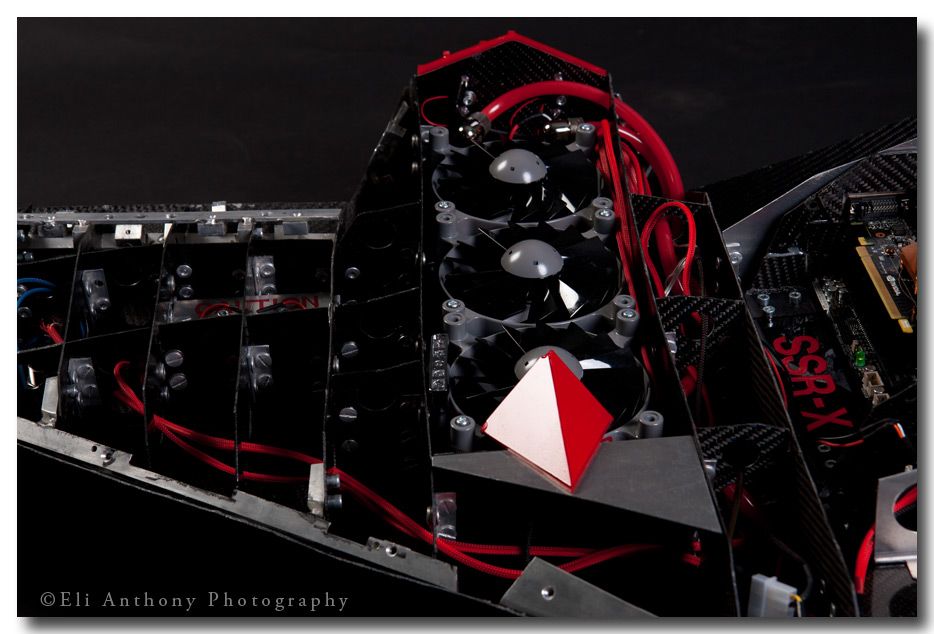
Repeated for all three.

IMG_4638.jpg


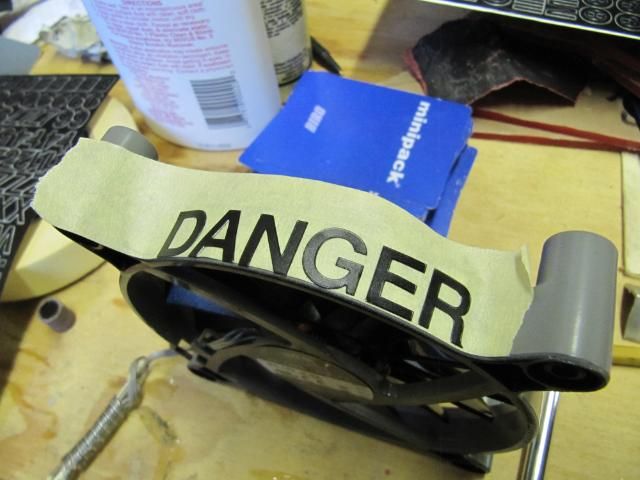
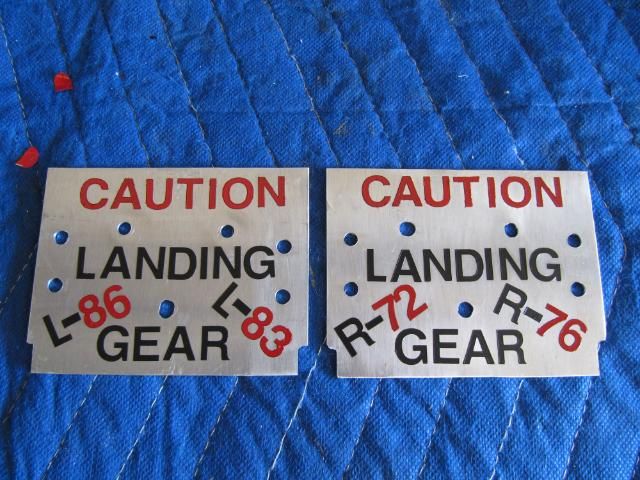
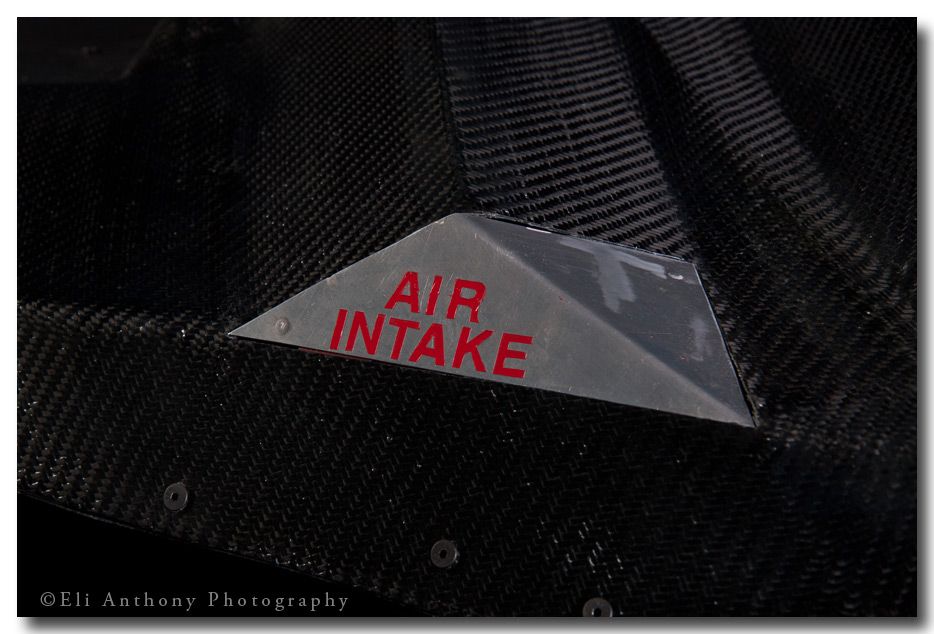
I was going to spray paint on the lettering and pull back from it.

IMG_4639.jpg


IMG_4640.jpg


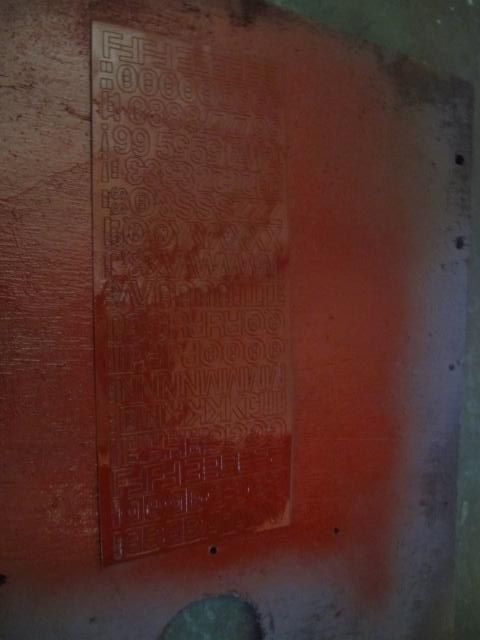
Lets just spray paint the vinyl lettering and stick the letters on. That way if the fans ever get chipped or letters get damaged they can be replaced easily. When you taking your case to Lan Parties such things can happen.

IMG_4641.jpg


IMG_4642.jpg


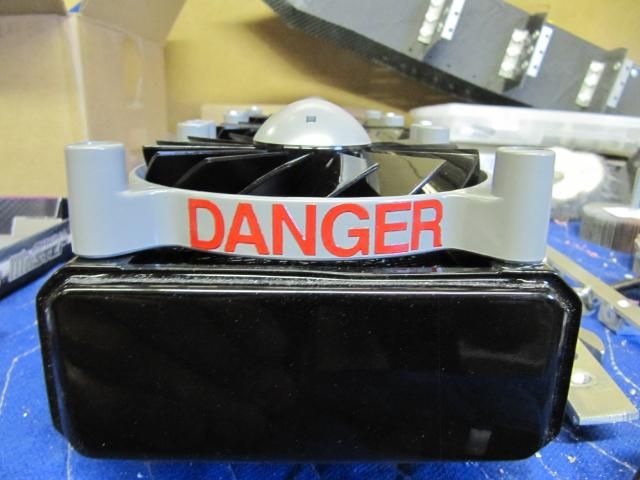
Dont stick your finger in there or you will break the fan!!!:duh:

IMG_4644.jpg


IMG_4645.jpg


IMG_4646.jpg


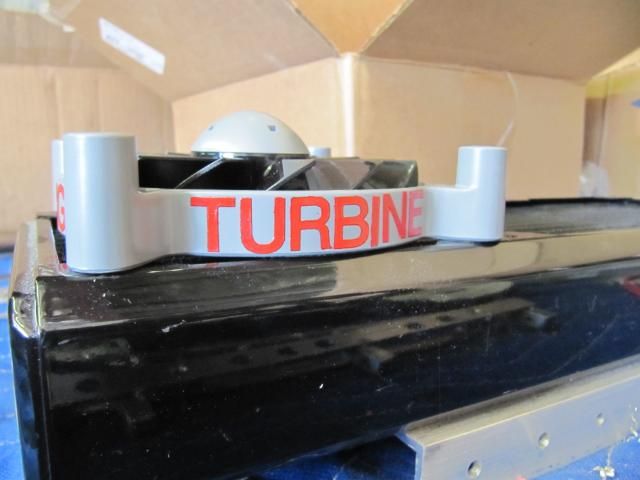
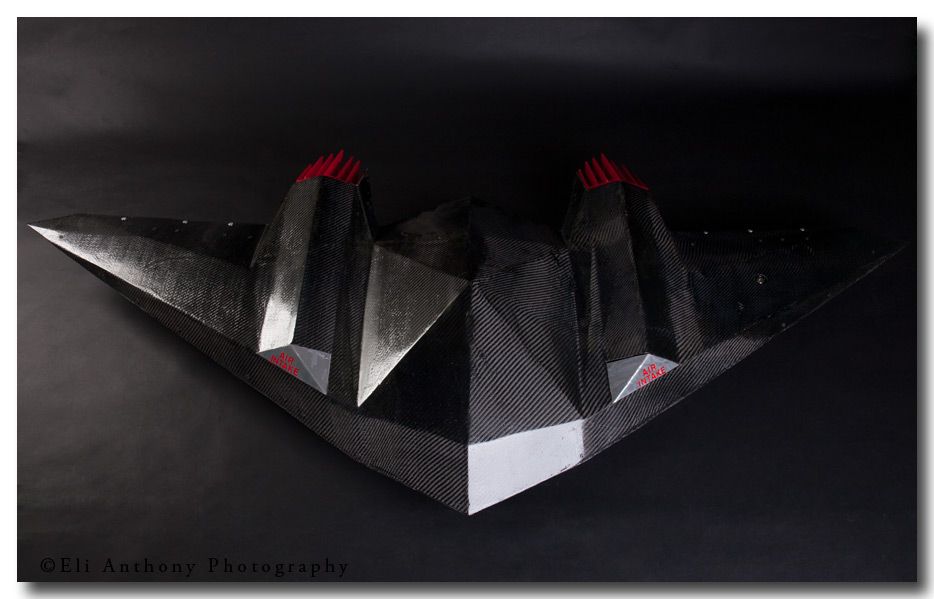
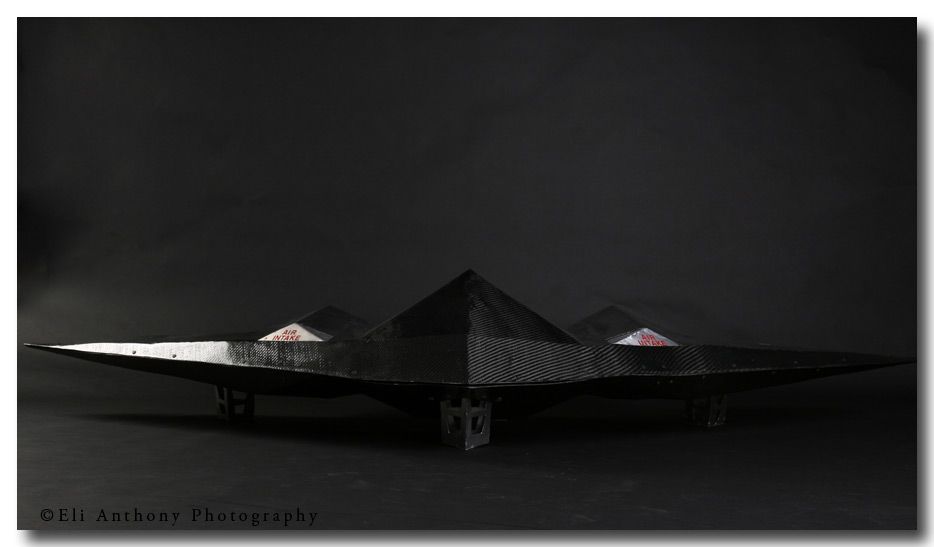
Gives the viewers an aircraft feel to the case when they look at the fans.

IMG_4629.jpg


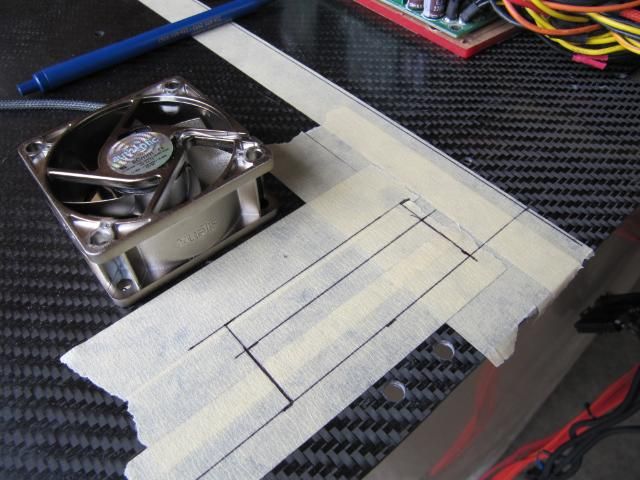
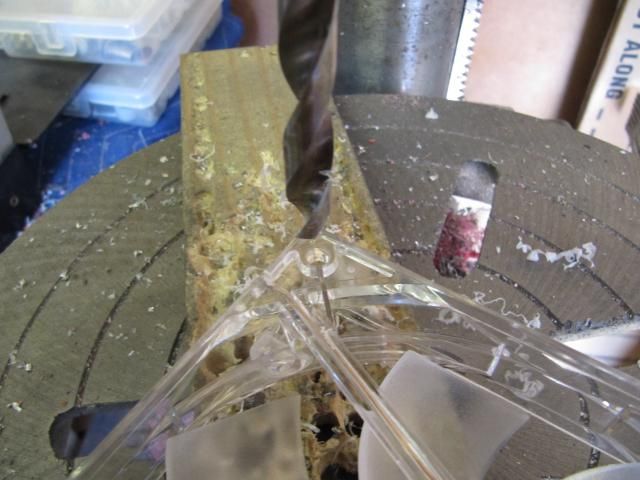
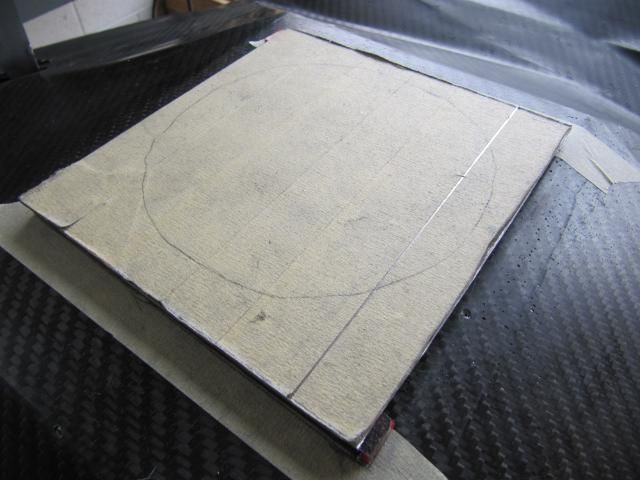
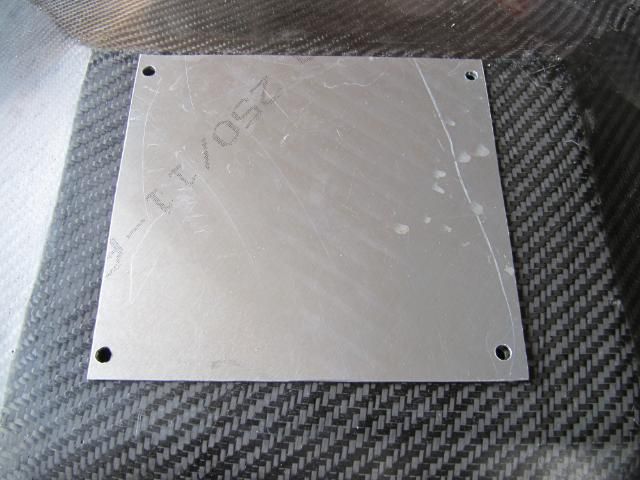
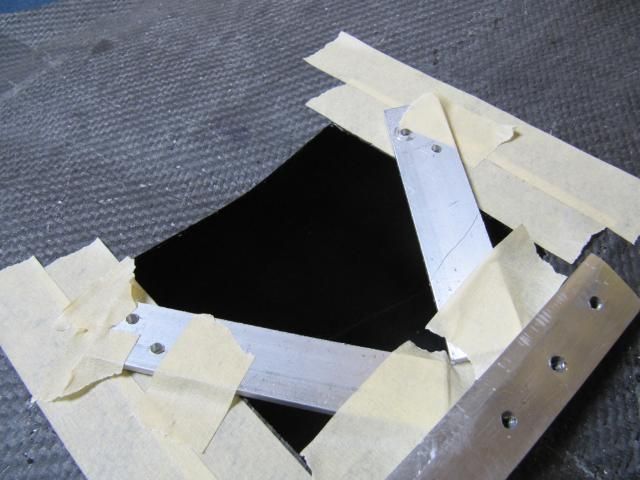
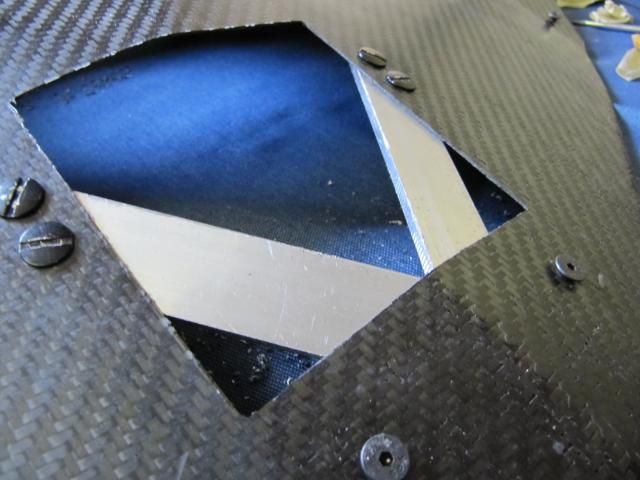
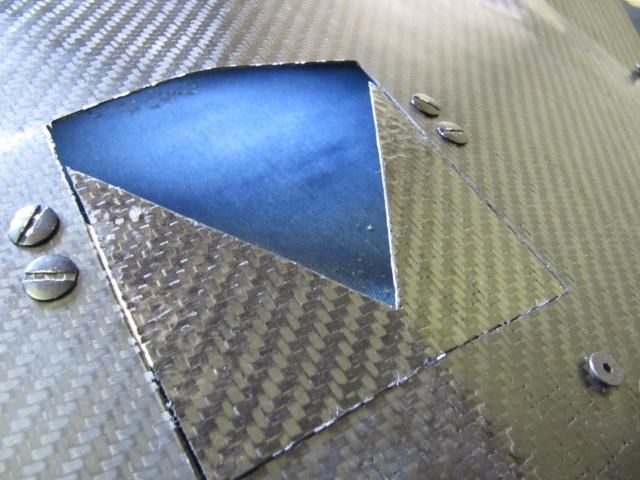
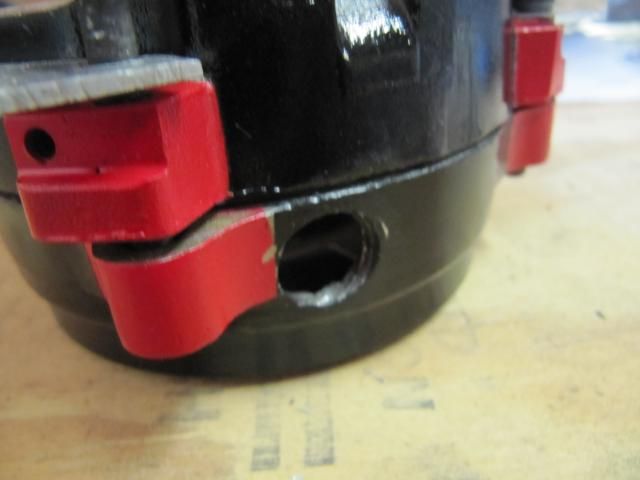
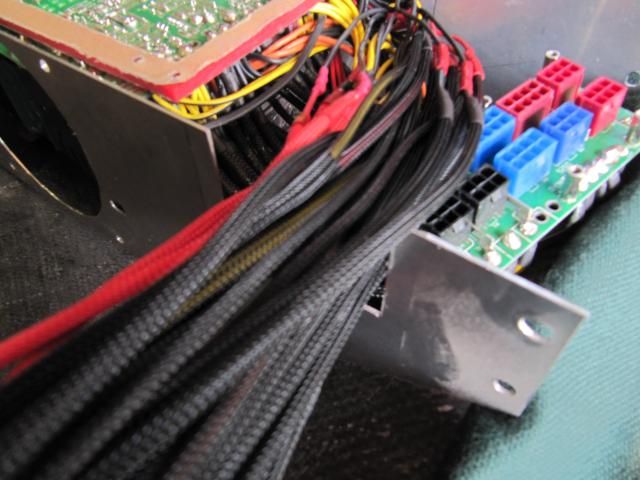
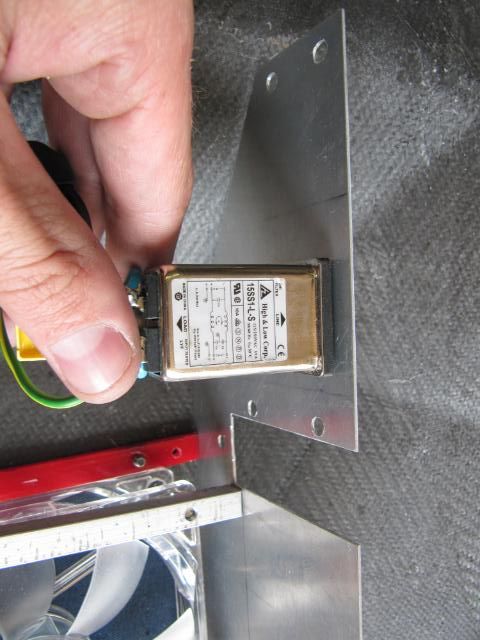
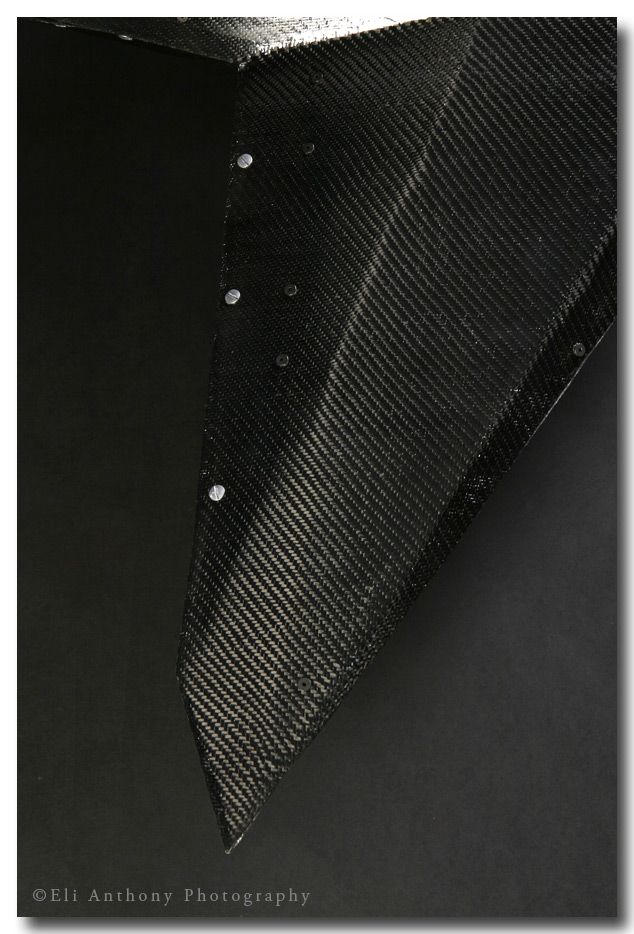
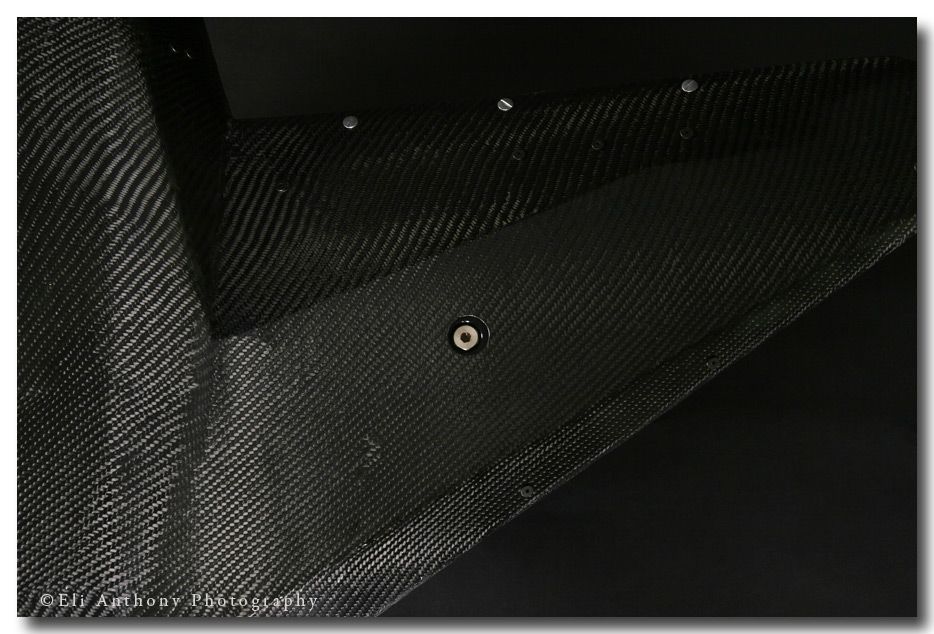
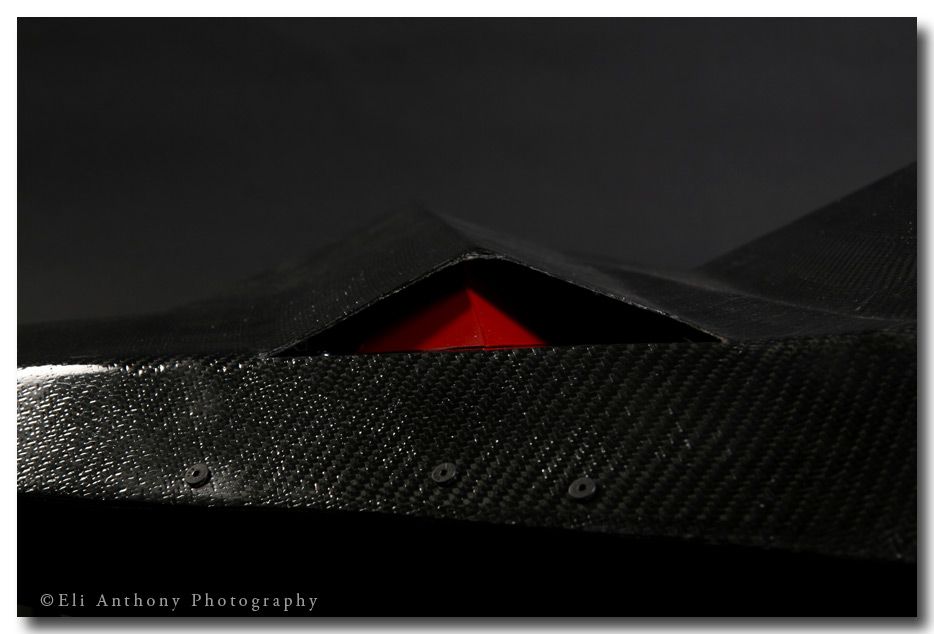
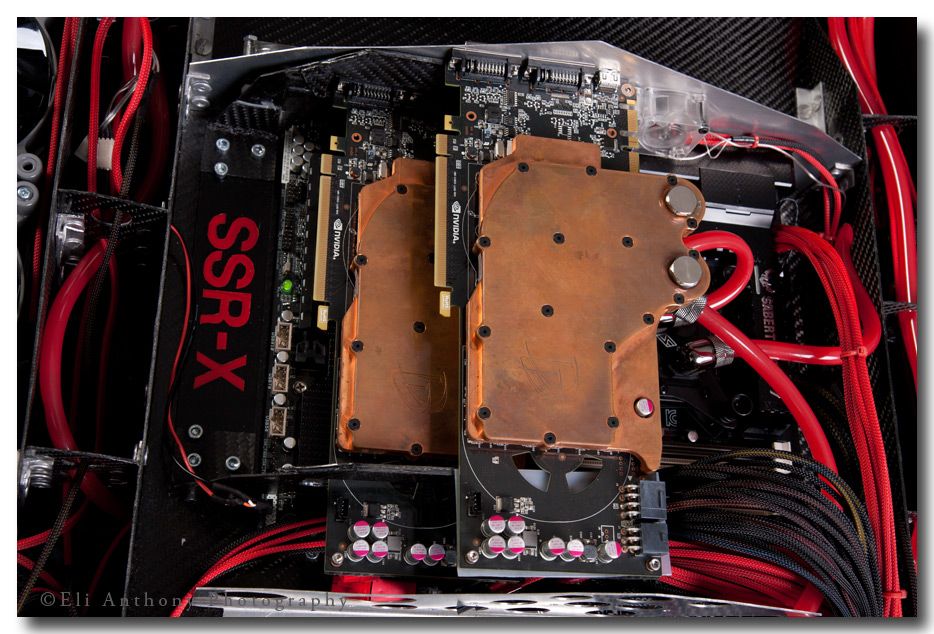
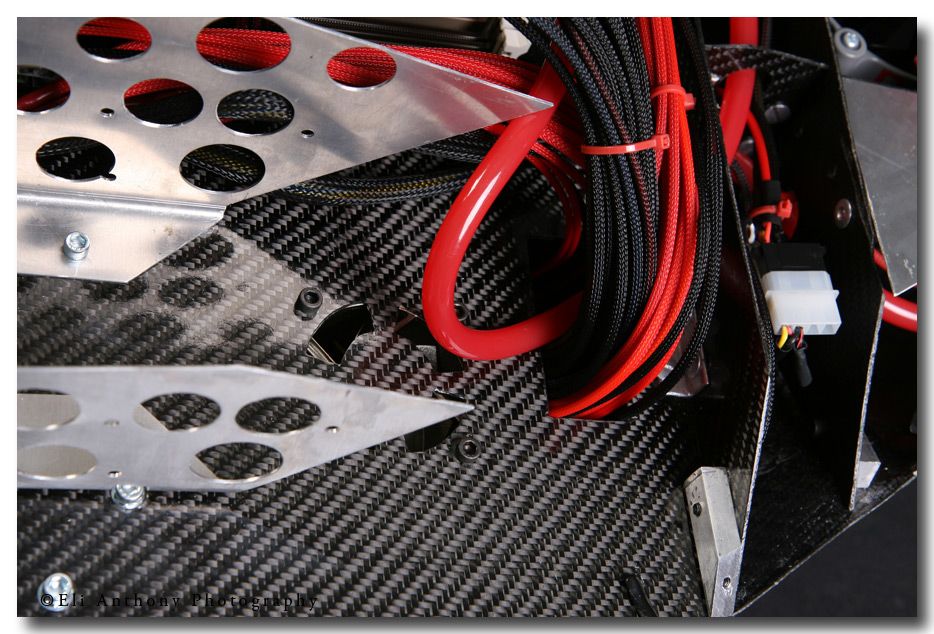
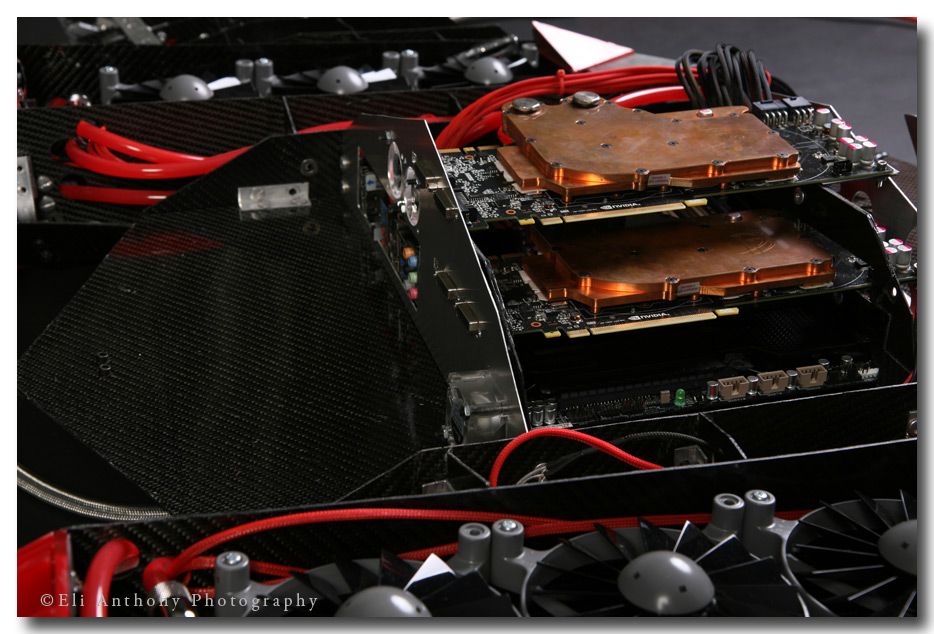
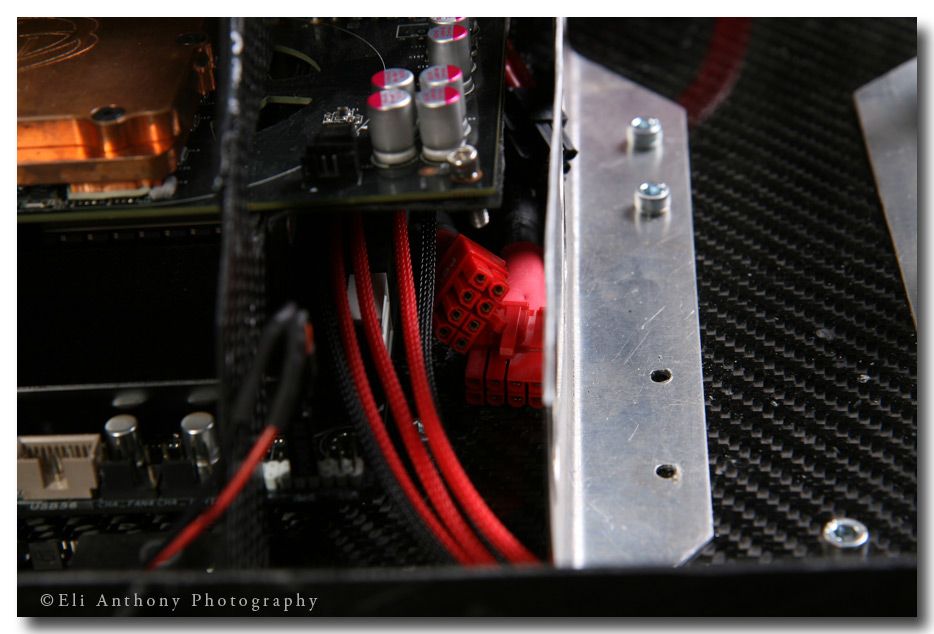
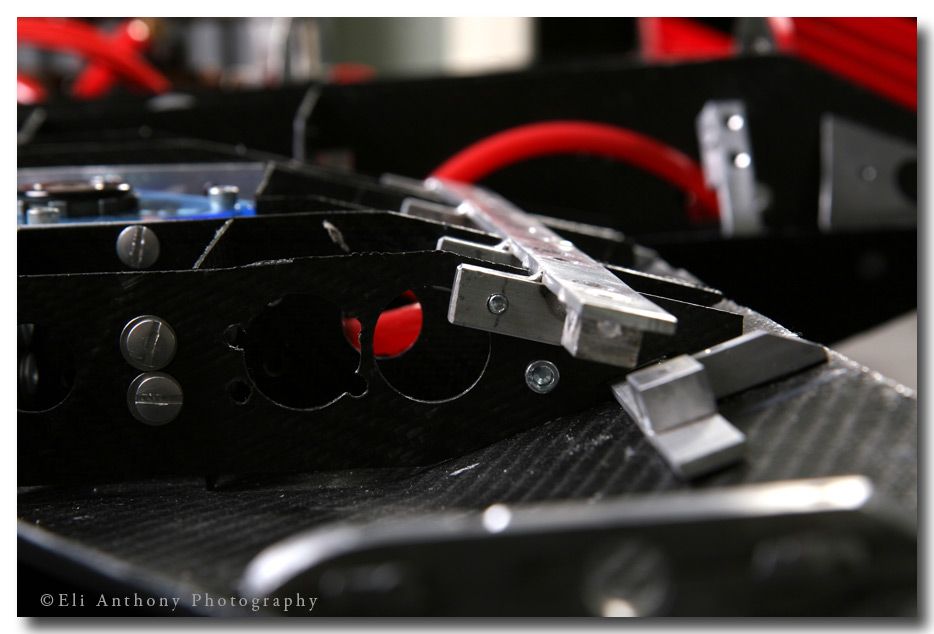
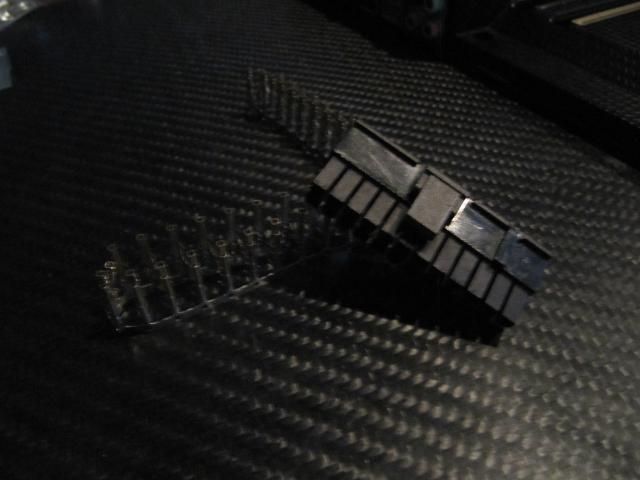
Had to cut the opening for the power supply cables to the motherboard. I learned from Aelro Dynamic that is I make the hole too small, it is not wise to due. I have alot more space here too.
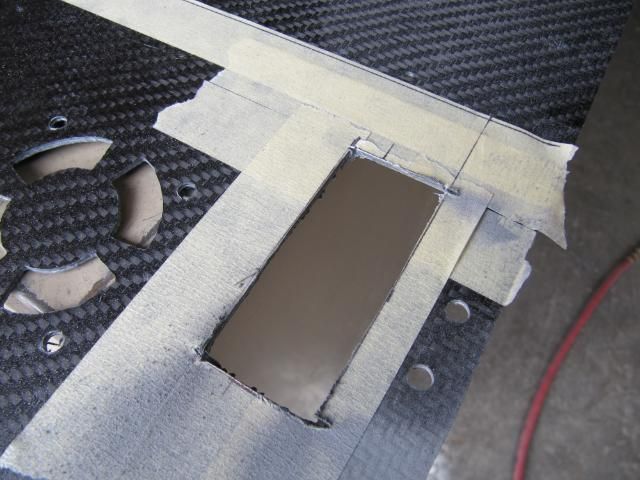
IMG_4635.jpg


After cutting.

IMG_4647.jpg


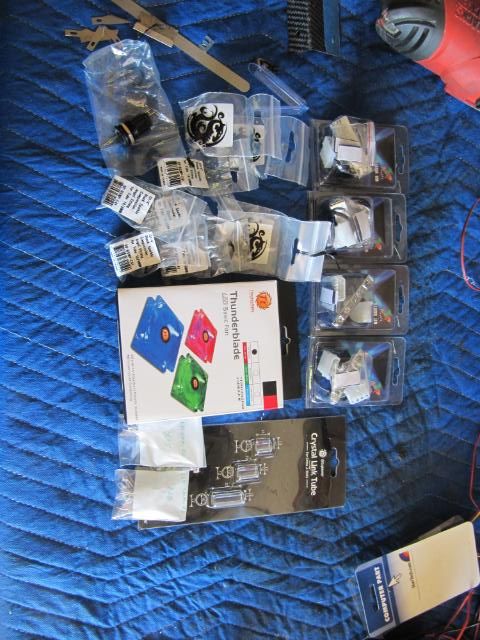
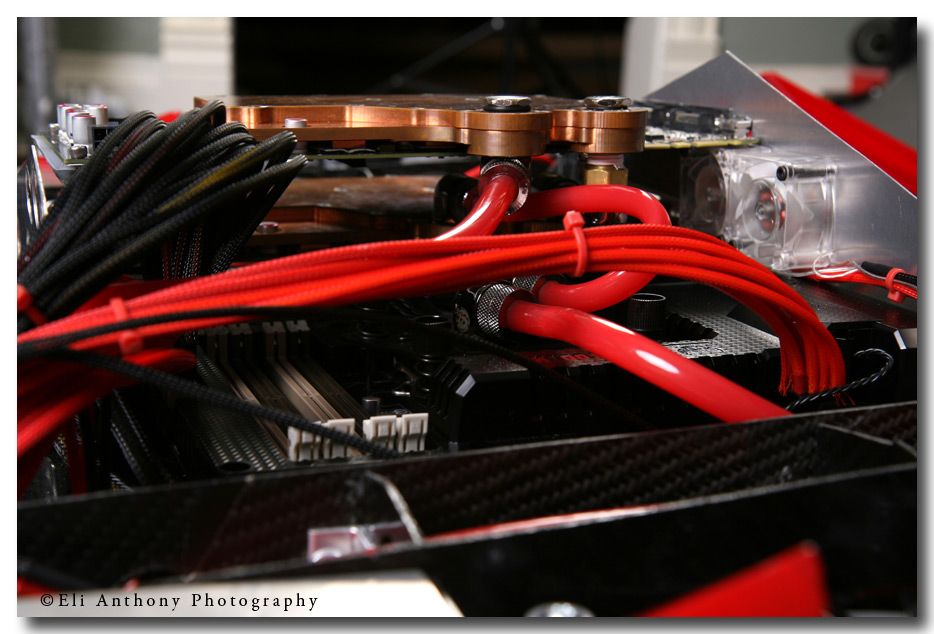
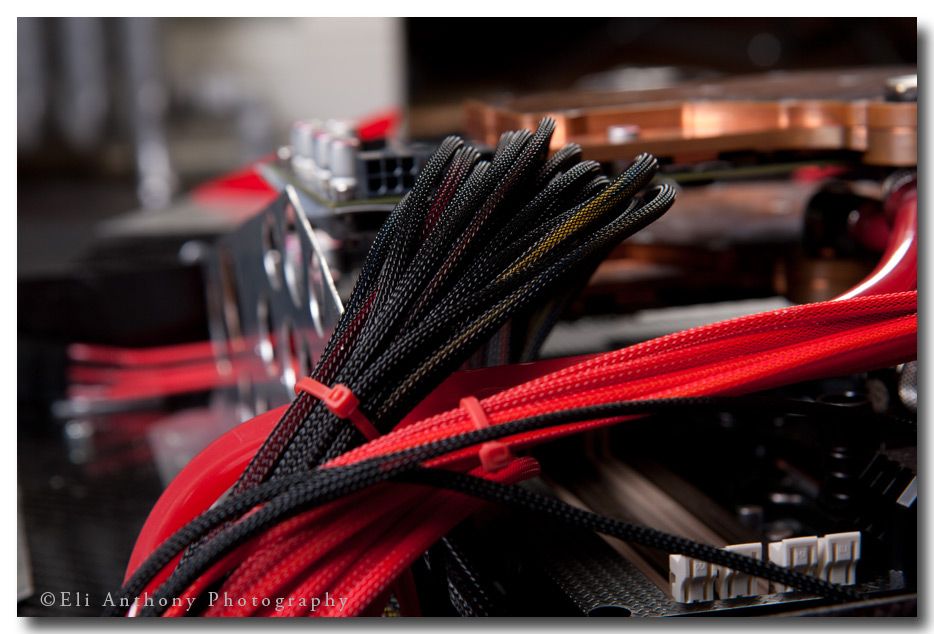
I brought all my sleeving junk home and will begin the sleeving process over the next couple of days.

Until Tomorrow.
 
Oh wow, I forgot about this thread.. Finally checked it out now, and really nice updates! Can't wait for final product!
 
Hello.

IMG_4651.jpg


I needed to paint the reservoir. I didn't like the bare metal look so I came up with a two tone paint design and I started to paint.

IMG_4664.jpg


IMG_4663.jpg


I painted the bolt holes red and the body of the res. black. This gives the reservoir a edgy dark feel to it, though, in real life, the interior airframe would be the holding tank on a real aircraft. Nice thought, just not an undertaking I wish to take.

IMG_4673.jpg


IMG_4674.jpg


The two pieces put together.

IMG_4653.jpg


I went back and added some more lettering script to the frame pieces of the landing gear. The R and L stand for left and right and the numbers don't mean anything, they are just for show.

IMG_4655.jpg


The gear that I ordered from Performance PC's. :confused:

IMG_4656.jpg


IMG_4657.jpg


IMG_4658.jpg


IMG_4659.jpg


IMG_4660.jpg


IMG_4661.jpg


I believe there are enough other modders taking professional quality pictures of products, I don't have the photography experience or equipment to do such. So if the pictures seem bland, eat rocks. I pride myself off the what I am building.

IMG_4667.jpg


Time to mod the 120mm exhaust fan for the power supply. I need to make the holes bigger to accommodate 10-32 bolts.

IMG_4668.jpg


IMG_4669.jpg


IMG_4672.jpg


IMG_4671.jpg


:dremel::clap:

IMG_4675.jpg


I also drilled the holes for the red LED's that will illuminate the rear exhaust sections of the case. 6 LED's and maybe more....

IMG_4677.jpg


IMG_4678.jpg


With the holes finally drilled for the led's I can move onto epoxying these rear assemblies together.

IMG_4679.jpg


Until Tomorrow.
 
Hello! Oh where Oh where have I been???!!!! Modding!!! Shall we.....

IMG_4699.jpg


I needed to make a bracket or bracket pieces for the cover plate of the exhaust fan. This plate is for transport purposes.

IMG_4700.jpg


Some red acrylic that will be painted black will be handy and also save on weight.

IMG_4706.jpg


After some taping and aligning, time to drill some holes.

IMG_4708.jpg


These hex head bolts are just for holding the pieces in place. 4 more mounting holes have to be drilled for the cover plate.

IMG_4707.jpg


IMG_4710.jpg


The cover without the mounting hardware, but in position. Remember this is only for transport purposes.

IMG_4701.jpg


I need to make mounting brackets for the front case feet cover. It took along moment to develop a bracket that I liked. I came up with this simple but aggressive bracket.

IMG_4702.jpg


What the bracket looks like without the cover on. I say aggressive because when the cover is off, the V-shape of the bracket gives an aggressive look I think. I think it is what people imagine to see, though, I have a wild imagination:nono::nono:!

IMG_4704.jpg


With the cover plate on.

IMG_4712.jpg


It is time to drill some holes in the bulkhead and frames pieces. This will be for not only running water cooling lines but also electrical lines. Plus it reduces the weight of the case:clap:

IMG_4713.jpg


IMG_4714.jpg


IMG_4718.jpg


teaser.

IMG_4720.jpg


I had to wander around Cleveland to find an 1/4" adapter extension for my reservoir. I did find one:dremel: There are not enough threads on the compression fitting for a good fit.

IMG_4721.jpg


IMG_4722.jpg


IMG_4723.jpg


I will paint these adapter pieces.

I am working on trying to finish this build this week or so. I did already start sleeving for this build but those pictures will be taken tomorrow.
 
Supersonic Stealth Reconnaissance - X-plane

This build started in December of 2010 as an idea of "what if." After constructing a cardboard mock up, I took a step back and said to myself "that this couldn't be done by one person." The angles, bracketing, and internal frame is what derailed me. Through the spring of 2011 with the advent of missing the community and viewing CraigBru Osidias build, I was inspired to make something out of carbon fiber. My previous build Aelro Dynamic couldn't sufficiently cool my 480 Fermi in SLI with water, so I knew a new design had to be created. In that same spring, I taught myself various CAD programs and thus created a 3D render of SSR-X. The 3D render done in Sketch-up let me stream line some of the fabrication process with the creating of blueprints. I put a $1500 budget for fabricating the entire case and thus the build was on!!!!:dremel:​

The realm of Carbon Fiber infused in Computer Case Modding has been very scare. The only other completed scratch build using carbon fiber that I know of is Dark Carbon. Osidias and Ametros are two other builds that I hope to see completed in the near future. Which leads to my build SSR-X. I knew this was a really special build when I was staring down at finally figuring out the best way to make the carbon fiber components. I could have went a variety of routes: lamination, vacuum bagging, or vacuum resin infusion. After studying the methods and what would produce the best finish along with the best strength to weight ratio, I trained my eyes on resin infusion. I knew this was going to be the most expensive route, in that, it required molds and an extensive equipment and materials list. This would be the first time at anyone in the modding community would have done this and demonstrated this technique. Which is important, because in order to be a great modder, one has to venture into new realms that haven't been explored.
I than tasked myself in calculating the amount of carbon fiber needed and realized that with +20 yards, this would be the worlds largest carbon fiber computer case! Not only in terms of size but material. This came at a cost. By the time I was done constructing my first mold in the build, I had already gone over my budget for the case. As an inventor, I am dedicated not only to my projects but to the community that I represent and belong too. I stopped counting from that point on. At least, until the first infusion that resulted in failure and $500 into the garbage bin. I was nervous and scared, because I didn't know if the next fusion's were going to work. I re-ran the infusions over and over and over in my head until finally I thought I had the right process and just went for it. Good Failure leads to Good Success. My next two infusions, although, while not exactly perfect turned out to be good. With enough carbon fiber material left over I was able to construct the interior frame and various other pieces out of carbon fiber.​

This build is one-of-a-kind. It is also a build of many first's in the modding community. I don't know when a build like this or build using composite materials will be done next. I hope that this build not only inspires people and modders but raises awareness to the need of pursuing in working with new and different materials in the modding commmunity. Time for a teaser​

IMG_4750.jpg


Teaser

IMG_4731.jpg


Cut a slot for the main cable

IMG_4735.jpg


I had to use the power connector from the power supply because of these little connections of the back.

IMG_4736.jpg


IMG_4737.jpg


IMG_4738.jpg


IMG_4740.jpg


LED placement for the exhaust diffuser.


See you all when it Completed.
 
I applaud you for your perseverance and creativity. I can't wait to see the long awaited final product. The amount of detail and fabrication gone into this project is definitely above and beyond what I've seen so far.
 
Final Photo's!

Thanks to: All the people and fans of the build who supported the build. The Tri-Weld company and welding the various components of the case. Biro Sales for letting me build and build over the years. Forum people over at Composite Central for all their insight. E.E.L. for selling me a pump at the last minute when my died. The Mod-Gods and Jesus 'cause I never thought this build could be done by one person.

IMG_6845.jpg


IMG_6852.jpg


IMG_6847.jpg


IMG_6846.jpg


IMG_6848.jpg


IMG_6856.jpg


IMG_6882.jpg


IMG_6876.jpg


IMG_6883.jpg


IMG_6889.jpg


more still to come.
 
Nice Build! , I have one question, how are the video cards connected to the MB?
 
Absolutely beautiful! The CF looks great man.

(I see you mentioned OSIDIAS above... It is delayed, but will be finished! ;) )
 
One word describes this... BADASS!!!

Thanks! It is!

Simply sunning!! Fantastic job!!

Thanks! It was alot of hard work.

It's going to be kind of awkward trying to fit that under your desk.

uuuummmmm:confused::)! It takes up one whole wall in my apartment! This case is a real estate beast.

One of the most creative and coolest builds I've ever seen. Well done man!

Thank You! It is very different and unique. Only hoping to inspire that anything is possible.

Remarkable build. Congratulations on completing it! It looks stunning in so many ways.

Thanks! For a moment there it was the neverending build. I spent ALOT of time, I dont even want to guess or calculate, but I Finally did get it done!

Why in the world would someone put that UNDER a desk?

(Hopefully, you were being sarcastic)

hahaa!

Nice Build! , I have one question, how are the video cards connected to the MB?

You can purchase custom made or standard PCI-E riser cables. Just google PCI-E riser cables. I will have to get custom ones made they will cost about $175. Just haven't ordered them yet. Thanks!

Absolutely beautiful! The CF looks great man.

(I see you mentioned OSIDIAS above... It is delayed, but will be finished! ;) )

You inspired me to do this build after seeing the worklog for OSIDIAS. I could not leave you out of the discussion of Carbon Fiber computer modding. So I Thank You! It is really Great to hear your comment. Thanks Bro!


Thanks!

That is one incredible amazing job you did on your case. Congrats!

I tried to do my best. It was tough going from Aluminium to CF because the production process would mean a loss in precision of the part. I just prayed that everything would come together as seamlessly as possible! I surprised myself again in a way. Thanks for the support!

most work ever put into a pc case mod!

Oh no, that goes to Waynio in his current worklog, Lean and Green!:cool: SSR-X was alot of work, really was. it took alot of dedication and money, ouch:D Thanks!:D
 
Before I get started, I want to say that I currently work 2 jobs and I'm involved in a newly "invented" wood process research project. Updates for the project won't be daily. Hopefully over the coming months the new covers will be fabricated.

The molds for SSR-X were sitting on the shelf at work for the past 2 years, so I climbed up and took them down to take account of there current state.


This is the bottom cover mold, which, from the pic doesn't look to terrible. It is in horrible shape unfortunately. Over time the mold has bent and it may not be able to be salvaged. I thought I took more pictures, so I'll have to snag some more and post the problem spots.


The top mold is also in a state of dis-repair. I knew this mold was broken in places after creating the top cover.


These pictures show the places were the mold is damaged beyond possible repair.

Reason for Damage/Breakage? Improper mold construction! :wallbash:

The molds should have been created using a fiberglass reinforcement backing. At the time of construction, a lot of the tutorials I was reading talked about the frequency at which bubbles from the fiberglass lay up can break through the gel/tooling coat. So I decided against Fiberglass, at the time. First Mistake! If the Gel/Tooling coat is applied properly, the lay up of the fiberglass and proper rolling and matting will NOT cause any breakthroughs.

Also fiberglass molds last for quite some time. The best molds are made out of steel or aluminium.


:duh: Another big spot! I designed SSR to have high interior ceiling for 2 video cards. This led me to creating a case with a pyramid shape. It also at the time made fabrication easier, when I look back on it.

This pyramid shape when used in this overall mold shape creates a "mechanical" lock. Regardless of how much release agent is applied, this shape hindered the cover release after the Infusion was completed.

I will be cutting this point out and creating a sleeker design for the top of the case. :dremel: The future of the case will be single card only.

Any questions, feel free to ask. :thumb:
 
Update:

I began repairing the top cover mold today. Both molds got damaged when trying to release the carbon fiber covers from the molds themselves. The most likely cause of release failure was not enough coats of release agent, followed by mold design.

Standard Gorilla Glue epoxy that will be sanded down afterward.


Yikes! :wallbash: Broken molds usually mean they get discarded in the trash bin. Interesting to see all the layers here.


Fixing this area will be a pain! I'll further fill it with epoxy, followed by aggressive sanding and if need be, bondo filler.


The piece that was broken off, after gluing together. Small but managable gap to fix.


This area filled in pretty nicely with epoxy. It will be interesting to see how it turns out after sanding.


Until next time:dremel:
 
Update: :dremel:

The stars aligned and I found all the supplies I needed locally, so I went ahead and created the top cover out of fiberglass.

There will be a more extensive update, complete with video links. It will serve as a simple tutorial for modders looking to create fiberglass pieces.

____________________________________________________________

Creating Fiberglass is a pretty nasty process! Best to be done outside! After applying 5 coats of Film Release or PVA. The mold was ready for fiberglass. Note: The mold looks green because of the Film Release coating.


The basic supplies need. Fiberglass Resin, Cups, Brushes, Mask, Gloves, and optional scale.


I'm using 3/4oz Chop-Strand Mat.


Due to the complex geometry of the mold, the best way for the fiberglass to be laid into the mold is by creating a bunch of small pieces.


After laying up 2 layers of fiberglass! Once again I have a video coming. You have to work quick when working with fiberglass and it is also a very messy process, so that is why there is a lack of pictures. No time to take gloves off and take pictures of the lay-up process.


This is my first time working with fiberglass! I was worried by the this side looked horrible! I thought for sure that when I de-molded the cover it would reveal a disaster!


I should have used a fiberglass roller. I was taking a short-cut instead, but just using the brush to try and get rid of all the air bubbles.


The Result. The fiberglass plug popped out really easy! I trimmed off the perimeter and used a metal ruler to release the plug from the mold.


There are some problems areas that can be fixed.:dremel: I very pleased with the final result overall.

Until next time:dremel:
 
Update. :dremel:

I worked 18 hours and got 6 hours of sleep, so I decided to wake up on work on the bottom cover for SSR-X. I relocated down to my friends at Rex Auto Body for more space and to not stink up my entire work place.


The mold still had dirt and old resin left over. A quick clean with Acetone took care of that.


After cleaning, I applied 3 coats of wax to the mold, in preparing, the mold for chemical release agent.


Film #10 works like magic. There is should be a 4 mill coat before any composite work is done, to ensure proper release.

In this case, I applied 4 heavy coats, taking about 1.5 hour in total for total cure.


Luckily, I had some new handy tools to use. Professional Paint Drying Lamp:dremel::rock:


This is with the 4 coat. Since the layers were so heavily applied the heat lamps came in handy.

The best way to apply chemical release agent is with a spray gun!


Here is where the worklog goes sketchy! I was busy doing the fiberglass work that I didn't stop and take routine photos along the way. I had my friend Ryan step in and take some photos while I was working.

The Method was different in the way the Fiberglass was applied!

Instead of applying all in one shot, I took my friend advice and applied the fiberglass using Wax sheets. The fiberglass gets pre-soaked and applied with the wax backing.

The advantage is that you don't use an extensive amount of resin and helps build a better overall mold. Supposedly! Time will tell and I will get back to which Method I liked better.


Heat Lamps back to the rescue for the cure!


Until Tomorrow!:dremel:
 
Update:dremel:

I went ahead and designed the main compartment cover in Solidworks so I could better visually see what I want to do. I tried experimenting with a basic square shape but didn't like the look and I when I was using section view it produced a shape that I like.


After a bit of experimentation, I have come up with a design that I like.


Interesting thing now, is I could make this a solid body in Solidworks, and export it to a 3D printer and make my job at fabrication that much easier.
 
Update::dremel:

Overnight cure and trimmed off the excess off the mold edges for a nice de-mold.


A ball of the Film #10 chemical release agent. This release agent works great


Popped right out of the mold!


For the most part, it looks like a better finish, but there were more problems in this part than the Upper Cover.

That goes back to the Method used!


Places were Resin didn't not get applied properly.


In Short: Next up with be applying Filler across the entire surface and sanding and than clear coat before new molds are made.

Until next time:dremel:
 
Back
Top