Sital's Watercooled Antec P180

sitalchauhan

Limp Gawd
Joined
May 30, 2006
Messages
244
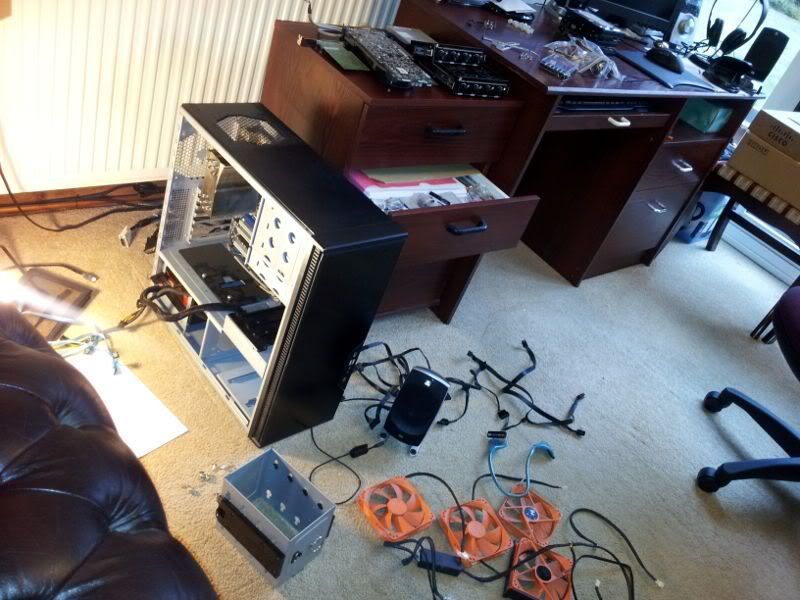
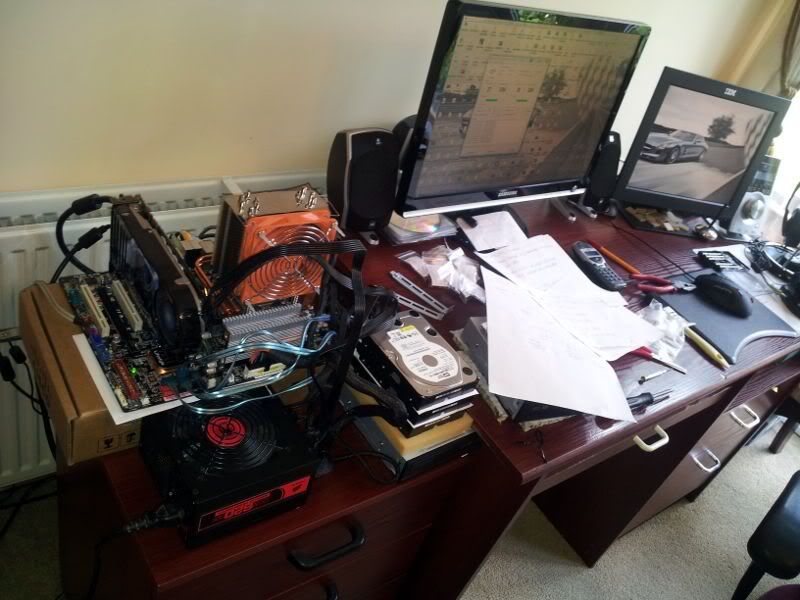
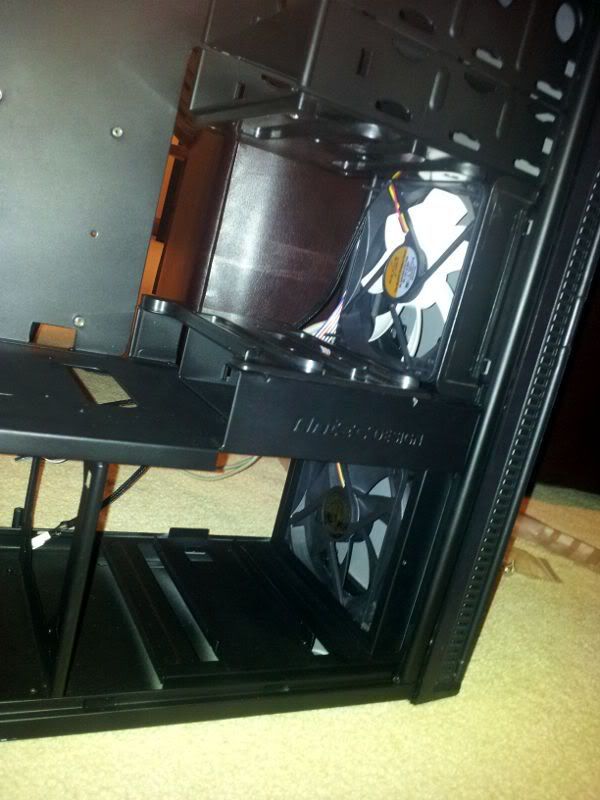
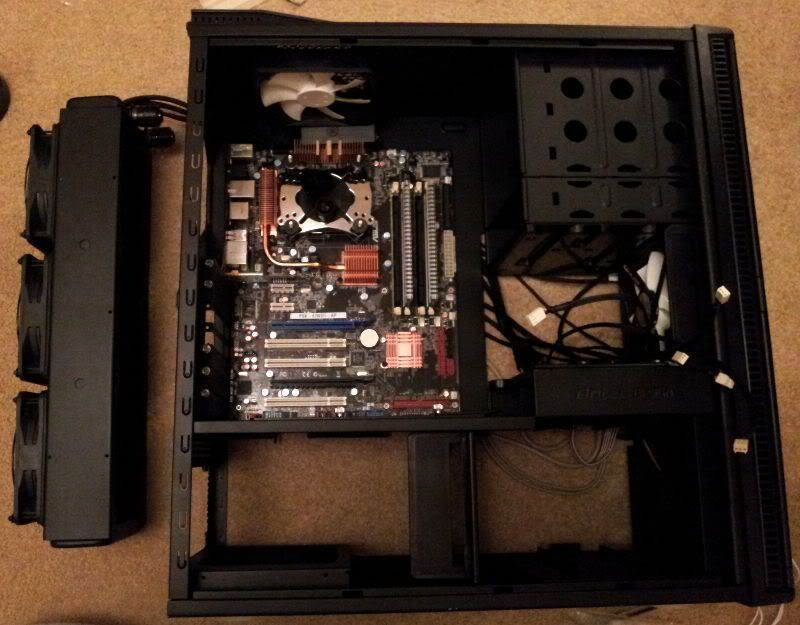
I watercooled my Antec P180B a few months ago (my first ever water cooling build) and took pictures during the process but didn't have time for a build log during. So I thought I would post up the details now I have a bit more time :)

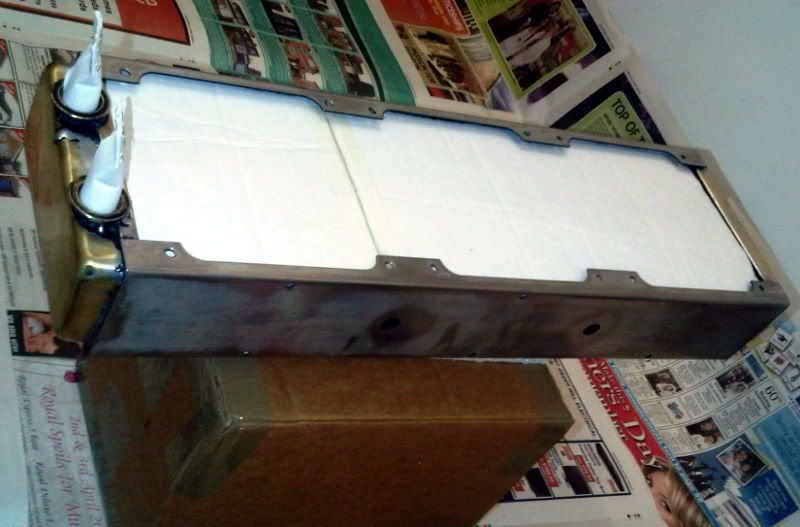
I had the bug for doing something with my computer and had a bit of spare money burning a hole in my pocket. But I didn't really feel the need to upgrade any of my components apart from the ram because I hardly game anymore and just use my PC for web surfing and video/photo editing. I decided to watercool it, but didn't want to spend loads on buying new watercooling equipment which would cost more than my pc was worth, so bought most stuff second hand for cheap which was very easy to do since my components are quite old!

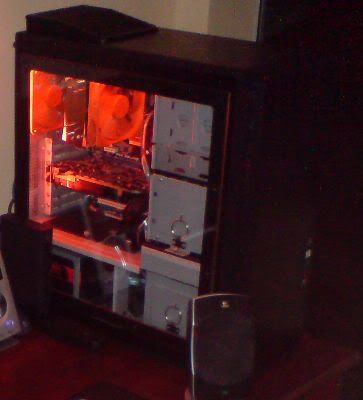
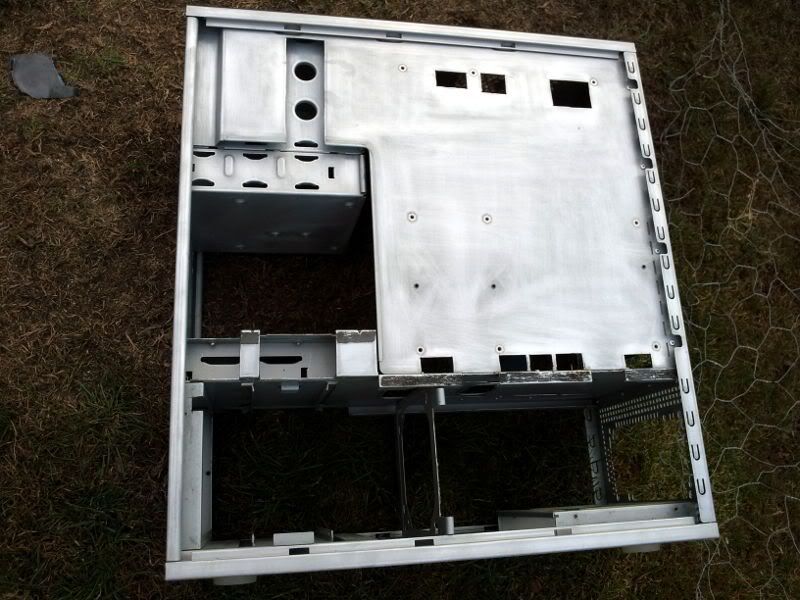
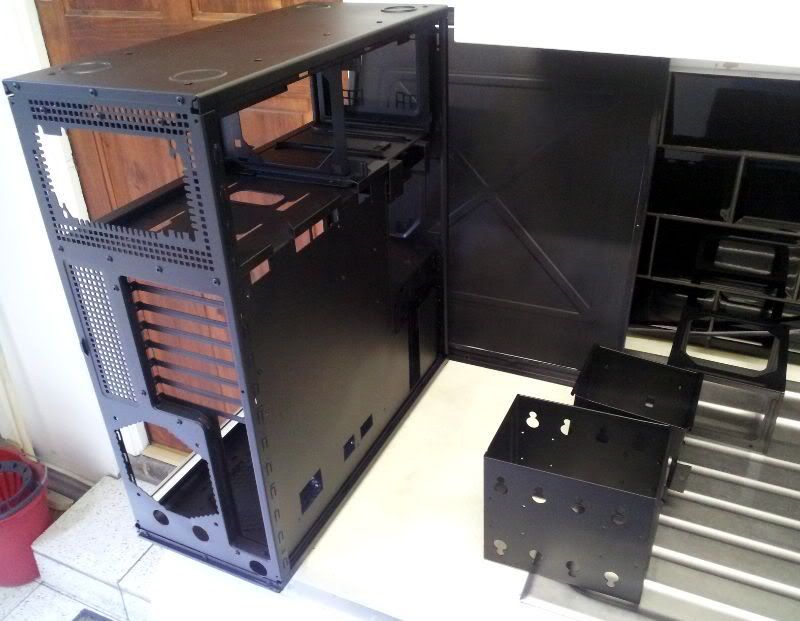
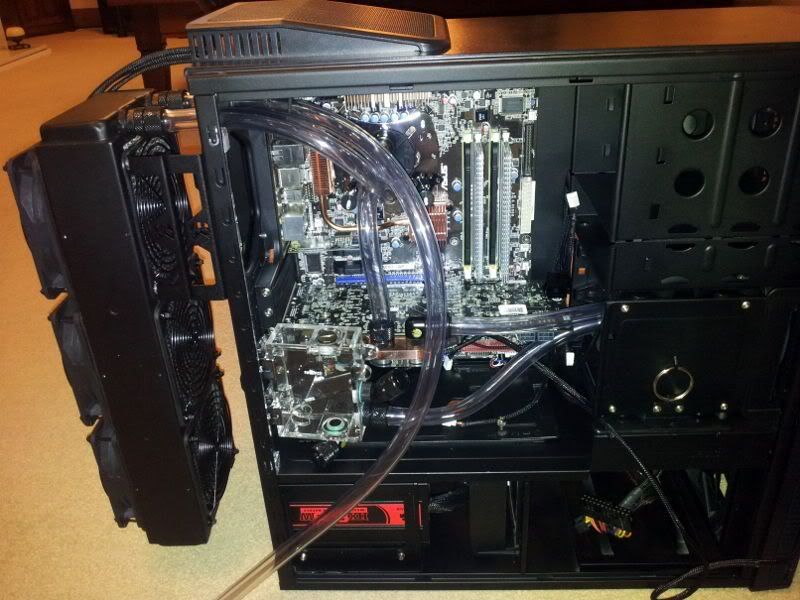
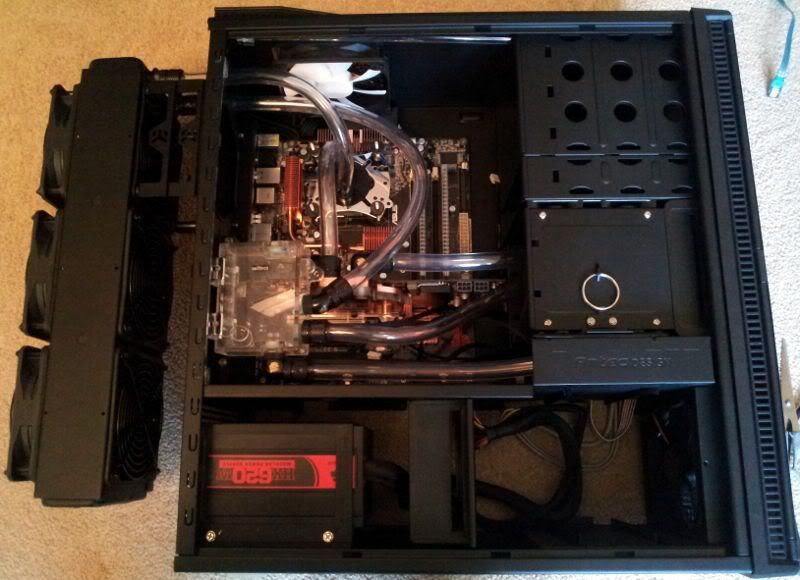
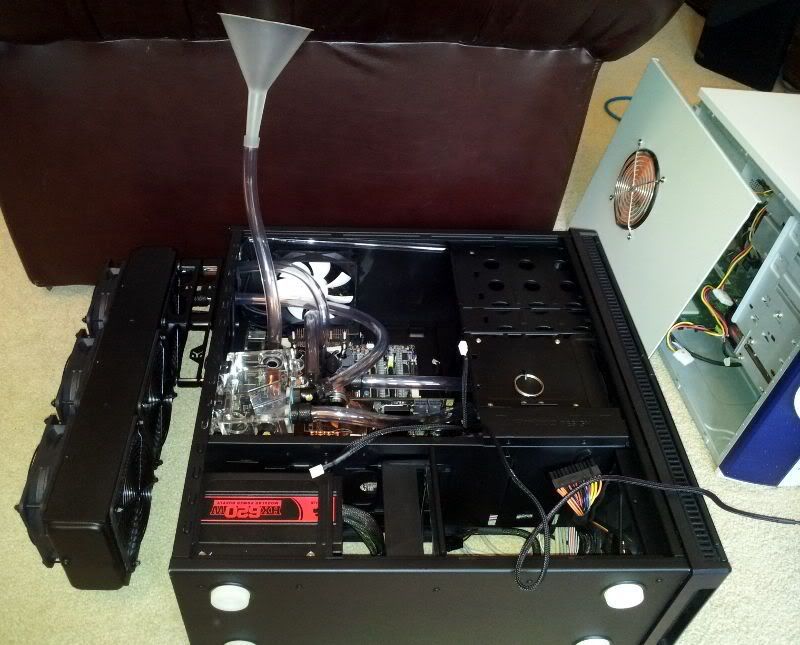
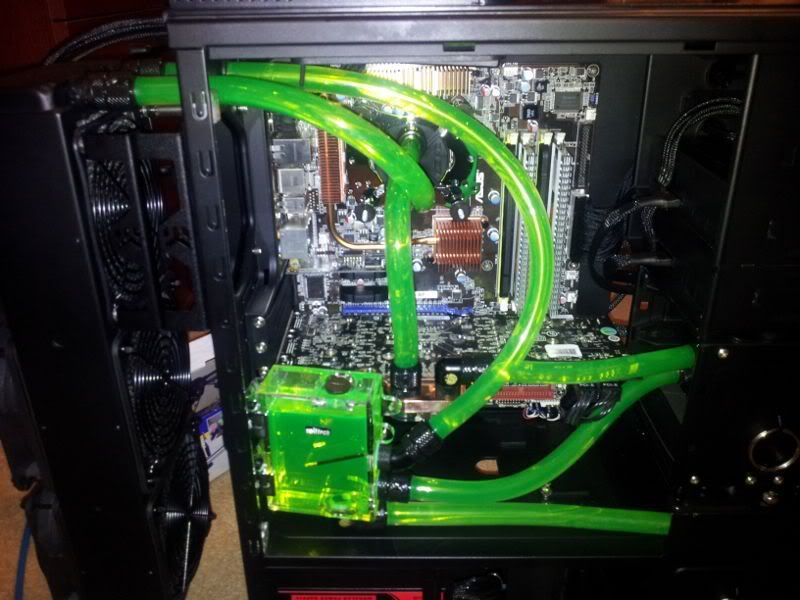
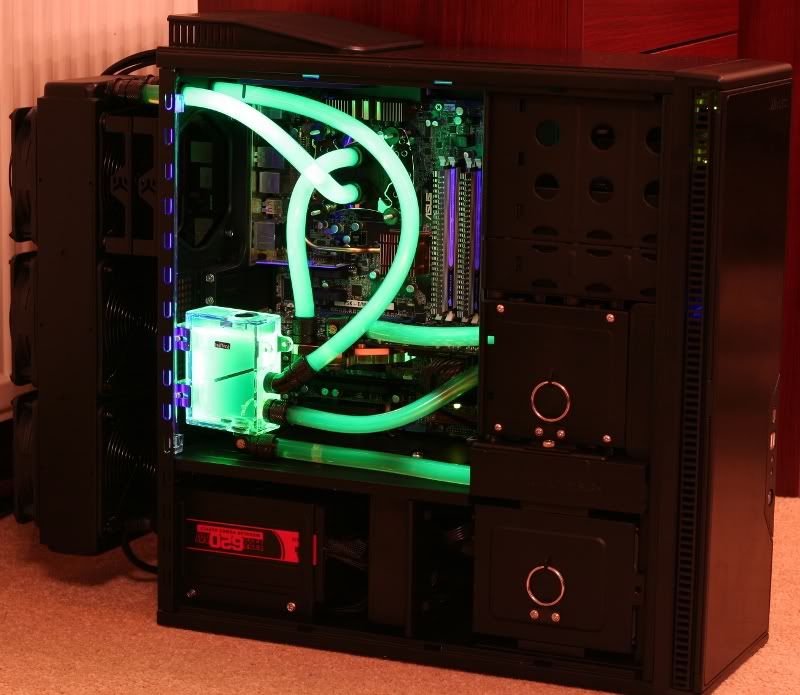
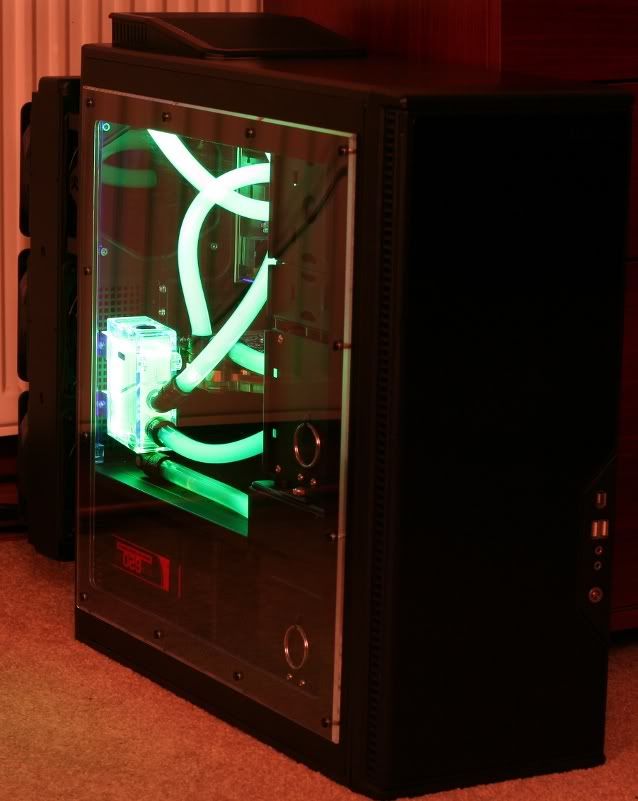
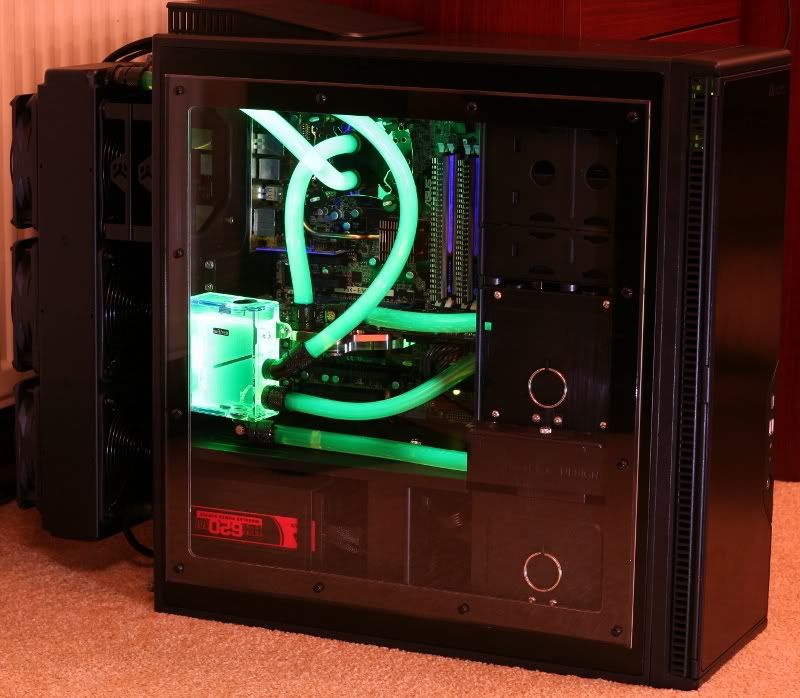
I'll start off a bit backwards since I have already finished it, so here is what the final watercooled system looks like!

IMG_1591-Border.jpg


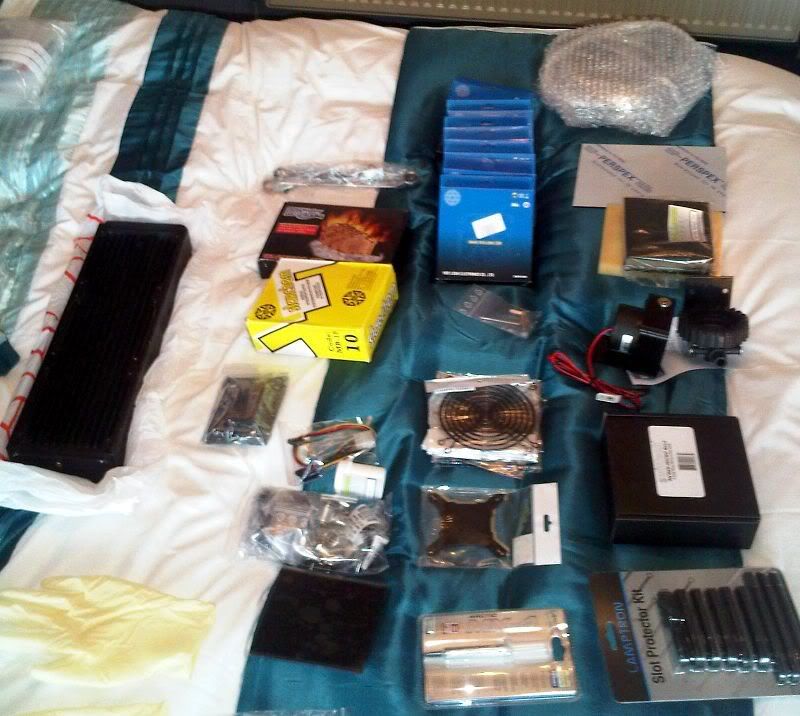
And here's a list of everything I bought during the process of watercooling my pc:
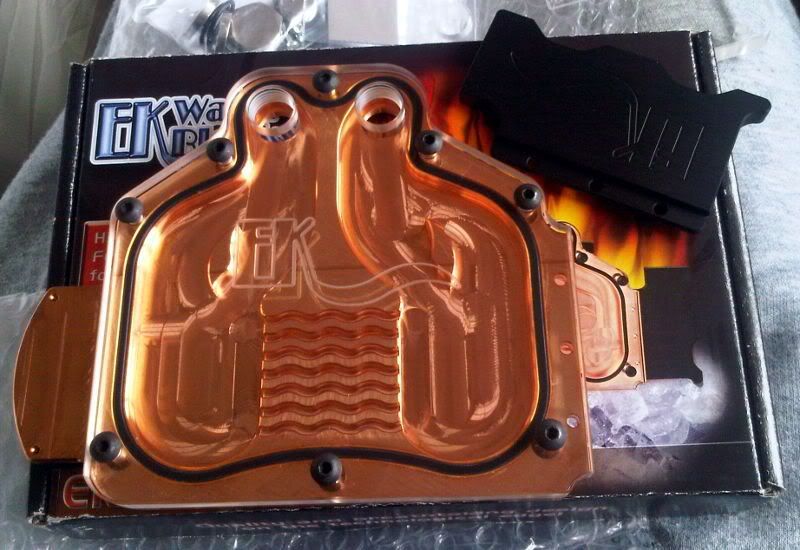
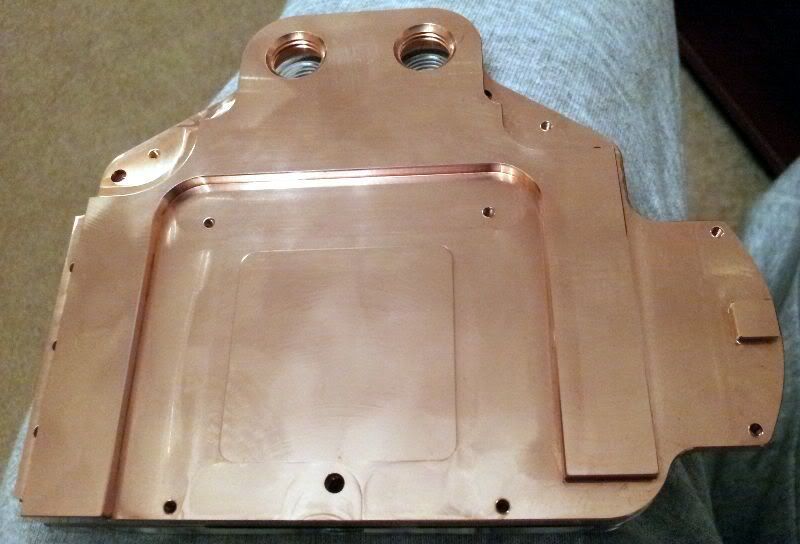
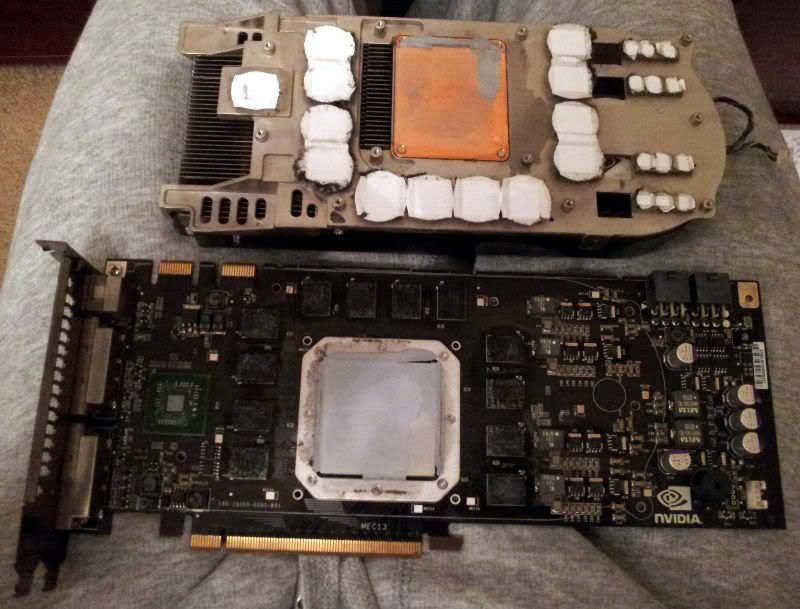
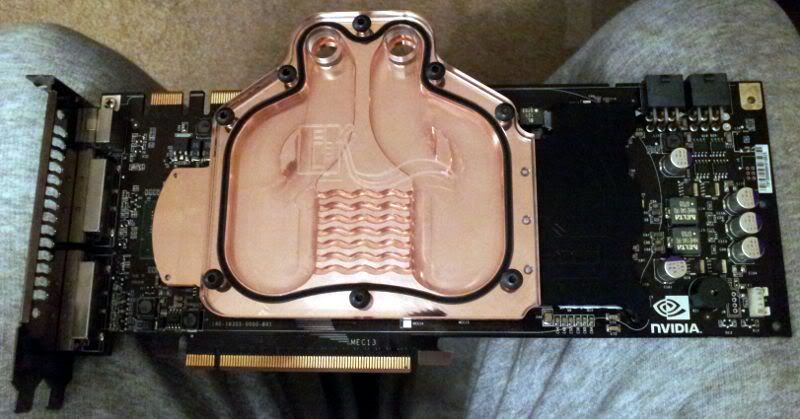
  • EK-FC8800 GTX (GPU Block)
  • XSPC Edge V2 (CPU Block)
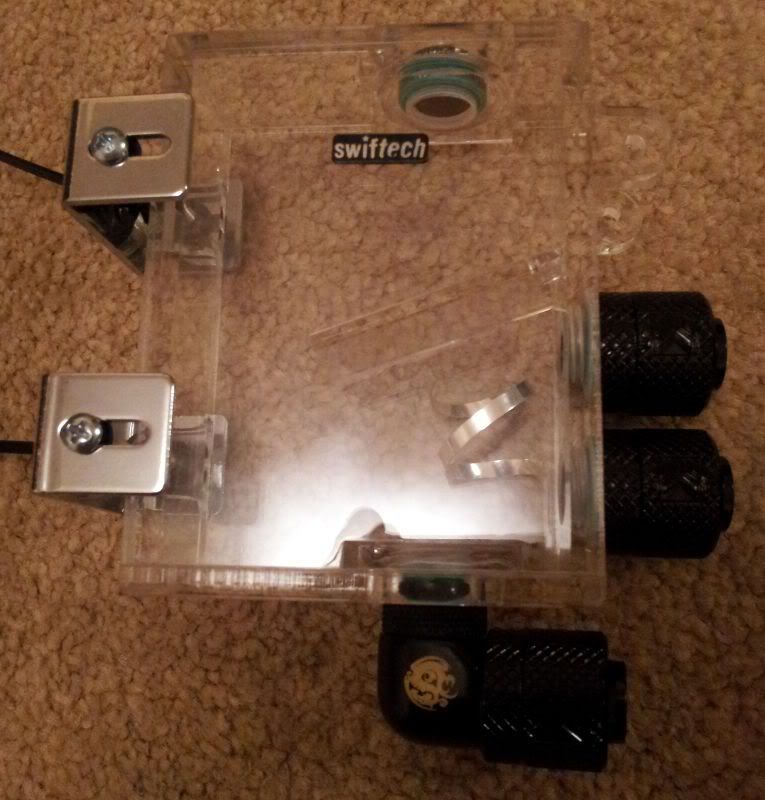
  • Swiftech MCP655 (Pump)
  • EK X-Top Rev.2 (Pump Top)
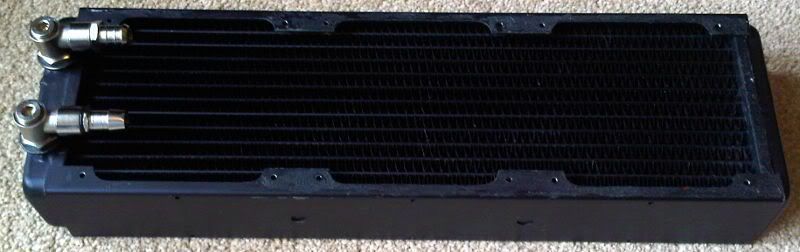
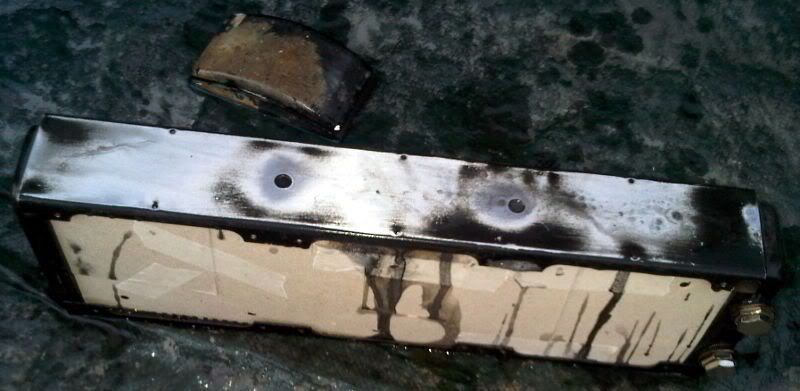
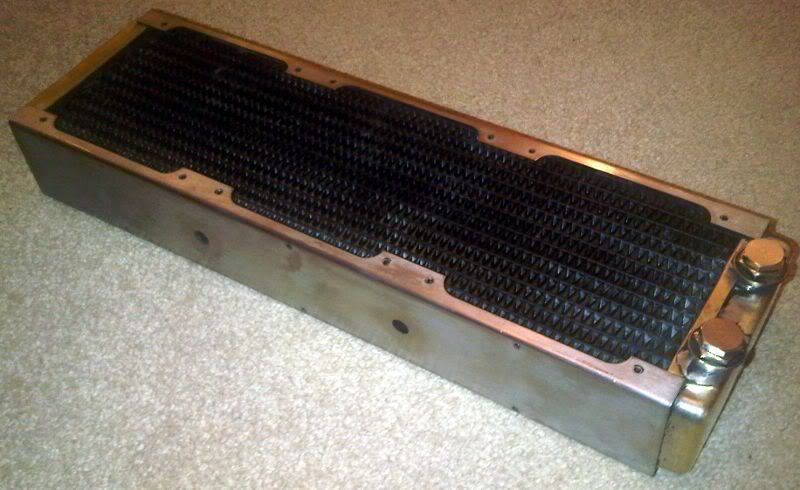
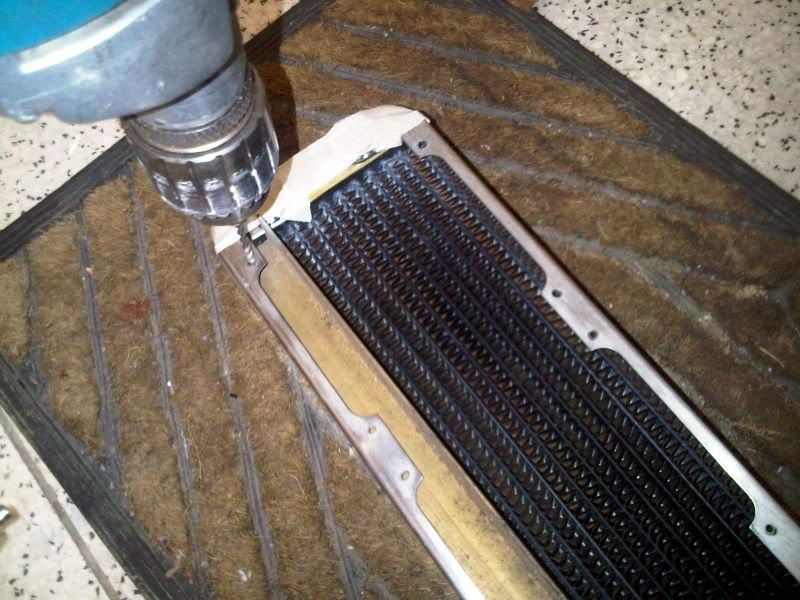
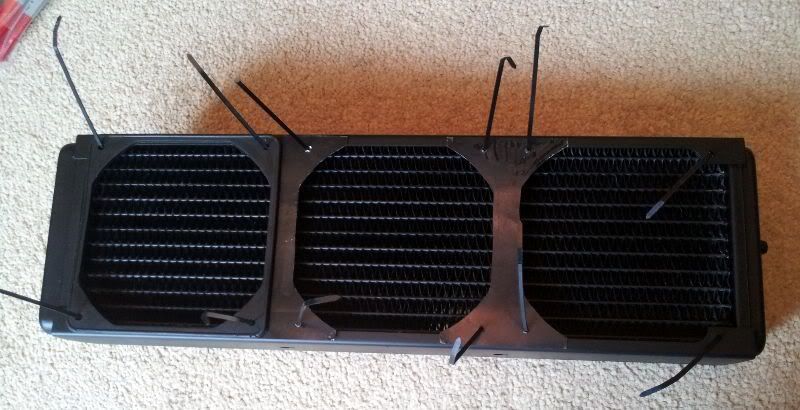
  • Thermochill PA120.3 (Radiator)
  • Swiftech MCRES-Micro V2 (Reservoir)
    ____________________________________________________________
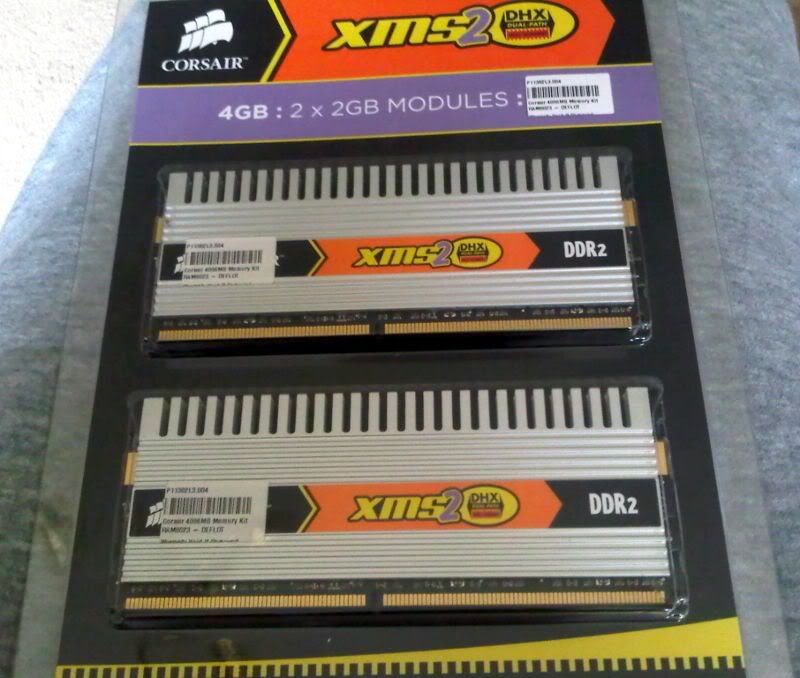
  • Corsair TWIN2X4096-6400C4DHX (4GB RAM)
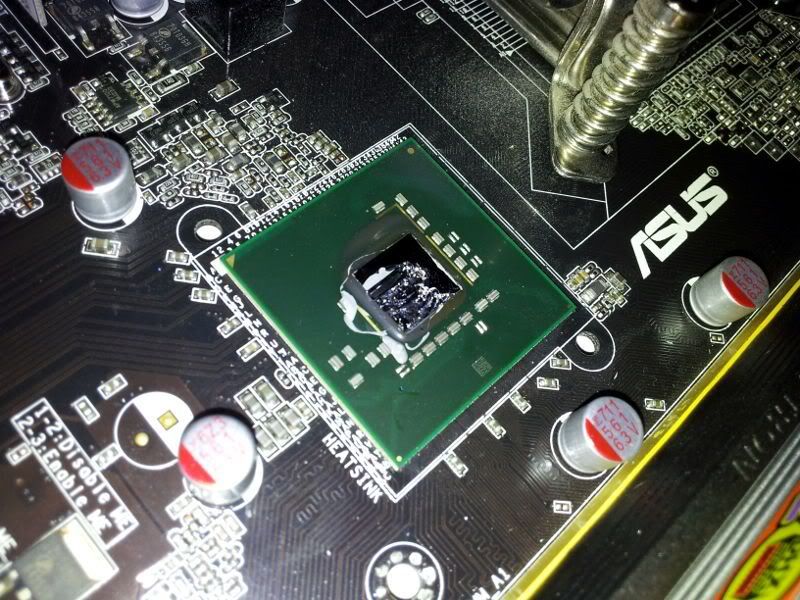
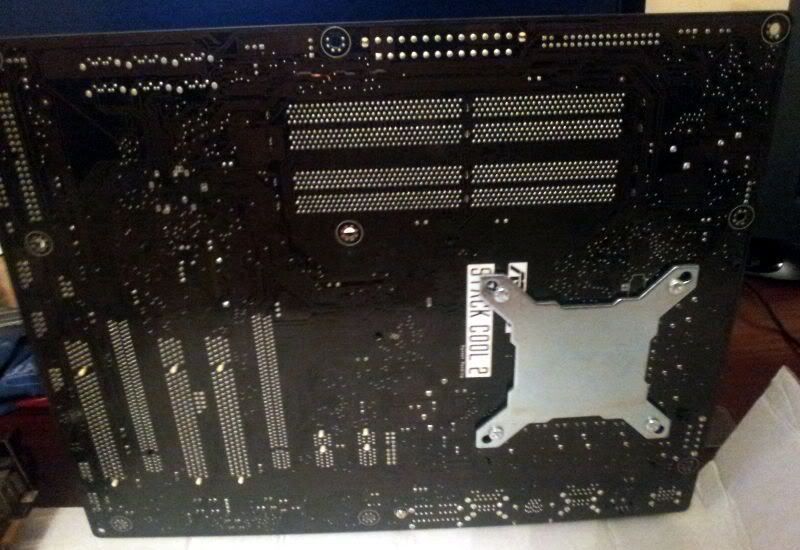
  • Asus P5K-E Wifi (Motherboard)
    ____________________________________________________________
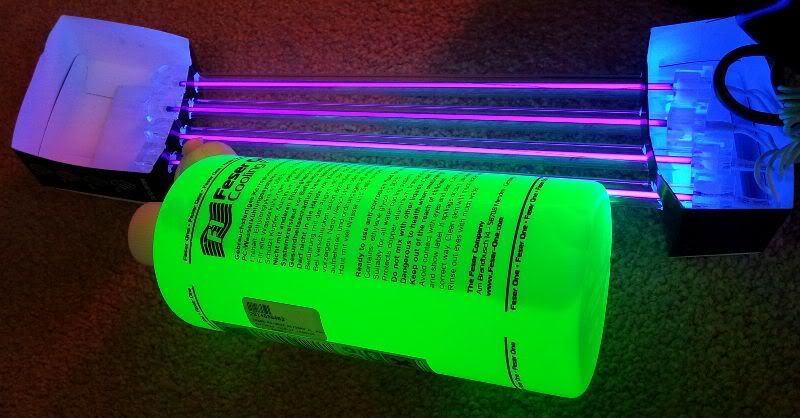
  • 1L Feser One F1 UV Acid Green
  • 5L De-Ionised Water
  • 500ml White Distilled Vinegar
    ____________________________________________________________
  • 2x EK-UNI RAD Holder 120
    ____________________________________________________________
  • Sharkoon 12" UV CCFL 4in1 Kit
    ____________________________________________________________
  • 14x EK-PSC 12mm G1/4 Black Compression Fittings
  • 2x BP-MB90R Bitspower G1/4" Matte Black Rotary 90 Degree
  • 1x BP-MB45R Bitspower G1/4" Matte Black Rotary 45 Degree
  • 2x G3/8 To G1/4 Black Nickle Adapters
  • Black 1/2" Drain Barb
  • 20x Phobya O-Rings UV Green
  • 5x G1/4" Plug Black
    ____________________________________________________________
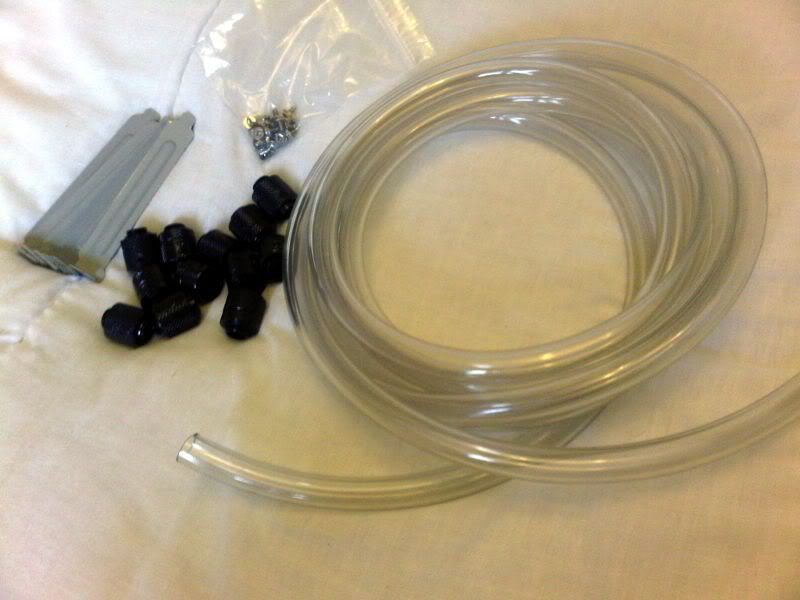
  • 4m Primochill PrimoFlex Pro LRT Clear Tubing 7/16 ID x 5/8in OD
  • Pulse Modding 99.9% Silver Kill Coil
    ____________________________________________________________
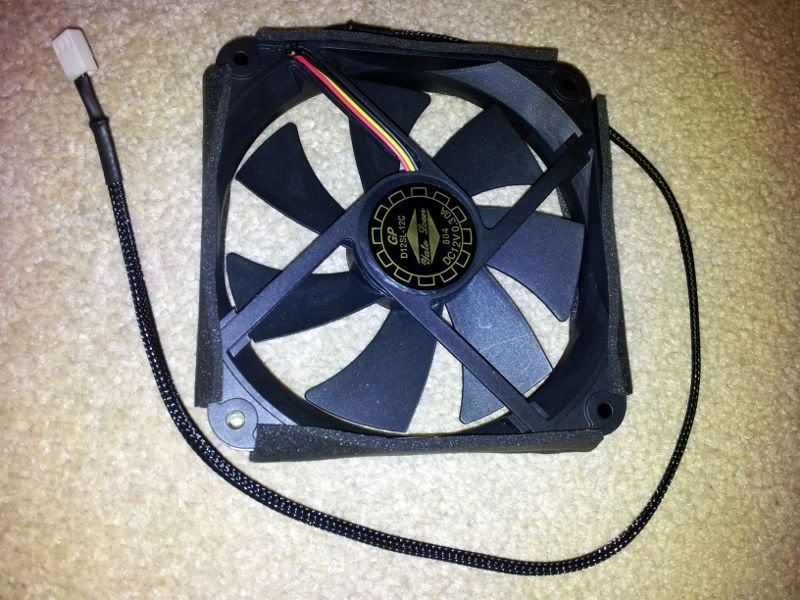
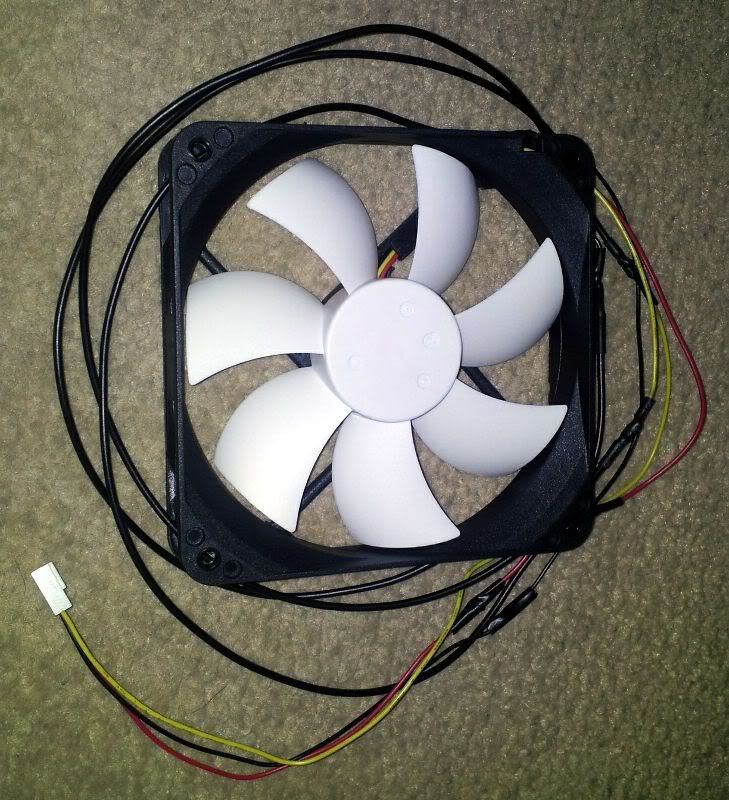
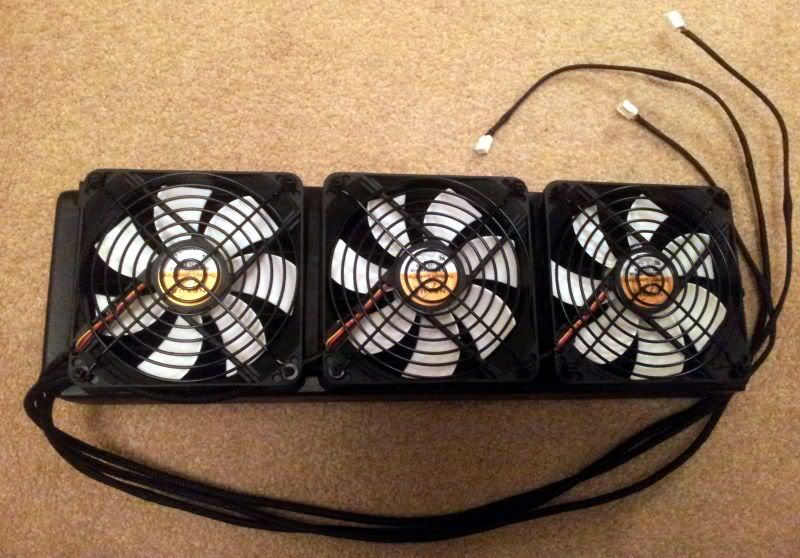
  • 1x Yate Loon D12SL-12C
  • 6x Nexus Real Silent D12SL-12 Black/White
  • 8x 120mm Fan Guard Black
  • 6x 120mm Black Rubber Fan Gaskets
    ____________________________________________________________
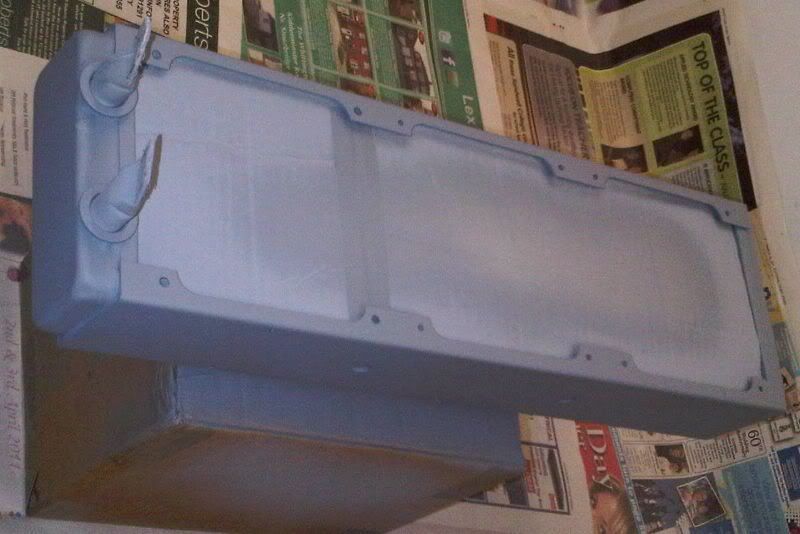
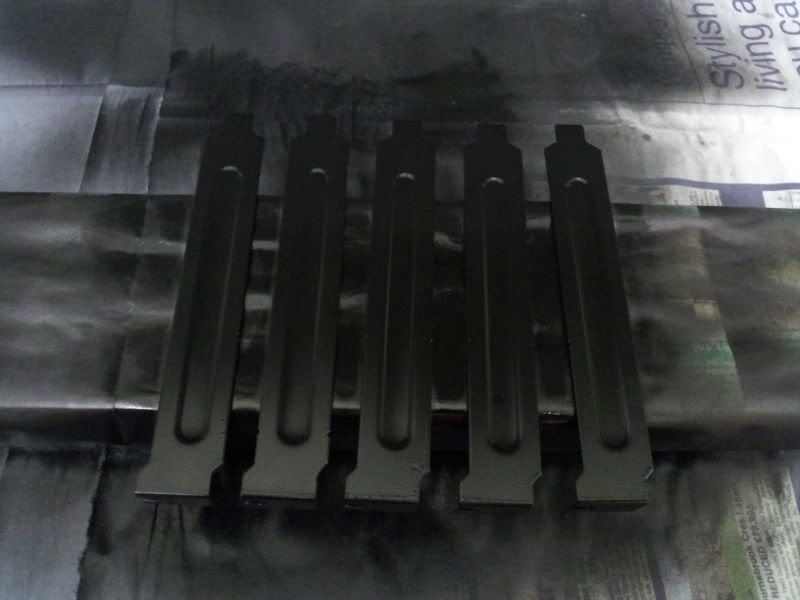
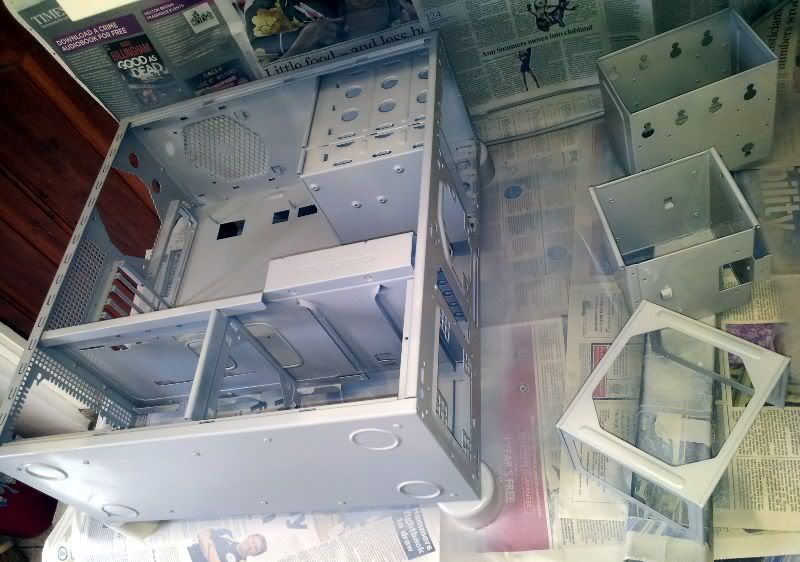
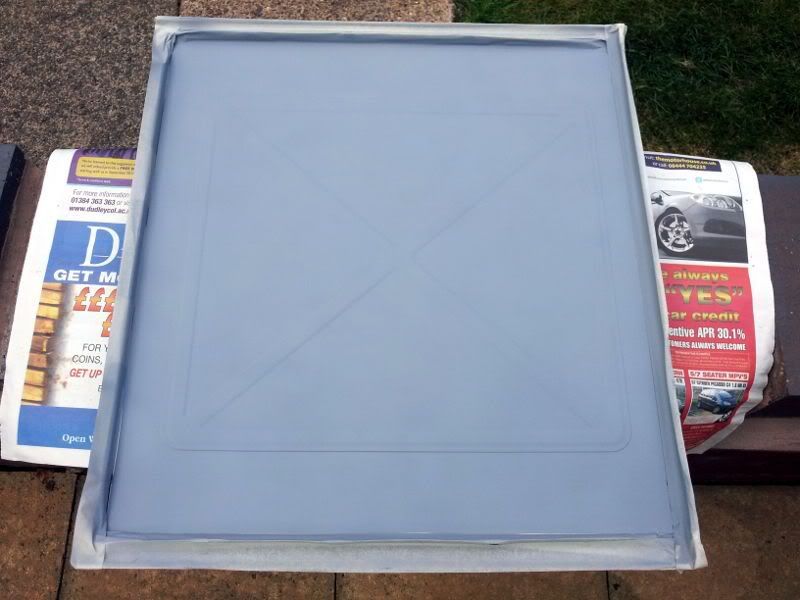
  • 3x U-Pol Power Can Grey Primer Spray Paint
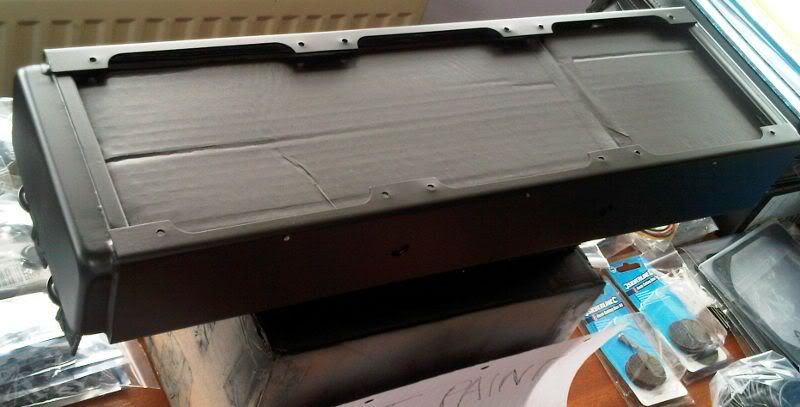
  • 3x U-Pol Power Can Matt Black Spray Paint
    ____________________________________________________________
  • Dremel 300 With 25 Accessories
  • 10x Reinforced Resin Dremel Cutting Discs
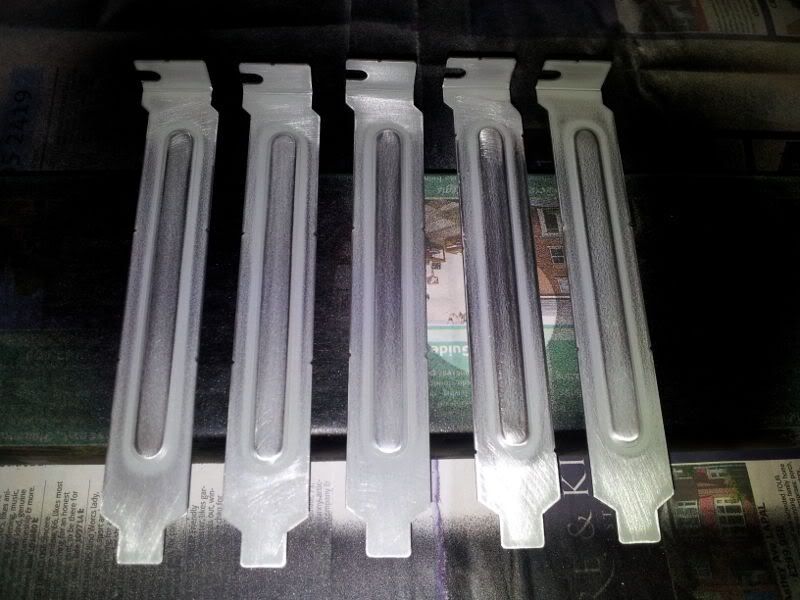
  • 10x PCI Backplates
  • Black Acrylic Sheet 210x148x3mm
  • Lamptron Advanced Slot Protect Black
  • Arctic Cooling MX-4
  • Phobya M4 CPU Kit Black
  • Phobya Mobo Backplate 775/1366
  • Pulse Modding Anti Vibe Damper Pad
  • 4m Neoprene Rubber Edge Trim (U Channel)
    ____________________________________________________________
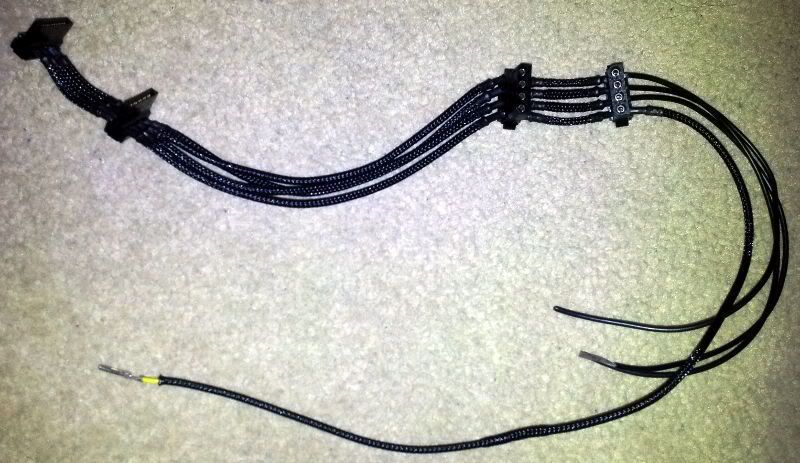
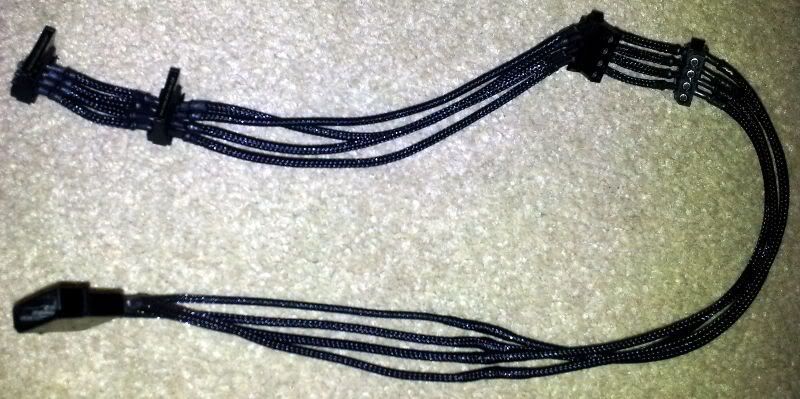
  • BitFenix 8-Pin EPS12V 45cm
  • BitFenix 24-Pin ATX 30cm
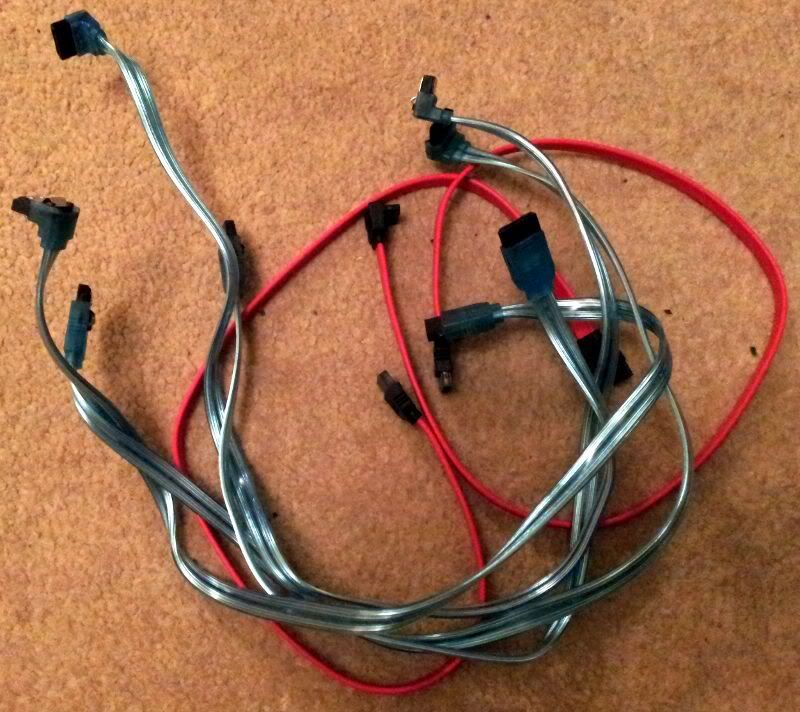
  • 2x Molex To 2x SATA Power Connectors
  • Molex To 2x SATA + 2x Molex Power Connectors
  • 15m Molex Wire AWG 18 Black
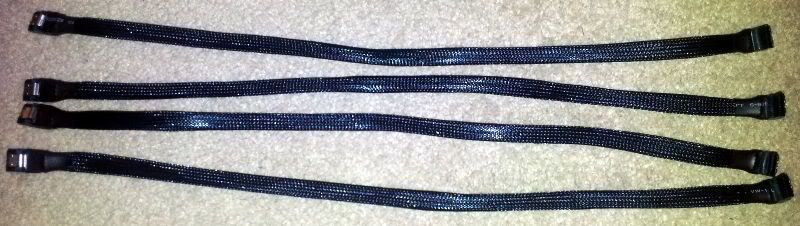
  • 5m 4mm and 5m 2.5mm Pulse Modding Cable Braid
    ____________________________________________________________
  • LEDs: 50x Blue/Green
    ____________________________________________________________
  • 12x M4 80mm Long Allen Key Bolts
  • 20x M4 Nylon Lock Nuts
  • 100x 4mm ID, 1mm Thick Rubber O-Rings
  • Wiring Grommets - 10x 6mm, 10x 9mm, 10x 12mm, 10x 16mm, 10x 20mm, 10x 25mm
  • 50x Black Nylon M4 Washers
 
Last edited:
So this is what my Antec P180B looked like to start off with:

DSC005162.jpg


IMG00437-20110222-1435.jpg


DSC005702.jpg


First thing I did was mark out all of the cuts I wanted to make into the case to help with cable management:
IMG00500-20110311-0232.jpg


IMG00503-20110311-0233.jpg


IMG00502-20110311-0232.jpg


IMG00504-20110311-0233.jpg


IMG00501-20110311-0232.jpg


I bought some primochill tubing, blank pci plates and EK compression fittings all new:
IMG00512-20110315-1243.jpg


I bought an EK black for my 8800gtx off forums from somebody who had bought it years ago but never got around to fitting it so it was still brand new:
IMG00462-20110302-1236.jpg


And I won 4gb of corsair ram off ebay:
IMG00467-20110303-1134.jpg
 
Last edited:
Next I bought another lot of stuff, most of this is new from online stores. The Swiftech pump and EK X-Top were used but in very good condition. The thermochill radiator was used and in really bad condition - scratched paint and very badly corroded inside, but I got it dirt cheap! As you can see I initially bought all Yate Loon D12SL-12 fans, but I later returned these and got Antec Real Silent fans instead as the YL fans I was sent were not "genuine" YL fans and were quite a bit louder than my orange "genuine" YL fans I have been using for years in my system.

IMG00534-20110323-1748.jpg


IMG00523-20110322-1331.jpg


I got to work on the Thermochill radiator, flushing it out with hot water and vinegar. It seemed no matter how many times I flushed it through there was constantly black bits still coming out, and I could still see the corrosion inside. After flushing it through at least 20 times and bits were still coming out, I decided to fill it with white vinegar and leave it on a hot radiator overnight. Next day I poured it out and the fluid coming out was disgusting! I could see the corrosion had almost completely gone inside. I flushed it through with hot water a few more times, left it overnight with vinegar on a radiator again, flushed with water and it was coming out clear now and the insides of the radiator looked sparkling clean. I left it overnight with some more vinegar once again just to be certain, and finally flushed it with distilled water a few times to clear the vinegar etc.

I then set to work respraying the radiator (outside only, never respray the fins!). First I masked off and protected all the fins, and wetsanded off the old paint:
IMG00535-20110324-1816.jpg


Here it is all wetsanded, so nice and shiny!
IMG00538-20110325-0004.jpg


Then I drilled the 4 holes on the top fan position, enlarging them to 4mm so that I could use my M4 bolts to secure the rad to the back of my case:
IMG00562-20110329-2048.jpg


I masked off all the fins again and the barb holes, and cleaned it all ready to spray paint:
IMG00568-20110329-2240.jpg


Primer:
IMG00569-20110329-2315.jpg


Matt black:
IMG00578-20110331-1253.jpg


I also sanded down, primered and painted the PCI plates matt black:
2011-07-10020349.jpg


2011-07-10224201.jpg


And I got some UV cathodes and Feser F1 Acid Green coolant:
2011-07-17180451.jpg
 
Next I set about cutting up my P180 and respraying the internals black.

First I disconnected and removed everything from inside my P180:
2011-08-15185548.jpg


And then set everything up again outside the case so that I could still use my pc while I was modding the case. I was getting some nice temps with it in the open air!
2011-08-16171740.jpg


Then I roughly cut out the rear exhaust fan grill, and drilled 3 holes. 2 are for the inlet/outlet tubes to the rad, and the third hole in the top left of the pic is where the fan cables from the fans on the rad will enter the case. I used some rubber grommets in the holes:
2011-08-17141027.jpg


Then I tidied op the rear exhaust grill cutout:
2011-08-17144328.jpg


And I tested out the U Chanel edging trim, it covers the cutout it perfectly:
C360_2011-08-1721-23-10.jpg


Next I cut out the fan grills on the front, leaving the clips for the dust filters to still fit:
2011-08-17153655.jpg


I cut out all of the markings I had previously made to improve cable management in the case. I cut out a lot of metal!:
2011-08-17195913.jpg


This just shows what parts I have cut out if anybody wants to do something similar:
Aug_17_2011_373.jpg


Next I sanded down the whole case and drive cages etc:
2011-08-19164502.jpg


Primered:
2011-08-19173121.jpg


Also sanded down and primered the right hand case panel:
2011-08-22173613.jpg


And here is everything painted matt black:
2011-08-22181844.jpg


Refitted the grommets and fitted the U-chanel edging trim for the rear exhaust:
2011-08-23182511.jpg


And I used some draught excluder tape on the PSU bracket to help reduce vibrations:
2011-09-02151900.jpg
 
One annoying thing with the P180 was that the power and HD leds would flash out of the side even when the front door was closed. So I wrapped up a piece of card with some black electrical tape and wedged it down the edge to stop the light showing when the door was closed:
2011-09-02200331.jpg


2011-09-02201737.jpg


I used a yate loon slim fan as an intake for the lower section just in front of the HD cage. A normal size 12cm fan does not fit in this area, but the YL slim fan does. I sleeved it and used draught excluder tape to reduce any vibrations:
2011-09-02190924.jpg


2011-09-02194700.jpg


Then I sleeved an Antec Real Silent for the front upper intake:
2011-09-02214551.jpg


And sleeved another for the top exhaust, you can see the hole that I cut that helps hide this fan's cable:
2011-09-02224929.jpg


Then I started work on mounting the fans for the radiator. First I made 2x shapes out of card and coloured them black, which would go in between the fans to block off the gaps that are between the fans when you are using a thermochill rad, improving the airflow through the rad. I am using zip ties to mount the fans to the rad, using rubber fan gaskets in between to remove vibrations:
2011-09-03142802.jpg


I needed to extend the fan wires for all 3 of the rad fans in order for the cables to reach, so cut the wires and soldered on some more cable:
C360_2011-09-0319-08-27.jpg


And sleeved all the cables:
2011-09-04193728.jpg


Here they are mounted onto the rad:
2011-09-04201606.jpg
 
I decided the remount all of the heatsinks on the motherboard with some MX4. The heatsink above the cpu slot came off very easily and then I secured it back down with zip ties with MX4 since the original plastic clips couldn't be used again:
2011-08-22220051.jpg


The large heatpipe system was harder to get off, especially the northbridge which felt like it was glued down. I managed to get it off eventually after a lot of wiggling, but it made a crunching sound as it came off...
2011-08-23163309.jpg


The northbridge die had smashed in half!!! :eek::eek:
2011-08-23163236.jpg


R.I.P my p5k deluxe. But I managed to find a P5K-E/Wifi on ebay for cheap with next day delivery, which is basically identical to the deluxe apart from only having 1 LAN port instead of dual LAN.

I cut the black acrylic sheet that I had bought and drilled 4 holes into it. This is going to be used to block off the rear exhaust fan hole at the back of the case where the rad is going to be mounted off:
2011-08-23170848.jpg


I cleaned up the EK 8800gtx block:
2011-09-06000648.jpg


And removed the stock HSF from my GPU:
2011-09-06011028.jpg


Cleaned it all up and attached the EK block to my GPU:
2011-09-06034140.jpg


The new mobo arrived the next day so I mounted the XSPC block to the CPU:
2011-09-06211628.jpg


I used a seperate backplate so that I could tighten the screws without worrying about the mobo flexing:
2011-09-06230323.jpg


Fitted the mobo into the case, threaded through the wires for the rad fans, and mounted the CCFL transformer towards the top of the case:
2011-09-08000054.jpg


Put the EK and Bitspower compression fittings onto the micro res. The bottom 90 degree bitspower is for a drain so it is easier for me to empty the water in the future. And put a silver coil inside the res:
2011-09-08001510.jpg


I then mounted the micro res into the case using zip ties. Put the GPU in. Mounted the rad to the back of the case using M4 bolts. And got the PSU inside the case:
2011-09-13191610.jpg


Here is a close-up pic of how I got the case usb/firewire/audio/power/etc cables to pass backwards through the holes I had cut into the case:
2011-09-13191746.jpg


Then I started fitting the Primochill tubing:
2011-09-13234856.jpg


Tubing all finished. The Swiftech pump with the X-Top is located in the upper HD cage hidden away. I mounted it in there between two anti-vibration foam things, and I can easily adjust the pump speed through the front of the case:
2011-09-14154925.jpg


Ready to fill the water and leak-test it, using an old PC to power the pump:
2011-09-14160716.jpg


Watercooling system all filled with Feser F1 Acid Green and UV lights on (there are 2 12" UV cathodes, one on the left of the case that you can see, and another secured to the top of the case using sticky velcro):
2011-09-14204740.jpg
 
I wrapped both of my DVD-RW drivers with black electrical tape so that they matched the matt black internals of my case:
2011-09-15174957.jpg


I then started making my own custom power cable that would be the exact length to power both of my DVD-RW drivers and 2x Sunbeam Rheobus fan controllers:
2011-09-17181221.jpg


2011-09-17200037.jpg


2011-09-17205527.jpg


I then braided all my SATA cables:
2011-09-17213301.jpg


2011-09-18012321.jpg


I changed the LEDs in my Sunbeam fan controllers to green, but I forgot to take pictures of it.

Here are the DVD-RW drives and fan controllers inside of my case with the custom made power cable and the SATA cables:
2011-09-18014135.jpg


All 4 of my hard drives mounted inside the HD cage:
2011-09-18134613.jpg


Now everything is inside the case and ready :) Here is the right hand side of my case through which I have hidden all of the wires. I have used bitfenix 8pin and 24pin black braided extension cables for the PSU cables:
2011-09-18151355.jpg


Here is a view of Sunbeam Rheobus fan controllers, dvd drives and where the pump is hidden inside the upper HD cage:
2011-09-190037232.jpg


And here is the finished system :D

IMG_1568-1.jpg


IMG_1585-1.jpg


IMGG_1591.jpg
 
Last edited:
Here are the temperature stats. All of these are with the e6600 overclocked to 3.3GHz (standard is 2.40GHz) and the 8800GTX core clocked to 626MHz (standard is 575MHz) and all fans running at 7v
The CPU air heatsink used was a Theralright Ultra 120 Xtreme

Air Cooled Temps
CPU Cores: Idle 38 / load 65 (Using Intel TAT)
GPU Core: Idle 64 / load 90 (Using OCCT)

Watercooled Temps
CPU Cores: Idle 22 / load 42 (Using Intel TAT)
GPU Core: Idle 35 / load 43 (Using OCCT)


As you can see the CPU had a decent drop in temps, and the GPU had a huge decrease in temps once watercooled!
 
Last edited:
I love it when people bring life back to older hardware. Well done! Really created order in that P180
 
Back
Top